
How to Use a Torque Multiplier
This standard operating procedure explains how to use a torque multiplier to remove stubborn or rusted lug nuts from large vehicle tires, such as those found on an RV. It also covers why standard lug wrenches often fail on tight nuts and what alternative methods you may try before reaching for the torque multiplier.
Video: Torque Multiplier Wrench, best way to remove stuck lug nuts, the easy way! No Power Tools! by 1D10CRACY (2019). All credit for the demonstration goes to the creator; watch the original on YouTube. The written guide below was generated from this video by Docsie. Creator? Request a change or removal.
Purpose
This standard operating procedure explains how to use a torque multiplier to remove stubborn or rusted lug nuts from large vehicle tires, such as those found on an RV. It also covers why standard lug wrenches often fail on tight nuts and what alternative methods you may try before reaching for the torque multiplier.
Scope
This procedure applies to any technician or vehicle owner who needs to loosen lug nuts that will not release with a standard lug wrench, particularly on RVs and other large vehicles.
Required equipment
- Torque multiplier device with matching sockets
- Handle/bar for leverage
- Extension bar
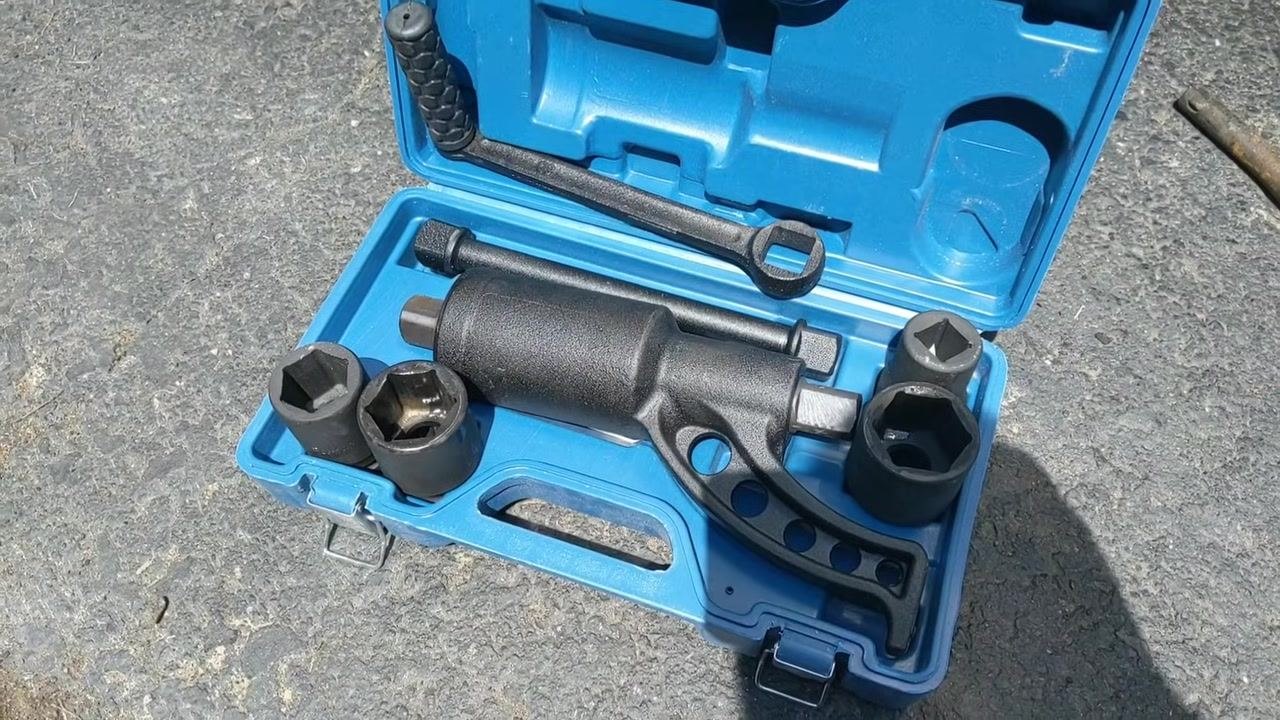
- Blue carrying case (for kit storage and organization)
- Standard lug wrench and bar (if attempting initial removal)
- Heavy-duty ratchet and a three-foot extension pipe (optional intermediate step)
- Car jack or jack stand
Inspect the torque multiplier kit
Open the torque multiplier kit and inspect its contents before starting work. Confirm the kit includes the torque multiplier device, multiple large sockets, a handle/bar for leverage, an extension bar, and the blue carrying case used to keep everything organized.
Understand the limitations of standard lug wrenches
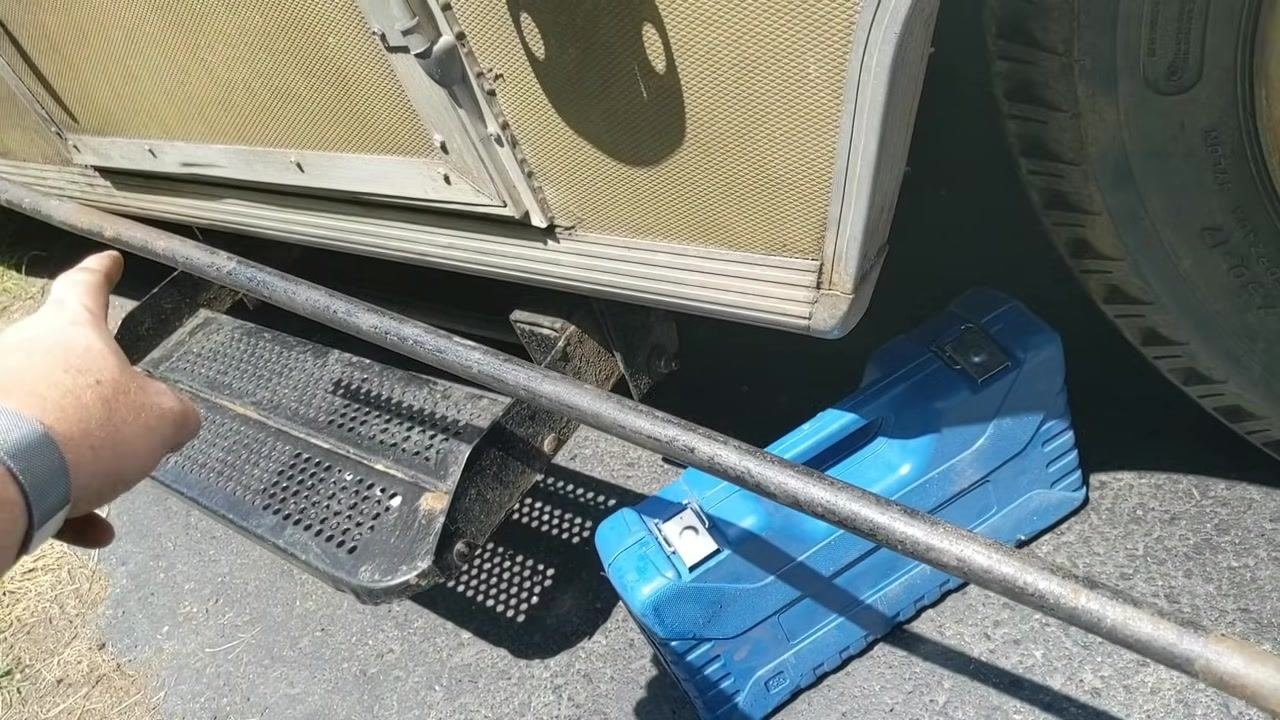
Standard RV lug wrenches, often dating back to the 1970s, consist of a simple bar that fits into the end of the wrench. Recognize that these wrenches may not provide enough leverage to break loose stubborn or rusted lug nuts, which is why an alternative approach is often needed.
Stabilize the lug wrench for maximum torque
Place the lug wrench on the lug nut and rest it against a jack stand. This keeps the wrench square on the nut and prevents it from tipping, allowing you to apply more torque safely.
Attempt to loosen the nut with the standard bar
Attach the bar to the end of the lug wrench and apply force. If the nut is very tight, you may need to use your body weight against the bar.
Safety note: Excessive force can bend the bar. Inspect the bar afterward for damage before reusing it.
Try a heavy-duty ratchet and extension pipe
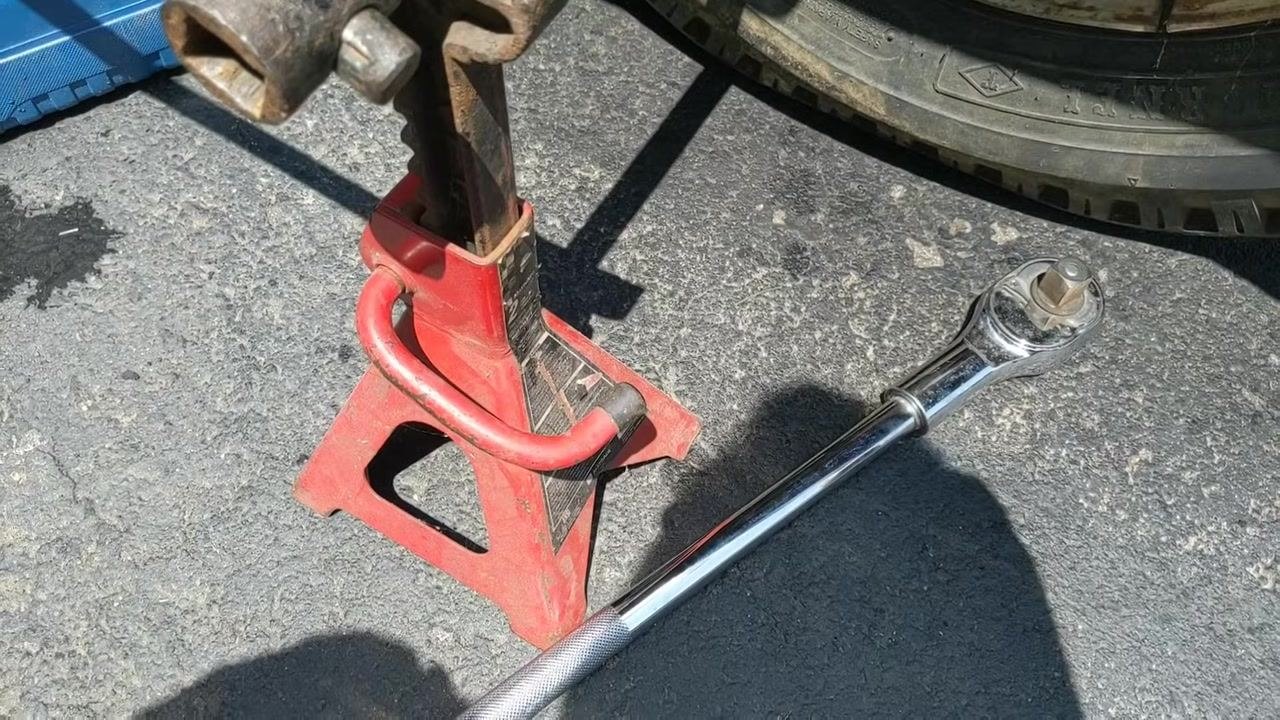
If the standard bar fails to loosen the nut, retrieve a heavy-duty ratchet from your toolbox and attach a three-foot extension pipe for additional leverage. Apply your weight to the end of the pipe to attempt loosening the nut. If the nut still does not break free, proceed to the torque multiplier.
Prepare the torque multiplier kit
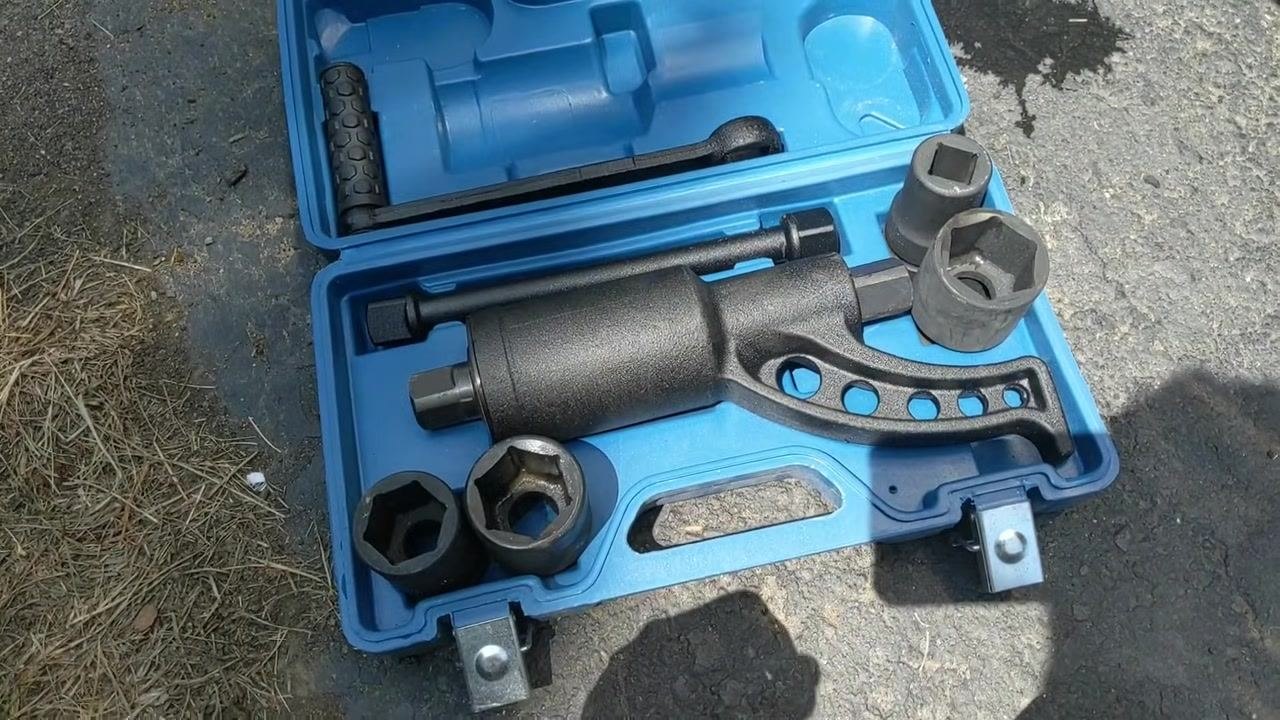
Retrieve the torque multiplier kit from storage, open the case, and confirm that all components are present and undamaged before use.
Identify the stubborn lug nut
Locate the lug nut that has not yet been loosened and confirm it is as tight as the others that required the torque multiplier.
Select the correct socket and attach it to the multiplier
Find the socket in the kit that fits the lug nut, then attach the correct socket to the torque multiplier device.
Attach and position the torque multiplier
Insert the selected socket, already attached to the torque multiplier, onto the stubborn lug nut. Ensure the torque multiplier is aligned straight with the nut for maximum efficiency.
Place the torque multiplier's stabilizer foot so it rests securely against an adjacent lug nut. This prevents the tool from rotating and directs torque onto the stuck nut. Set a car jack or jack stand underneath the torque multiplier to support its weight and keep it level during use.
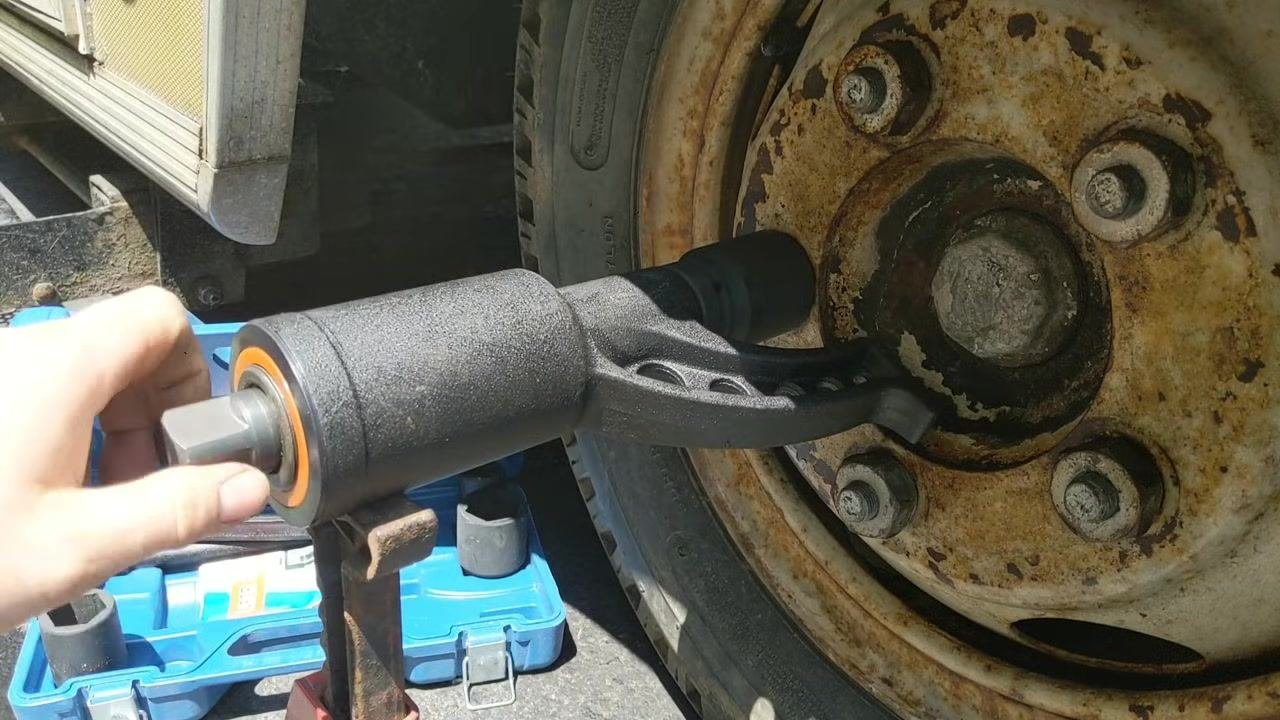
Insert the handle and begin loosening
Insert the provided short handle into the input of the torque multiplier and turn it counterclockwise to loosen the lug nut. Note that a full rotation of the handle produces only a small movement of the socket — this is the torque amplification effect at work.
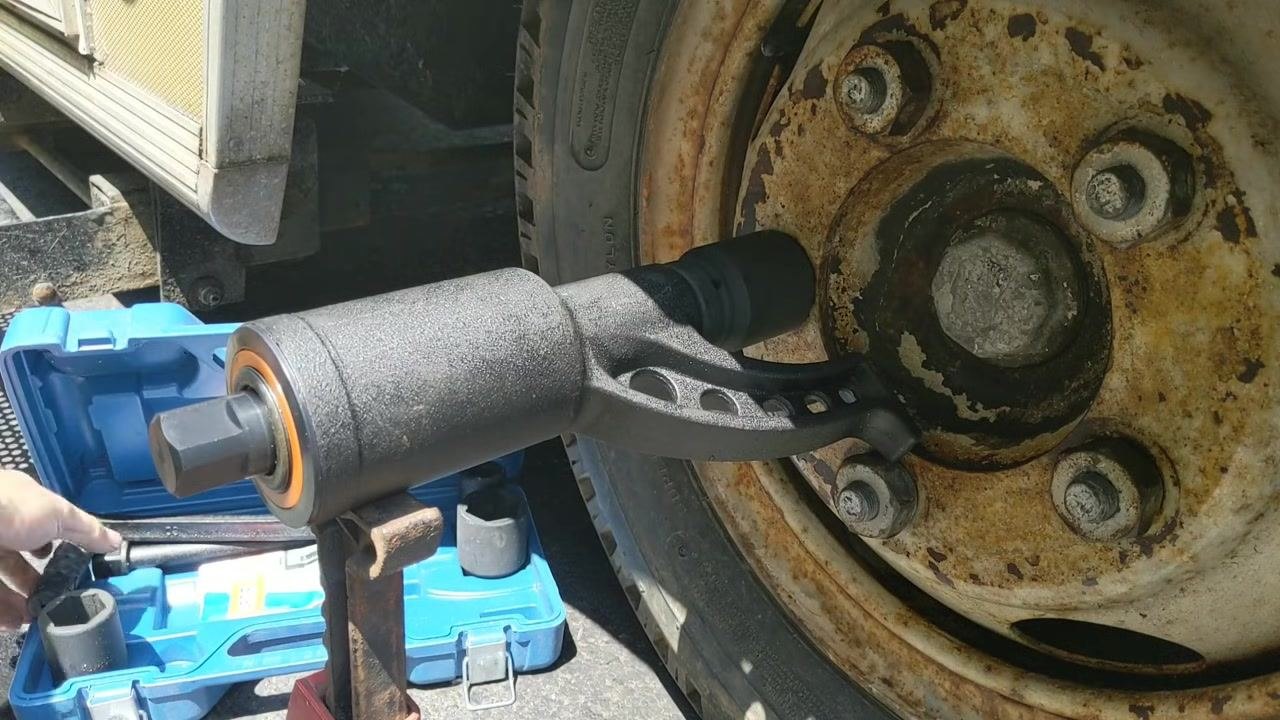
Ensure proper foot placement
As you turn the handle, confirm that the stabilizer foot remains firmly pressed against the adjacent lug nut.
Safety note: Correct foot placement is critical, as it prevents the tool from slipping or rotating unexpectedly during operation.
Use the short handle to apply torque
Use the included handle to turn the torque multiplier, applying steady force. Despite its short length, the tool is designed to multiply your input torque, making it possible to break loose even very tight nuts.
Loosen the lug nut
Continue turning the handle. The nut may begin to move after just one full rotation. Keep turning until the lug nut is visibly loosening — it will turn slowly, but with minimal effort compared to standard tools.
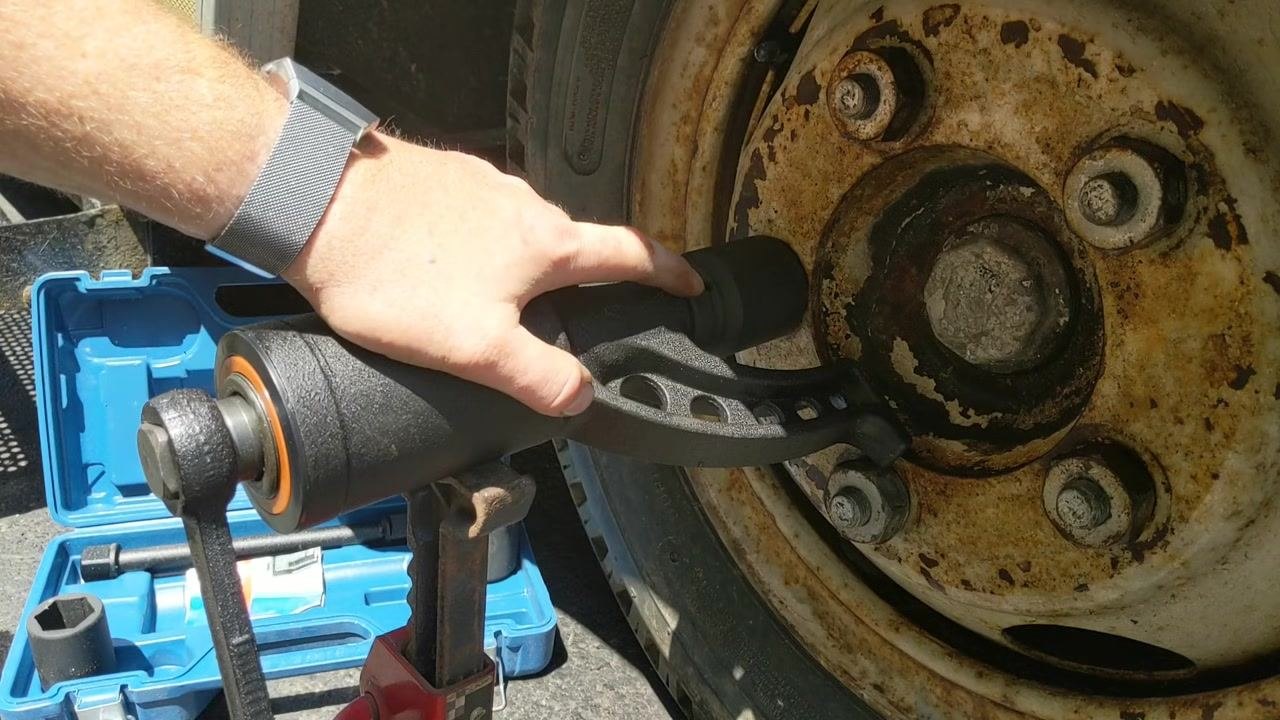
Confirm the nut is loose
Once the nut is loose, stop turning the handle and remove the torque multiplier and socket from the lug nut. The nut should now be easy to remove by hand or with a standard wrench.
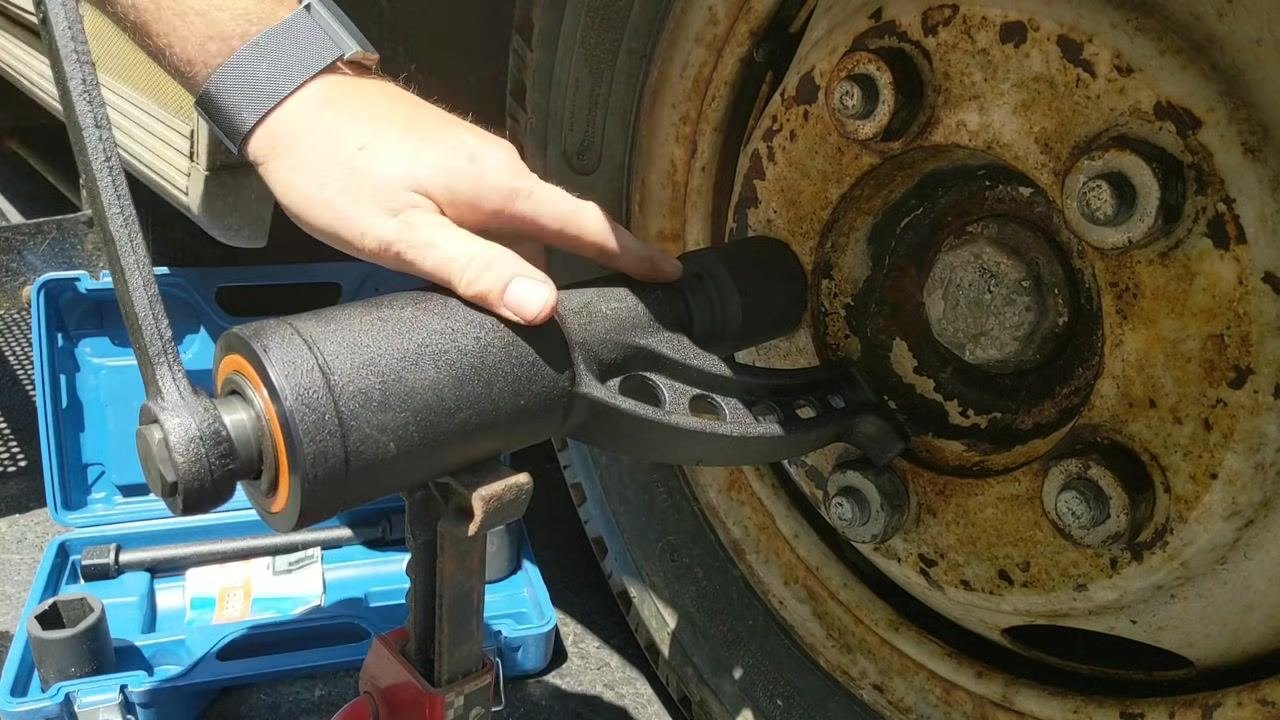
Store the torque multiplier kit
After use, disassemble the torque multiplier and socket and place all components back into the blue carrying case. Keep the kit in your vehicle for future use, as it makes tire changes significantly easier.
Verification and summary
Confirm that the previously stubborn lug nut now turns freely by hand or with a standard wrench, and that all torque multiplier components are accounted for and returned to the blue case.
Always carry the torque multiplier kit in your vehicle, especially for RVs or large vehicles prone to stubborn lug nuts. This tool is simple and effective, and can save significant time and effort during roadside repairs.
You have now successfully used a torque multiplier to remove a stubborn lug nut. Store your tools and ensure your vehicle is ready for the road.
Generation details: cost, quality tiers
Docsie billed 2,000 credits ($1.40) to analyze this 4-minute video at standard quality. The rewrite, template fill and Word/PDF exports were included. The same video at each quality tier:
| Quality | Frames sampled | Credits | Approx. cost |
|---|---|---|---|
| Draft | every 16-30 s | 1,000 | $0.70 |
| Standard (this guide) | every 8-15 s | 2,000 | $1.40 |
| Detailed | every 4-7 s | 4,000 | $2.80 |
| Ultra | every 1-3 s | 8,000 | $5.60 |
Credits priced at $0.70 per 1,000; plans include a monthly allowance. Enterprise customers on on-premise or bring-your-own-model deployments run this on their own inference and pay no per-video credits.
Generated by Docsie Video-to-Docs on 2026-09-28 from a 3-minute video. Screenshots are frames from the source video and belong to their creator, 1D10CRACY, whose original is embedded above. If you own this video and want the guide removed or credited differently, contact us and we will act within one business day.