
How to Adjust a Torque Wrench
Knowing how to adjust a torque wrench correctly ensures that fasteners are tightened to the exact specification required for your vehicle, preventing both under-tightening and over-tightening. This guide walks you through identifying a DeWalt Micro-Adjusting Torque Wrench, reading its scales, setting it to a precise torque value, and using it safely to tighten lug nuts.
Video: Setting a torque wrench. Easy! by Danny Johnson’s Garage (2021). All credit for the demonstration goes to the creator; watch the original on YouTube. The written guide below was generated from this video by Docsie. Creator? Request a change or removal.
Knowing how to adjust a torque wrench correctly ensures that fasteners are tightened to the exact specification required for your vehicle, preventing both under-tightening and over-tightening. This guide walks you through identifying a DeWalt Micro-Adjusting Torque Wrench, reading its scales, setting it to a precise torque value, and using it safely to tighten lug nuts.
Purpose
This procedure explains how to read the scales on a torque wrench, adjust the dial to a specific torque value, and apply that setting correctly when tightening fasteners such as wheel lug nuts.
Scope
This procedure applies to the DeWalt 1/2" DR Micro-Adjusting Torque Wrench (part number DWMT75462), with a torque range of 50–250 foot-pounds (ft-lb) or 74.6–345.7 Newton-meters (Nm). The steps also apply generally to similar micro-adjusting torque wrenches.
Required equipment
- DeWalt Micro-Adjusting Torque Wrench (or equivalent)
- Extension bar sized to fit the torque wrench drive
- Socket matching your lug nut size
- Vehicle jack (if lifting the wheel)
- Manufacturer's torque specification for your vehicle
Step-by-step procedure
Identify your torque wrench packaging
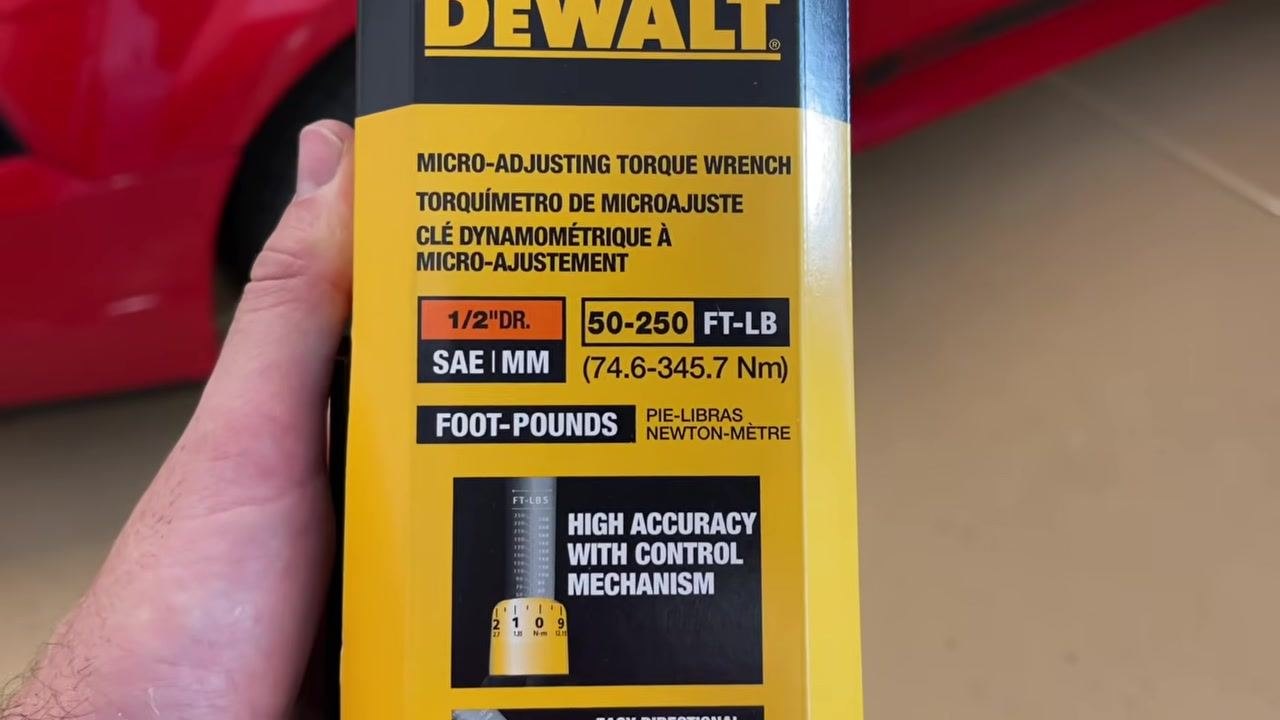
Check the box for the yellow-and-black DEWALT branding at the top. The packaging identifies the product as a "Micro-Adjusting Torque Wrench" in English, Spanish, and French, with a 1/2" DR drive size and a torque range of 50–250 ft-lb (74.6–345.7 Nm). The box also highlights "High Accuracy with Control Mechanism."
Locate the part number and warranty information
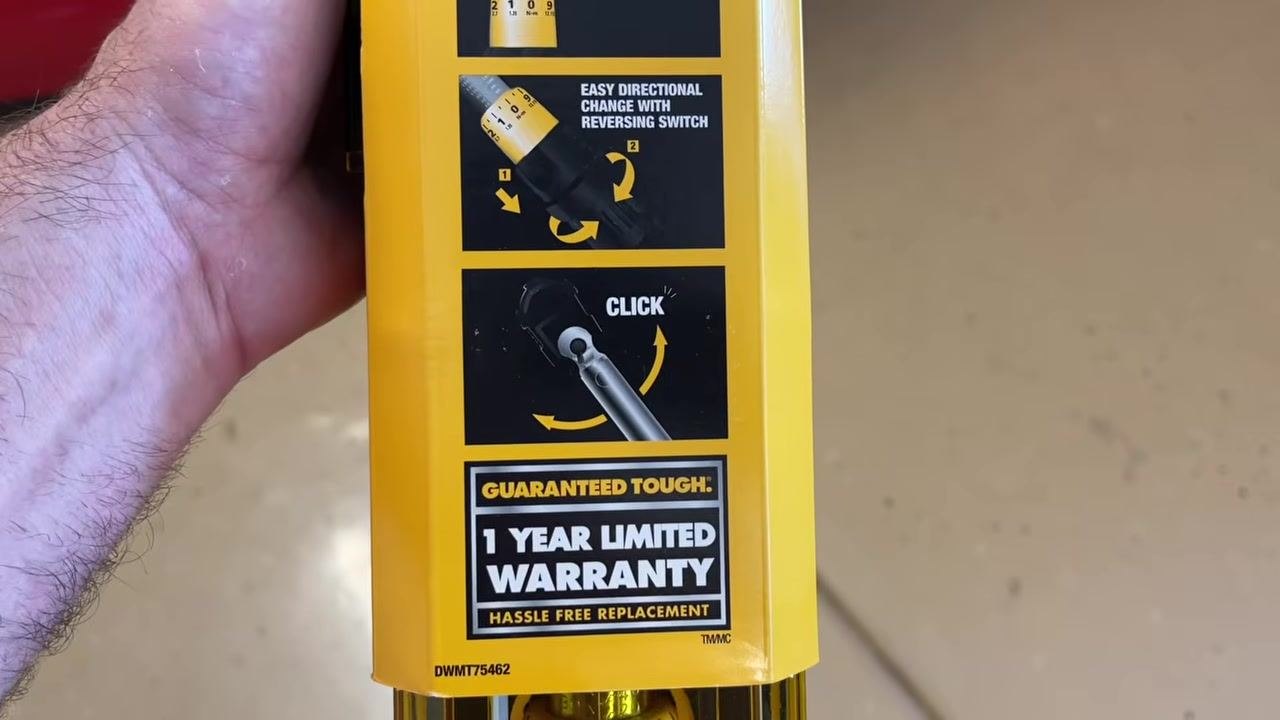
Find the part number "DWMT75462" printed at the bottom of the box, along with the "1 Year Limited Warranty" and "Hassle Free Replacement" details. The box also includes diagrams showing the reversing switch for directional change and the "click" indicator used for the torque limit.
Unbox the torque wrench
Open the yellow DeWalt-branded plastic case to find the torque wrench secured in a molded tray.
Understand the function of a torque wrench
A torque wrench does not increase the power you apply; it limits the amount of torque delivered to the fastener. The wrench "clicks" once the preset torque value is reached, which prevents over-tightening.
Handle the torque wrench carefully
Use the torque wrench primarily for tightening in the forward direction. Safety note: Avoid using it to break loose fasteners, since torque wrenches are more delicate than breaker bars and can be damaged by excessive force in the wrong application.
Reading the torque scales
Locate the foot-pound (FT-LBS) scale
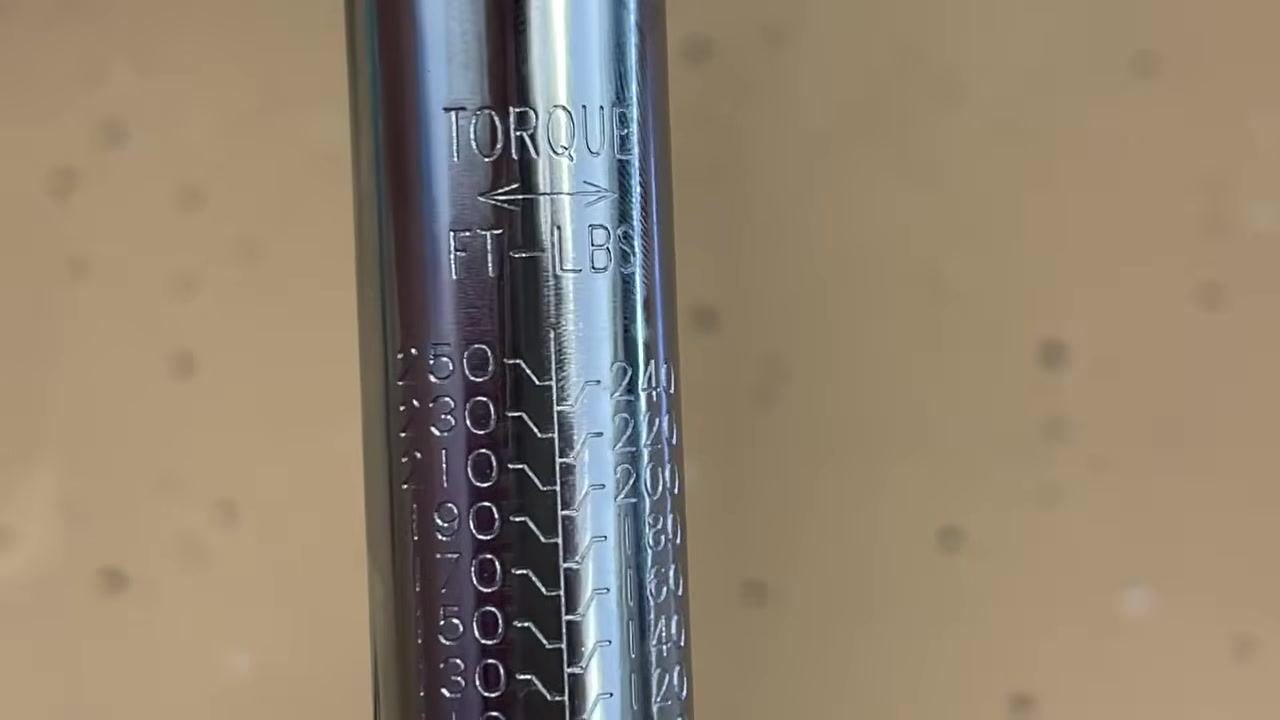
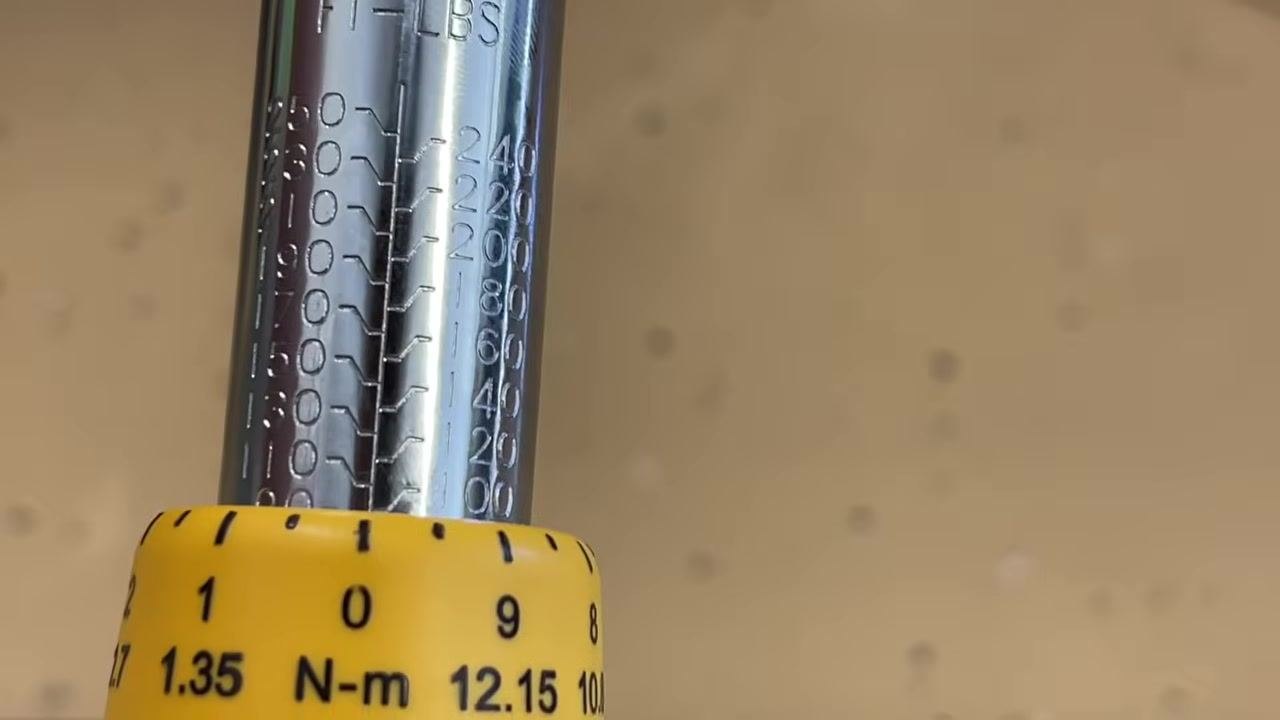
On one side of the wrench shaft, find the engraved scale marked in foot-pounds, ranging from 50 to 250 ft-lb in increments of 20.
Locate the Newton-meter (Nm) scale
On the opposite side of the shaft, find the engraved Newton-meter scale, ranging from 74.6 to 345.7 Nm in corresponding increments.

Match the scale to your specification
Always use the same unit—ft-lb or Nm—as specified for your application. Safety note: Mixing units can result in over-tightening or under-tightening the fastener.
Identify the adjustment dial
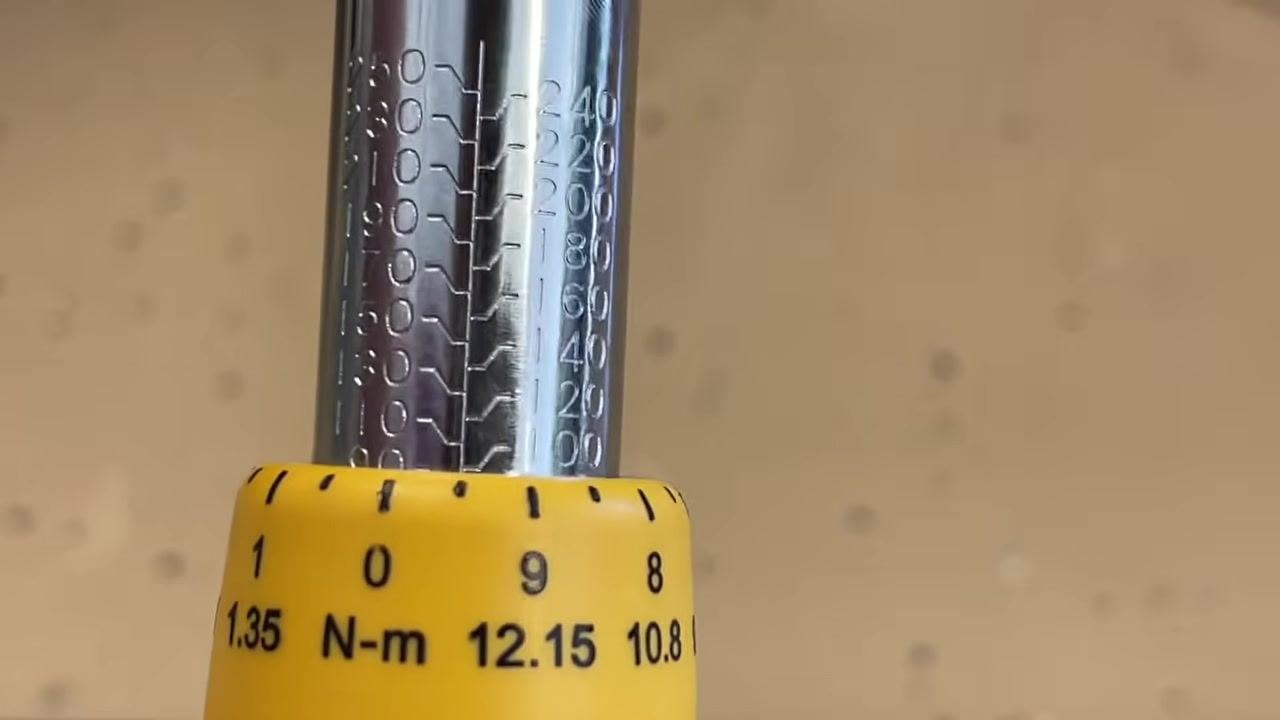
At the base of the wrench, locate the yellow adjustment dial marked from 0 to 9, which also displays corresponding Newton-meter values. To adjust it, pull down on the sleeve to unlock the dial before turning it.
Setting the desired torque value
Unlock and rotate the adjustment dial
With the sleeve unlocked, spin the yellow adjustment dial. As you rotate it, the torque value indicated on the shaft changes accordingly.

Align the target value on the shaft
For example, to set the wrench to 100 ft-lb, rotate the dial until the 100 mark on the shaft becomes visible and aligns with the reference line. The engraved shaft scale shows increments of 20 ft-lb (for example, 80, 100, 120).
Observe the drop-down reference line
The 100 ft-lb mark includes a line that drops down and remains visible as you rotate the dial, so you can always confirm the set value.
Rotate until only the target value is visible
Continue turning the dial until the 100 mark sits at the top and the previous value (for example, 90) is no longer visible. The zero mark on the dial should align with the drop-down line from the 100 mark.
Fine-tune the setting
As you approach the target value, the dial passes through 97, 98, 99, and finally 100 ft-lb as the zero mark aligns perfectly. Turning the dial further will increase the setting to 101, 102, 103, and so on.
Confirm the torque setting
Double-check that the zero mark on the dial is perfectly aligned with the drop-down line from the 100 ft-lb mark on the shaft before proceeding.
Checking vehicle torque specifications
Verify the manufacturer's specification
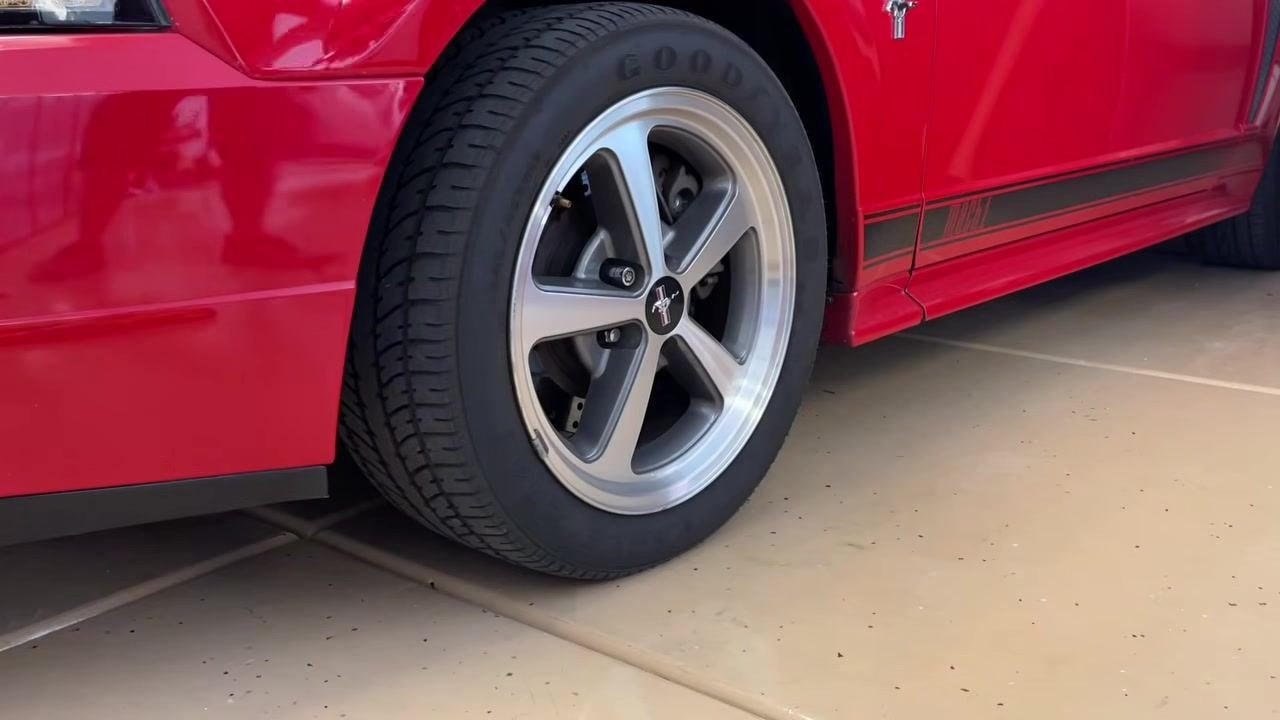
Always confirm the required torque value for your specific application before tightening. For example, Ford Mustangs typically require 95–100 ft-lb for wheel lug nuts, while trucks may require a different value. Refer to the manufacturer's manual or service guide for the correct specification.
Using the torque wrench to tighten lug nuts
Attach an extension
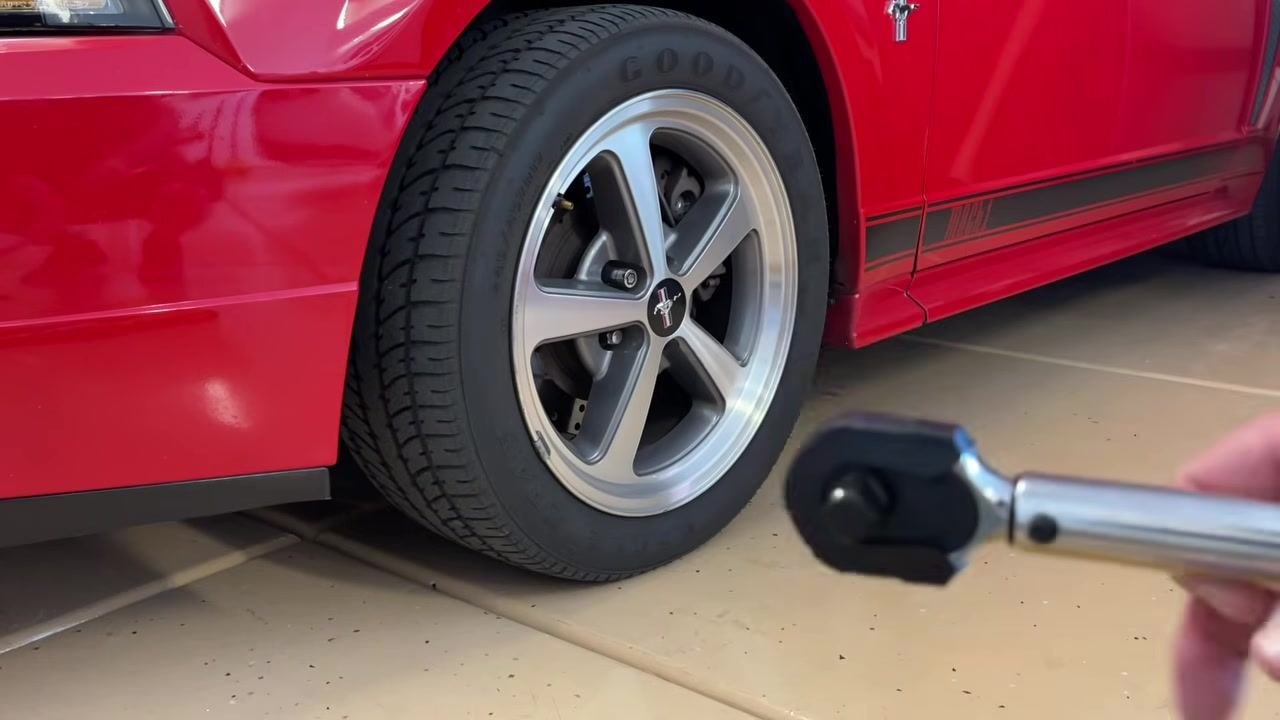
Insert a small extension bar into the drive end of the torque wrench. This keeps the handle away from the vehicle fender, especially with longer torque wrenches, and does not significantly affect the accuracy of your torque reading.
Attach the correct socket
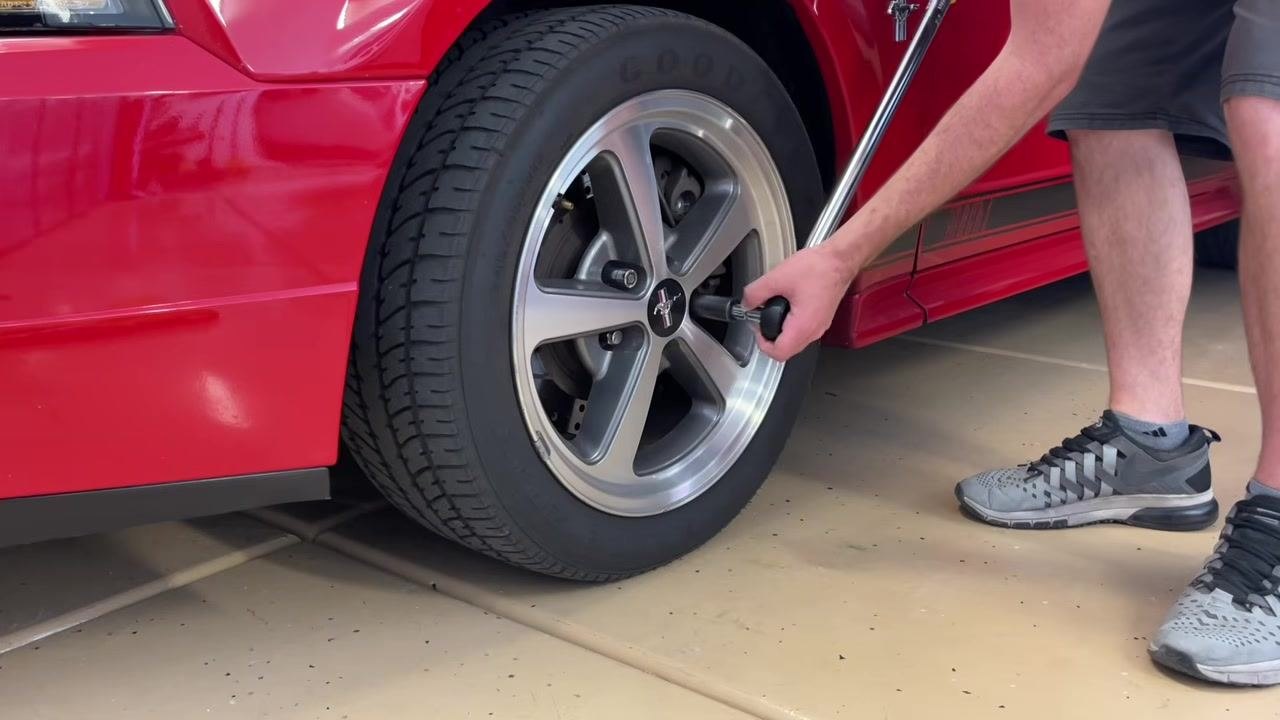
Choose a socket that matches the size of your vehicle's lug nuts and securely fit it onto the end of the extension.
Confirm the tightening direction
Set the wrench to the "tighten" (clockwise) setting. Remember: righty-tighty (clockwise to tighten), lefty-loosey (counterclockwise to loosen).
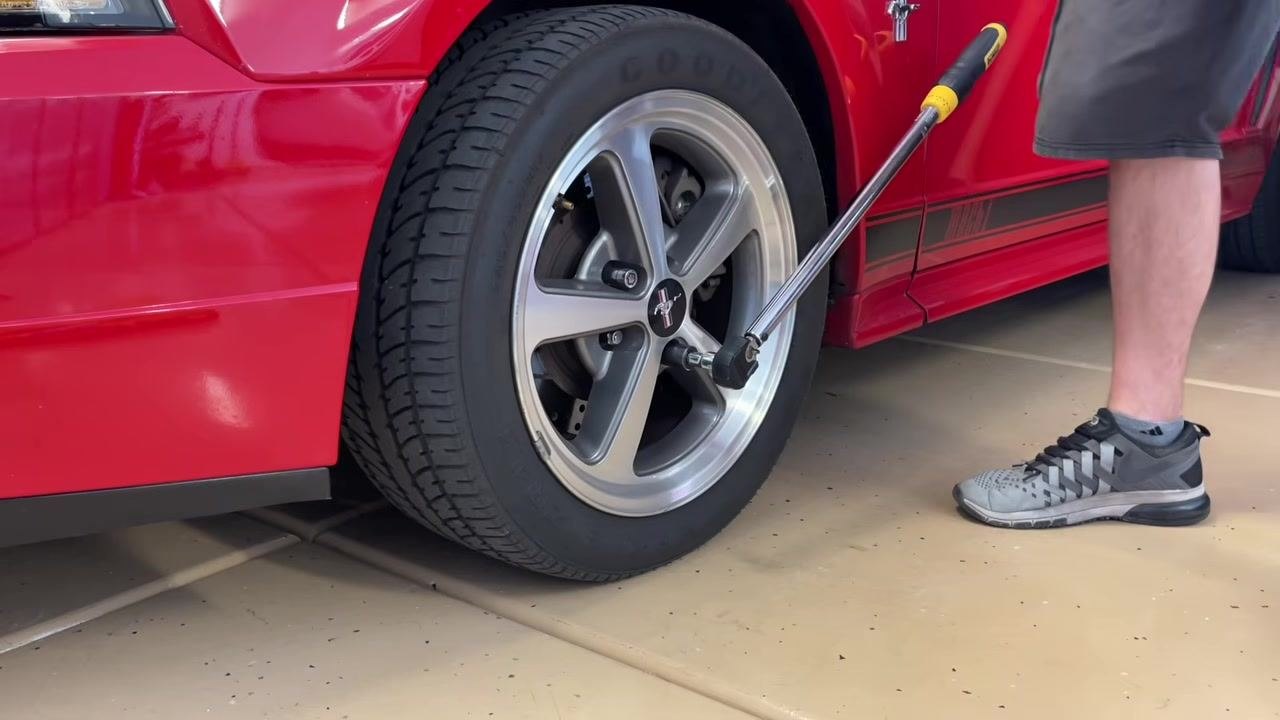
Prepare the vehicle
Safety note: Ideally, have the wheel slightly off the ground using a jack. If the wheel is in the air, have someone hold the brakes to prevent the wheel from spinning. Alternatively, let the tire just touch the ground for stability, but avoid torquing with the full weight of the vehicle on the wheel.
Tighten the first lug nut until it clicks
Position the socket over a lug nut and apply steady, clockwise pressure to the wrench handle. Tighten until you hear and feel the click, indicating the set torque value (for example, 100 ft-lb) has been reached.
Continue in a star pattern
Move to the lug nut directly across from the one you just tightened, then continue tightening each remaining lug nut in a star (crisscross) pattern to ensure even pressure distribution.
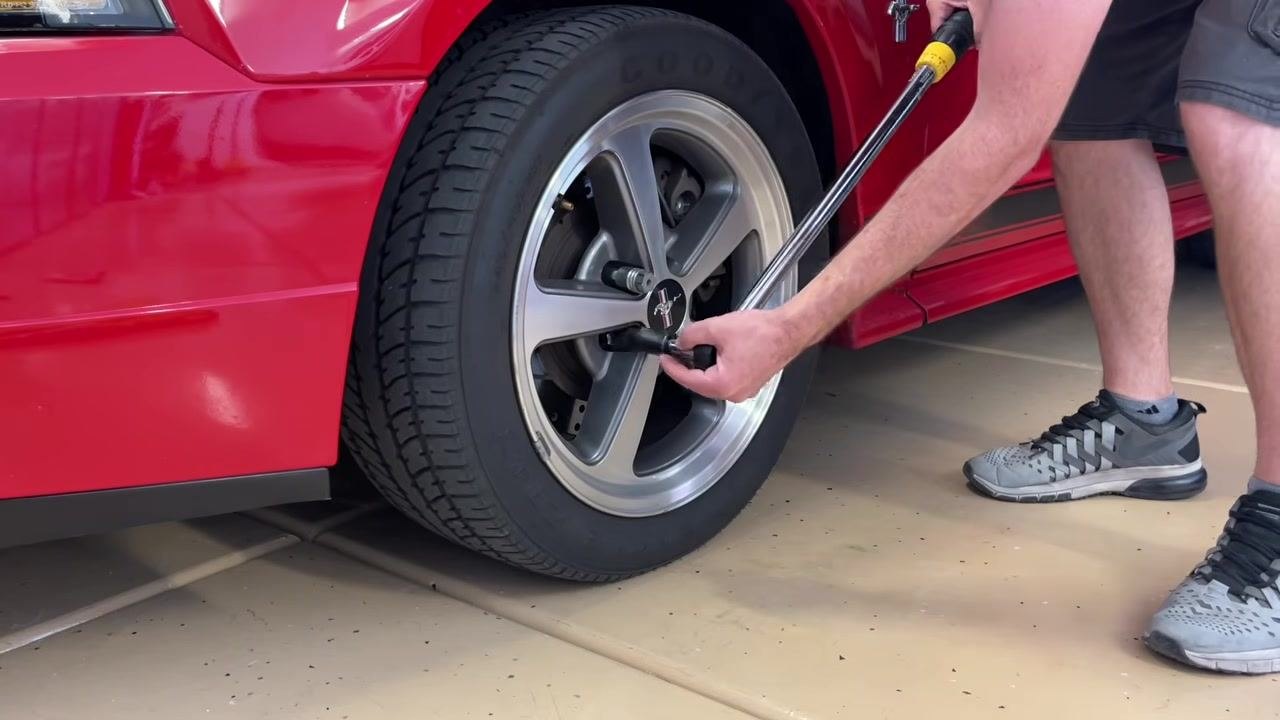
Stop tightening at each click
Do not continue tightening after the click. Safety note: Continuing past the click can exceed the specified torque and damage the fastener or wheel.
Reset the torque wrench after use
Once all lug nuts are torqued, spin the adjustment dial all the way back down to zero and store the wrench with no load to maintain its accuracy.
Example: Setting a torque wrench to 145 ft-lb
Avoid over-spinning the dial
Safety note: Do not spin the adjustment dial quickly past its zero marker, as over-spinning can damage the tool. Handle the dial gently and stop at the desired setting.
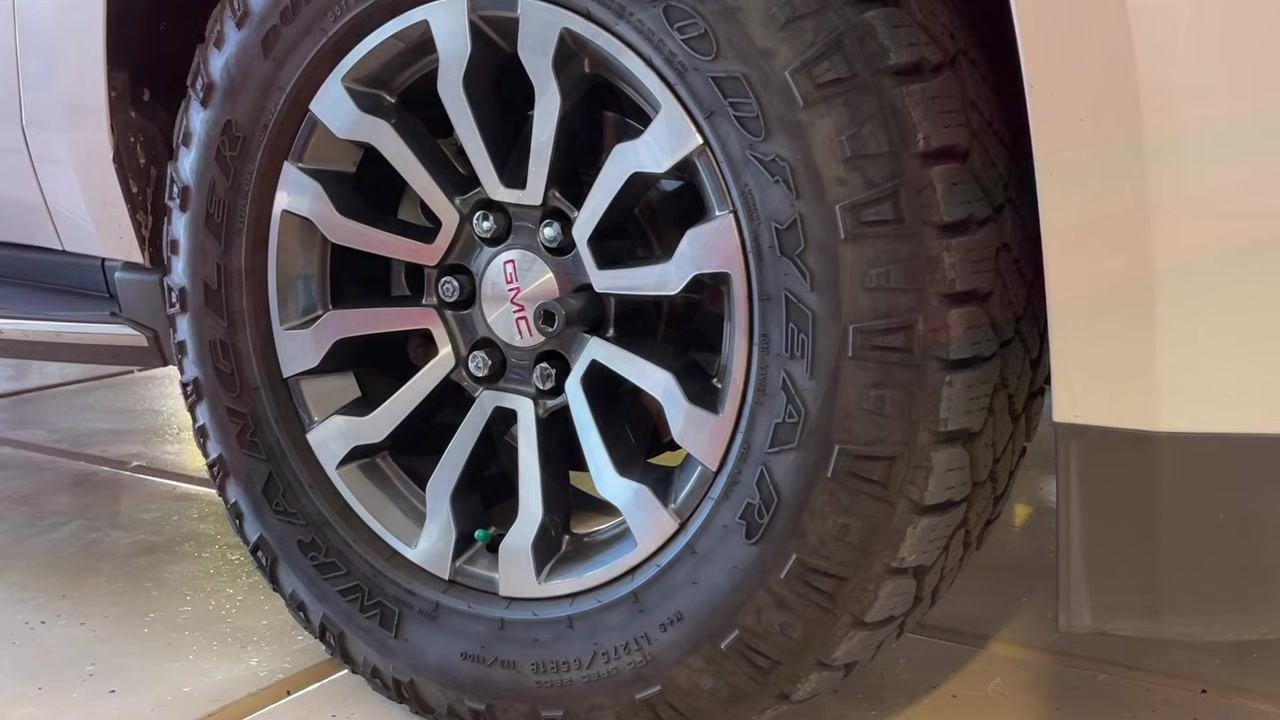
Set the main scale
Identify the required torque value for your lug nuts—in this example, 145 ft-lb. Begin by setting the main scale on the shaft to 140 ft-lb, then rotate the yellow adjustment ring to add 5 more units, reaching a total of 145 ft-lb.
Fine-tune to the exact value
Continue rotating the adjustment ring until the indicator passes 140 and reaches the 5 mark, confirming a setting of 145 ft-lb. Double-check that the zero on the ring aligns with the correct value on the main scale.
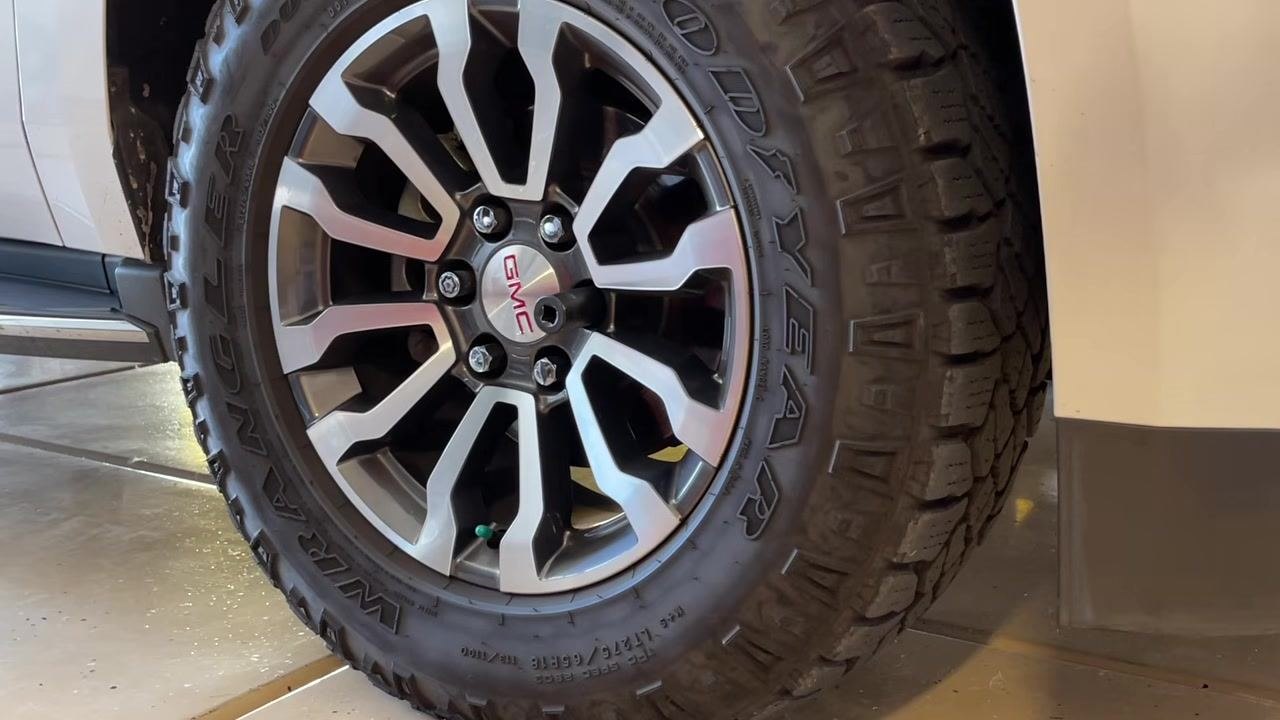
Tighten lug nuts in a star pattern
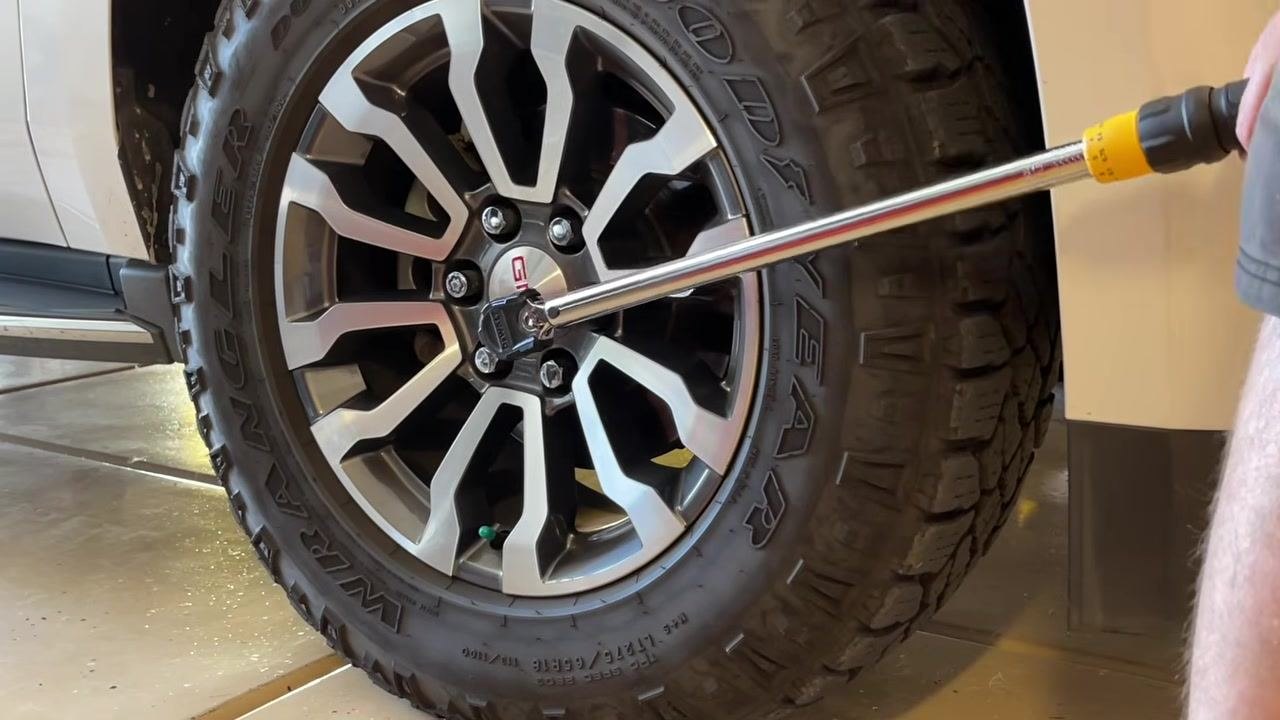
Place the torque wrench on a lug nut and tighten each lug nut in a star (crisscross) pattern to distribute pressure evenly across the wheel. This prevents warping and ensures a secure fit.
Apply torque until the wrench clicks
Slowly apply force to the torque wrench and stop tightening immediately when you hear or feel the click, which indicates the set torque has been reached. Safety note: Do not continue tightening after the click to avoid over-torquing.
Understand torque wrench limitations
A torque wrench is not designed to apply more torque than a standard wrench; its purpose is to alert you when the specified torque is reached, not to act as a breaker bar. Safety note: Use a breaker bar first if you need to loosen very tight nuts, then switch to the torque wrench for final tightening.
Stop tightening when the threshold is reached
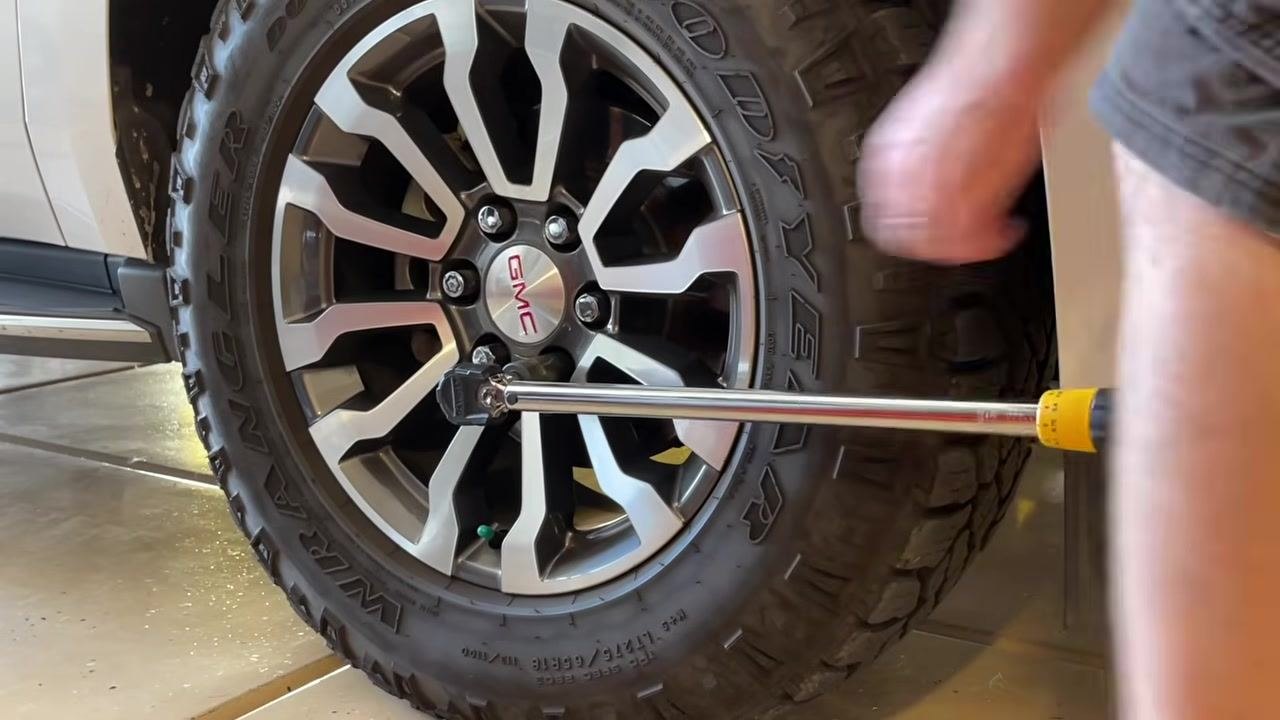
Once the torque wrench clicks, do not continue tightening. Move to the next lug nut and repeat the process, always following the star pattern.
Repeat for all lug nuts
Continue tightening each remaining lug nut to the specified torque, following the star pattern, until all lug nuts are properly torqued.
Verification
Before considering the job complete, confirm the following:
- The torque wrench dial is set to the exact value specified by the manufacturer.
- Each lug nut has been tightened until the wrench clicked, with no additional force applied afterward.
- All lug nuts were tightened in a star (crisscross) pattern for even pressure distribution.
- The torque wrench dial has been reset to zero and the wrench stored with no load.
Following these steps ensures your vehicle's wheels are safely and accurately torqued to the manufacturer's specifications.
Generation details: cost, quality tiers
Docsie billed 3,500 credits ($2.45) to analyze this 7-minute video at standard quality. The rewrite, template fill and Word/PDF exports were included. The same video at each quality tier:
| Quality | Frames sampled | Credits | Approx. cost |
|---|---|---|---|
| Draft | every 16-30 s | 1,750 | $1.22 |
| Standard (this guide) | every 8-15 s | 3,500 | $2.45 |
| Detailed | every 4-7 s | 7,000 | $4.90 |
| Ultra | every 1-3 s | 14,000 | $9.80 |
Credits priced at $0.70 per 1,000; plans include a monthly allowance. Enterprise customers on on-premise or bring-your-own-model deployments run this on their own inference and pay no per-video credits.
Generated by Docsie Video-to-Docs on 2026-09-09 from a 6-minute video. Screenshots are frames from the source video and belong to their creator, Danny Johnson’s Garage, whose original is embedded above. If you own this video and want the guide removed or credited differently, contact us and we will act within one business day.