
How to Clean a Microscope Objective Lens
This log documents how to clean a microscope objective lens and related optical filters as part of routine instrument care in the laboratory. Microscope optics get dirty easily, especially oil immersion objectives that accumulate old oil, and air objectives that can be accidentally smeared with oil. This document also covers cleaning of mounted and unmounted optical filters used within the same imaging system. Always check the manufacturer's recommendations before cleaning, since solvent types and procedures vary by brand; the steps recorded here are based on procedures used for Nikon objectives and filters.
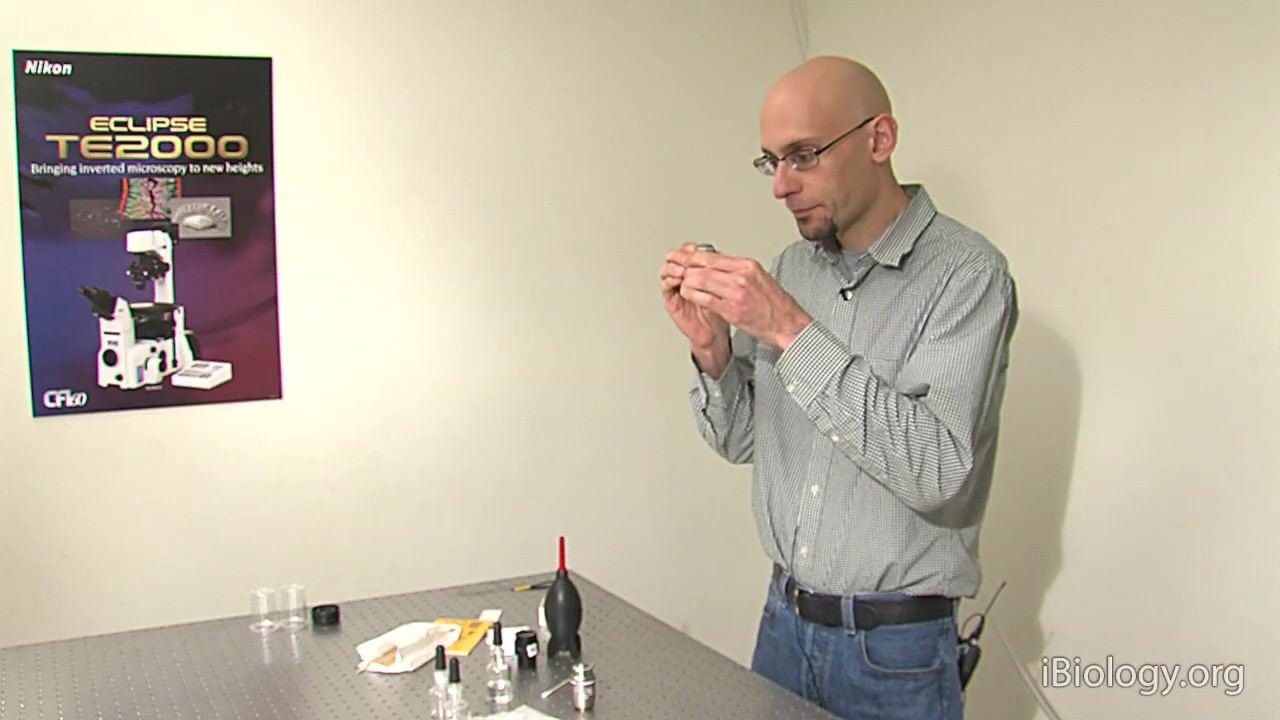
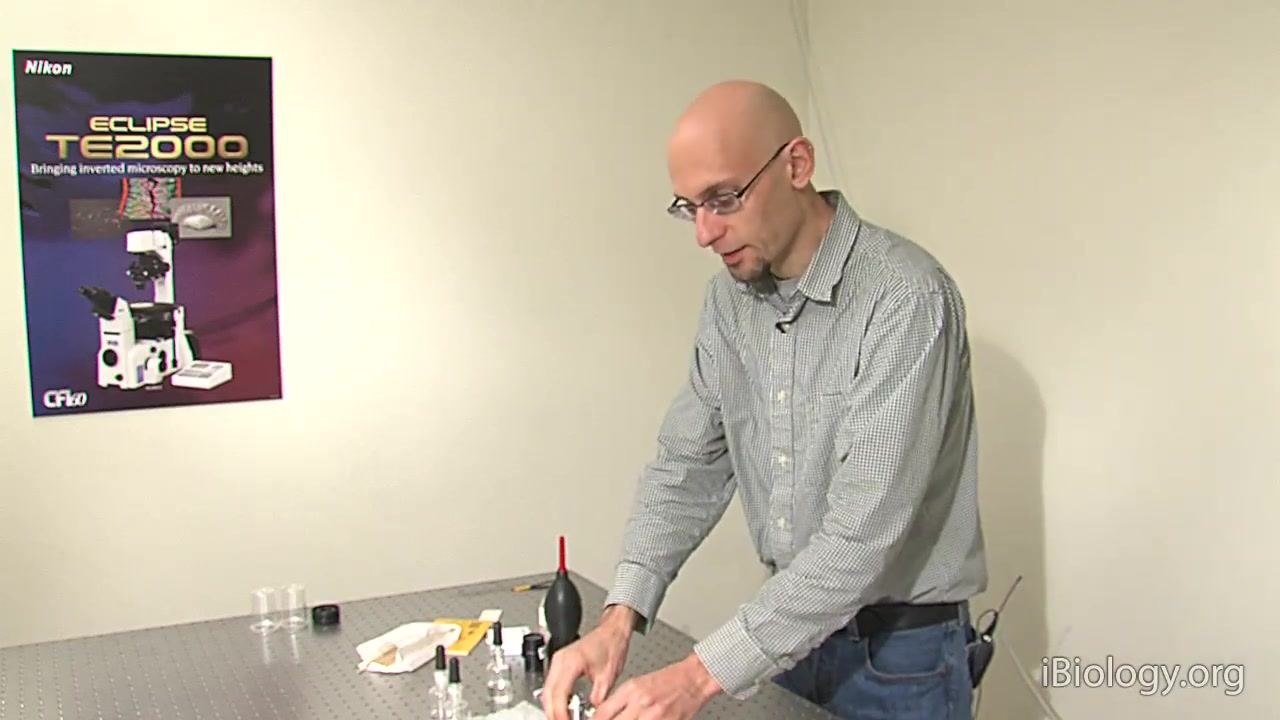
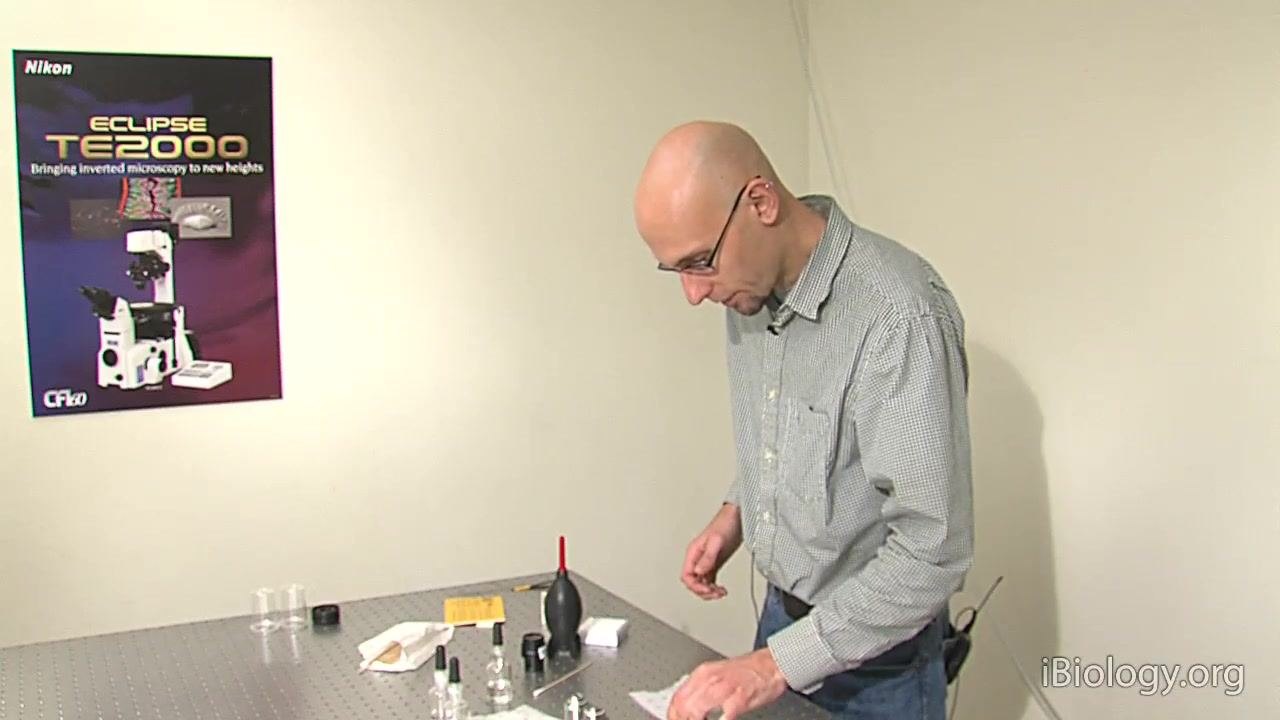
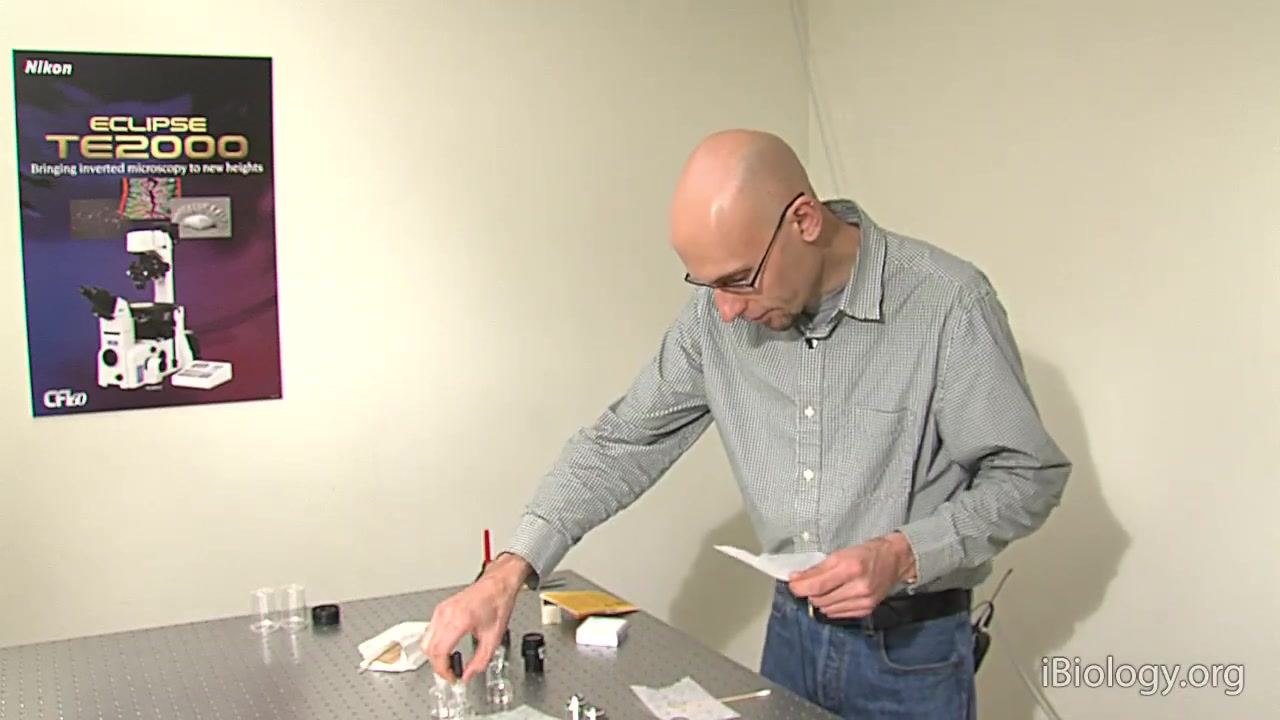
Video: Microscopy: How To Clean an Objective Lens (Kurt Thorn) by iBiology Techniques (2013). All credit for the demonstration goes to the creator; watch the original on YouTube. The written guide below was generated from this video by Docsie. Creator? Request a change or removal.
This log documents how to clean a microscope objective lens and related optical filters as part of routine instrument care in the laboratory. Microscope optics get dirty easily, especially oil immersion objectives that accumulate old oil, and air objectives that can be accidentally smeared with oil. This document also covers cleaning of mounted and unmounted optical filters used within the same imaging system. Always check the manufacturer's recommendations before cleaning, since solvent types and procedures vary by brand; the steps recorded here are based on procedures used for Nikon objectives and filters.
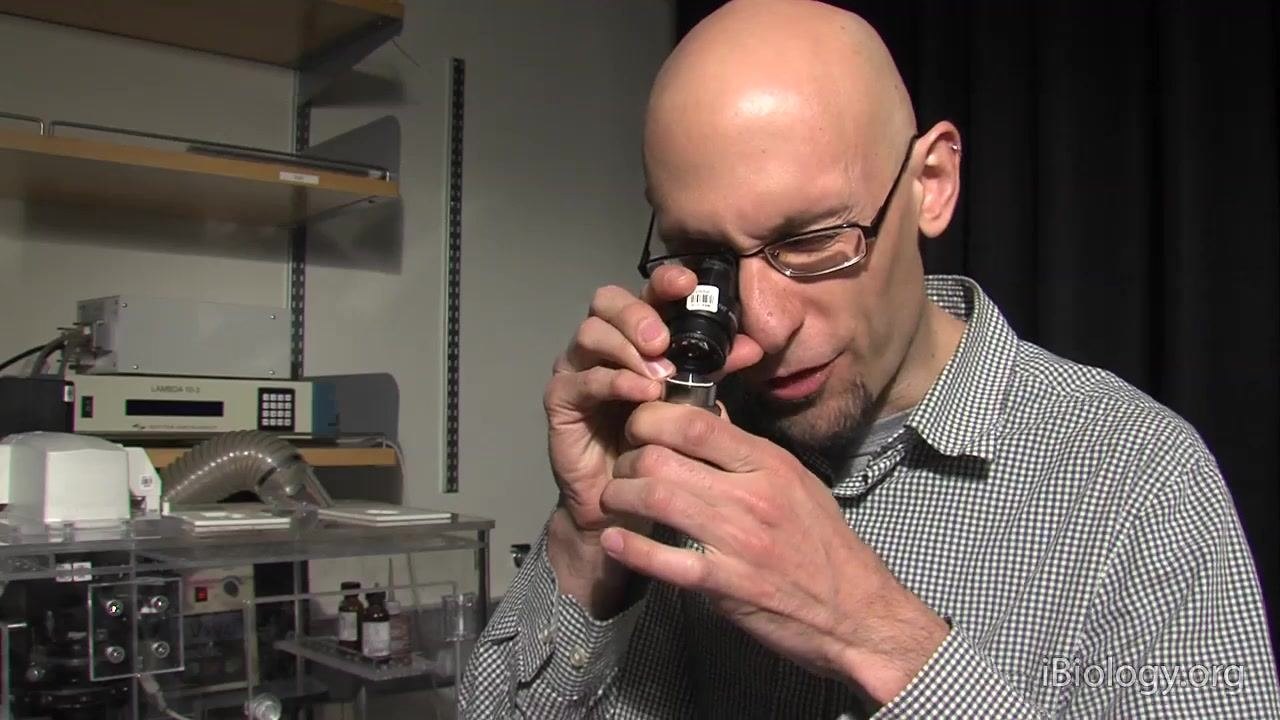
Instrument details
Use the table below to identify each optic before performing cleaning or logging results. Serial numbers and specific model designations are not indicated in the source material; record these directly from the equipment nameplate at the time of service.

| Instrument ID | Model | Serial number | Location | Owner | Intended use |
|---|---|---|---|---|---|
| Oil immersion objective | Nikon (brand referenced) | Not specified in source | Laboratory bench | Not specified in source | Used for oil immersion microscopy; accumulates old oil and requires routine cleaning |
| Air objective (standard) | Nikon (brand referenced) | Not specified in source | Laboratory bench | Not specified in source | Used for dry (air) microscopy; can be accidentally smeared with oil |
| Air objective (recessed front element) | Nikon (brand referenced) | Not specified in source | Laboratory bench | Not specified in source | Dry objective with a concave front lens; lens paper cannot reach the recess, so cotton swabs are required |
| Optical filter (mounted) | Not specified in source | Not specified in source | Laboratory bench, Nikon ECLIPSE TE2000 system | Not specified in source | Filters light within the microscope imaging system; held in a black or metal ring |
| Optical filter (unmounted) | Not specified in source | Not specified in source | Laboratory bench | Not specified in source | Bare optical glass filter used within the imaging system, without a protective ring |
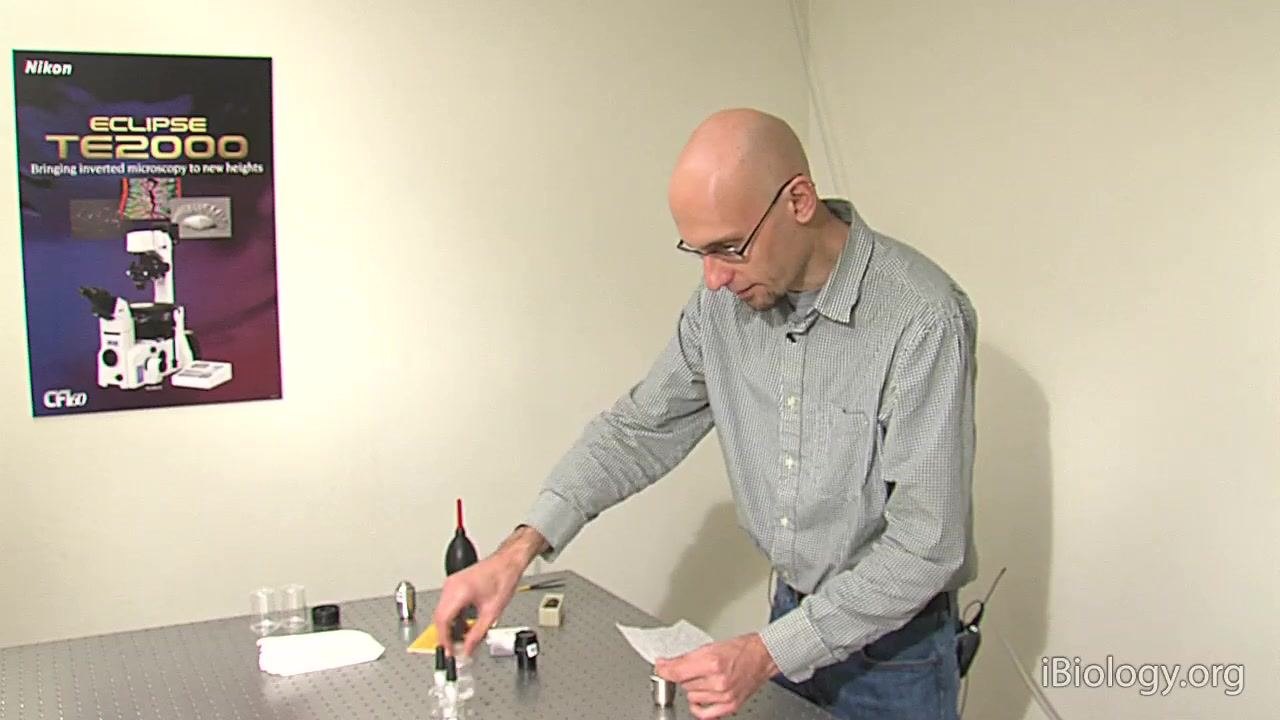
You can identify a mounted filter by the black ring that holds and protects the glass, as opposed to an unmounted filter, which is bare optical glass without a surrounding ring.
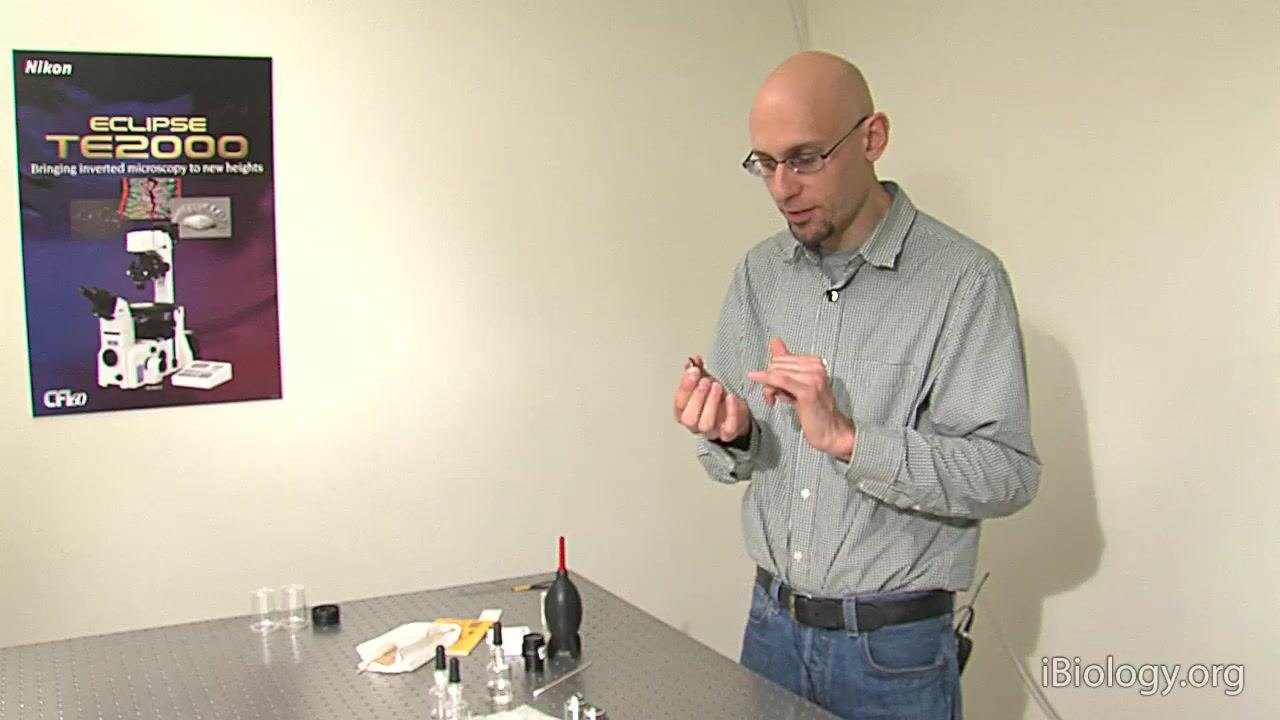
Calibration schedule
Clean oil immersion objectives more frequently than air objectives, since oil objectives accumulate residue and gunk more quickly. The due date for each cleaning cycle and the specific role responsible for performing it are not specified in the source material; document these fields according to your laboratory's internal schedule and staffing assignments.
| Optic type | Frequency | Due date | Procedure reference | Responsible role |
|---|---|---|---|---|
| Oil immersion objectives | Routine, performed regularly due to faster residue buildup | Not specified in source | Cleaning procedure below, based on Nikon manufacturer recommendations | Not specified in source |
| Air objectives | As needed, based on visual or magnified inspection | Not specified in source | Blower first, then lens paper or cotton swab cleaning as described below | Not specified in source |
| Optical filters (mounted/unmounted) | As needed, based on visual inspection for residue | Not specified in source | Blower and solvent cleaning as described below | Not specified in source |
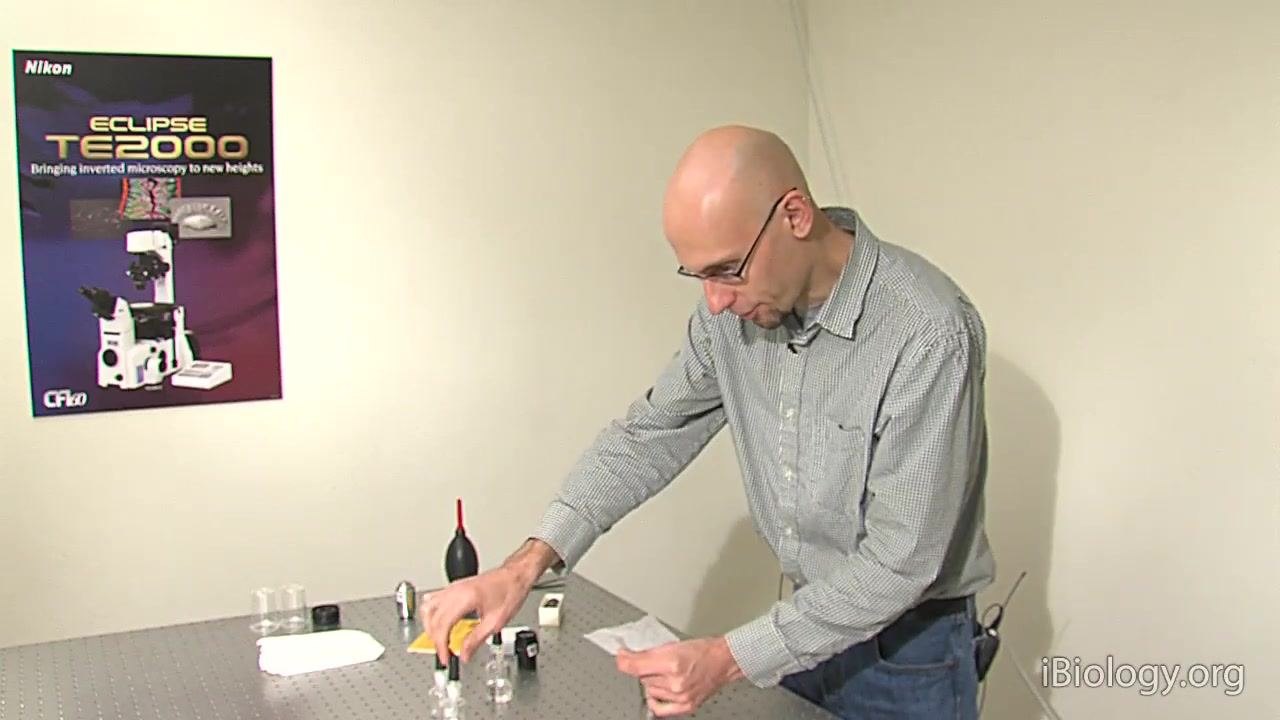
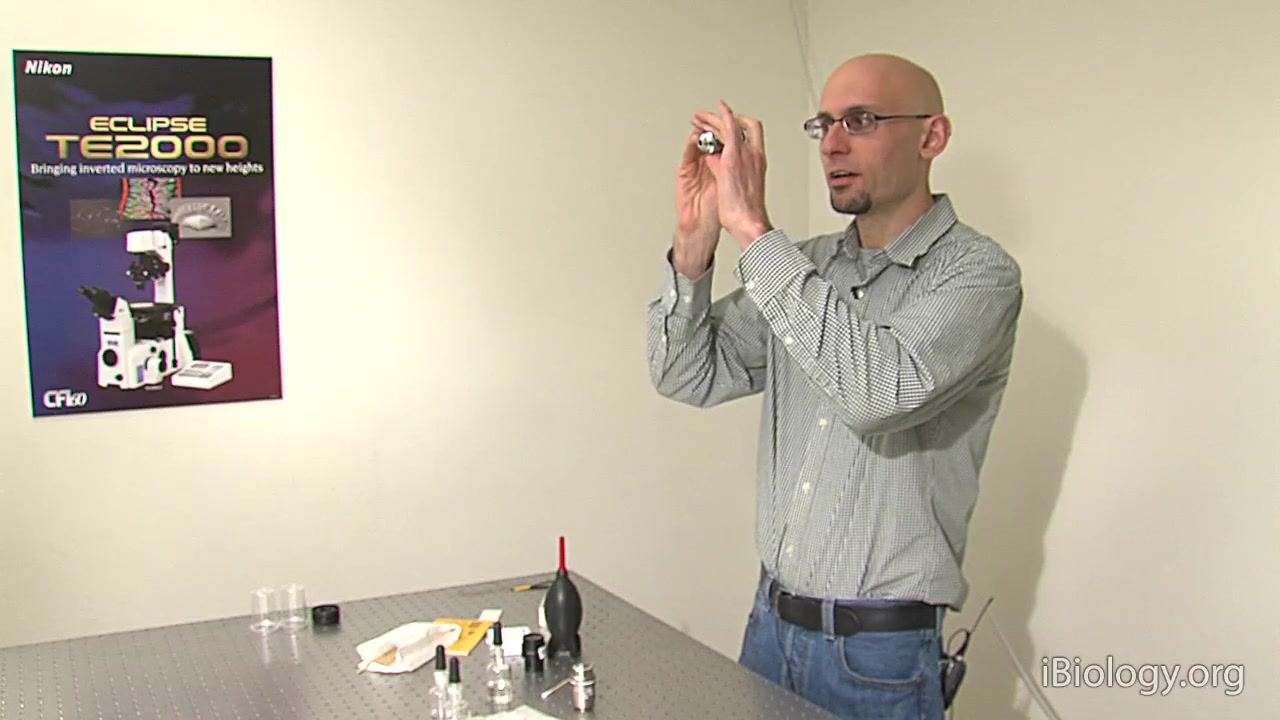
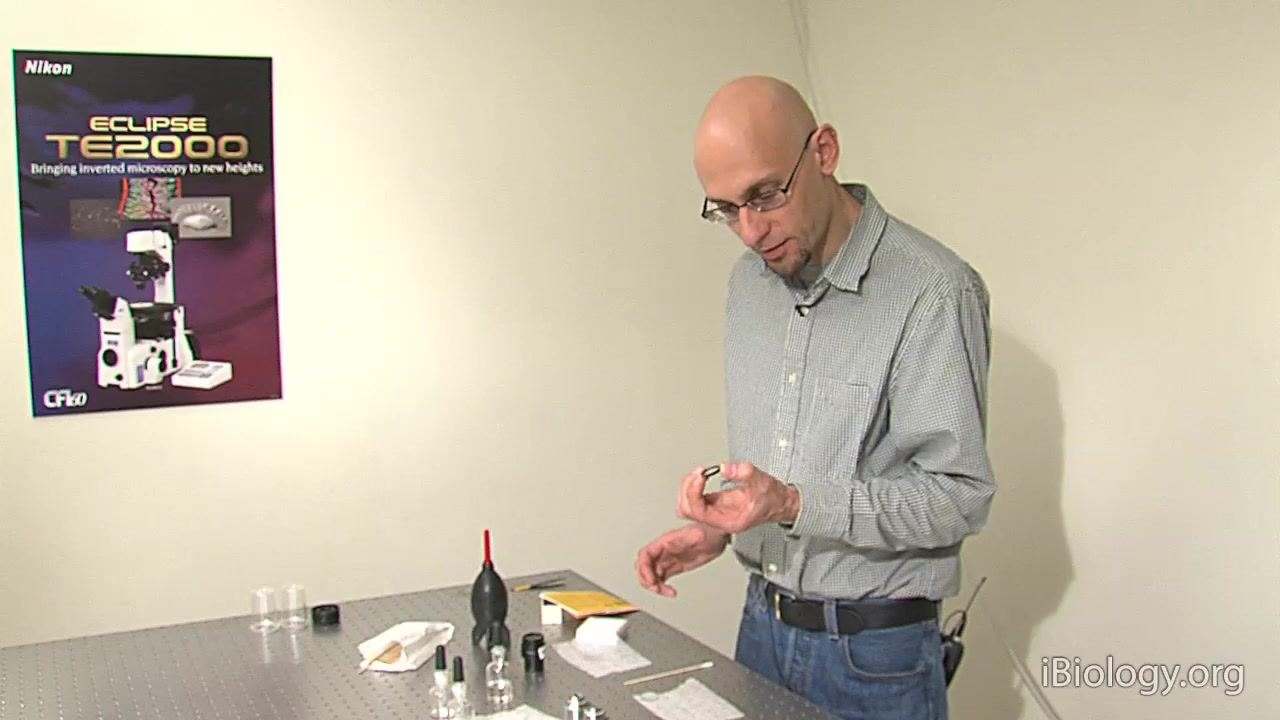
Before beginning, gather all cleaning supplies and lay them out on a clean, flat, and stable work surface within easy reach.
Clean oil objectives routinely, as they tend to accumulate residue and gunk more quickly than air objectives.
Standards used
The materials below serve as the reference solvents and tools for cleaning. Lot numbers, certificates of analysis, expiration dates, and traceability records are not indicated in the source material; document these fields directly from the product labels used in your laboratory.
| Standard/material | Grade or type | Lot number | Certificate | Expiration date | Traceability |
|---|---|---|---|---|---|
| Xylene or chloroform | Spectrophotometric grade | Not specified in source | Not specified in source | Not specified in source | Not specified in source |
| Methanol | Spectrophotometric grade | Not specified in source | Not specified in source | Not specified in source | Not specified in source |
| Soap and water | Used for water-based contaminants (e.g., tissue culture media) | Not specified in source | Not specified in source | Not specified in source | Not specified in source |
| Distilled water | Used for rinsing after soapy water cleaning | Not specified in source | Not specified in source | Not specified in source | Not specified in source |
| Sparkle window cleaner | Manufacturer-recommended for certain residues; check compatibility first | Not specified in source | Not specified in source | Not specified in source | Not specified in source |
| Lens paper | Single-sheet, handled only by the edges | Not specified in source | Not specified in source | Not specified in source | Not specified in source |
| Cotton swabs | Commercial glue-free, or homemade (pure cotton on a wooden stick) | Not specified in source | Not specified in source | Not specified in source | Not specified in source |
Always use spectrophotometric grade solvents for cleaning. For Nikon objectives, use xylene or chloroform to remove oil, then follow up with methanol to clean any residue left by the initial solvent.
Carefully peel off a single sheet of lens paper, handling it only by the edges to avoid transferring fingerprints or oil from your fingers.
Do not touch the center of the lens paper to prevent contamination.
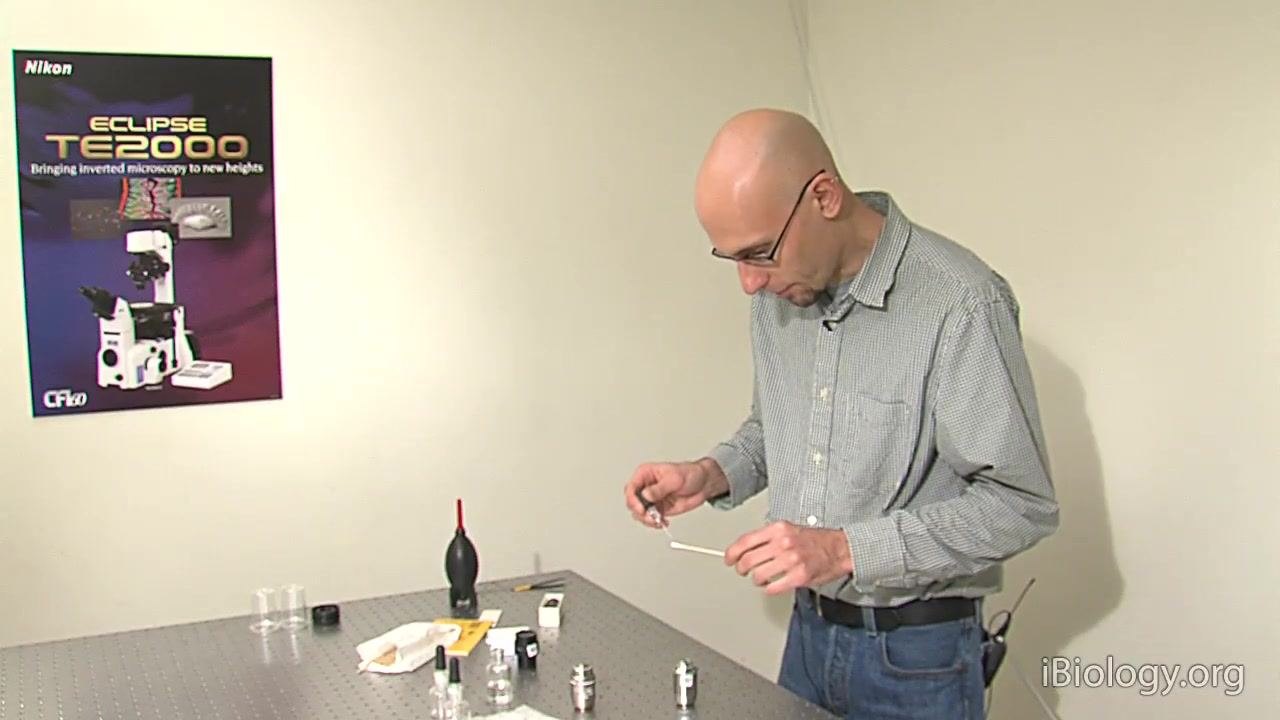
Apply a small amount of spectrophotometric grade solvent, such as xylene or chloroform, to a commercial glue-free or homemade cotton swab.
Match the cleaning solvent to the type of contamination: use xylene or chloroform (followed by methanol) for oil, and soapy water followed by distilled water and methanol for water-based contaminants.
Some manufacturers recommend sparkle window cleaner for certain residues; always check the objective manufacturer's guidelines before using any commercial cleaning product to ensure compatibility and avoid damage.
Handle unmounted filters by the edges, using a stick or tweezers if necessary to avoid touching the optical surfaces.
Calibration results
Inspect each optic before and after cleaning to confirm it is free of dirt, oil, streaks, or aberrations. The source material does not include recorded measured values, acceptance limits expressed as numbers, or analyst initials; document these fields in your laboratory records at the time of inspection.
| Inspection point | Method | Acceptance criterion | Pass/Fail | Analyst initials |
|---|---|---|---|---|
| Pre-clean visual inspection | Remove objective and visually inspect for dirt or oil; for low magnification, look through the lens | No visible dirt or oil (if met, cleaning may not be necessary) | Not specified in source | Not specified in source |
| Pre-clean magnified inspection (high magnification) | Remove eyepiece and look through it backwards as a magnifier to inspect the front element | Front element free of visible dirt or oil | Not specified in source | Not specified in source |
| Post-clean visual inspection | Examine the objective to check if it is clean | Objective appears visibly clean | Not specified in source | Not specified in source |
| Post-clean optical clarity check | Hold the objective up and look through it at a distant object | No blur, streaks, or aberrations in the image | Not specified in source | Not specified in source |
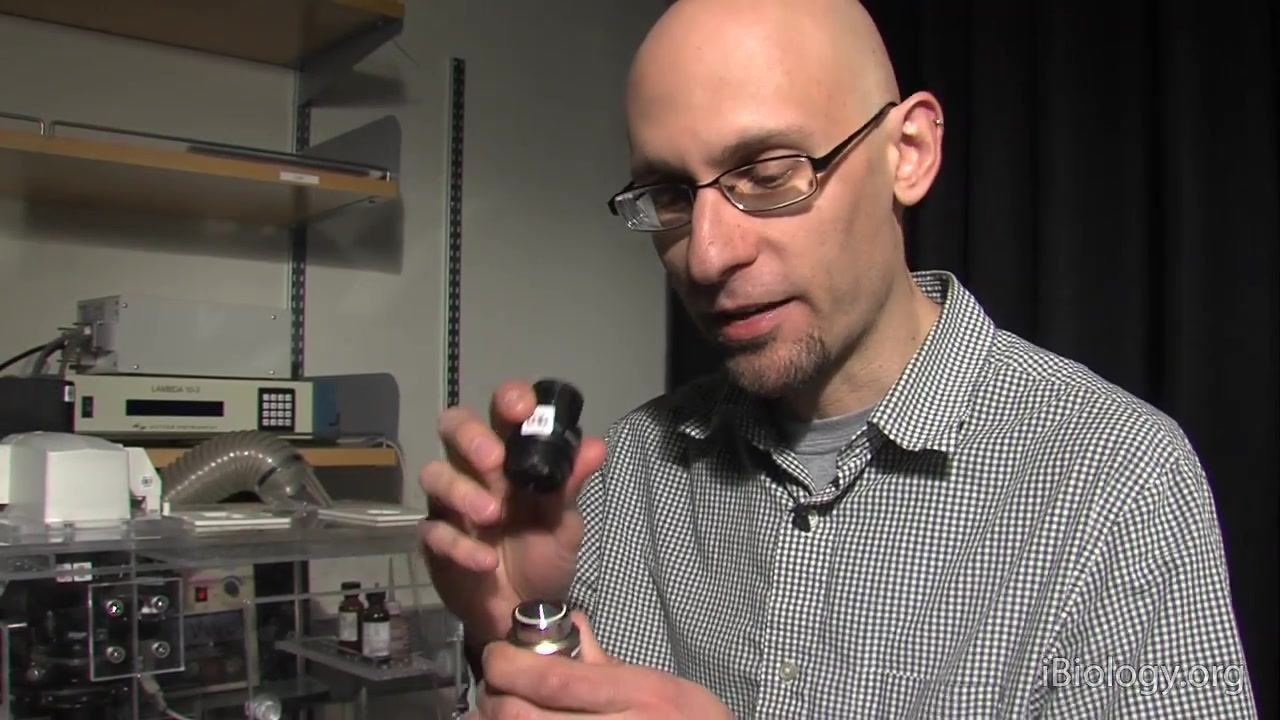
Use the microscope eyepiece backwards as a magnifying glass to closely inspect the front element of high magnification objectives for dirt or oil.
Hold the objective up and examine it closely, using the eyepiece as a magnifier if needed, to identify any contaminants before cleaning.
Examine the objective after cleaning to check if it is clean; if necessary, repeat the process using methanol to remove any remaining residue.
Hold the objective up and look through it at a distant object, observing for any blur, streaks, or aberrations, which is especially effective for low magnification objectives.
Maintenance
This section documents how to clean a microscope objective lens step by step, along with the related procedure for optical filters. No parts replacement or external service provider is mentioned in the source material; if a repair beyond routine cleaning is required, record the part replaced and the service provider in your laboratory's maintenance record.
Cleaning oil-contaminated objectives:
- Place the objective down on a clean, stable table.
- Place a sheet of lens paper on the objective and put a single drop of the chosen solvent (xylene or chloroform) directly onto the lens.
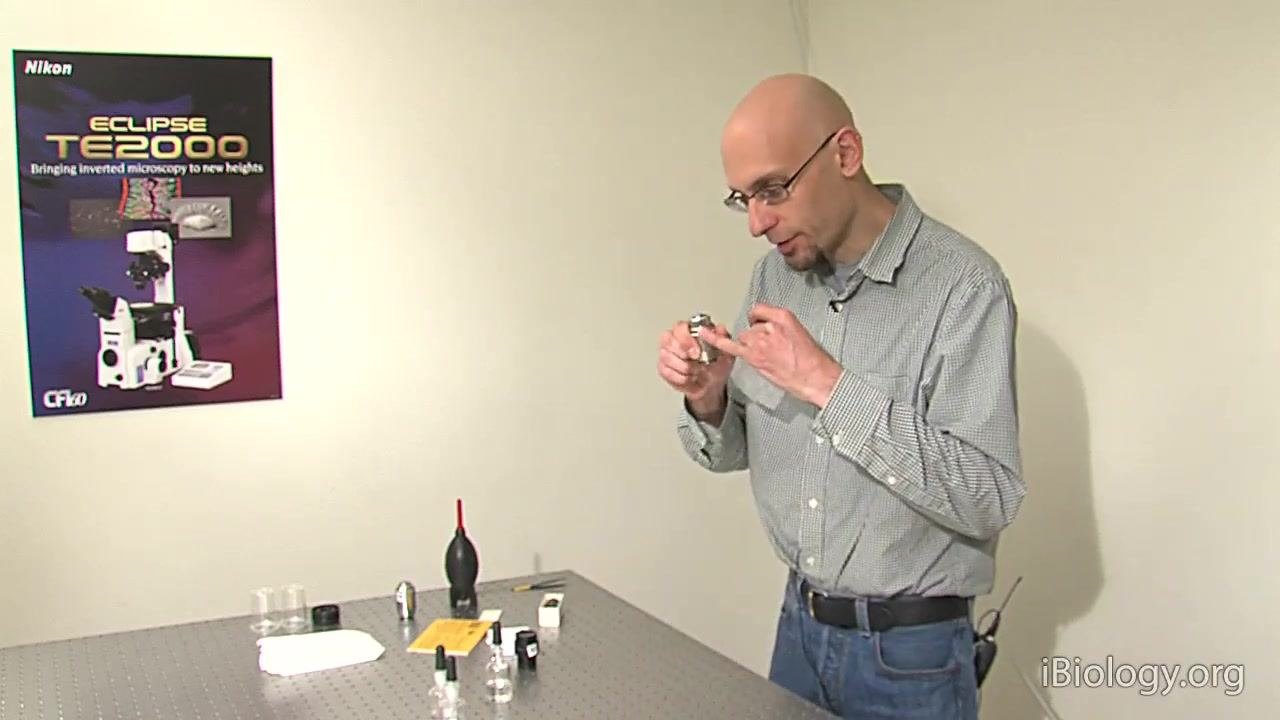
- Gently pull the lens paper from side to side across the objective to wick off the solvent along with any dirt or oil.
- If necessary, repeat the cleaning process using methanol to remove any remaining residue, applying a drop of methanol and repeating the gentle side-to-side motion with fresh lens paper.
Cleaning air objectives with a recessed front element:
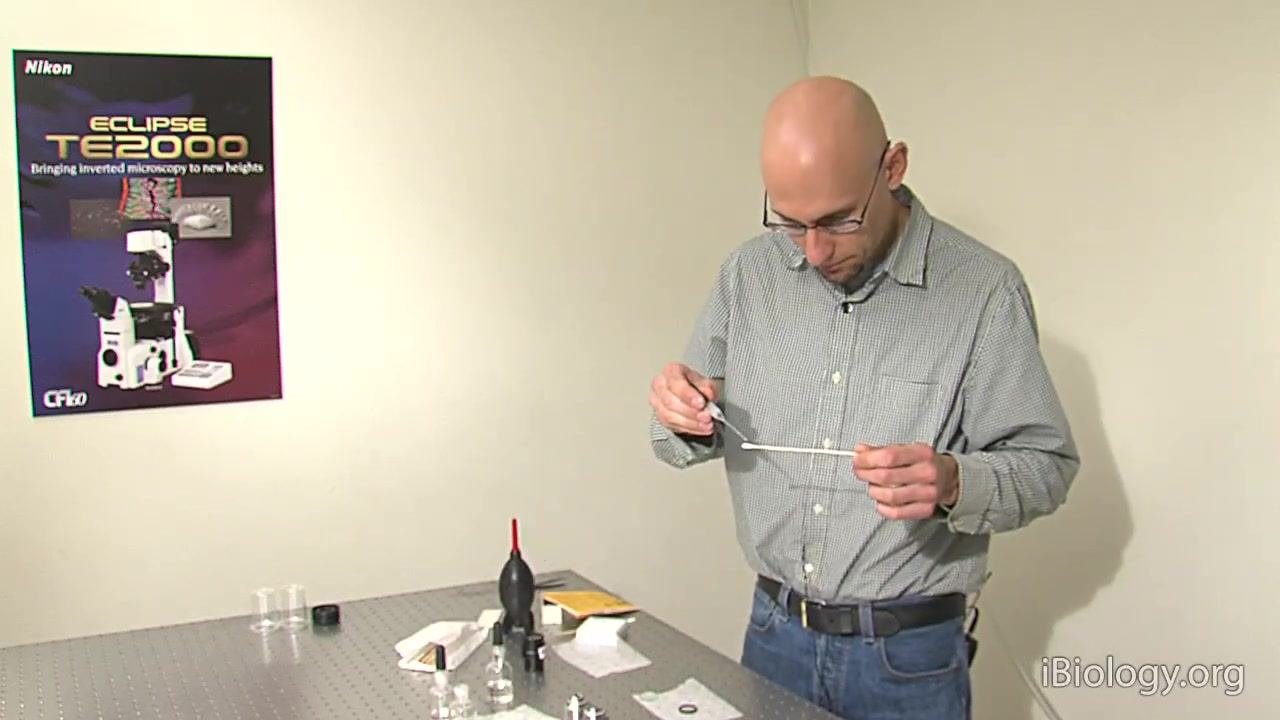
Lens paper may not effectively reach into the concave part of these objectives, so use a commercial glue-free cotton swab or a homemade swab made by twirling pure cotton onto a wooden stick. The cleaning procedure is the same as with lens paper, but the swab reaches the recessed lens surface.
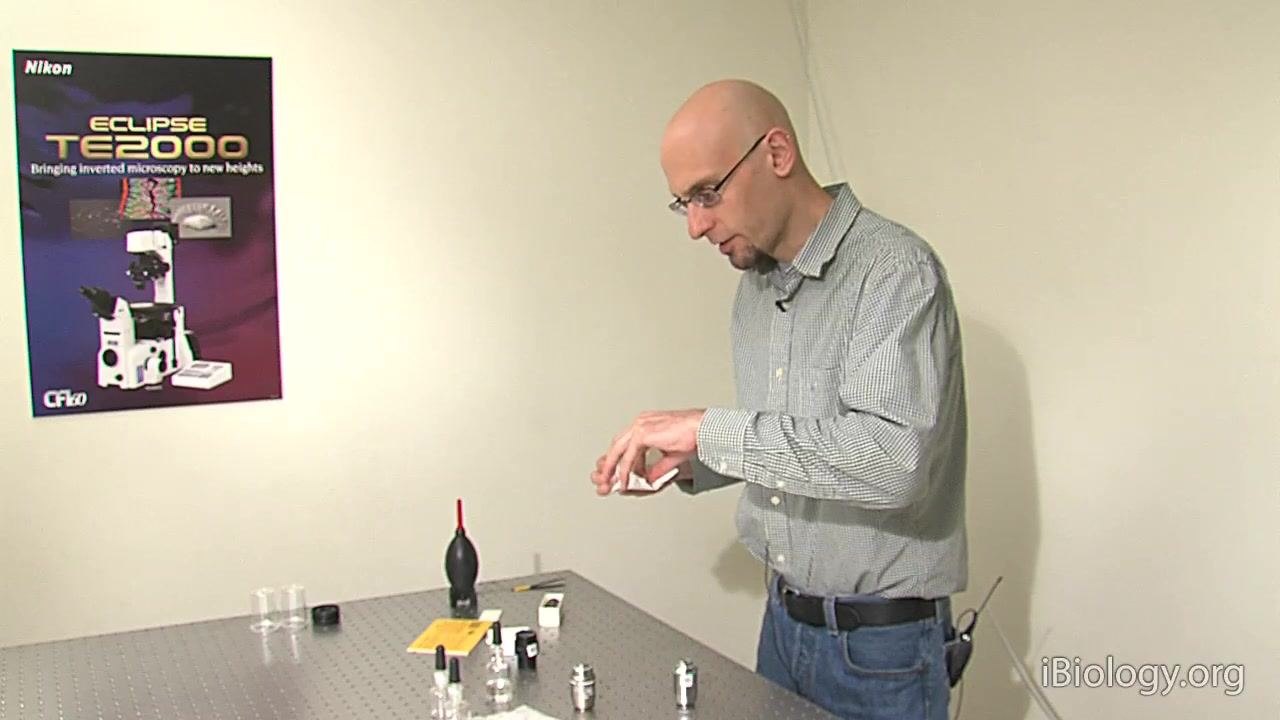
- Insert the solvent-wetted swab into the recessed area and gently swipe across the lens surface.
- Use a new, clean surface of the cotton swab for each swipe to avoid re-depositing dirt or oil.
- After using xylene or chloroform, repeat the cleaning process with methanol to remove any remaining residue.
Removing loose dust from air objectives:
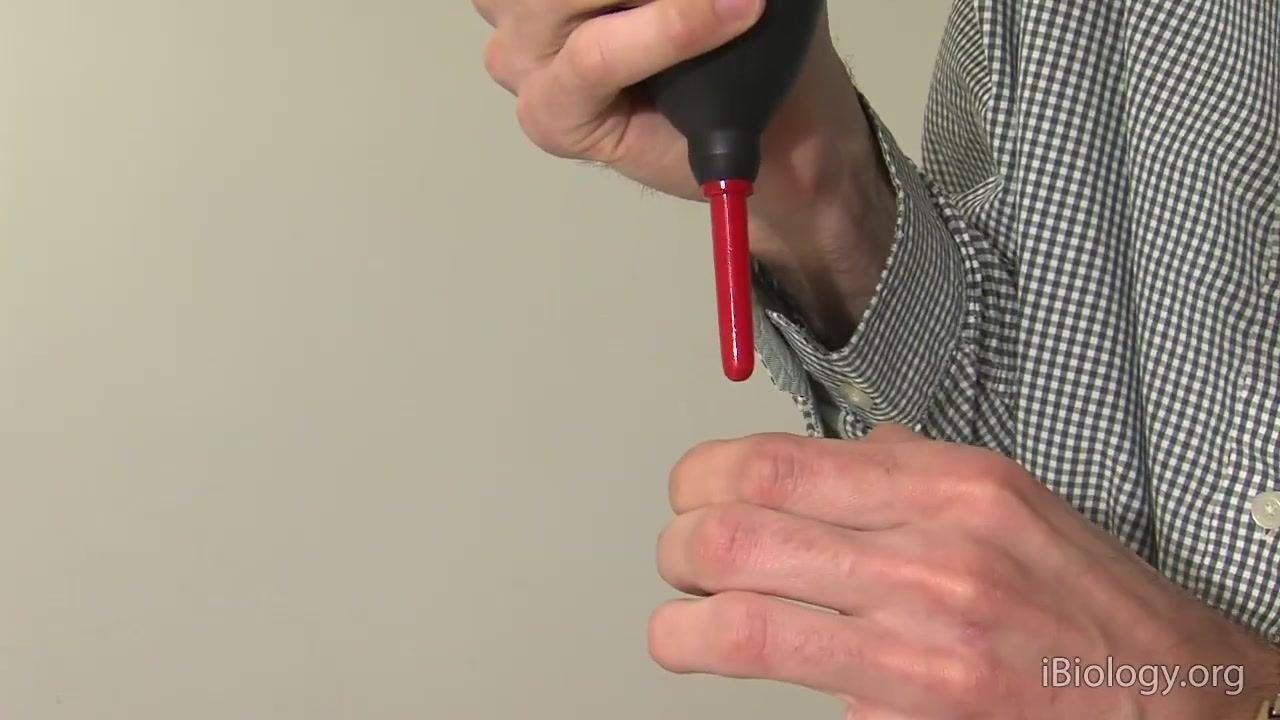
For air objectives without oil contamination, use a blower to remove loose dust before cleaning, holding the blower near the objective and gently blowing air across the lens surface. This step helps prevent scratching the lens by removing abrasive particles; if the objective is oily, the blower is less effective because oil causes dust to adhere to the lens.
Cleaning water-based contamination:
For water-based contaminants, such as tissue culture media, use water with a small amount of soap. After cleaning with soapy water, rinse thoroughly with distilled water, then finish with a methanol rinse to ensure the lens is completely clean and free of streaks.
Cleaning optical filters:
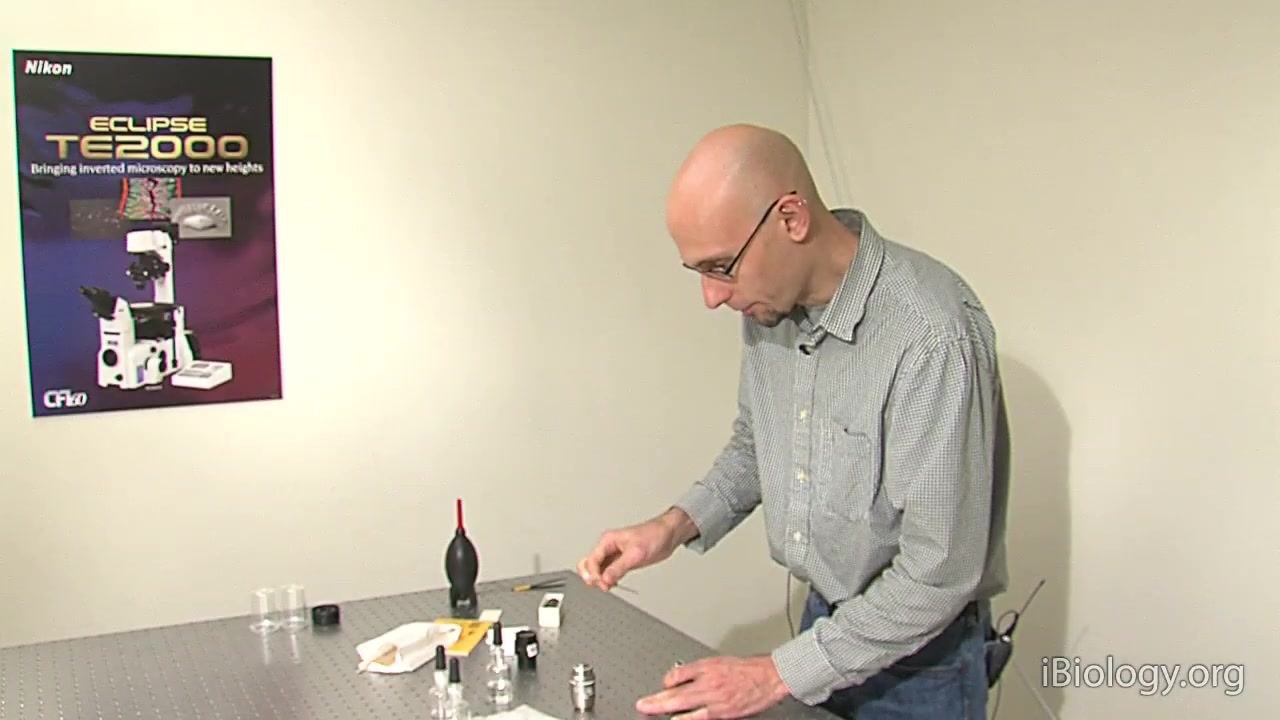
Before using any liquid or paper, use an air blower to remove loose dust from the filter surface, holding the filter securely by the edge and directing air across it.
For unmounted filters, place the filter on clean lens paper, hold it by the edge with a stick or tweezers, put a drop of lens cleaning solvent on the optical surface, and use the drag mopping technique: gently drag a piece of lens paper across the surface to remove the solvent and any remaining debris.
The drag mopping technique does not work for mounted filters, because the lens paper cannot make close contact with the optical surface due to the surrounding ring; use alternative cleaning methods as recommended by the manufacturer for mounted filters.
For a mounted or unmounted filter cleaned with a swab, carefully set the filter down on a clean piece of lens paper and select a new, unused cotton swab to avoid transferring dirt or debris from previous cleanings.
Apply a small amount of lens cleaning solvent to the tip of the clean cotton swab; do not oversaturate, the swab should be damp, not dripping.
Gently touch the moistened swab to the center of the filter and, using a spiral motion, move the swab from the center outward toward the edge, applying only light pressure to avoid scratching the optical surface.

Out-of-tolerance actions
If inspection reveals remaining dirt, oil, streaks, or aberrations after cleaning, repeat the cleaning process with a fresh sheet of lens paper or a new swab and methanol until the optic is visibly clean. The source material does not describe a formal impact assessment on collected imaging data, a quarantine process, or a documented corrective action record; these should be established according to your laboratory's quality procedures.
- Impact assessment: Not specified in source; assess whether any imaging data collected with a contaminated objective or filter requires review.
- Affected data review: Not specified in source; document any experiments or images affected by the out-of-tolerance condition.
- Quarantine: Not specified in source; remove the affected objective or filter from service until cleaning is verified.
- Corrective action: Repeat the cleaning process — for objectives, reapply xylene or chloroform followed by methanol; for filters, repeat the blower and solvent-swab or drag mopping steps with fresh materials — and re-inspect until the optic is free of dirt, oil, streaks, or aberrations.
- Once the filter or objective is clean, inspect it for any remaining residue or particles; if necessary, repeat the cleaning process with a new swab and fresh solvent, and dispose of used swabs and lens paper properly.
Approval
The source material does not include a formal reviewer name, approval date, or release-to-use decision for the cleaned instrument. Record the reviewer's name, the date of final inspection, and the decision to release the objective or filter back into service directly in your laboratory's quality record, based on the pass/fail inspection results documented above.
What's next
After cleaning, return the objective or filter to service and continue routine inspection, cleaning oil objectives more frequently given their faster residue buildup. Always verify manufacturer-specific solvent and cleaning recommendations before servicing a different objective or filter brand, since procedures can vary.
Generation details: cost, quality tiers, downloads
Docsie billed 4,000 credits ($2.80) to analyze this 8-minute video at standard quality. The rewrite, template fill and Word/PDF exports were included. The same video at each quality tier:
| Quality | Frames sampled | Credits | Approx. cost |
|---|---|---|---|
| Draft | every 16-30 s | 2,000 | $1.40 |
| Standard (this guide) | every 8-15 s | 4,000 | $2.80 |
| Detailed | every 4-7 s | 8,000 | $5.60 |
| Ultra | every 1-3 s | 16,000 | $11.20 |
Credits priced at $0.70 per 1,000; plans include a monthly allowance. Enterprise customers on on-premise or bring-your-own-model deployments run this on their own inference and pay no per-video credits.
Generated by Docsie Video-to-Docs on 2026-09-28 from a 7-minute video. It was generated straight into Docsie's Instrument Calibration Log template, so every section of that template is filled from the video. Screenshots are frames from the source video and belong to their creator, iBiology Techniques, whose original is embedded above. If you own this video and want the guide removed or credited differently, contact us and we will act within one business day.