
How to Clean an Autoclave
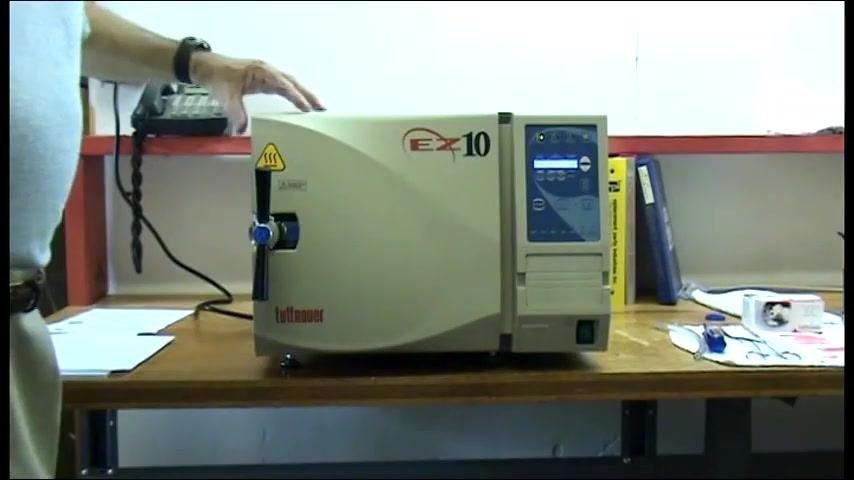
This Standard Operating Procedure describes how to clean an autoclave — specifically the Tuttnauer EZ-10 automatic autoclave — using Chamber Brite, the cleaning agent recommended by Tuttnauer Corporation. The intended use of this method is to remove residue from the reservoir, pipes, valves, and chamber so that the unit continues to operate reliably. Following this procedure regularly protects the autoclave from internal buildup that can compromise performance and shorten its service life.
Video: How to Clean and Maintain Your Tuttnauer Automatic Autoclave - Part 1 by BoothMed (2010). All credit for the demonstration goes to the creator; watch the original on YouTube. The written guide below was generated from this video by Docsie. Creator? Request a change or removal.
Purpose
This Standard Operating Procedure describes how to clean an autoclave — specifically the Tuttnauer EZ-10 automatic autoclave — using Chamber Brite, the cleaning agent recommended by Tuttnauer Corporation. The intended use of this method is to remove residue from the reservoir, pipes, valves, and chamber so that the unit continues to operate reliably. Following this procedure regularly protects the autoclave from internal buildup that can compromise performance and shorten its service life.
Scope
This SOP applies to the Tuttnauer EZ-10 automatic autoclave and covers cleaning of the following components:
- Reservoir
- Internal pipes and valves
- Sterilization chamber and trays
- Water sensor and its plastic collar
- Chamber door gasket
The procedure is intended for personnel responsible for autoclave maintenance who have access to Chamber Brite, distilled water, and the standard cleaning supplies listed below. It does not cover other autoclave models, electrical servicing, or repair of mechanical faults; those activities fall outside the scope of this cleaning method.
Principle
Chamber Brite is a cleaning powder that dissolves and flushes residue from the reservoir, internal pipes, and valves of the autoclave. Running an "Unwrap" cycle with no drying time circulates the Chamber Brite solution through the system without introducing the excess heat that a drying phase would add. This distinction matters because heat can bake Chamber Brite residue onto internal surfaces, causing buildup rather than removing it. After the cleaning cycle, the reservoir is drained, rinsed, and refilled with distilled water to flush out any remaining solution and restore the system to normal operating condition.
Materials and Reagents
| Item | Purpose | Notes |
|---|---|---|
| Chamber Brite (packet) | Cleaning agent for reservoir, pipes, and valves | One packet per cleaning cycle; pour the entire contents |
| Distilled water | Rinsing and refilling the reservoir | Must be labeled "Distilled Water" and free of contaminants; tap or mineral water can damage the autoclave |
| Dipstick | Checking reservoir water level | Used before starting the cleaning process |
| Clean, lint-free cloths/towels | Wiping trays, chamber interior, and spills | Dispose of or launder after use |
| Collection container (e.g., empty distilled water jug) | Collecting drained Chamber Brite solution | Position under the drain hose outlet |
| Drain hose | Connecting the reservoir outlet valve to the collection container | Attach securely before opening the drain valve |
| Autoclave trays/rack | Chamber contents removed for cleaning | Wipe down and reinsert after cleaning is complete |
Procedure
Prepare the work area
- Set up the cleaning area near the autoclave with all supplies within reach.
- Confirm the autoclave is powered off and cool before beginning any cleaning or maintenance.
- Ensure you have enough Chamber Brite on hand for the full procedure before proceeding.
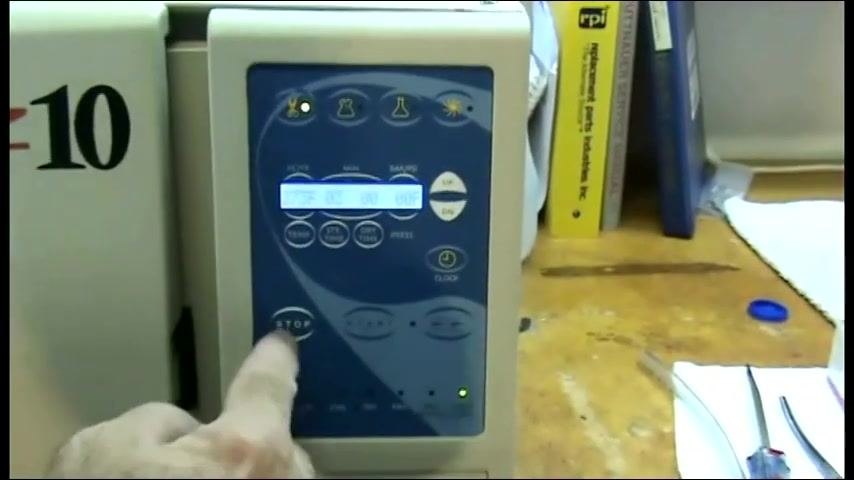
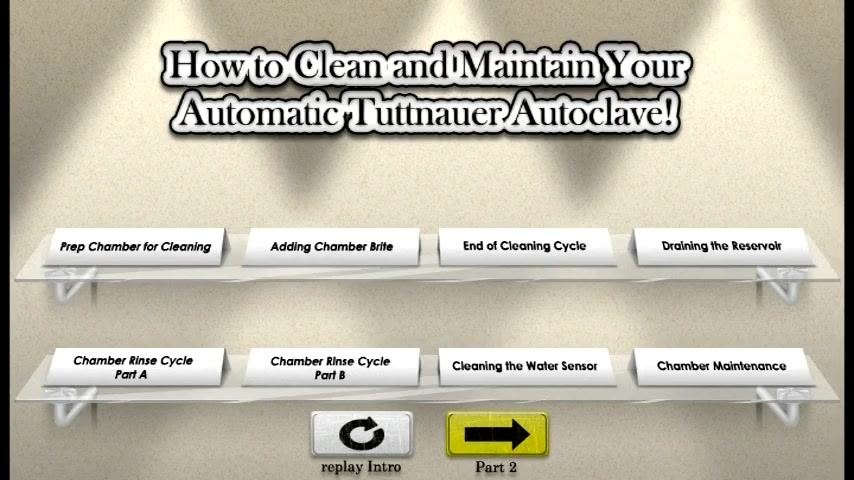
The full sequence of cleaning and maintenance steps is displayed on the unit's main menu, covering chamber preparation, Chamber Brite addition, the cleaning cycle, reservoir draining, rinse cycles, water sensor cleaning, and chamber maintenance.
Prep the chamber and add Chamber Brite
- Check the water level in the reservoir. Use the dipstick to confirm there is an ample supply of water before proceeding.
-
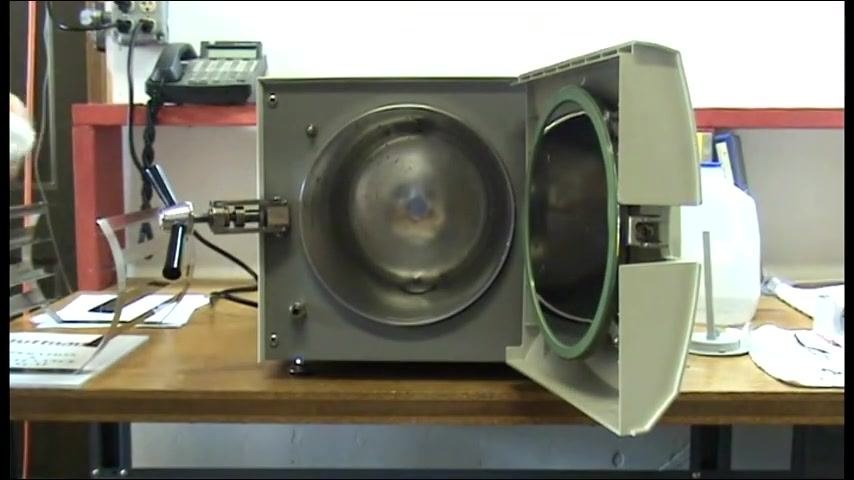
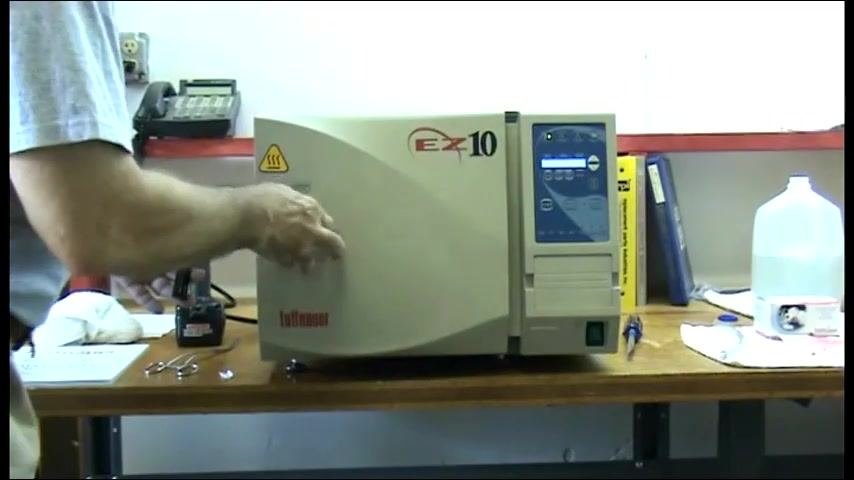
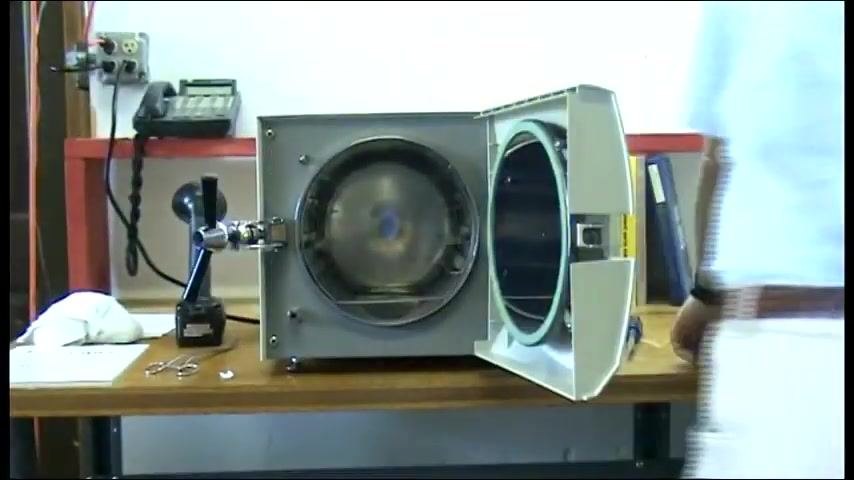
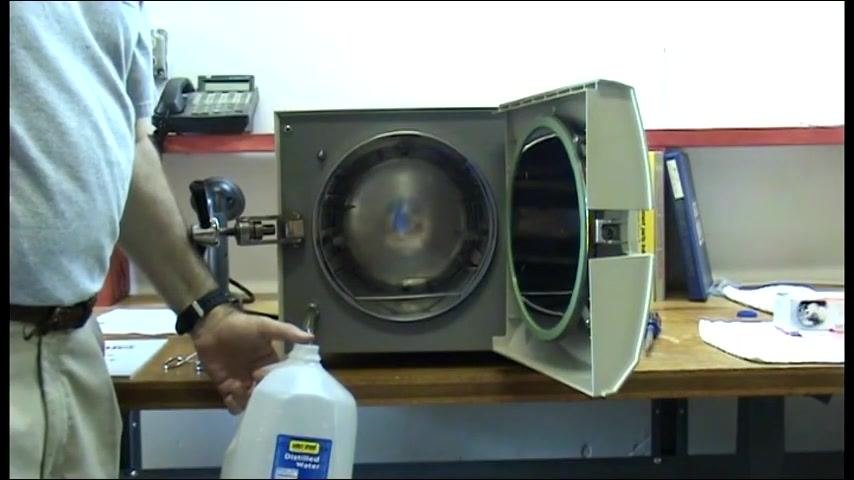
Open the autoclave door. Unlock and open it fully, confirming the unit is powered off and cool.
-
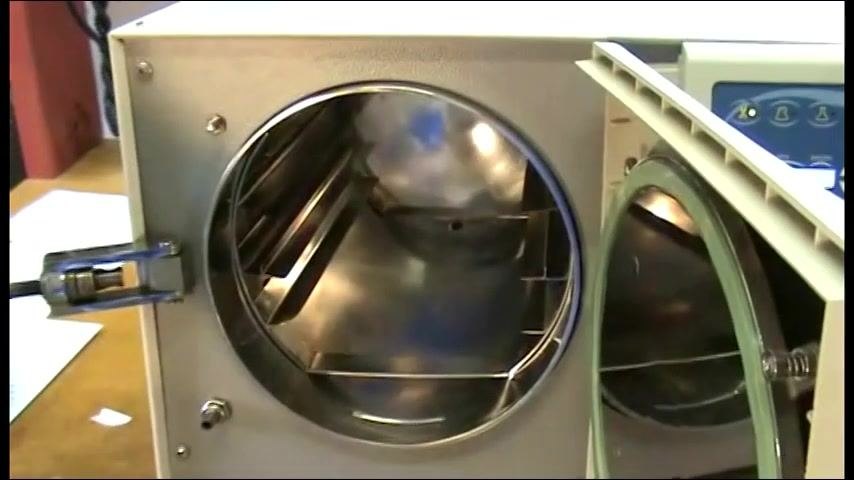
Remove the trays from the chamber. Slide out all trays and wipe them down with a clean cloth to remove residuals.
-
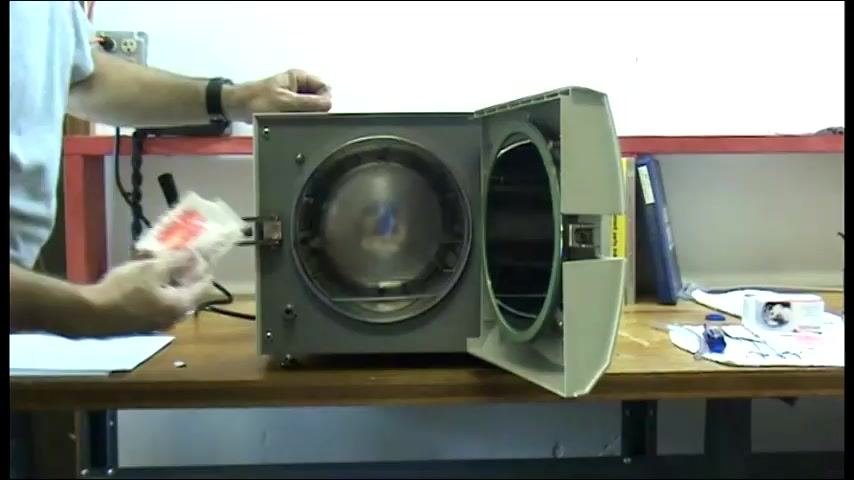
Prepare the Chamber Brite packet. Open the packet and hold it ready to pour into the chamber.
-
Add Chamber Brite to the chamber. Pour the entire contents down the center of the chamber floor, starting from the back and moving toward the front to create one continuous line of powder along the bottom.
-
Empty the entire packet. Make sure all the powder is emptied into the chamber, covering the full length from back to front.
-
Close the autoclave door securely in preparation for the cleaning cycle.
- Select the "Unwrap" cycle with no drying time. Setting drying time to zero is critical, since drying introduces excess heat that can bake Chamber Brite onto the system and cause residue buildup.
- Press "Start" to begin the cleaning cycle. The autoclave runs the cleaning process using Chamber Brite.
- Wait for the cycle to complete. The system exhausts the chamber at the end of the process.
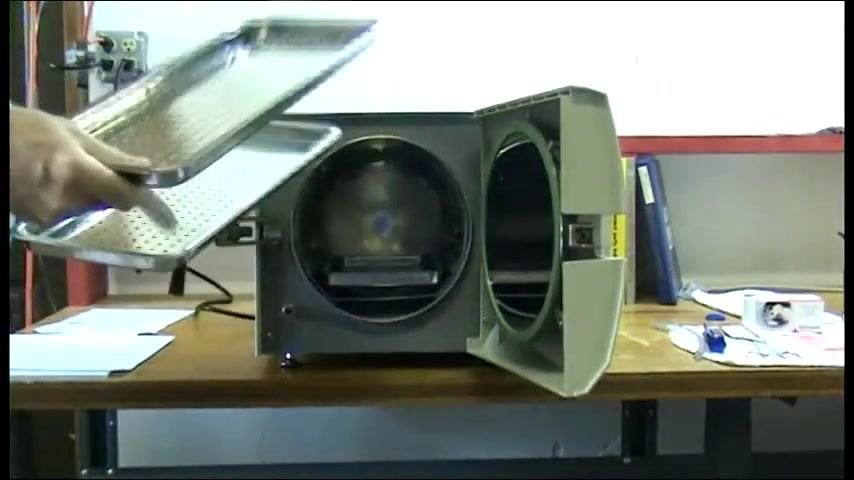
Drain the reservoir and remove the Chamber Brite mixture
-
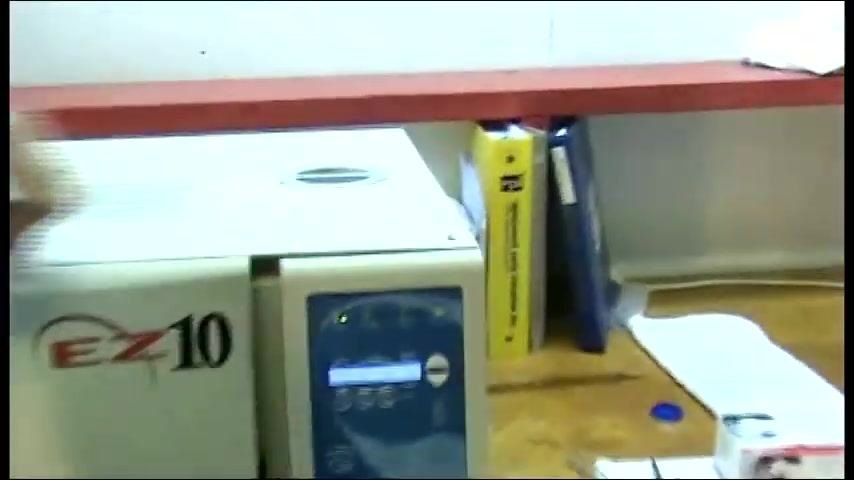
Wait for pressure to drop. Watch the display and pressure gauge until the chamber vents back into the reservoir and pressure reaches zero, confirming the cleaning cycle is complete.
-
Open the autoclave door once the unit is cool and not under pressure. Do not apply heat at any point; the drying cycle must remain at zero to avoid baking residue inside the system.
-
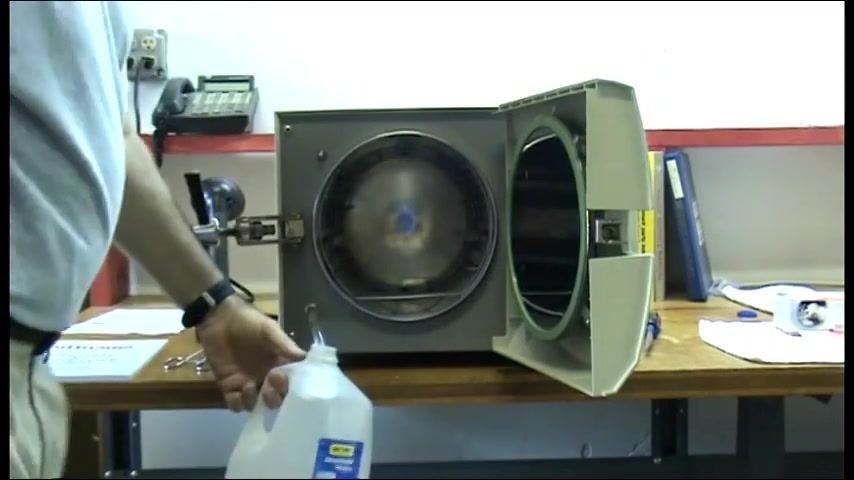
Locate the drain valve and hose, and prepare a suitable container (such as an empty distilled water jug) to collect the waste solution.
- Connect the drain hose to the reservoir outlet valve and position the other end into the collection container.
-
Open the drain valve slowly, allowing the Chamber Brite solution to flow out by gravity into the container. Monitor the process to avoid spills or overfilling.
-
Dispose of the waste solution. Close the drain valve once draining is complete and dispose of the collected mixture according to facility waste disposal guidelines.
- Inspect for debris. Lint from sterilization pouches may be present in the drained solution; if found, ensure valves and pipes are clear before proceeding.
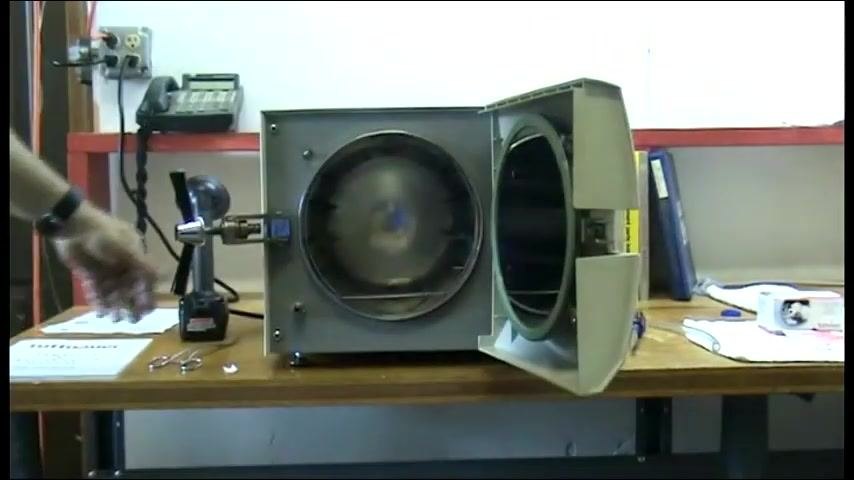
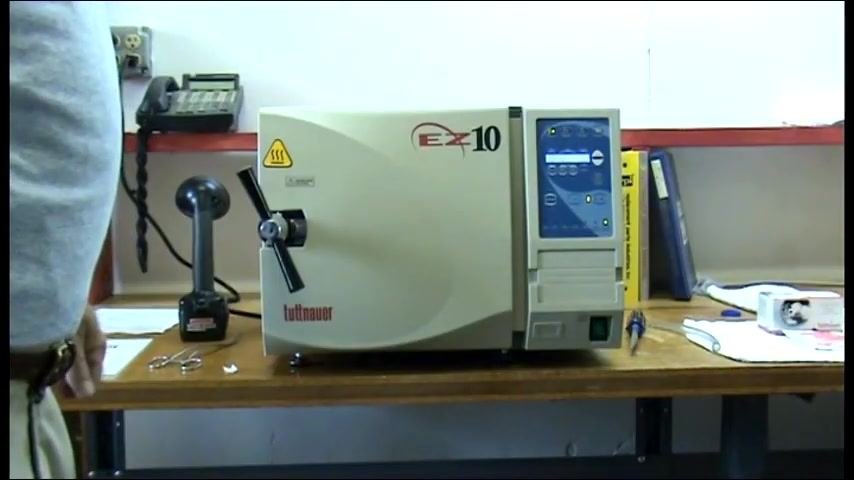
Rinse the system and refill the reservoir with distilled water
- Prepare fresh distilled water. Confirm the container is labeled "Distilled Water" and free from contaminants.
- Keep the autoclave door open, and confirm the chamber is cool, depressurized, empty, and free of debris.
-
Position the distilled water container near the reservoir fill port, avoiding spills inside the chamber or onto electrical components.
-
Pour distilled water into the reservoir slowly, filling to the level recommended in the autoclave's user manual. Do not overfill.
- Check for leaks and cleanliness. Inspect the area around the reservoir and chamber, and wipe up excess water immediately with a clean, lint-free cloth.
- Close the reservoir cap securely to prevent contamination.
- Inspect the chamber and door gasket for remaining residue or debris. Repeat rinsing if debris is present.
- Exercise caution throughout. Use only distilled water, as tap or mineral water can damage the autoclave.
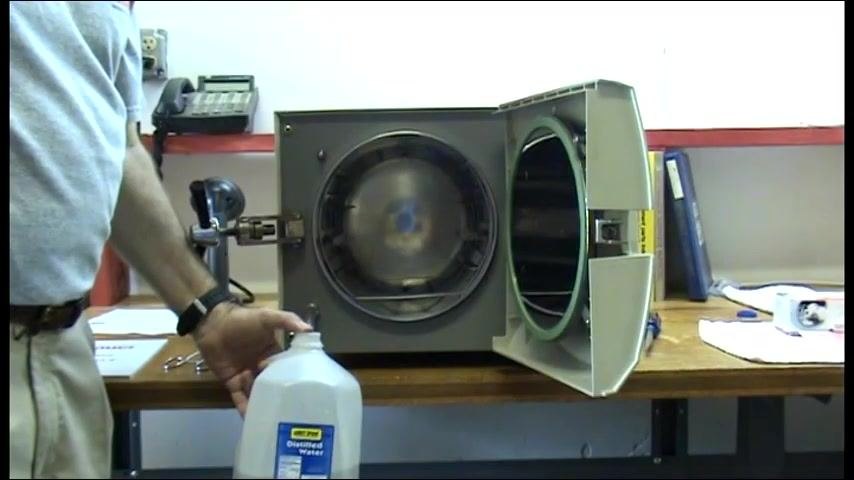
Post-reservoir drain procedures
-
Confirm the reservoir is fully drained and the autoclave is powered off and cool, with tools and supplies within reach.
-
Close the autoclave door, ensuring it is properly aligned with the chamber opening.
-
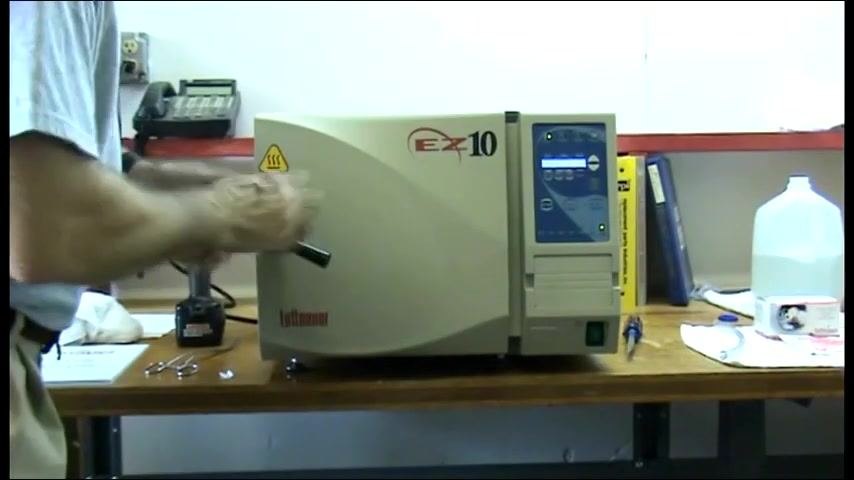
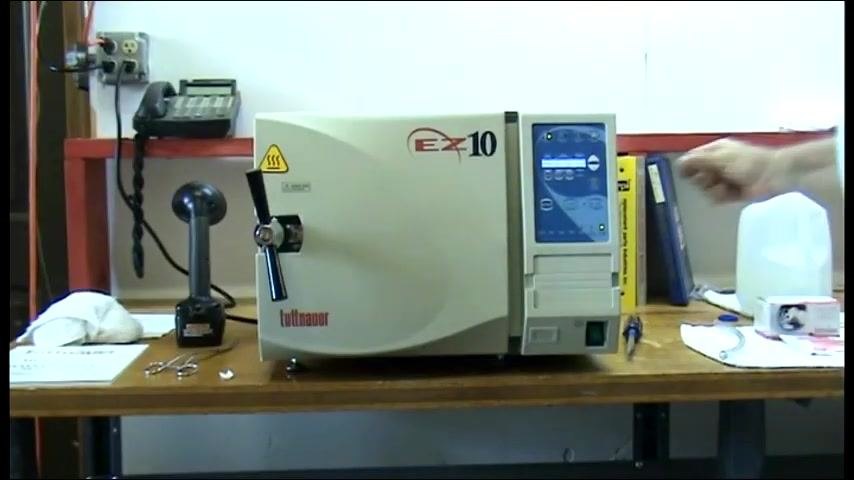
Secure the door by rotating the handle to the locked position, double-checking it is fully closed and latched.
-
Initiate the first cycle with "No Dry." Select this option on the control panel and press Start to flush the system after draining.
-
Wait for the cycle to complete. Do not open the door or interrupt the process until it finishes.
-
Open the autoclave door once the cycle is complete and the chamber is safe to open, using caution as it may still be warm.
-
Prepare for cleaning by gathering a clean, lint-free cloth and having access to the exhaust hose and drain valve if further draining is needed.
Clean the chamber interior and water sensor
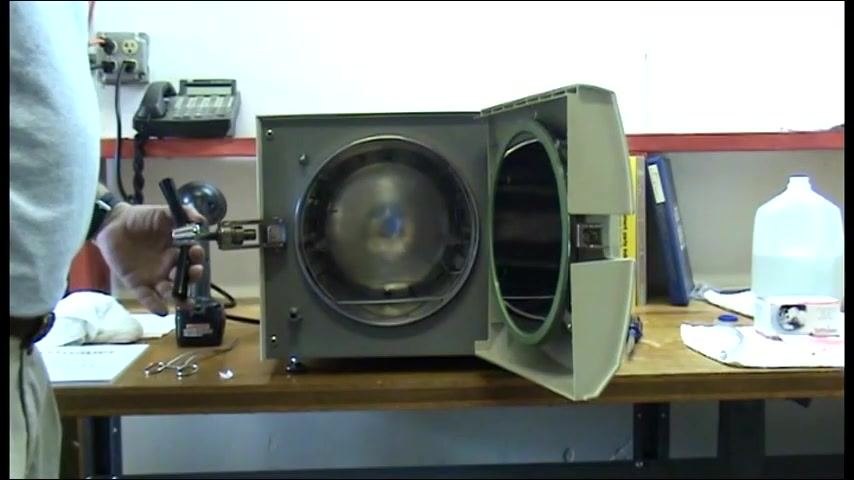
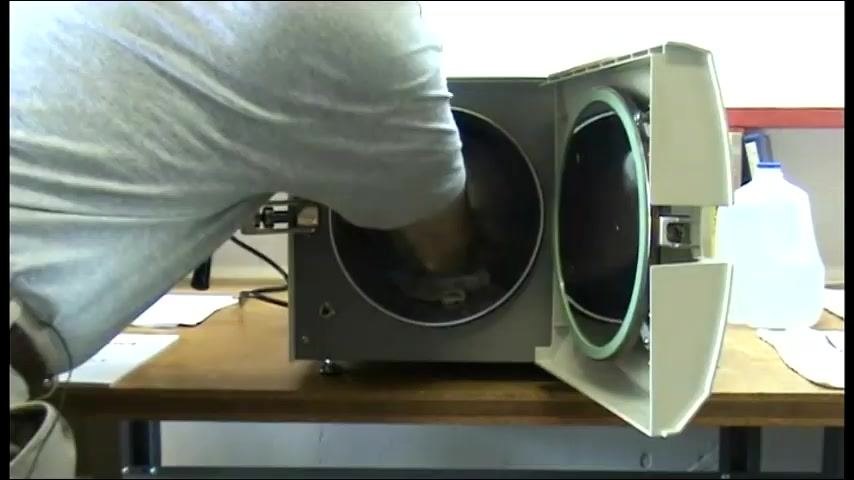
- Wipe the interior of the chamber thoroughly with a clean cloth, paying special attention to the water sensor, which sits on top of a plastic collar at the bottom of the chamber.
-
Clean the water sensor carefully, removing any residue or buildup without dislodging it from its plastic collar.
-
Finish cleaning around the sensor, ensuring the sensor and surrounding area are dry and free of debris.
Final chamber flush and reassembly
- Activate the water fill function by pressing the Water Fill button for one to two seconds. This flushes remaining residue from the chamber, especially from the small inlet at the bottom. Keep the door open during this step.
-
Allow water to rinse the inlet. Observe as water briefly enters the chamber and flushes loosened debris from the bottom inlet. Keep a cloth ready to wipe up excess water.
-
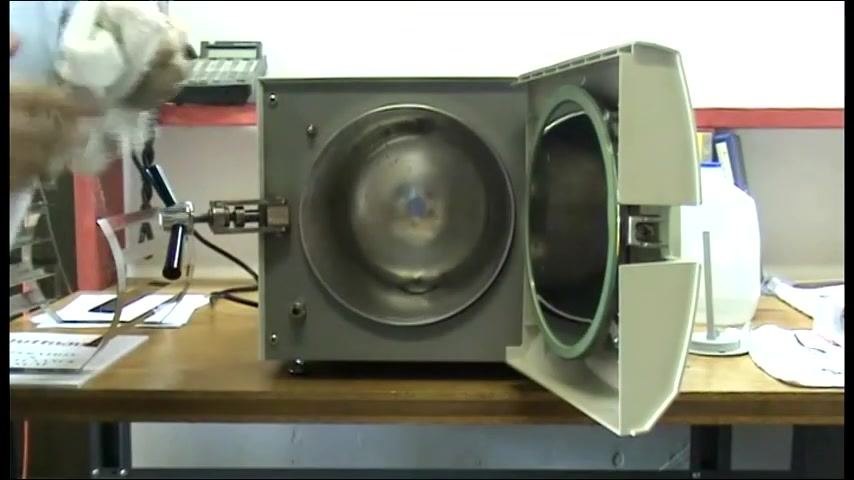
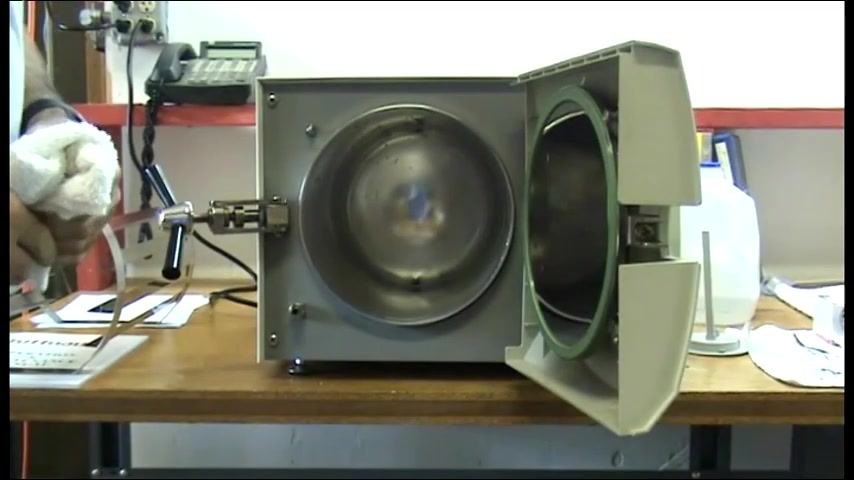
Wipe away excess water with a clean, lint-free cloth, paying special attention to the area around the water sensor and the bottom inlet.
-
Reinsert the chamber rack. Place the metal rack back inside the chamber, ensuring it is properly seated and stable for future use.
-
Complete the cleaning process. Confirm the chamber is wiped, the water sensor is cleaned, the inlet is flushed, and the rack is reinserted. Close the autoclave door if the unit will not be used immediately, and dispose of or launder cleaning cloths as appropriate.
Calculations
This cleaning method does not involve analytical calculations. For record-keeping purposes, document the volume of distilled water used to refill the reservoir, the cycle type and duration selected (Unwrap/No Dry), and the date and time each cleaning cycle was completed.
Quality Controls
- Drying time check: Confirm the drying time is set to zero for both the Chamber Brite cleaning cycle and the post-drain flush cycle; drying time introduces heat that can bake residue onto the system.
- Water quality check: Confirm only labeled distilled water, free of contaminants, is used for rinsing and refilling; tap or mineral water can damage the autoclave.
- Leak and spill check: Inspect the area around the reservoir and chamber for leaks or spills after refilling, and wipe up excess water immediately.
- Residue and debris check: Visually inspect the chamber interior, door gasket, and water sensor for remaining residue after rinsing. If debris is present, repeat the rinsing process before returning the unit to service.
- Drained solution check: Inspect the drained Chamber Brite solution for debris such as lint from sterilization pouches; if found, verify valves and pipes are clear before continuing.
- Failed-run handling: If residue, debris, or leaks are detected during inspection, repeat the affected rinsing or cleaning step before proceeding to the next stage of the procedure.
Generation details: cost, quality tiers, downloads
Docsie billed 4,000 credits ($2.80) to analyze this 8-minute video at standard quality. The rewrite, template fill and Word/PDF exports were included. The same video at each quality tier:
| Quality | Frames sampled | Credits | Approx. cost |
|---|---|---|---|
| Draft | every 16-30 s | 2,000 | $1.40 |
| Standard (this guide) | every 8-15 s | 4,000 | $2.80 |
| Detailed | every 4-7 s | 8,000 | $5.60 |
| Ultra | every 1-3 s | 16,000 | $11.20 |
Credits priced at $0.70 per 1,000; plans include a monthly allowance. Enterprise customers on on-premise or bring-your-own-model deployments run this on their own inference and pay no per-video credits.
Generated by Docsie Video-to-Docs on 2026-09-14 from a 7-minute video. It was generated straight into Docsie's Lab Method SOP template, so every section of that template is filled from the video. Screenshots are frames from the source video and belong to their creator, BoothMed, whose original is embedded above. If you own this video and want the guide removed or credited differently, contact us and we will act within one business day.