
How to Calibrate a pH Meter
This standard operating procedure explains how to calibrate a pH meter and use it to measure sample pH accurately. Following these steps ensures reliable readings, protects the pH probe from damage, and maintains equipment accuracy over time.
Video: How to calibrate a pH meter by Science etc (2019). All credit for the demonstration goes to the creator; watch the original on YouTube. The written guide below was generated from this video by Docsie. Creator? Request a change or removal.
This standard operating procedure explains how to calibrate a pH meter and use it to measure sample pH accurately. Following these steps ensures reliable readings, protects the pH probe from damage, and maintains equipment accuracy over time.
Purpose
This procedure describes how to calibrate a pH meter using standard buffer solutions (pH 7 and pH 4), measure the pH of samples, and properly store the probe between uses.
Scope
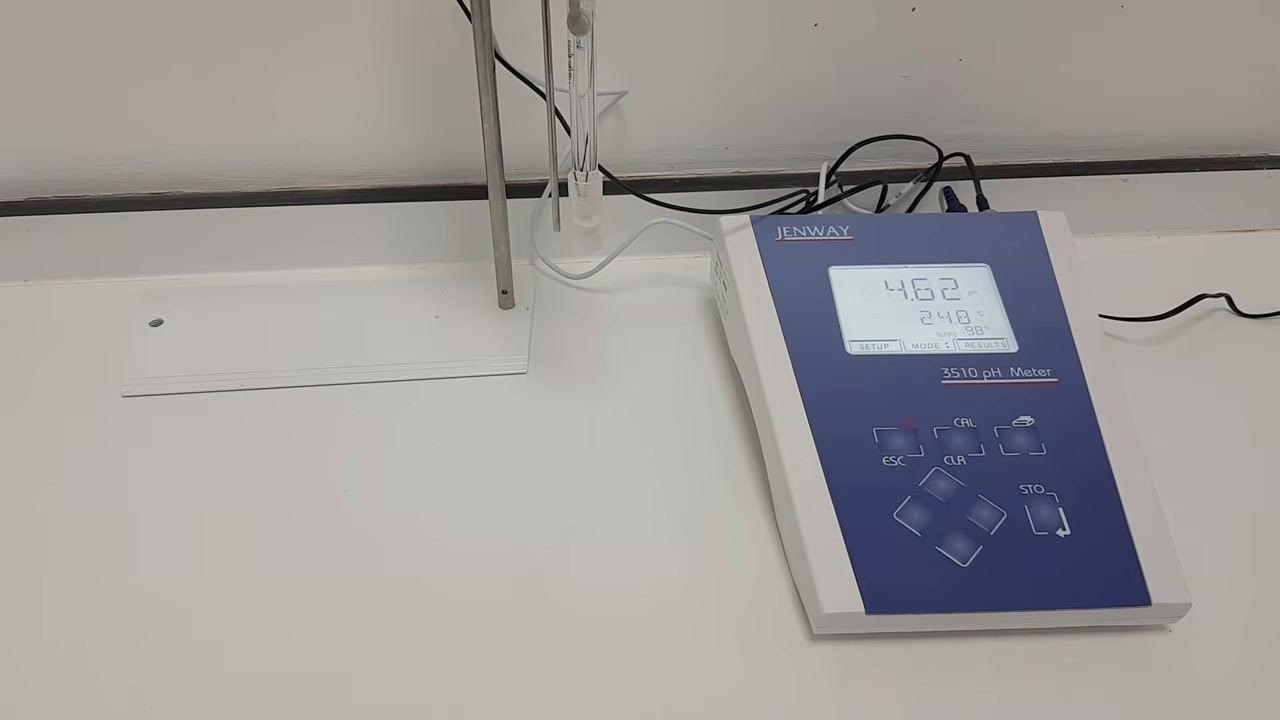
This procedure applies to anyone using a benchtop pH meter (such as the Jenway 3510 pH Meter) with an attached pH probe and temperature probe for calibration and sample measurement.
Required equipment
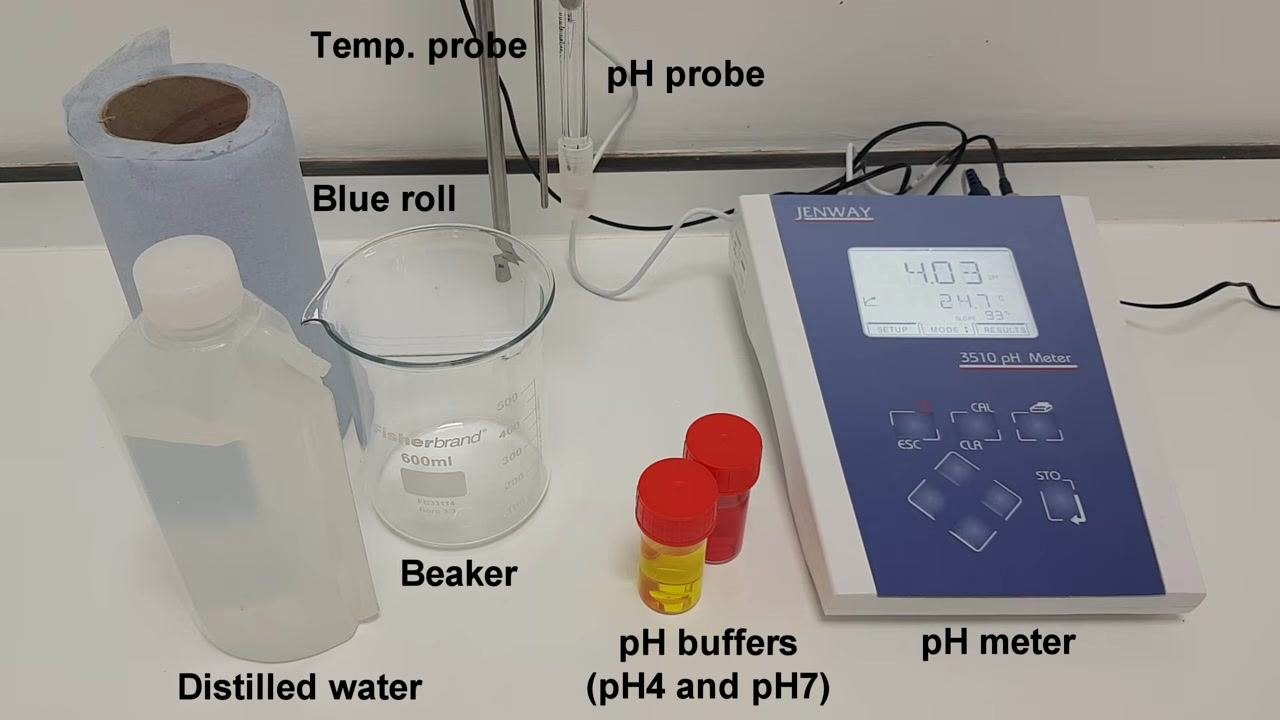
Before you begin, gather the following items:
- pH meter (e.g., Jenway 3510 pH Meter)
- Attached pH probe
- Temperature probe
- Large beaker (e.g., Fisherbrand 600 ml)
- Bottle of distilled water
- Roll of blue tissue paper (blue roll)
- Two pH buffer solutions (typically pH 4 and pH 7)
Prepare the pH probe
Remove the protective cap from the pH probe before starting. This step is essential — the probe will not provide any readings if the cap remains on.
Clean the probes before calibration
Place a large beaker underneath both the pH probe and the temperature probe, positioning them above the beaker so rinse water can be collected.
Rinse both probes thoroughly by pouring distilled water over them so that any contaminants wash into the beaker below. Remove the beaker once rinsing is complete.
Dry both probes gently using a piece of blue tissue paper (blue roll).
Safety note: Do not leave the pH probe dry or in distilled water for more than a moment, as this can damage the probe.
Calibrate the pH meter with the first buffer (pH 7)
Pour the pH 7 buffer solution into a clean container if this has not already been done.
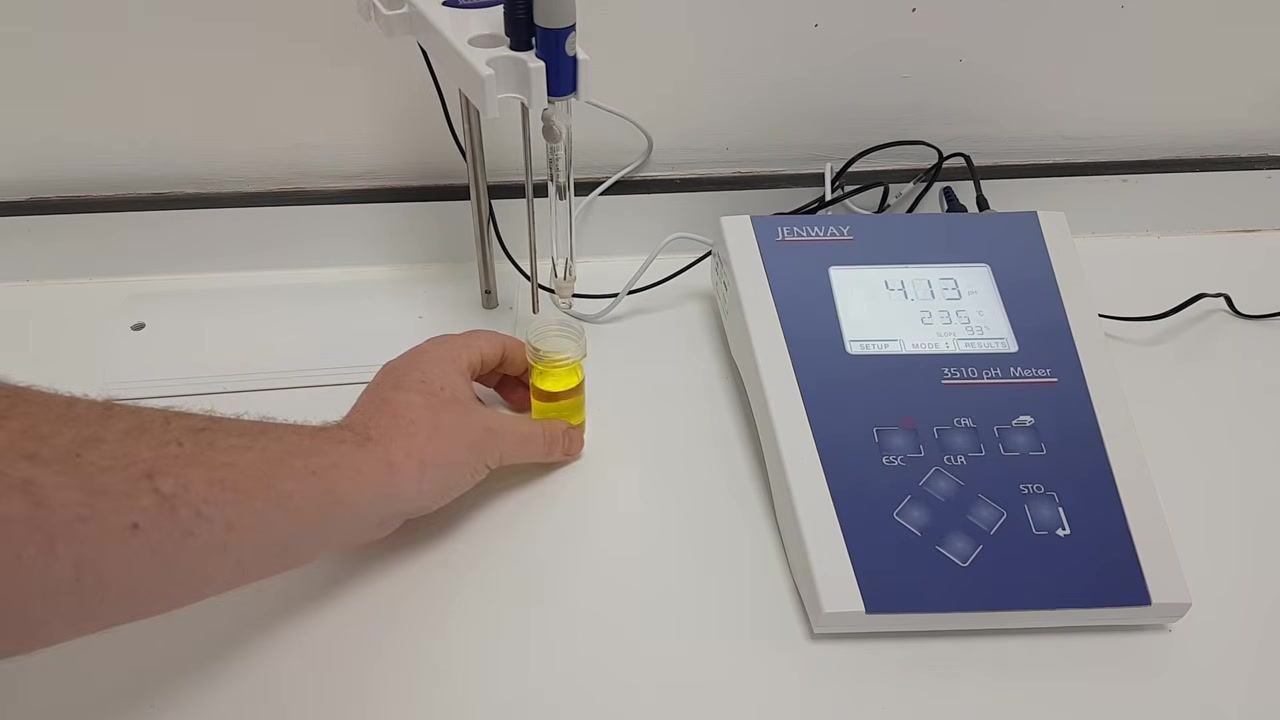
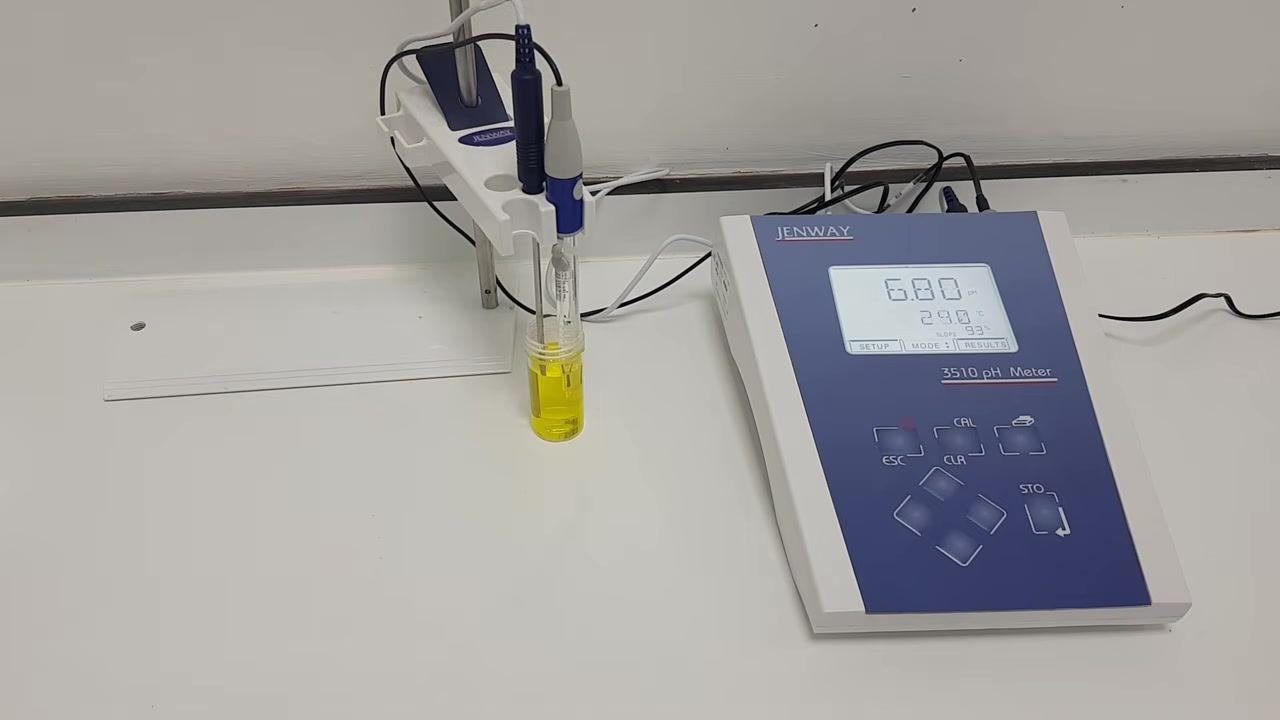
Carefully lower both the pH probe and the temperature probe into the pH 7 buffer solution. Ensure the tips of both probes are fully submerged but not touching the bottom of the container.
Press the CAL button on the pH meter to begin calibration. The meter will start adjusting to the buffer solution.
Gently swirl the buffer solution to ensure the probes are completely covered and to remove any air bubbles from the probe surfaces.
Wait for the pH meter to stabilize and adjust to the buffer solution. This may take some time — be patient and do not proceed until the reading is stable.
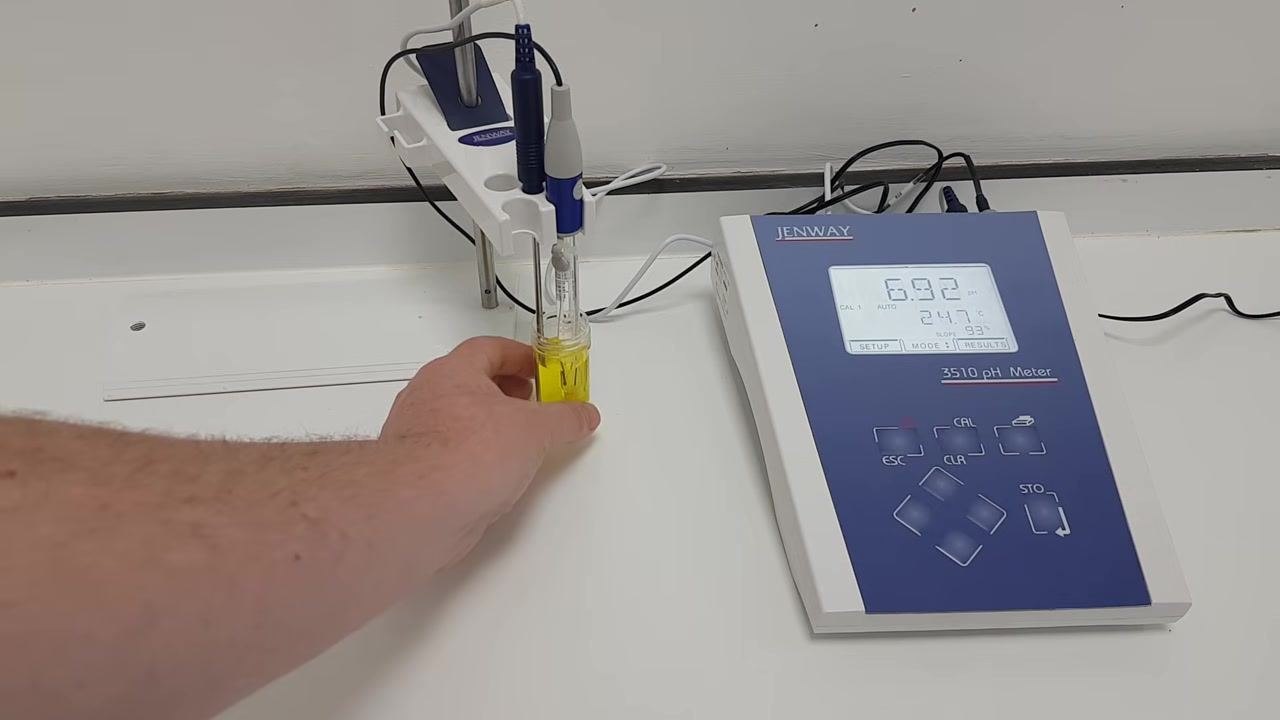
Once a stable reading is achieved, press the calibrate button again to complete calibration for this buffer.
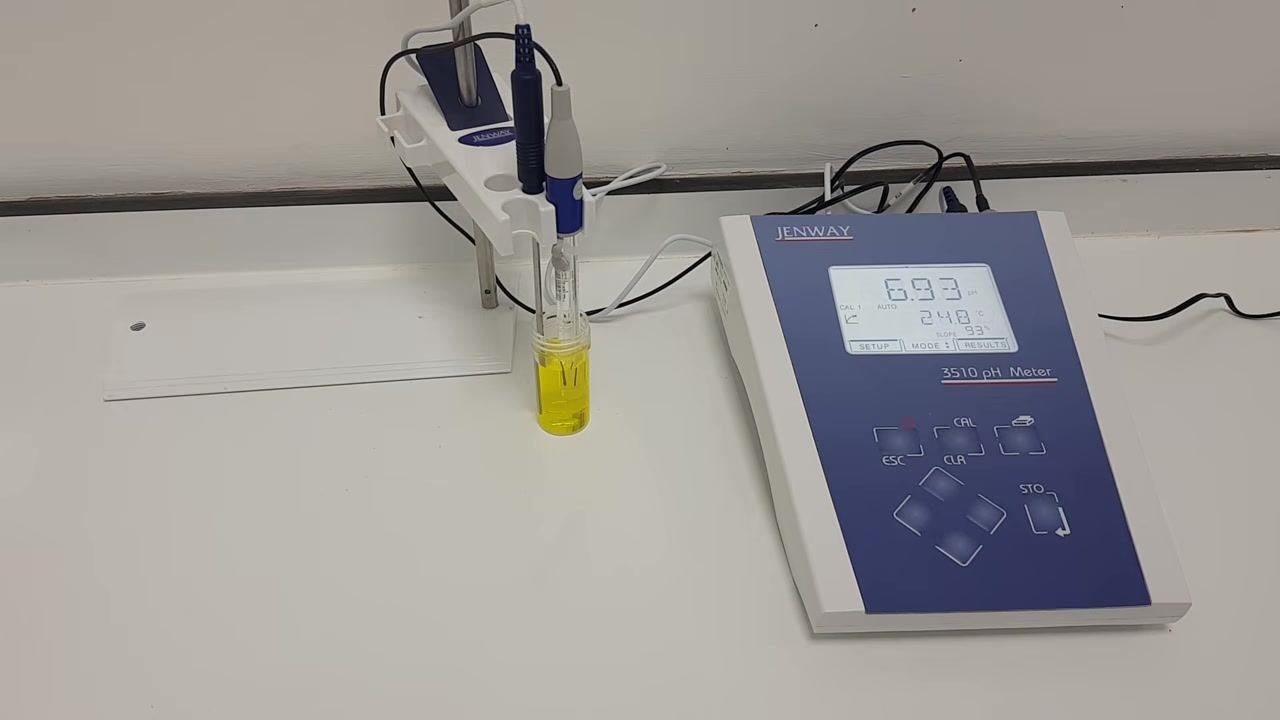
Confirm the first calibration point
Observe the pH meter as it adjusts its reading to match the pH 7 buffer solution. The display should show a stable reading close to 7.00 pH.
Repeat the calibration process with the pH 4 buffer if a two-point calibration is required, as described in the following steps.
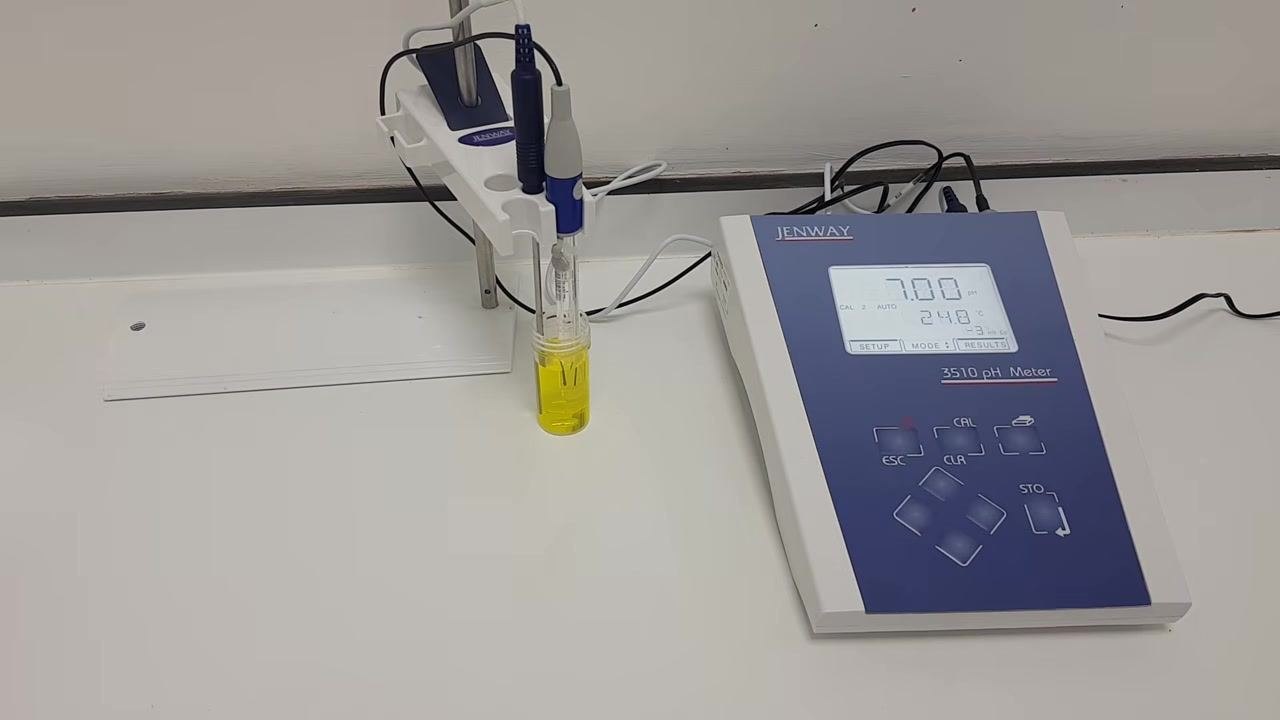
Rinse and dry the probes between buffers
Remove the probes from the pH 7 buffer solution. Place a large beaker underneath the probes to catch the rinse water, then pour distilled water over both the pH and temperature probes to remove any buffer residue.
Remove the beaker once rinsing is complete, then gently dry both probes with blue roll.
Calibrate the pH meter with the second buffer (pH 4)
Pour the pH 4 buffer (red solution) into a clean container if not already done, then lower both the pH probe and the temperature probe into it. Ensure the tips of both probes are fully submerged but not touching the bottom of the container.
Gently swirl the buffer solution to ensure the probes are completely covered and to remove any air bubbles from the probe surfaces.
Wait for the pH meter to stabilize and adjust to the pH 4 buffer solution. Do not proceed until the reading is stable.
Once a stable reading is achieved (close to 4.00 pH), press the CAL button on the pH meter to complete calibration for this buffer. The meter will adjust its reading to match the pH 4 buffer.
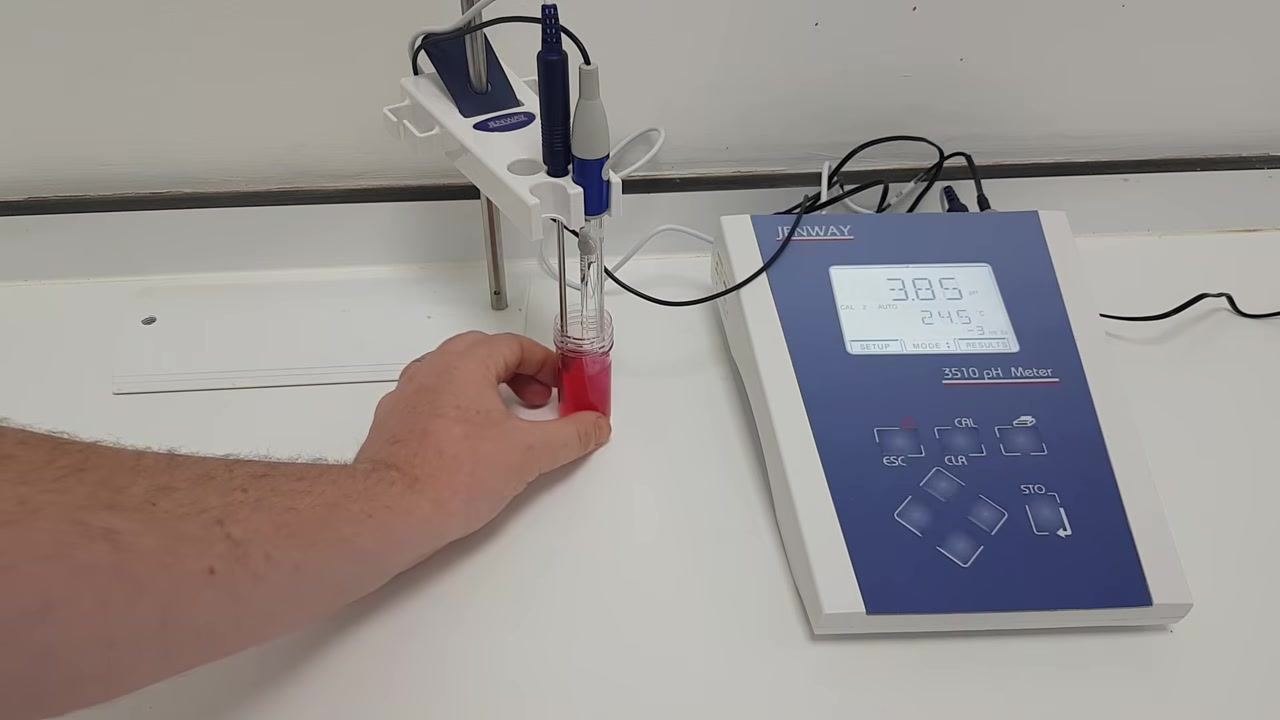
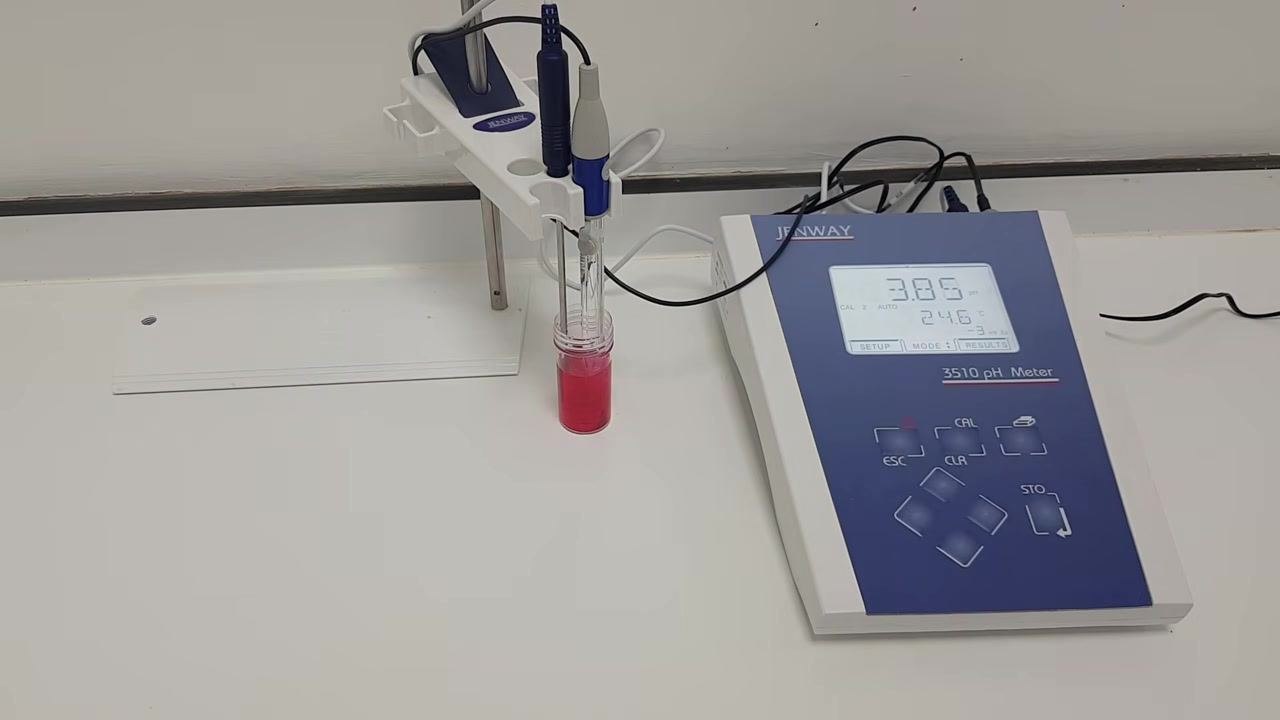
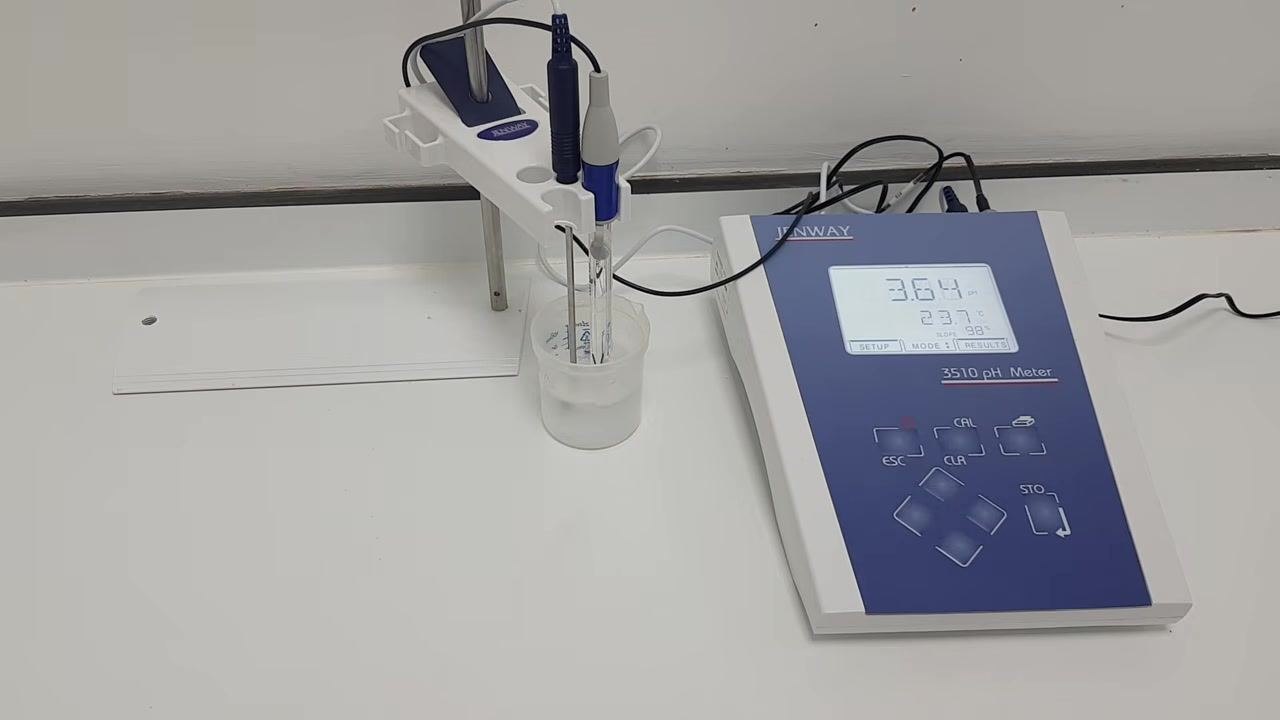
Measure the pH of your samples
Remove the probes from the buffer solution and wash them thoroughly with distilled water, placing a beaker underneath to catch the rinse water. Dry the probes gently with blue roll.
Lower both probes into the sample you wish to measure, ensuring they are fully submerged. Gently swirl the sample to remove any air bubbles and ensure even contact.
Wait for the pH meter to stabilize and display a steady reading, then note down the pH value shown.
If you have multiple samples, wash and dry the probes between each sample using distilled water and blue roll. There is no need to recalibrate the meter between samples.
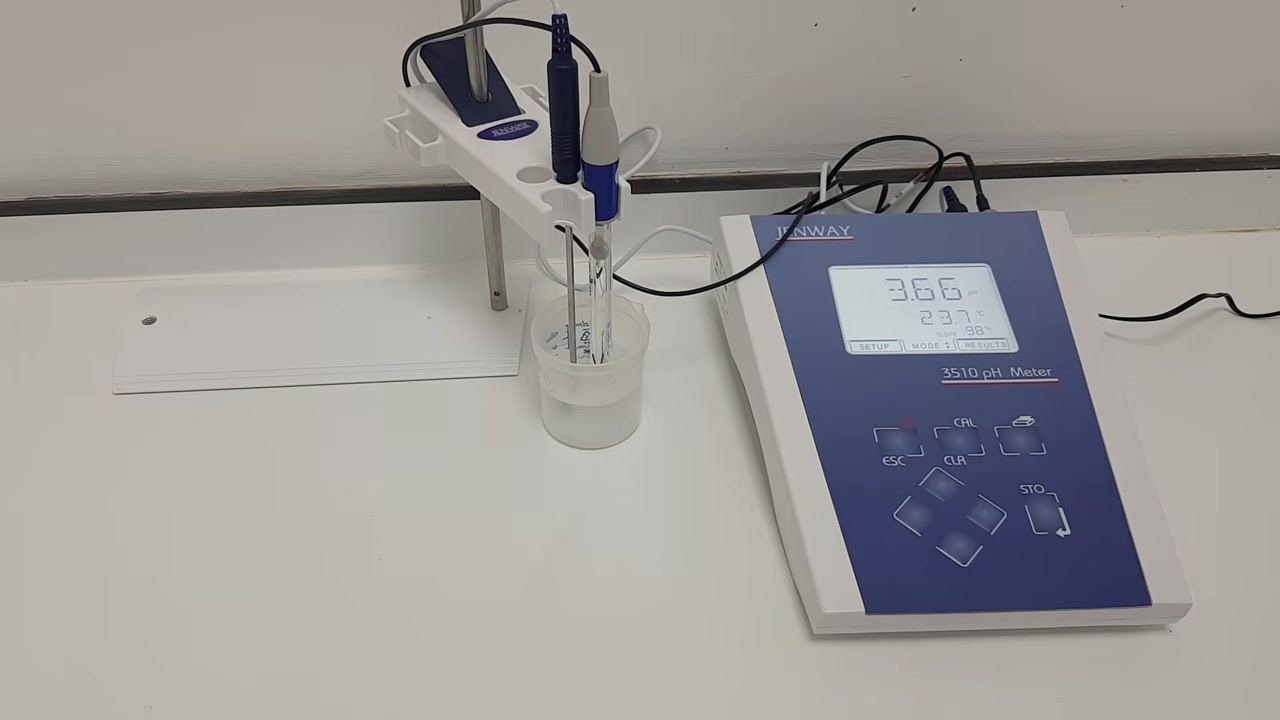
Store the pH probe correctly
If you need to leave the pH meter for up to an hour, submerge the probe in pH 4 buffer solution.
Safety note: Never leave the probe dry or in distilled water for extended periods.
For overnight or long-term storage, replace the protective cap on the pH probe. The cap contains a storage solution that keeps the probe in optimal condition.
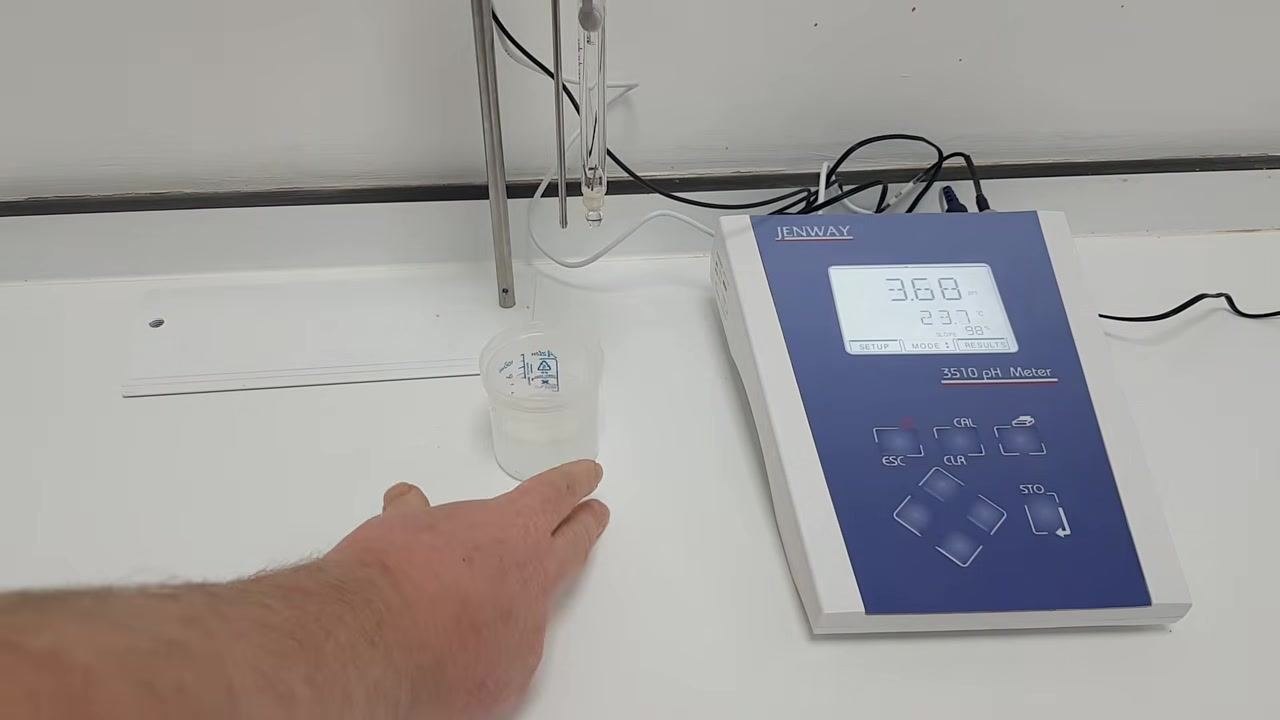
Prepare and secure the probe for long-term storage
Before replacing the cap, check that there is a small amount of 3 molar potassium chloride (KCl) solution inside it. This solution is essential for maintaining the probe's hydration and performance.
Carefully fit the cap onto the end of the probe, ensuring it is secure and upright to prevent leakage. Confirm that the probe tip is fully immersed in the KCl solution within the cap.
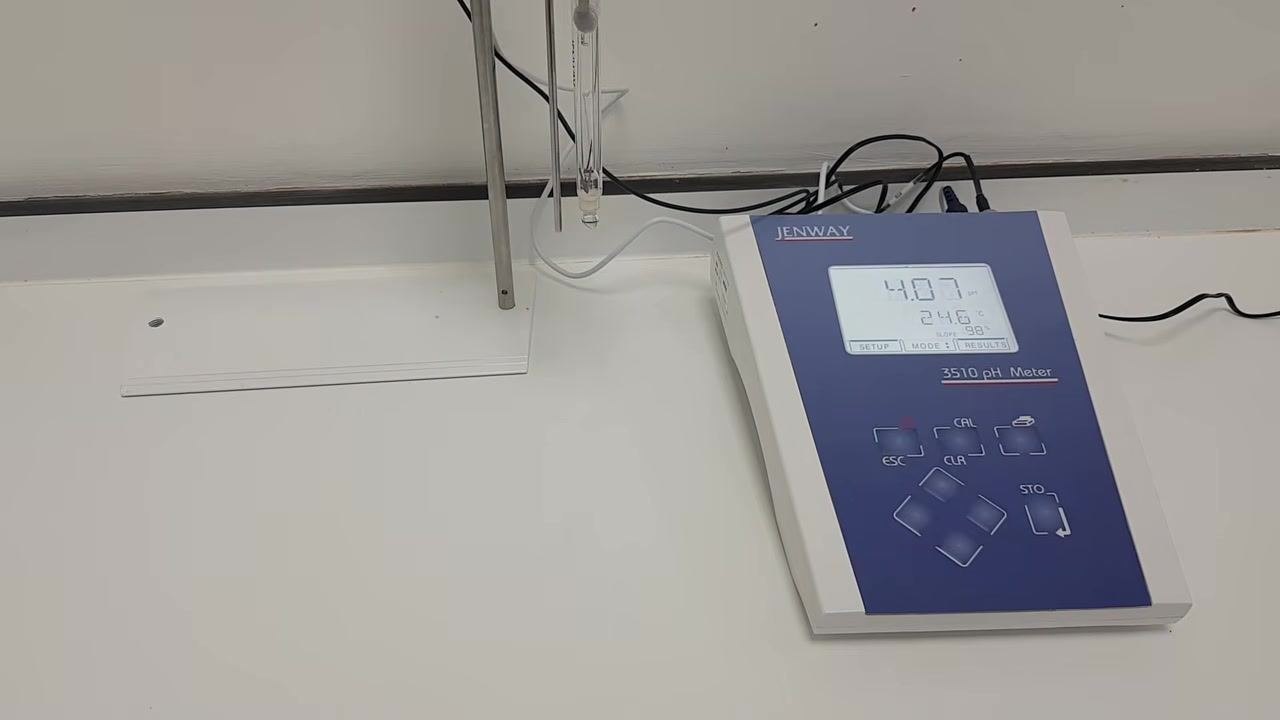
Store the meter and maintain equipment
Place the probe (with cap on) in its holder or a secure location where it will not be knocked over or exposed to contaminants. Ensure the meter is turned off if not in use.
Periodically check the KCl solution in the probe cap and refill as needed to keep the probe tip submerged. Inspect the probe and meter for any signs of damage or residue before each use.
Verification and summary
By completing this procedure, you will have successfully calibrated your pH meter using both pH 7 and pH 4 buffers and accurately measured the pH of your samples. Proper cleaning and storage of the probes after each use maintains measurement accuracy and prolongs the life of your equipment. Storing the probe with 3 molar potassium chloride solution in the cap is critical for probe longevity and accuracy.
Generation details: cost, quality tiers
Docsie billed 2,000 credits ($1.40) to analyze this 4-minute video at standard quality. The rewrite, template fill and Word/PDF exports were included. The same video at each quality tier:
| Quality | Frames sampled | Credits | Approx. cost |
|---|---|---|---|
| Draft | every 16-30 s | 1,000 | $0.70 |
| Standard (this guide) | every 8-15 s | 2,000 | $1.40 |
| Detailed | every 4-7 s | 4,000 | $2.80 |
| Ultra | every 1-3 s | 8,000 | $5.60 |
Credits priced at $0.70 per 1,000; plans include a monthly allowance. Enterprise customers on on-premise or bring-your-own-model deployments run this on their own inference and pay no per-video credits.
Generated by Docsie Video-to-Docs on 2026-09-08 from a 3-minute video. Screenshots are frames from the source video and belong to their creator, Science etc, whose original is embedded above. If you own this video and want the guide removed or credited differently, contact us and we will act within one business day.