
How to Empty a Catheter Bag
Learning how to empty a catheter bag correctly protects residents from infection, produces an accurate record of urine output, and keeps staff safe from contamination. This procedure guides nursing assistants and allied health staff through preparing supplies, emptying and cleaning the catheter bag, disposing of urine, and completing documentation in a long-term care or clinical setting.
Video: Emptying a Urinary Catheter Drainage Bag by WisTech Open | Open RN (2023). All credit for the demonstration goes to the creator; watch the original on YouTube. The written guide below was generated from this video by Docsie. Creator? Request a change or removal.
Learning how to empty a catheter bag correctly protects residents from infection, produces an accurate record of urine output, and keeps staff safe from contamination. This procedure guides nursing assistants and allied health staff through preparing supplies, emptying and cleaning the catheter bag, disposing of urine, and completing documentation in a long-term care or clinical setting.
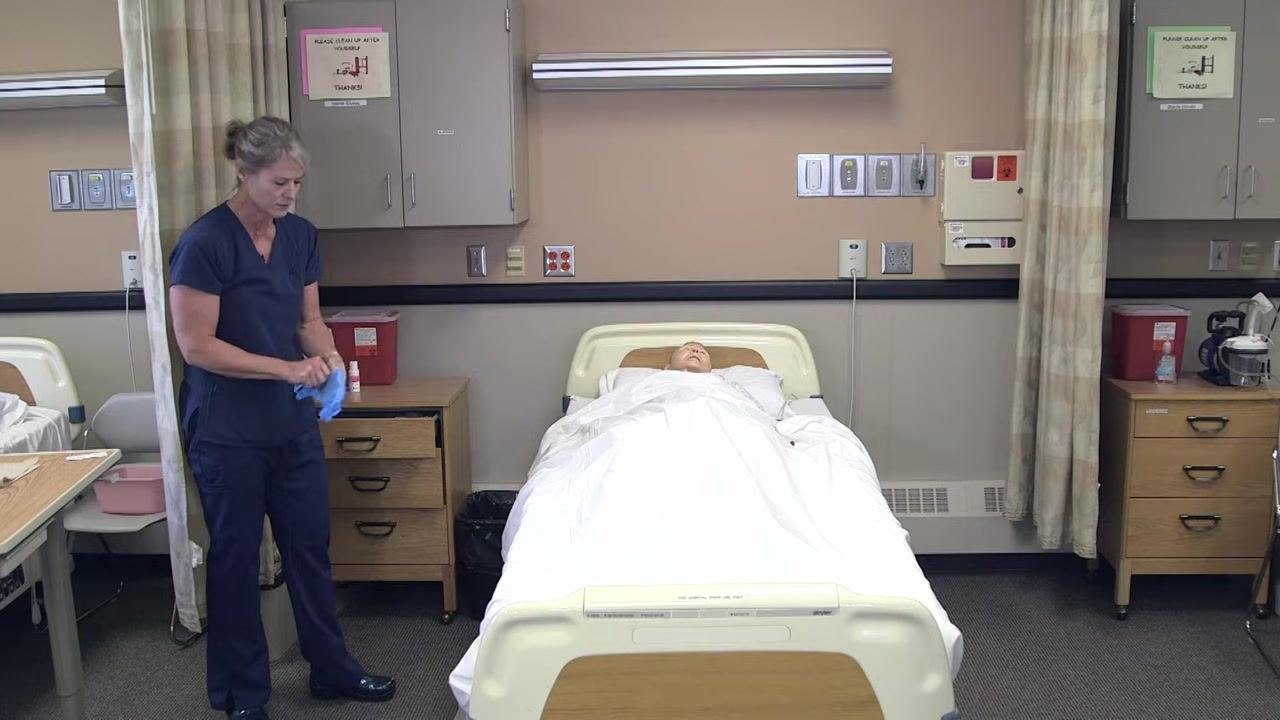
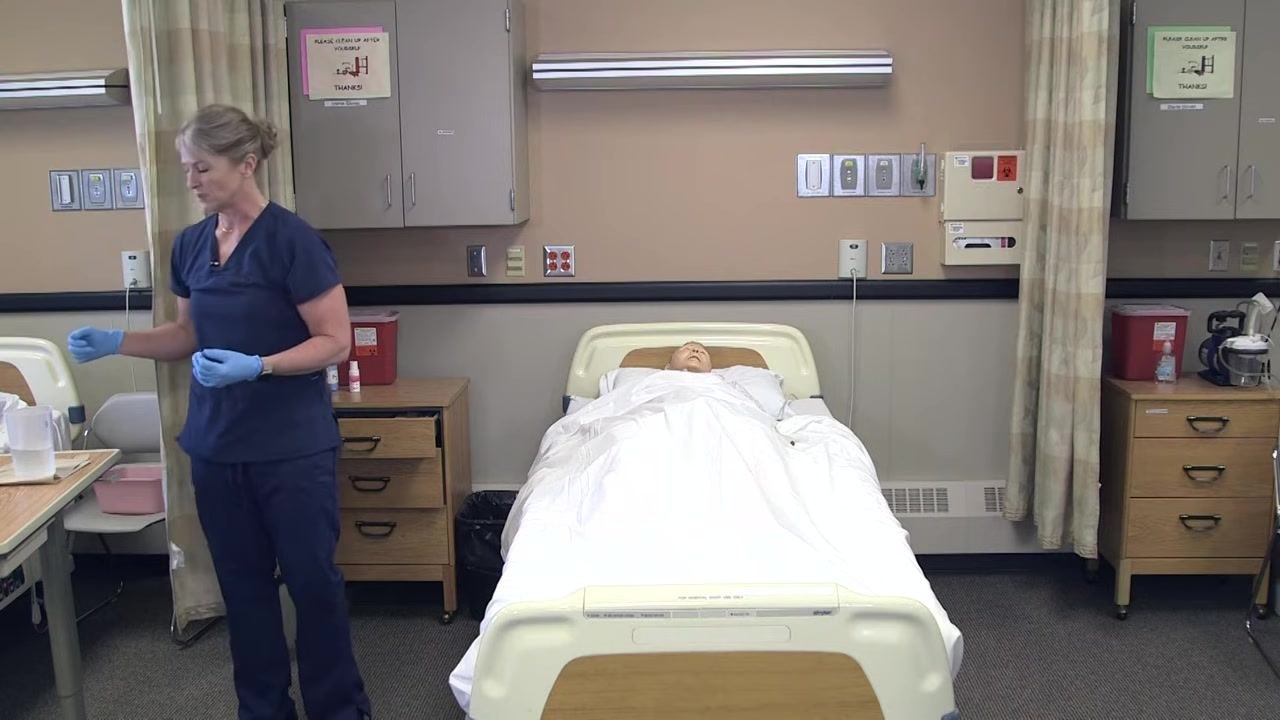
Purpose & scope
This procedure applies to nursing assistants and allied health staff caring for residents with an indwelling urinary catheter in long-term care facilities or similar clinical settings. Always review and follow your agency's specific policies before performing this task, since individual facility protocols may differ. The steps below are based on the Nursing Assistant Open Educational Resources (OER) textbook.
Patient assessment
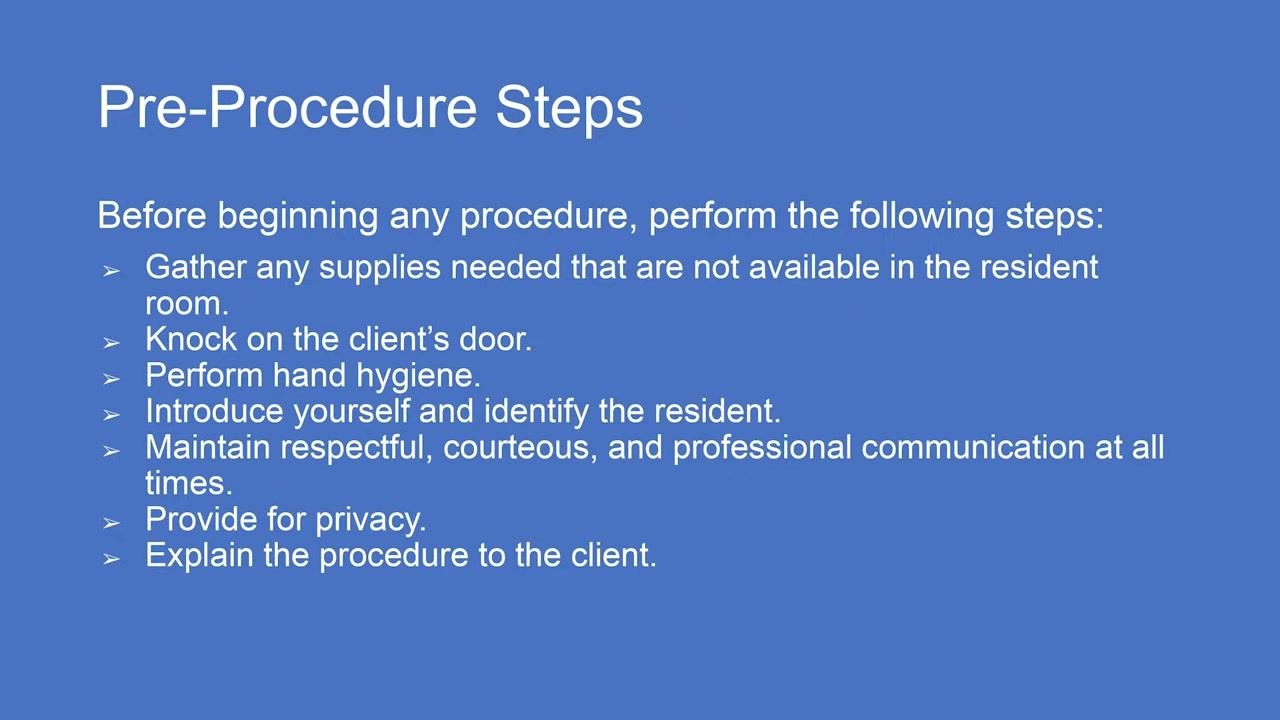
Before you begin, complete the following preparation and assessment checklist.
| Step | Action |
|---|---|
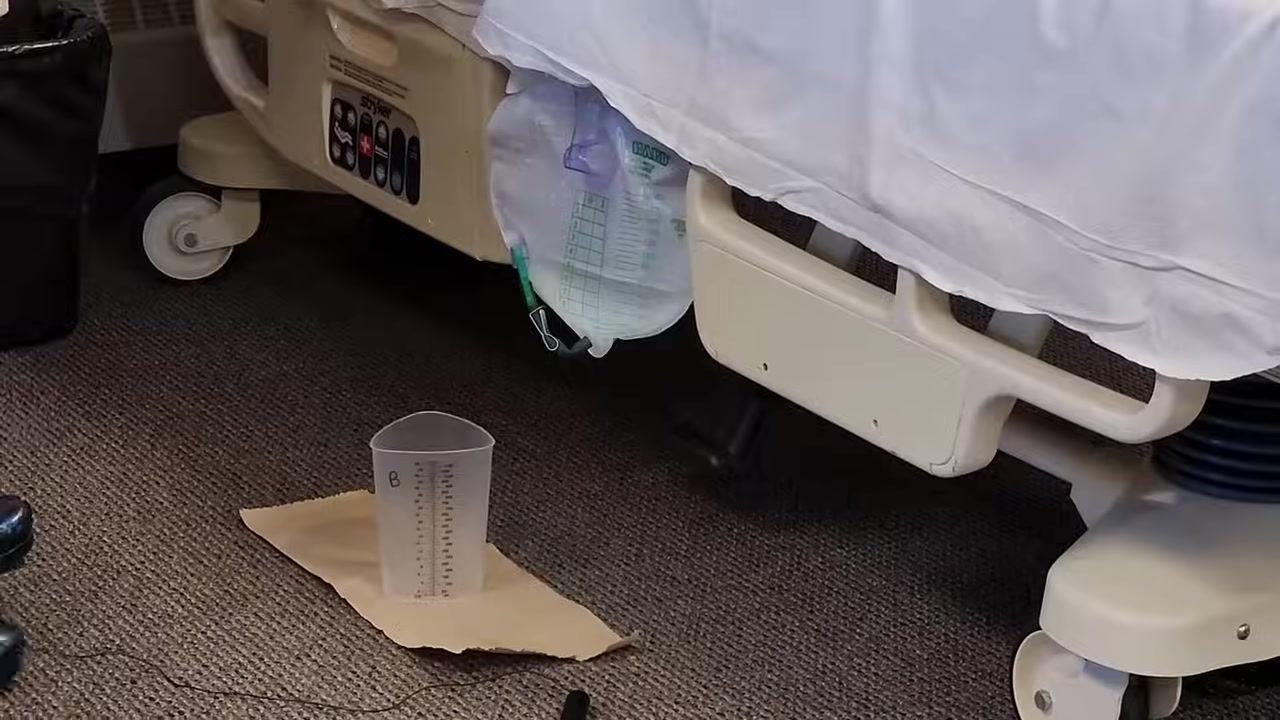
| Supplies | Confirm alcohol pads, a graduated cylinder, and a floor barrier are in the resident's room; the graduated cylinder is usually kept in the resident's bathroom. |
| Hand hygiene | Perform hand hygiene thoroughly before entering the room and before handling any supplies. |
| Identification | Knock on the door, introduce yourself, and confirm the resident's identity. |
| Consent | Explain the procedure and obtain the resident's verbal consent, for example: "Hi, [Resident Name], it's [Your Name]. I'm here to empty your catheter. Is that okay?" |
| Privacy | Close the curtain or door to provide privacy. |
| Environment | Raise the bed to a comfortable working height and confirm the catheter bag will not touch the floor. |
This procedure does not include vital sign monitoring, a pain assessment tool, or neurovascular checks; follow your facility's standard schedule for these assessments as outlined in the resident's individual care plan.
Care protocol
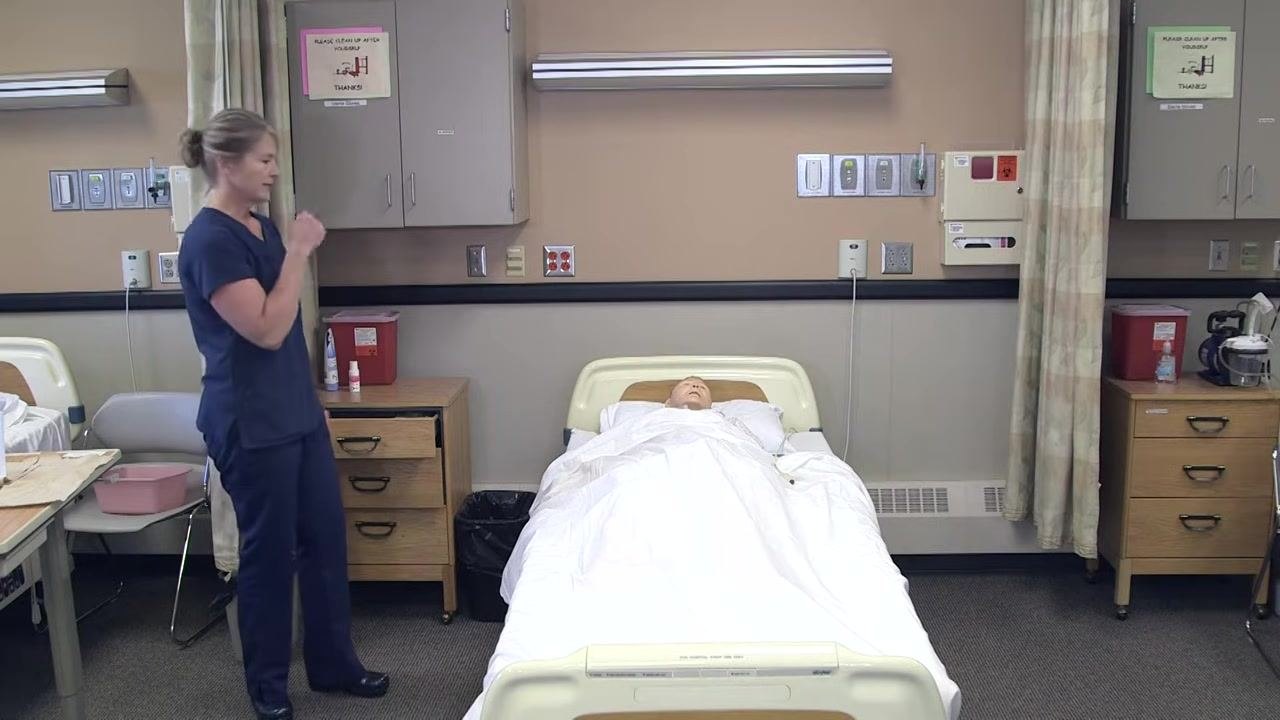
Complete this procedure in three phases: preparation, emptying and cleaning, and disposal and completion.
Phase 1: Preparation
- Raise the side rail if needed and position the catheter bag securely so it does not touch the floor.
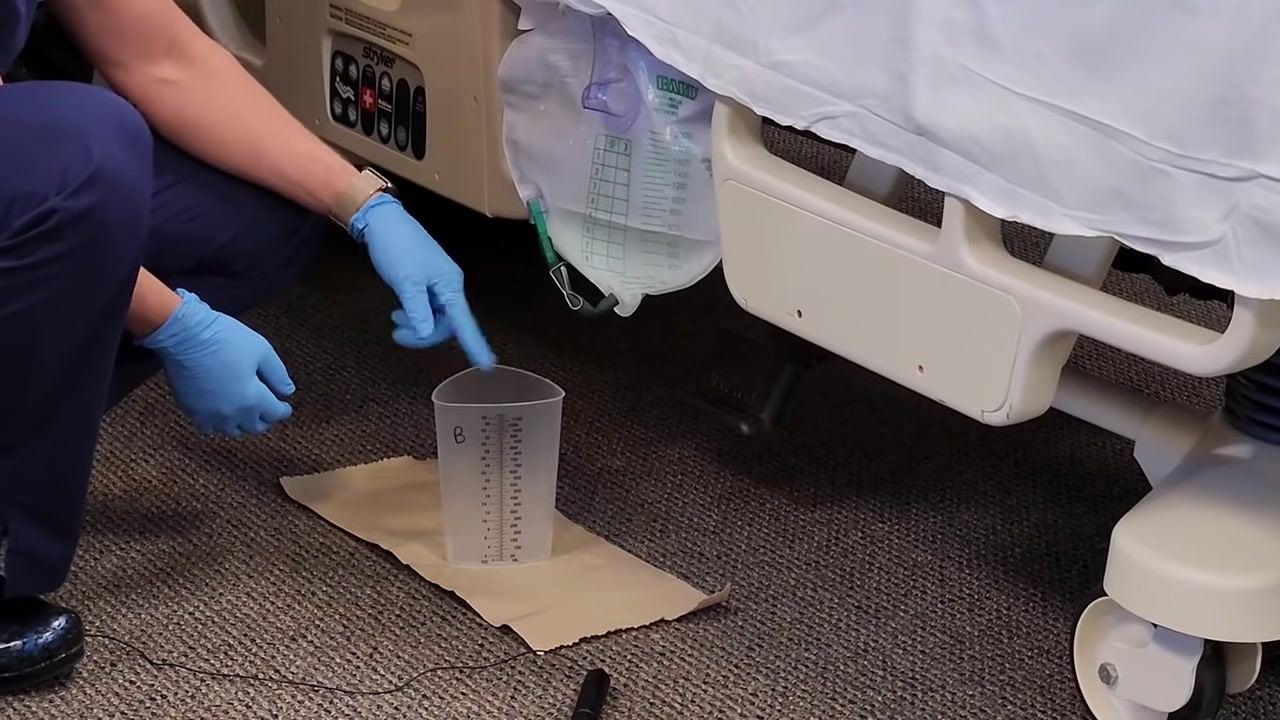
- Place a barrier, such as a disposable pad or towel, on the floor beneath the catheter bag, and set the graduated cylinder on the barrier to catch the output.
- Put on clean gloves before handling the catheter or any supplies.
- Check the type of catheter bag and confirm how its spout opens before you proceed, since mechanisms vary by manufacturer and unfamiliarity can cause accidental spills.
Phase 2: Emptying and cleaning
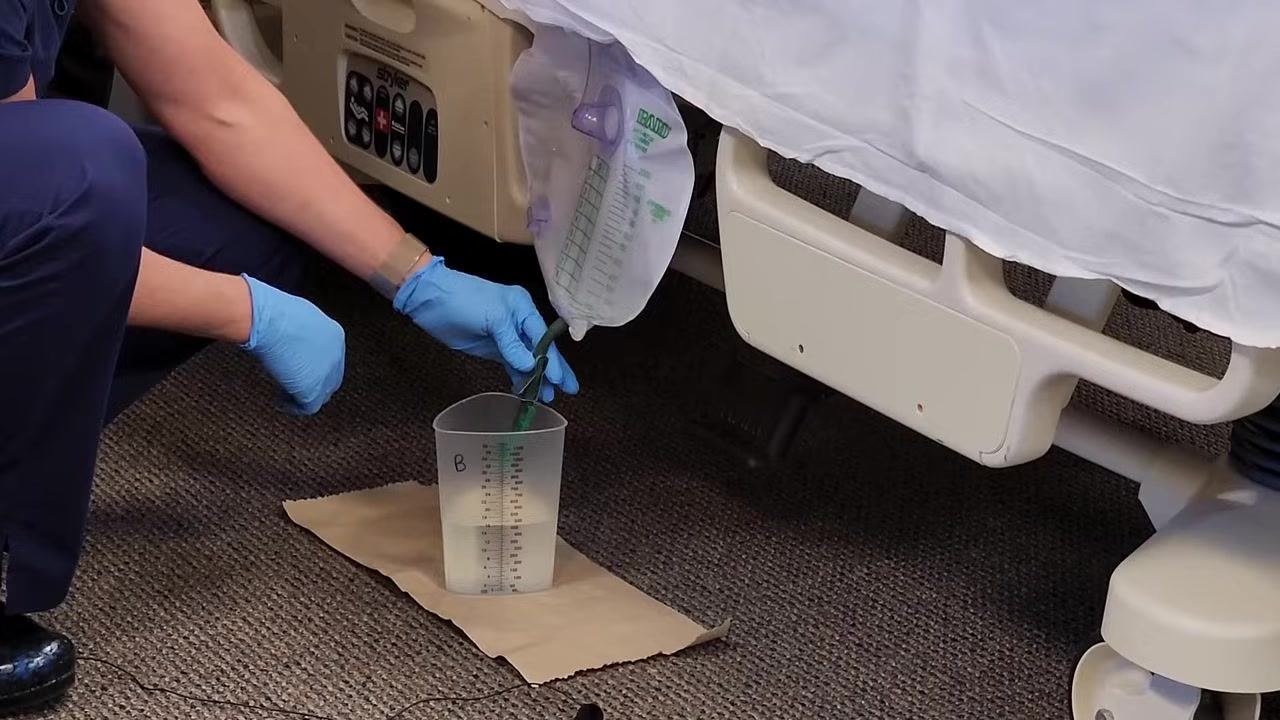
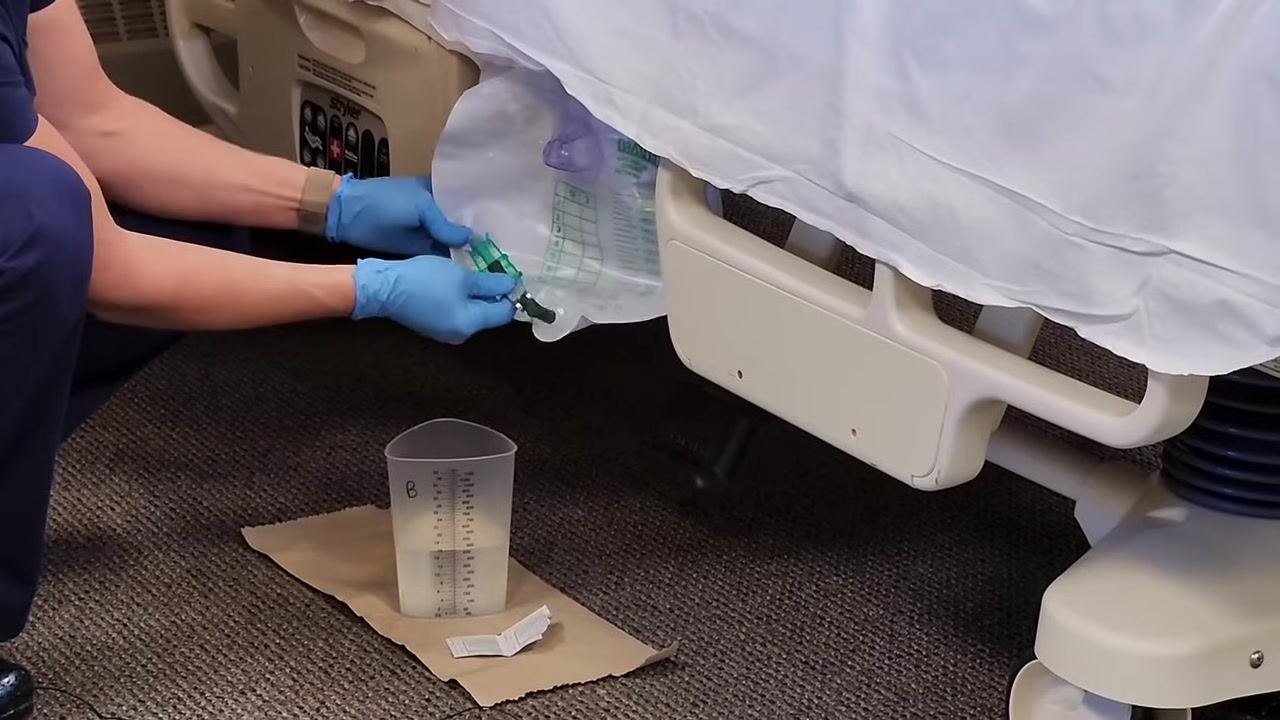
- Squeeze the sides of the spout (or use the appropriate mechanism for the bag type) and direct it into the graduated cylinder without letting it touch the cylinder's sides.
- Open the clamp and let urine drain into the cylinder, holding the spout steady the entire time.
- Keep the spout above the cylinder throughout draining to prevent contamination.
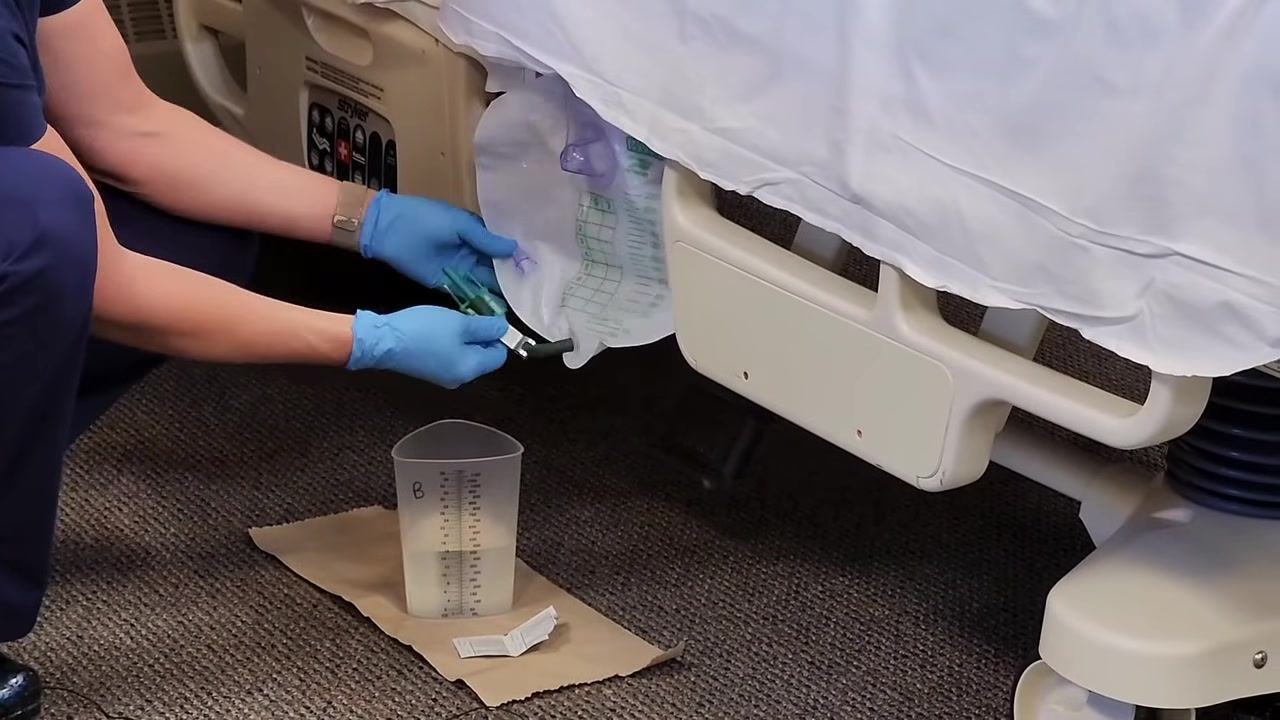
- Once the bag is empty, close and secure the clamp.
- Clean the spout thoroughly with an alcohol pad, including the inside as far as possible, without leaving fibers behind, and clean the holder or cap where the spout is stored.
- Dispose of the used alcohol pad and other disposable materials appropriately, then return the spout to its holder.
- Place a new barrier on a clean, eye-level surface such as an overbed table, and move the graduated cylinder there for measurement; do not place it directly from the floor onto a clean surface.
Phase 3: Disposal and completion
- Carry the graduated cylinder to the toilet and pour the urine in without splashing; do not touch the inside of the toilet or the cylinder with your hands.
- Rinse the cylinder thoroughly using the facility-provided sprayer or toilet attachment, then let it air dry in the resident's bathroom; do not dry it by hand or place your hands inside it.
- Remove gloves carefully, dispose of them in the appropriate waste container, and wash your hands or use hand sanitizer.
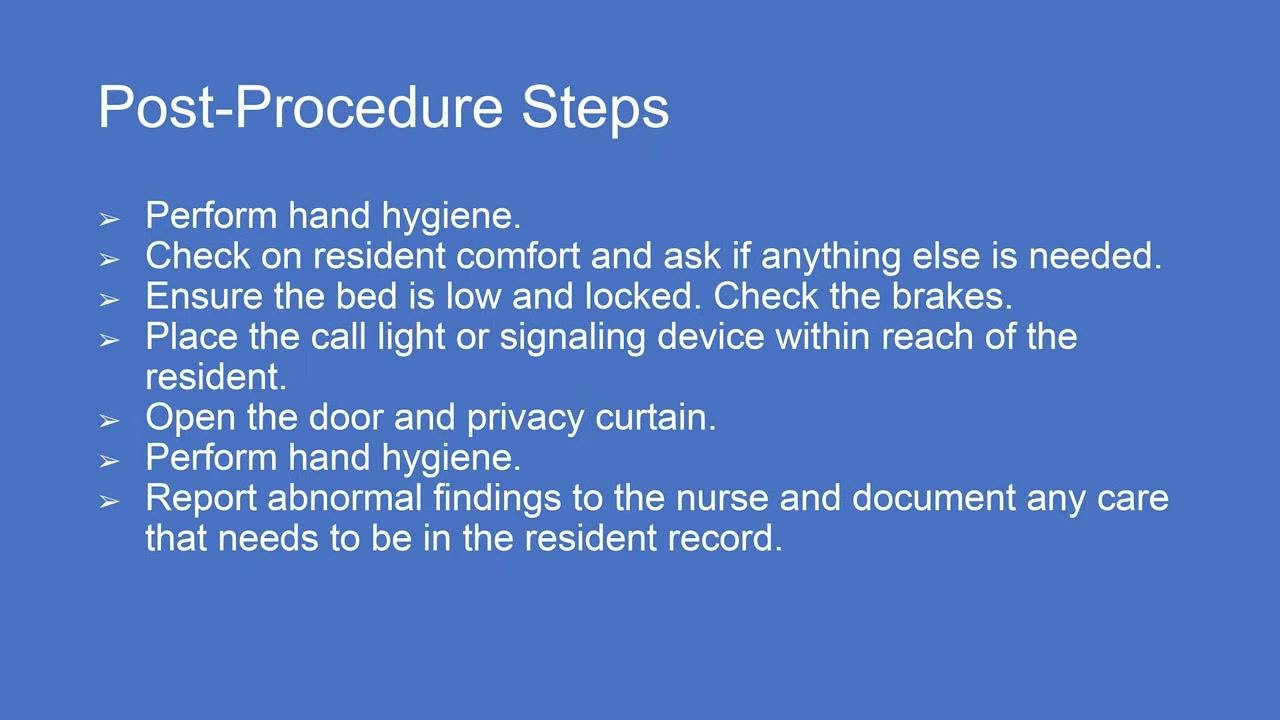
- Ask the resident if they are comfortable and need anything else, lower the bed to its lowest locked position, confirm the catheter bag does not touch the floor, place the call light within reach, and open the privacy curtain and door.
- Once your hands are clean, document the urine output and report any abnormal findings to the nurse.
This procedure does not include medication administration, wound care, or nutritional interventions; consult the resident's individual orders and care plan for those needs.
Pain management
This task does not involve a pain management protocol, medication schedule, or pain score target; refer to the resident's individual pain management plan and medication orders for related needs.
Mobility milestones
This procedure does not include mobility goals or a progression timeline; refer to the resident's individual mobility and rehabilitation care plan for milestones such as bed exercises, transfers, or ambulation.
Complication monitoring
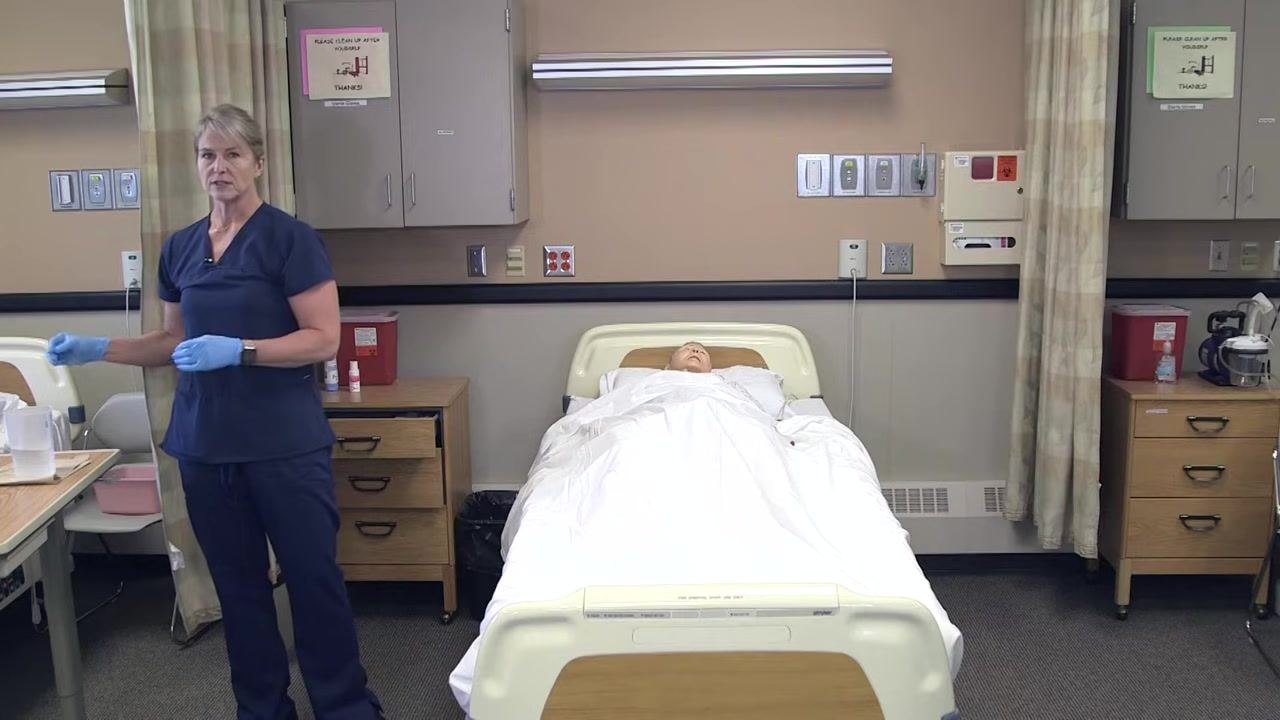
While measuring the urine output at eye level, observe it for color, clarity, and the presence of sediment or cloudiness. Standing above the graduated cylinder, also check for any unusual odor; urine has a natural smell, but strong or abnormal odors should be reported.
- Cloudy urine
- Sediment present
- Strong or unusual odor
Escalation: Report any abnormal findings, such as cloudiness, sediment, or a strong odor, to the nurse immediately, as these may indicate infection. Do not record measurements while wearing dirty gloves; remove gloves and perform hand hygiene before documenting.
Discharge criteria
This task is a routine nursing procedure rather than an episode of care, so no discharge criteria apply; instead, confirm the post-procedure checklist above (comfort, bed position, call light, privacy, documentation) is complete before leaving the room.
Patient education
- Explain the procedure clearly before starting and obtain the resident's consent, using respectful, professional communication throughout.
- After the procedure, ask the resident if they are comfortable and whether they need anything else.
- Confirm the call light or signaling device is within the resident's reach before you leave the room.
What's next
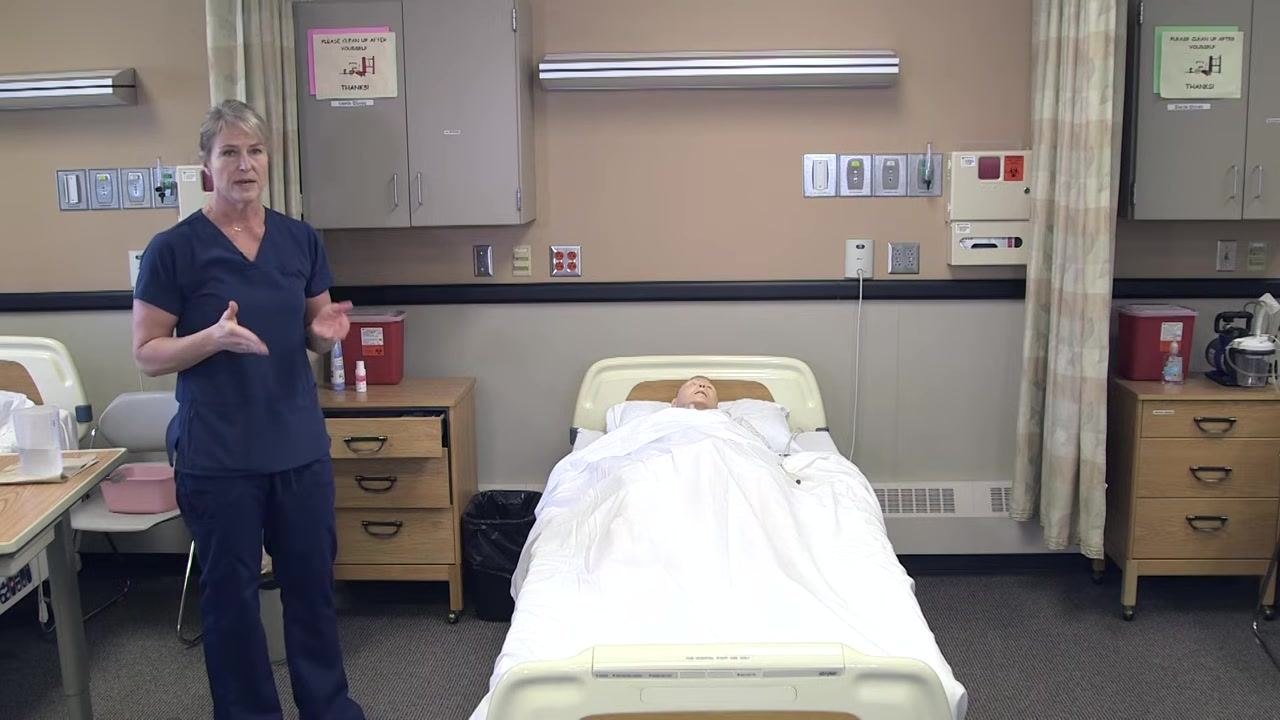
After completing the procedure, record the urine output, including volume, color, clarity, and any abnormal findings, and report concerns to the nurse as required. For additional reference material, the Nursing Assistant and other nursing OER textbooks are available at www.cvtc.edu/OpenRN, licensed under a Creative Commons Attribution 4.0 International License.
Generation details: cost, quality tiers, downloads
Docsie billed 2,500 credits ($1.75) to analyze this 5-minute video at standard quality. The rewrite, template fill and Word/PDF exports were included. The same video at each quality tier:
| Quality | Frames sampled | Credits | Approx. cost |
|---|---|---|---|
| Draft | every 16-30 s | 1,250 | $0.88 |
| Standard (this guide) | every 8-15 s | 2,500 | $1.75 |
| Detailed | every 4-7 s | 5,000 | $3.50 |
| Ultra | every 1-3 s | 10,000 | $7.00 |
Credits priced at $0.70 per 1,000; plans include a monthly allowance. Enterprise customers on on-premise or bring-your-own-model deployments run this on their own inference and pay no per-video credits.
Generated by Docsie Video-to-Docs on 2026-09-28 from a 4-minute video. It was generated straight into Docsie's Patient Care Procedure template, so every section of that template is filled from the video. Screenshots are frames from the source video and belong to their creator, WisTech Open | Open RN, whose original is embedded above. If you own this video and want the guide removed or credited differently, contact us and we will act within one business day.