
How to Apply a Condom Catheter
This procedure explains how to apply a condom catheter to a male resident, from initial preparation through securing the device, connecting the drainage system, and end-of-shift care. It is intended for nursing and allied health staff providing external urinary management as an alternative to an indwelling (Foley) catheter.
Video: Applying a Condom Catheter on a Male Resident by Florida Training Academy (2024). All credit for the demonstration goes to the creator; watch the original on YouTube. The written guide below was generated from this video by Docsie. Creator? Request a change or removal.
This procedure explains how to apply a condom catheter to a male resident, from initial preparation through securing the device, connecting the drainage system, and end-of-shift care. It is intended for nursing and allied health staff providing external urinary management as an alternative to an indwelling (Foley) catheter.
Purpose & scope
This procedure describes how to apply a condom catheter safely and comfortably to a male resident under a physician's order. It covers both ambulatory patients, who use a leg bag, and non-ambulatory patients, who use a standard collection bag with a longer tube.
The procedure applies in any care setting where a resident requires external urinary drainage as a non-invasive alternative to an indwelling catheter, such as a long-term care unit or bedside nursing care.

- Patient population: Male residents with a physician's order for external urinary catheterization
- Care setting: Bedside nursing care (long-term care or similar resident care environment)
- Clinical rationale: Non-invasive alternative to indwelling catheters with reduced risk of urinary tract infection and increased patient comfort
Patient assessment
Before applying the catheter, complete the following checks to confirm the correct order, equipment, and patient readiness.
| Assessment item | What to check |
|---|---|
| Physician's order | Confirm a physician's order is in place for condom catheter application |
| Patient understanding | Explain the procedure to the resident and confirm cooperation |
| Mobility status | Determine whether the resident is ambulatory or non-ambulatory to select the correct drainage bag |
| Skin condition | Check that the penile skin is intact and free of irritation; shave the area if not already shaved to promote adhesion |
| Sizing | Select the correct external catheter size for the patient |
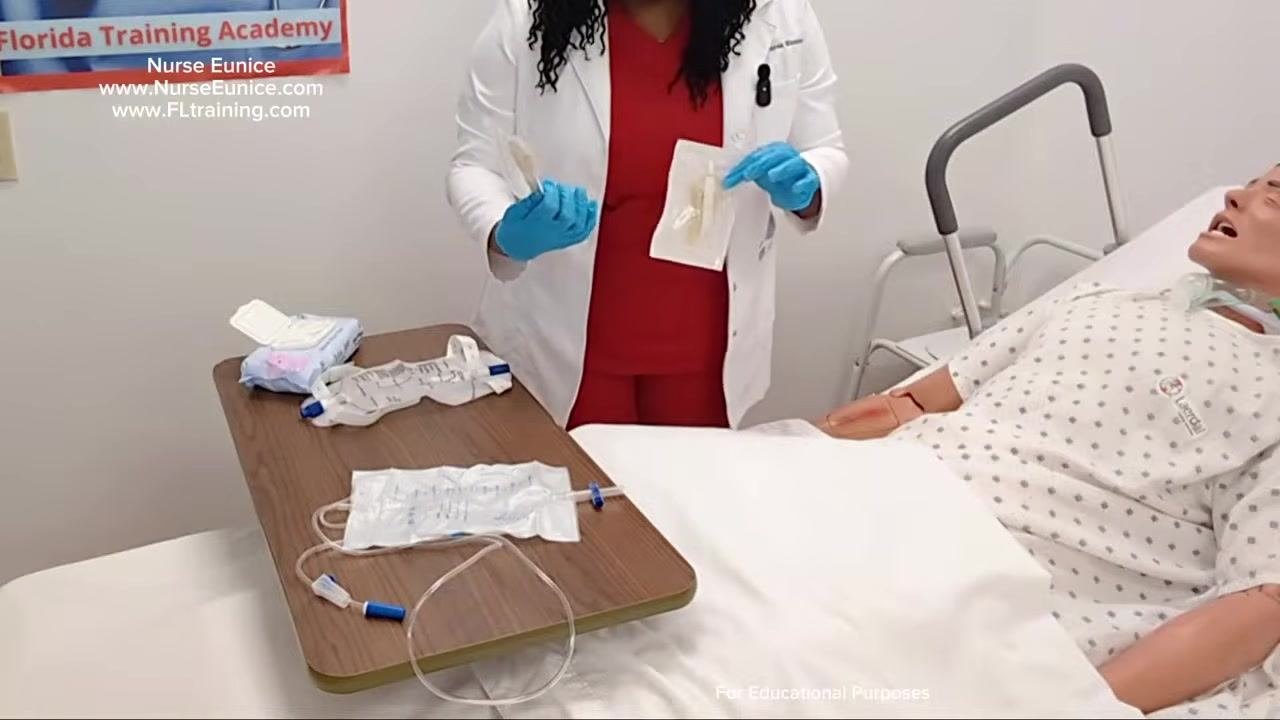
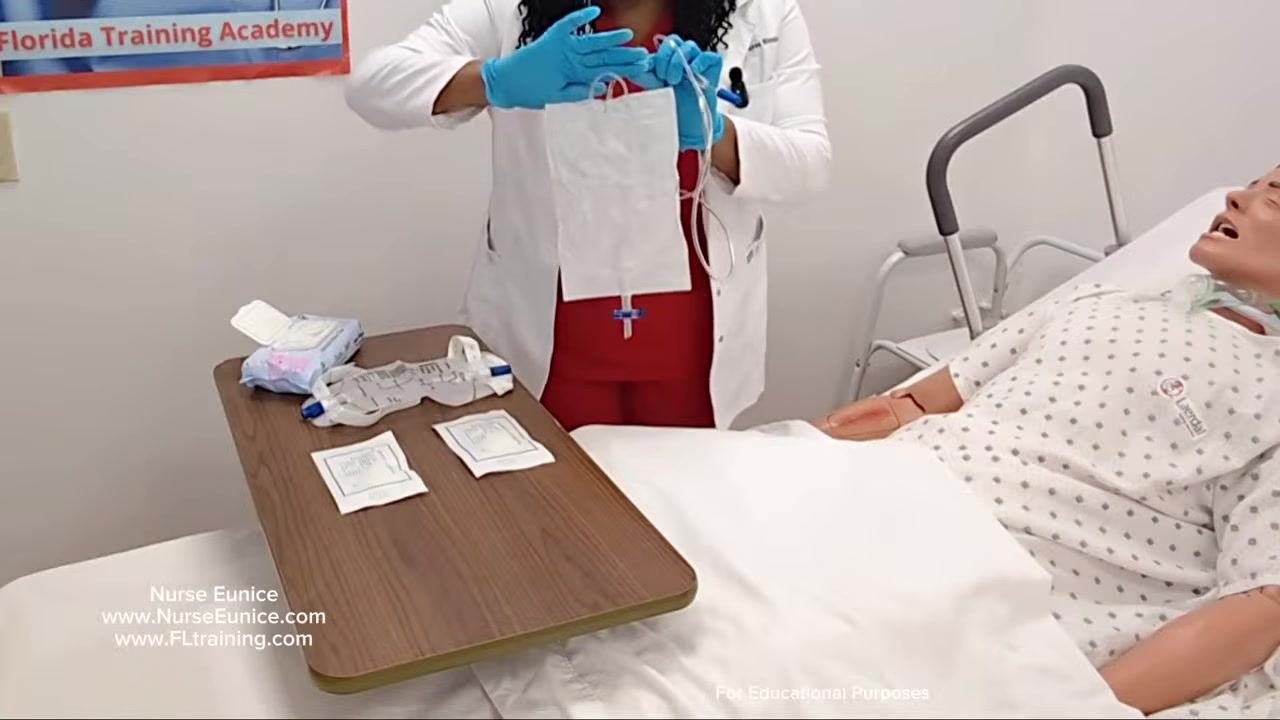
For ambulatory patients, use a leg bag with a strap. For non-ambulatory patients, use a standard collection bag with a longer tube and a curved hook area for attaching to the bed.
The source procedure does not specify a vital sign monitoring frequency, a formal pain assessment tool, or neurovascular checks; these should follow your facility's standard nursing assessment protocol if required.
Care protocol
Phase 1: Preparation
- Confirm the physician's order for condom catheter application.
- Explain the procedure to the resident to ensure understanding and cooperation.
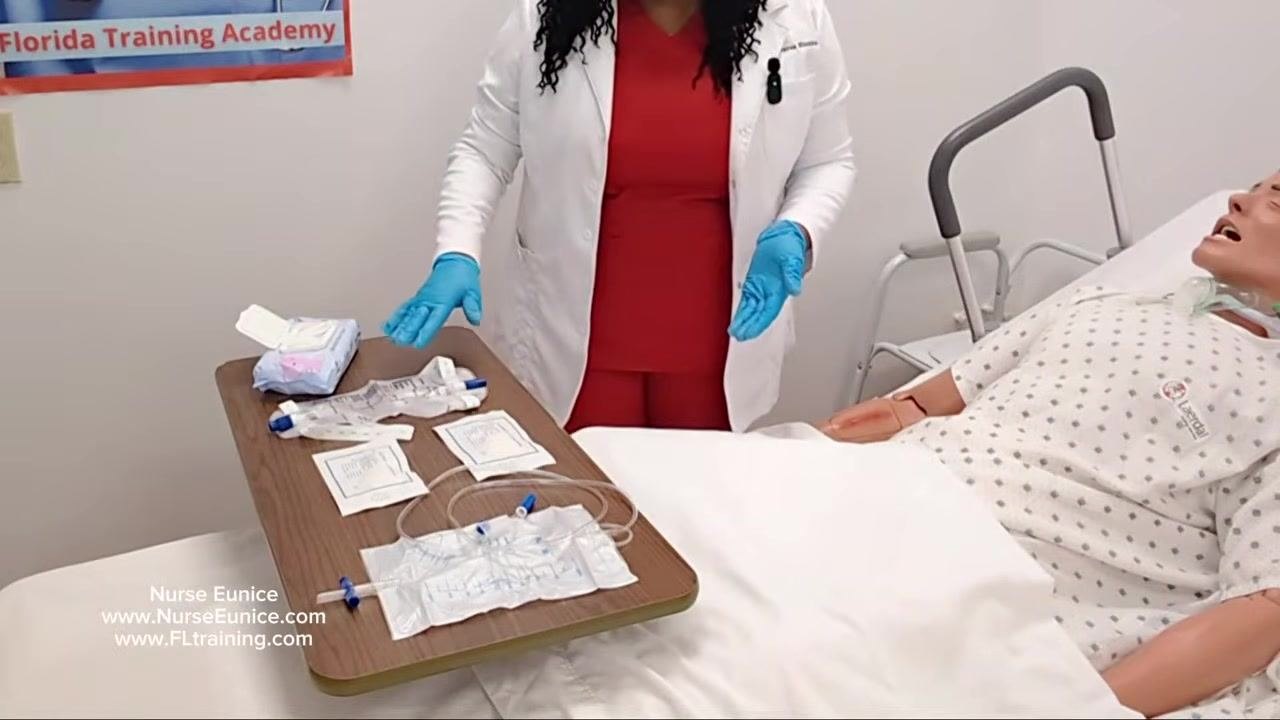
- Gather all necessary equipment:
- Condom catheter(s) in appropriate sizes
- Urine drainage bag (leg bag or standard collection bag)
- Leg strap (if using a leg bag)
- Gloves (non-sterile or sterile as per protocol)
- Cleansing wipes or materials
- Close the curtain or door to ensure privacy.
- Perform hand hygiene.
- Apply clean gloves.
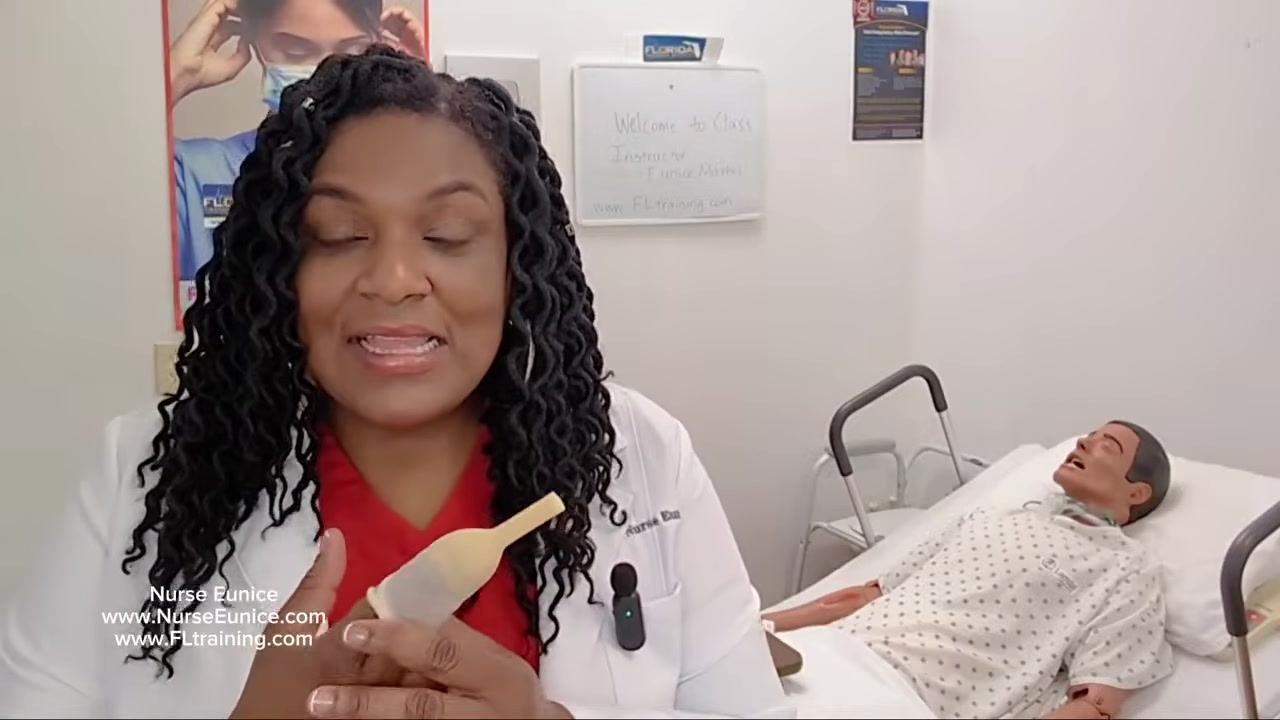
- Lay out all supplies on a clean surface near the patient and identify each item before beginning.
Phase 2: Skin preparation and application
- Drape the patient to expose only the genital area, maintaining privacy as much as possible.
- Cleanse the penis using a cleansing wipe, using circular motions starting at the tip and moving outward. Shave the area if needed to support adhesion.
- Dispose of used cleansing wipes and any shaving materials in the trash.
- Pat the area dry with a clean cloth or gauze, ensuring the skin is completely dry, then dispose of the cloth.
- If your facility provides a measuring device, use it to confirm the correct catheter size.
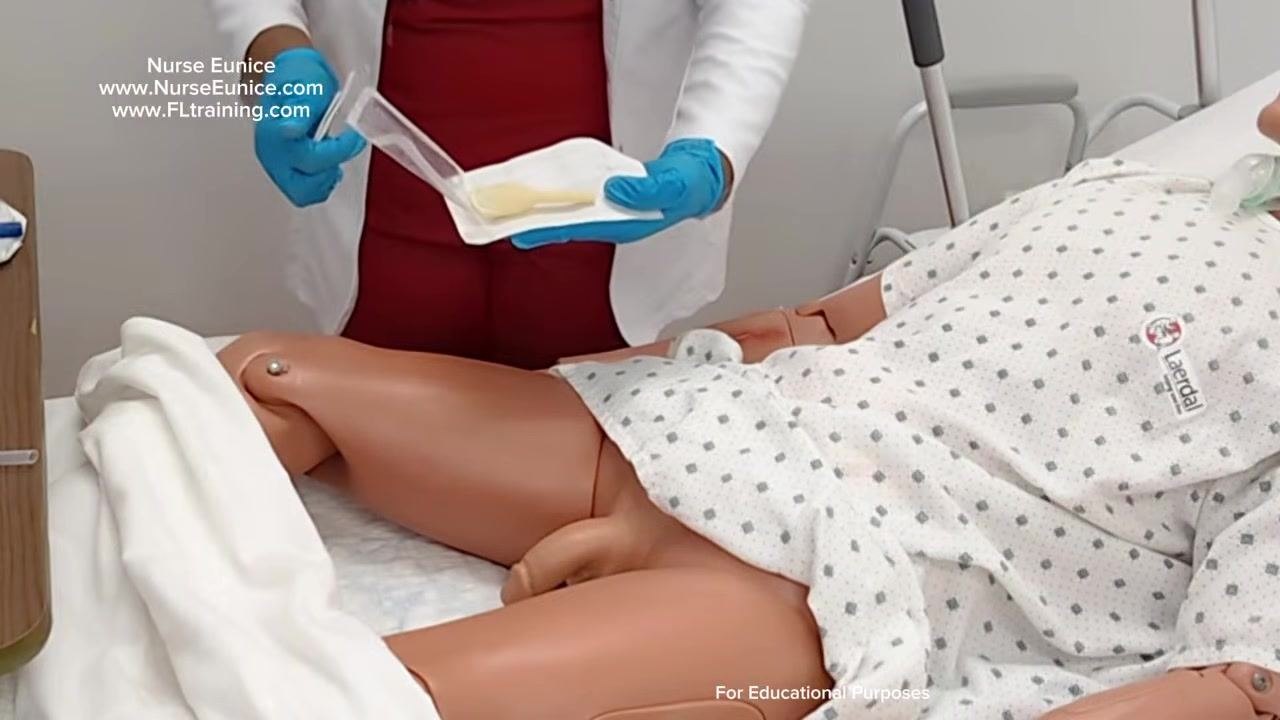
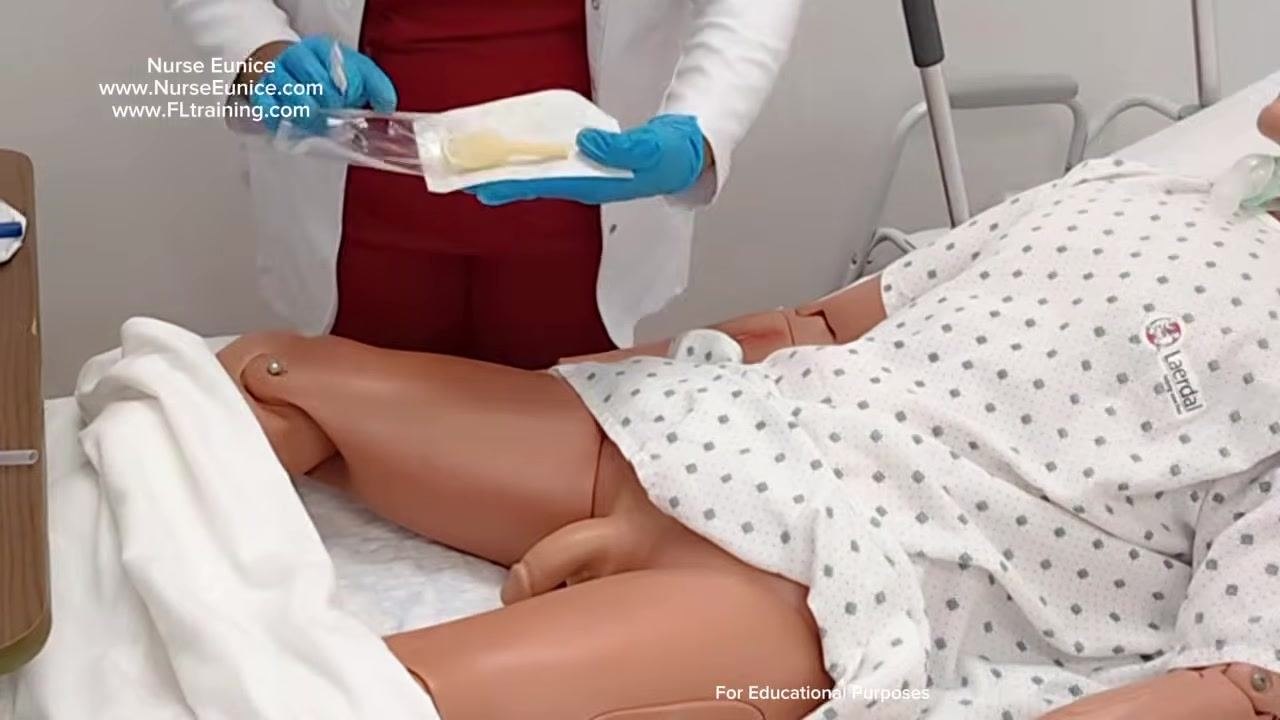
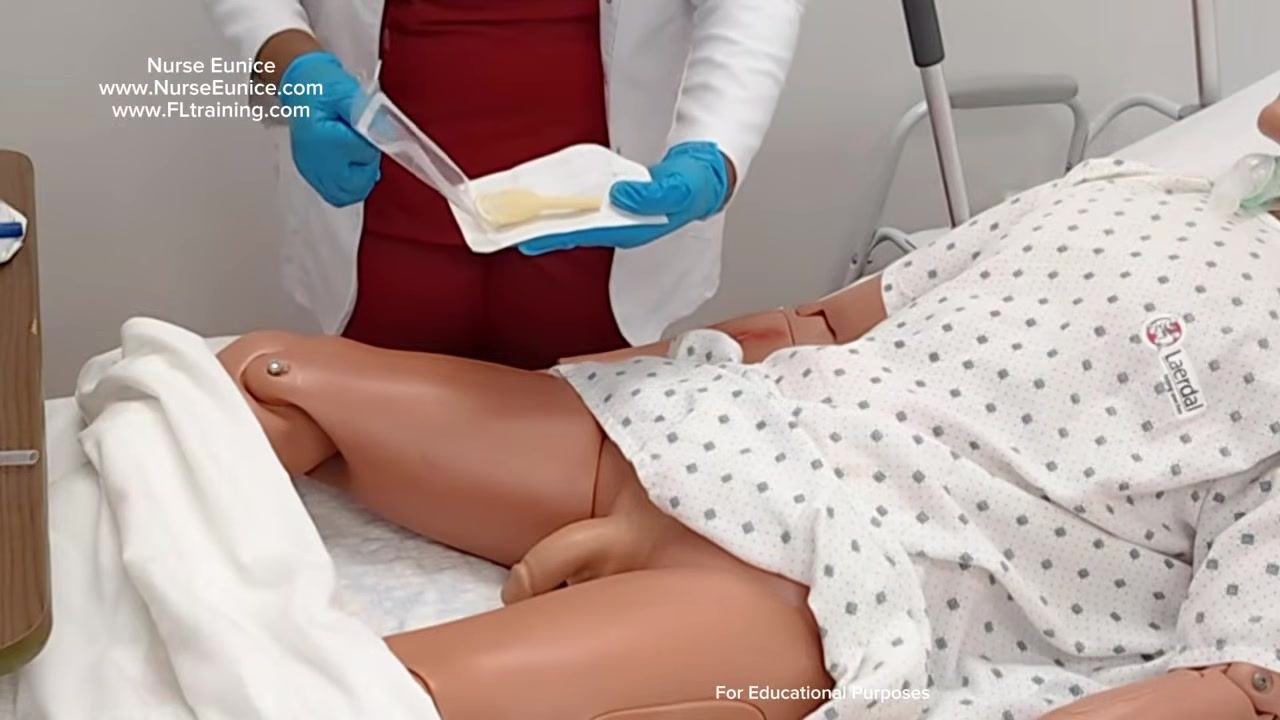
- Open the condom catheter package, which contains the catheter and an adhesive strip or securing tape.
- Note that some condom catheters are basic and widely available, while more expensive versions include additional adhesive for longer wear.
- Remove the condom catheter from its packaging and hold it in preparation for application.
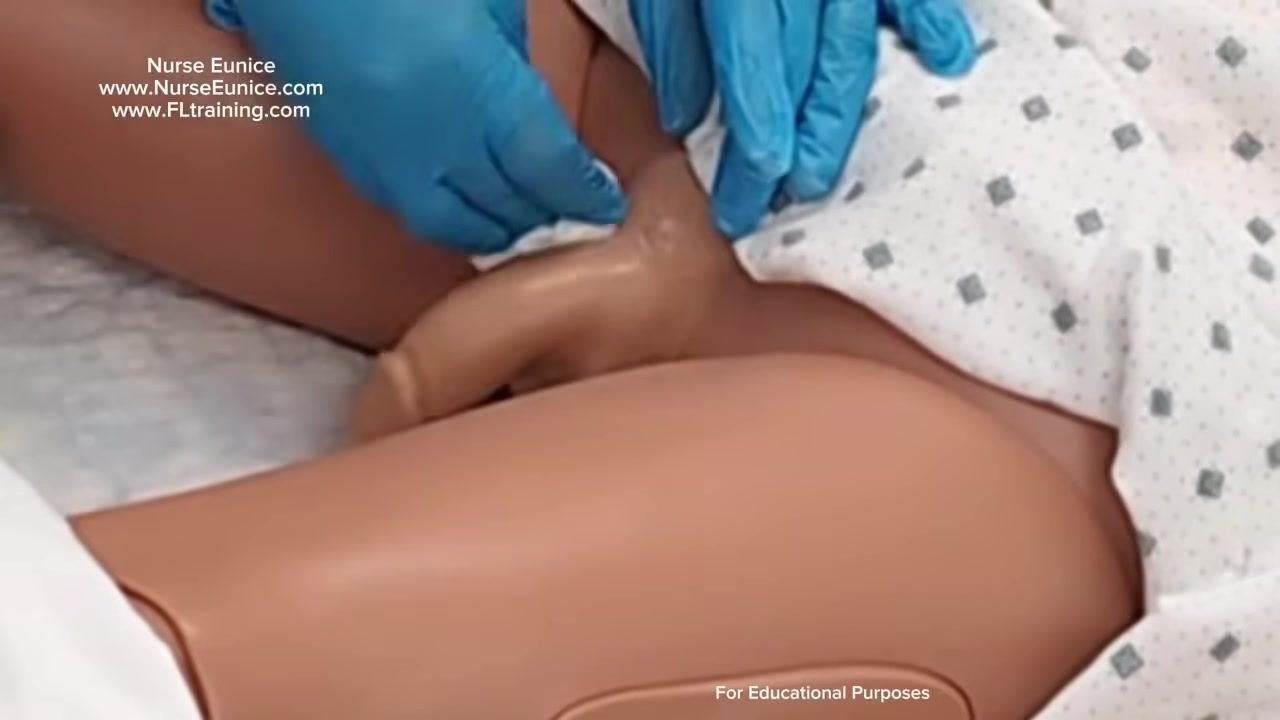
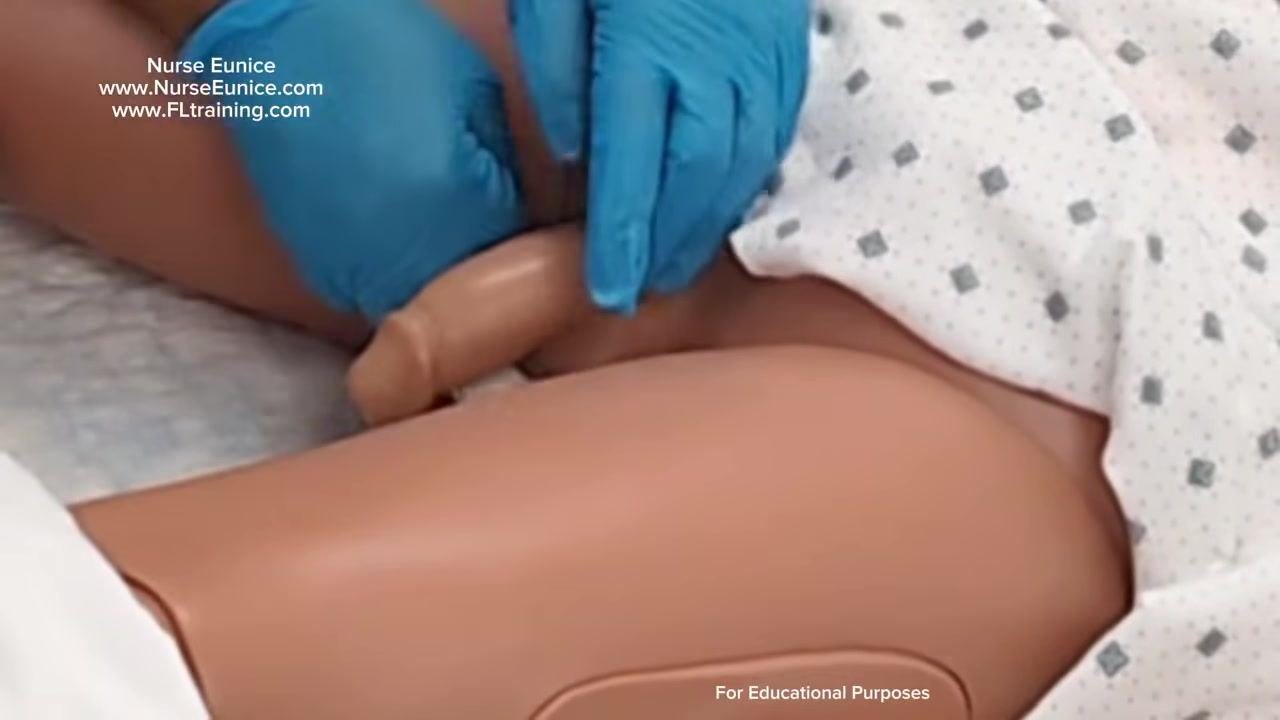
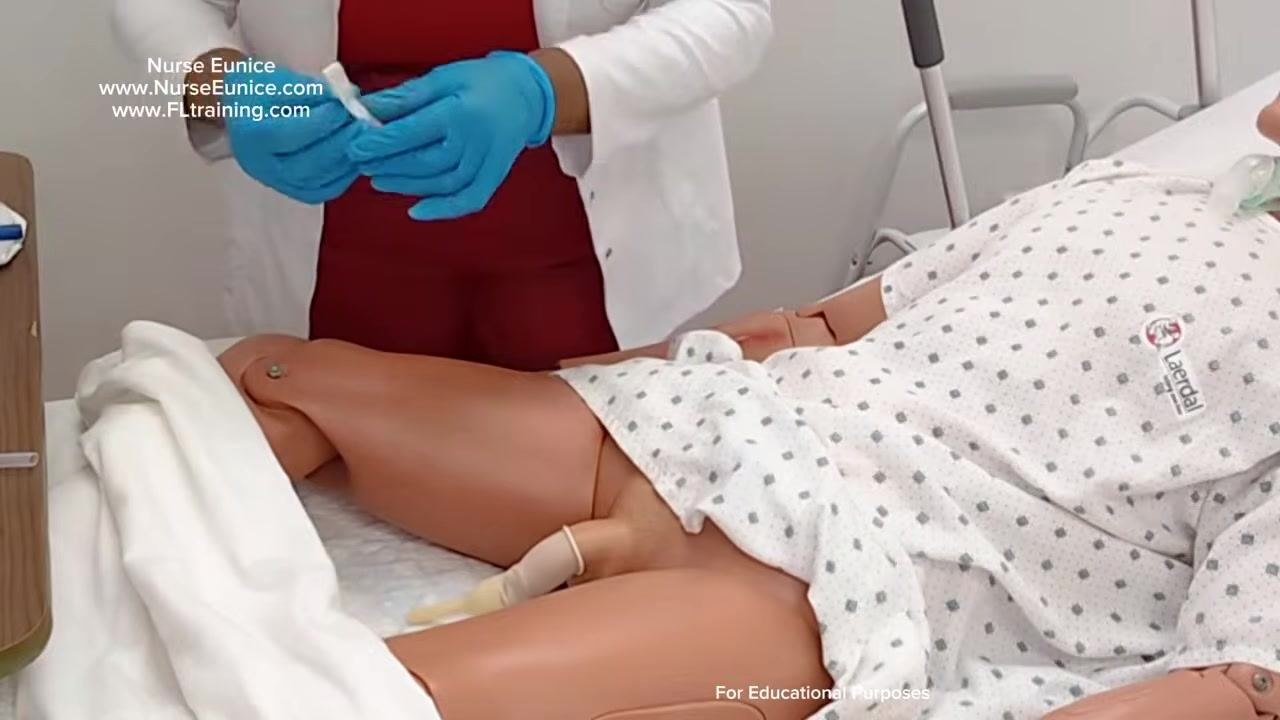
- Roll the condom catheter onto the penis, starting at the tip and unrolling it down the shaft. Ensure the fit is snug but not constricting, then gently press around the catheter to ensure good contact with any adhesive.
Phase 3: Securing the catheter and connecting drainage
- Press gently around the condom catheter to activate the adhesive and ensure full contact with the skin.
- Peel the backing from the adhesive securing tape and prepare to wrap it around the base of the catheter. The tape should be snug enough to prevent the catheter from rolling off, but not so tight that it causes erosion or pain.
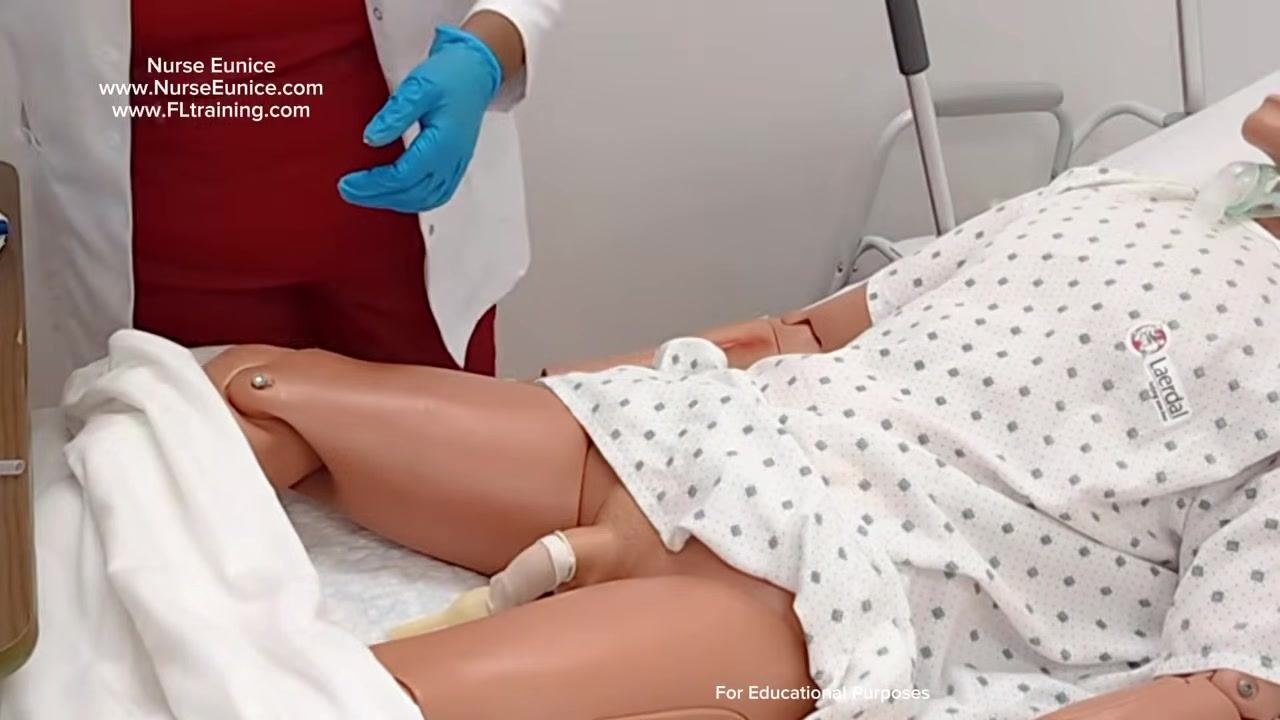
- Wrap the tape gently around the base of the catheter and confirm it is not too tight.
- Check the patient for any discomfort or pain, and confirm the catheter is secure without causing skin irritation.
- Locate the clamp on the drainage tubing and ensure it is open so urine can flow freely.
- Remove any protective cover from the end of the drainage tubing.
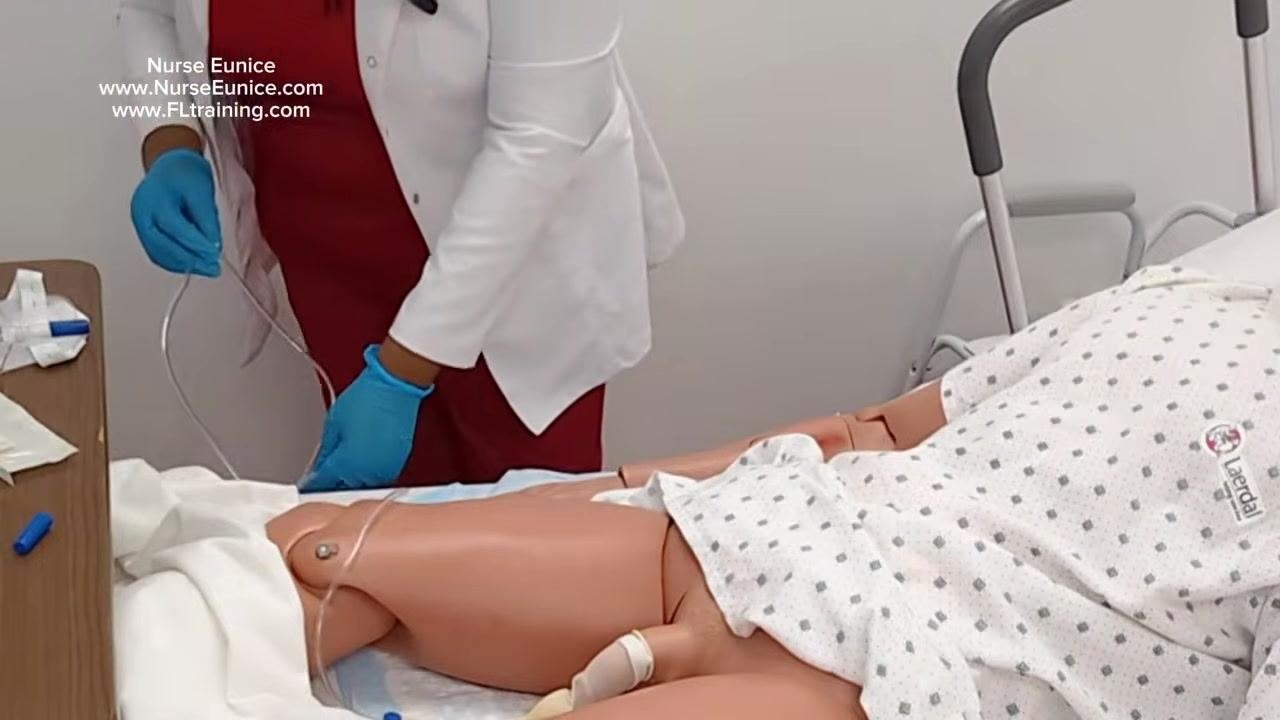
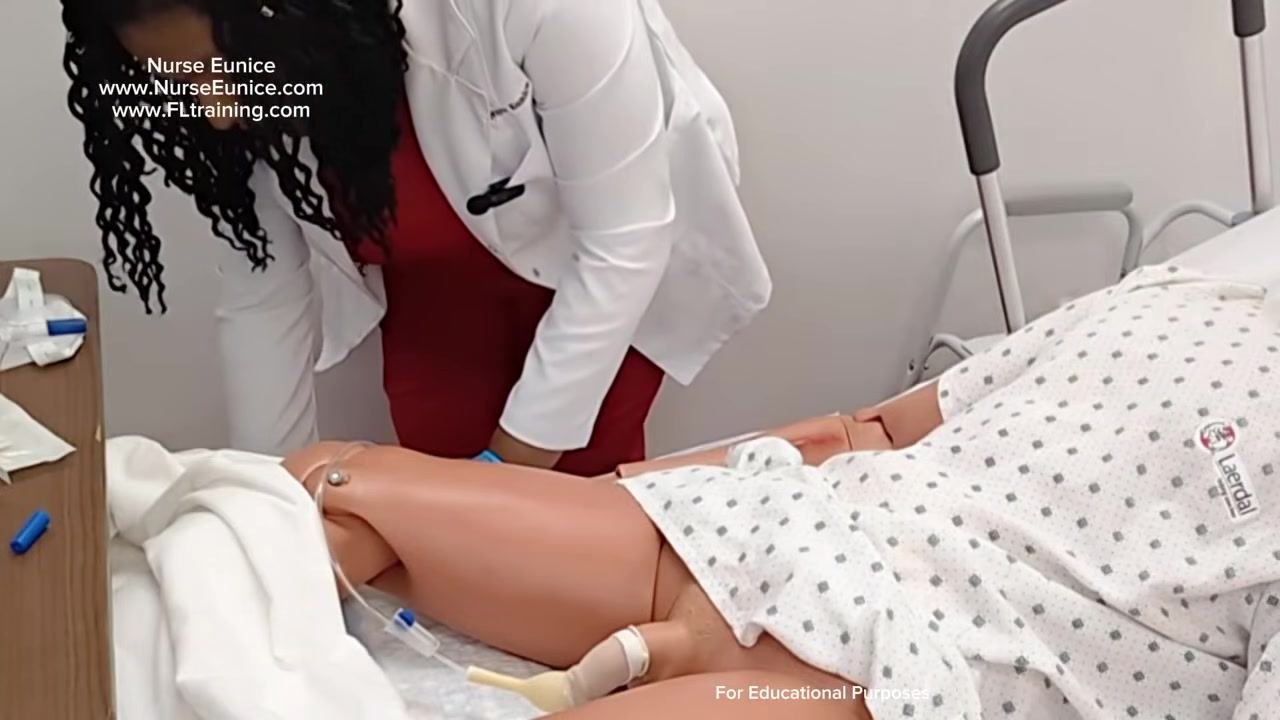
- Connect the external catheter to the drainage bag tubing, ensuring a secure connection to prevent leaks.
- Position the drainage bag off to the side of the bed using the provided hook or attachment point, keeping the tubing straight and free of kinks.
- Inspect the full length of the tubing to confirm there are no twists or kinks, adjusting as needed.
- Complete a final check to confirm the patient is comfortable, the catheter is secure, and the drainage bag is properly positioned. Empty the drainage bag whenever it is at least halfway full.
Phase 4: End-of-shift care
- At the end of your shift, put on gloves and gather supplies at the bedside to prepare for catheter care.
- Hold the drainage bag and tubing securely, ensuring the tubing is not kinked or pulling on the patient.
- Lower the drainage bag and tubing to the appropriate position, confirming all connections are secure and the patient is comfortable.
- Wash your hands thoroughly after completing the procedure, clean up all used supplies, and dispose of waste properly.
- If the bed rail was lowered, raise it back up for patient safety, and close or open the privacy curtain as needed.
- Carefully remove gloves and dispose of them in the appropriate waste container, then perform a final check that the patient is safe and comfortable and the environment is clean.
- Adjust the bed and privacy curtain as needed, ensure equipment is properly stored, and provide any final instructions to the patient.
Pain management
The source procedure does not include a medication regimen for pain management. It instructs staff to apply the securing tape snugly but not tightly, to avoid causing erosion or pain, and to check the patient for discomfort or pain after the tape is applied and again during the final check. Facilities should document any pain findings using their standard pain assessment tool and escalate to the physician if irritation, pain, or improper fit is identified.
Mobility milestones
The procedure does not describe a progressive mobility timeline. It does, however, distinguish equipment selection based on the resident's mobility status:
| Patient mobility status | Equipment used |
|---|---|
| Ambulatory | Leg bag with a securing strap |
| Non-ambulatory | Standard collection bag with a longer tube and curved hook for attaching to the bed |
If your facility uses a leg strap or device to secure the catheter tubing for ambulatory residents, apply it as directed.
Complication monitoring
Monitor for the following signs and escalate as needed:
- Discomfort or pain at the catheter or tape site
- Skin irritation or erosion caused by tape that is too tight
- Improper catheter fit (too loose, causing the catheter to roll off, or too tight, causing constriction)
- Twisted or kinked tubing that could obstruct urine flow
- Drainage bag reaching at least halfway full, which requires emptying to prevent overflow and maintain hygiene
Condom catheters are used to help prevent skin breakdown and keep the patient dry and comfortable; always monitor for signs of irritation or improper fit and notify the appropriate care team member if issues are found.
Discharge criteria
The source procedure does not define discharge criteria, as it addresses catheter application and end-of-shift care rather than discharge planning. Any discharge criteria related to catheter use should be determined by the physician's order and facility policy.
Patient education
Before or during the procedure, explain the following to the resident:
- The condom catheter is a latex covering that fits over the penis and allows urine to drain into a collection bag.
- It is a non-invasive alternative to indwelling (Foley) catheters.
- It carries a reduced risk of urinary tract infection compared with Foley catheters.
- It increases patient comfort compared with indwelling catheter options.
- Mobile patients use a leg bag secured with a strap, while non-ambulatory patients use a standard collection bag hooked to the side of the bed.
For additional training resources, staff can visit www.FLtraining.com and www.NurseEunice.com.
Generation details: cost, quality tiers, downloads
Docsie billed 3,500 credits ($2.45) to analyze this 7-minute video at standard quality. The rewrite, template fill and Word/PDF exports were included. The same video at each quality tier:
| Quality | Frames sampled | Credits | Approx. cost |
|---|---|---|---|
| Draft | every 16-30 s | 1,750 | $1.22 |
| Standard (this guide) | every 8-15 s | 3,500 | $2.45 |
| Detailed | every 4-7 s | 7,000 | $4.90 |
| Ultra | every 1-3 s | 14,000 | $9.80 |
Credits priced at $0.70 per 1,000; plans include a monthly allowance. Enterprise customers on on-premise or bring-your-own-model deployments run this on their own inference and pay no per-video credits.
Generated by Docsie Video-to-Docs on 2026-09-20 from a 6-minute video. It was generated straight into Docsie's Patient Care Procedure template, so every section of that template is filled from the video. Screenshots are frames from the source video and belong to their creator, Florida Training Academy, whose original is embedded above. If you own this video and want the guide removed or credited differently, contact us and we will act within one business day.