
How to Administer Medication Through a Feeding Tube
This procedure explains how to administer medication through a feeding tube for a patient who cannot swallow safely. It covers preparing the medication, verifying tube placement, assessing gastric content, administering the dose by gravity, and documenting the process. Follow these steps whenever a physician has ordered medication to be given via a nasogastric (NG) feeding tube instead of by mouth.
Video: How To Administer Medication Through a Feeding Tube - Weber State University by Weber State University (2024). All credit for the demonstration goes to the creator; watch the original on YouTube. The written guide below was generated from this video by Docsie. Creator? Request a change or removal.
This procedure explains how to administer medication through a feeding tube for a patient who cannot swallow safely. It covers preparing the medication, verifying tube placement, assessing gastric content, administering the dose by gravity, and documenting the process. Follow these steps whenever a physician has ordered medication to be given via a nasogastric (NG) feeding tube instead of by mouth.
Purpose & Scope
Clinical context: This procedure applies whenever a patient cannot swallow and a physician has ordered medication to be administered via a feeding tube instead of orally. Medication may be given in liquid form or, if a liquid form is not available, prepared by crushing and dissolving pills.
Patient population: Patients with an existing NG feeding tube who require ongoing medication administration because they are unable to swallow.
Care setting: This procedure is performed at the bedside in an inpatient hospital room, using standard precautions (gloves) and the patient's medication administration record (MAR).
Supplies needed: - Prescribed medication (liquid, or crushed and dissolved as needed) - Medication cup and a separate cup of lukewarm tap water - 60 mL (60 cc) syringe and tube adapter - Gloves - Absorbent pad (chux) - Stethoscope - Patient documentation/MAR
Patient Assessment
Before administering any medication through the feeding tube, complete the following checks in order.
| Assessment step | What to check |
|---|---|
| Hand hygiene | Wash hands thoroughly before any patient contact |
| Patient identity | Ask patient to state name and date of birth; confirm against wristband and MAR |
| Allergy check | Ask the patient about any known medication allergies |
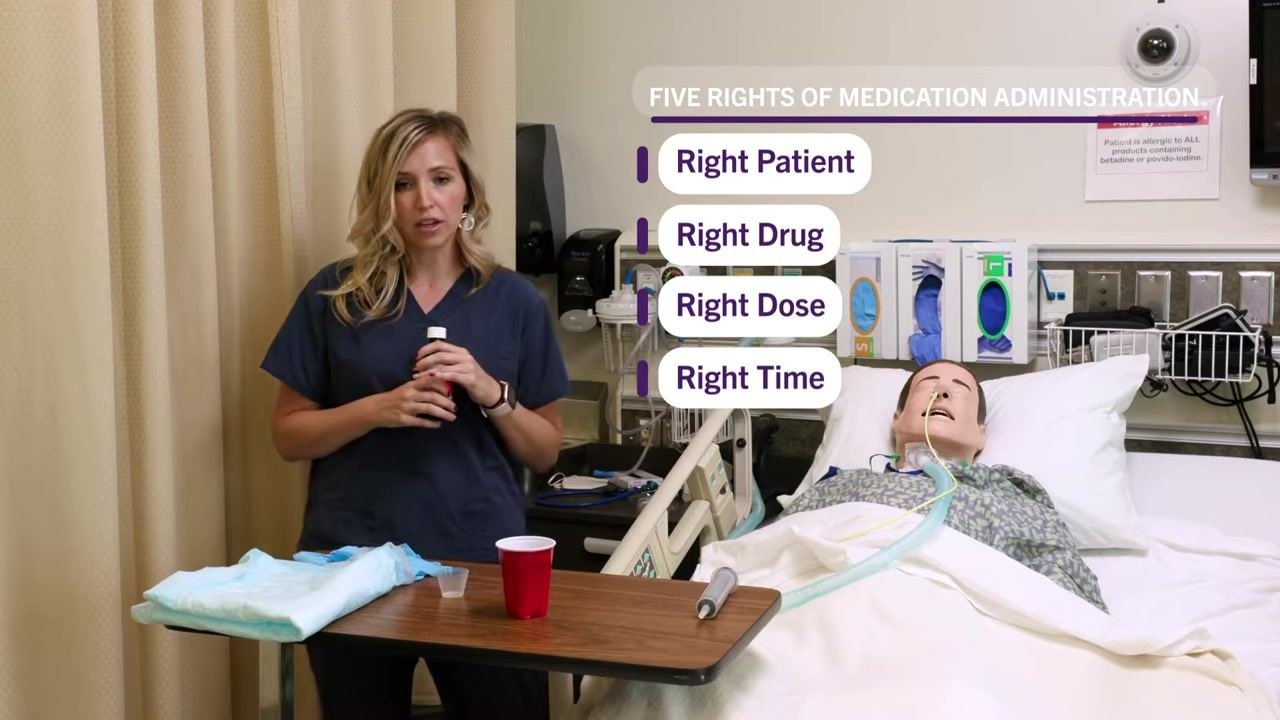
| Five Rights | Right patient, right drug, right dose, right time, right route (feeding tube, per physician's order) |
| Bowel sounds | Auscultate all four abdominal quadrants for 5 minutes each if none are heard initially |
| NG tube placement | Confirm caps are in place, then remove caps and attach adapter for syringe connection |
| Gastric aspirate | Aspirate with a 60 mL syringe and assess volume, color, and presence of undigested material |
Introduce yourself to the patient and confirm identity by name and date of birth before beginning any assessment.
Explain to the patient which medication you are giving and why (for example, a cough medication may cause drowsiness while also reducing cough and improving sleep).
Verify the Five Rights of Medication Administration against the MAR and the physician's order: right patient, right drug, right dose, right time, and right route.
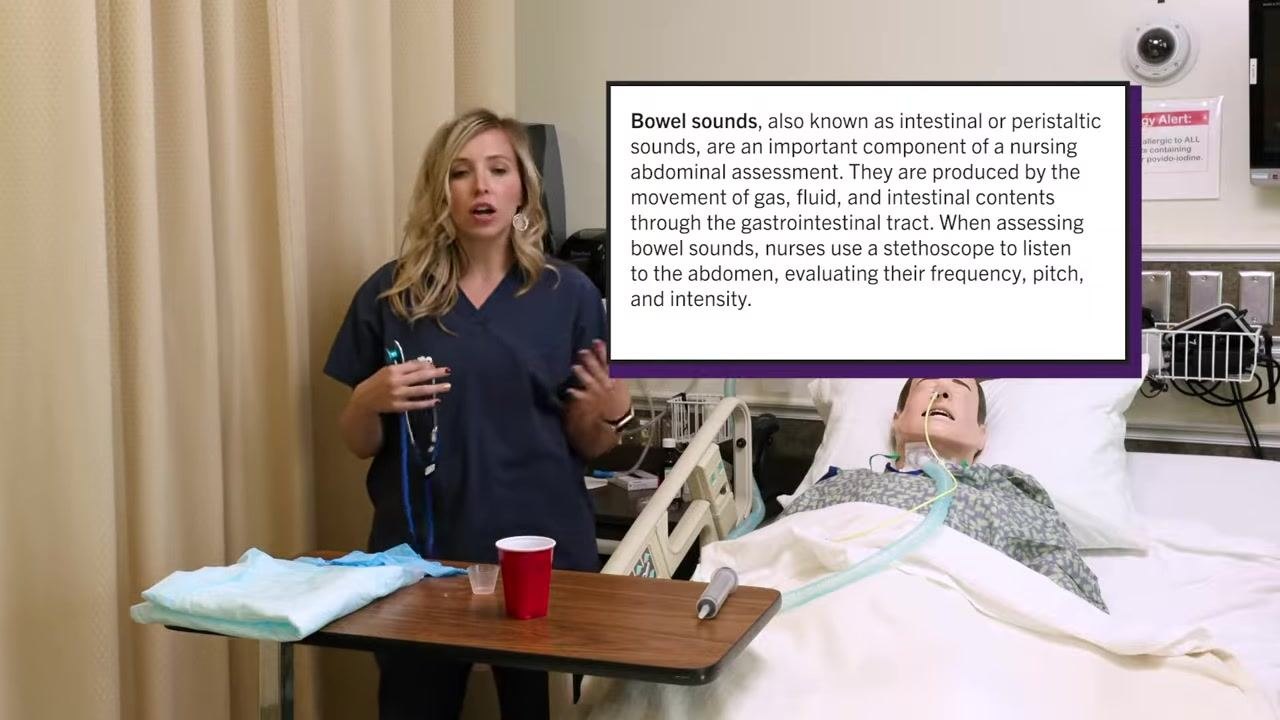
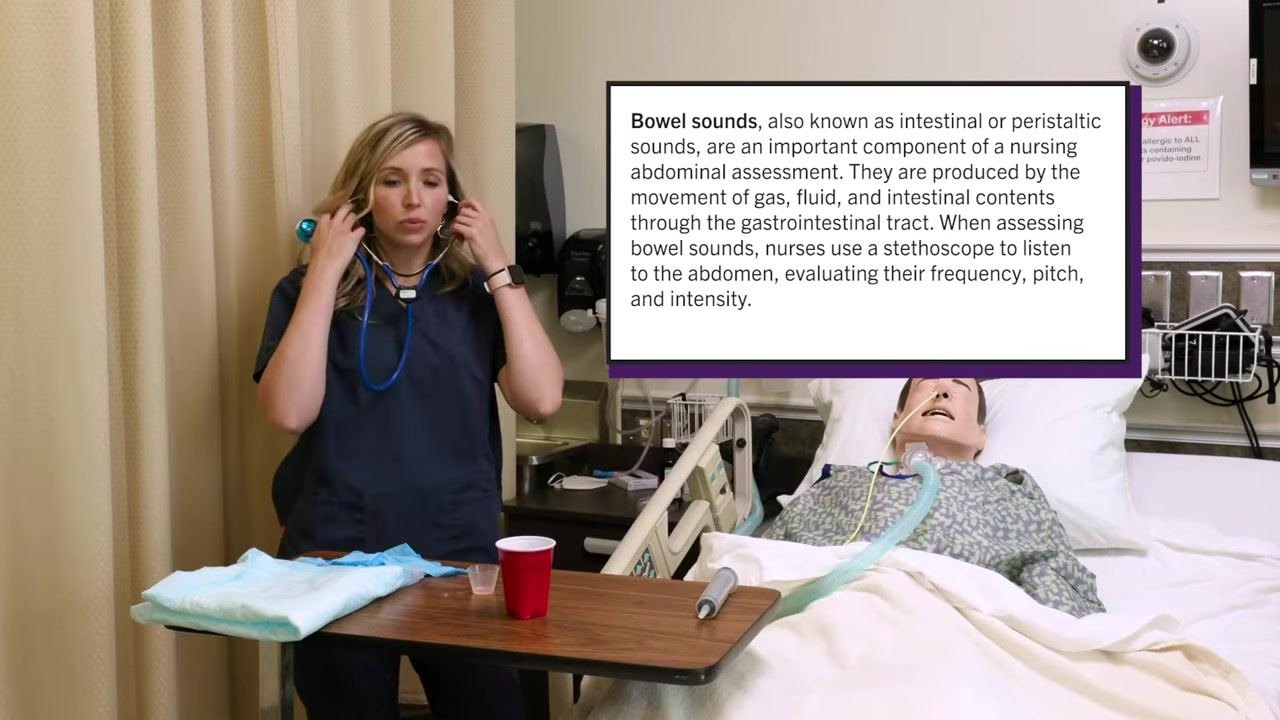
Assess bowel sounds before giving any medication. Explain to the patient that you will be listening to their abdomen, then lift the gown as needed to access all four quadrants.
Place the stethoscope earpieces in your ears and position the diaphragm on the abdomen. Systematically listen to all four quadrants, noting frequency, pitch, and intensity of sounds.
Normal bowel sounds occur at a rate of 5–10 sounds per minute in each quadrant. If no sounds are heard after listening for 5 minutes in a quadrant, consider bowel sounds absent in that quadrant and do not proceed with administration; notify the physician.
Vital sign monitoring: The source material does not specify a vital sign monitoring frequency for this procedure; follow your facility's standing orders for vital sign checks during medication administration.
Pain assessment tool: No specific pain assessment tool is described in this procedure; use your facility's standard pain scale if the patient reports discomfort.
Neurovascular checks: Neurovascular checks are not part of this feeding tube medication procedure and are not addressed in the source material.
Care Protocol
The procedure is organized into six phases, from preparation through documentation.
Phase 1 – Preparation - Gather all supplies (medication, medication cup, water, gloves, documentation) and enter the patient's room. - Perform hand hygiene. - Introduce yourself, verify patient identity, and confirm the Five Rights against the MAR.
Phase 2 – Pre-administration setup - Pour the prescribed liquid dose into a medication cup at eye level to measure accurately.
- Put on clean gloves before handling the tube or medication.
-
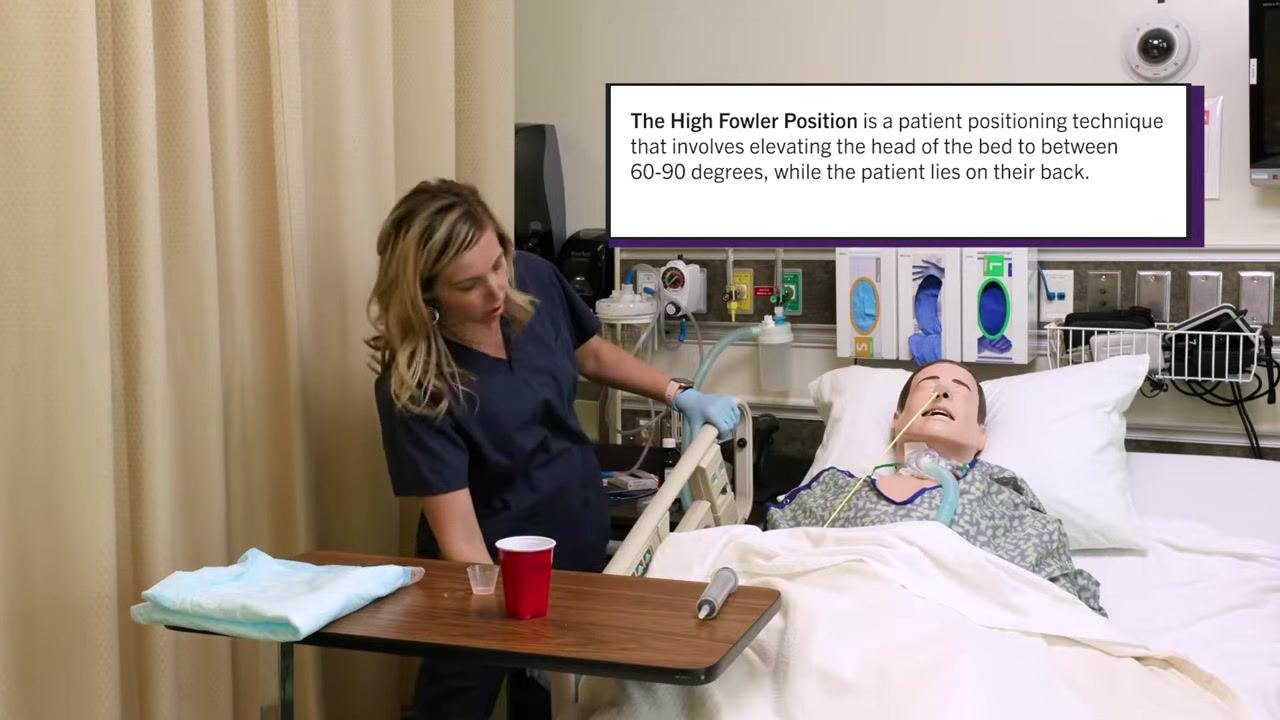
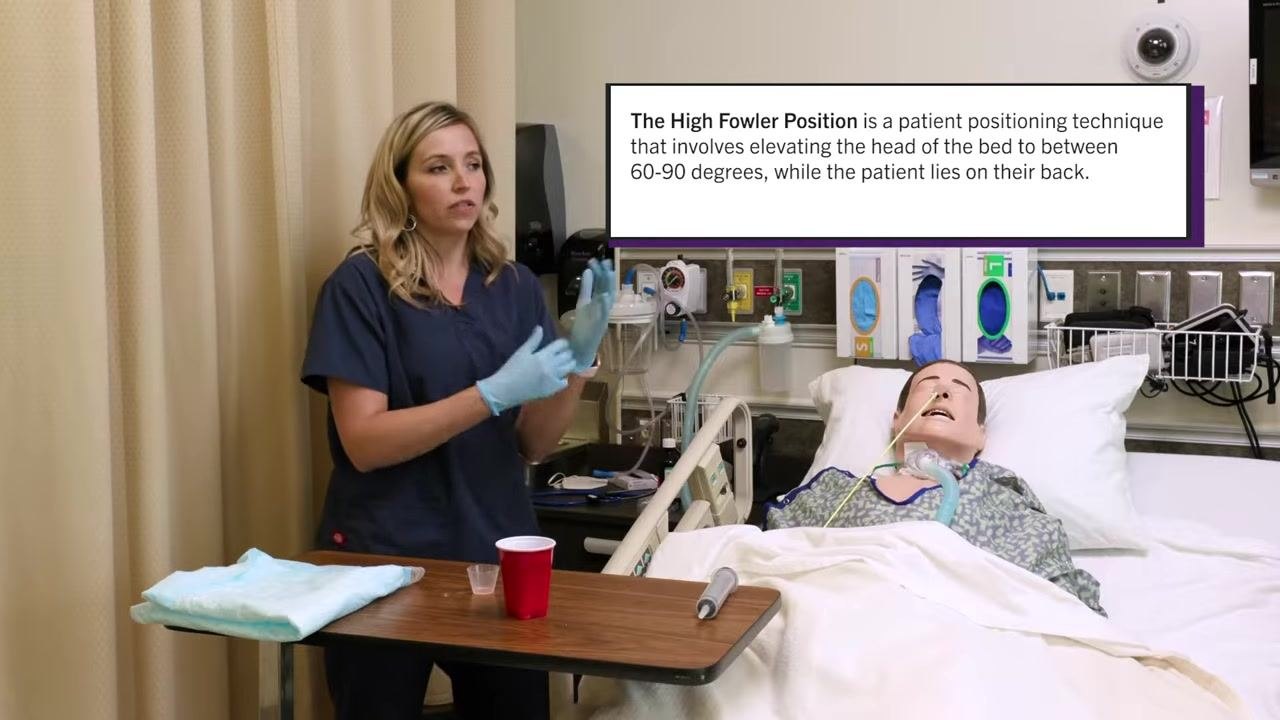
Position the patient in High Fowler's position, elevating the head of the bed to 60–90 degrees, to reduce aspiration risk.
-
Adjust the bed so the patient is sitting upright and confirm they are comfortable and properly aligned.
-
Place an absorbent pad over the patient's chest and upper abdomen, and set out the medication cup and a cup of lukewarm water.
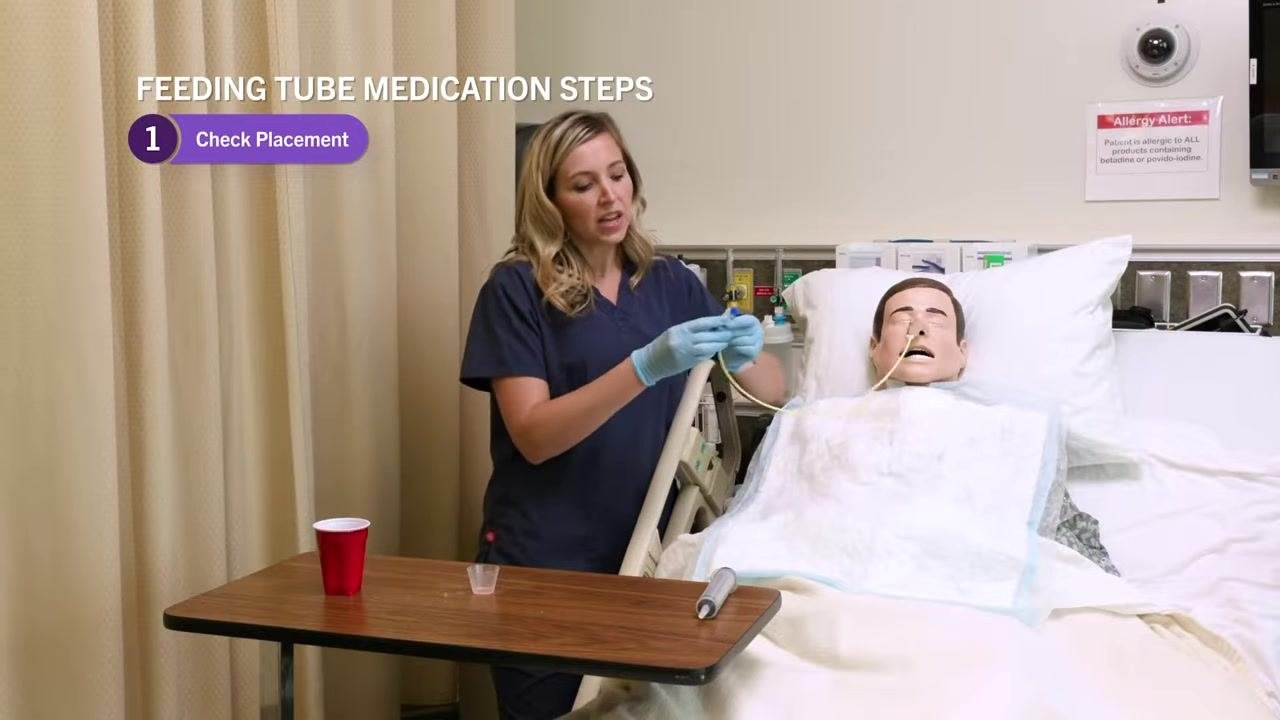
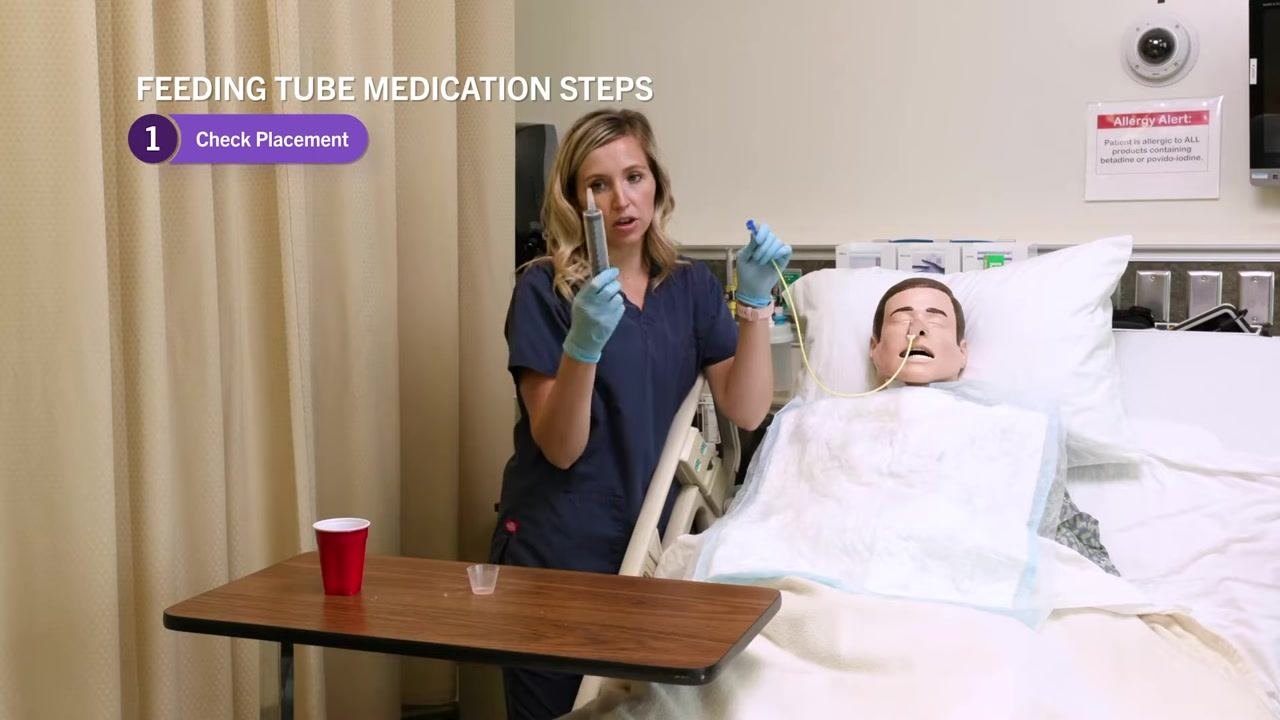
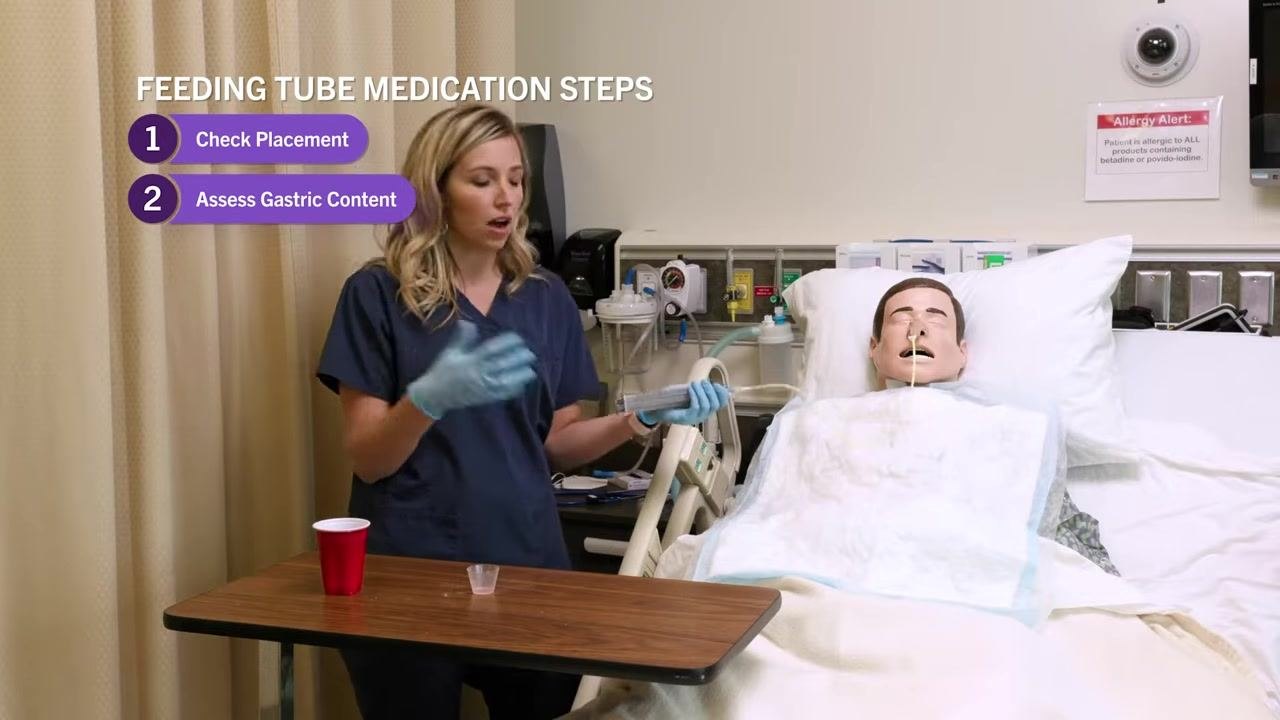
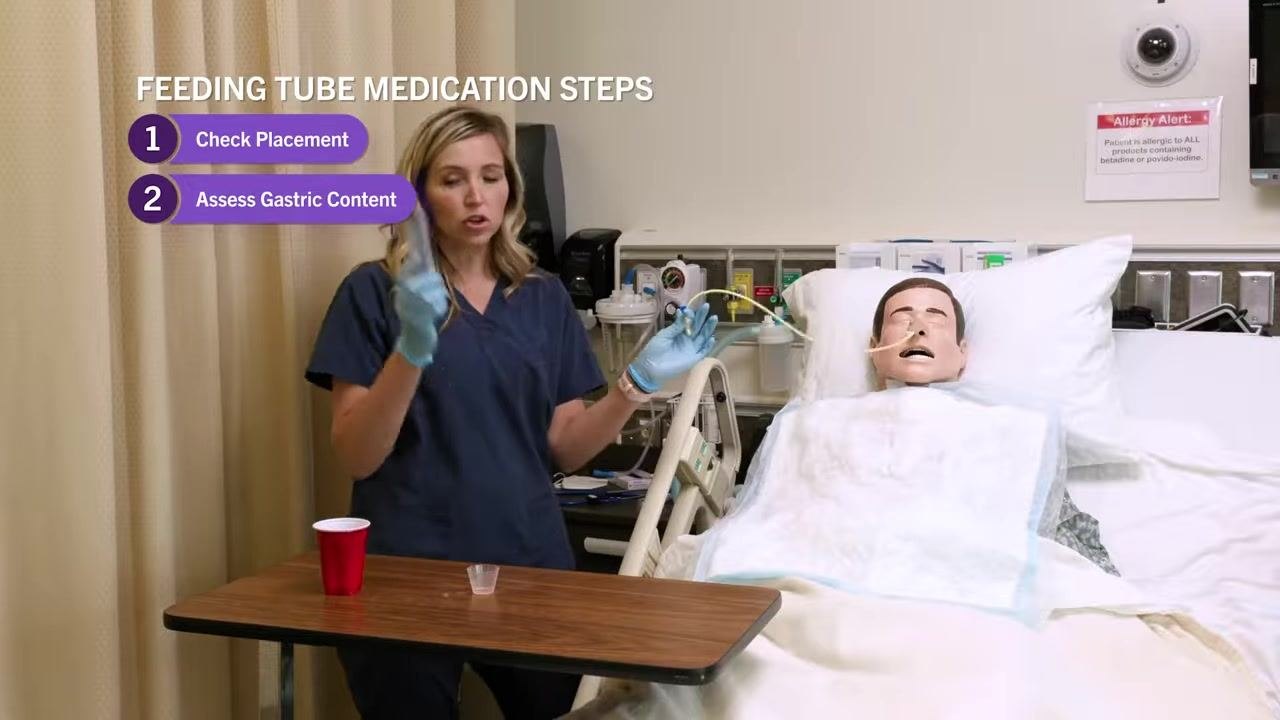
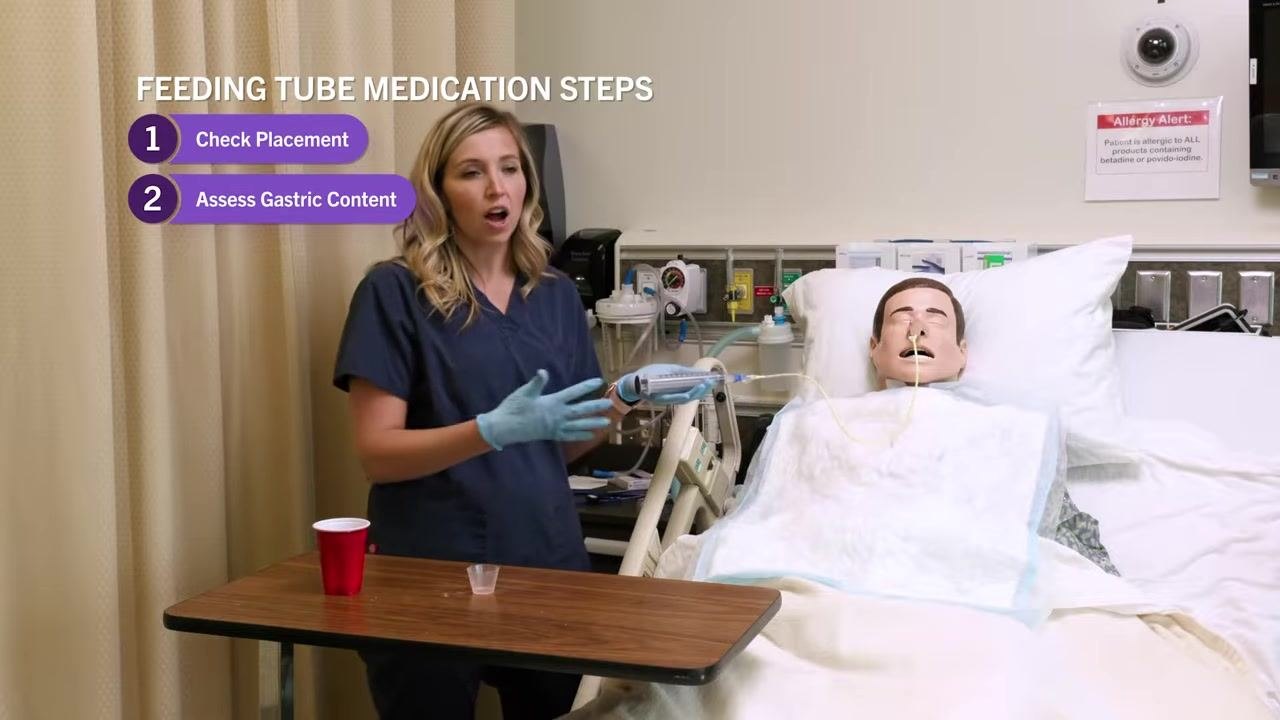
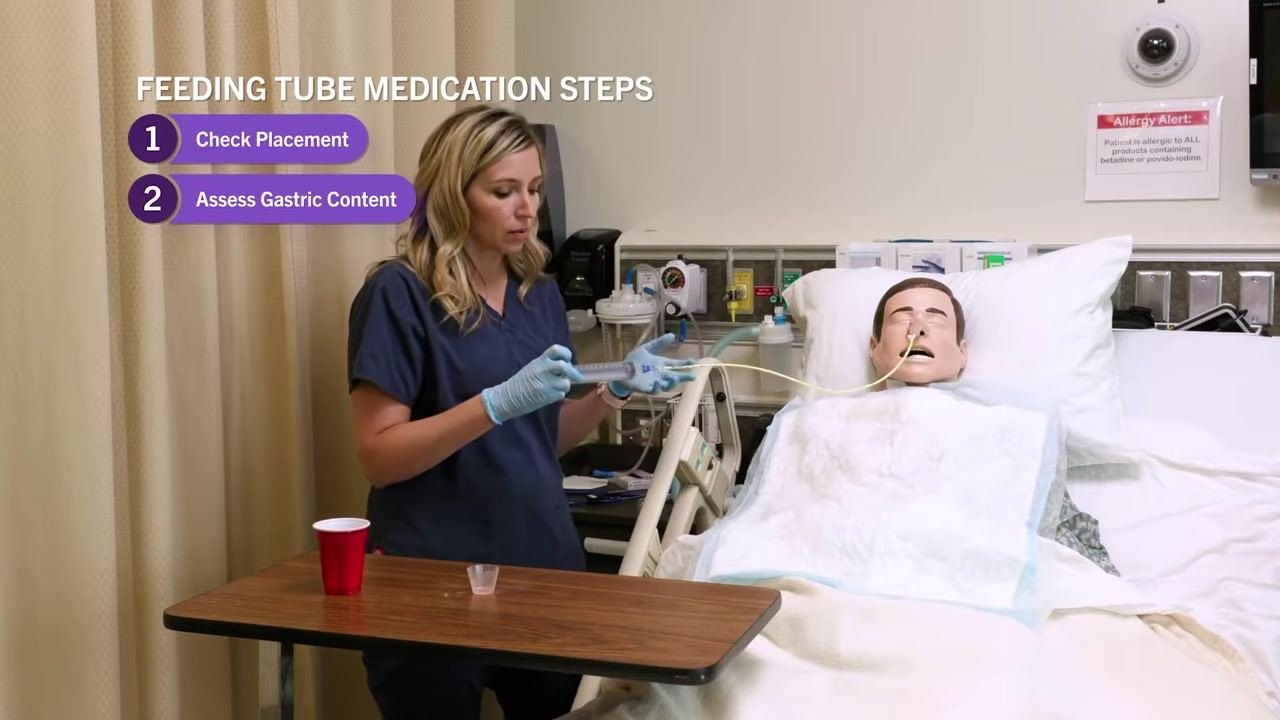
Phase 3 – Check tube placement and gastric content - Remove both protective caps from the NG tube and attach the adapter to allow syringe connection.
-
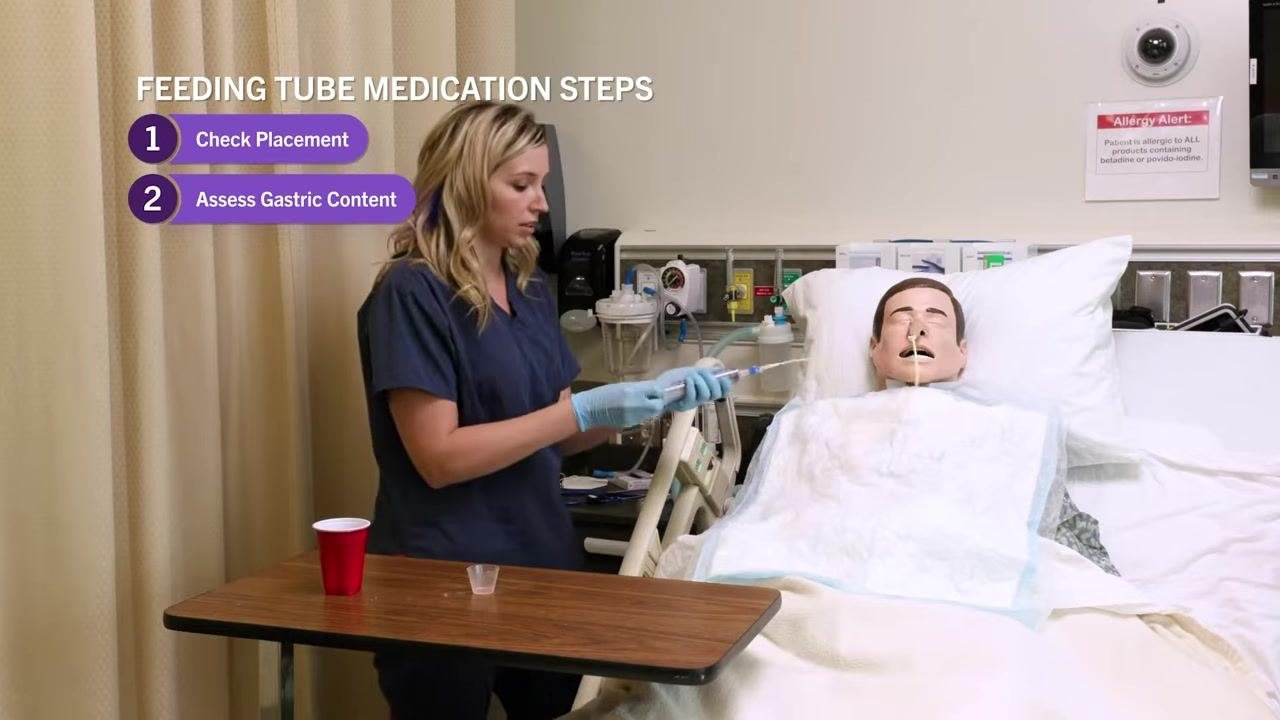
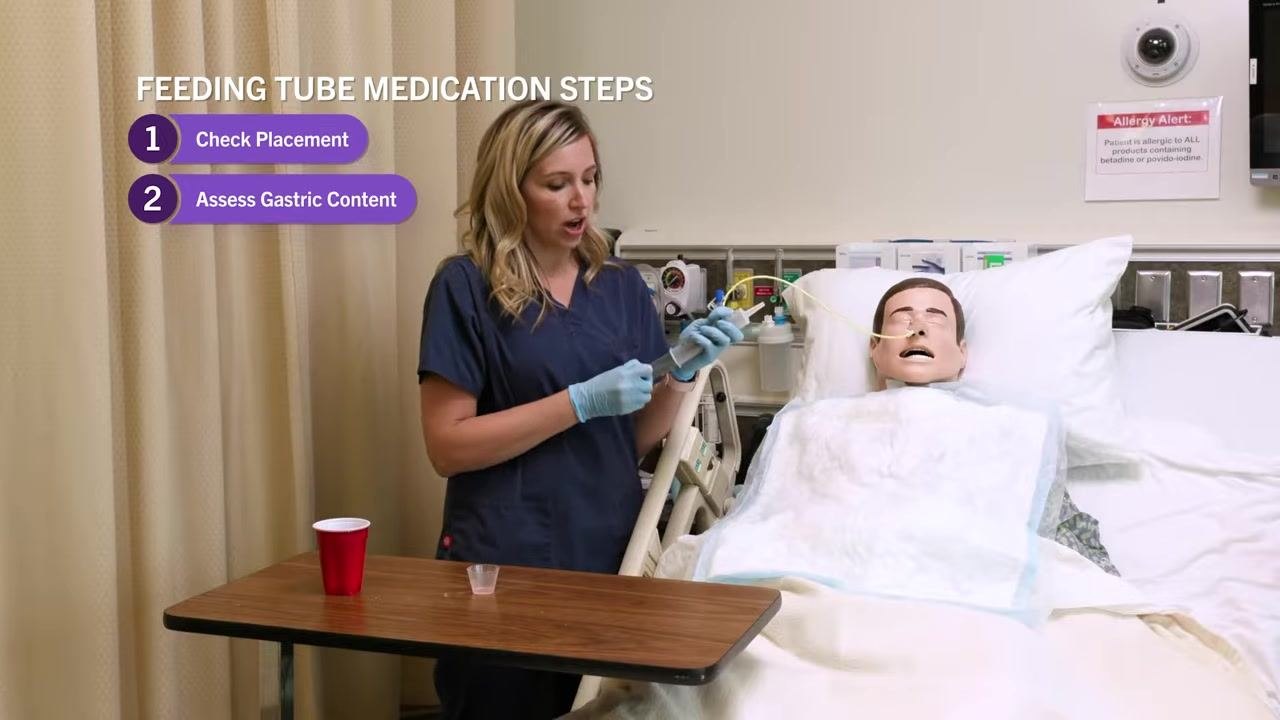
Attach a 60 mL syringe and gently pull back on the plunger to aspirate gastric contents. Observe the volume, color, and any undigested medication or food.
-
Return the aspirate to the stomach unless otherwise directed, to protect the patient's acid-base balance, and document the volume and color.
-
Confirm the tube is correctly positioned and residual content is within acceptable limits before proceeding.
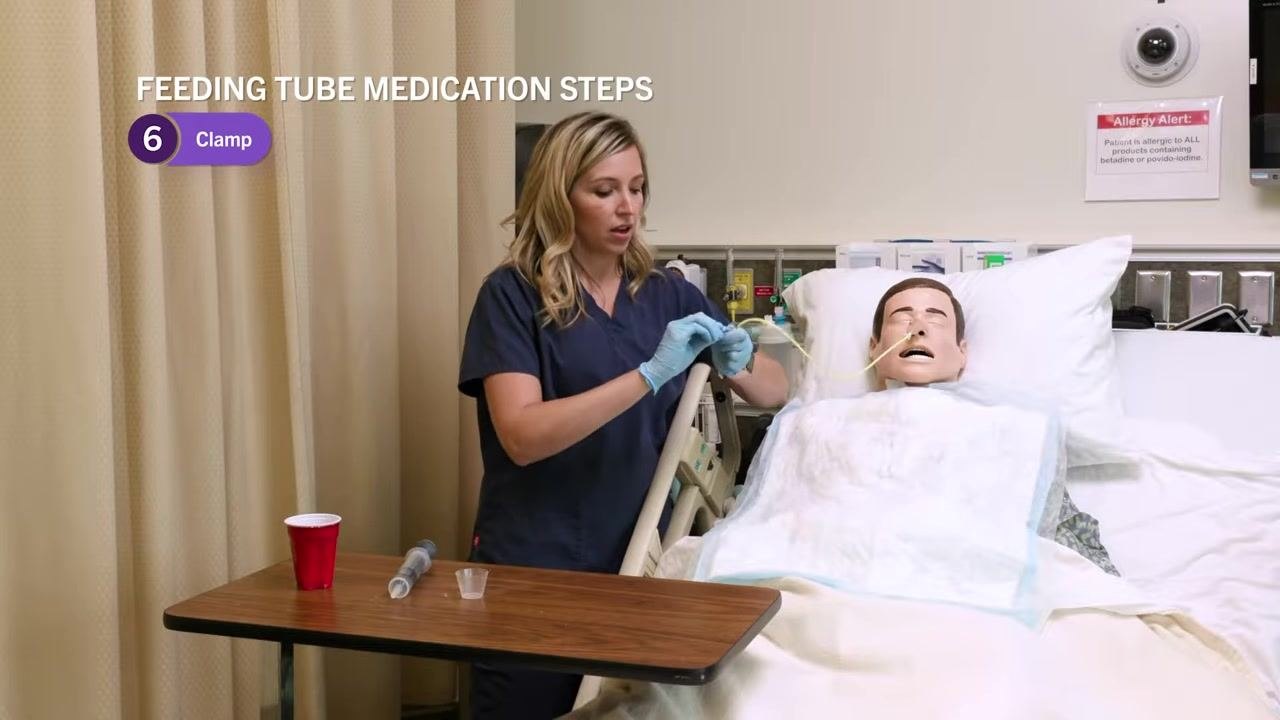
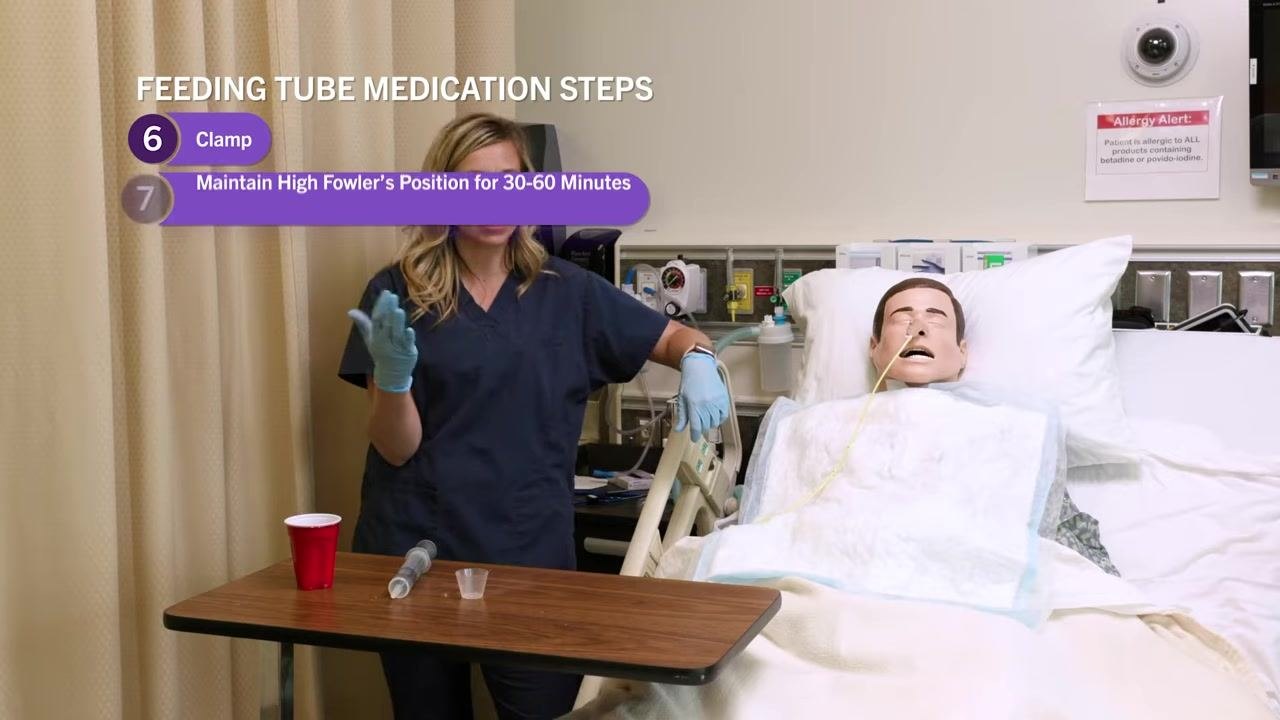
Phase 4 – Administer the medication - Clamp the feeding tube with your fingers or a tube clamp before disconnecting the syringe, to prevent air entry or leakage.
-
Remove the plunger and attach the empty syringe to the tube to prepare for gravity-flow administration.
-
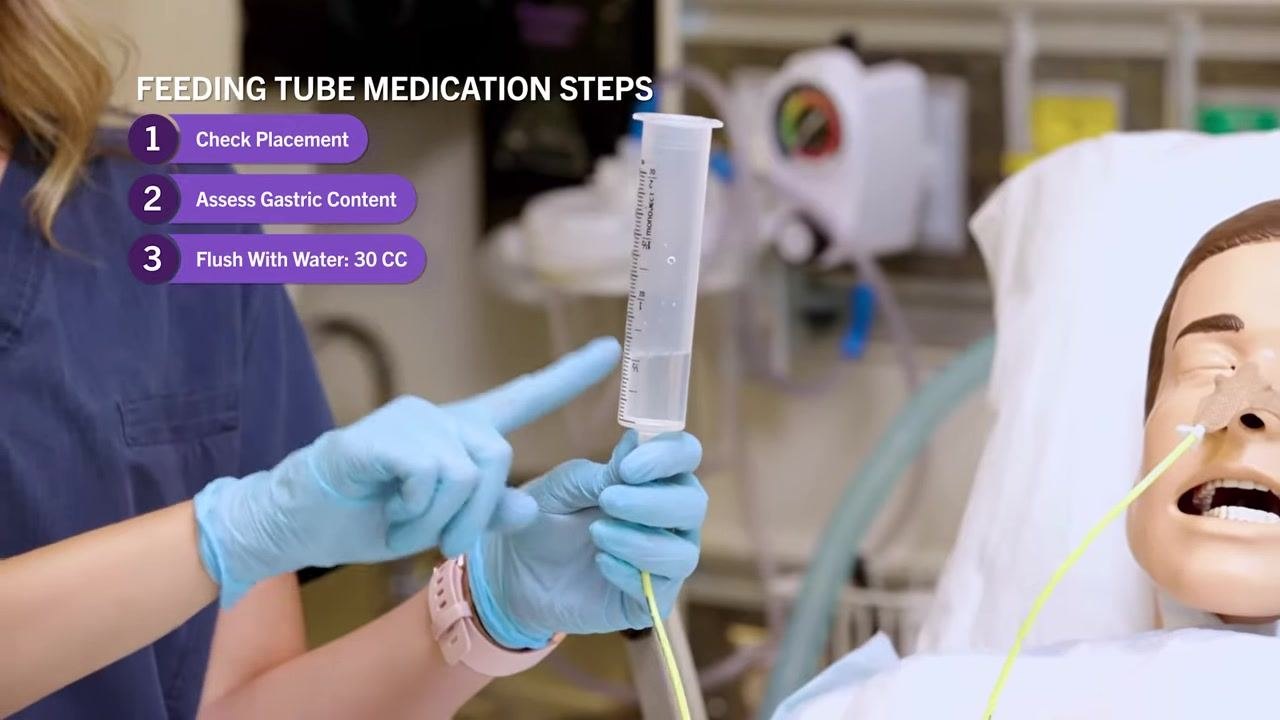
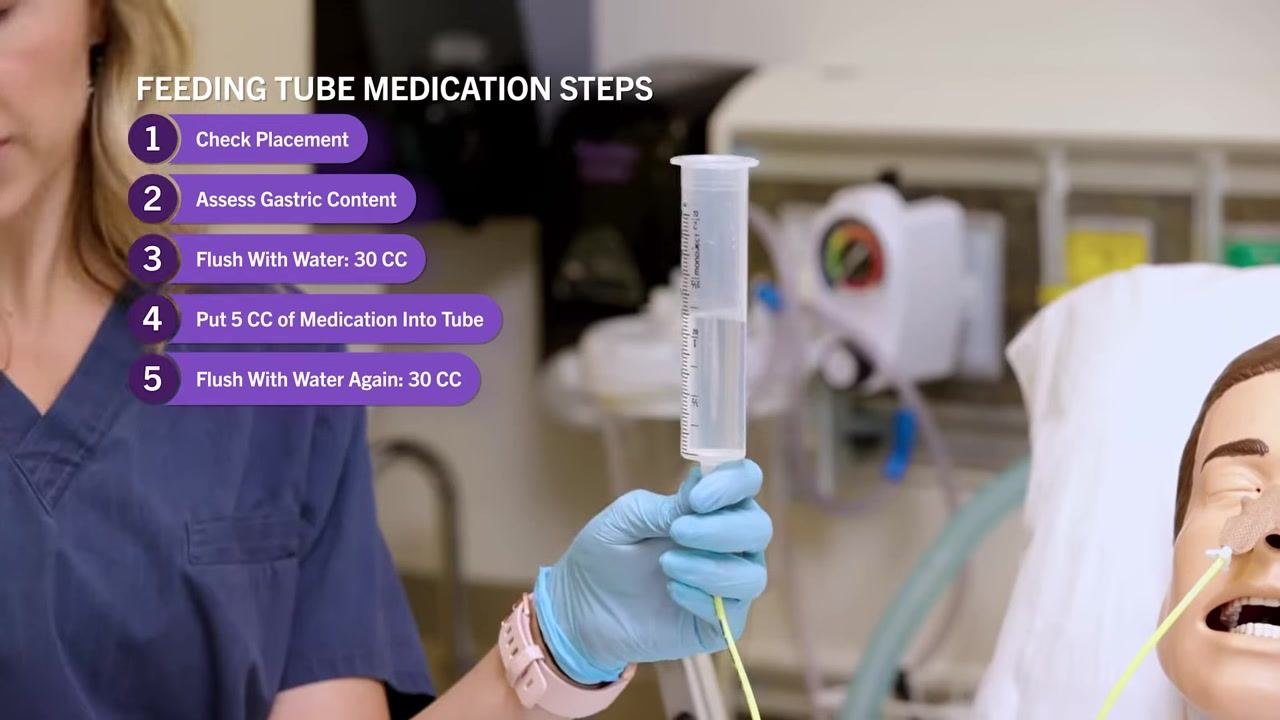
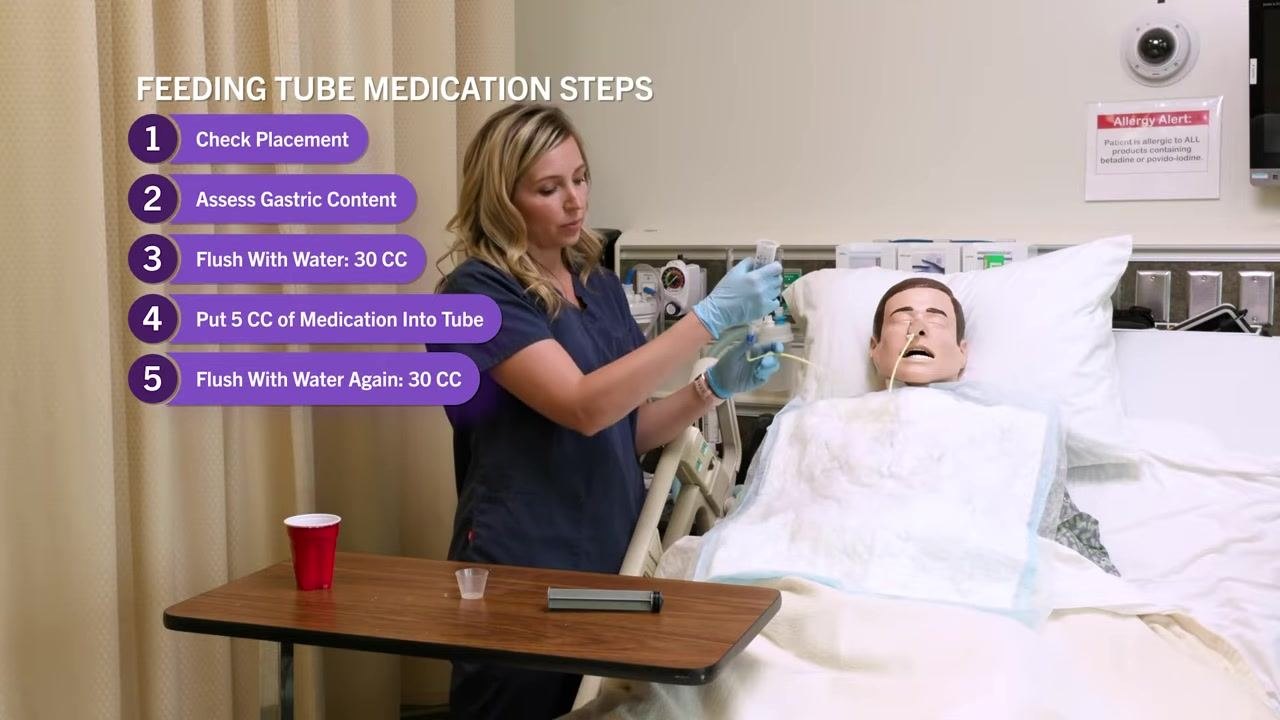
Fill the syringe with 30 cc of water and pour it into the barrel, letting it flow by gravity into the tube. Keep the syringe no more than 18 inches above the patient to control flow rate.
-
Pour the prescribed medication (for example, 5 cc) directly into the syringe barrel and let it flow into the tube by gravity; do not force it.
-
Maintain the syringe height at no more than 18 inches above the patient's stomach level throughout administration.
-
After medication, flush again with 30 cc of water to clear the tube, pouring it into the syringe and letting it flow by gravity; place a pad under the connection to catch spills.
-
As an alternative, insert the plunger, draw up 30 cc of water, pinch the tube, attach the syringe, and gently push the water through if gravity flow alone is not sufficient.
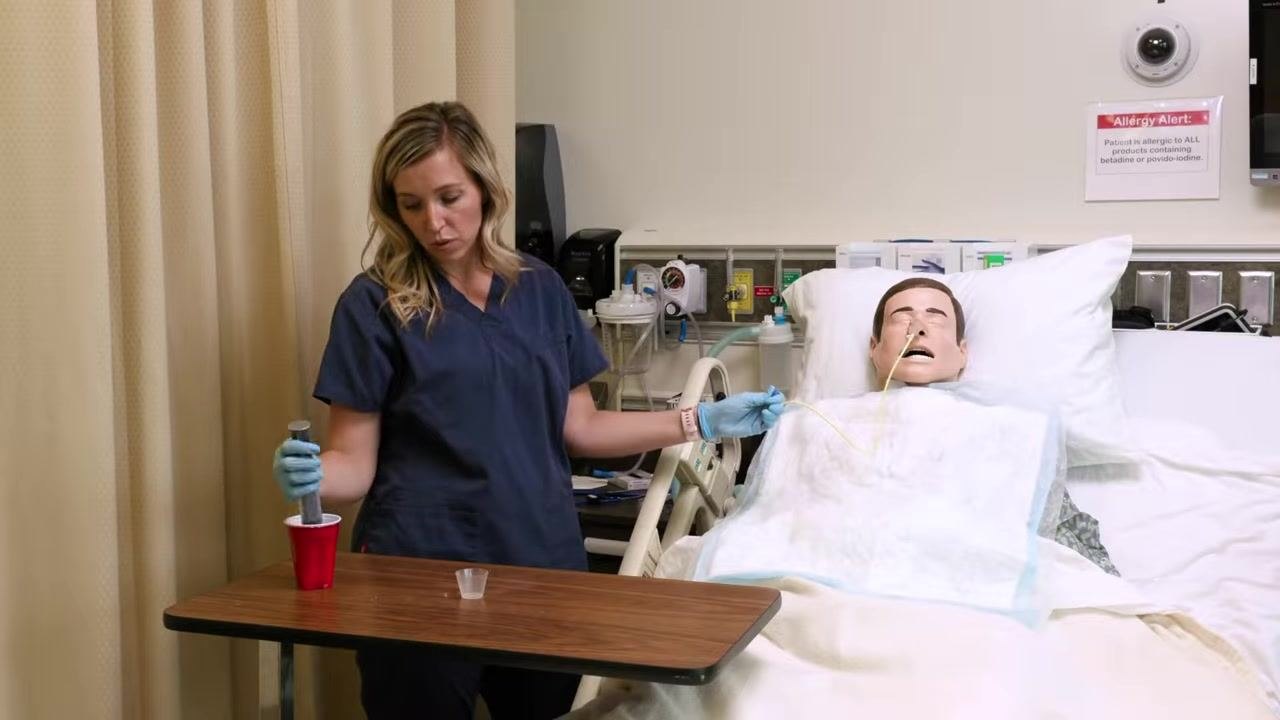
Phase 5 – Complete instillation and rinse - Attach the syringe with the plunger, draw up 30 cc of water, and gently push it into the tube slowly, avoiding forceful administration.
-
Continue pushing the plunger gently until all 30 cc of water has been administered, monitoring for resistance or discomfort.
-
After the flush, draw up the prescribed medication, instill it into the tube, and follow with a final flush of 30–60 cc of water.
-
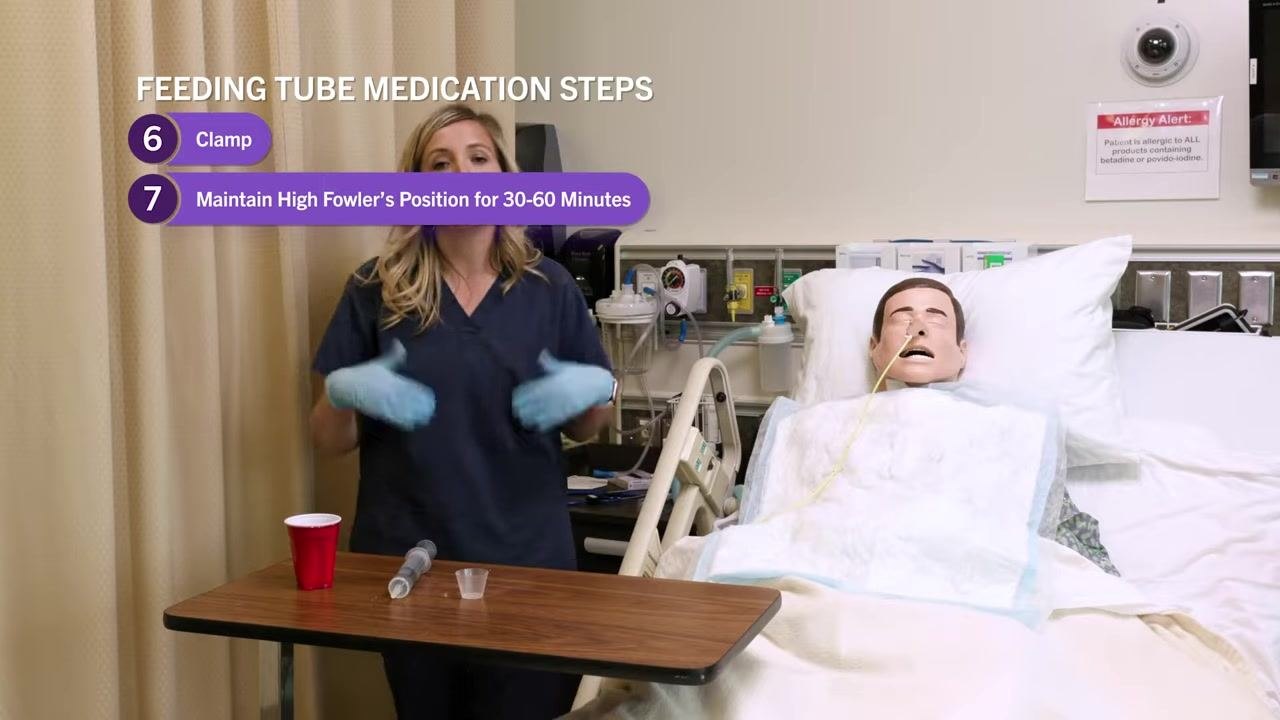
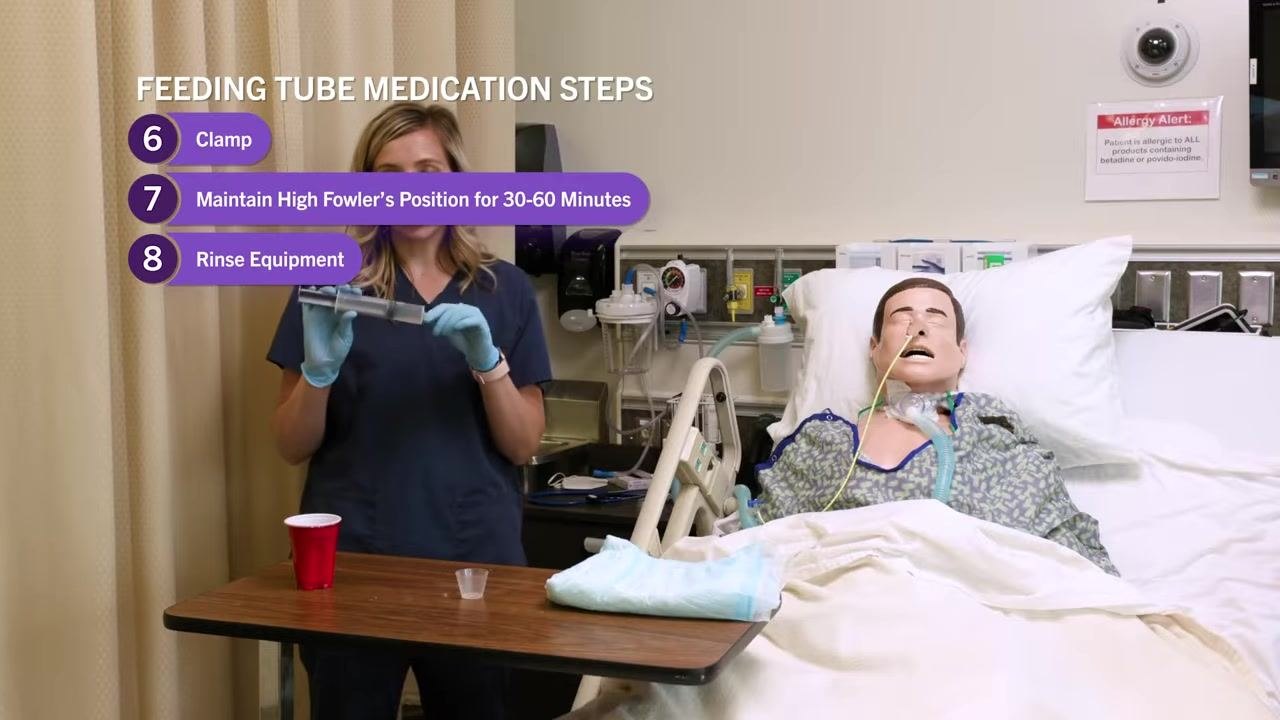
Once all medication and flushes are given, clamp the feeding tube to prevent air entry or leakage.
-
Rinse the syringe and other equipment used to remove any remaining medication residue.
-
Carefully remove gloves and perform hand hygiene immediately afterward.
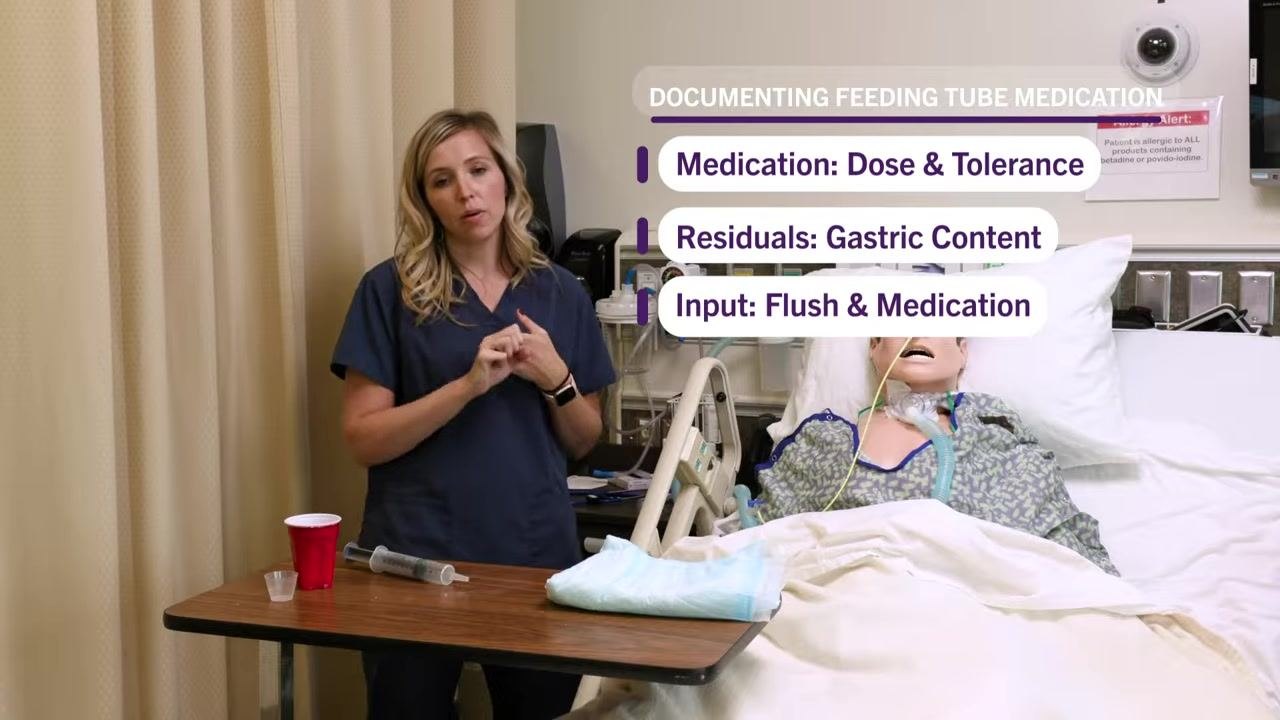
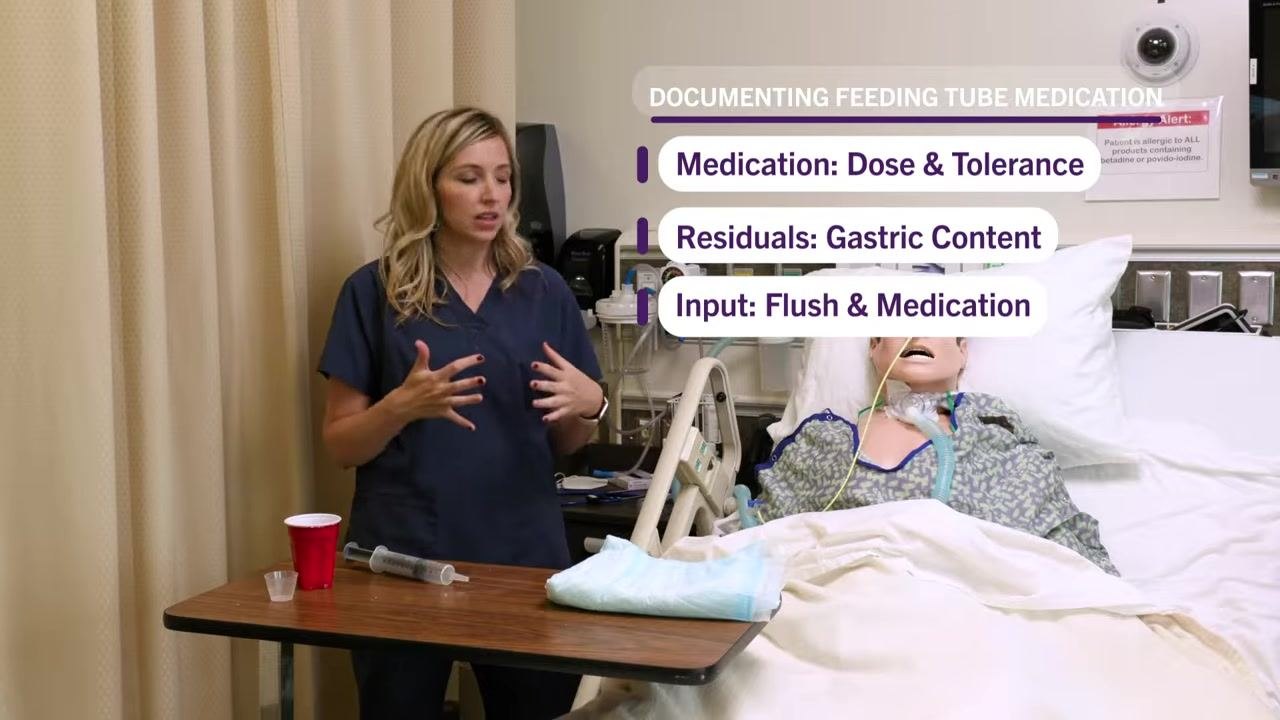
Phase 6 – Document the procedure - Record the medication name, dose, route (feeding tube), time of administration, and any observations. - Note the amount and type of flush used before and after medication. - Document the patient's tolerance, the color and amount of gastric residual, and the total input of flush and medication.
-
Confirm all documentation categories are complete, including flush and medication volumes.
-
Review all documentation once more to confirm nothing has been missed before closing out the procedure.
Pain Management
The source material does not include a multimodal pain management plan, pain score targets, or an escalation pathway for pain specific to this procedure. The only medication example provided is a cough preparation, illustrated below.
| Medication (example) | Dose | Route | Time |
|---|---|---|---|
| Guaifenesin | 5 mL | Feeding tube | As ordered (e.g., 3:30 PM) |
Before administering any medication, confirm the prescribed dose, route, and time against the MAR and physician's order, and explain to the patient any expected effects, such as drowsiness alongside symptom relief.
Mobility Milestones
The source material does not describe progressive mobility milestones such as bed exercises, chair transfers, or ambulation for this procedure. The only positioning guidance relates to the patient's posture before, during, and after medication administration.
| Phase | Positioning goal |
|---|---|
| Before administration | High Fowler's position, head of bed at 60–90 degrees |
| During administration | Maintain High Fowler's position throughout |
| After administration | Maintain High Fowler's position for 30–60 minutes |
Keeping the patient upright for 30–60 minutes after administration helps prevent aspiration of the medication and flush fluid, which typically totals around 90 cc.
Complication Monitoring
Watch for the following signs during and after the procedure, and escalate to the physician when indicated.
| Sign/Finding | Action | Escalation |
|---|---|---|
| Absent bowel sounds (none heard after 5 minutes per quadrant) | Do not administer medication via the tube | Notify the physician immediately |
| Undigested medication or food in aspirate | Do not administer medication; return aspirate to the stomach | Notify the physician |
| Syringe held too high during flush | Solution drains too quickly; lower syringe to no more than 18 inches above the patient | Adjust technique immediately, no physician notification required unless complications occur |
| Signs of aspiration risk | Maintain High Fowler's position for 30–60 minutes after administration | Monitor patient closely; notify physician if symptoms of aspiration develop |
If the aspirate shows a significant amount of undigested medication or food (for example, pieces of a prior dose still present hours later), this indicates delayed gastric emptying and administration should not proceed.
Never discard gastric aspirate unless specifically instructed by a physician, since doing so can disrupt the patient's acid-base balance.
Monitor the patient for any adverse reactions after administration and ensure the feeding tube remains patent and properly positioned.
If the syringe is held too high above the patient, the solution will drain rapidly, which should be avoided.
Reinforce to the patient and to yourself that remaining upright helps prevent aspiration of the fluid administered.
Discharge Criteria
The source material does not describe discharge criteria, since this procedure covers a single medication administration event rather than a full inpatient stay. Any discharge decision for a patient with a feeding tube should follow your facility's standard discharge protocol.
Patient Education
Before beginning, explain to the patient which medication is being given and why, including the intended purpose and any possible side effects (for example, that a cough medication may cause drowsiness while helping reduce cough and improve sleep).
Ask the patient about any known medication allergies before proceeding.
Explain why the patient is being positioned upright: this position helps prevent medication from coming back up the esophagus and reduces the risk of aspiration.
After the procedure, ask the patient if they need anything for comfort, such as adjusting the television or repositioning.
Inform the patient that the procedure is complete, ensure the call light is within reach, and remind them to call if they need anything before you leave the room.
Generation details: cost, quality tiers, downloads
Docsie billed 4,500 credits ($3.15) to analyze this 9-minute video at standard quality. The rewrite, template fill and Word/PDF exports were included. The same video at each quality tier:
| Quality | Frames sampled | Credits | Approx. cost |
|---|---|---|---|
| Draft | every 16-30 s | 2,250 | $1.57 |
| Standard (this guide) | every 8-15 s | 4,500 | $3.15 |
| Detailed | every 4-7 s | 9,000 | $6.30 |
| Ultra | every 1-3 s | 18,000 | $12.60 |
Credits priced at $0.70 per 1,000; plans include a monthly allowance. Enterprise customers on on-premise or bring-your-own-model deployments run this on their own inference and pay no per-video credits.
Generated by Docsie Video-to-Docs on 2026-09-28 from a 8-minute video. It was generated straight into Docsie's Patient Care Procedure template, so every section of that template is filled from the video. Screenshots are frames from the source video and belong to their creator, Weber State University, whose original is embedded above. If you own this video and want the guide removed or credited differently, contact us and we will act within one business day.