
How to Administer Oral Medication to a Patient
This guide explains how to administer oral medication to a patient who is conscious, including situations where the patient cannot swallow a tablet whole and the tablet must be crushed. It covers equipment preparation, patient identification, medication verification, administration, positioning, complication monitoring, and documentation. Follow each phase in sequence to ensure the medication reaches the correct patient safely and is properly recorded.
Video: Oral medication procedure for a conscious patient by Nurse ClementB (2024). All credit for the demonstration goes to the creator; watch the original on YouTube. The written guide below was generated from this video by Docsie. Creator? Request a change or removal.
This guide explains how to administer oral medication to a patient who is conscious, including situations where the patient cannot swallow a tablet whole and the tablet must be crushed. It covers equipment preparation, patient identification, medication verification, administration, positioning, complication monitoring, and documentation. Follow each phase in sequence to ensure the medication reaches the correct patient safely and is properly recorded.
Purpose & scope
This procedure applies to conscious patients who require oral medication in a bedside/ward setting, including those who cannot swallow tablets and need the medication crushed and dissolved before administration. It covers both tablet-based medication (e.g., crushed and mixed with water) and liquid syrup medication measured and given by cup or saucer.
The demonstration reflects the standard expected in an Objective Structured Clinical Examination (OSCE) setting, where every step must be performed meticulously in a clean, professional, and hygienic manner.
Patient assessment
Before preparing or administering any medication, confirm the patient's identity and cross-check it against the medication order.
- Approach the patient and ask them to state their full name and date of birth. For example: "Good morning. Can you please tell me your full name and your date of birth?"
- Compare the information the patient gives you against the patient's folder or the computer record.
- Confirm the details match before proceeding with medication preparation.
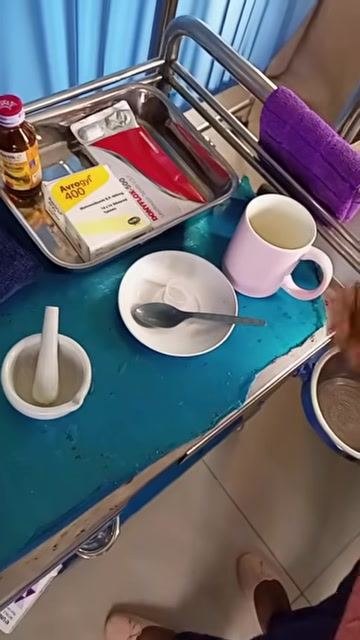
- Cross-check the patient's identity and the medication order a second time before moving forward.
- Review the prescription to confirm the medications and dosages ordered, for example: Levofloxacin 500 mg, Nitronidazole 400 mg, and Syrup Vitamin C.
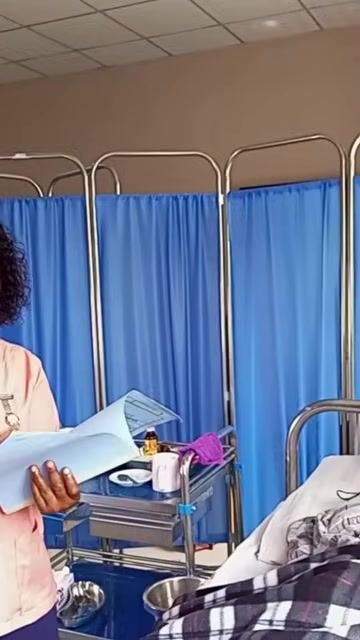
Assessment checklist
| Assessment step | What to confirm |
|---|---|
| Patient identity | Full name and date of birth stated by the patient match the chart or computer record |
| Medication order | Drug name and dose on the prescription match what will be prepared |
| Swallowing ability | Whether the patient can swallow tablets whole or requires crushed/dissolved medication |
Vital sign monitoring frequency, a formal pain assessment tool, and neurovascular checks are not addressed in this procedure; record these per your facility's standard assessment protocol before proceeding with medication.
Care protocol
Phase 1: Gather equipment and supplies
Collect all items needed for the procedure before approaching the patient. The standard setup includes:
- Three containers: one for medication, one for soapy water, and one for clean water used to rinse cups and measuring equipment.
- On the bottom shelf: a receiver (kidney dish), an additional bowl for used items, cups, sachets of tablets, a towel to clean the patient's mouth, a dust face towel, and a towel to protect the patient's gown.
Arrange all items neatly on a medical trolley so everything is within easy reach during the procedure.
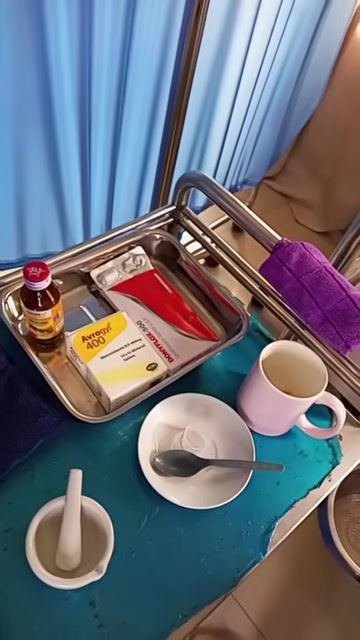
Phase 2: Prepare yourself before handling medication
Move to the medication preparation area with all necessary supplies. Perform hand hygiene thoroughly before touching any medication or equipment, then put on a clean pair of gloves to maintain aseptic technique.
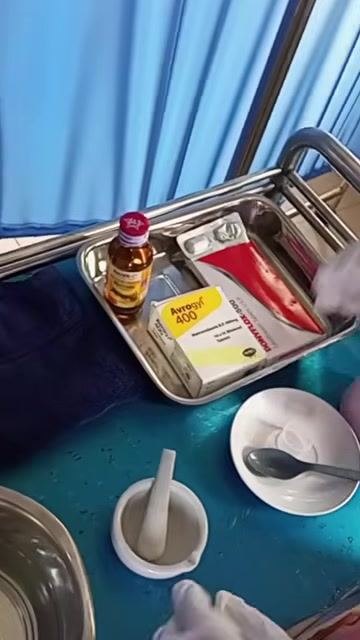
Phase 3: Crush tablets for a patient who cannot swallow them
Confirm the prescribed medications again before proceeding. Place the required tablets (for example, levofloxacin and nitronidazole) in a mortar and use the pestle to gently crush them; press and crush rather than trying to count the tablets by hand.
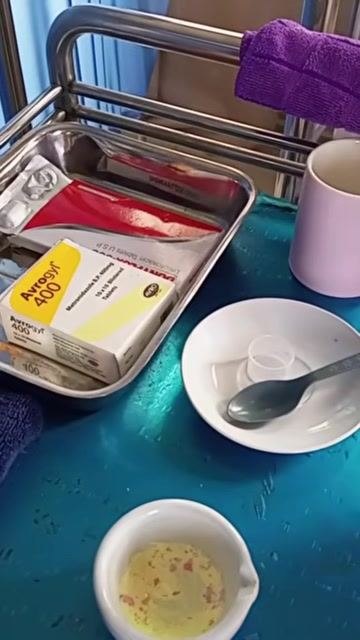
Transfer the crushed tablet powder into a clean receiver or bowl, then into a cup for mixing with water.
Phase 4: Mix the crushed medication
Pour clean water into the cup containing the crushed tablets and stir the mixture thoroughly with a spoon until fully dissolved, confirming there are no visible lumps or undissolved particles. Prepare a second cup of clean water for the patient to use for rinsing after taking the medication.
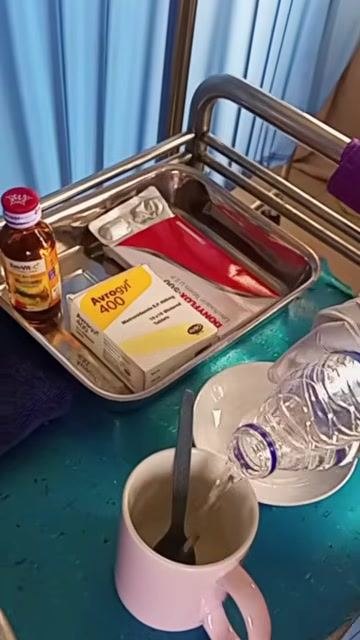
Phase 5: Position the patient at the bedside
Move to the patient's bedside with the prepared medication and rinse water. Ask the patient to sit up in bed, or assist them into a fully upright, seated position if needed, to ensure a comfortable and safe swallowing position.
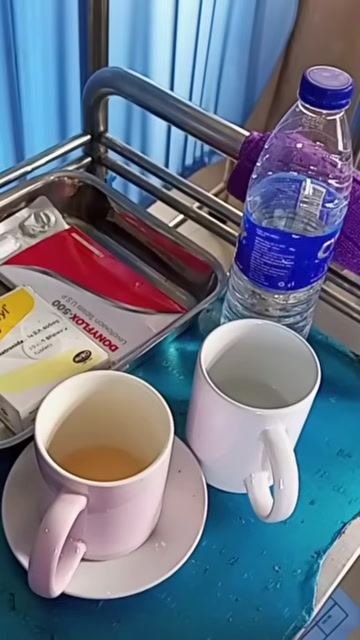
Protect the patient's clothing by placing a towel or napkin over their chest before offering the medication.
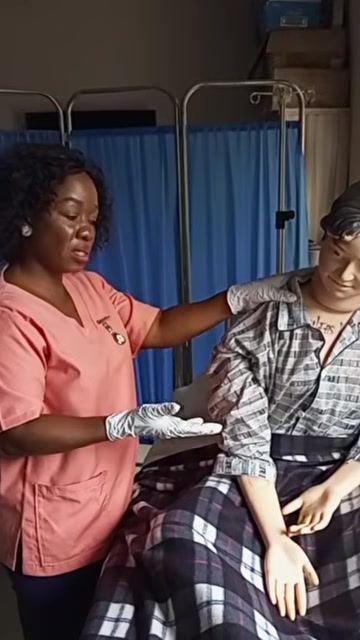
Phase 6: Administer the crushed and dissolved medication
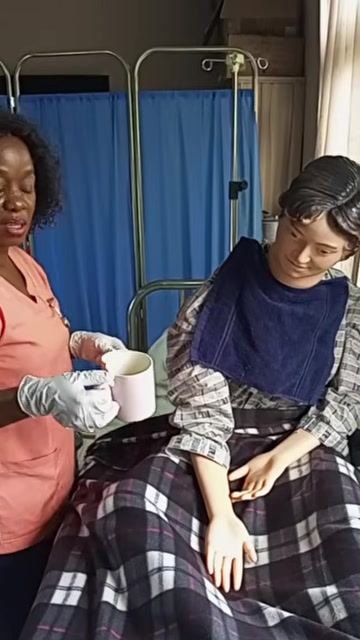
Explain to the patient that it is time for their medication and confirm they are ready. Offer the cup of dissolved medication and allow the patient to drink it at their own pace.
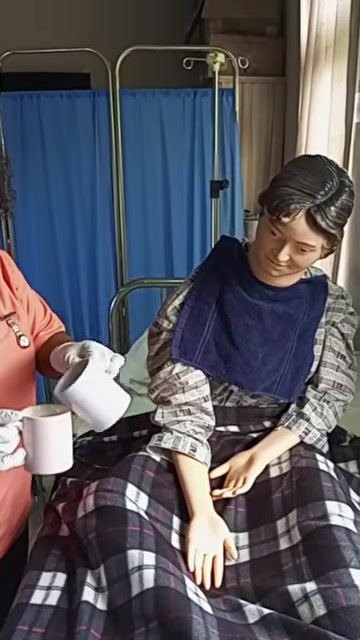
Once the medication is taken, offer the second cup of clean water so the patient can rinse their mouth and the cup.
Phase 7: Assist the patient to rinse and reposition
Help the patient sit up if they are not already upright, place a towel or bib around their neck to protect their clothing, and offer a cup of water held gently to their mouth so they can swish and spit into a receptacle.
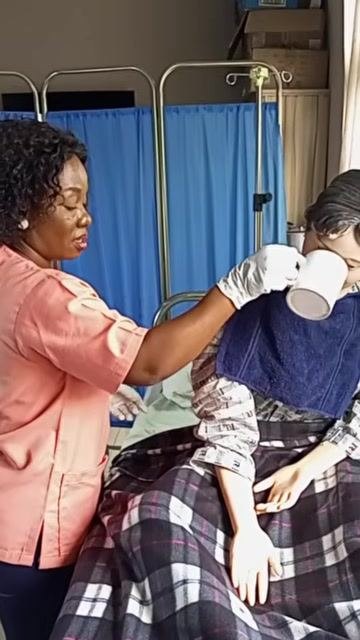
Ask the patient whether they prefer to remain in their current position or move to a right lateral position, then adjust the blanket so the patient is properly covered and comfortable.
Phase 8: Prepare a second medication and its equipment
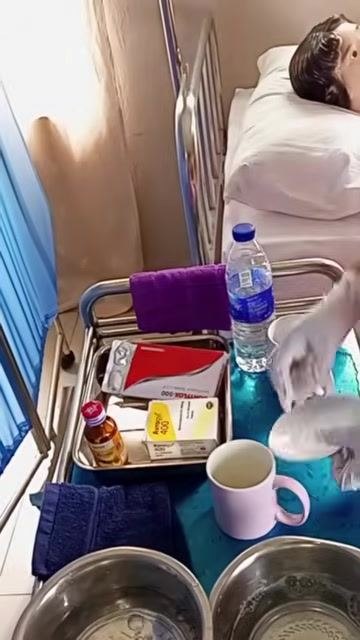
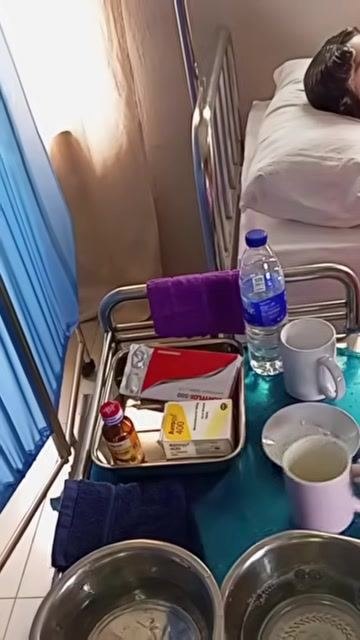
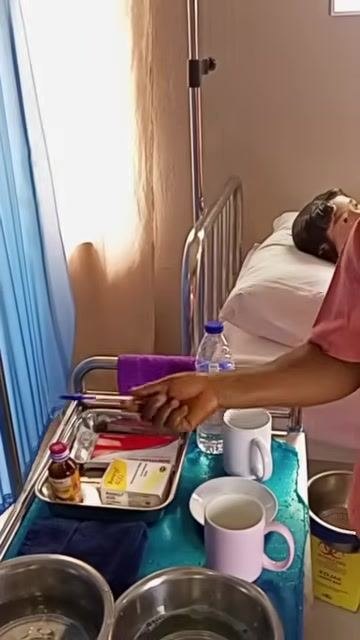
Arrange all necessary items on a clean tray, including the medication bottles and boxes, a bottle of water, clean cups and a saucer, towels or napkins, and two bowls of water — one for rinsing and one clean.
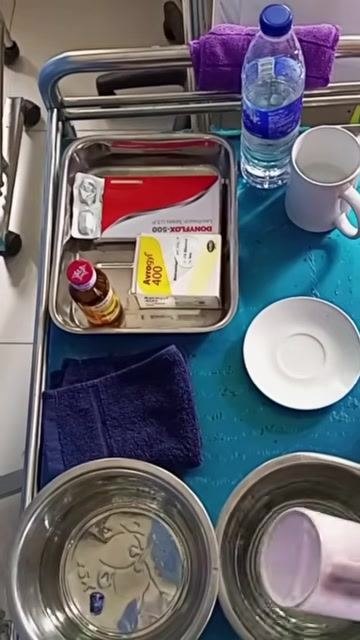
Rinse the cup thoroughly in the bowl of clean water so it is ready for the next dose.
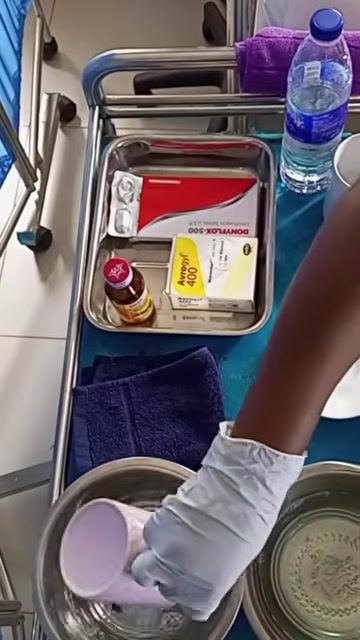
Phase 9: Verify the medication before pouring
Check the expiration date and color of the medication and hold the bottle up to confirm the label and details before proceeding.
Confirm the five rights of medication administration before proceeding:
- Right patient (verify patient identity)
- Right drug (check medication name and label)
- Right dose (ensure correct dosage)
- Right time (confirm scheduled time)
- Right route (oral, as indicated)
Phase 10: Confirm and open the medication
Confirm the tablet or syrup matches what was prescribed and inspect the color of the syrup against the light to ensure it matches the expected appearance.
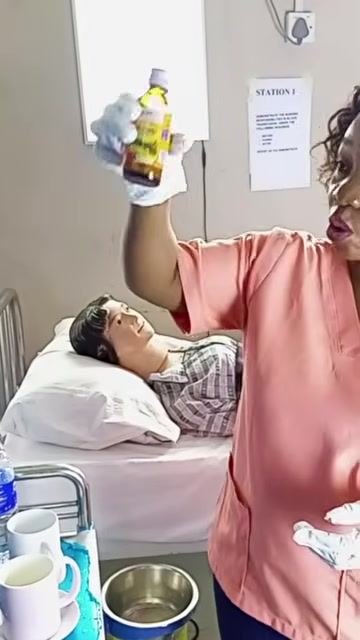
Check the name on the medication bottle against the patient's identification to ensure accuracy before opening it.
Hold the bottle securely with one hand and use the other hand to open the cap, placing the cap with the inside facing up to avoid contamination.
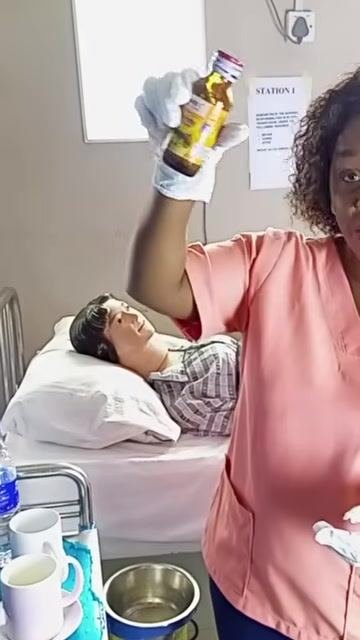
When pouring, turn the label toward your palm so spills do not obscure it, and prepare to measure the correct dose.
Phase 11: Measure the dose
Hold the medication bottle at eye level to accurately check the liquid level, and confirm again that the drug, dose, and expiration are correct against the five rights.
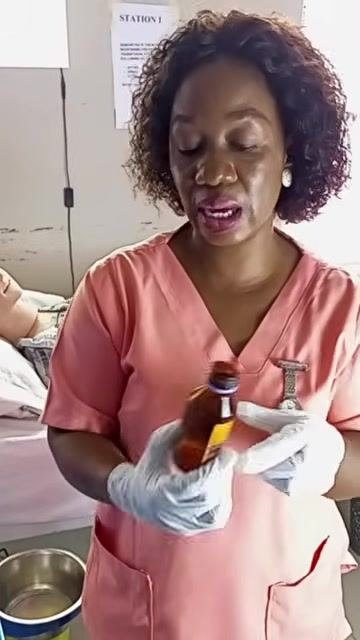
Pour exactly 10 mL of the syrup into a clean saucer or medication cup using a proper measuring device, then close the medication bottle immediately to prevent contamination or spills.
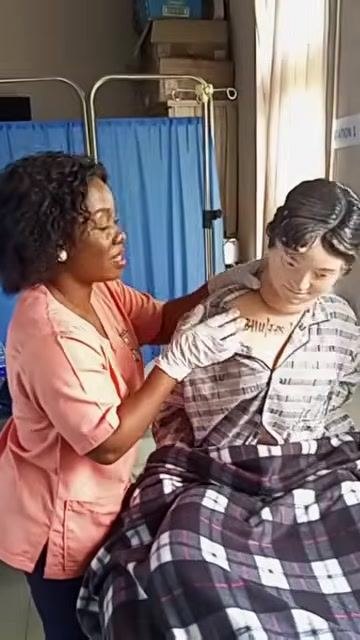
Phase 12: Bring the medication to the bedside
Place the saucer with the measured syrup on the tray, ensure the medication bottle is closed and returned to its place, and bring the tray to the patient's bedside.
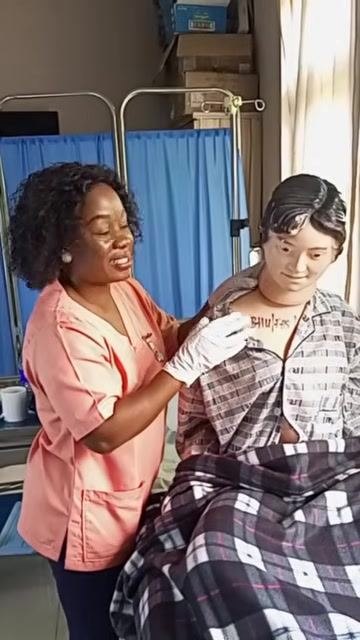
Help the patient sit up straight in bed to facilitate safe swallowing, adjusting the blanket so they remain comfortable and supported.
Drape a towel or bib around the patient's neck and chest to protect their clothing before offering the medication.
Phase 13: Offer and give the syrup
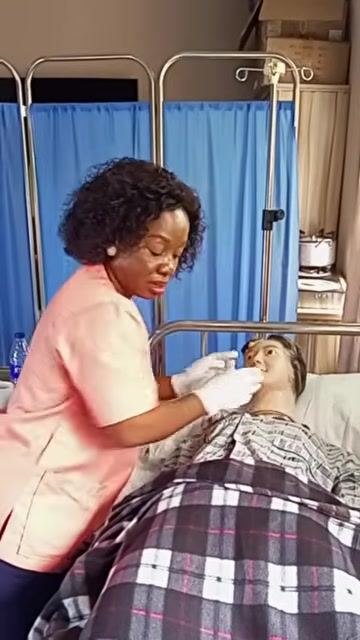
Hold the saucer with the measured syrup and gently offer it to the patient, encouraging them to take it once they are comfortable and ready to swallow.
Guide the patient's hand or gently support their head as needed to help them drink the syrup, and observe them to confirm the medication is swallowed completely.
Phase 14: Return the patient to a comfortable position
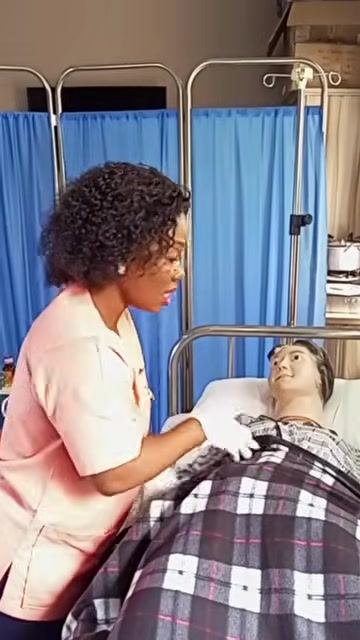
Once the medication is taken, gently help the patient lie back in bed, ensuring their head and back are properly supported, then adjust the blanket and remove the bib or towel.
Phase 15: Clean and reorganize equipment
Decide whether to place the patient in a left or right lateral position as appropriate for comfort or safety, and confirm they are stable before moving on to clean-up.
Take the used saucer to the rinsing bowl and rinse it thoroughly to remove any remaining medication, especially in case of spillage.
Place the cleaned saucer and other used items back on the tray, ensure all medication containers are closed and returned to their proper place, and arrange the tray neatly for the next use.
Keep in mind that this procedure reflects the standard expected in an OSCE, so every step should be followed meticulously in a professional, hygienic environment.
Phase 16: Document the procedure
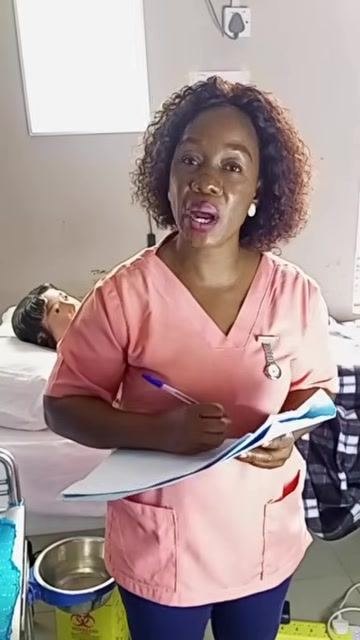
Move to the documentation area or retrieve the patient's chart, and gather a pen and the appropriate documentation forms.
Write down all relevant details in the patient's chart, including the name of the medication administered, the dosage given (for example, 10 mL syrup), the time of administration, the route (oral), and any observations or patient reactions. Ensure the documentation is clear, accurate, and complete.
Remember that any procedure not documented is considered not performed; always document every procedure immediately after completion for legal and clinical accuracy.
Double-check that you are documenting in the correct patient chart or record, then sign and date the entry as required by facility policy.
Phase 17: Final water offer and clean-up
Offer the patient a cup of clean water, instruct them to rinse their mouth thoroughly, and allow them to swallow or spit out the water as appropriate. Provide additional water for the patient to drink for comfort and hydration.
Ask the patient which position they prefer after rinsing — dozer, supine, left lateral, or right lateral — and gently assist them into the chosen position, ensuring they are comfortable and properly supported.
Take the used cup to the soapy water basin and wash it thoroughly, then rinse it again in clean water to remove all soap before placing the cleaned cup back on the tray or designated area.
If a further syrup dose is required, retrieve the bottle, check the expiration date, inspect the color, verify the medication name, and review the five rights again before opening the bottle using the same secure technique described above. Record any remaining medication administration details in the patient's chart, signing and dating the entry per facility policy.

Medications referenced in this session
| Medication | Form | Dose noted |
|---|---|---|
| Levofloxacin | Tablet (crushed) | 500 mg |
| Nitronidazole | Tablet (crushed) | 400 mg |
| Vitamin C | Syrup | Not specified |
| Syrup medication (e.g., liquid antibiotic) | Liquid | 10 mL measured |
Pain management
This session does not cover a pain assessment or an analgesic regimen. Where pain medication is prescribed, record the drug, dose, route, and frequency here, along with the target pain score and the pathway for escalating unrelieved pain, per your facility's protocol.
Mobility milestones
This session shows patient positioning for safe swallowing rather than a progressive mobility program. The positioning steps demonstrated are as follows:
| Phase | Positioning action |
|---|---|
| Before medication | Assist the patient to sit up, or into a fully upright seated position, before offering any tablet or syrup |
| During administration | Keep the patient upright while they drink the medication and rinse water |
| Immediately after | Keep the patient upright for a few minutes to aid swallowing and prevent aspiration |
| After rinsing | Ask the patient's preferred position — current position, right lateral, left lateral, dozer, or supine — and assist them accordingly |
A progressive mobility program with milestones such as bed exercises, chair transfer, or ambulation with a walker is not covered in this session; document mobility goals separately per your facility's mobility protocol.
Complication monitoring
Observe the patient for any immediate reactions or discomfort after they take the medication, and maintain a supportive and reassuring presence at the bedside.
- Keep the patient in an upright position for a few minutes after swallowing to aid digestion and prevent aspiration.
- Confirm the towel or napkin protecting the patient's clothing remains in place until all medication and rinse water have been consumed.
- Record any observations or patient reactions in the chart alongside the medication administration details.
Early warning criteria and specific escalation contacts are not detailed in this session; follow your facility's rapid-response or escalation protocol if the patient shows signs of adverse reaction, choking, or aspiration.
Discharge criteria
This session does not address discharge readiness. Measurable discharge criteria — such as tolerance of oral medication, absence of adverse reaction, and stable vital signs — should be defined and documented per your facility's discharge policy.
Patient education
Throughout the procedure, communicate clearly with the patient at each step:
- Confirm the patient's identity by asking them to state their full name and date of birth.
- Explain to the patient that it is time for their medication and confirm they are ready before offering it.
- Ask the patient about their position preference both before administration (sitting upright) and after rinsing (current position, lateral, dozer, or supine).
- Encourage the patient to rinse their mouth and drink water after taking medication for comfort and oral hygiene.
Further teaching points such as the purpose of the medication, expected effects, and possible side effects are not covered in this session; provide this information to the patient and family per your facility's medication education standard before discharge.
Generation details: cost, quality tiers, downloads
Docsie billed 5,500 credits ($3.85) to analyze this 11-minute video at standard quality. The rewrite, template fill and Word/PDF exports were included. The same video at each quality tier:
| Quality | Frames sampled | Credits | Approx. cost |
|---|---|---|---|
| Draft | every 16-30 s | 2,750 | $1.92 |
| Standard (this guide) | every 8-15 s | 5,500 | $3.85 |
| Detailed | every 4-7 s | 11,000 | $7.70 |
| Ultra | every 1-3 s | 22,000 | $15.40 |
Credits priced at $0.70 per 1,000; plans include a monthly allowance. Enterprise customers on on-premise or bring-your-own-model deployments run this on their own inference and pay no per-video credits.
Generated by Docsie Video-to-Docs on 2026-09-28 from a 10-minute video. It was generated straight into Docsie's Patient Care Procedure template, so every section of that template is filled from the video. Screenshots are frames from the source video and belong to their creator, Nurse ClementB, whose original is embedded above. If you own this video and want the guide removed or credited differently, contact us and we will act within one business day.