
How to Clean a Meat Slicer
This standard operating procedure explains how to clean a meat slicer, including disassembly, washing, sanitizing, and reassembly of all components. Follow these steps every time the slicer is cleaned to protect food safety and keep the equipment in safe working condition.
Video: How to Properly Clean a Commercial Meat Slicer by UNIVEXCORPORATION (2022). All credit for the demonstration goes to the creator; watch the original on YouTube. The written guide below was generated from this video by Docsie. Creator? Request a change or removal.
This standard operating procedure explains how to clean a meat slicer, including disassembly, washing, sanitizing, and reassembly of all components. Follow these steps every time the slicer is cleaned to protect food safety and keep the equipment in safe working condition.
Purpose
The objective of this procedure is to ensure the slicer is cleaned and sanitized at least once every four hours of use and at the end of each workday. This routine cleaning ensures food safety and proper equipment maintenance. It also controls the risk of injury from the slicer's exposed blade during disassembly, cleaning, and reassembly.
Scope
This procedure applies to commercial meat slicers, including semi-automatic models (which must be switched to manual mode before cleaning) and models with either removable or non-removable carriage assemblies. It covers the slicer body, blade, fence, carriage, feed grip, knife guard, knife scraper, thickness control dial, and sharpener (on models where it is stored on top of the machine).
The scope includes the stainless steel food preparation table, the sink station used for washing disassembled parts, and the area beneath the slicer on models equipped with a lift lever. Running any portion of the slicer or its components through a dishwasher is explicitly excluded from this procedure.
Supplies
- [ ] Cut-resistant gloves
- [ ] Disposable or nitrile gloves (blue), worn in addition to cut-resistant gloves for added safety
- [ ] Mild detergent
- [ ] Warm water
- [ ] Nylon brush
- [ ] Clean cloths and moist wipes
- [ ] Sanitizer solution or spray bottle sanitizer
- [ ] Color-coded cleaning buckets (red and green)
- [ ] Access to a stainless steel sink for washing components
Store detergent, sanitizer, and cleaning buckets according to your facility's chemical storage requirements. The source procedure does not specify dilution ratios; confirm the correct sanitizer dilution with your facility's chemical supplier before use.
Safety Precautions
Personal protective equipment - [ ] Put on cut-resistant gloves before cleaning the slicer to protect your hands from sharp blades. - [ ] Use both cut-resistant gloves and disposable gloves together for added safety. -

Lockout before cleaning - [ ] Turn off the slicer machine before beginning any cleaning steps. - [ ] Always unplug the slicer before starting any cleaning procedure to prevent accidental startup and electrical hazards. -

Exposed blade caution - [ ] After removing the carriage and other components, treat the blade edge as exposed and hazardous. - [ ] Use extreme caution at all times to avoid injury when working near the blade. -
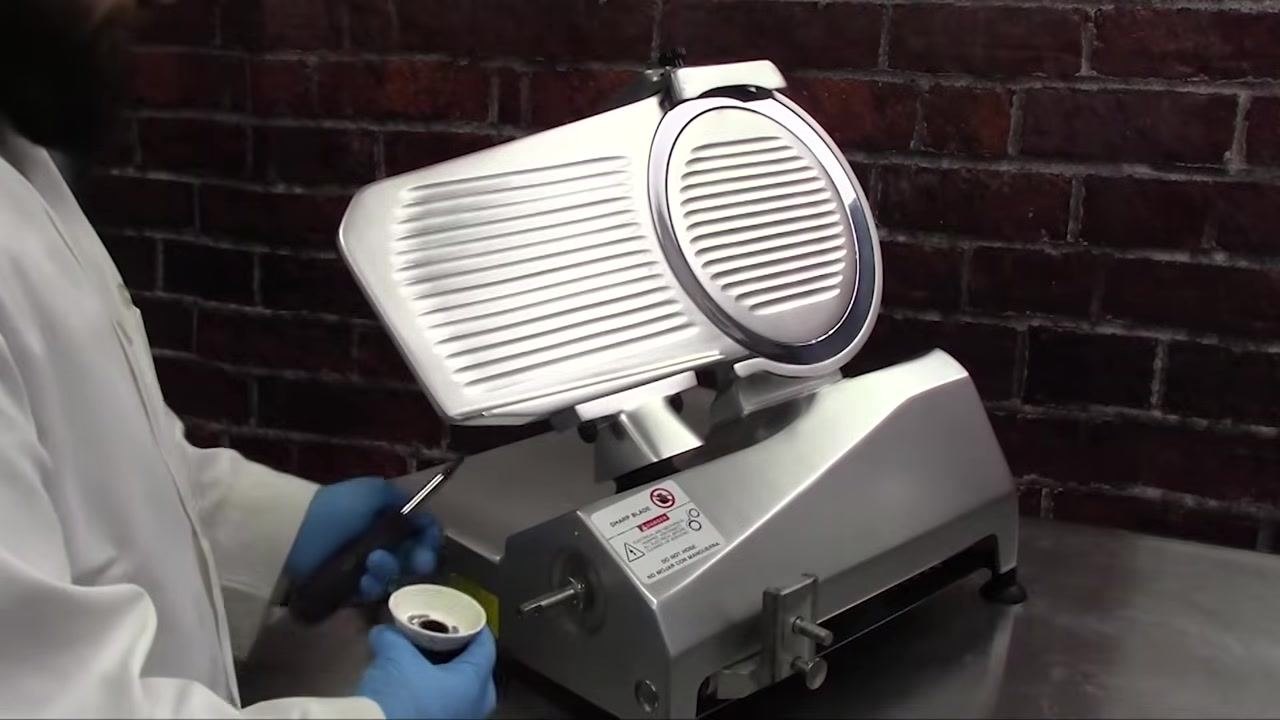
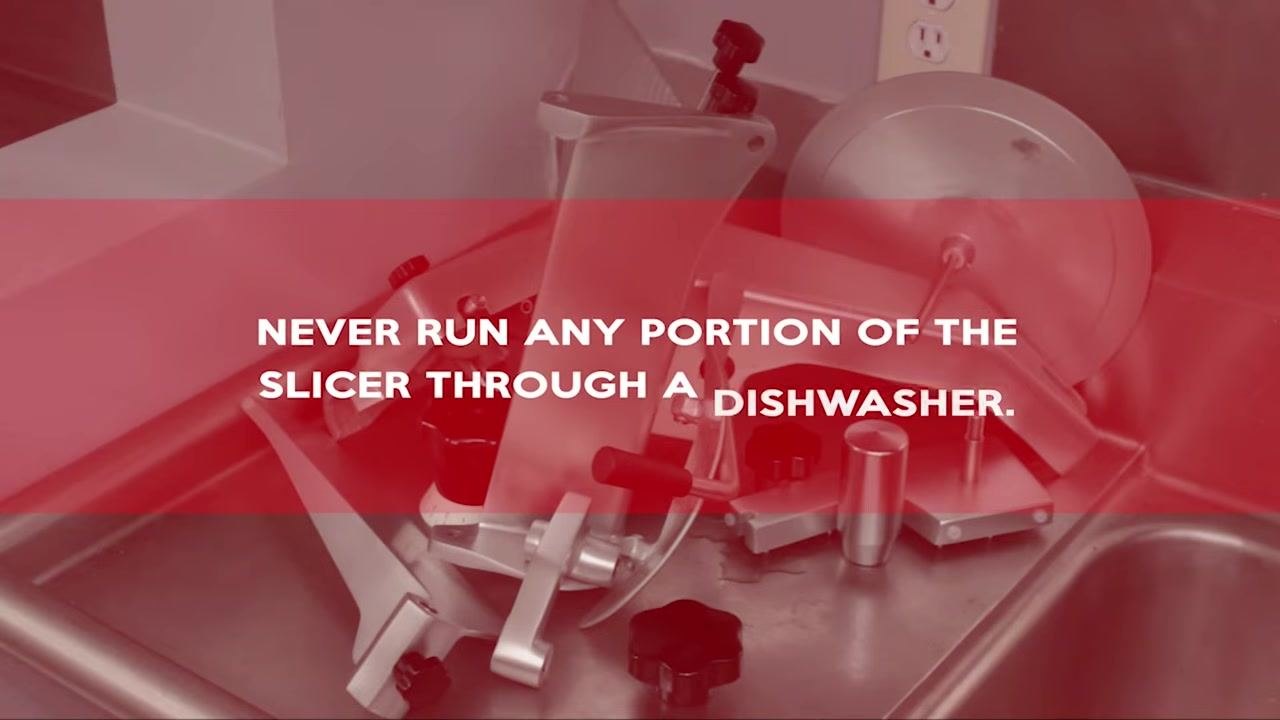
Chemical and equipment handling - [ ] Never run any portion of the slicer or its components through a dishwasher, as this may damage the equipment. -
- [ ] After sanitizing, do not wipe parts dry. Let all parts air dry completely to ensure effective sanitation.

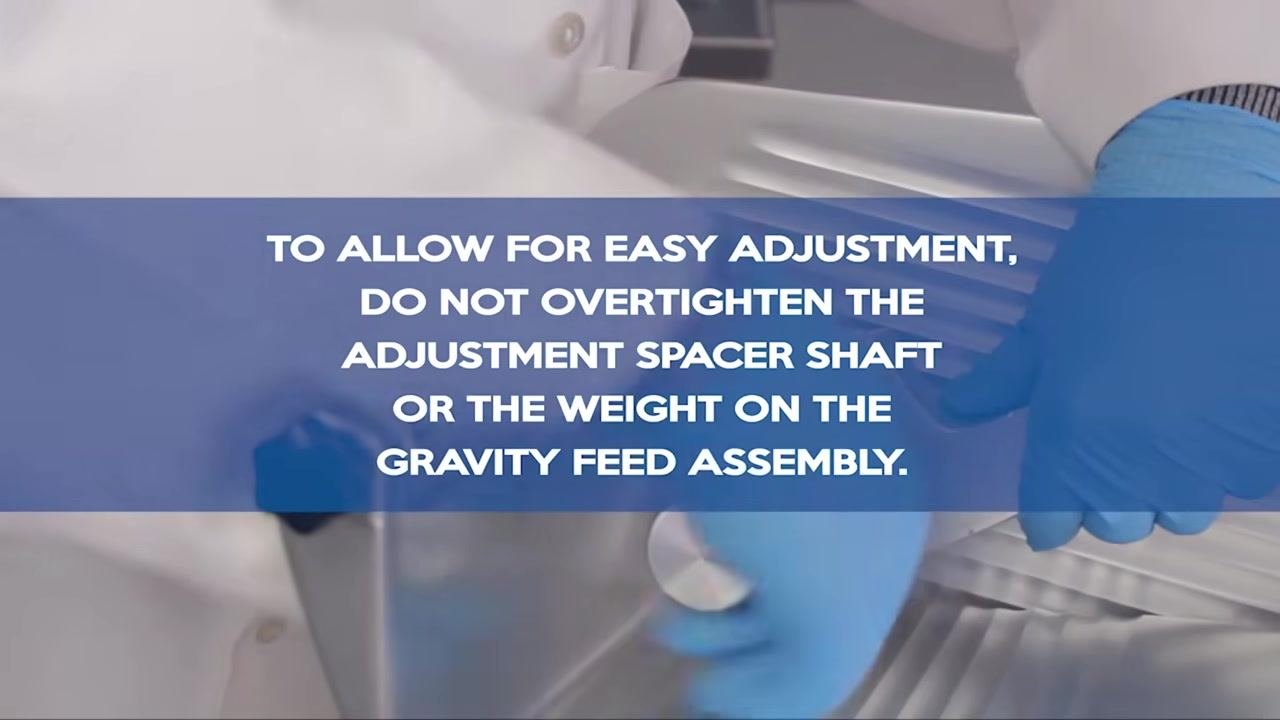
- [ ] Do not overtighten the adjustment spacer shaft or the weight on the gravity feed assembly. Hand-tighten only, so future adjustments remain easy and components are not damaged.
Wet-floor and ventilation controls The source material does not describe wet-floor signage or ventilation requirements for this task; your facility should post wet-floor warnings around the sink and cleaning area and ensure adequate ventilation when using detergents and sanitizers.
Allergen controls The source material does not address allergen cross-contact controls; your facility should define separate cleaning tools or sequencing if the slicer is used for multiple allergen categories.
Cleaning steps
Prepare the slicer
- Rotate the thickness control dial all the way to the minimum setting to close the fence.
- Pull the carriage all the way toward you.
- If your slicer is a semi-automatic model, switch it to manual mode before cleaning.
- Unplug the slicer before continuing (see Safety Precautions above).
Disassemble the carriage and feed components
- After unplugging, remove the carriage components from the slicer.
- If your model has a non-removable carriage assembly, loosen the carriage arm knob and tilt the carriage assembly away from the slicer body. Note that on some models the thickness control dial also functions as a release lever for the carriage.
- Loosen the adjustment spacer knob, unscrew the adjustment spacer rod, and remove the rod and spacer. Set them aside for cleaning.
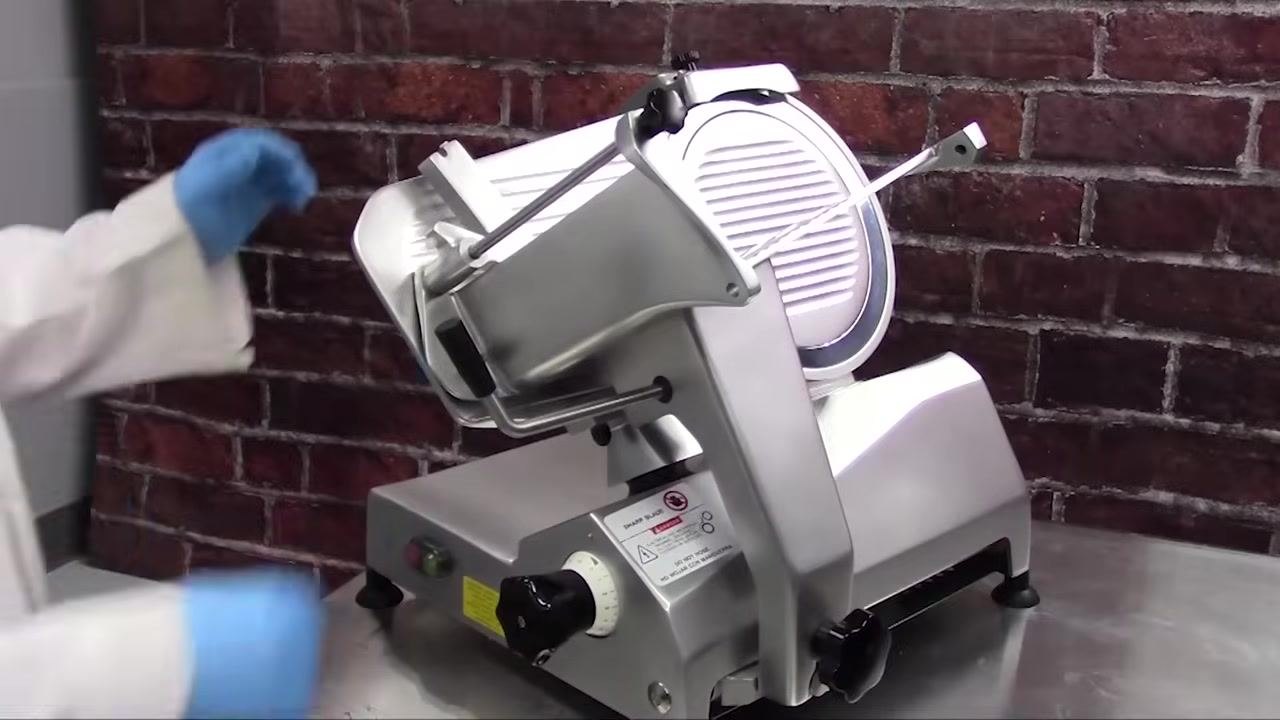
- Detach the feed grip from the slicer and set it aside for cleaning.
- If your slicer model has a multi-piece grip: remove the feed weight by turning it counterclockwise, remove the first spacing washer, detach the feed grip from the support arm, and remove the second plastic spacing washer and the small metal grip washer. Set all pieces aside for cleaning.
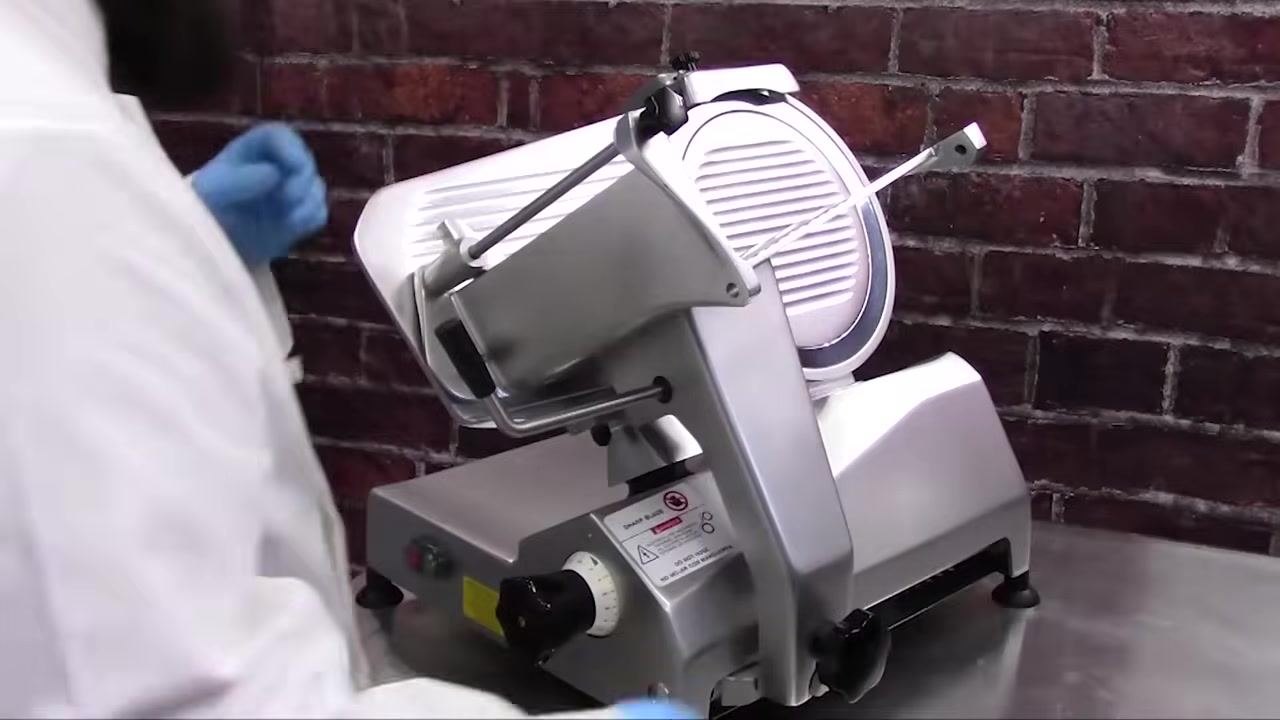
- Loosen the knob on the product feed rod by turning it counterclockwise, then remove the rod, the feed grip, and the two impact-absorbing washers. Set these aside for cleaning.
Remove the carriage, dial, and sharpener
- On models with removable carriages, unscrew the carriage arm knob and pull upward to remove the carriage. Set the knob and carriage aside for cleaning.
- Carefully lift the carriage assembly away from the slicer and place it in a safe area for cleaning.
- On models with a removable thickness control dial, loosen the screw on the front of the dial and remove the knob. Set it aside for cleaning.
- On models where the sharpener is stored on top of the machine, unscrew the sharpener locking pin and carefully pull the sharpener upward to remove it. Set it aside for cleaning.
Remove the knife guard assembly
- If your slicer model has a removable knife scraper, carefully remove it from behind the blade and set it aside for cleaning. If your model has a non-detachable knife scraper, tilt it down to allow access for cleaning.
- Locate the knife guard knob on the back of the slicer and loosen it by turning counterclockwise. If your model has a removable knife guard knob, remove it completely and set it aside for cleaning.
- Push upward on the knife guard rod to lift the guard away from the blade, then set the knife guard aside for cleaning.
Wash all disassembled components
- Gather all removed slicer components (knife scraper, knife guard, feed grip, carriage, etc.) and take them to the sink for cleaning and sanitizing.
- Wash each component in mild detergent and warm water. Use a brush or cloth to thoroughly clean all surfaces, rinse each part with clean water, sanitize according to your facility's procedures, and allow all parts to air dry completely before reassembly.
Clean the slicer body and blade
- Working from top to bottom, use a clean cloth to wipe away excess food debris from the slicer base and blade area.
- Use a nylon brush soaked in mild detergent and warm water to clean around the ring guard, and use the same brush to clean the back side of the knife, being careful not to touch the blade edge.
- Using a moist wipe or clean cloth soaked in mild detergent and warm water, clean the knife blade with a circular motion, starting from the center and working outward. Always avoid direct contact with the blade edge.
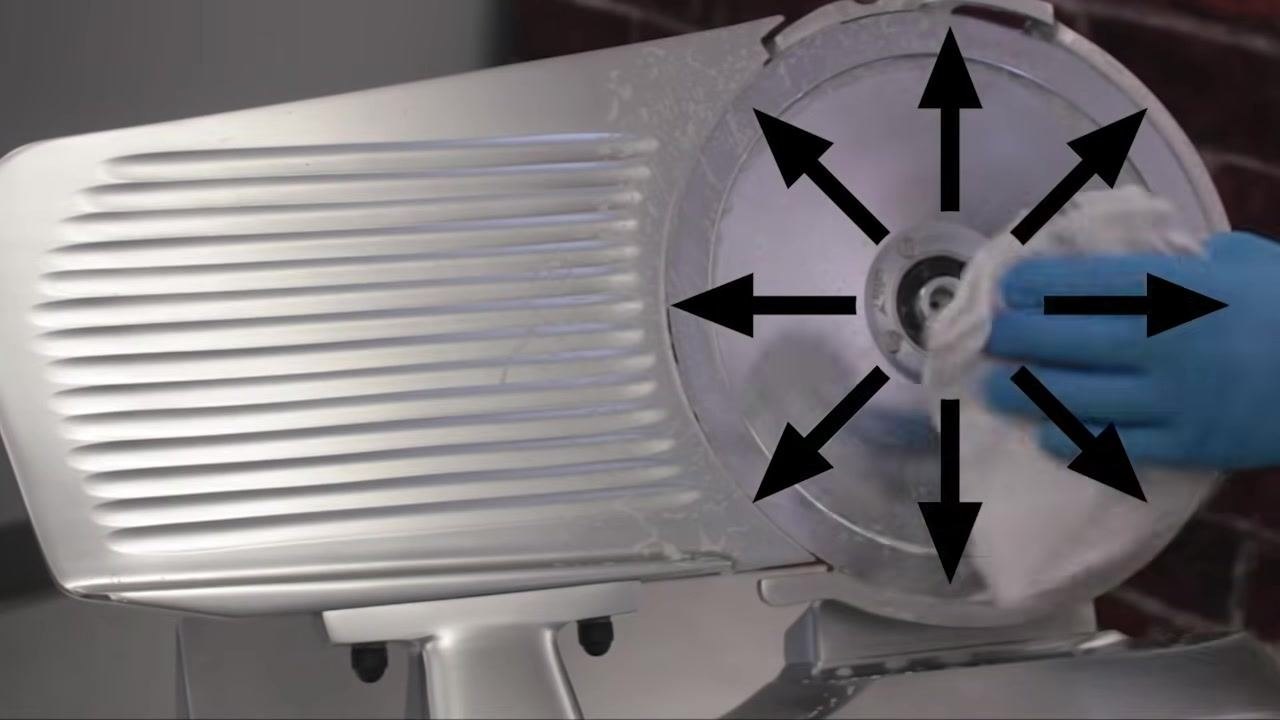
- Clean the fence by starting at the knife and working outward, ensuring all surfaces are free of food debris and residue.
- Using a clean cloth or wipe soaked in mild detergent and warm water, thoroughly wipe the entire slicer body, focusing on the grooved surfaces and the area surrounding the knife blade. Ensure all visible food residue and moisture are removed.
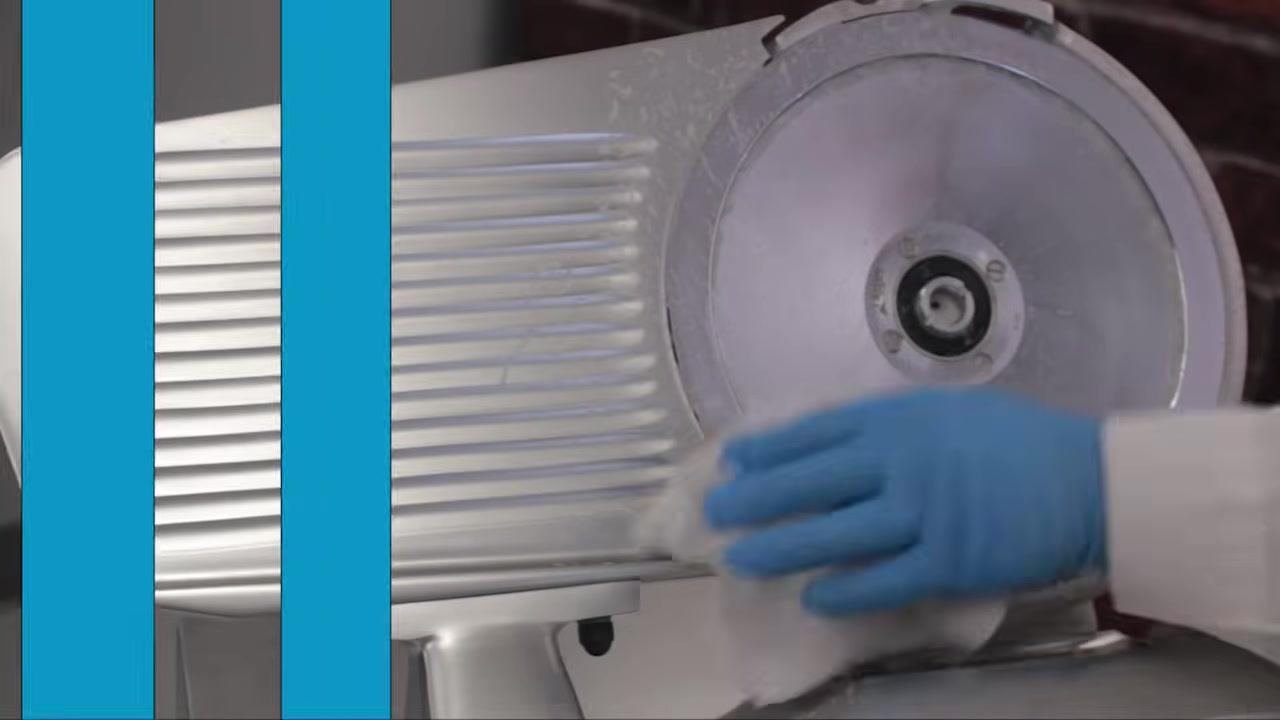
Final wipe-down before sanitizing
- Wipe the knife from the center outward, using protective gloves and a clean cloth. Never wipe toward the blade edge.
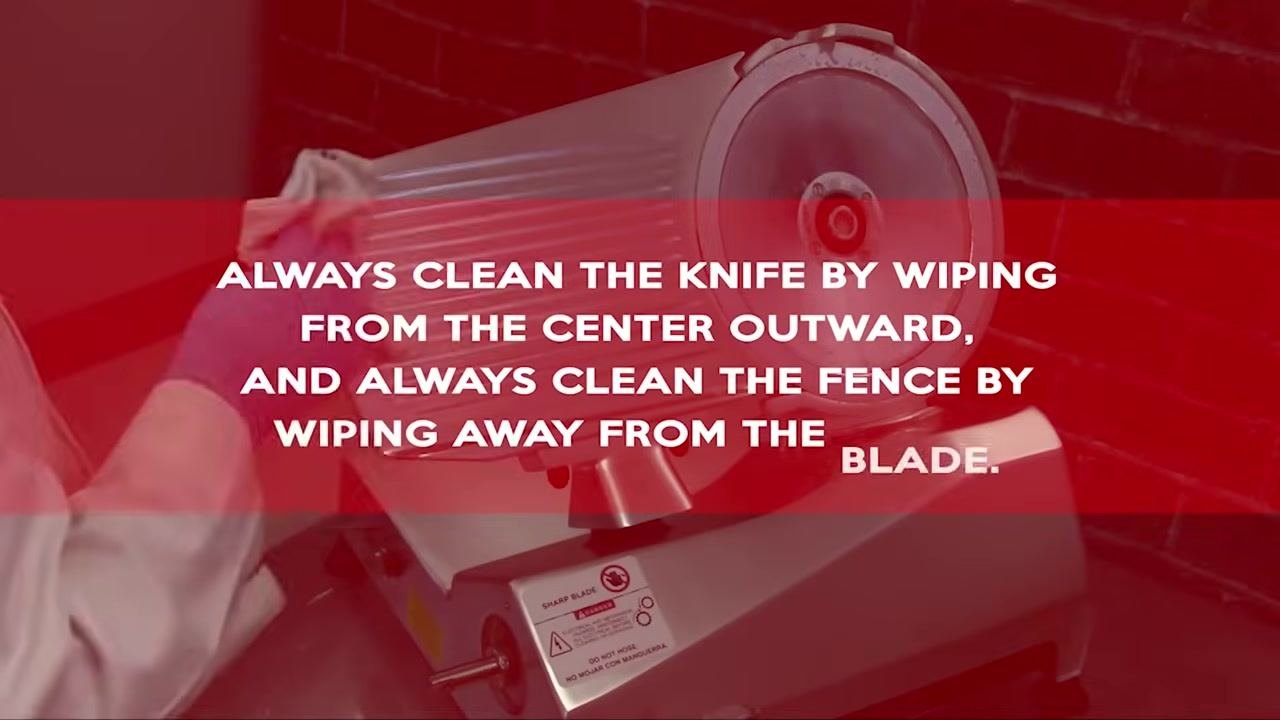
- Wipe the fence away from the blade with a clean cloth to prevent accidental cuts.
- Insert a moist wipe or damp cloth between the blade edge and the protective ring guard, and carefully work the cloth around the blade edge. Take extra caution to avoid direct contact with the blade.
- Wipe down the entire slicer, including the body and any accessible surfaces, ensuring all food contact surfaces are thoroughly cleaned.
Dry and sanitize the slicer
- Using a clean, dry cloth, dry the knife by wiping from the center outward, and dry the fence by starting at the knife and wiping away from the blade.
- Using a clean cloth soaked in sanitizer solution or a spray bottle sanitizer, wipe down all surfaces of the slicer to ensure proper sanitation.
- Allow the slicer and all parts to air dry completely. Do not wipe dry after sanitizing.
Reassemble the slicer
- Carefully align the knife guard cover over the blade, allow the knife guard to drop into place, and secure it by tightening the knob on the knife guard.
-
- Place the knife scraper back into its position. For models equipped with a top-mounted scraper, follow the manufacturer's instructions for correct placement.
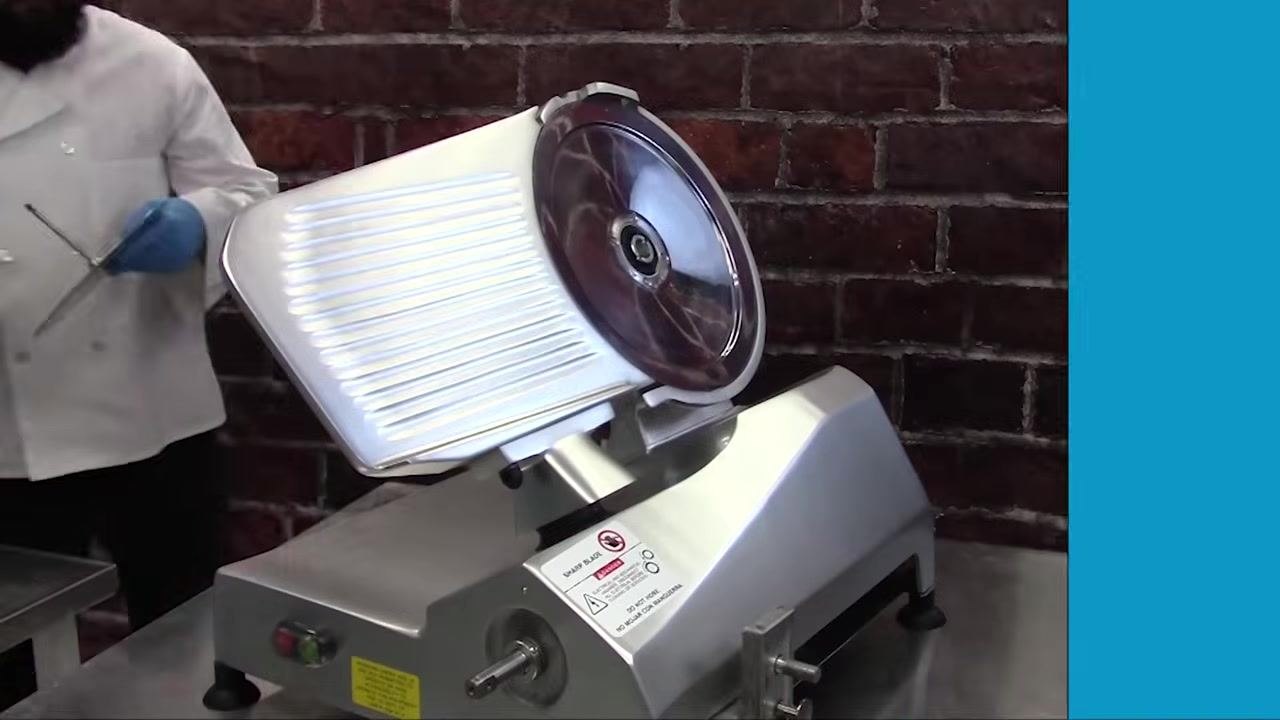
- Hold the sharpener unit with both hands, align it with its designated storage slot, and carefully insert it into place.
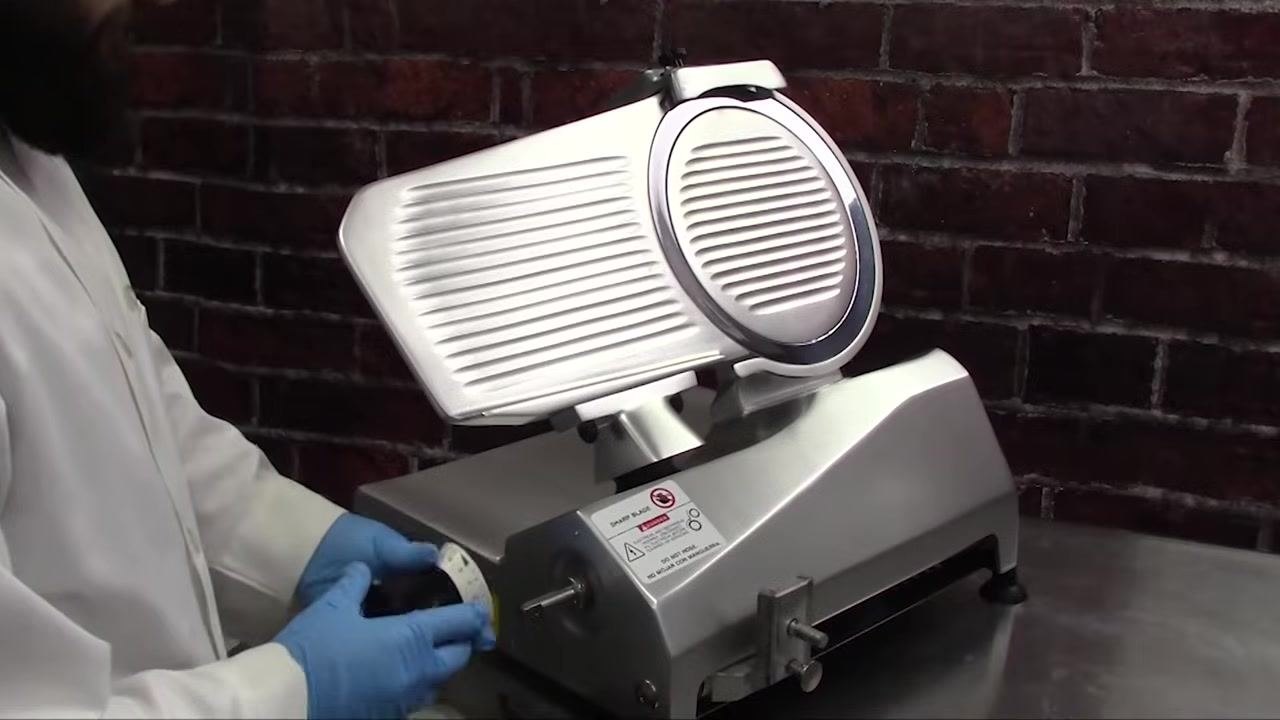
- Locate the thickness control dial's mounting position, align the dial with the shaft, gently push it into place, and secure it by tightening the screw or knob.
- If your model has a removable carriage, position it onto the slicer, aligning it with the guide rails, slide it into place, and tighten the carriage arm knob to secure it.
Reassemble the grip mechanism
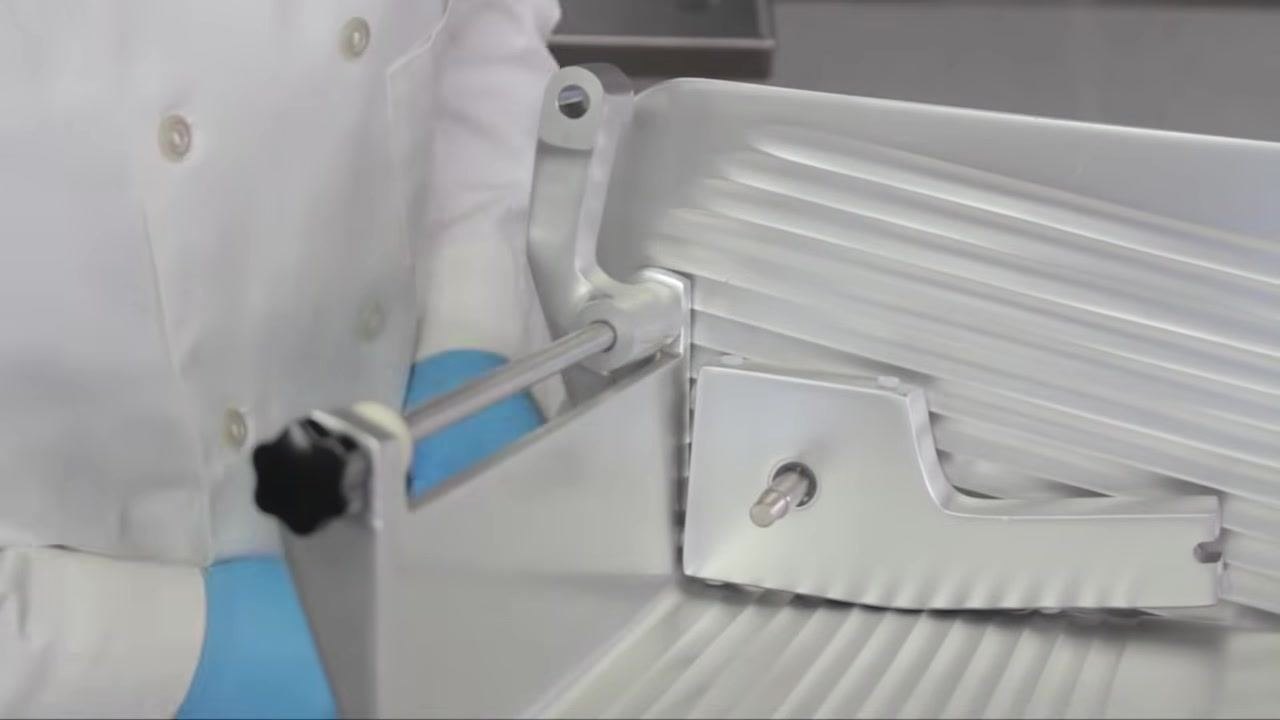
- If your grip is comprised of multiple pieces, thread the product feed rod through the first hole on the carriage, slide the first thick impact-absorbing washer onto the rod, and slide the support onto the shaft.
- Insert the rod and washer assembly through the carriage, ensuring the washer is seated properly against the carriage wall.
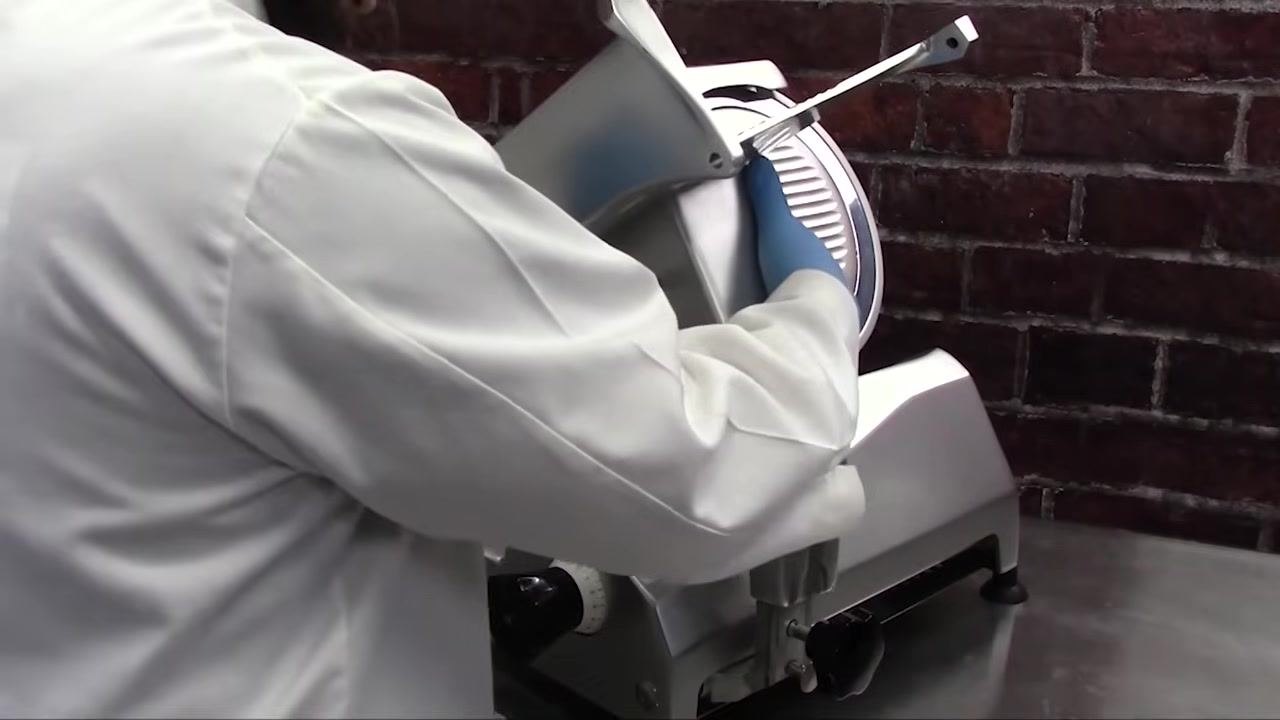
- Guide the rod through the second hole on the carriage and rotate it clockwise to tighten and secure it in place.
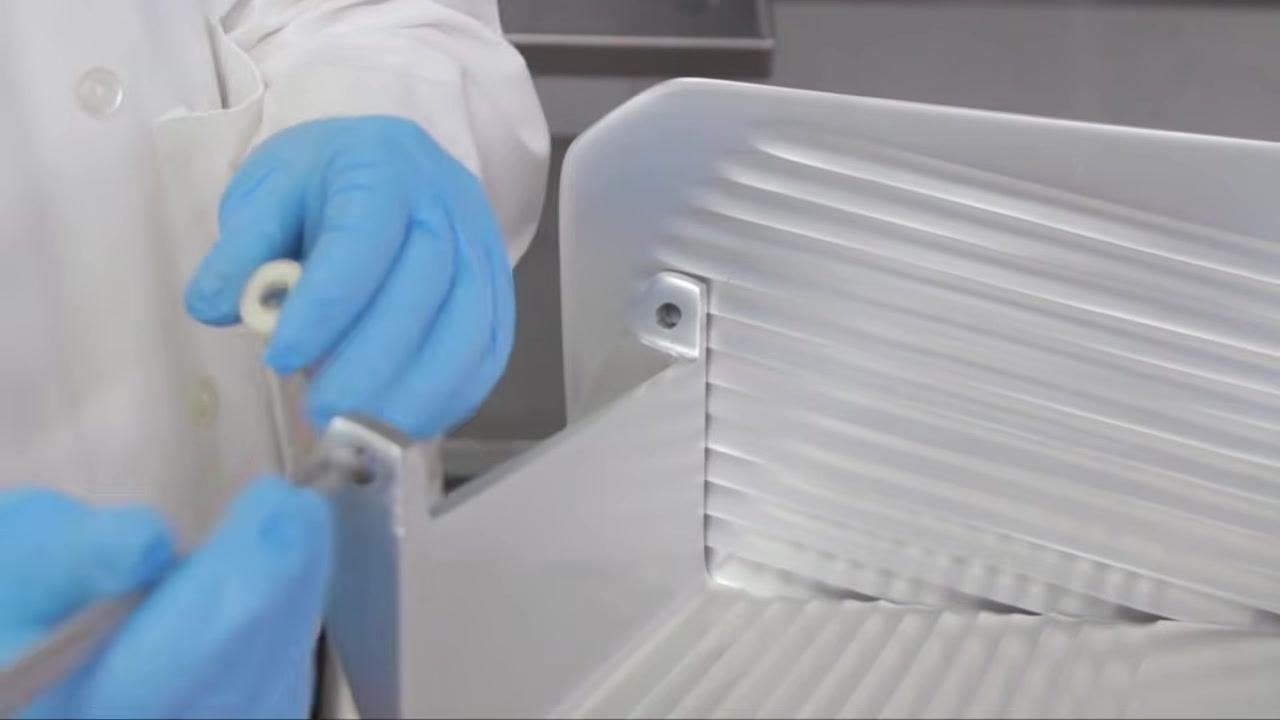
- Locate the thin plastic spacing washer and slide it onto the feed grip rod, ensuring it sits flush against the support.
-
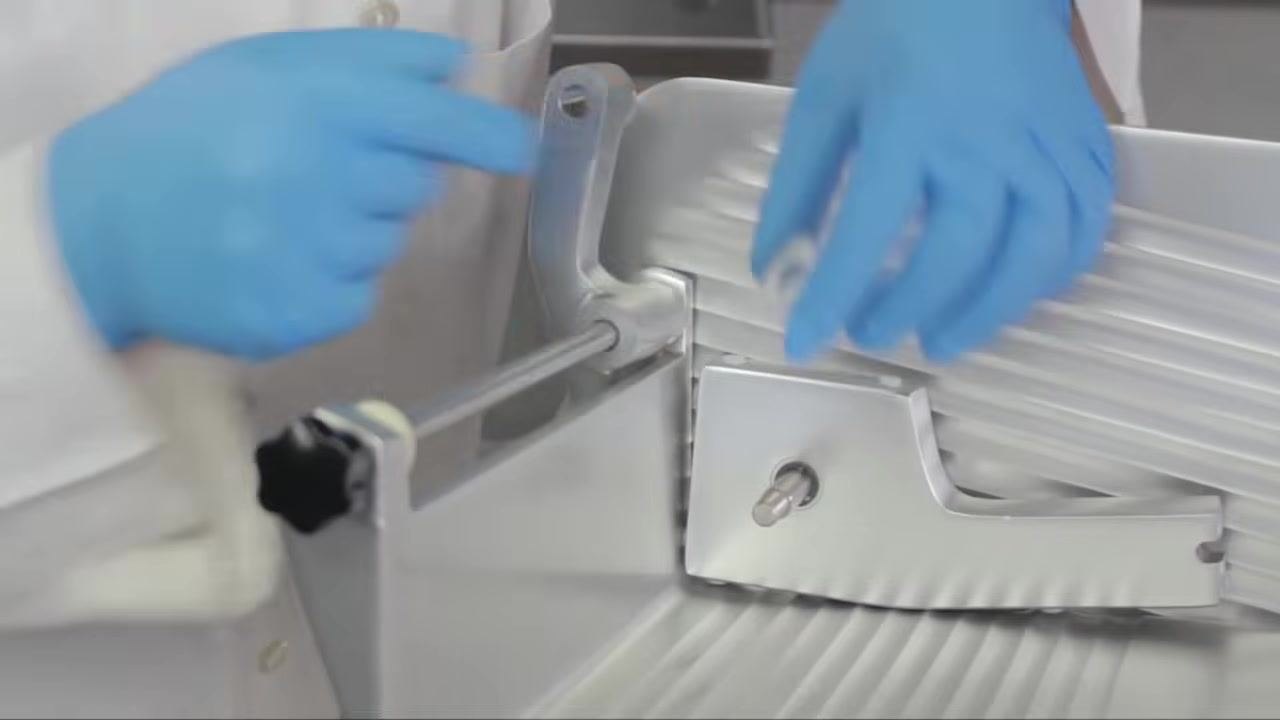
- Position the adjustment spacer onto the rod, insert the rod into its designated slot or hole, and tighten the knob to secure the assembly.
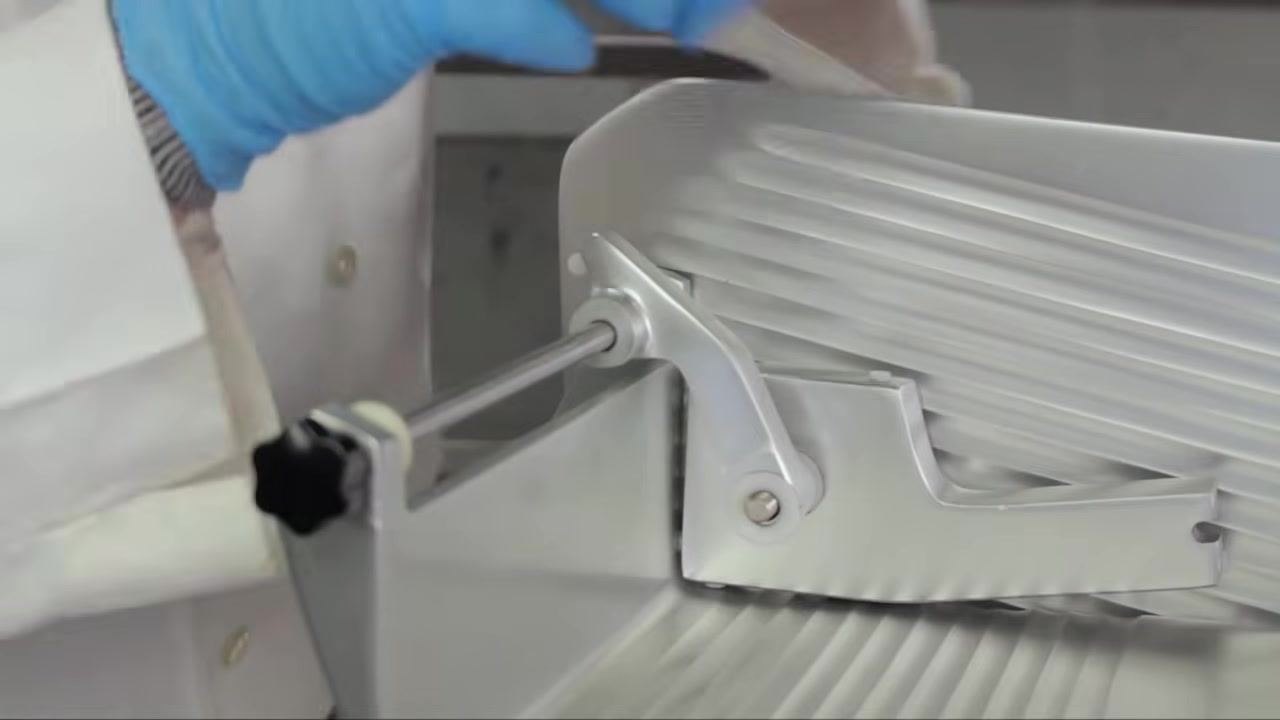
- Double-check that all knobs, washers, and rods are tightened, and confirm the grip mechanism moves smoothly and is correctly assembled.
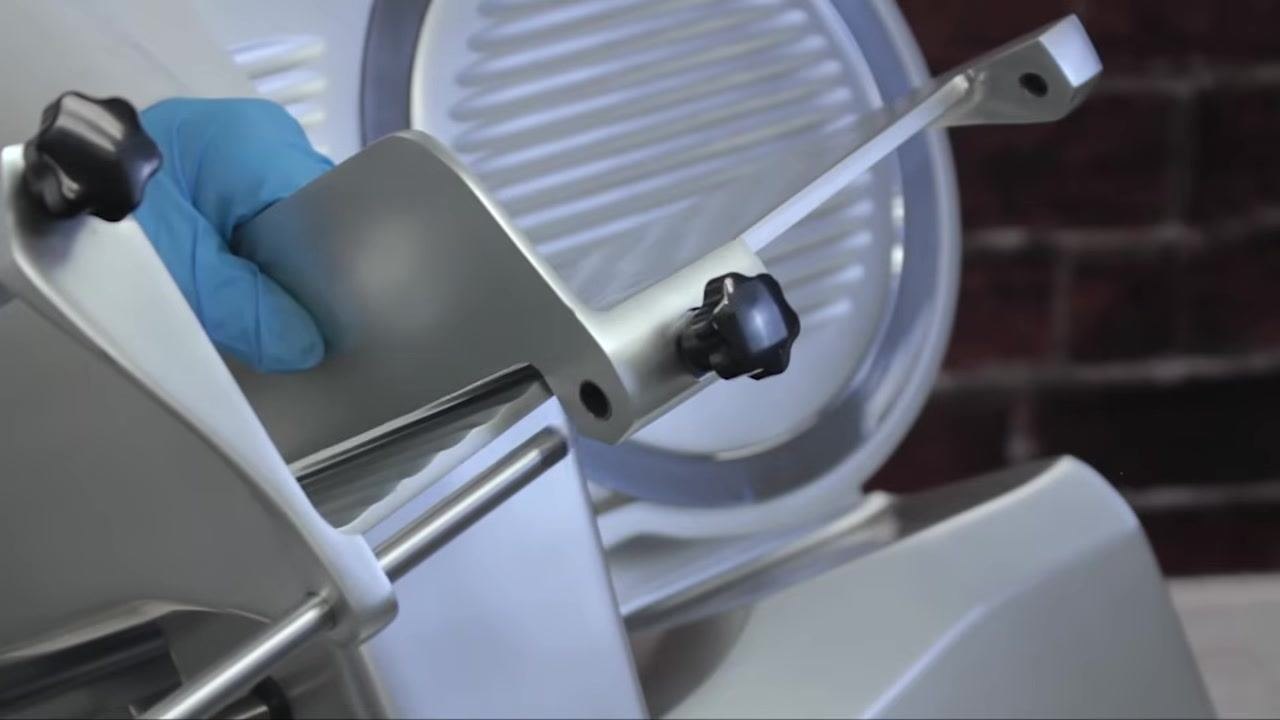
- Hold the slicer carriage firmly with both hands, use one hand to slide the adjustment spacer to its correct position, and with your other hand turn the adjustment knob clockwise to secure the spacer. Ensure the knob is tight enough to hold the spacer, but do not overtighten.
Clean and reset the area beneath the slicer
- If your model has a non-removable carriage, carefully tilt the carriage back as instructed to access the area beneath the slicer. Always use caution when lifting heavier models to avoid injury.
- Use a clean, sanitized cloth to wipe down the stainless steel table surface beneath the slicer, ensuring all food debris and cleaning solution residues are removed.
- On models equipped with a lift lever, locate the lever beneath the slicer, push it away from your body, and while holding the lever, gently lift the front of the slicer to raise it off the table. This allows for thorough cleaning and sanitizing underneath the machine.

- After cleaning and sanitizing, carefully release the lift lever and gently lower the slicer back into its normal position, avoiding pinched fingers or damage to the equipment.
Inspection
- [ ] Carefully examine all cleaned surfaces, including the blade, body, and grooves, for any remaining food particles or residue.
- [ ] If any debris is found, repeat the cleaning process on those areas before proceeding.
- [ ] Ensure all cleaned parts and the slicer base are completely dry before proceeding to sanitizing and reassembly.
- [ ] Gather all cleaned and dried components in a sanitary area prior to reassembly.
- [ ] Verify that all fasteners and moving parts are correctly installed and tightened before operating the slicer.
- [ ] Confirm that the grip mechanism moves smoothly and is correctly assembled.
The source material does not describe a formal supervisor sign-off step; your facility should define who performs the final inspection and how a failed inspection is documented and escalated before the slicer returns to service.
Frequency
- [ ] Clean and sanitize the slicer at least once every four hours of use.
- [ ] Clean and sanitize the slicer at the end of each workday.
The source material does not specify weekly, monthly, or deep-clean intervals beyond this cadence; your facility should establish additional intervals as needed based on usage volume and local food-safety requirements.
Manufacturer support
For further assistance, contact Univex support: - Phone: (800) 258-6358 - Email: sales@univexcorp.com - Website: www.univexcorp.com -

Always wear protective gloves when handling or cleaning the slicer, double-check all fasteners and moving parts for security before operating the slicer, and refer to the manufacturer's manual for model-specific instructions and safety guidelines.
Generation details: cost, quality tiers, downloads
Docsie billed 5,000 credits ($3.50) to analyze this 10-minute video at standard quality. The rewrite, template fill and Word/PDF exports were included. The same video at each quality tier:
| Quality | Frames sampled | Credits | Approx. cost |
|---|---|---|---|
| Draft | every 16-30 s | 2,500 | $1.75 |
| Standard (this guide) | every 8-15 s | 5,000 | $3.50 |
| Detailed | every 4-7 s | 10,000 | $7.00 |
| Ultra | every 1-3 s | 20,000 | $14.00 |
Credits priced at $0.70 per 1,000; plans include a monthly allowance. Enterprise customers on on-premise or bring-your-own-model deployments run this on their own inference and pay no per-video credits.
Generated by Docsie Video-to-Docs on 2026-09-28 from a 9-minute video. It was generated straight into Docsie's Facility Cleaning SOP template, so every section of that template is filled from the video. Screenshots are frames from the source video and belong to their creator, UNIVEXCORPORATION, whose original is embedded above. If you own this video and want the guide removed or credited differently, contact us and we will act within one business day.