
How to Clean a Commercial Coffee Machine
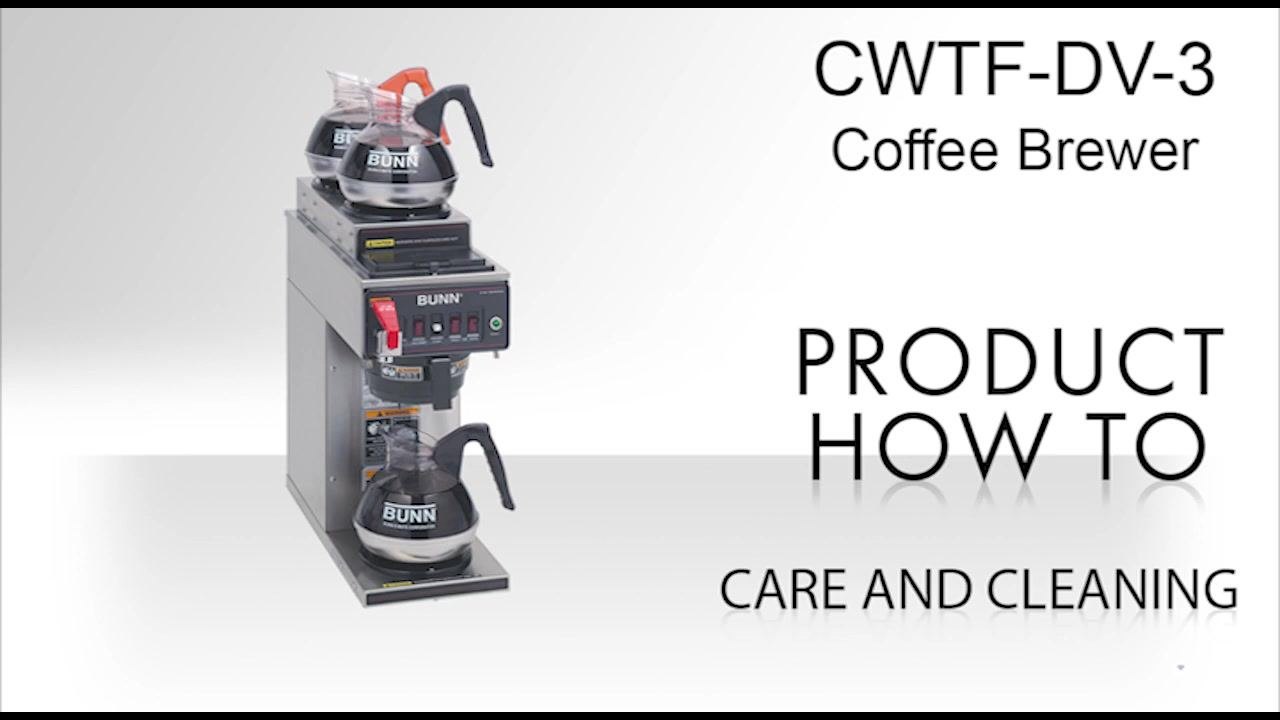
This SOP explains how to clean a commercial coffee machine by deliming the spray head and water faucet on the BUNN CWTF-DV-3 Coffee Brewer. Following this procedure removes mineral deposits that build up over time, restores proper water flow, and keeps the brewer operating safely and hygienically.
Video: CWTF Care and Cleaning English by BUNN (2019). All credit for the demonstration goes to the creator; watch the original on YouTube. The written guide below was generated from this video by Docsie. Creator? Request a change or removal.
This SOP explains how to clean a commercial coffee machine by deliming the spray head and water faucet on the BUNN CWTF-DV-3 Coffee Brewer. Following this procedure removes mineral deposits that build up over time, restores proper water flow, and keeps the brewer operating safely and hygienically.
Purpose
The objective of this procedure is to remove mineral deposit buildup from the spray head, spray head fitting, and water faucet assembly of the BUNN CWTF-DV-3 Coffee Brewer. Deliming controls the risk of restricted water flow, faucet leaks, and residue contamination that can occur if mineral scale is left unaddressed.
Scope
This SOP applies to the following components of the BUNN CWTF-DV-3 Coffee Brewer:
- Brew funnel
- Spray head and spray head fitting
- Water faucet assembly (handle, bonnet nut, seat cup, safety clip, and aerator)
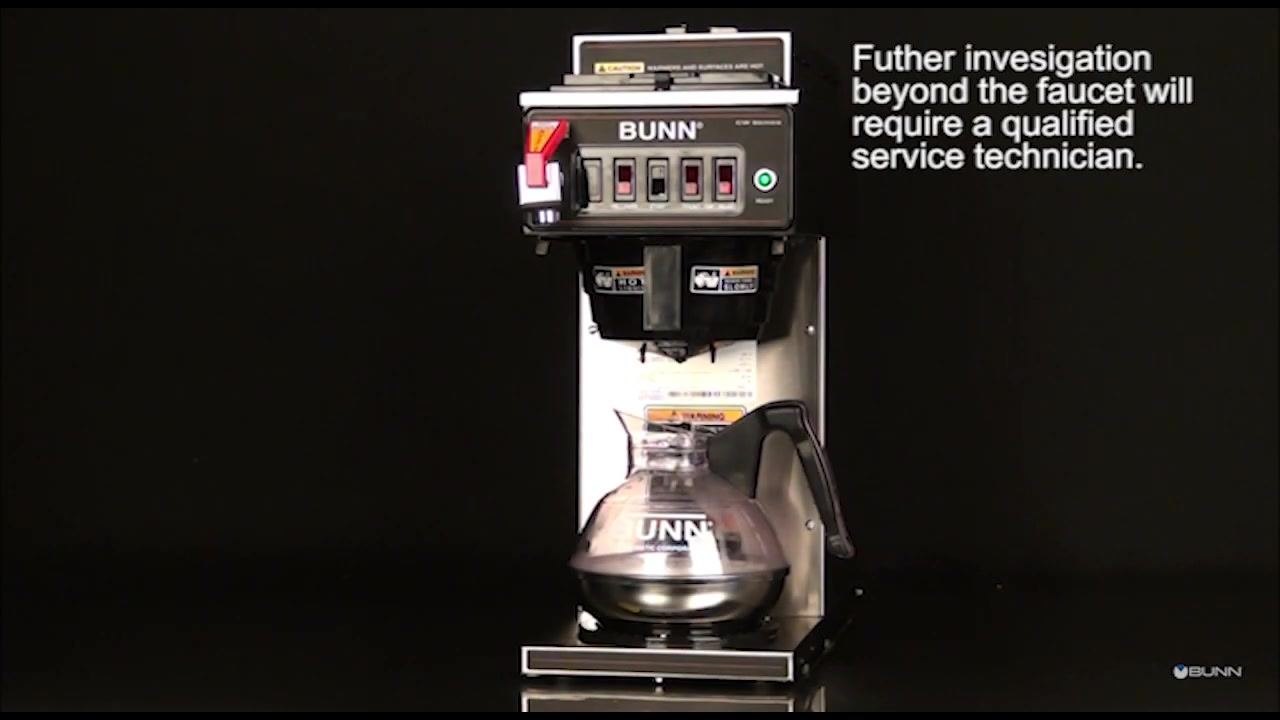
Exclusion: Any investigation or repair work beyond the faucet assembly (referred to as "beyond FOSA") is outside the scope of this SOP and must be performed by a qualified service technician.
Supplies
- Spray head cleaning tool
- Deliming spring tool
- New faucet seat cup
- Damp cloth
- Hand tool (may be needed the first time to loosen the bonnet nut)
- Running water source for rinsing the brew funnel and spray head
- Measuring cup (used to check faucet flow during the final flush)
Note: The source procedure does not specify chemical delimers, PPE, dilution ratios, or storage requirements; these should be confirmed against the manufacturer's product documentation before performing this task.
Safety Precautions
- [ ] Disconnect power from the brewer before beginning any maintenance.
- [ ] Allow the faucet and brewer to cool to the touch; this may take several hours.
- [ ] Disconnect the water source before starting the faucet deliming procedure.
- [ ] Handle the faucet assembly with caution, as residual water inside may still be hot.
- [ ] Do not attempt disassembly or troubleshooting beyond the faucet assembly (FOSA). Doing so risks personal injury and may void the warranty.
- [ ] Contact a qualified service technician for any issue that cannot be resolved by cleaning or replacing the faucet assembly.
Cleaning Steps
Prepare the brewer
- Disconnect power and allow to cool
- Disconnect the power from the brewer.
- Allow the faucet and brewer to cool to the touch, which may take several hours.
Clean the spray head assembly
-
Remove and clean the brew funnel
- Remove the entire brew funnel from the brewer.
- Thoroughly clean the brew funnel under running water to remove any coffee residue or buildup.
-
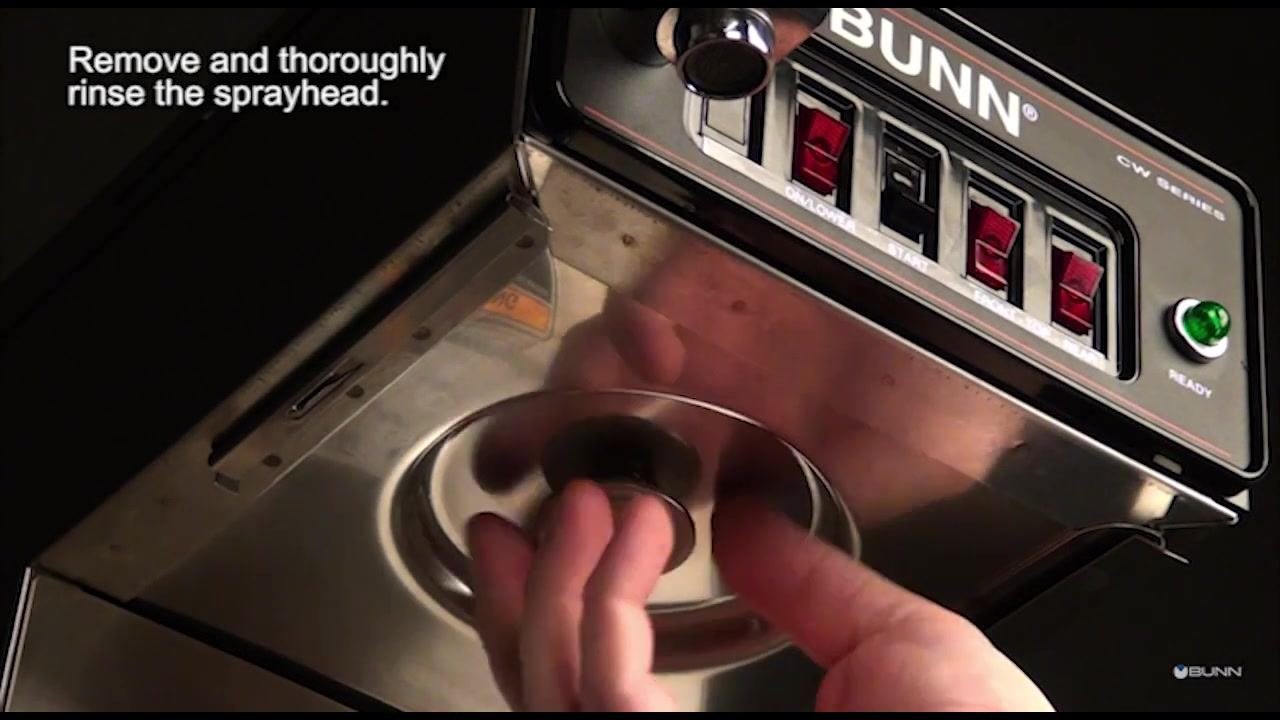
Remove and rinse the spray head
- Remove the spray head from the underside of the brewer.
- Thoroughly rinse the spray head under running water.
- Ensure all holes in the spray head are open and clear of mineral deposits.
-
Clean the spray head water outlets
- Insert the short end of the spray head cleaning tool into each water outlet (hole) of the spray head.
- Remove any mineral deposits from each outlet.
-
Clean the spray head fitting
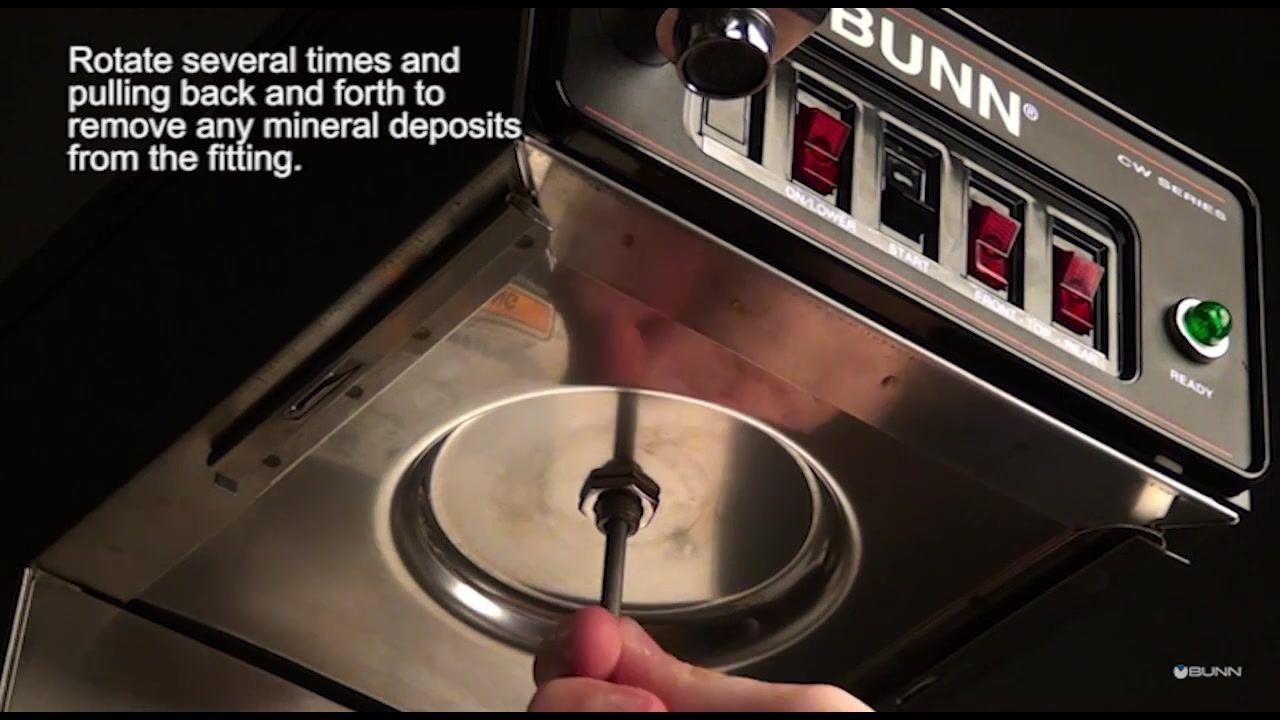
- Insert the deliming spring tool into the spray head fitting on the brewer.
- Rotate the tool several times and pull it back and forth to remove mineral deposits from the fitting.
-
Wipe the spray head panel
- Wipe the spray head panel clean with a damp cloth to remove any remaining residue.
-
Reinstall the spray head
- Reinstall the spray head onto the spray head fitting.
Delime the water faucet
-
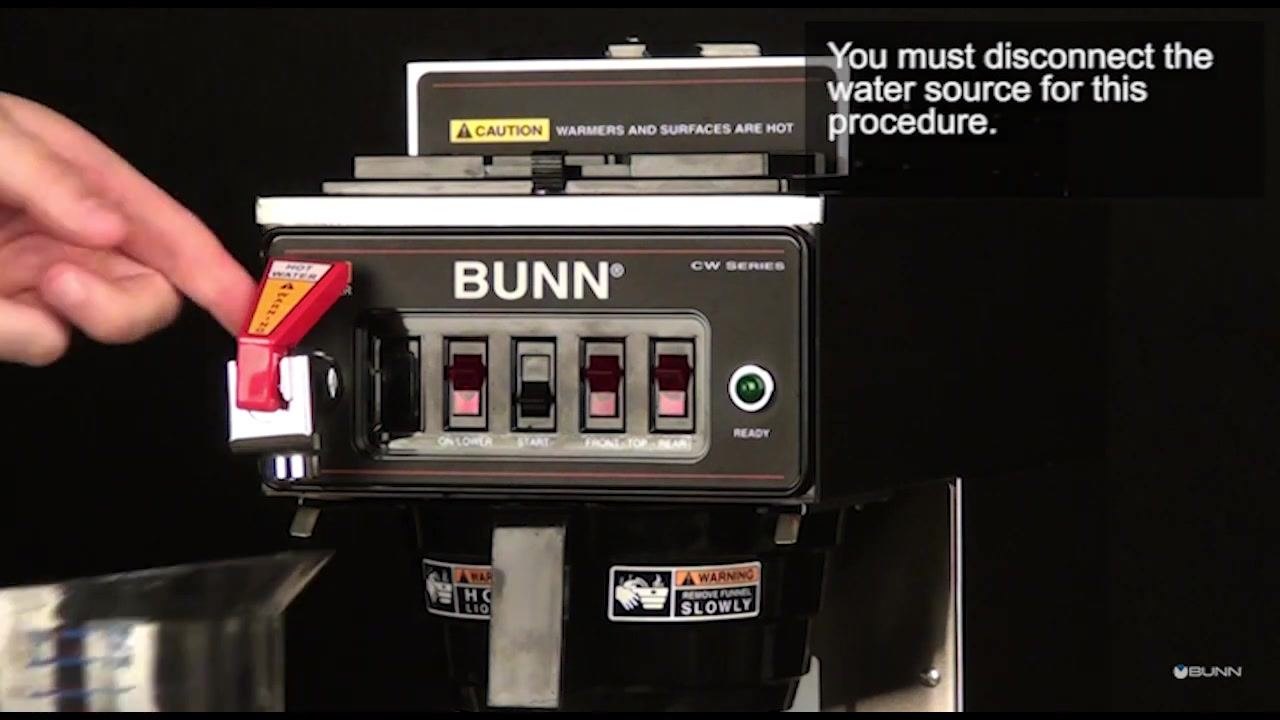
Disconnect the water source
- Disconnect the water source before proceeding with the faucet deliming procedure.
-
Drain remaining water
- Open the faucet and run water until the flow stops completely.
-
Remove the faucet aerator and safety clip
- Remove the faucet aerator and safety clip as the next step in the deliming process.
-
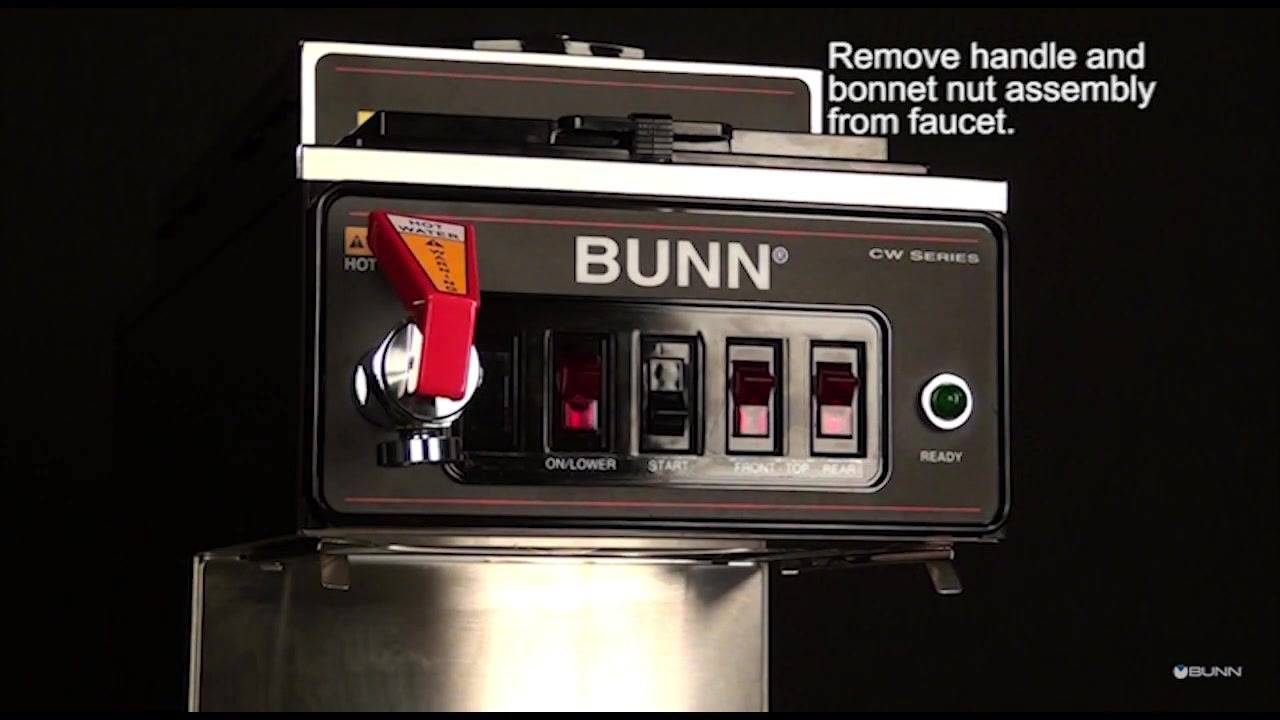
Remove the handle and bonnet nut assembly
- Remove the handle and bonnet nut assembly from the faucet.
- The bonnet nut is typically hand-tight, but a hand tool may be needed the first time.
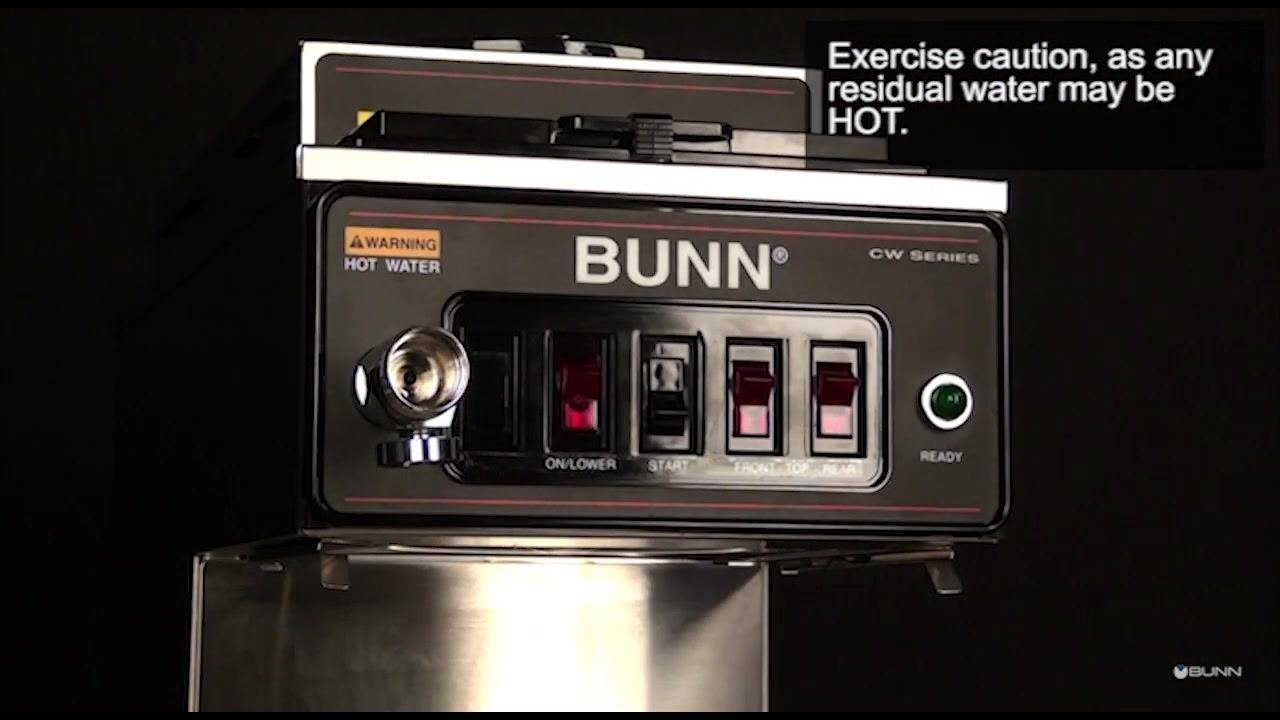
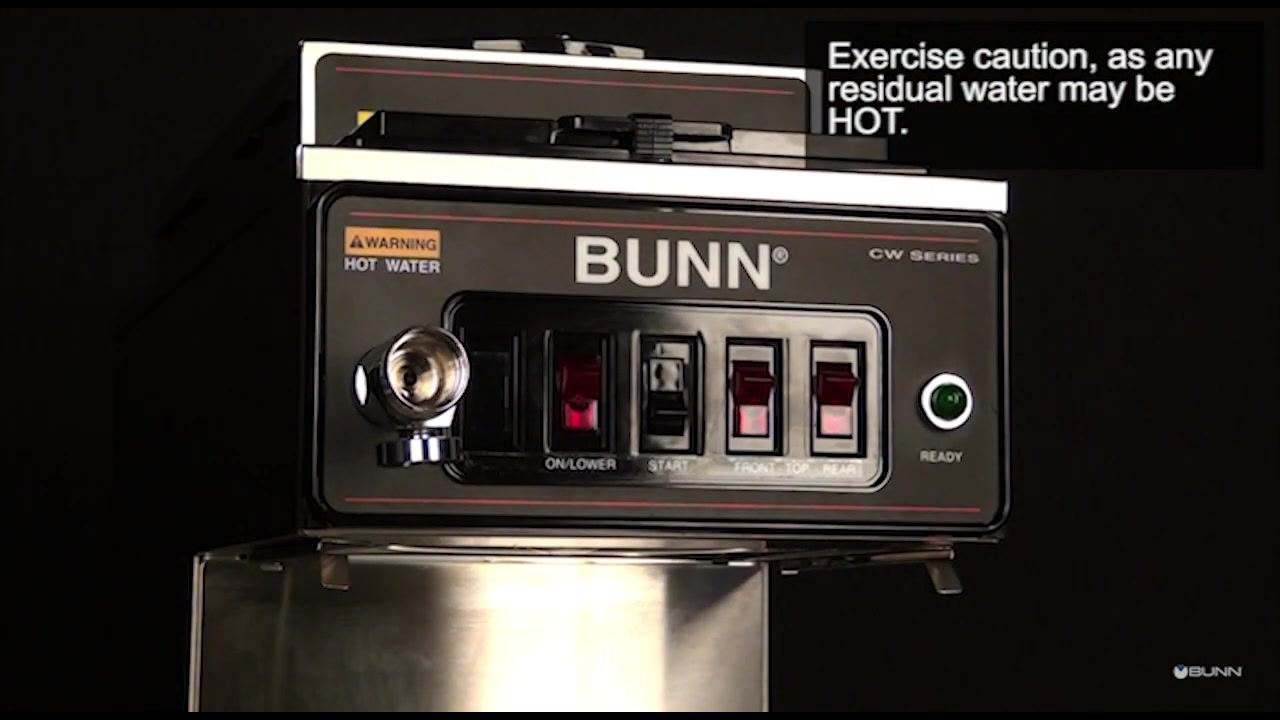
- Exercise caution, as any residual water in the faucet may be hot.
-
Exercise caution while accessing the faucet stem
- Be careful when removing the assembly, as hot water may still be present in the faucet.
-
Remove the old faucet seat cup
- Remove the old faucet seat cup from the faucet handle stem.
-
Install the new seat cup
- Install a new seat cup onto the faucet handle stem.
- Ensure the new seat cup is properly fitted and seated.
-
Reassemble the faucet components
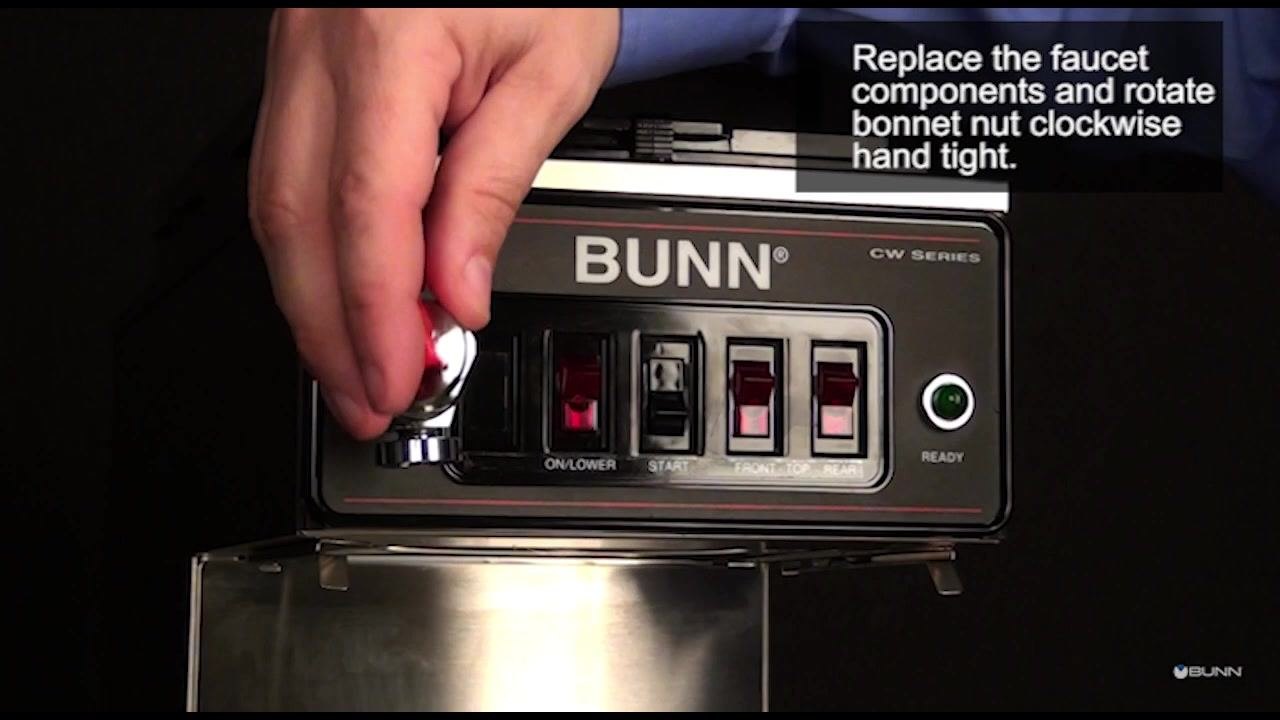
- Replace the faucet components (handle, bonnet nut, etc.) onto the brewer.
- Rotate the bonnet nut clockwise and tighten it by hand until secure.
-
Replace the faucet safety clip and aerator
- Reinstall the faucet safety clip and aerator to complete the assembly.
Final reset
-
Wipe down the brewer
- Use a damp cloth to wipe down the exterior of the brewer, removing any residue or water spots.
-
Restore power to the brewer
- Reconnect the power supply to the brewer.
-
Flush the faucet and check for leaks
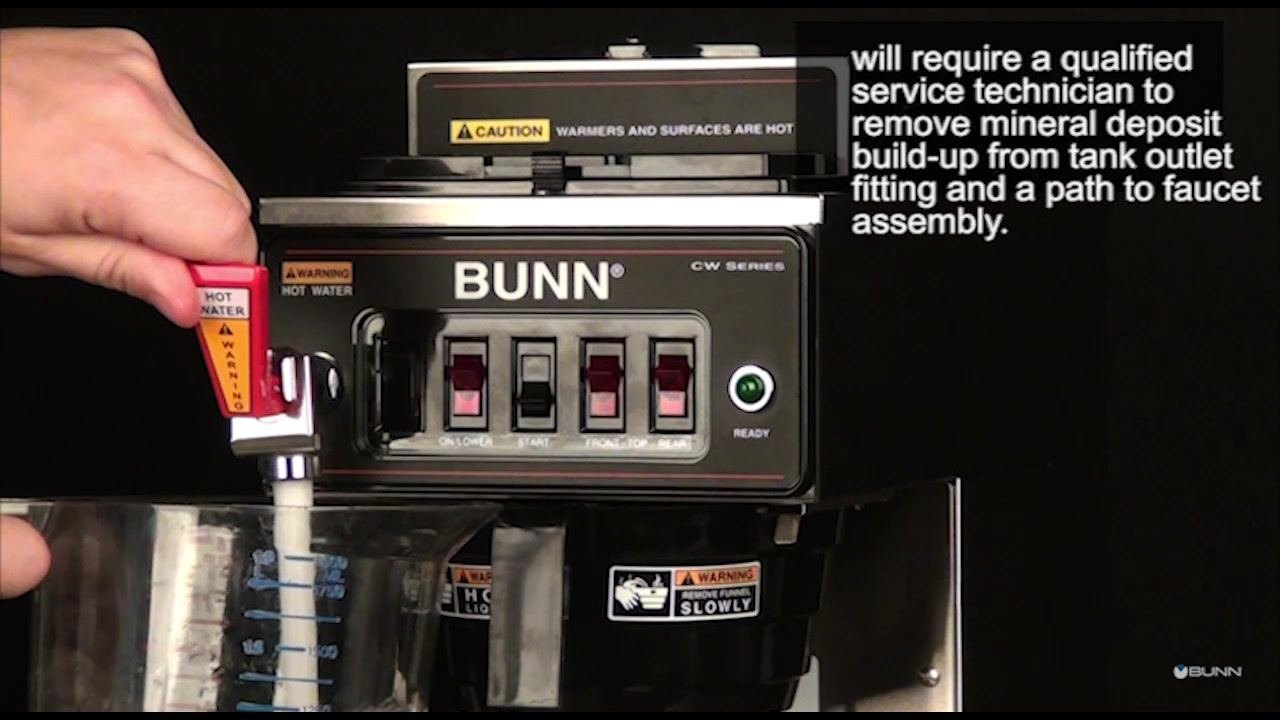
- Run water through the faucet until no signs of dislodged mineral deposits are visible.
- Check carefully for leaks around the faucet assembly.
Inspection
- [ ] Confirm all holes in the spray head are open and clear of mineral deposits.
- [ ] Confirm the spray head is securely reinstalled onto the fitting with no gaps.
- [ ] Confirm the faucet assembly shows no leaks after reassembly.
- [ ] Confirm water flow through the faucet is steady and free of dislodged mineral debris.
Failed-inspection response: If low water flow persists from the faucet after this maintenance, do not continue troubleshooting. A qualified service technician must remove mineral deposit buildup from the tank outlet fitting and the water path to the faucet assembly. Any further investigation beyond the faucet assembly (FOSA) must be referred to a qualified service technician.
Frequency
The source procedure does not specify a fixed daily, weekly, or monthly deliming schedule; the interval for this deliming task should be set according to manufacturer guidance based on local water hardness and brewer usage volume.
What's Next
- Contact BUNN customer support or an authorized service provider if you require assistance beyond the faucet assembly, and provide the model number and a description of the issue for faster service.
- Refer to the official BUNN documentation or website for additional maintenance information on the CWTF-DV-3 Coffee Brewer.
Generation details: cost, quality tiers, downloads
Docsie billed 2,000 credits ($1.40) to analyze this 4-minute video at standard quality. The rewrite, template fill and Word/PDF exports were included. The same video at each quality tier:
| Quality | Frames sampled | Credits | Approx. cost |
|---|---|---|---|
| Draft | every 16-30 s | 1,000 | $0.70 |
| Standard (this guide) | every 8-15 s | 2,000 | $1.40 |
| Detailed | every 4-7 s | 4,000 | $2.80 |
| Ultra | every 1-3 s | 8,000 | $5.60 |
Credits priced at $0.70 per 1,000; plans include a monthly allowance. Enterprise customers on on-premise or bring-your-own-model deployments run this on their own inference and pay no per-video credits.
Generated by Docsie Video-to-Docs on 2026-09-14 from a 3-minute video. It was generated straight into Docsie's Facility Cleaning SOP template, so every section of that template is filled from the video. Screenshots are frames from the source video and belong to their creator, BUNN, whose original is embedded above. If you own this video and want the guide removed or credited differently, contact us and we will act within one business day.