
How to Clean a Commercial Dishwasher
This standard operating procedure explains how to clean a commercial dishwasher, specifically the Hobart CL dish machine, to maintain proper sanitation and equipment performance. Follow these steps at the end of each operating cycle to remove food soil, prevent bacterial buildup, and keep the machine running reliably.
Video: Hobart CL Rack Conveyor Commercial Dishwasher Cleaning by Hobart Food Equipment and Service (2024). All credit for the demonstration goes to the creator; watch the original on YouTube. The written guide below was generated from this video by Docsie. Creator? Request a change or removal.
This standard operating procedure explains how to clean a commercial dishwasher, specifically the Hobart CL dish machine, to maintain proper sanitation and equipment performance. Follow these steps at the end of each operating cycle to remove food soil, prevent bacterial buildup, and keep the machine running reliably.
Purpose
This SOP establishes the correct method for cleaning the Hobart CL dish machine to prevent food soil accumulation, control cross-contamination risk, and maintain the machine's mechanical performance. Proper cleaning reduces the risk of clogged spray nozzles, blocked strainers, and residue buildup that can affect wash quality.
Scope
This procedure applies to the Hobart CL dish machine, including its wash tank(s), wash arms, strainers, scrap baskets, curtains, ASR components (where equipped), and exterior surfaces. It covers cleaning performed after the machine is powered off and cooled down, and it excludes machines that are still running or have not completed a full drain cycle.
Supplies
- Hose with a spray nozzle
- Sink for washing and rinsing removable parts
- Soft cloth or soft brush
- Mild cleanser (safe for stainless steel)
- Standard screen cleaner or microfiber cloth (for the touchscreen)
- Toothpick (for clearing nozzle obstructions)
- Trash receptacle for discarded debris
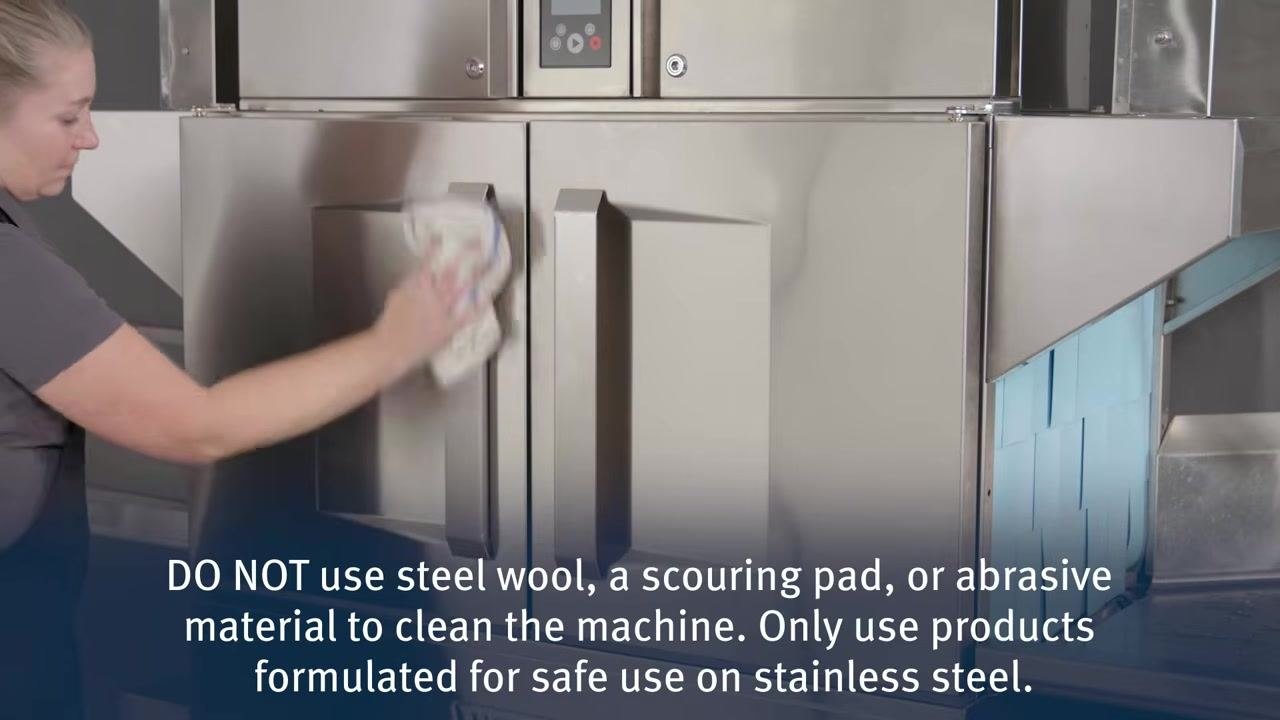
Storage and handling notes: - Do not use steel wool, scouring pads, or other abrasive materials on the machine. - Only use cleaning products formulated for safe use on stainless steel.
Safety precautions
- [ ] Confirm the machine is powered off and fully cooled down before beginning any cleaning step.
- [ ] Wait until the display screen is completely powered off before proceeding.
- [ ] Do not spray the exterior of the machine or the touchscreen with a hose.
- [ ] Do not strike strainer pans or scrap baskets against solid objects to dislodge debris; this may damage components.
- [ ] Use care when handling drained wash tank water and debris to avoid slips near the machine and adjacent sink area.
Cleaning steps
Power off the machine
Press the power button on the touch screen to turn the machine off, then wait until the display is completely powered off before proceeding.
Open the machine doors
Open both doors of the dish machine fully to gain easy access to all interior components.
Drain the wash tank(s)
Pull up the drain lever to drain the tank. If your machine has more than one tank, repeat this step for each one, and wait for draining to finish completely before continuing.
Remove debris from machine walls
Use a hose with a spray nozzle to clean debris from the interior walls, flushing everything toward the strainers. Pay special attention to the back of the doors, the space between the doors and chamber, and around the door seal.
Flush debris toward the strainers
Continue using the spray nozzle to flush all loosened debris toward the strainers located at the bottom of the tank.
Remove and clean the wash arms
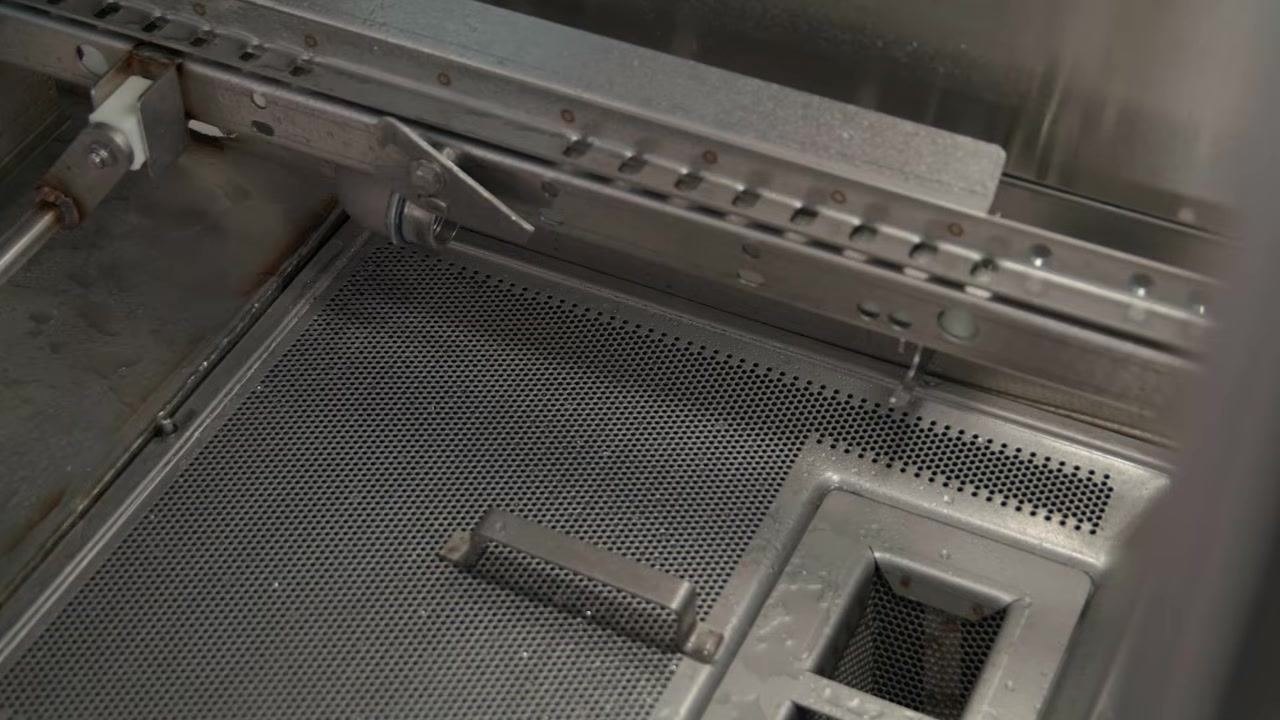
Unlatch the upper wash arms and rotate them down, then slide them sideways to release them from the rear manifold and bracket, allowing them to drain into the wash tank. Rotate the lower wash arms up, then slide sideways to release them the same way. Open the wash arm sliders and flush the wash arms thoroughly in a sink; use a toothpick if needed to clear any nozzle obstructions.
Remove scrap baskets and strainer pans
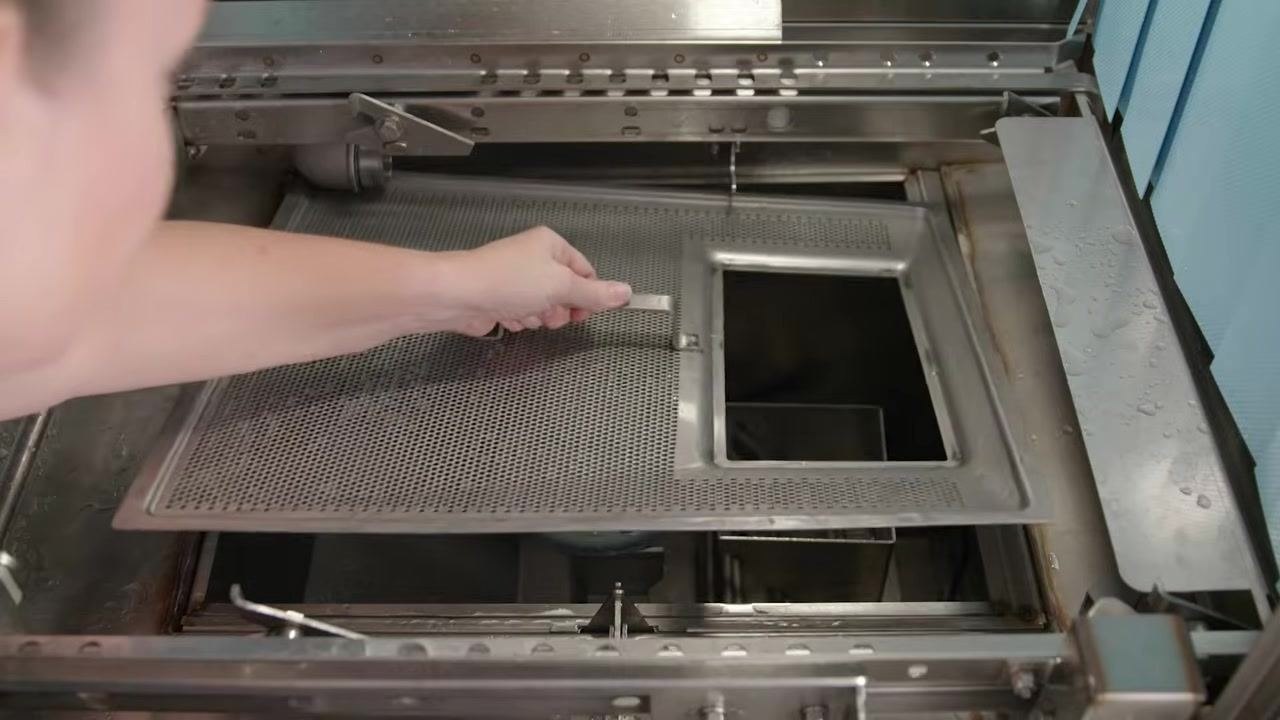
Remove all scrap baskets and strainer pans from the machine and empty any debris into the trash. Do not strike strainer pans or scrap baskets on solid objects to dislodge debris.
Wash and rinse strainers and baskets
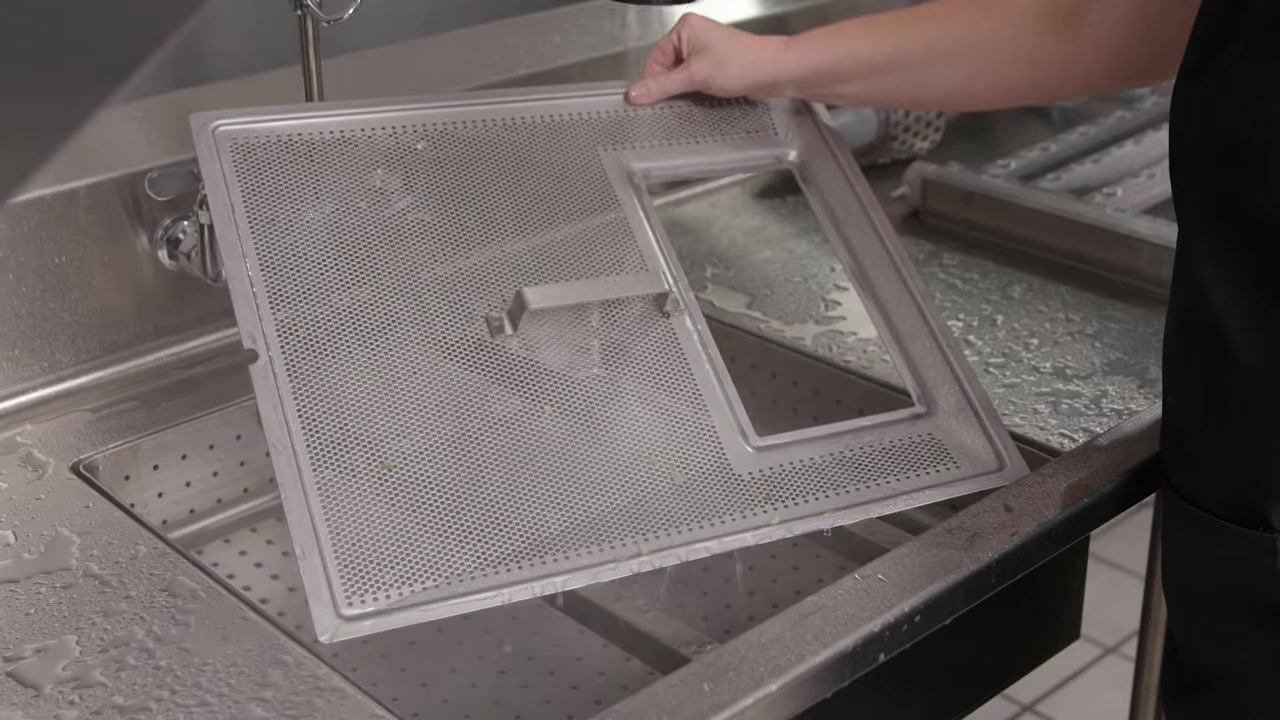
Wash and rinse the strainers and baskets thoroughly in a sink.
Clean the ASR basket (if applicable)
On ASR-equipped machines, empty the ASR basket, then wash and rinse it thoroughly in a sink.
Remove and clean the curtains
Remove the curtains from the machine and clean and rinse them thoroughly in a sink. Allow the curtains to dry at the end of the day.
Perform final interior cleaning
Thoroughly clean and flush the dishwasher interior with a hose and spray nozzle, ensuring all surfaces are free of debris.
Remove remaining food soil and inspect
Remove any remaining food soil from interior surfaces using a cloth or soft brush with a mild cleanser. Visually inspect the bottom of the wash tank and confirm no food soil is left to accumulate there.
Clean the ASR box (if equipped)
On ASR machines, clean the interior of the ASR box thoroughly to remove any trapped debris.
Wipe down the machine exterior
Wipe down all exterior surfaces using a soft cloth and mild cleanser. Do not use steel wool, scouring pads, or abrasive materials, and only use products formulated for stainless steel. Do not spray the exterior or touchscreen with a hose; instead, clean the touchscreen with a standard screen cleaner or microfiber cloth.
Reassemble the machine
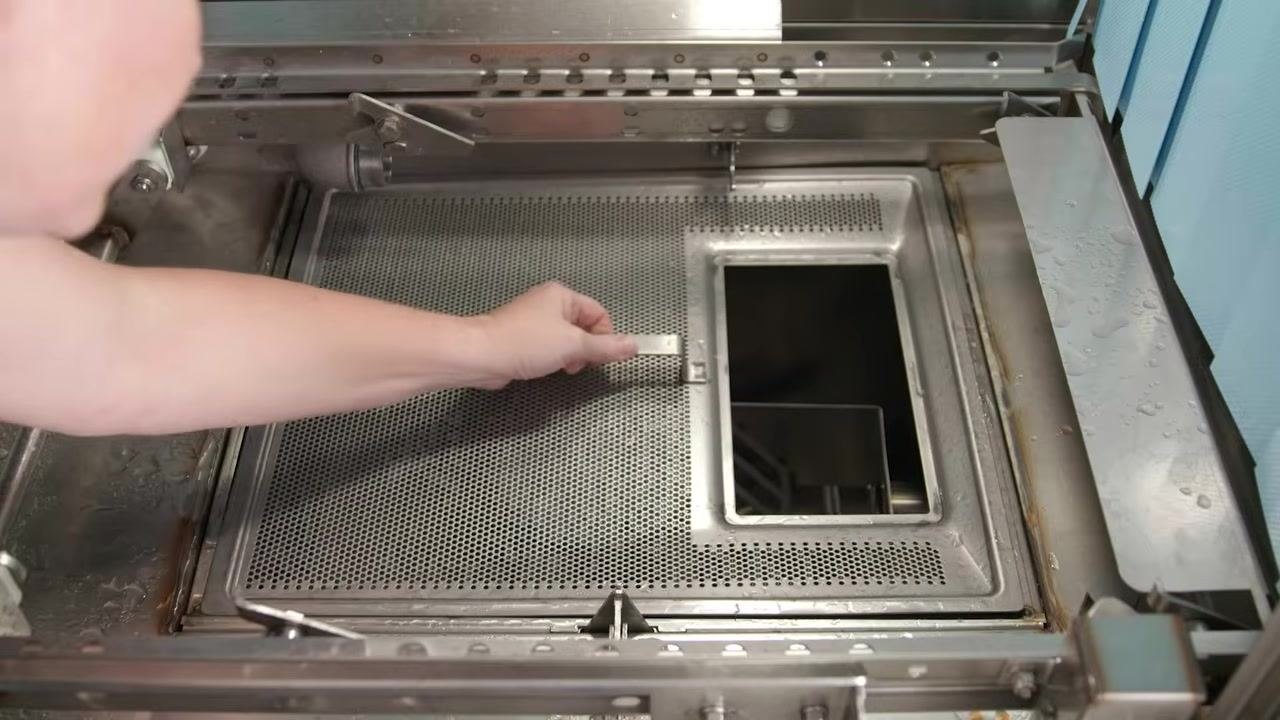
Replace the stand pipe and ensure it is properly seated, reinstall the strainer pan in its correct position, place the scrap basket back into the machine, and replace the ASR basket if equipped.
Reinstall the wash arms
For the upper wash arms, rest the rear extension on the rear hanger with the open end facing the manifold, slide the arm onto the manifold, then rotate it upward so the front latches in place. Repeat for the lower wash arm, lowering the front into position. Confirm all wash arm sliders are closed.
Replace the curtains
Hang the cleaned and dried curtains back in their correct locations, as indicated by the label on the upper door frame.
Allow the interior to dry
Leave the machine doors open so the interior can air out and dry completely.

Inspection
- [ ] Confirm the wash tank bottom is free of visible debris and food soil.
- [ ] Confirm strainers, scrap baskets, and ASR basket (if equipped) are clean and correctly reinstalled.
- [ ] Confirm wash arm nozzles are unobstructed and wash arms are properly latched.
- [ ] Confirm curtains are clean, dry, and hung in the correct location per the door frame label.
- [ ] Confirm the exterior and touchscreen are clean with no abrasive residue or damage.
- [ ] If any check fails, repeat the relevant cleaning step before returning the machine to service.
Frequency
Perform this full cleaning procedure at the end of each operating day, after the machine is powered off and cooled down. For additional training on the cleaning procedure, visit HobartCorp.com/CLTraining.
Generation details: cost, quality tiers, downloads
Docsie billed 2,000 credits ($1.40) to analyze this 4-minute video at standard quality. The rewrite, template fill and Word/PDF exports were included. The same video at each quality tier:
| Quality | Frames sampled | Credits | Approx. cost |
|---|---|---|---|
| Draft | every 16-30 s | 1,000 | $0.70 |
| Standard (this guide) | every 8-15 s | 2,000 | $1.40 |
| Detailed | every 4-7 s | 4,000 | $2.80 |
| Ultra | every 1-3 s | 8,000 | $5.60 |
Credits priced at $0.70 per 1,000; plans include a monthly allowance. Enterprise customers on on-premise or bring-your-own-model deployments run this on their own inference and pay no per-video credits.
Generated by Docsie Video-to-Docs on 2026-09-20 from a 3-minute video. It was generated straight into Docsie's Facility Cleaning SOP template, so every section of that template is filled from the video. Screenshots are frames from the source video and belong to their creator, Hobart Food Equipment and Service, whose original is embedded above. If you own this video and want the guide removed or credited differently, contact us and we will act within one business day.