
How to Use Soap with a Pressure Washer
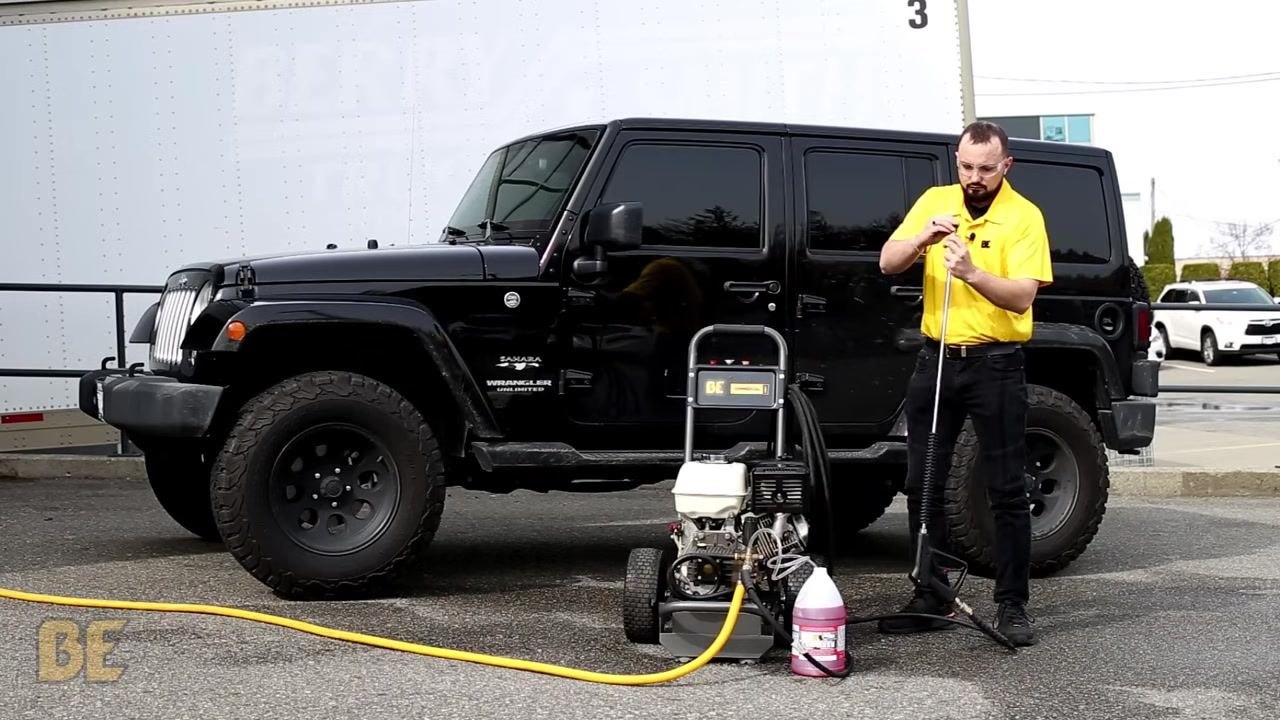
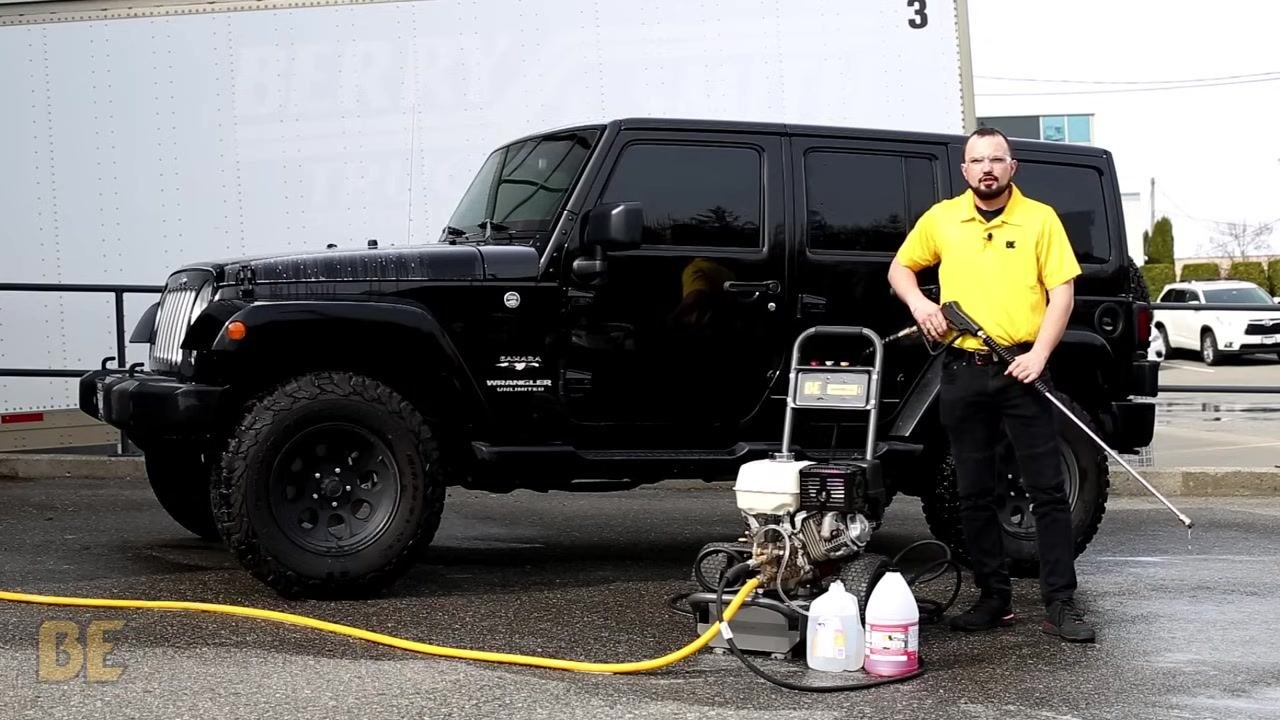
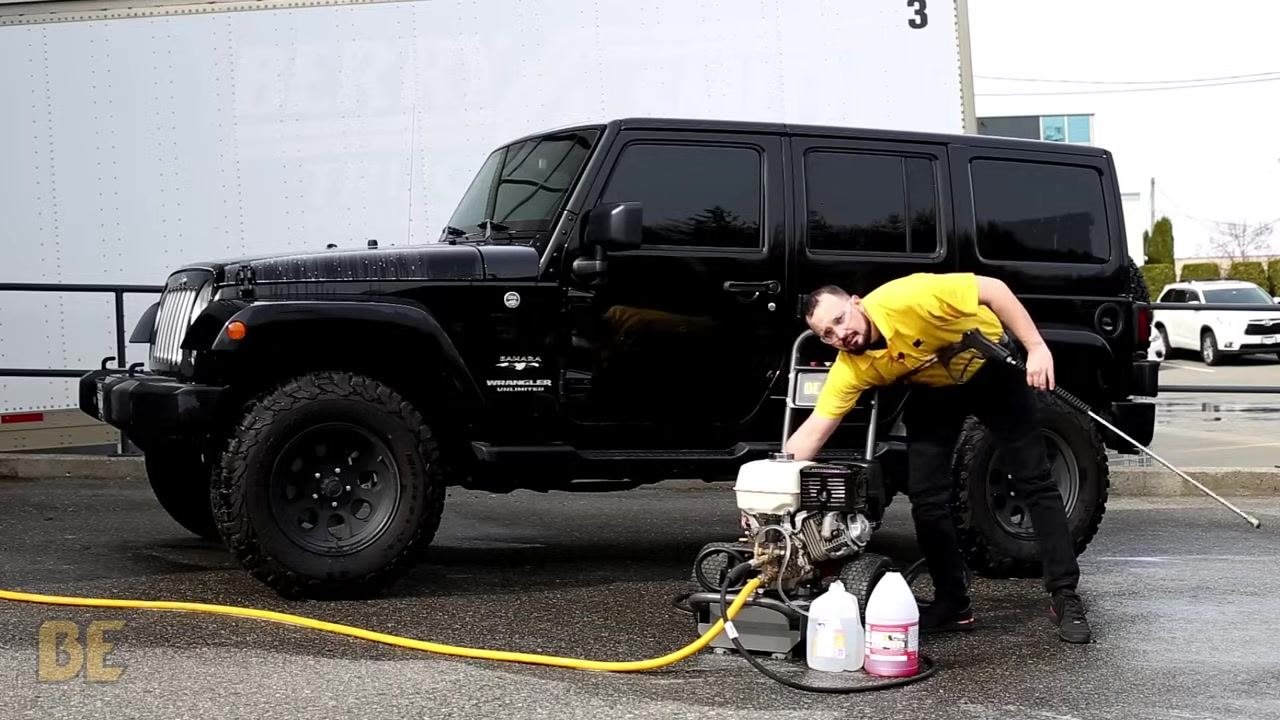
This standard operating procedure explains how to use soap with a pressure washer equipped with a BE Power Washer soap injector. It covers the pre-use inspection, mixing and applying the cleaning solution, rinsing the surface, and flushing the injector line so the equipment stays ready for the next job.
Video: How to use the soap injector on your pressure washer by BE Power Equipment (2018). All credit for the demonstration goes to the creator; watch the original on YouTube. The written guide below was generated from this video by Docsie. Creator? Request a change or removal.
This standard operating procedure explains how to use soap with a pressure washer equipped with a BE Power Washer soap injector. It covers the pre-use inspection, mixing and applying the cleaning solution, rinsing the surface, and flushing the injector line so the equipment stays ready for the next job.
Purpose
The purpose of this procedure is to ensure the soap injector on your BE Power Washer is used correctly for effective cleaning results and is properly maintained after each use to prevent damage from soap residue.
Scope
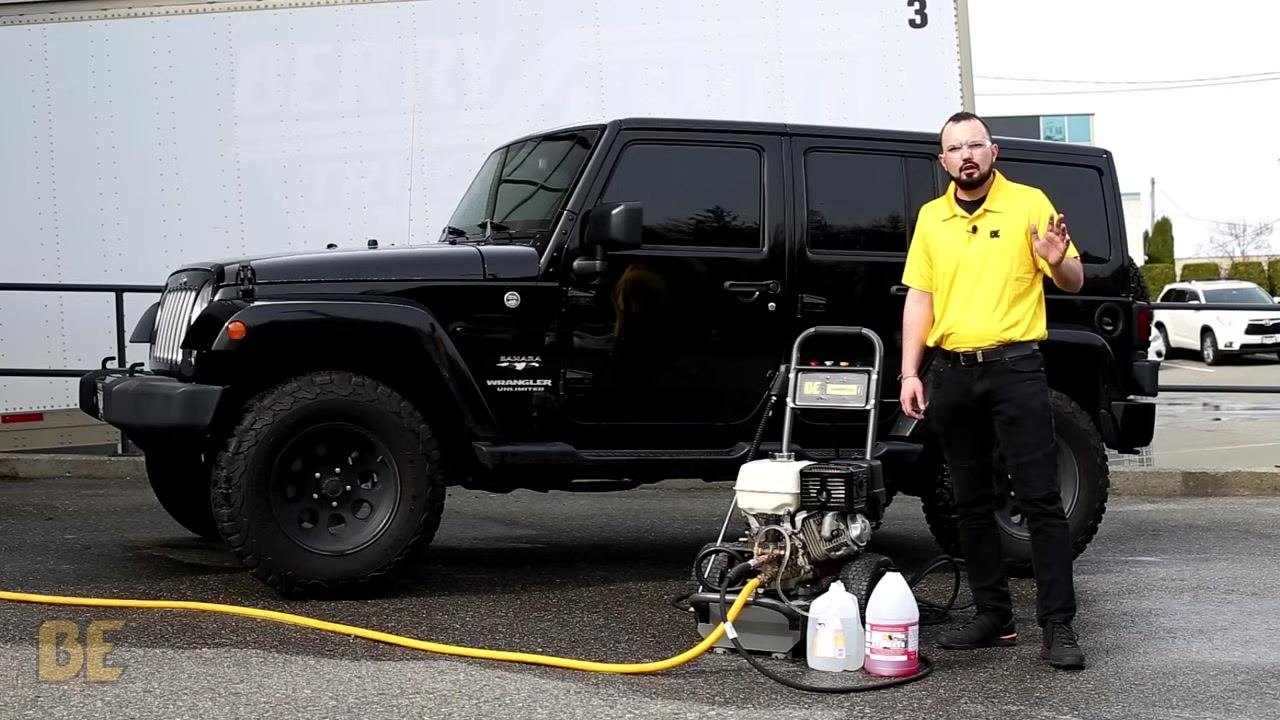
This procedure applies to BE Power Washer units fitted with an external soap injector. It covers the full workflow from pre-use inspection through soap application, rinsing, and post-use injector cleaning.
Required equipment
- BE Power Washer unit (with GC, GX, or Power Ease engine)
- External soap injector line and screen
- Black soaper tip nozzle (included with every BE Power Washer)
- BE Power Car Wash cleaning solution
- Water
- Two buckets or containers (one for the soap solution, one for clean water)
- Spray wand
Step-by-step procedure
Perform a pre-use fluid inspection
Before operating your BE Power Washer, check the oil and fuel levels and inspect the unit for any leaks or damage. Refer to the applicable startup procedures for GC, GX, or Power Ease engines before proceeding.
Identify your soap injector type
Determine whether your BE Power Washer uses a built-in or an external soap injector. This procedure demonstrates the use of an external soap injector.
Inspect and clean the soap injector screen
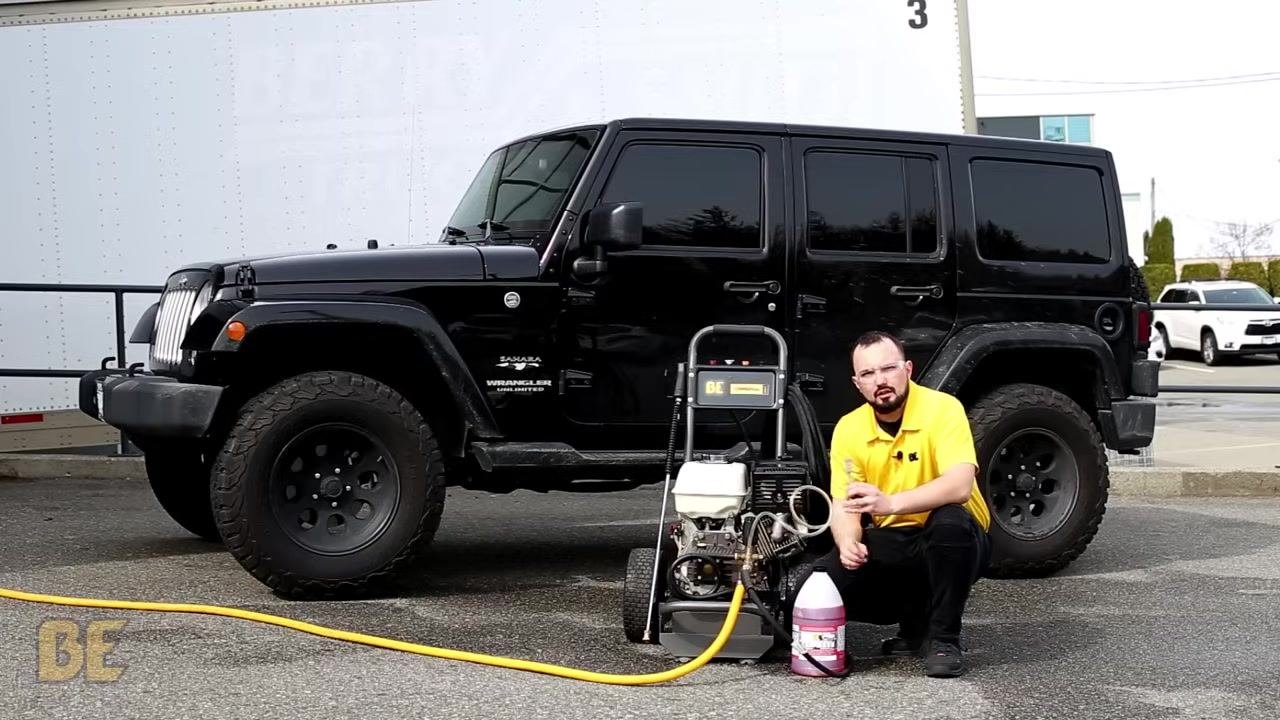
Locate the end of the soap injector line and check that the screen is clean and free of debris. Clean or replace the screen if needed before continuing.
Prepare your soap solution
Mix your cleaning solution at a ratio of 2 parts water to 1 part solution. This ratio works for most cleaning applications. For best results, use BE Power Car Wash solution.
Insert the soap injector hose into the solution
Place the end of the soap injector hose, with the clean screen attached, into your prepared bucket of solution. Make sure the hose is fully submerged so it can draw the solution properly.
Select and attach the correct soap nozzle
Locate the black soaper tip included with your BE Power Washer and insert it into the end of the spray wand. This specific tip is required for the soap injector to function.
Start the power washer
Follow the standard startup procedure for your engine model. Confirm the black soaper tip is securely attached to the wand before starting.
Begin cleaning
With the unit running and the black tip in place, direct the spray wand at the surface you want to clean and apply the soap solution.
Rinse the surface from top to bottom
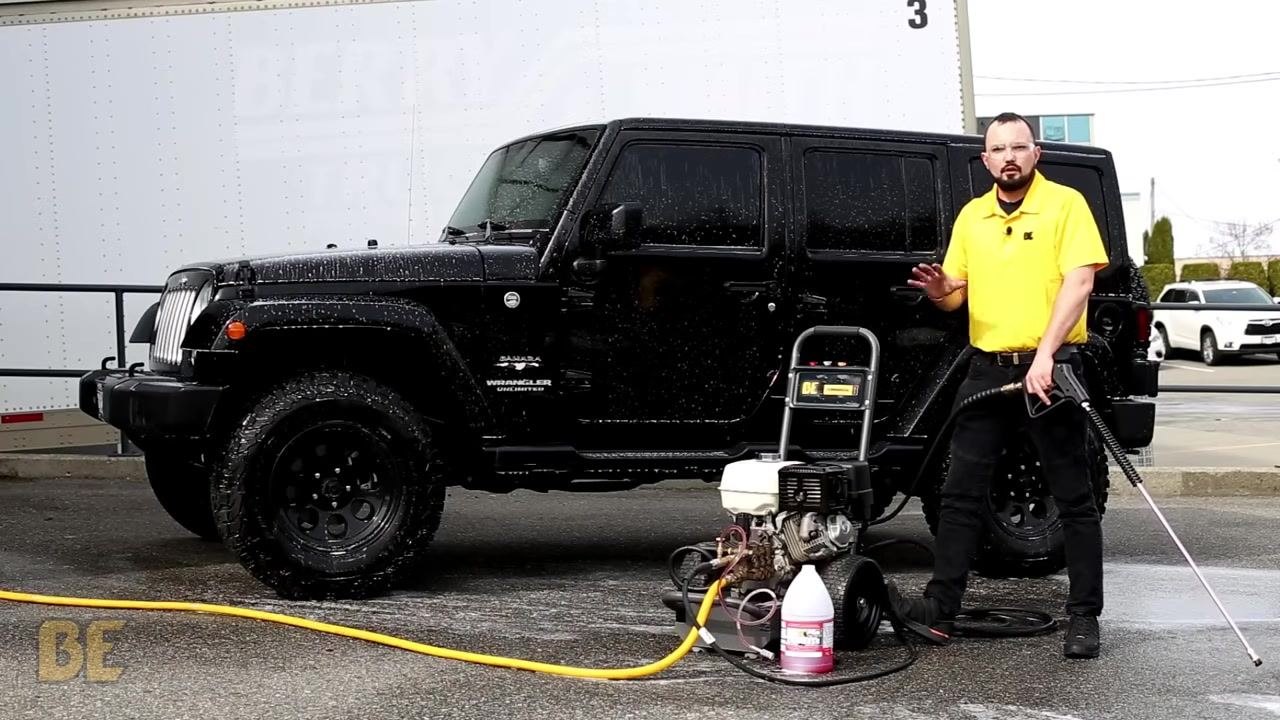
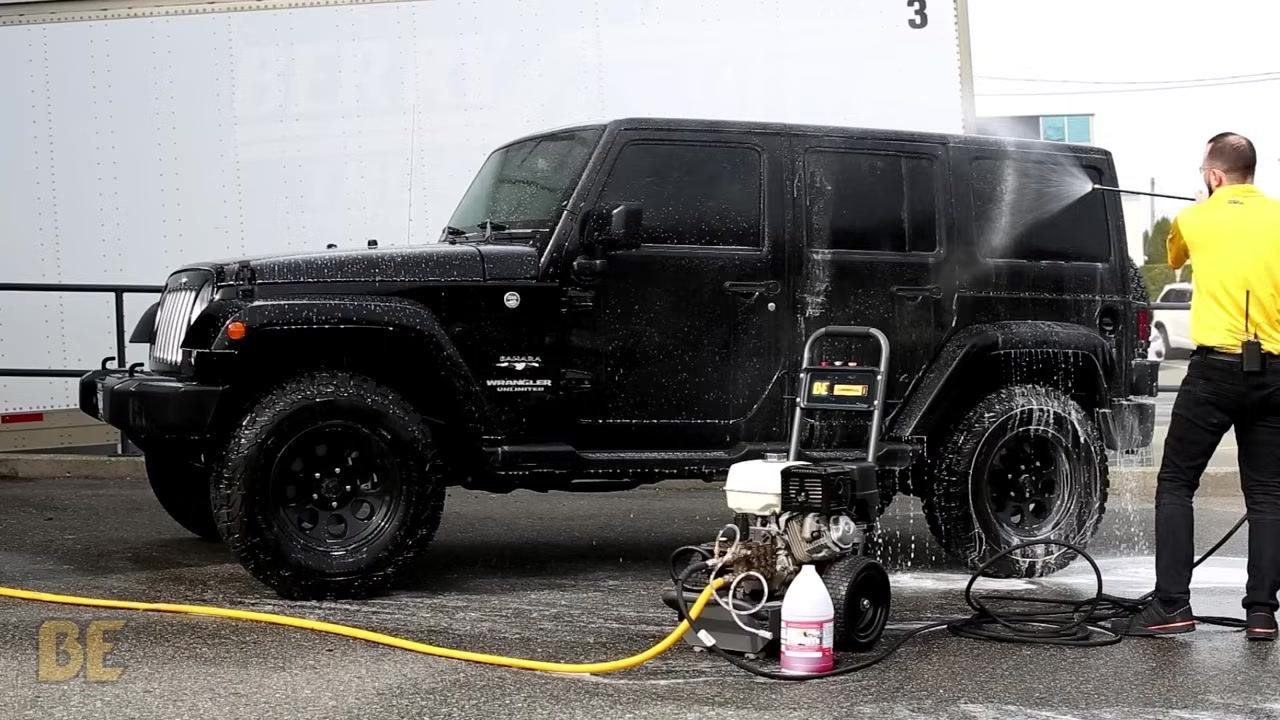
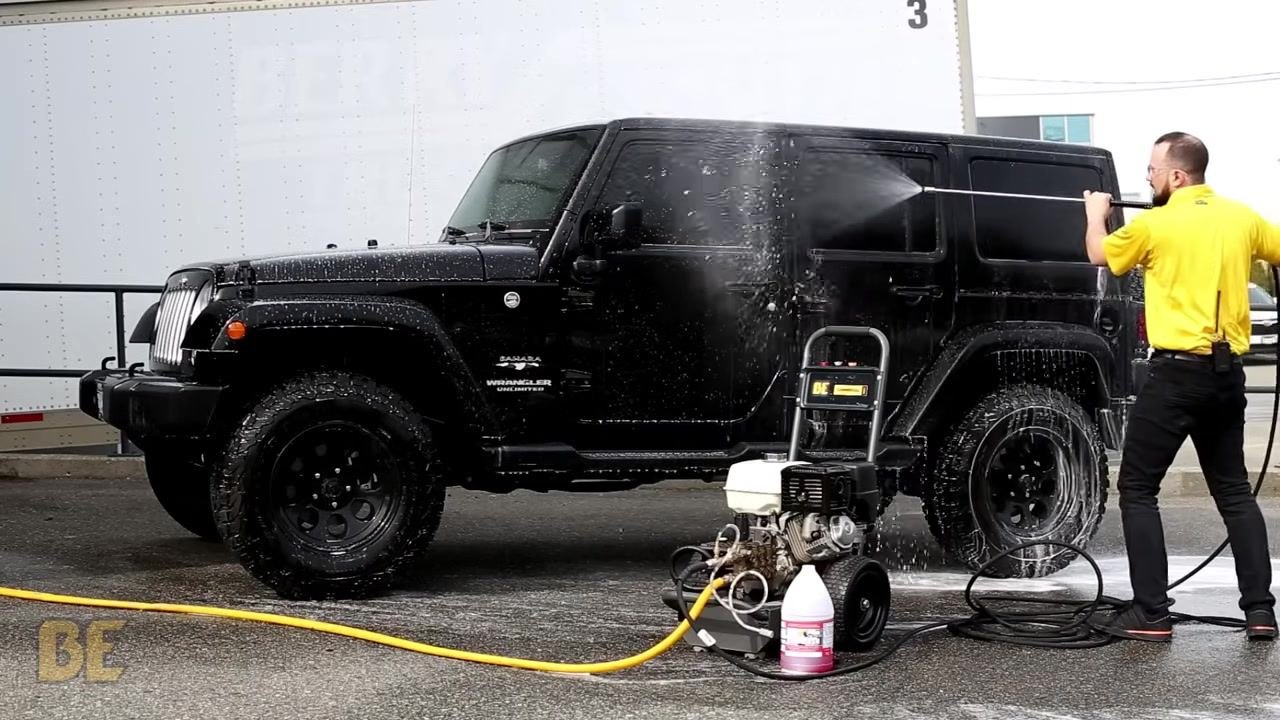
Once the surface has been soaped, begin rinsing. Always start at the top of the vehicle and work downward for the best results.
Continue rinsing until soap is cleared
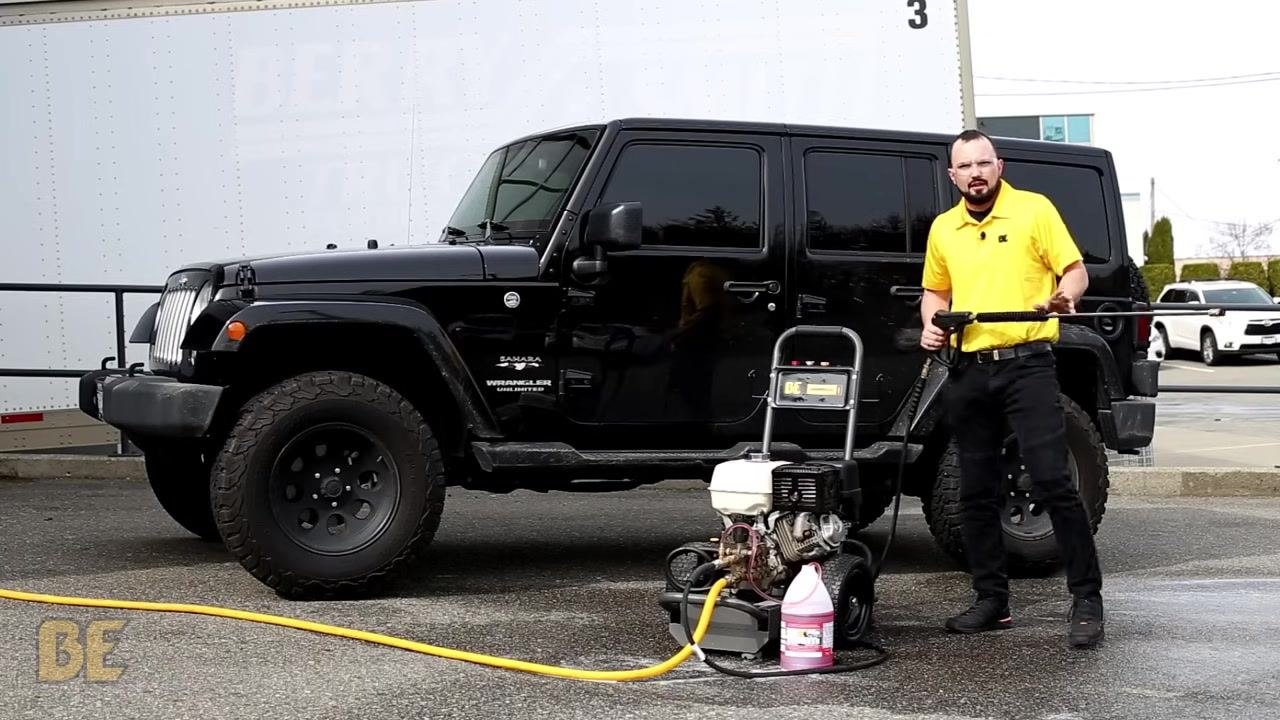
Move methodically down the surface, rinsing away the soap. You may notice some soap coming out of the wand at first — this is residual soap left in the line and is expected.
Confirm clean water flow
Continue rinsing until only clean water is coming out of the wand. This confirms the vehicle surface has been thoroughly rinsed.
Move the soap injector hose to a clean water bucket
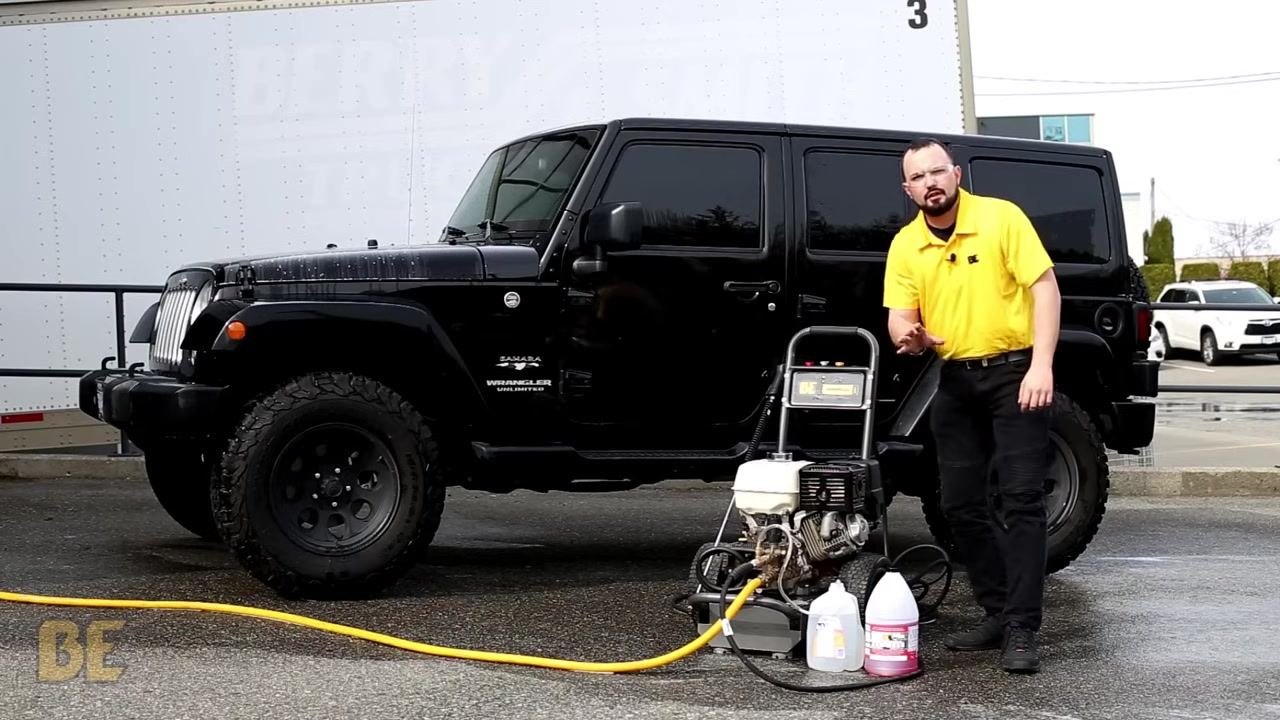
Once cleaning is complete, it is critical to flush the soap injector line and external soap injector. Remove the hose from the soap solution and place the end into a clean bucket of water. This step prevents soap residue from gumming up the internal spring and ball inside the injector.
Turn the unit on to begin flushing
With the hose now in the clean water bucket, turn the power washer unit on to start flushing the line.
Flush the line until clean water runs through
Spray water through the wand until you see clean water flowing steadily through the line and out of the external soap injector. This clears all remaining soap residue from the system.
Turn off the power washer
Once the soap injector and line are fully flushed and only clean water is coming out, turn off the power washer unit.
Verification and summary
Before ending the session, confirm the following:
- The surface has been rinsed completely, with no soap suds remaining.
- Only clean water flowed through the wand and soap injector during the final flush.
- The power washer unit has been turned off.
Following this procedure ensures your BE Power Washer delivers effective cleaning results and that the soap injector remains in good working condition for future use. Always use the correct nozzle, maintain the recommended solution ratio, and rinse from top to bottom for the best outcome.
Support and further assistance
If you have questions, comments, or concerns about your BE Power Washer or soap injector:
- Visit the BE Power Equipment website: bepowerequipment.com
- Call the customer hotline listed on the website for current contact details
- Leave a comment or inquiry online, and the support team will respond
Generation details: cost, quality tiers
Docsie billed 2,500 credits ($1.75) to analyze this 5-minute video at standard quality. The rewrite, template fill and Word/PDF exports were included. The same video at each quality tier:
| Quality | Frames sampled | Credits | Approx. cost |
|---|---|---|---|
| Draft | every 16-30 s | 1,250 | $0.88 |
| Standard (this guide) | every 8-15 s | 2,500 | $1.75 |
| Detailed | every 4-7 s | 5,000 | $3.50 |
| Ultra | every 1-3 s | 10,000 | $7.00 |
Credits priced at $0.70 per 1,000; plans include a monthly allowance. Enterprise customers on on-premise or bring-your-own-model deployments run this on their own inference and pay no per-video credits.
Generated by Docsie Video-to-Docs on 2026-09-28 from a 4-minute video. Screenshots are frames from the source video and belong to their creator, BE Power Equipment, whose original is embedded above. If you own this video and want the guide removed or credited differently, contact us and we will act within one business day.