
How to Adjust a Pressure Washer Unloader Valve
This standard operating procedure explains how to adjust a pressure washer unloader valve using a Pulsar Easy Start unloader and a test gauge. It walks you through equipment setup, pressure loss considerations, spike pressure testing, and troubleshooting so you can set your unloader for optimal performance and equipment protection.
Video: How to Adjust the Unloader Valve on Your Pressure Washer by Powerwash.com (2014). All credit for the demonstration goes to the creator; watch the original on YouTube. The written guide below was generated from this video by Docsie. Creator? Request a change or removal.
This standard operating procedure explains how to adjust a pressure washer unloader valve using a Pulsar Easy Start unloader and a test gauge. It walks you through equipment setup, pressure loss considerations, spike pressure testing, and troubleshooting so you can set your unloader for optimal performance and equipment protection.
Purpose
The purpose of this procedure is to guide you through accurately setting the unloader valve on a pressure washer. Proper adjustment ensures the machine reaches its maximum rated pressure while protecting components from excessive pressure spikes.
Scope
This procedure applies to pressure washers equipped with a Pulsar Easy Start unloader and covers gauge placement, pressure loss calculations, spike pressure testing, fine-tuning the unloader, and basic troubleshooting for abnormal spike readings.
Required equipment
- Pressure washer with a Pulsar Easy Start unloader installed
- Test gauge (ideally mounted at the pump head; may also be placed at the end of the gun)
- Spray gun with hose connected to the pressure washer
Procedure
Review your equipment setup
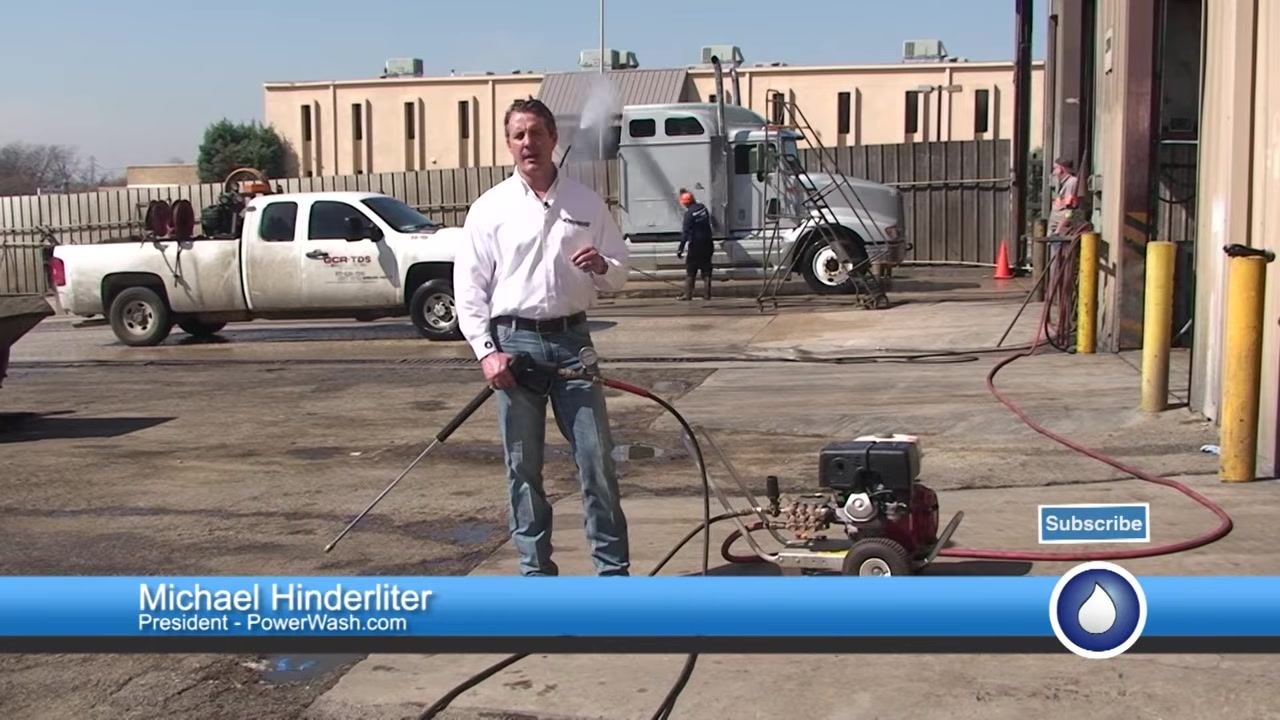
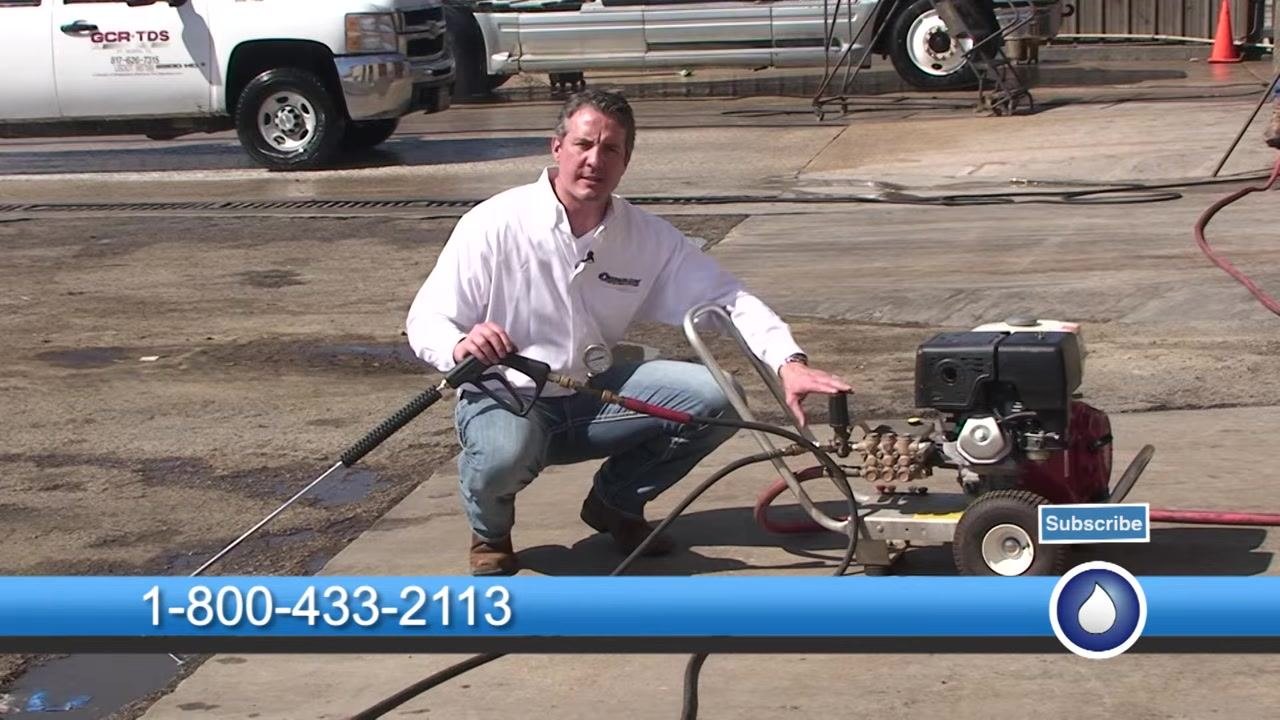
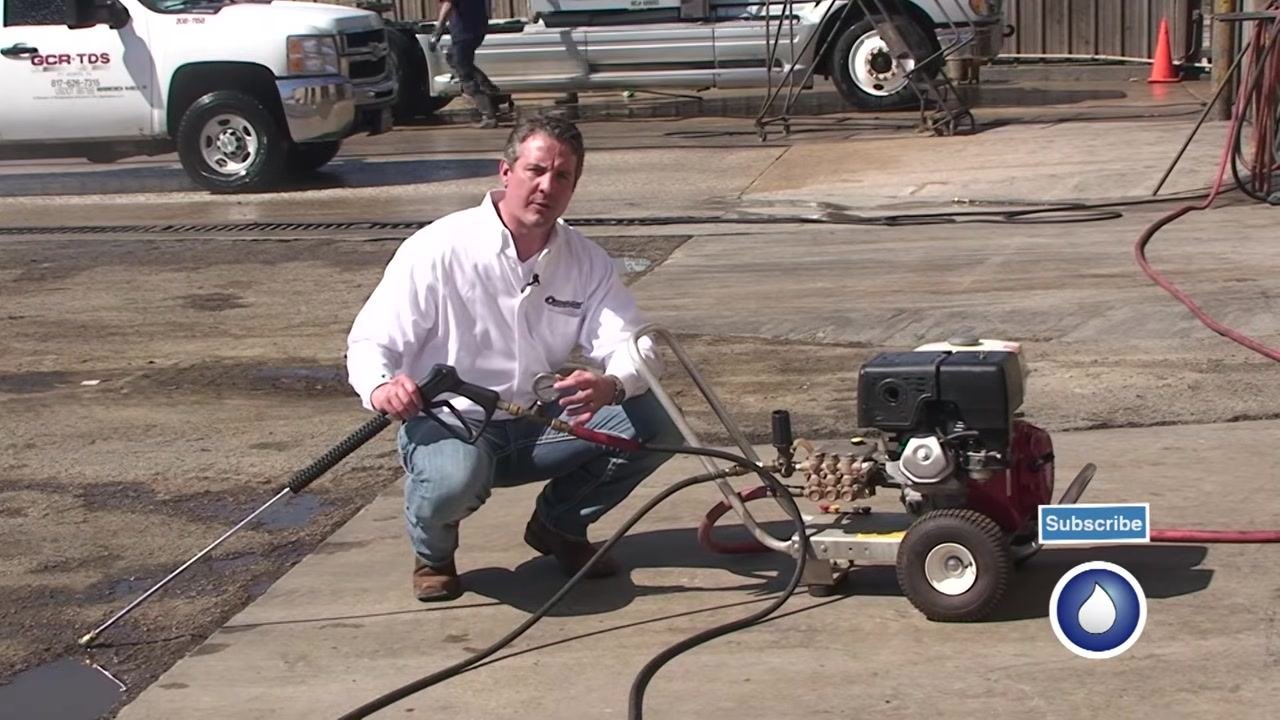
Before starting, confirm your pressure washer has a Pulsar Easy Start unloader installed and that a test gauge is connected to monitor pressure. The test gauge gives you the readings needed for accurate unloader adjustment.
Note: For the most accurate readings, install the test gauge at the head of the pump. If necessary, you can place it at the end of the gun instead.
Understand the Pulsar Easy Start unloader
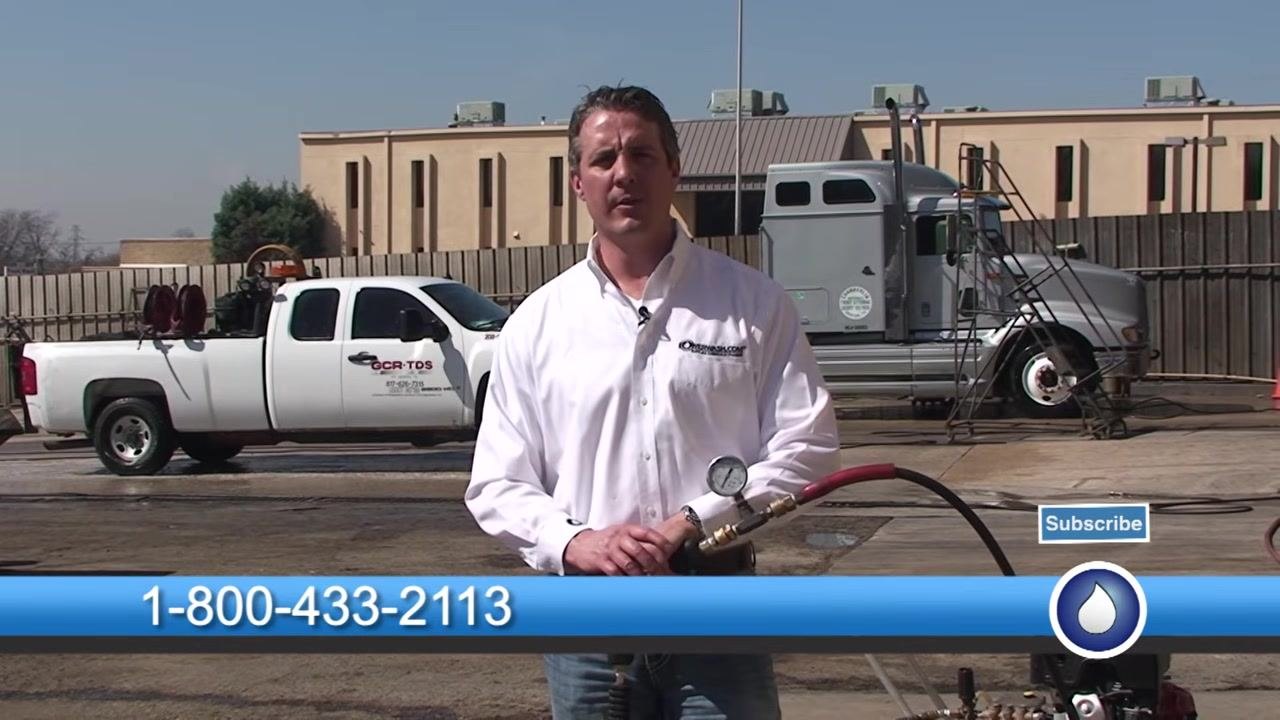
The Pulsar Easy Start unloader lets you crank the machine without building up pressure in the line, making startup easier and safer. A test gauge has been added to the system to help you set the unloader accurately.
Position the test gauge correctly
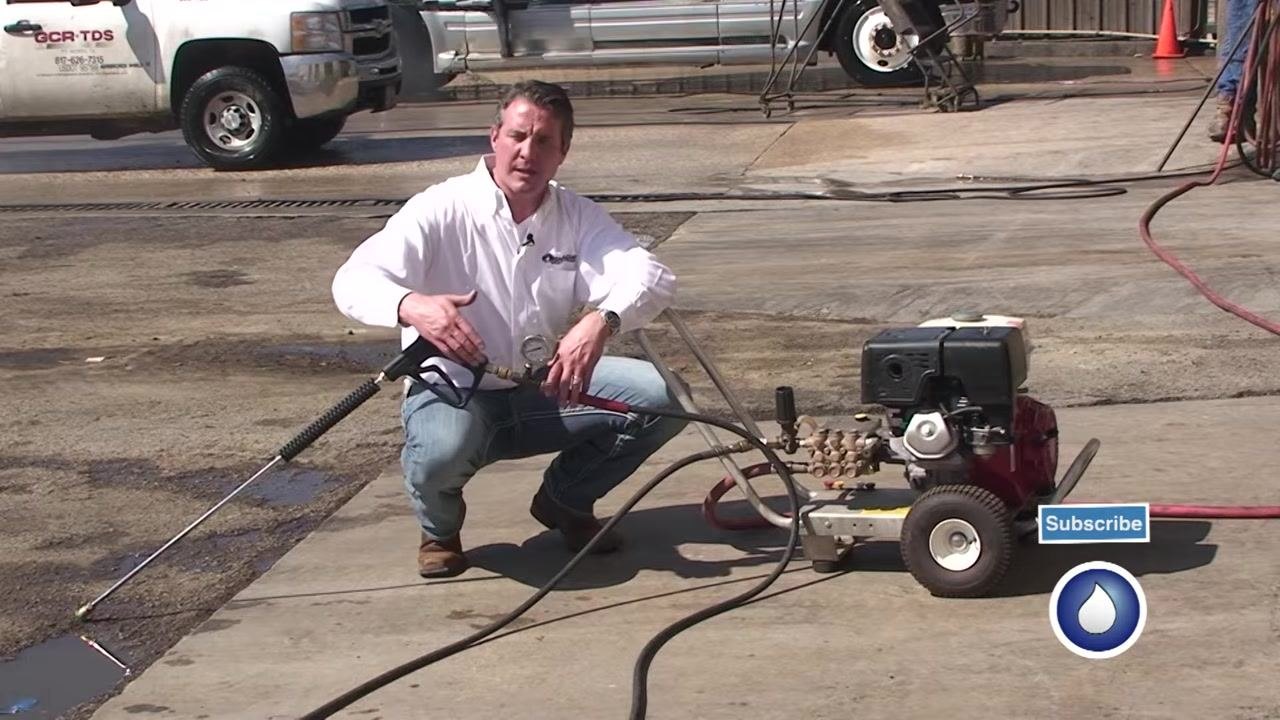
Mount the test gauge at the pump head whenever possible, as this is the optimum location. If the gauge sits at the end of the gun instead, be aware that hose length and configuration can cause pressure loss between the pump and the gauge.
Safety note: Short hoses minimize pressure loss, but longer hoses or coiled hoses can cause significant pressure drops between the pump and the gauge reading.
Account for pressure loss in hoses
Expect to lose approximately 1 psi per foot of pressure hose. For example, 100 feet of hose will typically produce a pressure loss of about 100 psi. Running the hose through a coil or multiple turns can add another 50–200 psi of loss due to restrictions.
Always factor these losses into your unloader adjustment, especially when the gauge is not mounted at the pump head.
Follow best practices for accurate readings
Whenever possible, measure pressure at the pump head for the most accurate results. If you know your equipment's typical pressure losses, you can compensate when using a gauge at the gun instead.
Safety note: Pressure loss can be as much as 200 psi depending on hose length and configuration, so account for this when interpreting gauge readings.
Take a baseline pressure reading
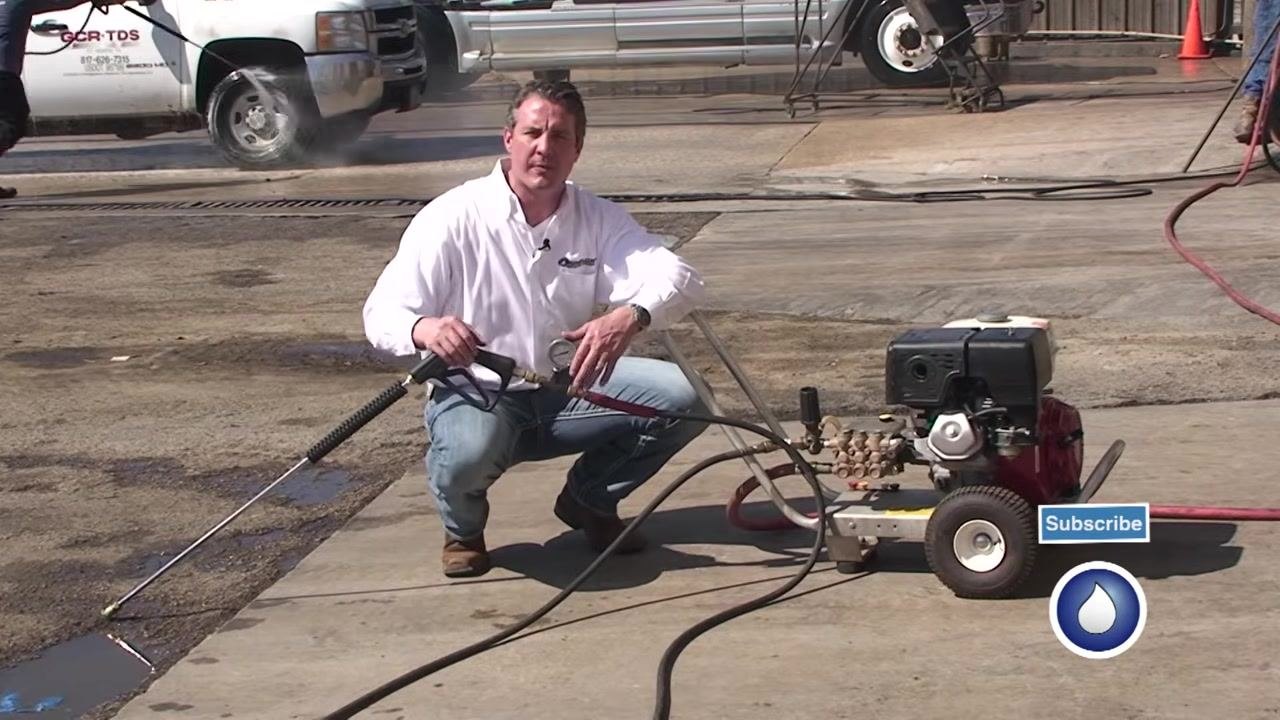
When the unloader is not fully set, the machine will not reach full pressure during operation. Pull the trigger on the spray gun to get a pressure reading from the test gauge, then adjust the unloader as needed to reach the desired pressure, accounting for hose or coil losses.
Prepare to adjust the unloader
Understand that when the unloader is not fully tightened, some water bypasses and recirculates within the system. Your goal is to adjust the unloader so the maximum gallons per minute (GPM) push through the machine.
Confirm the pressure washer is running and all connections are secure before adjusting. When you release the trigger, pressure will climb and then stop — this is known as the "spike," caused by the pressure-trapping unloader. The optimal spike should fall around 300–400 psi above the running pressure.
Test the running and spike pressure
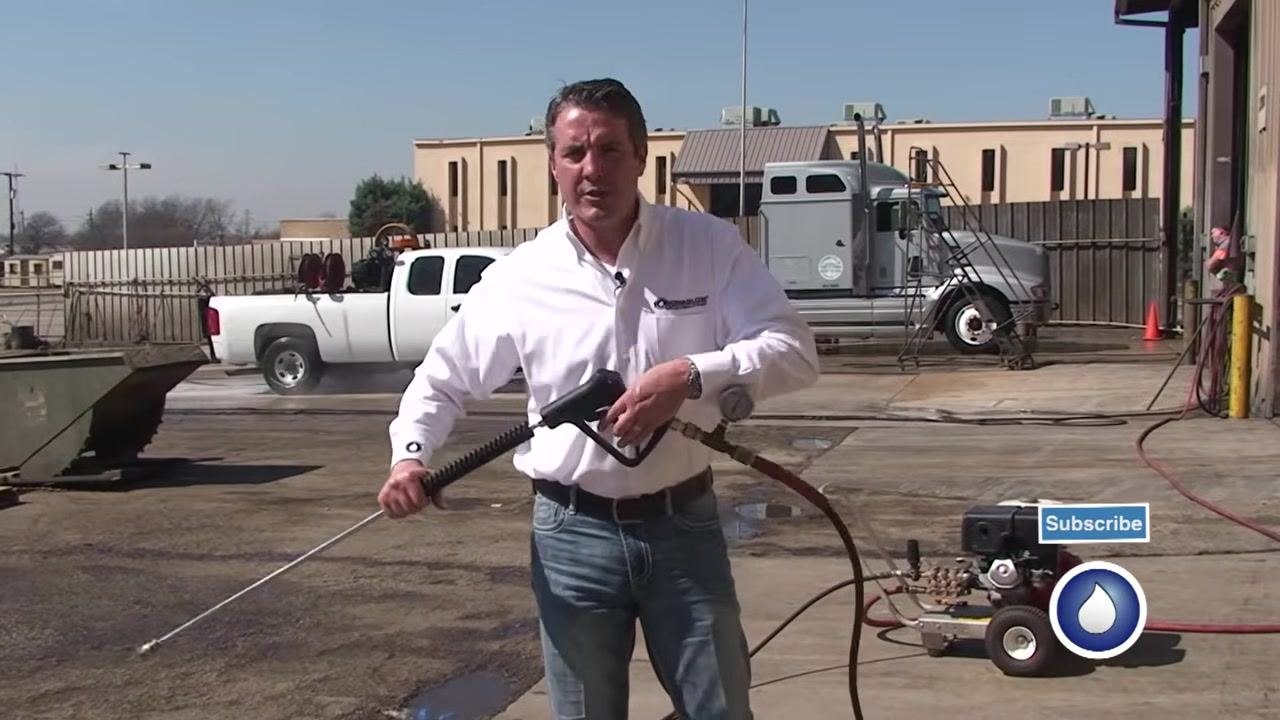
Start the pressure washer and pull the trigger on the spray gun to get a running pressure reading from the test gauge. For example, the running pressure may read 2,800–2,900 psi.
Release the trigger and watch the gauge for the spike. For example, the spike may reach 3,200 psi, indicating a 300 psi spike above running pressure.
Adjust the unloader for the desired spike
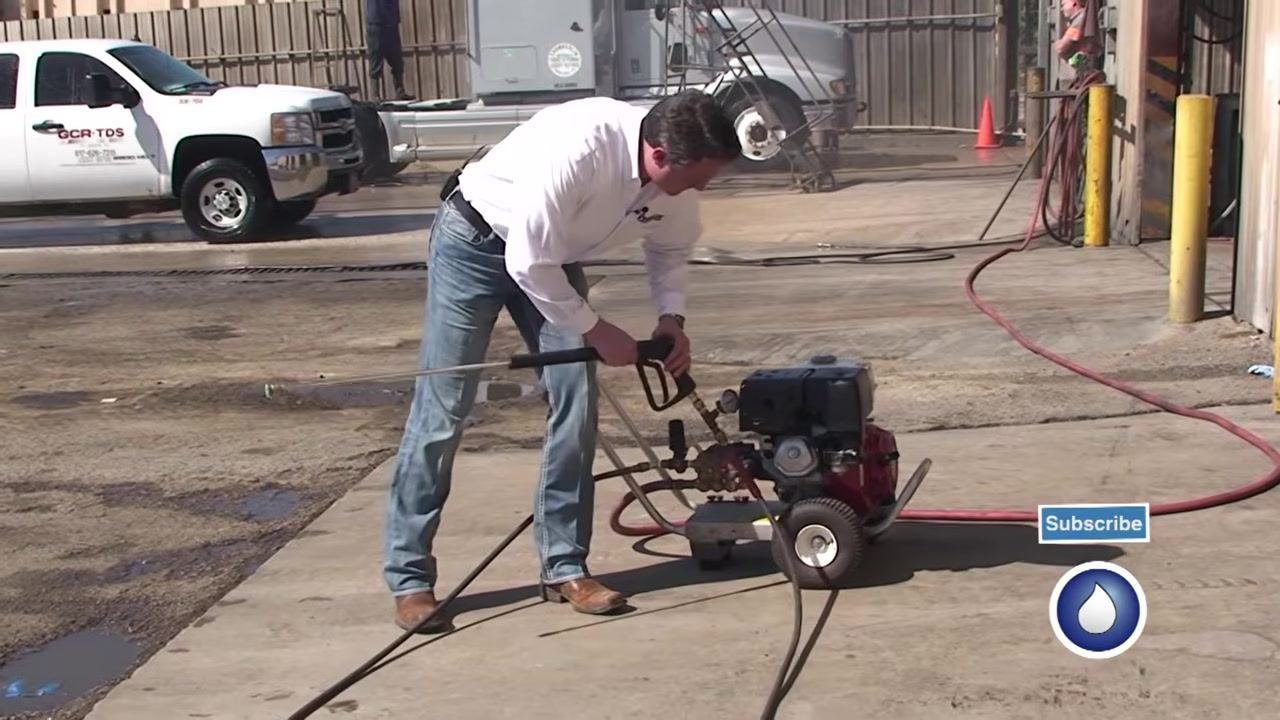
If the spike falls outside the 300–400 psi range, adjust the unloader accordingly. Turn the unloader adjustment knob down (clockwise) to increase pressure, or up (counterclockwise) to decrease it.
For example, make about five short quarter-turns — a little over one full revolution — to adjust the pressure. After adjusting, check the running pressure again (for example, 3,600 psi) and the new spike (for example, 3,900 psi).
Verify the adjustment
Repeat the test cycle: pull the trigger, observe the running pressure, release the trigger, and check the spike. Continue making small adjustments until the spike falls within the optimal 300–400 psi range above the running pressure.
Set the running pressure to the machine's maximum
Confirm your machine's rated maximum pressure (for example, 4,000 psi). Adjust the unloader by turning it about one full revolution to reach that maximum. Observe the test gauge to confirm the running pressure matches the machine's maximum, then note the spike pressure after releasing the trigger (for example, 4,500 psi).
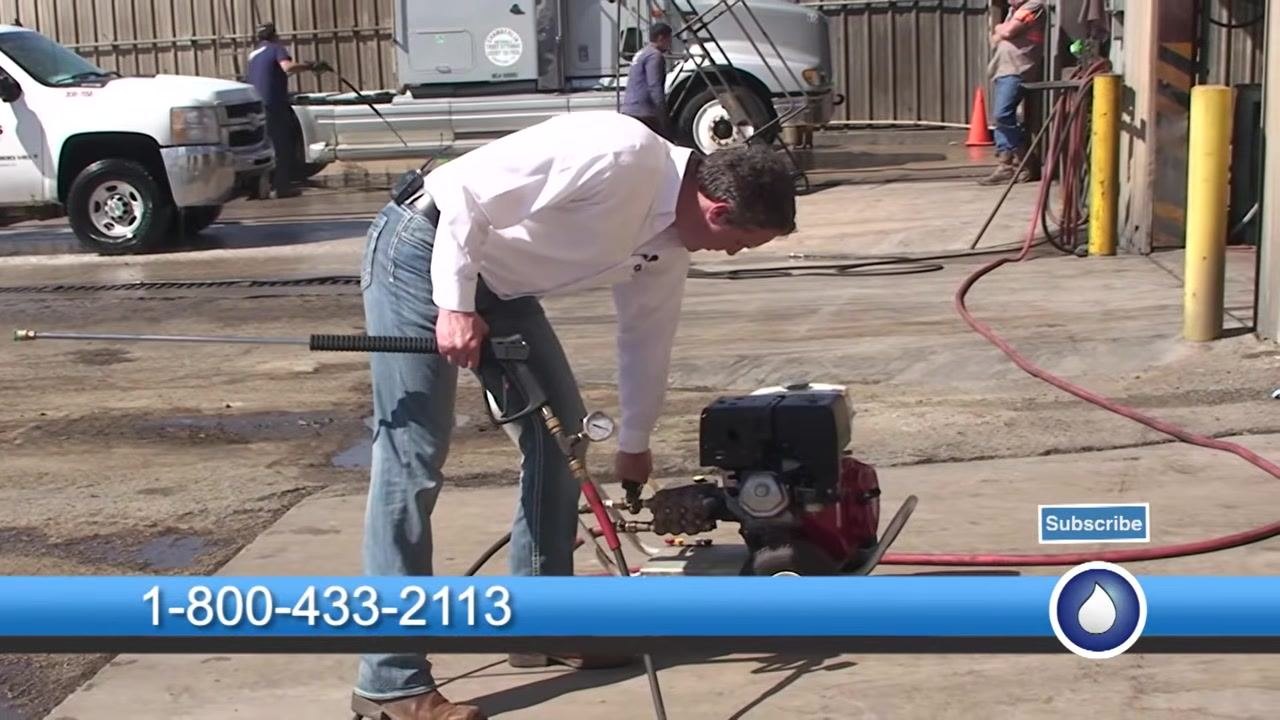
Fine-tune the unloader to control spike pressure
If the spike exceeds the recommended 300–400 psi range above running pressure, back off the unloader adjustment by a quarter turn. Check the running pressure again (for example, 3,950 psi) and the new spike pressure (for example, 4,350–4,400 psi). Repeat as necessary until the spike falls within the optimal range.
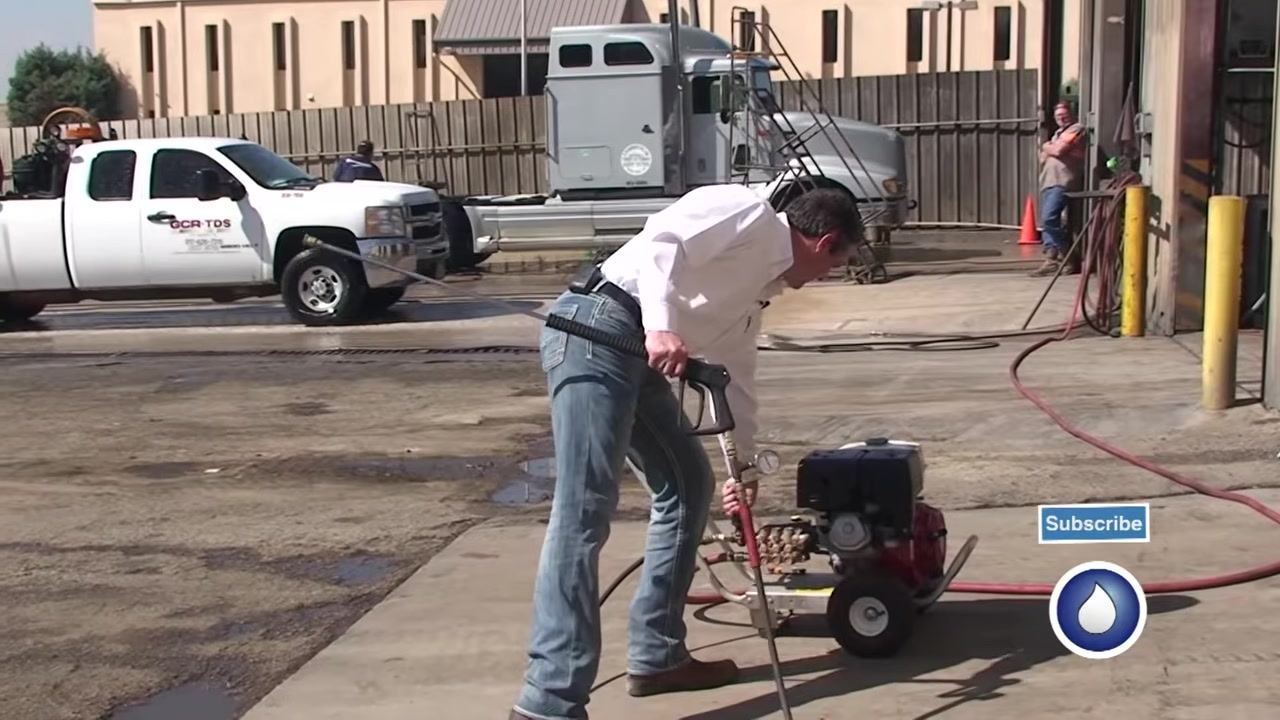
Verify final settings
Confirm the running pressure sits just below the machine's maximum (for example, 3,950 psi) and that the spike falls within 300–400 psi above running pressure (for example, 4,350–4,400 psi). If these conditions are met, the machine is now set to its optimum pressure and spike.
Troubleshoot excessive spike pressure
If the spike pressure measures 500–800 psi or more above the running pressure, further troubleshooting is required.
Safety note: Excessive spike pressure may indicate a malfunctioning unloader, blockages, or other mechanical problems. Inspect the machine and components to identify and resolve the cause before continuing operation.
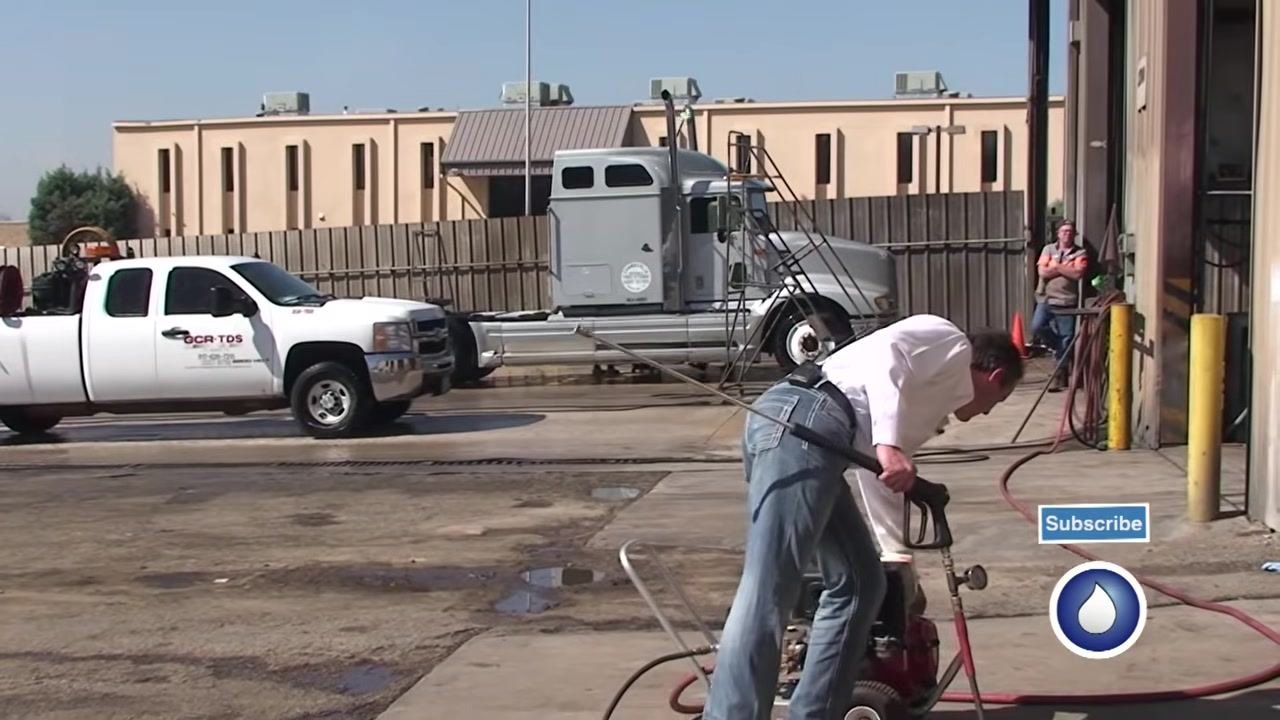
Complete the adjustment process
Once the spike falls within the correct range, the unloader adjustment is complete. If you need further assistance, contact PowerWash.com at 1-800-433-2113 or visit www.powerwash.com for parts, supplies, chemicals, or training.
Verification
Confirm the following before concluding the procedure:
- The running pressure matches or sits just below the machine's rated maximum.
- The spike pressure (measured after releasing the trigger) falls within 300–400 psi above the running pressure.
- No abnormal spike readings (500–800 psi or more above running pressure) remain unresolved.
If all conditions are met, your pressure washer unloader valve is correctly adjusted and the machine is ready for safe, efficient operation.
What's next
For additional parts, supplies, chemicals, or training resources, visit www.powerwash.com or call PowerWash.com at 1-800-433-2113. Always prioritize safety when operating your pressure washer and monitor the test gauge during any future adjustments.
Generation details: cost, quality tiers
Docsie billed 3,000 credits ($2.10) to analyze this 6-minute video at standard quality. The rewrite, template fill and Word/PDF exports were included. The same video at each quality tier:
| Quality | Frames sampled | Credits | Approx. cost |
|---|---|---|---|
| Draft | every 16-30 s | 1,500 | $1.05 |
| Standard (this guide) | every 8-15 s | 3,000 | $2.10 |
| Detailed | every 4-7 s | 6,000 | $4.20 |
| Ultra | every 1-3 s | 12,000 | $8.40 |
Credits priced at $0.70 per 1,000; plans include a monthly allowance. Enterprise customers on on-premise or bring-your-own-model deployments run this on their own inference and pay no per-video credits.
Generated by Docsie Video-to-Docs on 2026-09-28 from a 5-minute video. Screenshots are frames from the source video and belong to their creator, Powerwash.com, whose original is embedded above. If you own this video and want the guide removed or credited differently, contact us and we will act within one business day.