
How to Balance an Hvac System
Balancing an HVAC system means adjusting the manual dampers at each supply grill so that every room receives the correct volume of air. This procedure walks you through how to balance an HVAC system using a flow hood to measure baseline airflow, identify over- and under-supplied rooms, and fine-tune each damper until every vent reaches its target CFM (Cubic Feet per Minute).
Video: Flow Hood: How to Properly Balance an HVAC System by HVAC School (2024). All credit for the demonstration goes to the creator; watch the original on YouTube. The written guide below was generated from this video by Docsie. Creator? Request a change or removal.
Balancing an HVAC system means adjusting the manual dampers at each supply grill so that every room receives the correct volume of air. This procedure walks you through how to balance an HVAC system using a flow hood to measure baseline airflow, identify over- and under-supplied rooms, and fine-tune each damper until every vent reaches its target CFM (Cubic Feet per Minute).
Purpose
This procedure standardizes the process of measuring supply airflow, diagnosing imbalances, and adjusting manual dampers so that airflow is distributed correctly throughout a house.
Scope
This procedure applies to residential HVAC systems with supply grills equipped with manual dampers and a shared duct junction box feeding multiple rooms.
Required equipment
- A flow hood (e.g., ALNOR LoFlo Balometer or TSI ALNOR LoFlo Balometer)
- A phone or notepad for recording CFM readings
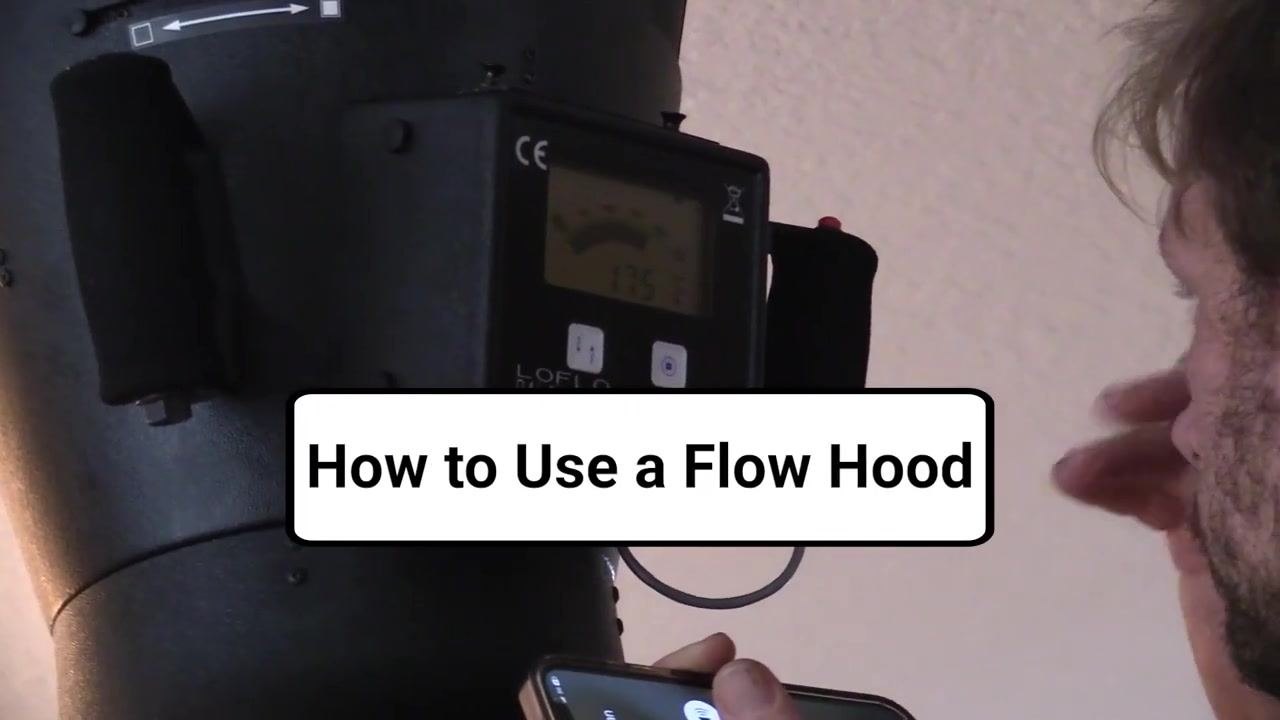
- A communication device (phone) if a helper will be adjusting dampers remotely, such as from an attic
Understand the system setup
Each supply grill in the system is equipped with a manual damper that can be opened or closed to control airflow. You will use these dampers throughout this procedure to balance airflow across the house, particularly in areas receiving too much or too little air.
Prepare to measure airflow
Before making any adjustments, measure the airflow at every vent to establish a baseline. Gather your flow hood and confirm it is ready for use. If needed, keep a phone or notepad on hand to record readings for each space.
Zero out the flow hood
Power on the flow hood and confirm it reads zero before taking any measurements. Zeroing the device first ensures accurate readings at each vent.
Measure airflow at each vent
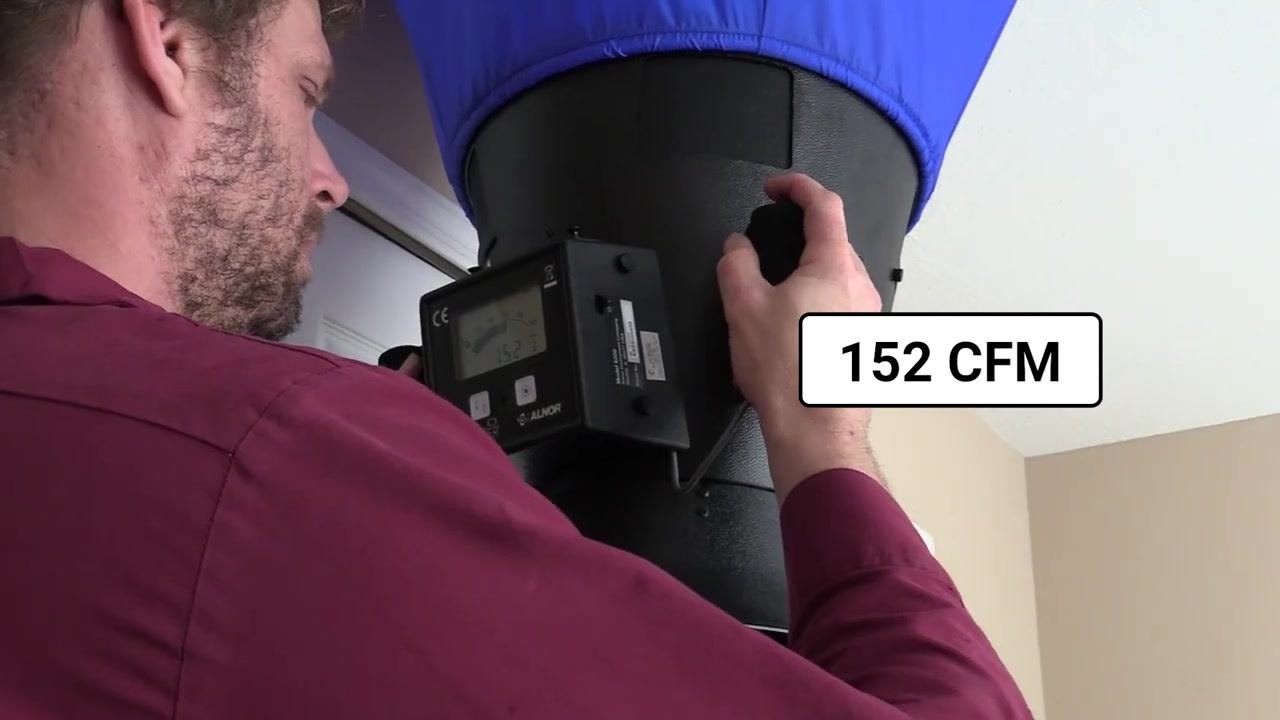
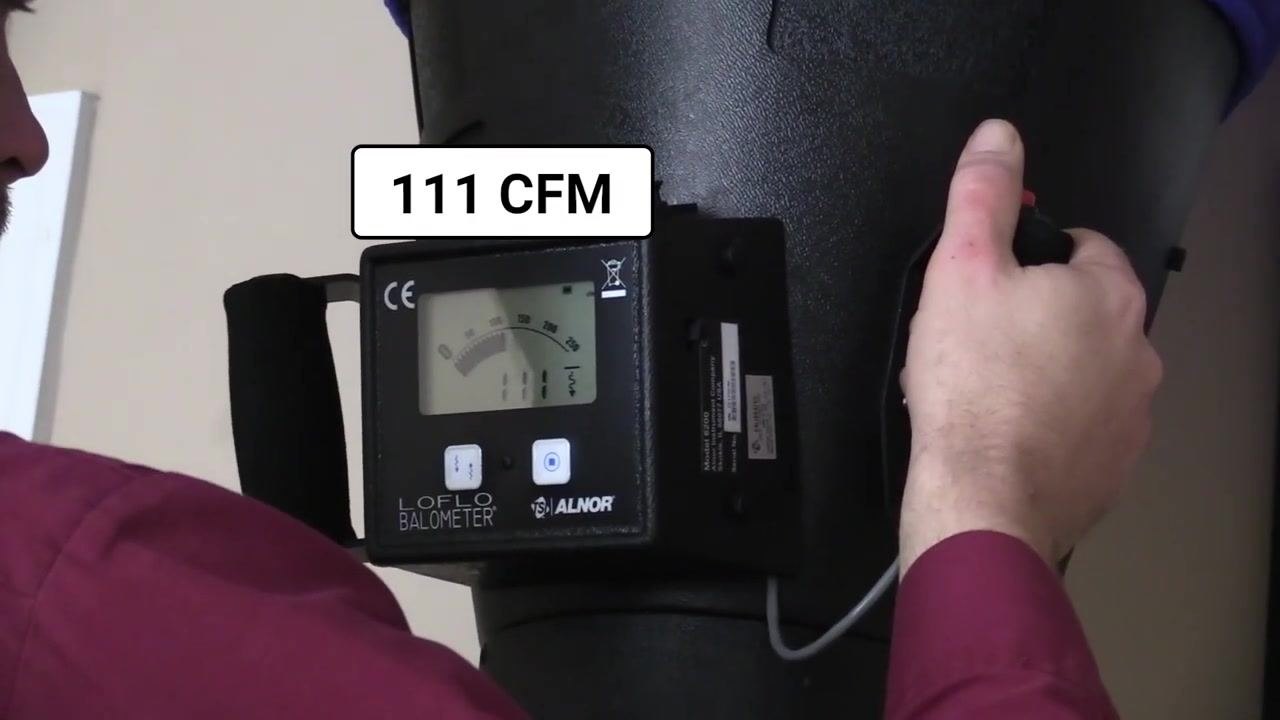
Place the flow hood securely over the supply grill and wait for the reading to stabilize before recording it. Record the CFM value displayed on the flow hood for each vent.
Example readings recorded during this procedure:
-
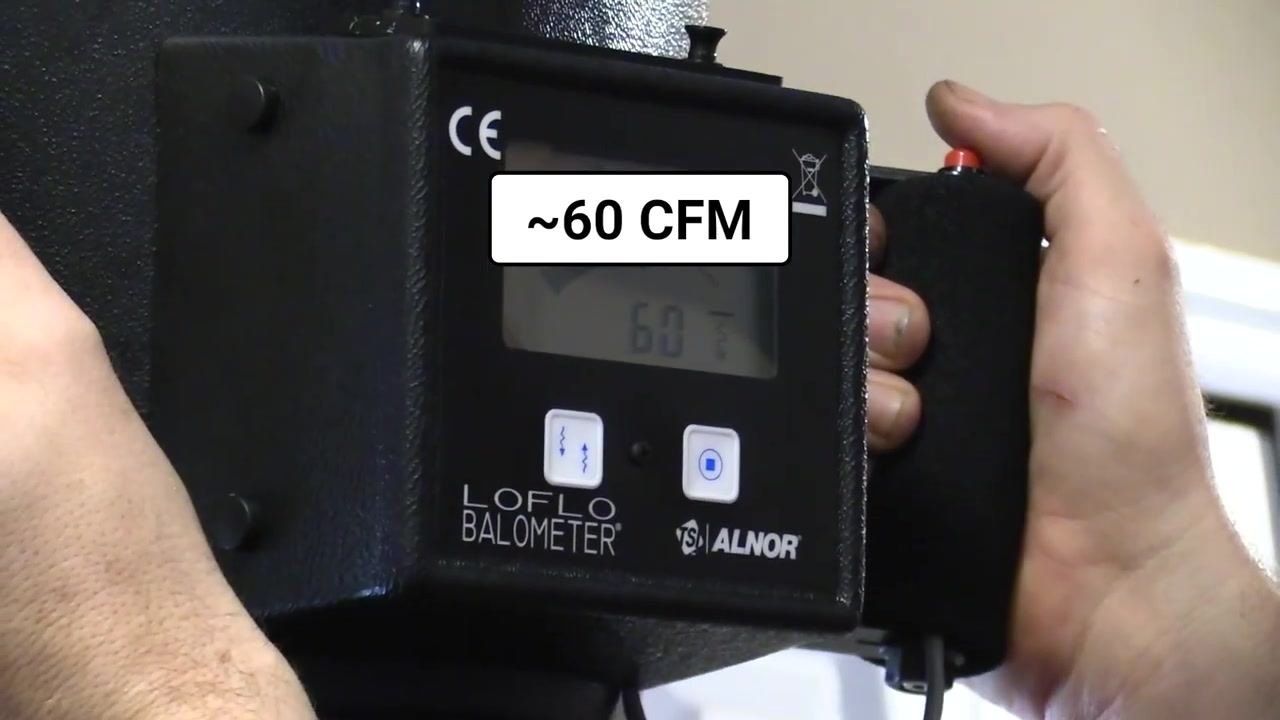
First vent: 58–60 CFM
-
Second vent: 60 CFM
-
Third vent: 152 CFM
-
Fourth vent: 111 CFM
Record each measurement
After each reading, write down the CFM value for the corresponding space using a notepad, phone, or other recording method.
Repeat for all supply grills
Move systematically from one vent to the next, repeating the measurement and recording steps until you have covered every supply grill in the house. This gives you a complete airflow profile to work from.
Analyze the results
Compare the airflow readings across all rooms and identify areas with significantly higher or lower airflow (for example, 152 CFM versus 60 CFM). Keep in mind that corner rooms may require more airflow due to increased heat load.
Prepare for balancing
Use the recorded data to determine which manual dampers need adjustment. Plan which dampers to open or close to achieve balanced airflow throughout the house.
Identify oversupplied rooms
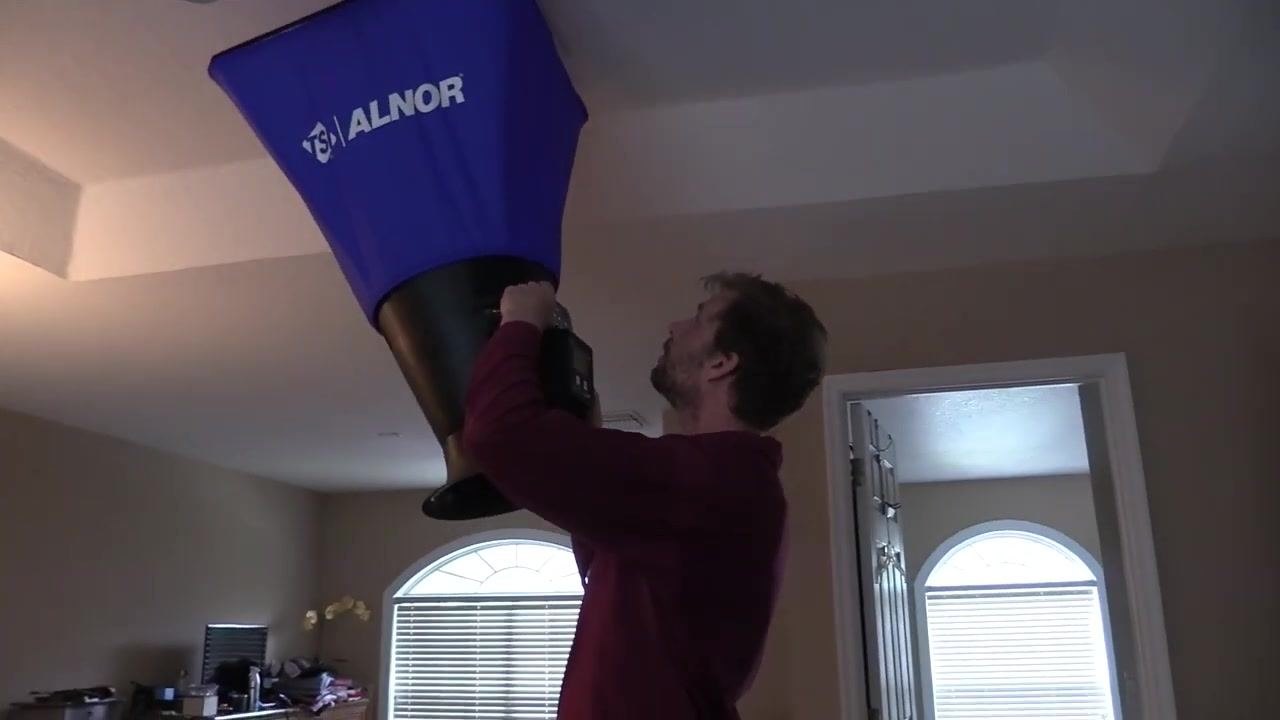
Review your recorded CFM measurements to determine which rooms are receiving more airflow than needed. For example, a master bedroom may be oversized for its supply and currently receiving more airflow than required.
Understand the benefit of dampers
Oversizing a supply and installing a manual damper gives you precise control, since you can always reduce airflow by damping down as needed.
Prepare to adjust the damper
Position yourself at the supply vent with the flow hood in place. If adjustments will be made remotely, for example by a helper in the attic, confirm you can communicate with them by phone.
Begin closing the damper
Instruct your helper, or adjust the damper yourself if it is accessible, to close it in small increments—taking it almost all the way closed to observe the effect on airflow. Monitor the flow hood display for real-time CFM changes as the damper closes.
Observe the reduction in airflow
Confirm that closing the damper significantly reduces the CFM reading—airflow may drop by more than half. Record the new CFM value after the damper is closed.
Partially reopen the damper
Gradually open the damper to about 15% open. Most of your control over airflow occurs when the damper is nearly closed, so continue monitoring the flow hood as you make this adjustment.
Fine-tune the damper position
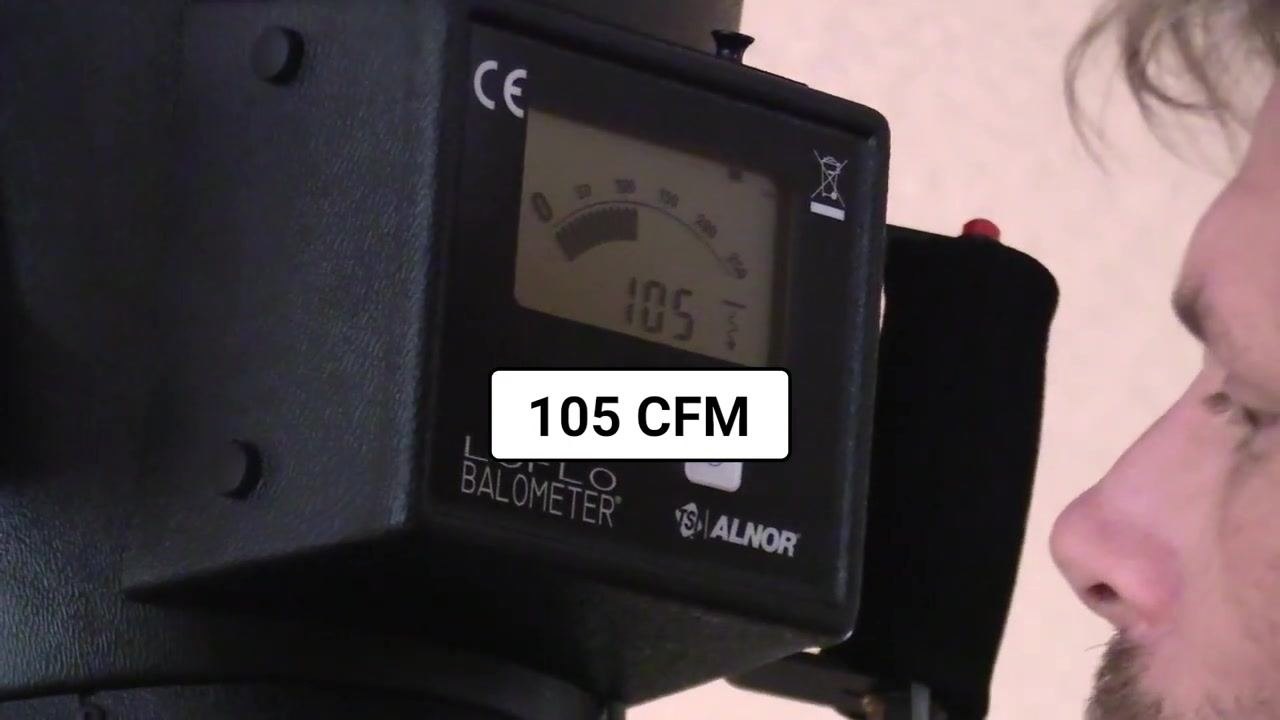
Make small adjustments to the damper, opening it slightly more each time, and check the flow hood reading after each change. Work toward your target airflow (for example, 150 CFM for a given vent).
Example readings recorded during fine-tuning:
-
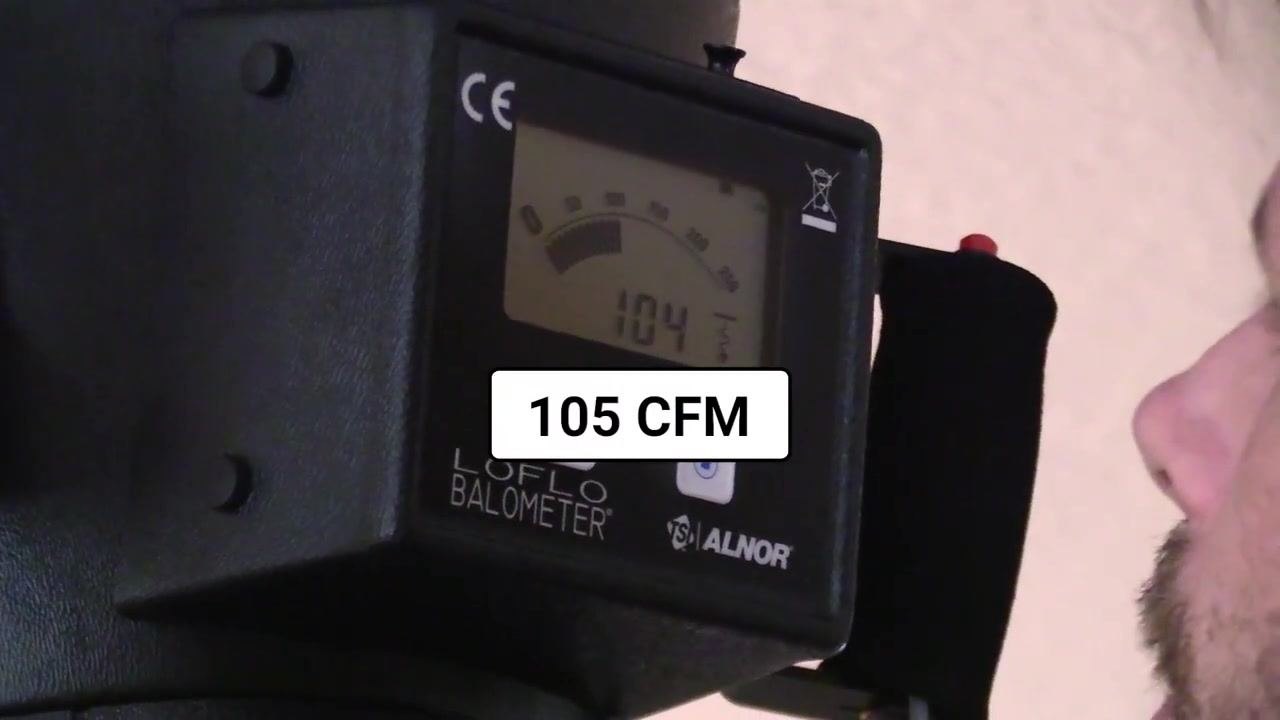
104–105 CFM
-
123 CFM
-
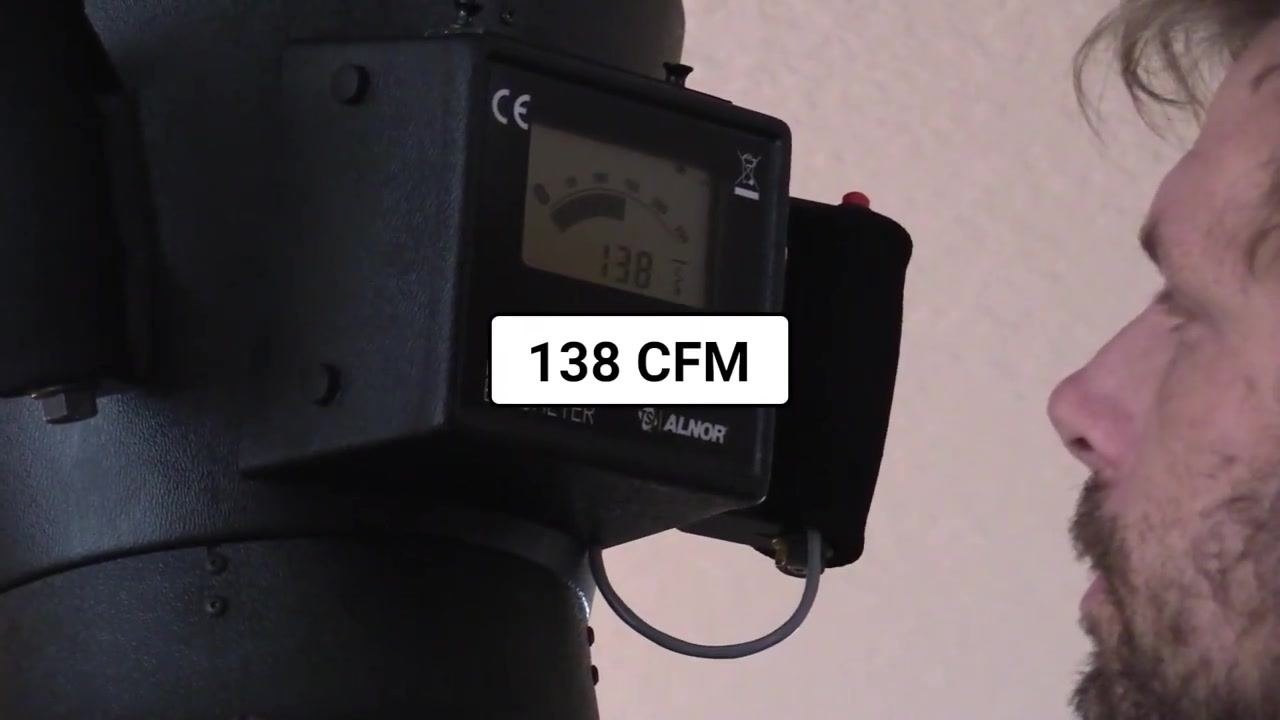
138 CFM
Use incremental adjustments for precision
As you approach the target CFM, make very small, fine adjustments. If you overshoot the target, slightly close the damper again and recheck the reading. Communicate clearly with your helper to maintain precise control.
Document the final setting
Once airflow is as close as possible to the target CFM, record the final damper position and CFM value for future reference.
Monitor airflow after adjustment at a shared junction box
When multiple supply runs connect to the same junction box, observe the flow hood display immediately after each damper adjustment. For example, a display may show 167 CFM after an adjustment.
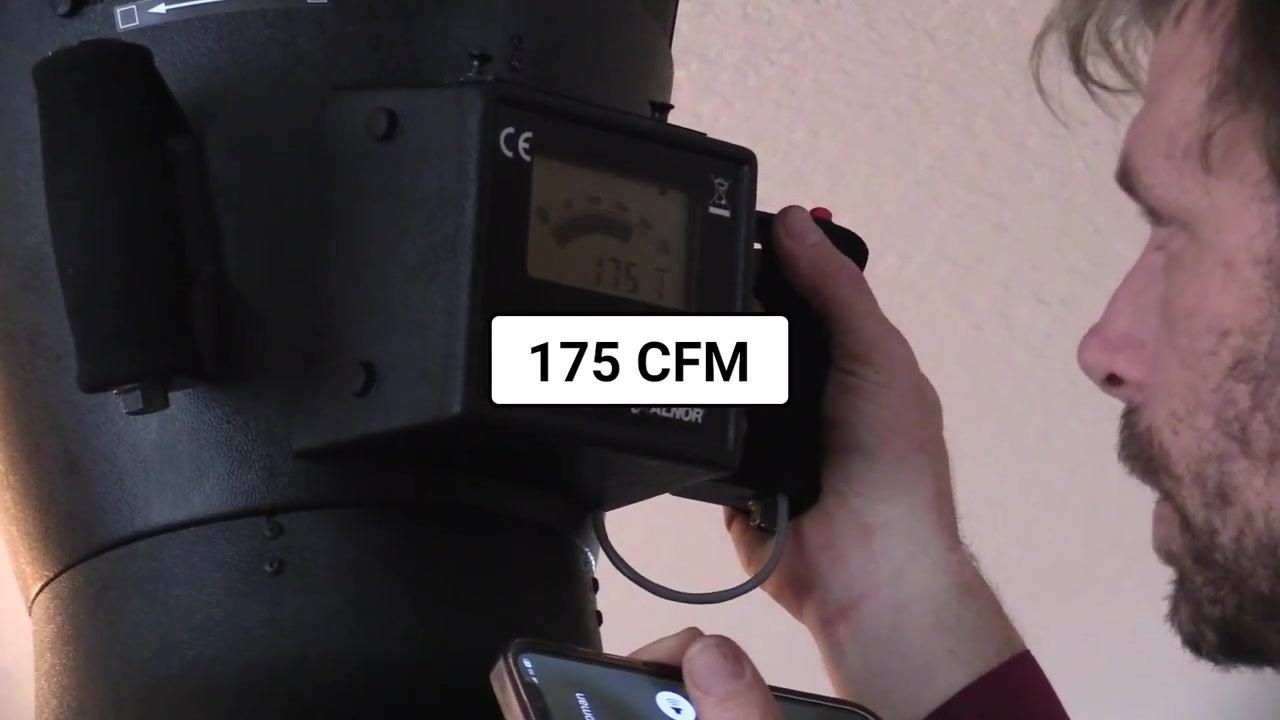
Incrementally adjust dampers and observe changes
Make small damper adjustments and immediately check the new CFM reading. For example, after an adjustment the display may read 184 CFM.
Switch between supply runs for balancing
Move to the next supply vent in the same room or an adjacent room as needed. For example, the reading at the next vent may be 175 CFM.

Understand the interdependence of supply runs
Adjusting one damper affects the airflow in the other supply runs connected to the same junction box. Lowering airflow in one run will increase it in the others, so balancing multiple runs requires a back-and-forth process.
Iteratively adjust and record CFM values
Continue making incremental adjustments, switching between supply runs as needed. For example, a display may show 249 CFM after an adjustment at another vent.
Fine-tune each run to target values
Gradually bring each supply run to its target CFM by repeating the adjustment and measurement process.
-
-
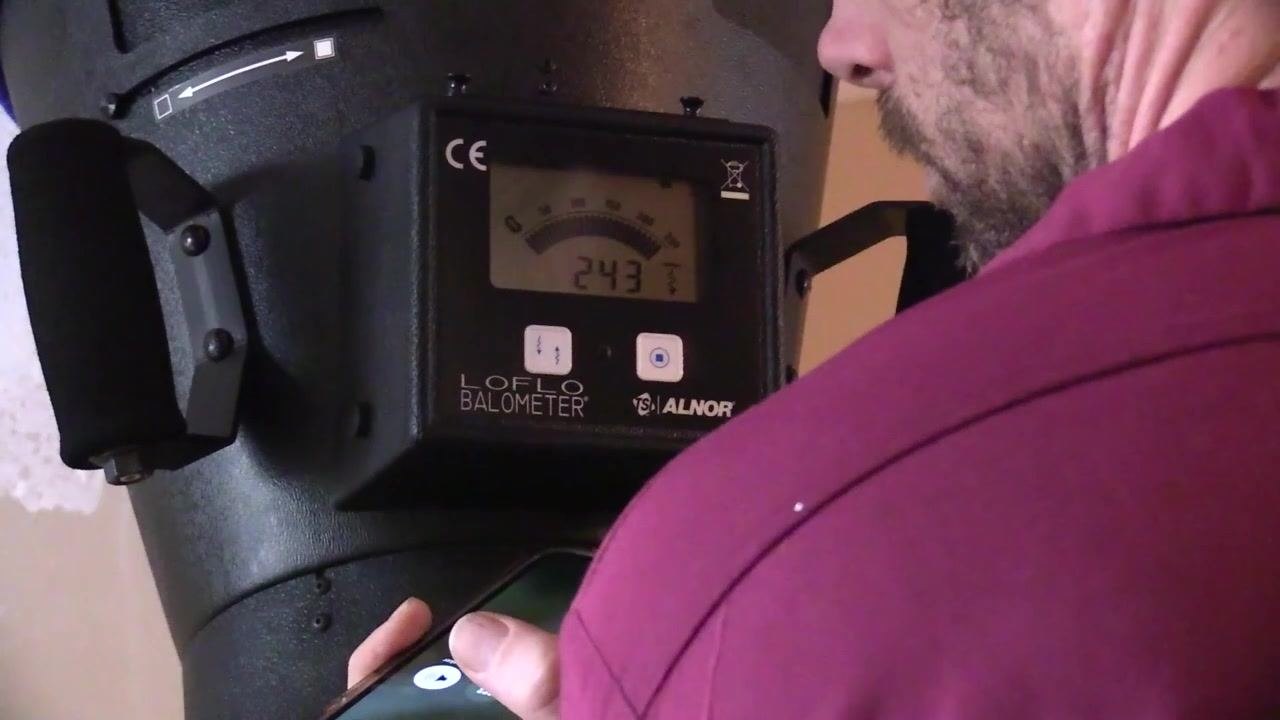
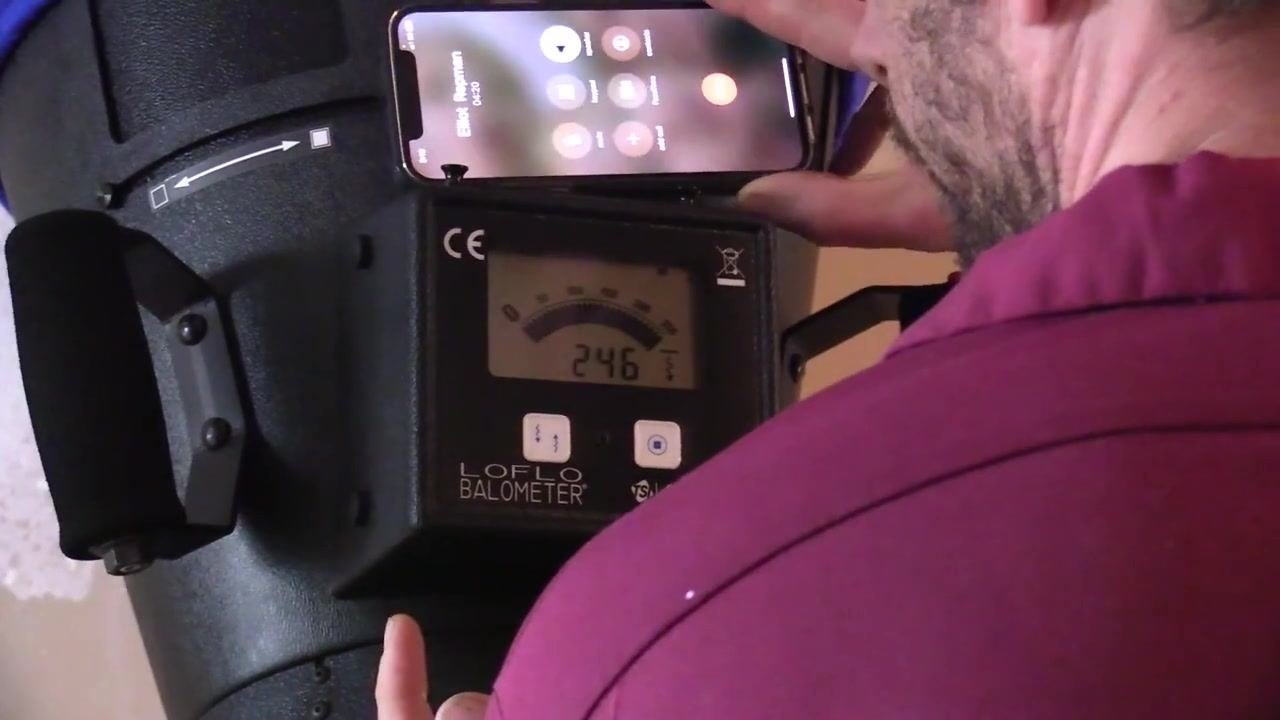
Communicate with your helper for remote adjustments
If a helper is making adjustments from another location, such as an attic, use a phone or other communication device to coordinate each change and maintain precise, timely adjustments.
Confirm comfort and environmental conditions
Check the working environment, such as attic temperature, to confirm conditions remain safe and comfortable for everyone involved before continuing.
Repeat adjustments as needed
Continue the iterative process of making small changes and monitoring CFM until all supply runs are balanced to their target values. For example, a reading may return to 175 CFM after a final adjustment.
Allow airflow to stabilize
After making your final damper adjustment, wait for the reading to stabilize on the flow hood before recording it. For example, the display may show a stabilized reading of 153 CFM.
Review and record final readings
Confirm that all supply runs are balanced to their target CFM values. Record the final CFM readings and damper positions for future reference.
Wrap up the job
Collect all tools and equipment, and double-check that all vents and dampers are securely in place before finishing the job.
Verification and summary
- Confirm every supply grill's final CFM reading matches its target value before closing out the job.
- Record all final damper positions and CFM readings for future maintenance reference.
- Remember that balancing multiple runs on a shared junction box is an iterative, back-and-forth process—allow time for readings to stabilize between adjustments.
- Always take readings with the flow hood securely in place to ensure accuracy.
Following this procedure ensures airflow is measured accurately and adjusted correctly, resulting in a properly balanced HVAC system with consistent comfort throughout the house.

Generation details: cost, quality tiers
Docsie billed 3,000 credits ($2.10) to analyze this 6-minute video at standard quality. The rewrite, template fill and Word/PDF exports were included. The same video at each quality tier:
| Quality | Frames sampled | Credits | Approx. cost |
|---|---|---|---|
| Draft | every 16-30 s | 1,500 | $1.05 |
| Standard (this guide) | every 8-15 s | 3,000 | $2.10 |
| Detailed | every 4-7 s | 6,000 | $4.20 |
| Ultra | every 1-3 s | 12,000 | $8.40 |
Credits priced at $0.70 per 1,000; plans include a monthly allowance. Enterprise customers on on-premise or bring-your-own-model deployments run this on their own inference and pay no per-video credits.
Generated by Docsie Video-to-Docs on 2026-09-14 from a 5-minute video. Screenshots are frames from the source video and belong to their creator, HVAC School, whose original is embedded above. If you own this video and want the guide removed or credited differently, contact us and we will act within one business day.