
How to Do an Aircraft Preflight Inspection
This documentation explains how to do an aircraft preflight inspection on a Boeing 737 by completing a full exterior walkaround. You move around the aircraft in a fixed sequence, checking fuselage panels, landing gear, wing surfaces, control surfaces, and safety-critical components before the aircraft is cleared for flight preparations.
Video: Basic Aircraft Preflight Inspection by BAA Training (2014). All credit for the demonstration goes to the creator; watch the original on YouTube. The written guide below was generated from this video by Docsie. Creator? Request a change or removal.
This documentation explains how to do an aircraft preflight inspection on a Boeing 737 by completing a full exterior walkaround. You move around the aircraft in a fixed sequence, checking fuselage panels, landing gear, wing surfaces, control surfaces, and safety-critical components before the aircraft is cleared for flight preparations.
Purpose
The purpose of this procedure is to confirm that the aircraft's exterior structure, landing gear, control surfaces, and safety components are free of damage, leaks, or obstructions before flight. Since more than 338 airlines in 112 countries operate the Boeing 737, following a standardized walkaround route ensures consistent, reliable inspections across operators.
Scope
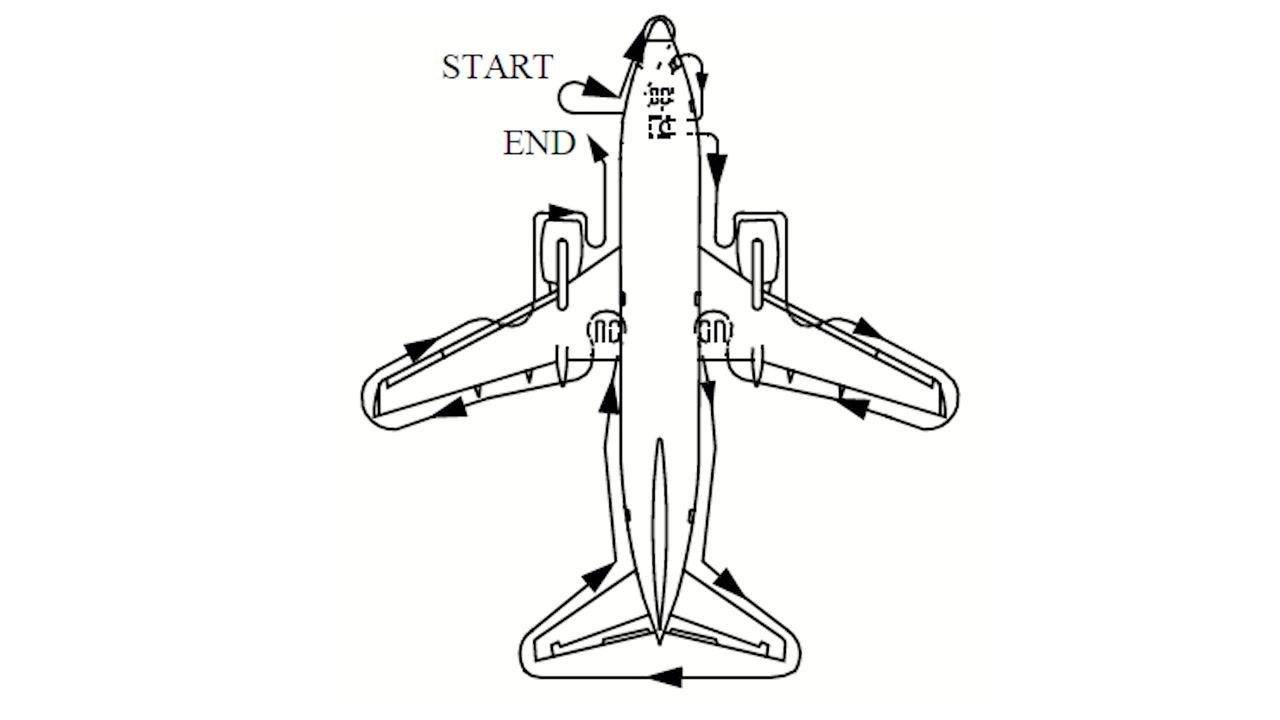
This procedure covers the complete exterior walkaround of a Boeing 737, starting at the left forward fuselage and ending back at the nose. It includes the fuselage, nose gear, wing roots, leading and trailing edges, engine nacelle area, wingtips, ailerons, flaps, main landing gear, wheel wells, aft fuselage, and tail section.

Required equipment / PPE
- High-visibility vest, worn at all times while on the apron.
- Access to a safe, designated inspection area on the apron.
- Identification confirming your role (student or crew member), if required by your operator.
Step-by-step inspection procedure
Prepare for the walkaround
Approach the aircraft only within a safe, designated area on the apron. Confirm your identity and purpose before beginning the inspection if this is required by your organization.
Follow the standard walkaround route for a preflight inspection
Use the prescribed walkaround route for the 737. Start at the left forward part of the fuselage and proceed in the order indicated by the route diagram, ending back at the nose.
Inspect the left forward fuselage
Check all probes, gauges, and sensors in this area for proper condition. Confirm that all protective covers have been removed before proceeding.
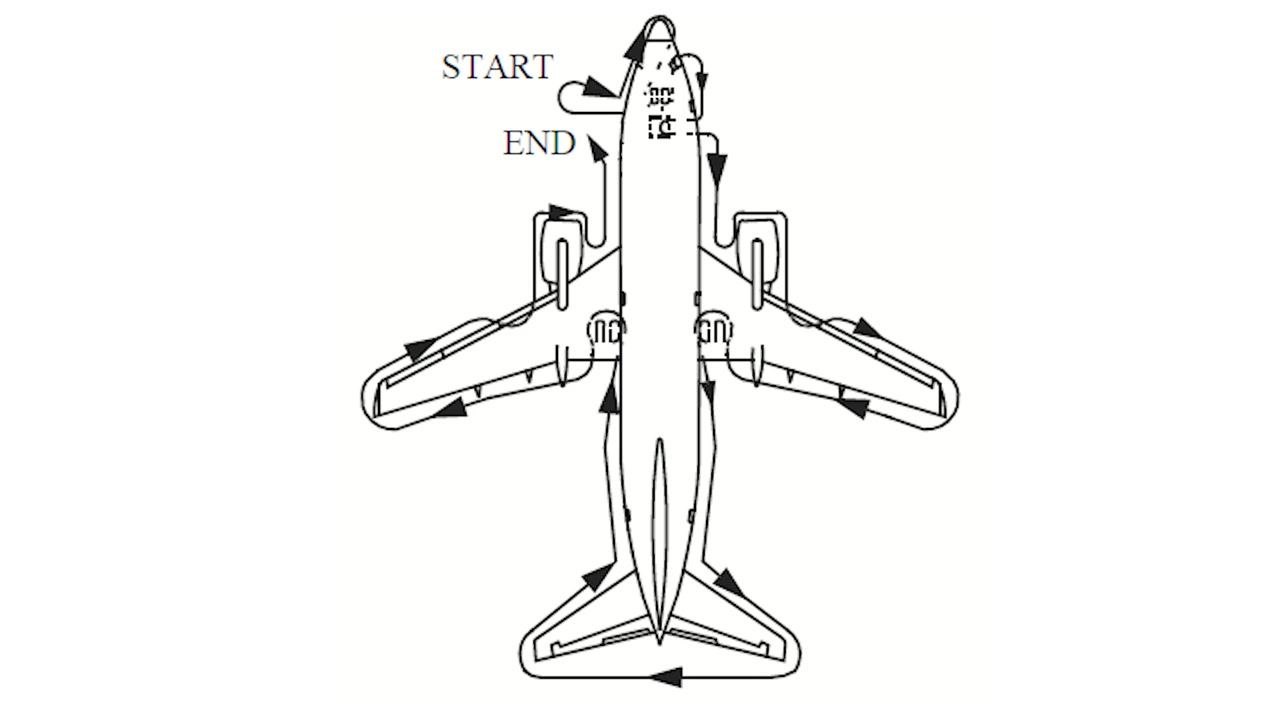
Inspect the nose section
Move to the nose of the aircraft. Check that the nose cone is intact and that the surrounding surface is free of damage or abnormalities.
Inspect the nose gear
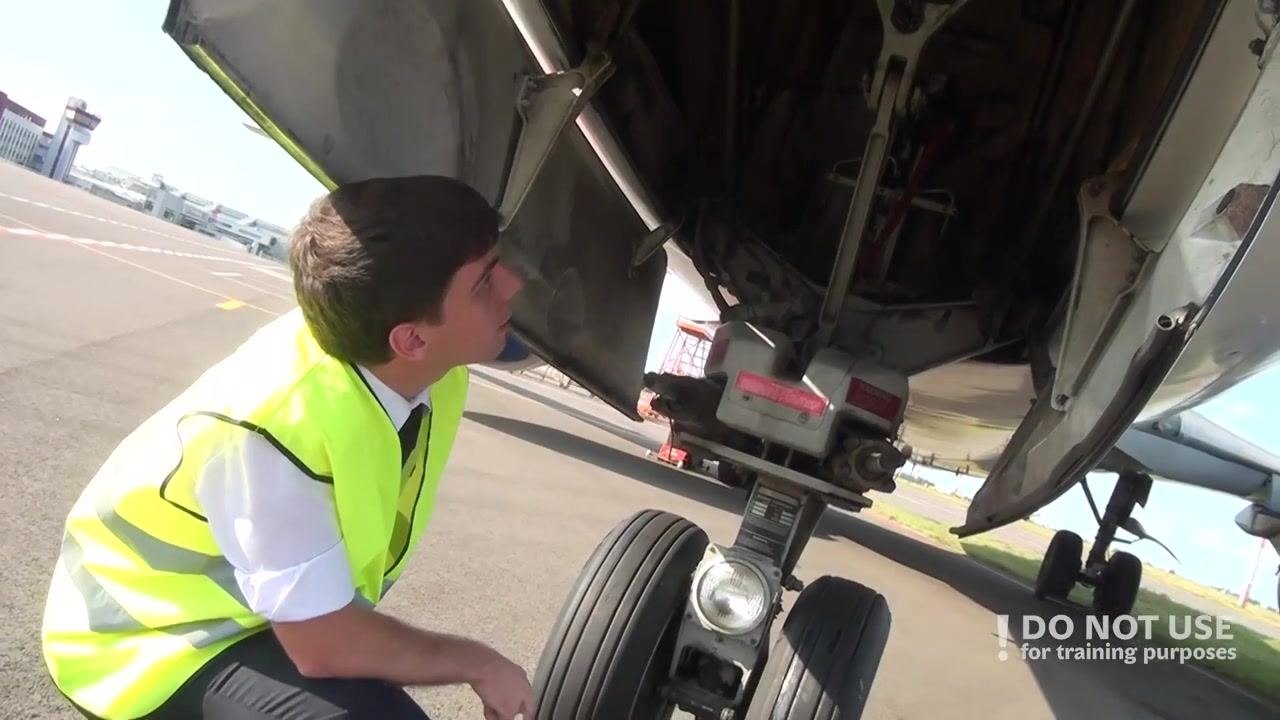
Examine the nose gear wheels and tires for proper inflation and condition. Check the exterior lights for cleanliness and damage, and inspect the steering assembly for good condition.
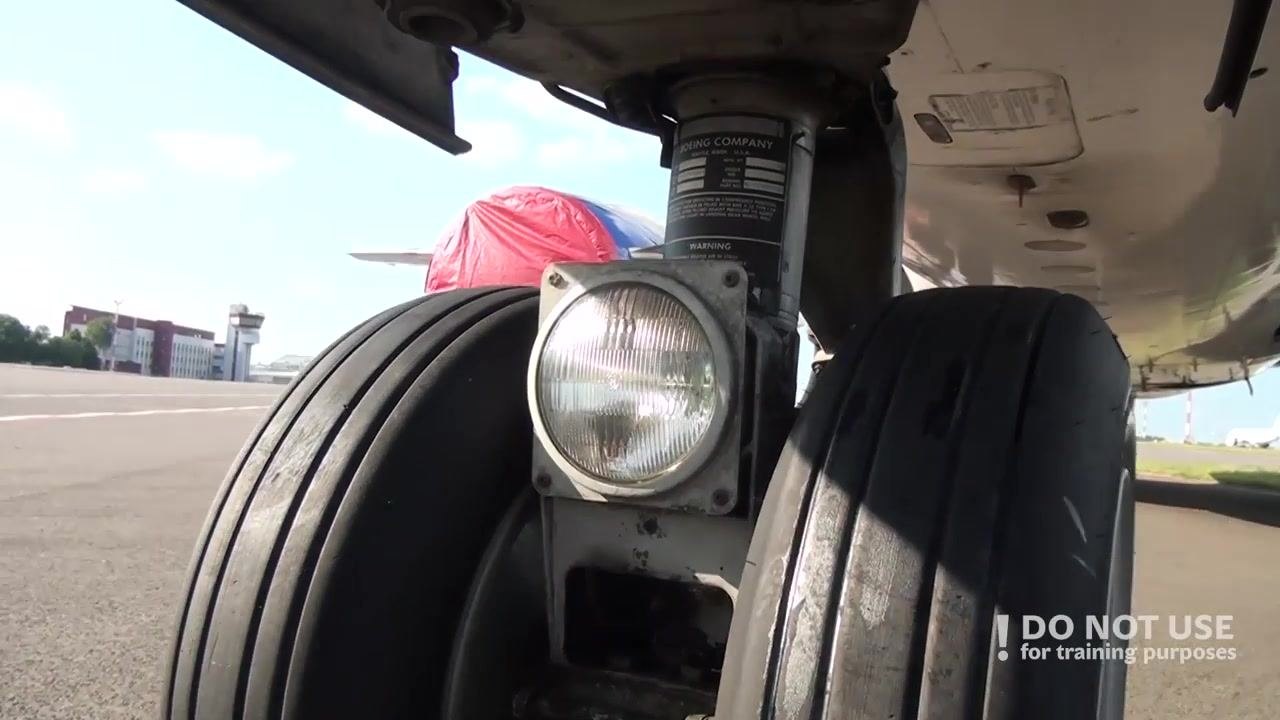
Complete the nose gear inspection
Confirm there are no fluid leakages around the nose gear. Check that the nose wheel doors are securely attached and operate properly, and inspect the nose wheel area for any abnormalities. Check for the presence of safety pins and remove them if necessary.
Inspect the right front fuselage and probes
Move to the right front side of the fuselage. Stand in a safe area with a clear view of the fuselage and its components. Visually inspect each probe and sensor for cleanliness, security, and absence of damage, and confirm that all access doors are securely closed.
Check the fuselage surface condition
Look for any dents, scratches, or other visible damage on the fuselage skin. Check for cracks or abnormalities across the surface near the right front fuselage.
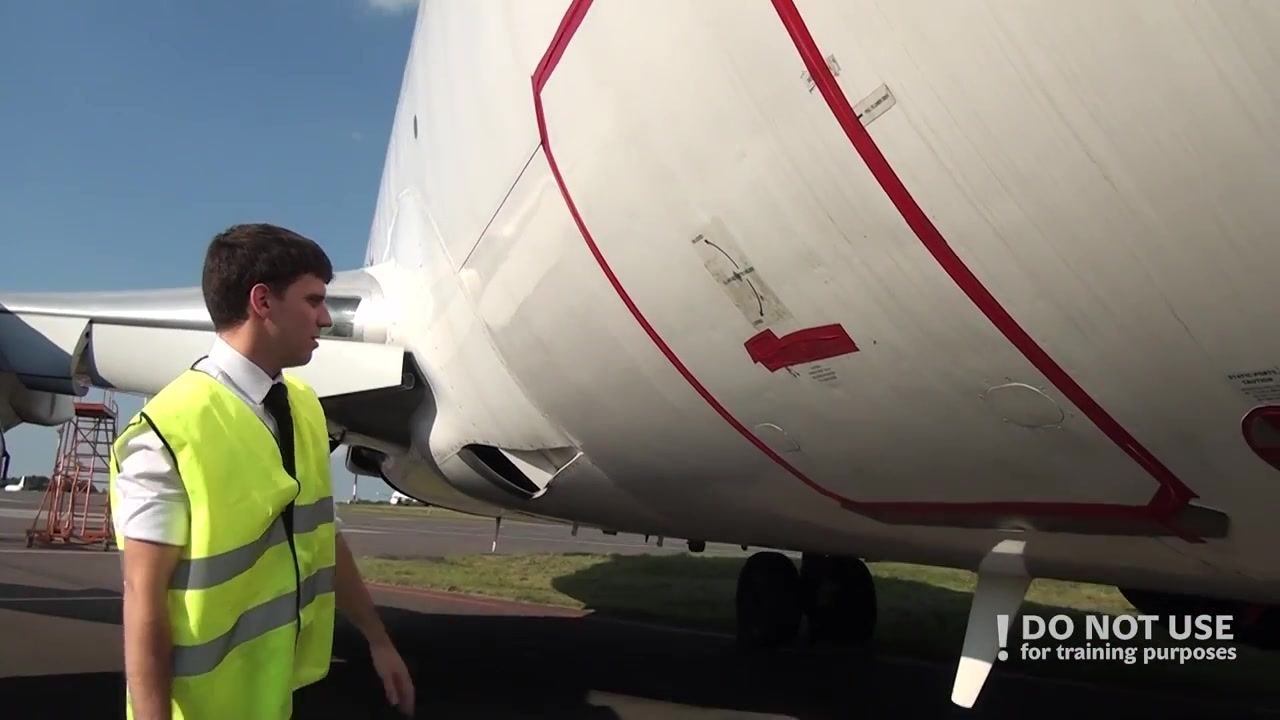
Check the pressure relief disc
Locate the pressure relief disc on the fuselage. Ensure it is intact and undamaged.
Confirm the pressure relief disc area is secure
Continue inspecting the pressure relief disc and the surrounding area. Confirm there are no signs of tampering or leakage.
Check the static port and cargo door
Ensure the static port is clean, unobstructed, and free from damage. Verify that the cargo door is closed if not in use, inspect it for secure closure and proper latching, and check the nearby antenna for security and condition.
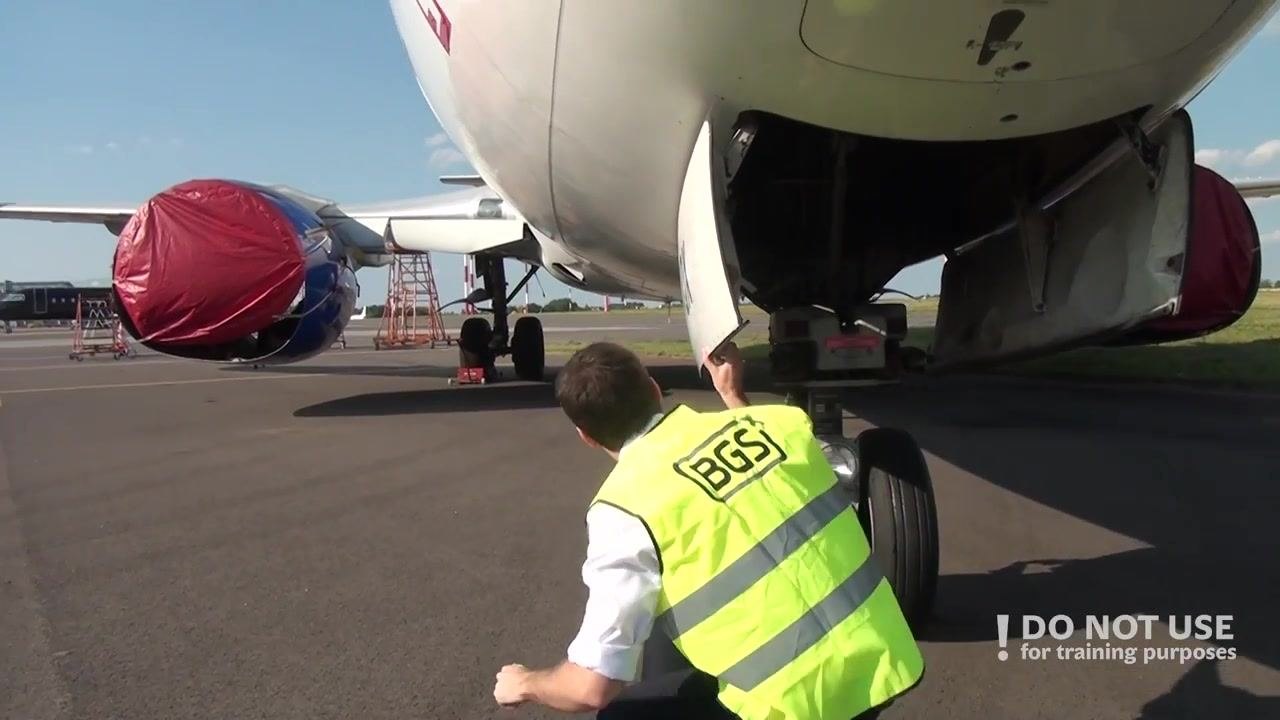
Inspect the wing root ram air inlet
Proceed to the wing root area. Check that the ram air deflector is in its normal position and that the ram air inlet is clean and unobstructed.
Inspect the wing root lights
Inspect the lights in the wing root area. Look for cleanliness, damage, and proper mounting of all lights.
Inspect the leading edge flaps
Check the leading edge flaps for normal condition. Inspect the surface for dents, scratches, or other damage, and ensure the flaps are in the correct position and free of obstructions.
Safety note: If an engine is present, check the fan blades for cracks or damage, inspect the spinner condition, and ensure the engine cowls are closed and latched. In this inspection, the engine was not fitted, so this step was not applicable.
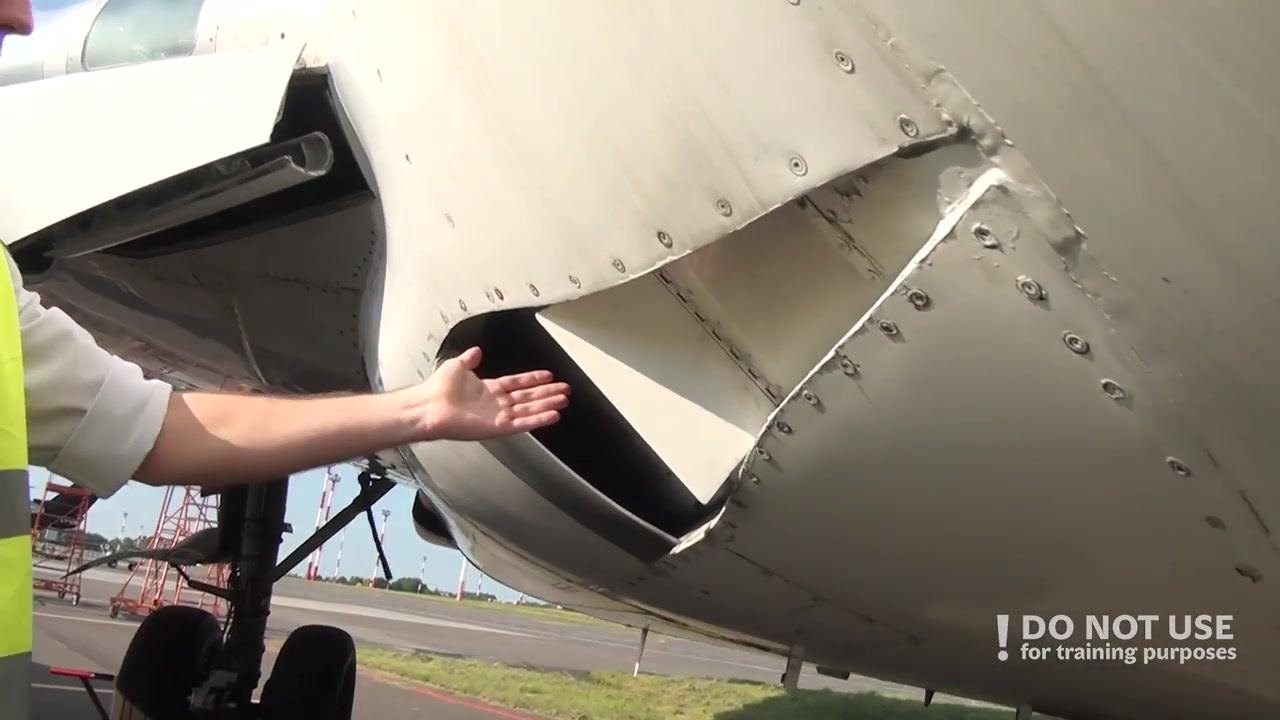
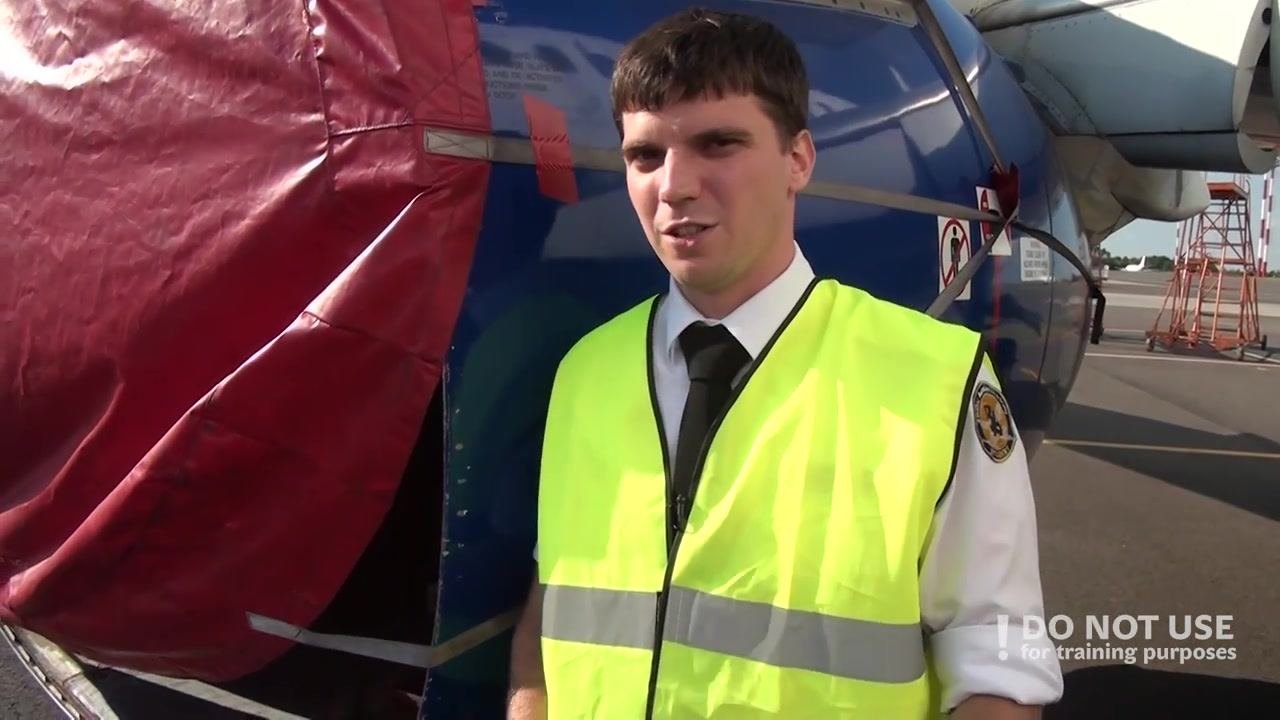
Continue the leading edge surface inspection
Check the surface condition of the leading edge for any abnormalities. Look for dents, scratches, or other visible damage.
Check wing access and fuel panels
Check that all access panels and fuel panels are closed if not in use. Visually inspect the underside of the wing for any open or unsecured panels, and confirm that all visible latches and fasteners are properly engaged.
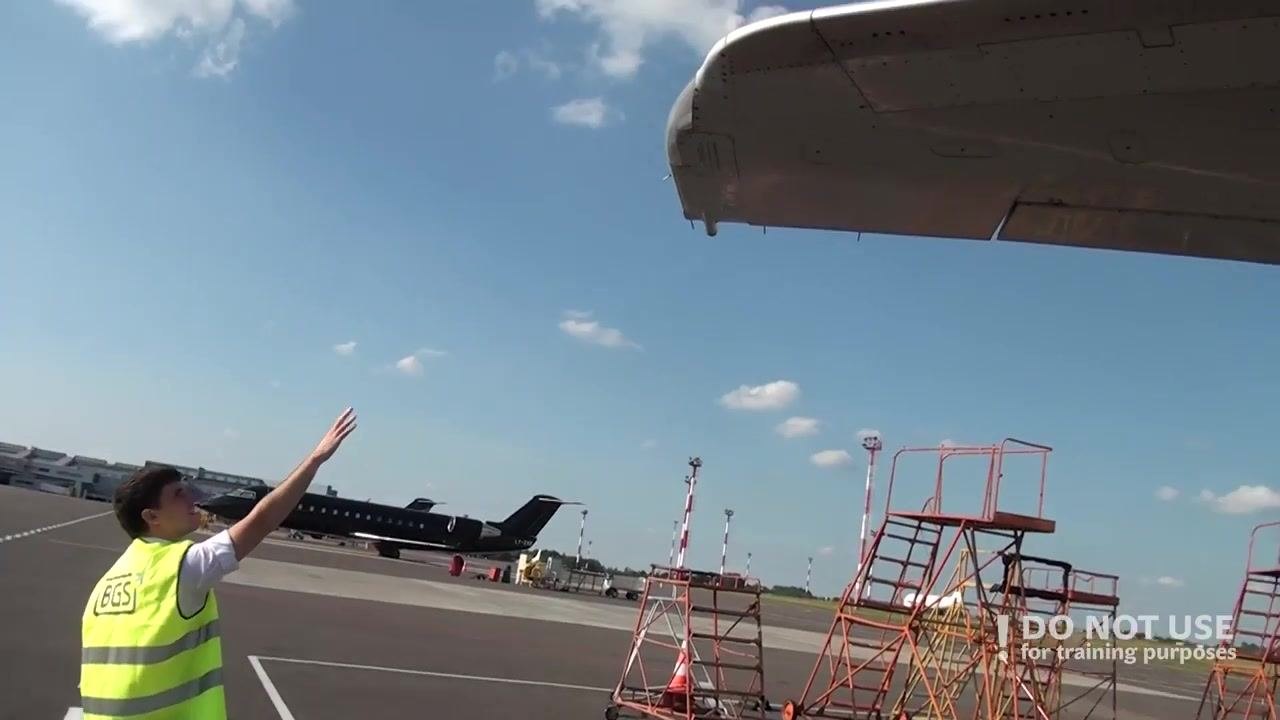
Inspect the wingtip lights and static dischargers
Proceed to the wingtip and inspect the wingtip lights, including the strobe lights and navigation lights, for cleanliness, damage, and secure mounting. Verify that all static dischargers at the wingtip are present, undamaged, and securely attached, with no missing or broken dischargers.
Inspect the aileron
Proceed to the ailerons and check their condition. Inspect the aileron surface for dents, scratches, or other visible damage, and ensure the aileron is securely attached and moves freely without obstruction.
Safety note: Check the flap condition for cracks, dents, or abnormalities, and confirm it is in the correct position. Continuously check all wing surfaces for cracks or damage, since unaddressed damage could lead to separation of wing parts.
Inspect the right main landing gear
Proceed to the right main gear and check the tire condition for proper inflation, tread wear, cuts, or bulges. Inspect the brakes for visible wear, leaks, or damage. Look for hydraulic leaks or abnormal extension at the gear strut, ensure all actuators are intact and free from leaks, and confirm the gear doors are closed and undamaged.
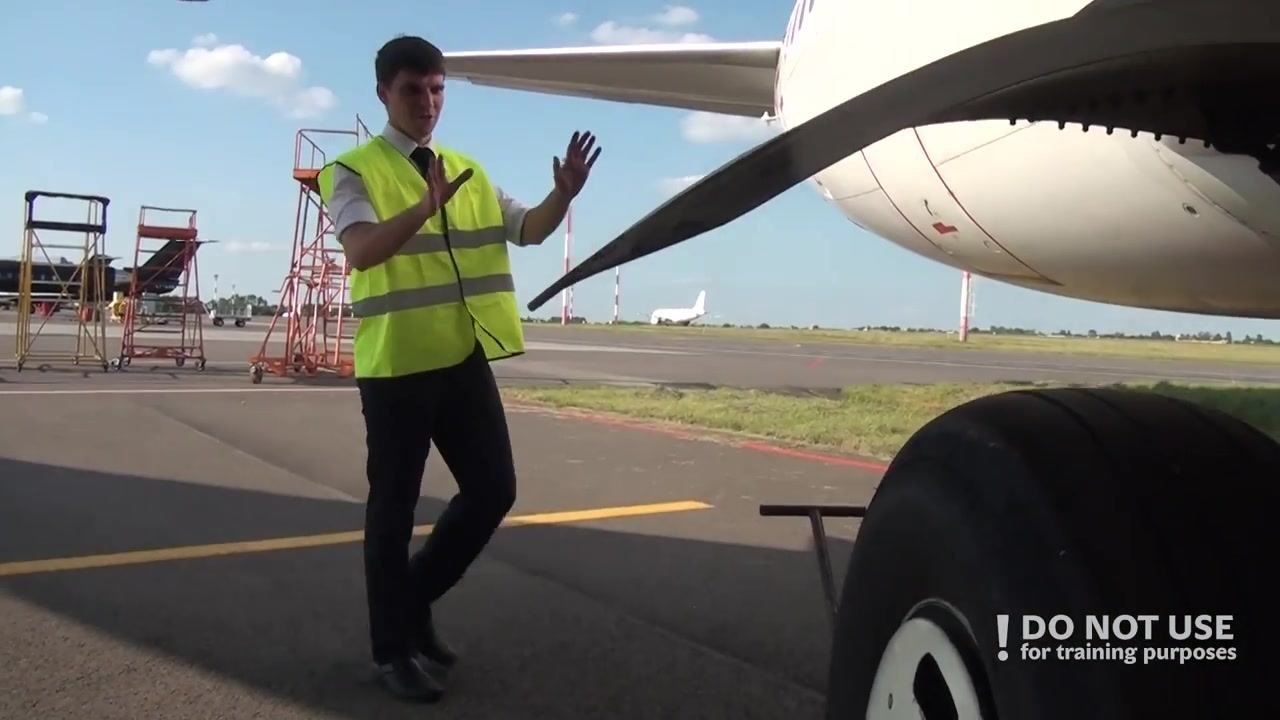
Check hydraulic lines and remove gear pins
Inspect all visible hydraulic lines for secure attachment and absence of leaks. Remove any gear pins if the aircraft is ready for operation.
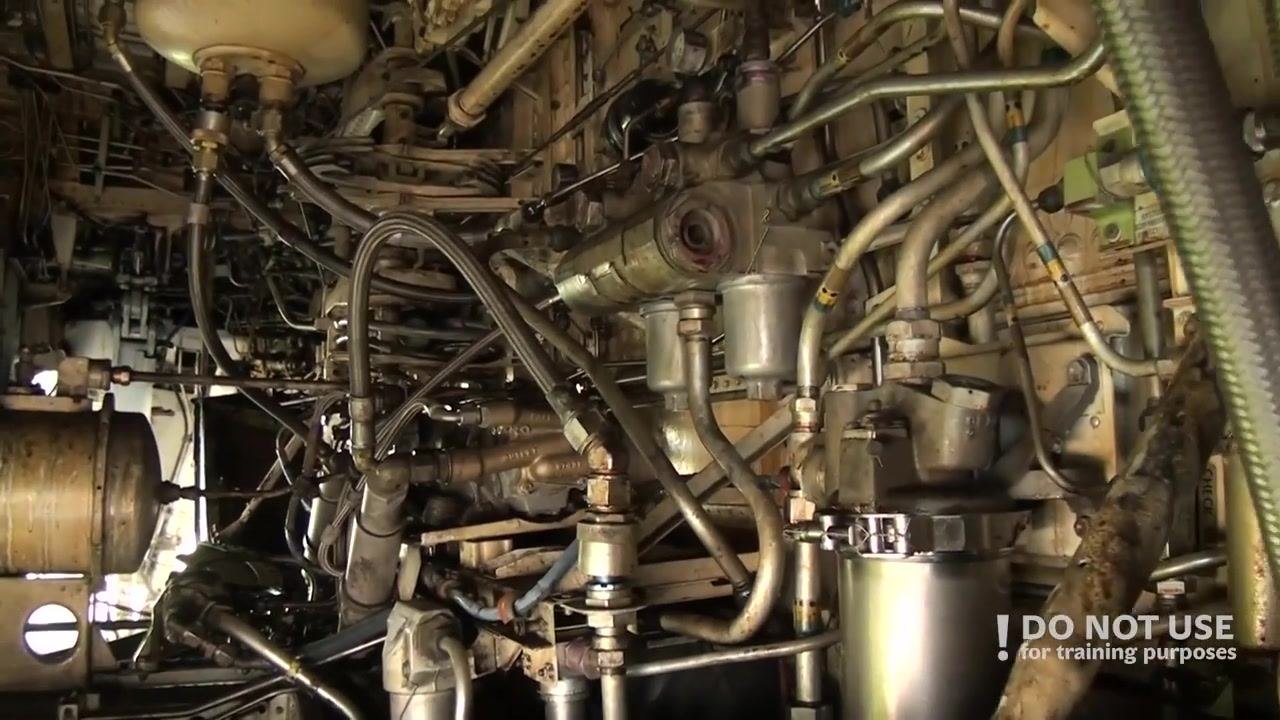
Inspect the main wheel well
Enter the main wheel well and confirm the APU fire handle is in the up position. Inspect the overall condition for leaks, loose components, or signs of wear, and look for any tools or items left behind by maintenance personnel.
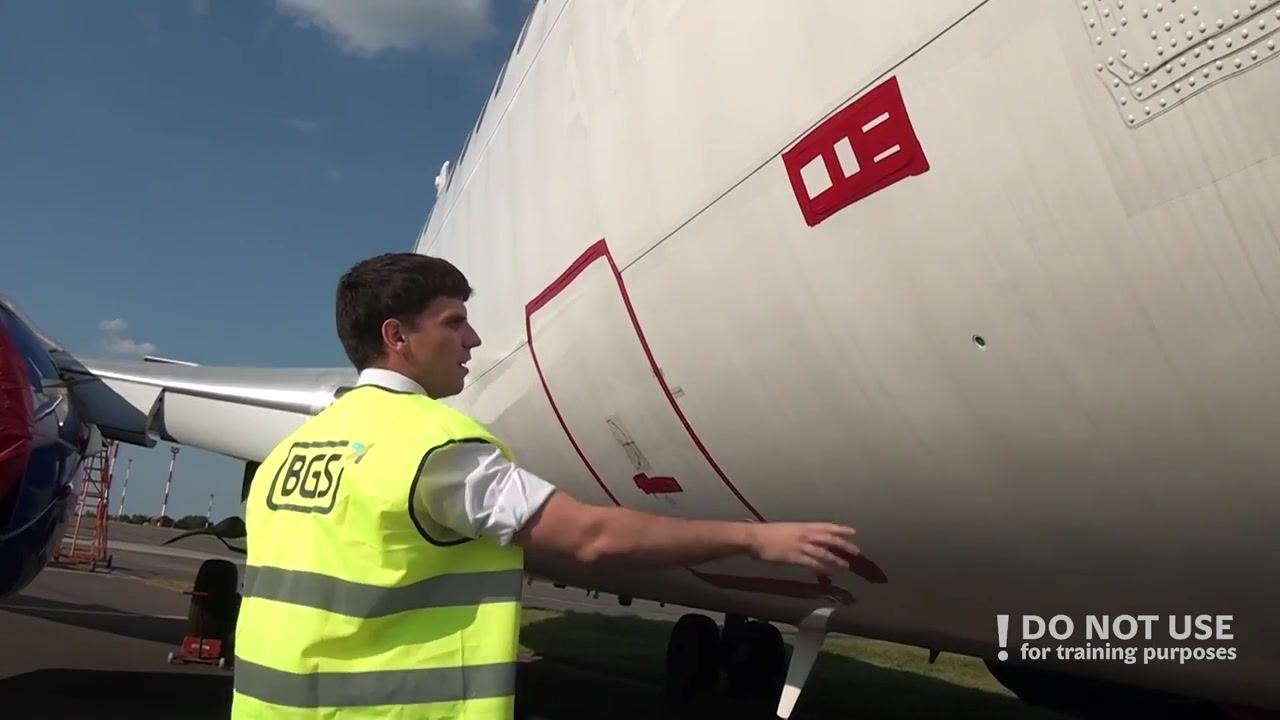
Inspect the right aft fuselage
Move to the right aft part of the fuselage. Check the surface for dents, scratches, or other visible damage, and ensure all doors and access panels not in use are closed and properly latched.
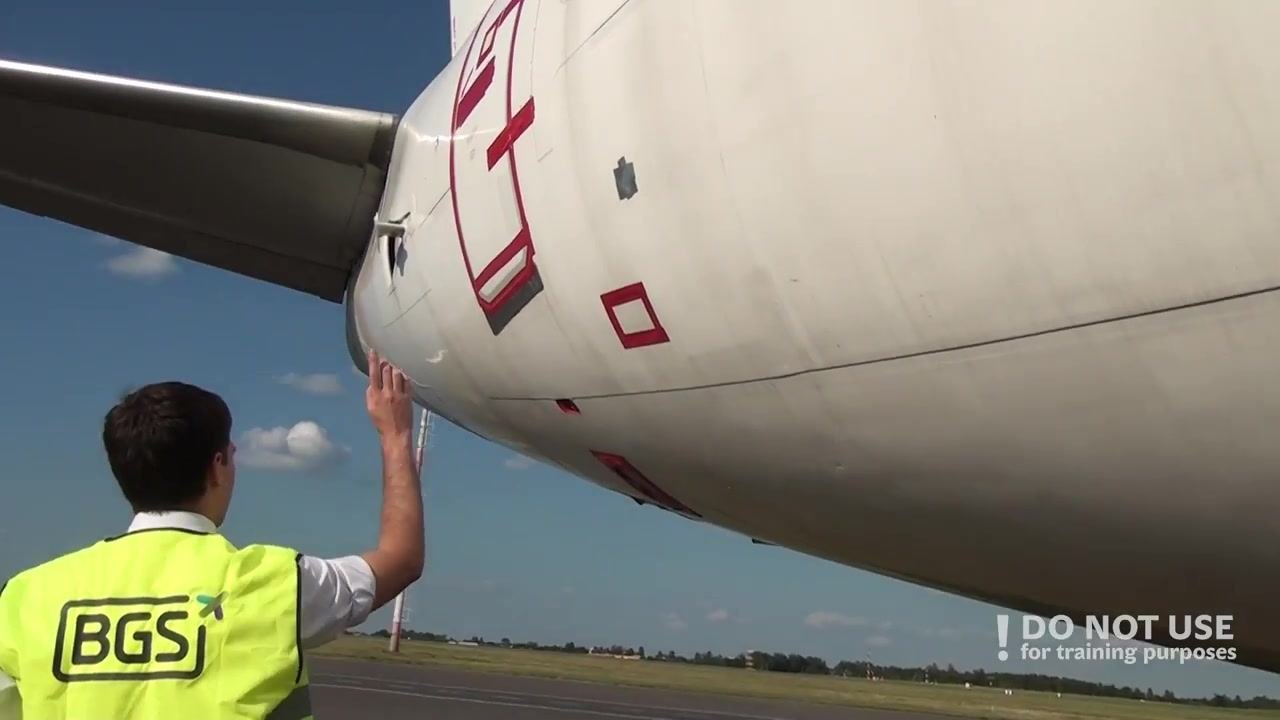
Inspect the negative pressure relief valve
Approach the aft fuselage area. Visually locate the negative pressure relief valve on the lower rear fuselage. Ensure the valve is present, undamaged, and unobstructed, and confirm there are no visible leaks or foreign objects around it.
Check the tail section
Move to the rear of the aircraft to inspect the tail assembly. Examine the vertical stabilizer and rudder for any signs of damage, dents, or missing fasteners. Inspect the horizontal stabilizer for similar issues, and ensure all surfaces are clean and free from obstructions.
Inspect the tail section close-up
Look closely at the base of the vertical stabilizer and the adjoining surfaces. Check for any cracks, corrosion, or loose panels, and confirm that all access panels are closed and secured.
Continue to the left aft fuselage
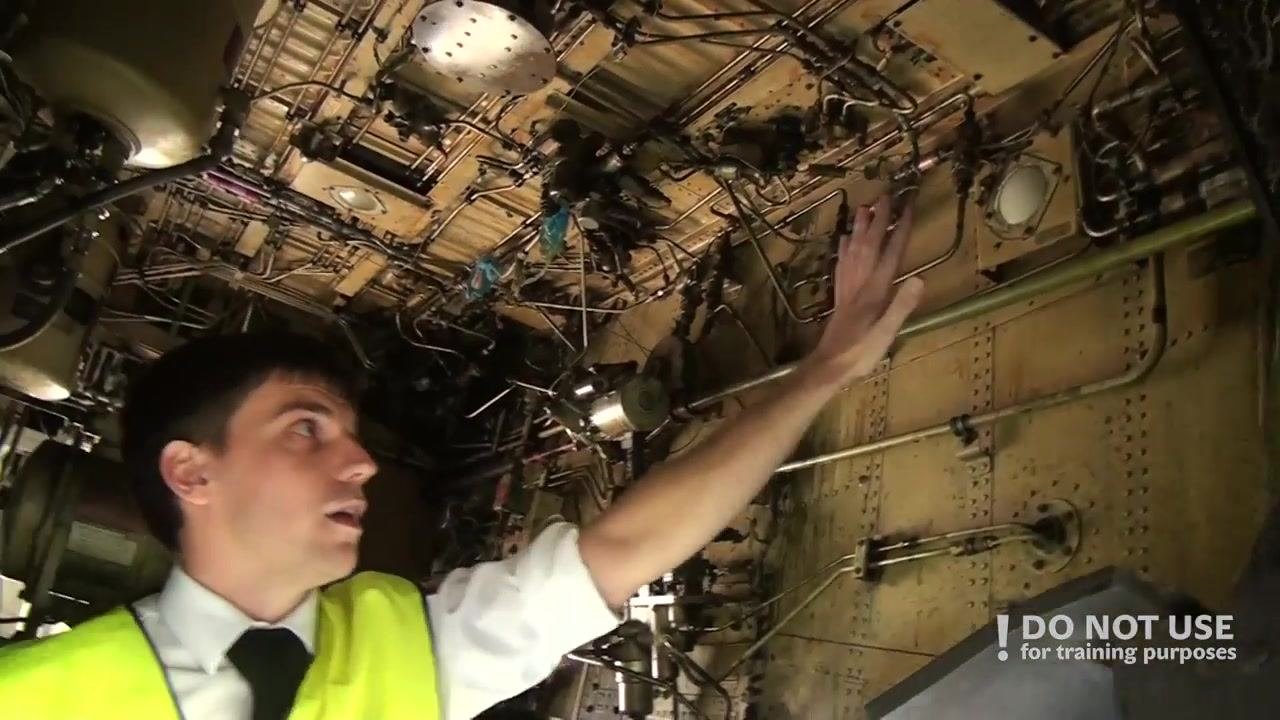
Walk along the left aft part of the fuselage. Visually check that all doors are closed and locked, inspect the drains for blockages or leaks, and assess the overall surface condition for dents, scratches, or other damage.
Check drains and surface condition
Continue inspecting the fuselage, focusing on the drains and surface. Ensure all drains are clear with no signs of fluid leakage, and confirm the fuselage surface is intact and free from significant wear.
Inspect the left main landing gear
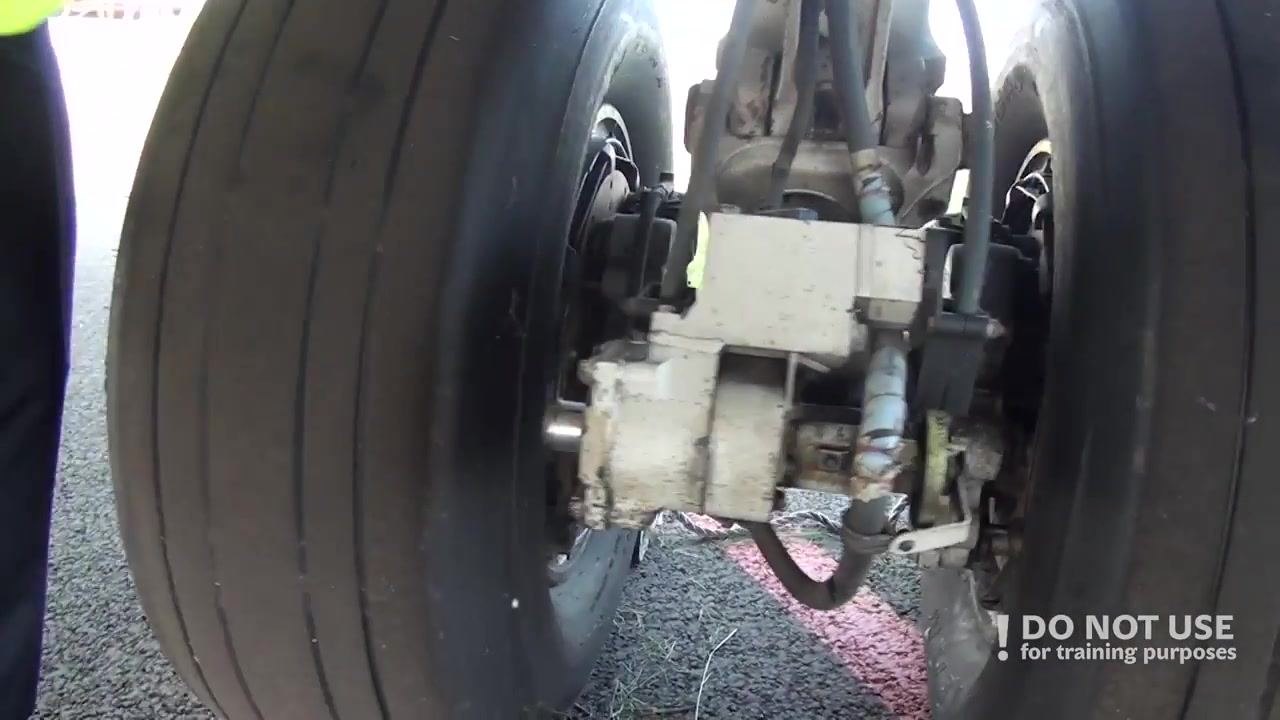
Move to the left main landing gear. Check the tires for proper inflation, tread wear, and absence of cuts or bulges. Inspect the brakes for wear and hydraulic leaks, and examine the gear strut for proper extension and signs of hydraulic fluid. Check the actuators for secure attachment and leaks.
Check gear doors and hydraulic lines
Inspect the gear doors for secure closure and absence of damage. Ensure all hydraulic lines are properly secured and free from leaks or chafing.
Inspect the wheel well
Enter or look into the wheel well area. Check the overall condition, including structure, wiring, and hydraulic lines, and look for leaks, loose fittings, or foreign objects. Ensure all components are properly secured.
Move to the wing trailing edge
Proceed to the trailing edge of the wing. Inspect the flaps for secure attachment, smooth surface, and absence of damage, and check that all access panels are closed and latched.
Check the aileron and static discharge wickers
Inspect the aileron for condition, secure attachment, and freedom of movement. Check that all static discharge wickers are present and undamaged, and confirm the trailing edge is free from cracks or missing fasteners.
Inspect the leading edge of the wing
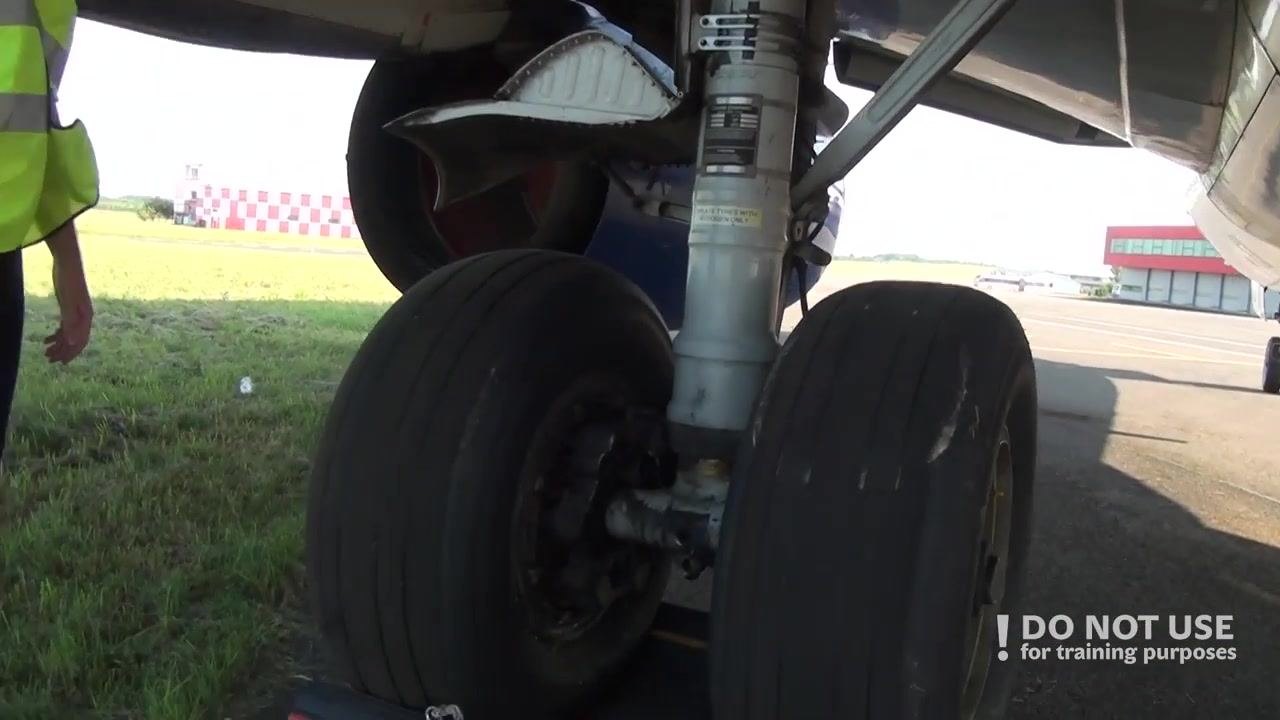
Move to the leading edge of the wing. Visually inspect for any dents, cracks, or missing fasteners, and check the presence and condition of static discharge wickers and other protruding elements. Ensure all panels and covers are secure.
Inspect the surface condition and engine nacelle
Walk along the wing, observing the surface condition for scratches, dents, or corrosion. Approach the engine nacelle and check for any visible damage or leaks, confirming that the engine cowlings are closed and latched.
Check the wing root, leading edge flaps, and exterior lights
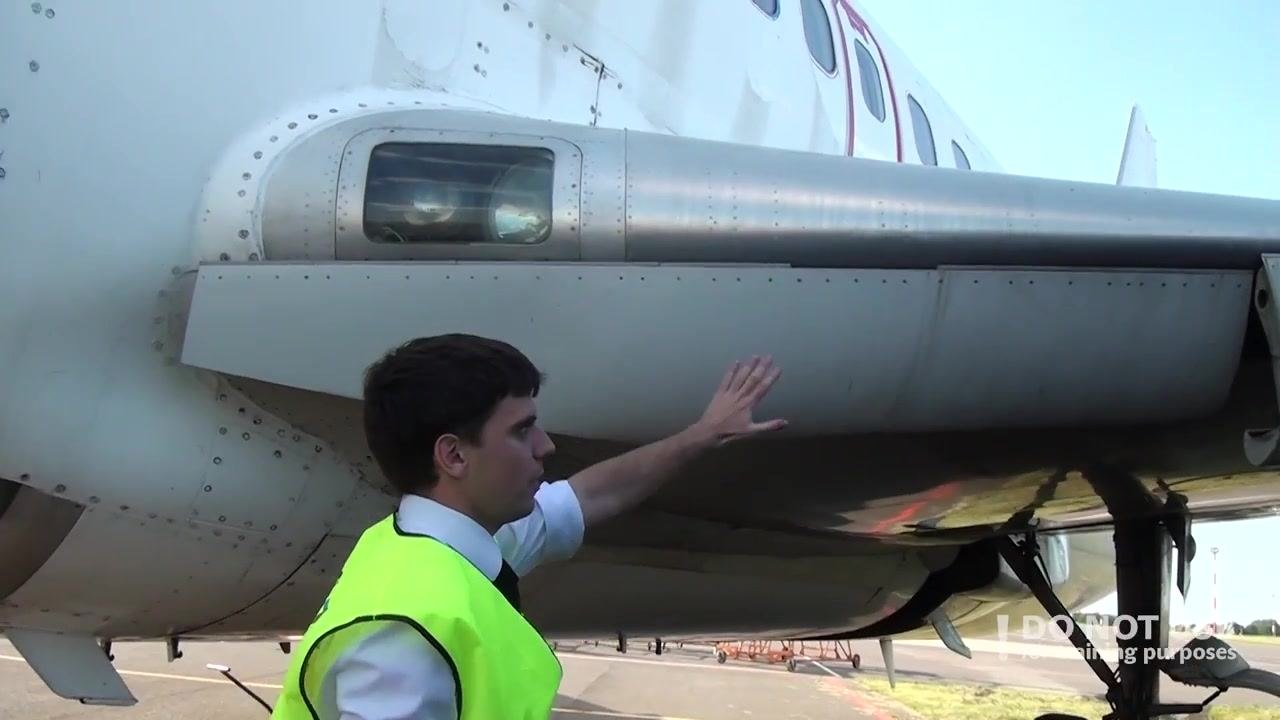
Move to the wing root area. Inspect the leading edge flaps for secure attachment and smooth operation, and check the exterior lights for cleanliness and intact lenses. Run your hand along the surface to feel for irregularities.
Inspect the ram air inlet, deflector, antennas, drains, and fuselage surface
Examine the ram air inlet and deflector for blockages or damage. Check all visible antennas for secure mounting and undamaged condition, inspect drains for obstructions or leaks, and assess the fuselage surface for scratches, dents, or corrosion.
Check the static port and complete the walkaround
Locate and inspect the static port for cleanliness and absence of obstructions. Perform a final visual scan of the fuselage surface for any remaining issues.
Verification and summary
Once every point on the walkaround route has been checked—fuselage, nose gear, wing roots, leading and trailing edges, ailerons, flaps, main landing gear, wheel wells, aft fuselage, tail section, and static port—the exterior preflight inspection is complete. Confirm that no discrepancies remain open before proceeding to the cockpit for further pre-flight preparations.
What's next
After completing this exterior walkaround, proceed to cockpit pre-flight preparations as the next stage of the preflight inspection process.
Generation details: cost, quality tiers
Docsie billed 4,500 credits ($3.15) to analyze this 9-minute video at standard quality. The rewrite, template fill and Word/PDF exports were included. The same video at each quality tier:
| Quality | Frames sampled | Credits | Approx. cost |
|---|---|---|---|
| Draft | every 16-30 s | 2,250 | $1.57 |
| Standard (this guide) | every 8-15 s | 4,500 | $3.15 |
| Detailed | every 4-7 s | 9,000 | $6.30 |
| Ultra | every 1-3 s | 18,000 | $12.60 |
Credits priced at $0.70 per 1,000; plans include a monthly allowance. Enterprise customers on on-premise or bring-your-own-model deployments run this on their own inference and pay no per-video credits.
Generated by Docsie Video-to-Docs on 2026-09-28 from a 8-minute video. Screenshots are frames from the source video and belong to their creator, BAA Training, whose original is embedded above. If you own this video and want the guide removed or credited differently, contact us and we will act within one business day.