
How to Enter Time in Workday
This guide walks you through how to enter time in Workday, covering how to view your dashboard, edit your worked hours, submit entries for approval, and manage time off requests. Follow the steps below to accurately record and review your time.
Video: Workday Employee Training - Review and Edit Time by Dabella HR (2025). All credit for the demonstration goes to the creator; watch the original on YouTube. The written guide below was generated from this video by Docsie. Creator? Request a change or removal.
This guide walks you through how to enter time in Workday, covering how to view your dashboard, edit your worked hours, submit entries for approval, and manage time off requests. Follow the steps below to accurately record and review your time.
Prerequisites
- Access to your organization's Workday instance through a web browser.
- Valid login credentials for your Workday account.
Steps
Access the Workday home page
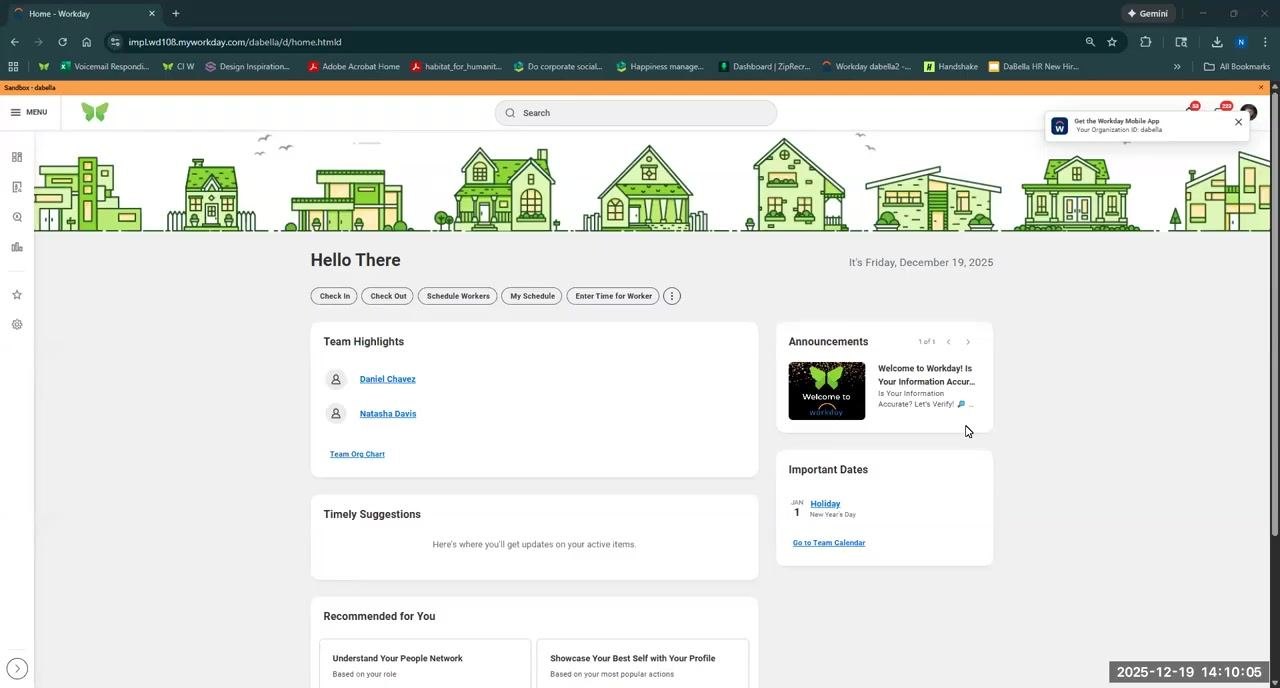
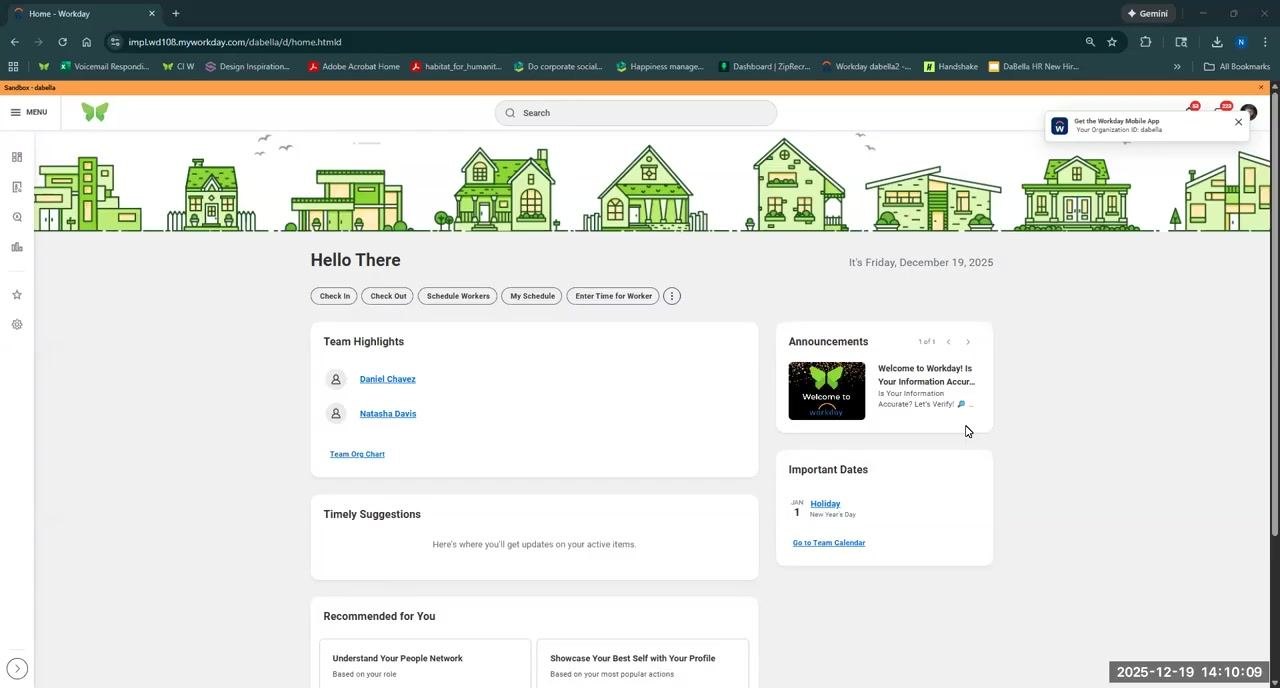
Open your browser and navigate to your Workday home page. You will see a dashboard with a "Hello There" greeting, team highlights, announcements, and important dates. Locate the MENU button in the top left corner of the screen.
Review time entry and time off options
On the Time dashboard, you will find two main sections. The Enter Time section offers This Week, Last Week, Select Week, and Time Requests options. The View section offers My Time Off, Time Off Balance, and My Schedule.
The Time Clock section below shows your current check-in/check-out status. Use these options to review your hours for the current or previous weeks, check your time off balance, and view your schedule.
Select the week to edit
Click This Week or Select Week under the Enter Time section to view or edit your time entries for a specific week. The weekly calendar view displays your recorded hours for each day. Click on the day or time entry you want to edit.
Open the time entry form
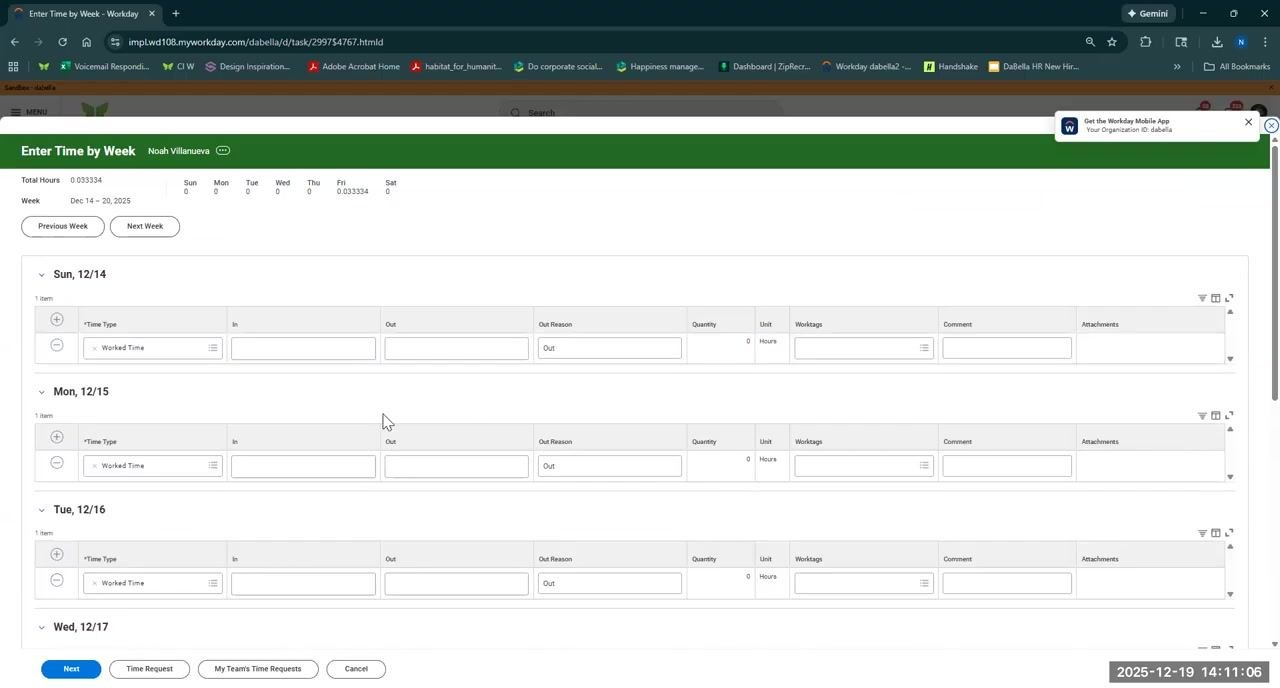
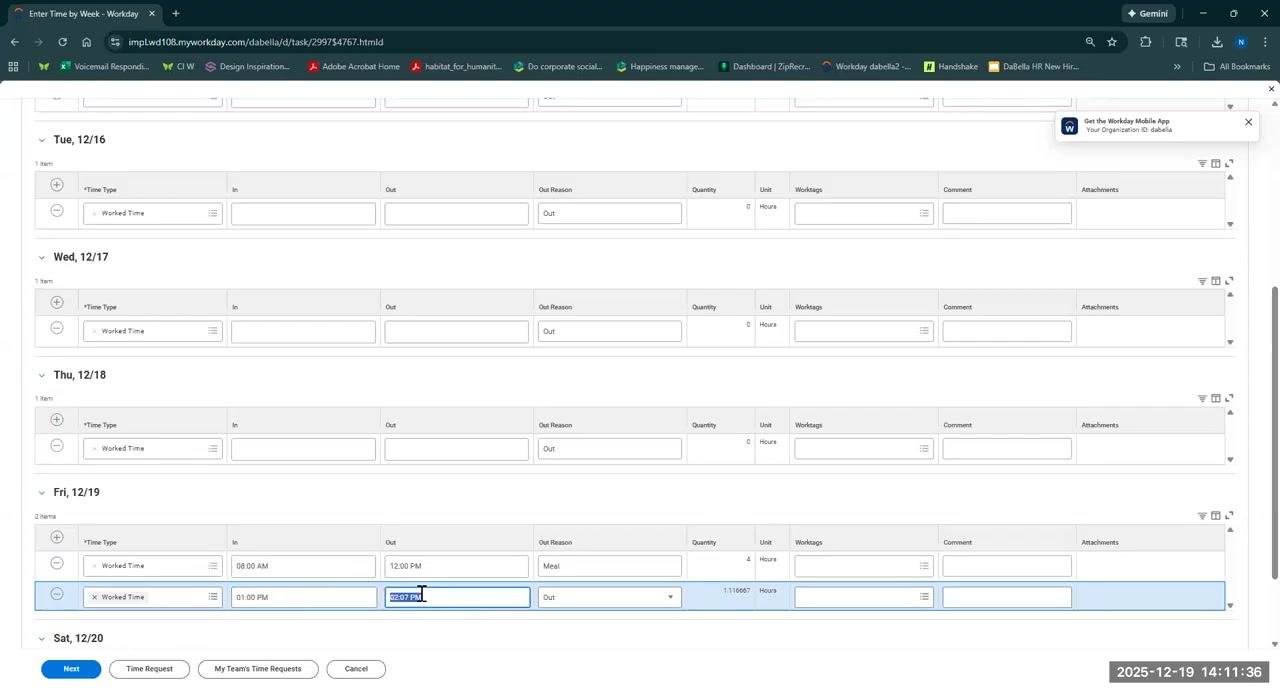
Click the Actions button in the upper right of the calendar view, then select Enter Time by Week from the dropdown menu. This opens a detailed weekly entry form where you can adjust your clock-in and clock-out times, add reasons for time out (such as "Meal"), and enter comments if needed.
Enter or adjust your work times
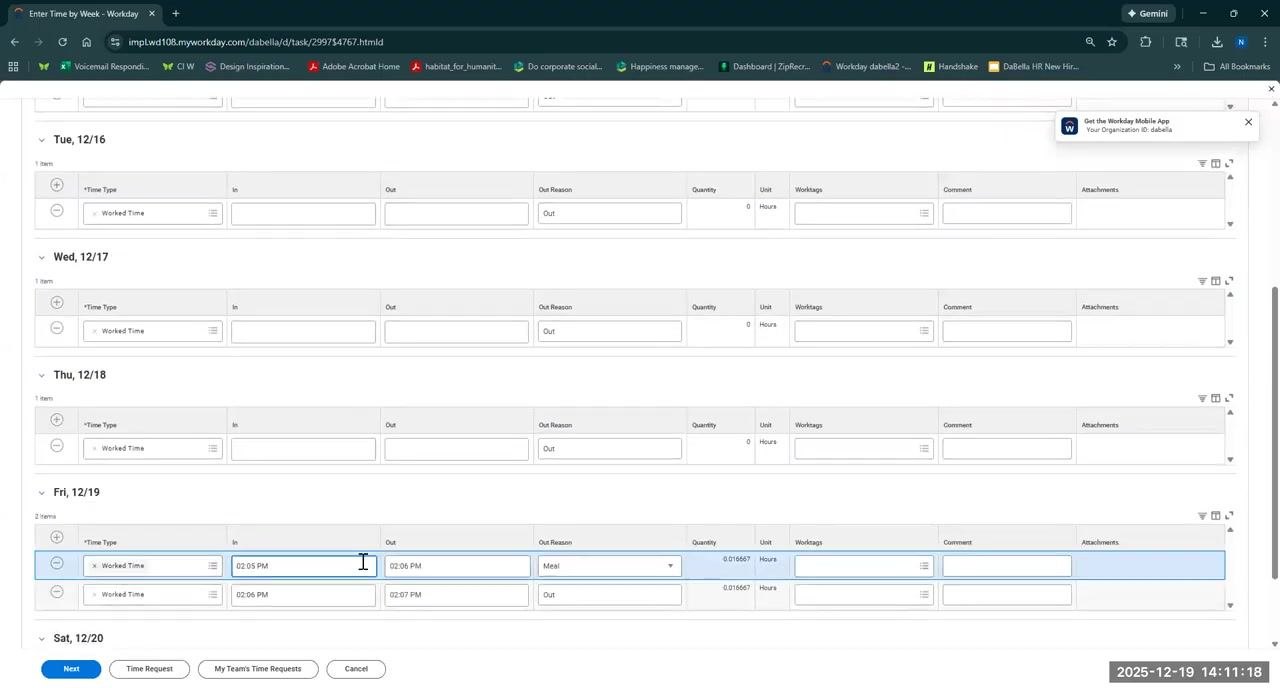
For each day, enter the following details as needed:
- Time Type: Usually "Worked Time."
- In: Your clock-in time (for example, 8:00 AM).
- Out: Your clock-out time for breaks or end of day (for example, 12:00 PM for lunch, 5:00 PM for end of day).
- Out Reason: The appropriate reason (for example, "Meal" for lunch).
- Quantity/Unit: The system calculates hours automatically based on your entries.
- Comments/Attachments: Any relevant notes or supporting documents, if required.
For example, on Friday 12/19, you could enter: In 8:00 AM, Out 12:00 PM (Out Reason: Meal), then In 1:00 PM, Out 5:00 PM (Out Reason: Out).
Once all edits are complete and the times look correct, click Next at the bottom left and review the summary of your regular hours and all entered time. Note that any edits you make must be approved by your manager before they are submitted to payroll.
Review daily and weekly totals
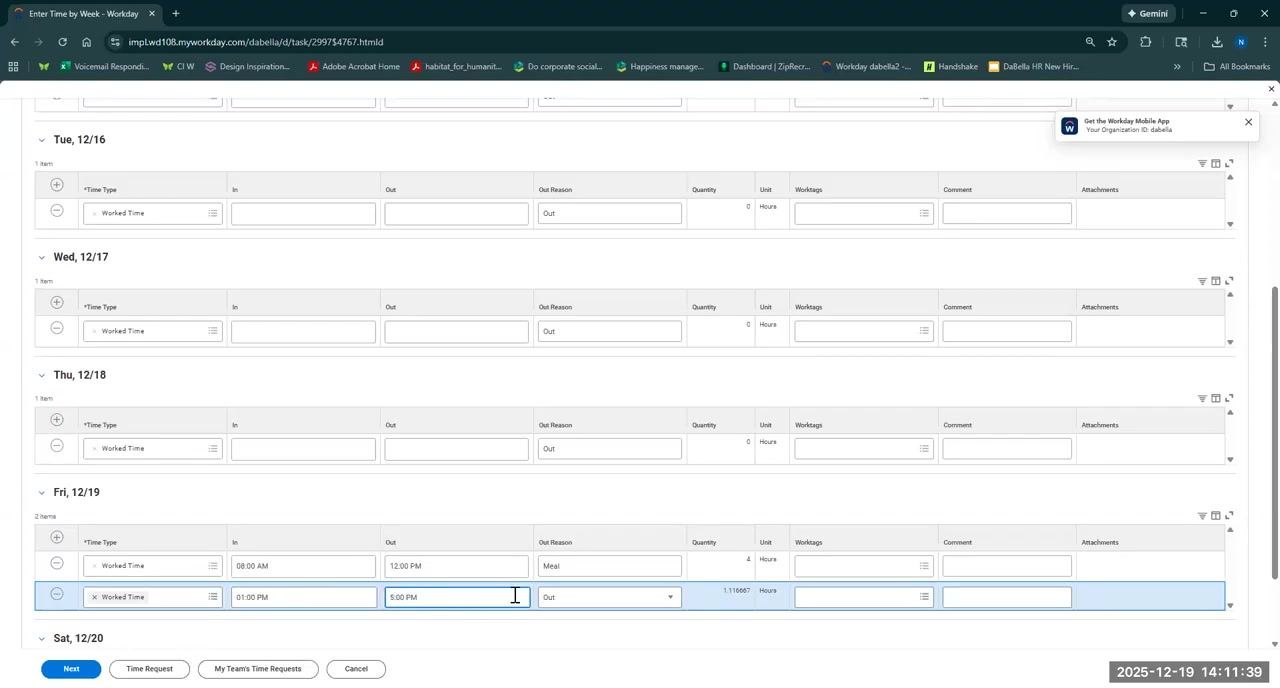
Locate the weekly calendar view, which displays each day of the selected week. Review the daily totals for time worked and the total hours for the week, shown at the top of each day and summarized for the week. Confirm that your entries are correct for each day and that the weekly total matches your expected hours.
Save and verify your time correction
If all entries are correct, click Save or Next at the bottom left of the time entry form. A confirmation message appears indicating the task was completed successfully, and your entries are sent to your manager for review and approval.
After saving, check the calendar view to confirm your time for the day has been updated as intended. The updated entries will show the correct in/out times and reasons, such as "Meal" for lunch.
You can use the Week or Day toggle at the top right of the calendar to switch between weekly and daily views, and select a different week if you need to review or edit time for another period.
Access additional actions
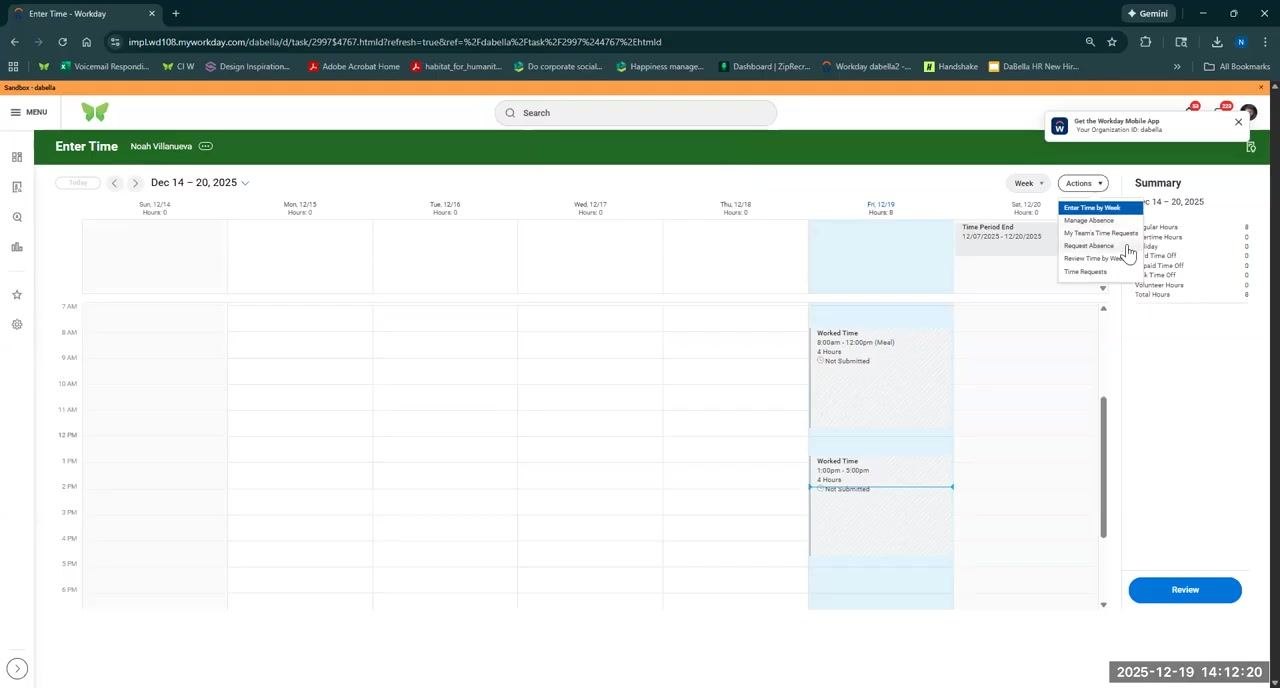
Click the Actions button in the upper right to access more options:
- Manage Absence: View and manage your time off.
- Request Absence: Submit a request for time off.
- Review Time by Week: See a detailed breakdown of your time entries for the week.
- Time Requests: View all your time requests within a specified period.
Review time by week
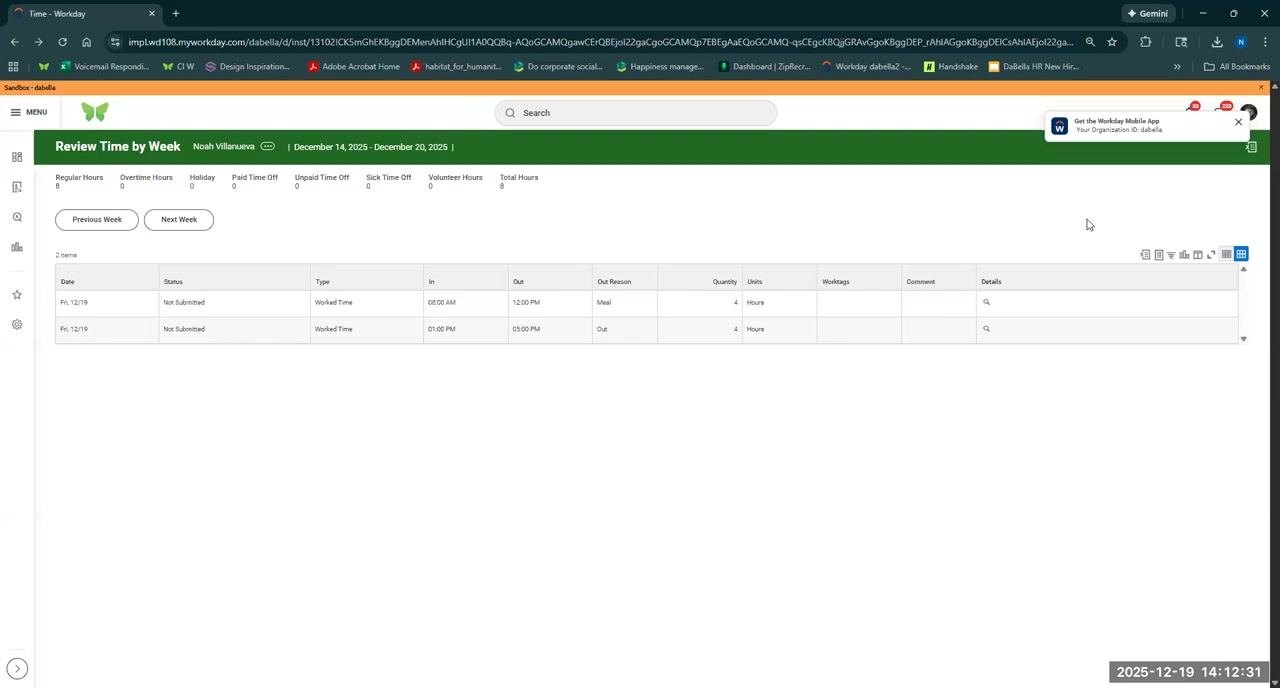
Select Review Time by Week from the Actions menu to see a summary table of your time entries for the selected week. The table displays the date, status (for example, Not Submitted), type (for example, Worked Time), in/out times, out reason (for example, Meal or Out), quantity and units (for example, 4 Hours), and any comments or details.
Use the Previous Week and Next Week buttons to navigate between weeks.
View and manage time requests
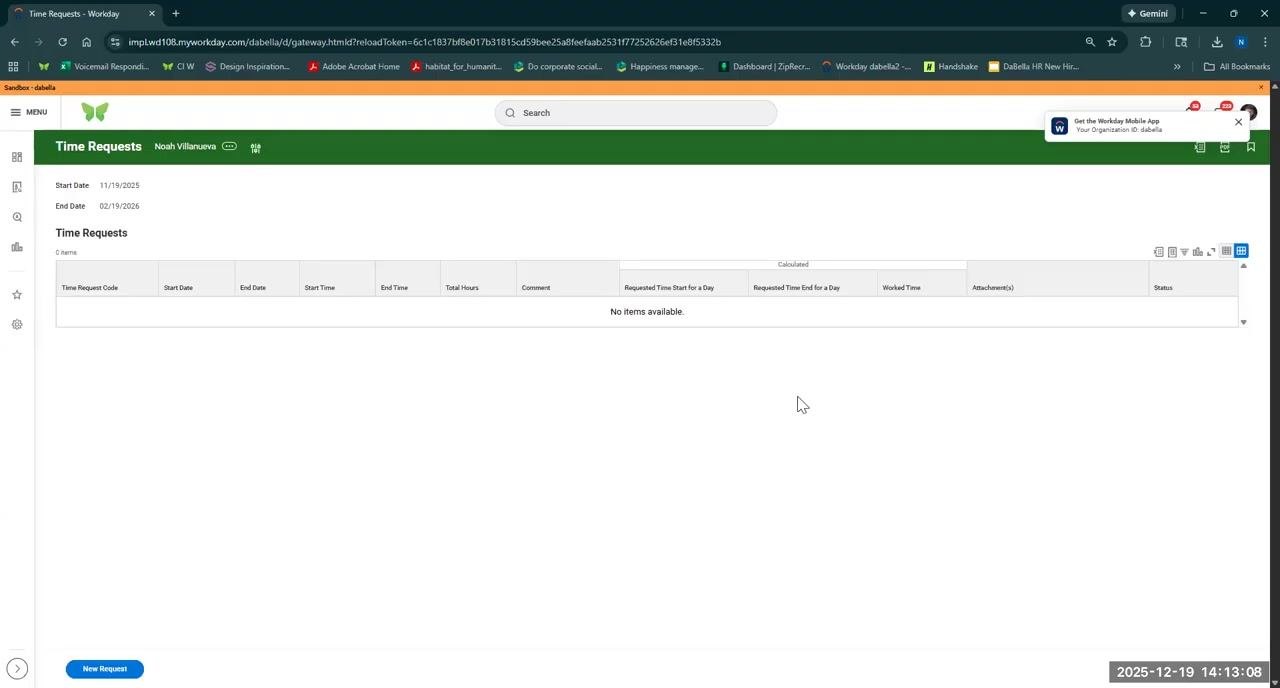
Select Time Requests from the Actions menu to view all your submitted time requests. The Time Requests page lists the time request code, start/end dates and times, total hours, comments, requested time start/end for a day, worked time, attachments, and status.
If no requests have been made, the table displays "No items available." To submit a new request, click New Request at the bottom left.
Note important submission deadlines
All time cards lock on Monday at noon. Make any necessary edits before this deadline to ensure your time is submitted and approved on schedule.
If you miss the deadline, contact your payroll department via the provided LLC payroll email to request changes. Your manager will need to sign off on any post-deadline edits.
Get support
For any questions or issues, reach out to your LLC payroll email for assistance. Always double-check your entries and submit them on time to avoid payroll delays.
Review the Time Requests page layout
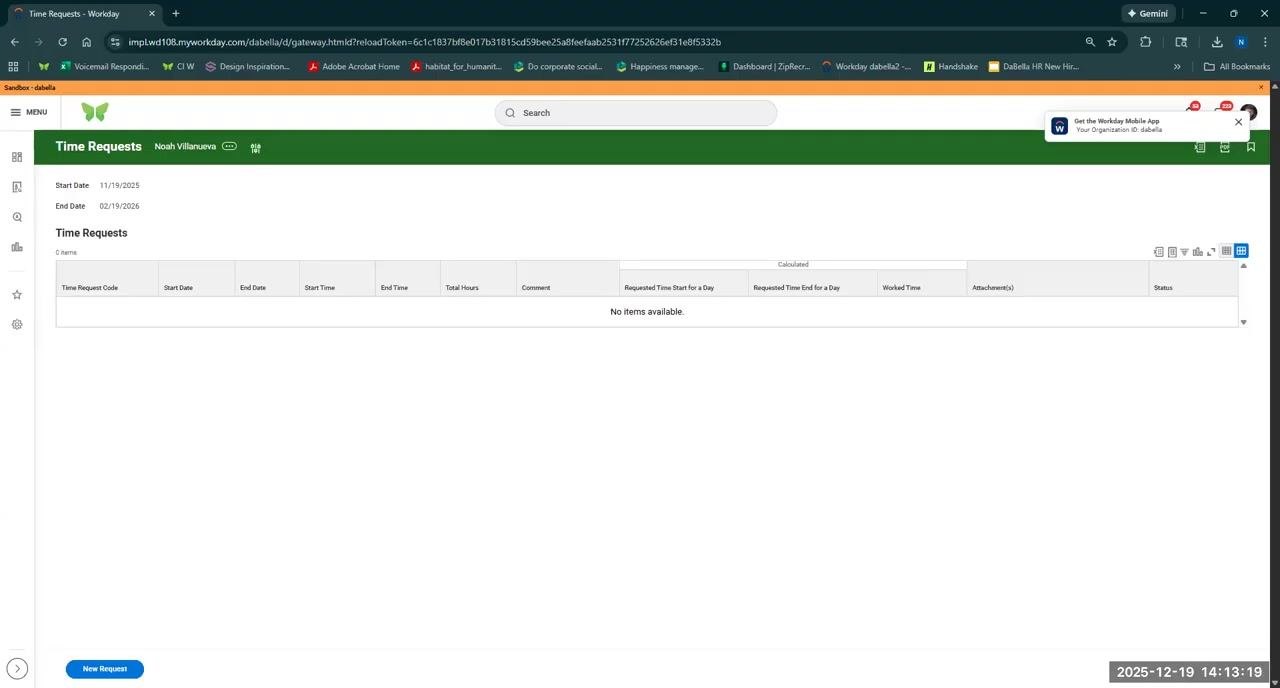
The Time Requests page displays the section title and your name in the header (for example, Noah Villanueva), along with the selected date range (for example, Start Date 11/19/2025 and End Date 02/19/2026).
The main table lists all time requests within the selected date range, with columns for time request code, start date, end date, start time, end time, total hours, comment, requested time start for a day, requested time end for a day, worked time, attachments, and status. If there are no requests, the table displays "No items available."
To create a new time request, click the blue New Request button at the bottom left of the page. The page also includes navigation and menu options on the left sidebar, a search bar at the top, and a notification about the Workday Mobile App in the upper right. The current date and time are displayed in the lower right corner (for example, 2025-12-19 14:13:19).
Summary
By following these steps, you can confidently enter time in Workday, review and edit your worked hours, submit entries for manager approval, and manage absences and time requests. Always complete your edits before the Monday noon deadline, and double-check entries for accuracy before submitting to avoid payroll delays.
Generation details: cost, quality tiers
Docsie billed 2,000 credits ($1.40) to analyze this 4-minute video at standard quality. The rewrite, template fill and Word/PDF exports were included. The same video at each quality tier:
| Quality | Frames sampled | Credits | Approx. cost |
|---|---|---|---|
| Draft | every 16-30 s | 1,000 | $0.70 |
| Standard (this guide) | every 8-15 s | 2,000 | $1.40 |
| Detailed | every 4-7 s | 4,000 | $2.80 |
| Ultra | every 1-3 s | 8,000 | $5.60 |
Credits priced at $0.70 per 1,000; plans include a monthly allowance. Enterprise customers on on-premise or bring-your-own-model deployments run this on their own inference and pay no per-video credits.
Generated by Docsie Video-to-Docs on 2026-10-02 from a 3-minute video. Screenshots are frames from the source video and belong to their creator, Dabella HR, whose original is embedded above. If you own this video and want the guide removed or credited differently, contact us and we will act within one business day.