
How to Clock-in and Clock-out in Workday
This guide walks you through how to clock-in and clock-out in Workday, as well as how to access the platform, review your personal information, check your pay details, and submit your timesheet. Whether you're starting your shift, taking a meal break, or ending your workday, these steps will help you manage your timesheet accurately and on time.
Video: Clocking In/Out on Workday by Melissa Miller (2016). All credit for the demonstration goes to the creator; watch the original on YouTube. The written guide below was generated from this video by Docsie. Creator? Request a change or removal.
This guide walks you through how to clock-in and clock-out in Workday, as well as how to access the platform, review your personal information, check your pay details, and submit your timesheet. Whether you're starting your shift, taking a meal break, or ending your workday, these steps will help you manage your timesheet accurately and on time.
Prerequisites
Before you begin, make sure you have the following:
- A web browser (such as Chrome or Internet Explorer)
- Your myUSC username and password
- Access to the USC employee website
Accessing Workday
Step 1: Open your web browser
Launch your preferred web browser. You should see your browser's homepage or a new tab displaying the Google search page.
Step 2: Navigate to the USC main website
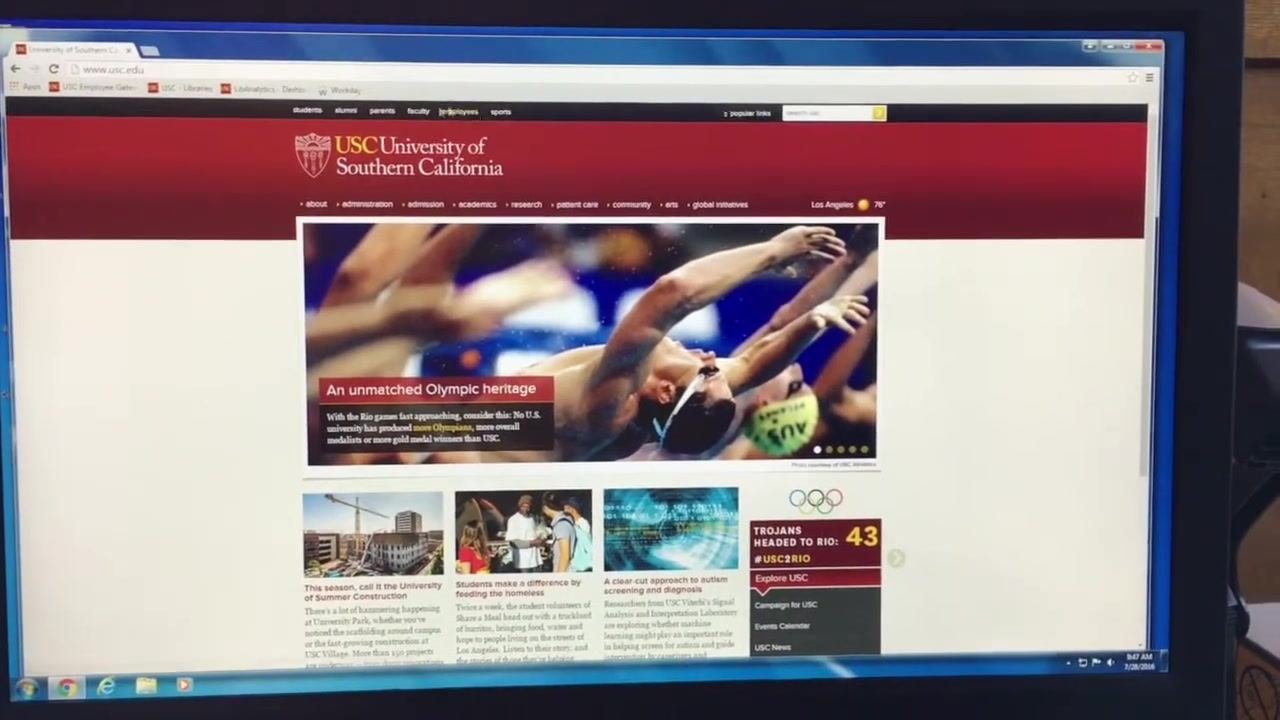
In the address bar, type www.usc.edu and press Enter. Wait for the USC homepage to load.
Step 3: Access the Employees section
On the USC homepage, locate the top navigation bar and click Employees, found on the top left side of the page.
Step 4: Open the USC Employee Gateway
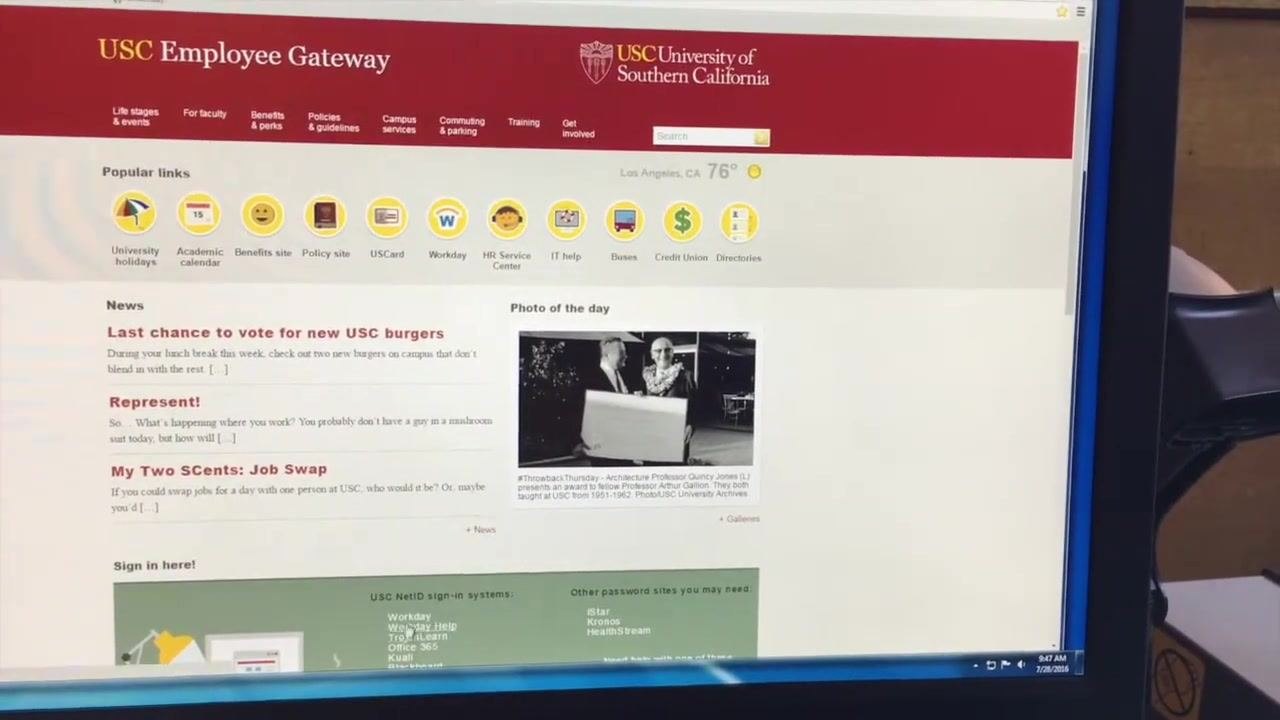
The Employee Gateway page loads with a list of popular links. Look for the Workday icon, typically located in the middle of the page or in the list at the bottom, and click it to proceed.
Step 5: Sign in to Workday
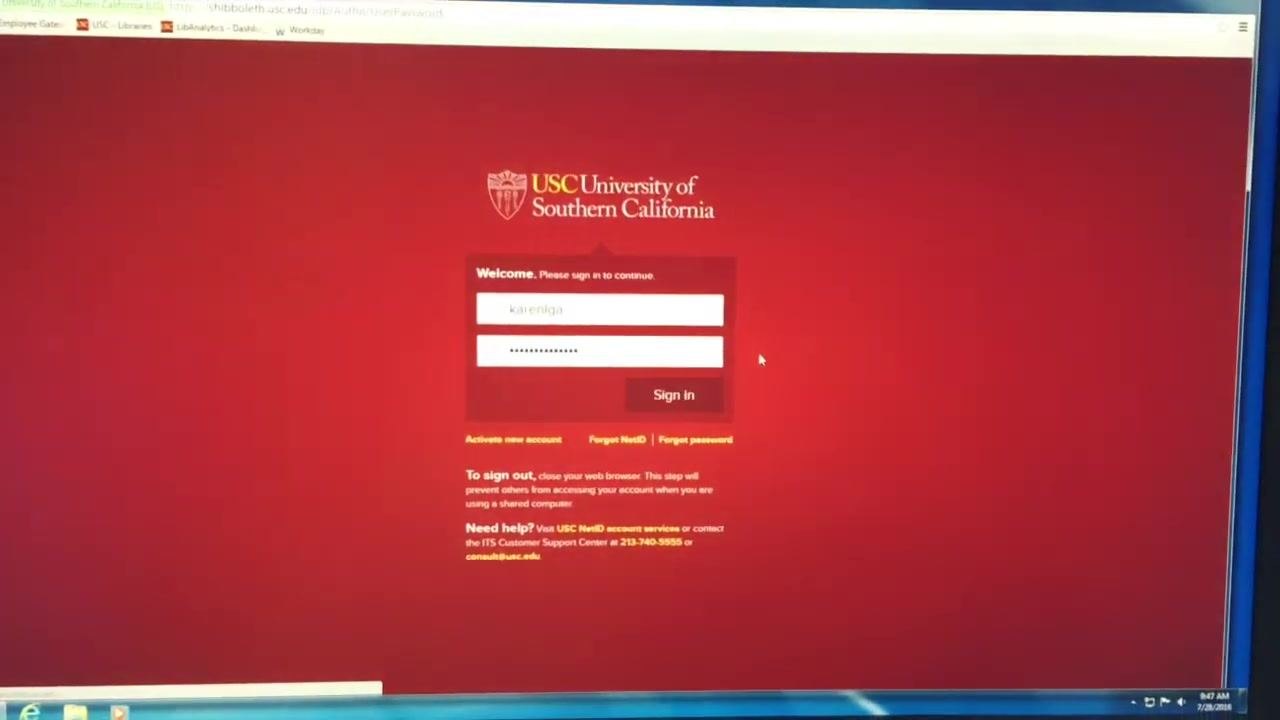
You are redirected to the USC login page. Enter your myUSC username and password in the provided fields, then click Sign in to continue.
Step 6: Arrive at the Workday homepage
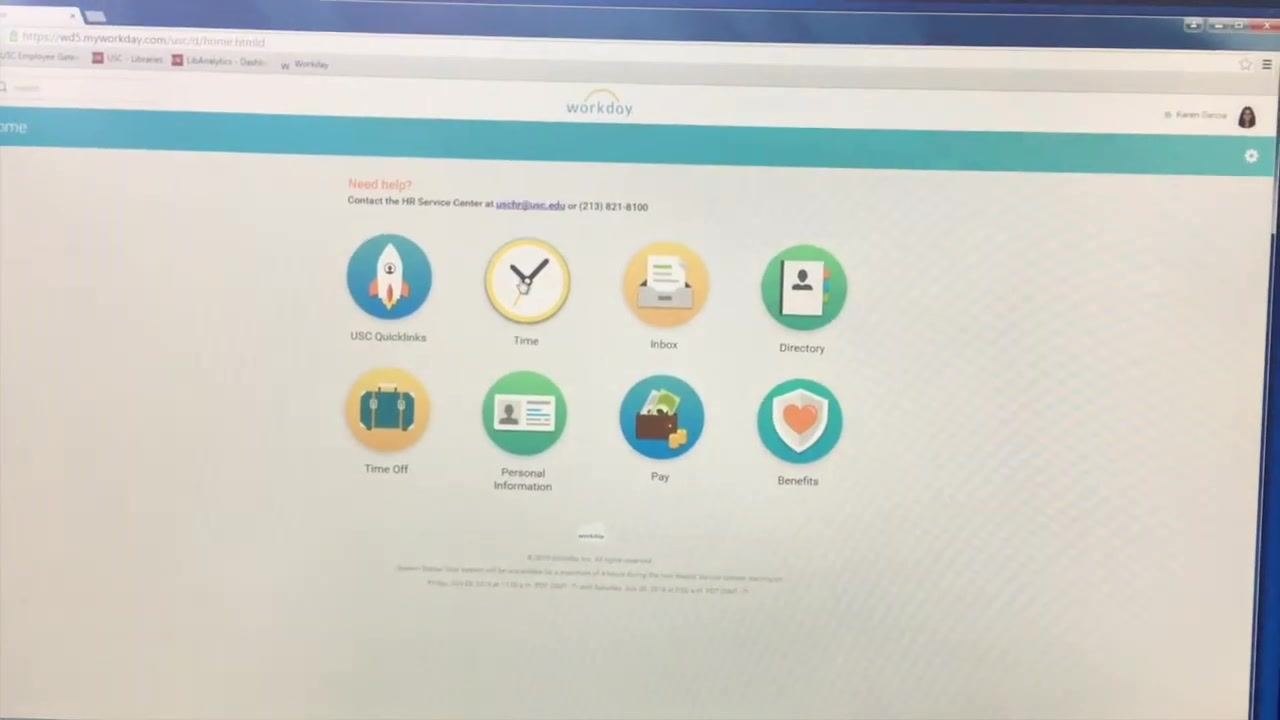
After signing in, the Workday homepage appears with several icons leading to different sections, including USC Quicklinks, Time, Inbox, Directory, Time Off, Personal Information, Pay, and Benefits.
Step 7: Identify key icons
The most important icons for employees are Time (for clocking in and out), Personal Information (for updating your contact details), and Pay (for accessing payslips and tax documents).
Managing your personal information and pay
Step 8: Update personal information at the start of each semester
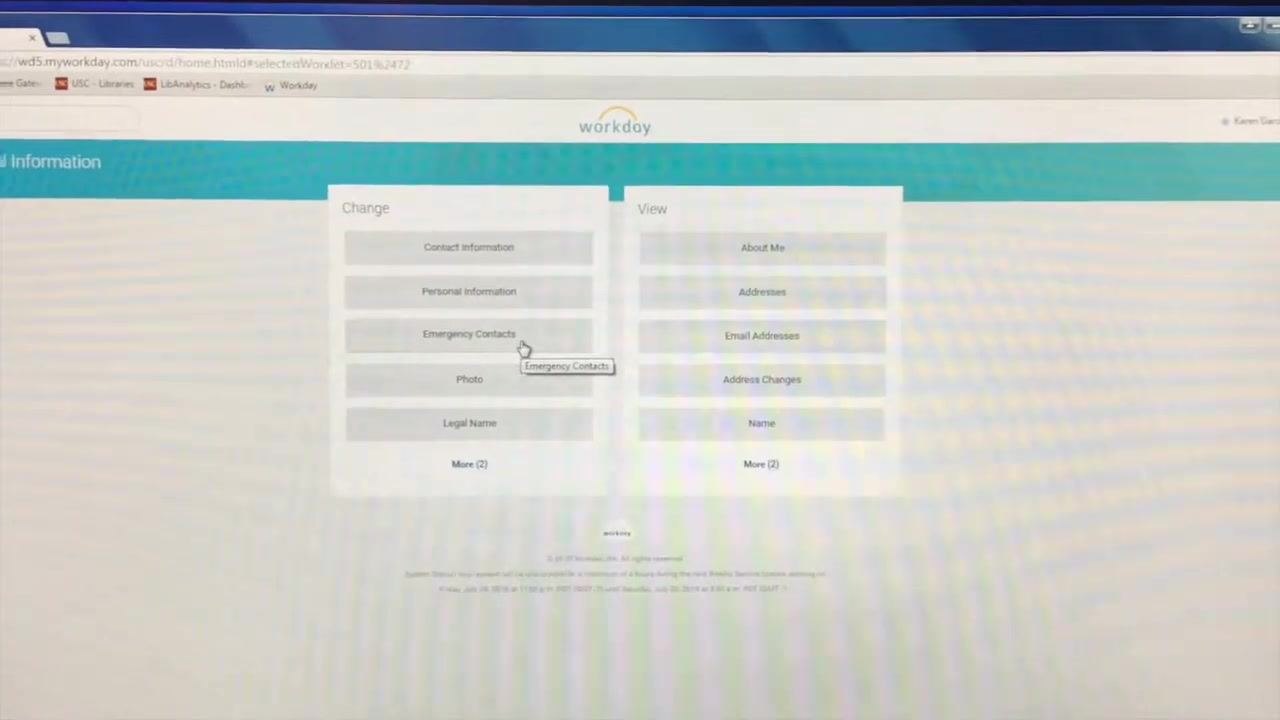
Click the Personal Information icon. On the next screen, you can change your contact information, personal information, emergency contacts, photo, and legal name, or view details such as About Me, Addresses, Email Addresses, Address Changes, and Name.
Step 9: Ensure your information is current
Make sure your home address, phone number, email, and emergency contact numbers are up to date. Keeping this information current ensures you can be reached if necessary.
Step 10: Access your pay information
Click the Pay icon on the Workday homepage. Here, you can view payslips for previous pay periods, access important tax documents, and manage payment elections.
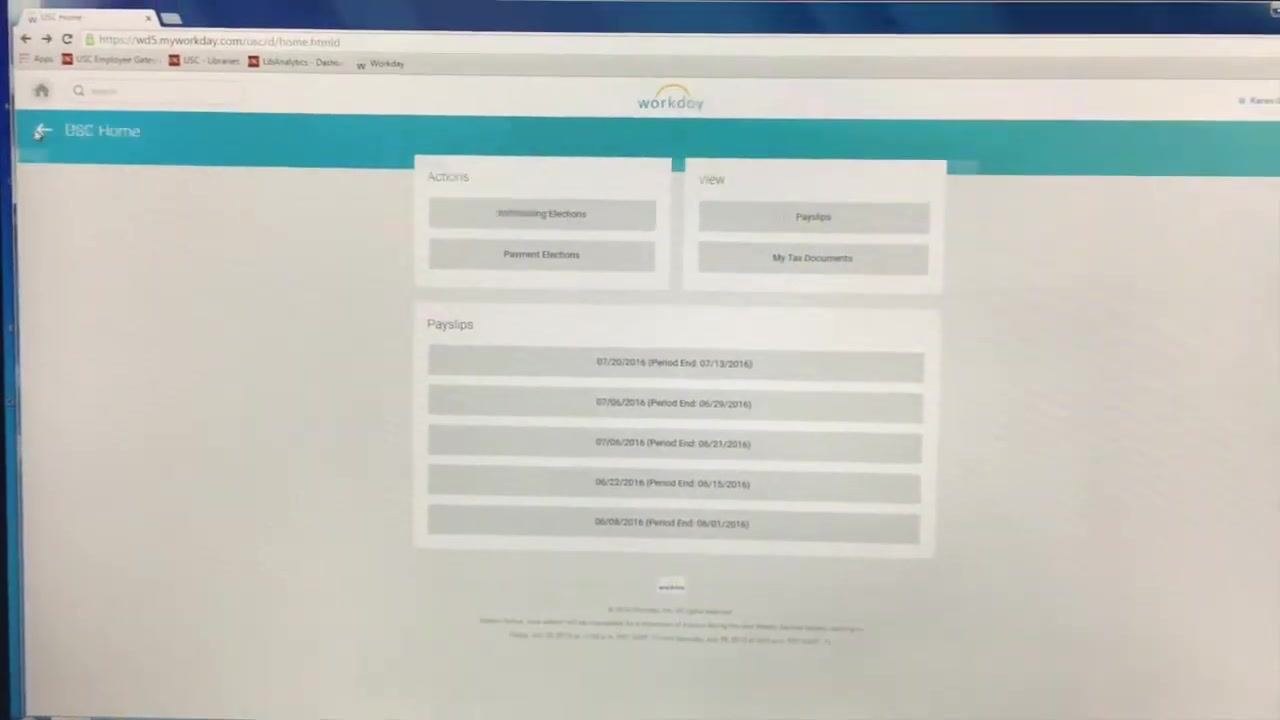
Note: The Time icon is used to clock in and out for your timesheet. Shortcuts to Workday may also be available and explained to you in person.
Clocking in and out in Workday
Step 11: Clock in for your shift
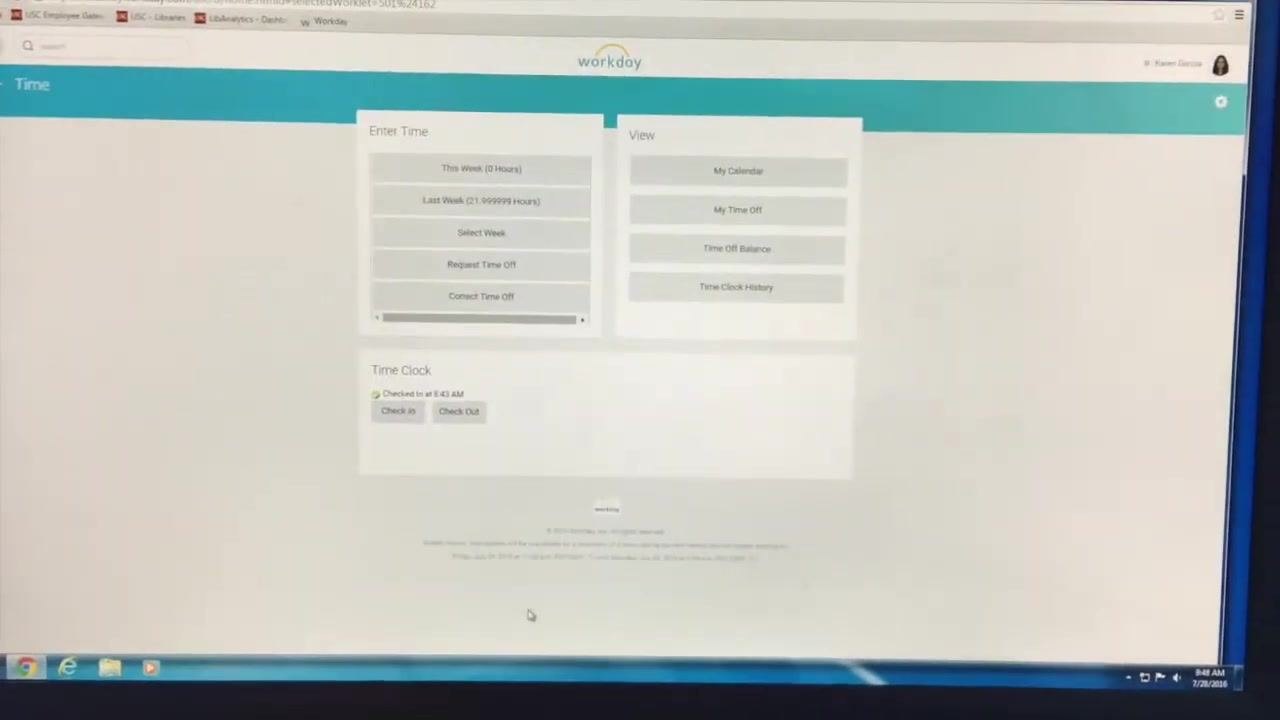
Navigate to the Time section in Workday and locate the Time Clock area on the page. Click the Check In button, then click OK in the confirmation dialog to record your clock-in time. Your check-in time will be displayed, for example, "Checked in at 8:43 AM."
Step 12: Verify your clock-in time at the end of your shift
At the end of your shift, return to the Time Clock section in Workday and verify that your clock-in timestamp is visible, for example, "Checked in at 8:43 AM."
Step 13: Click Check Out
Click the Check Out button under Time Clock.
Step 14: Select the correct check-out reason
In the Check Out dialog, select the appropriate reason: choose Out if you are ending your shift, or Meal if you are taking a meal break (for shifts over 6 hours). You can optionally add a comment in the Details section, then click OK to confirm your check out.
Handling missed punches
If you forget to clock in or out, notify your supervisor immediately so they can approve any edits you need to make to your timesheet.
Submitting your timesheet
Step 15: Log in and open the Time section
Every other Wednesday, you must submit your timesheet to get paid the following week. Log in to Workday and click the Time icon on the homepage.
Step 16: Open My Calendar
Under the View section, click My Calendar.
Step 17: Review your weekly hours
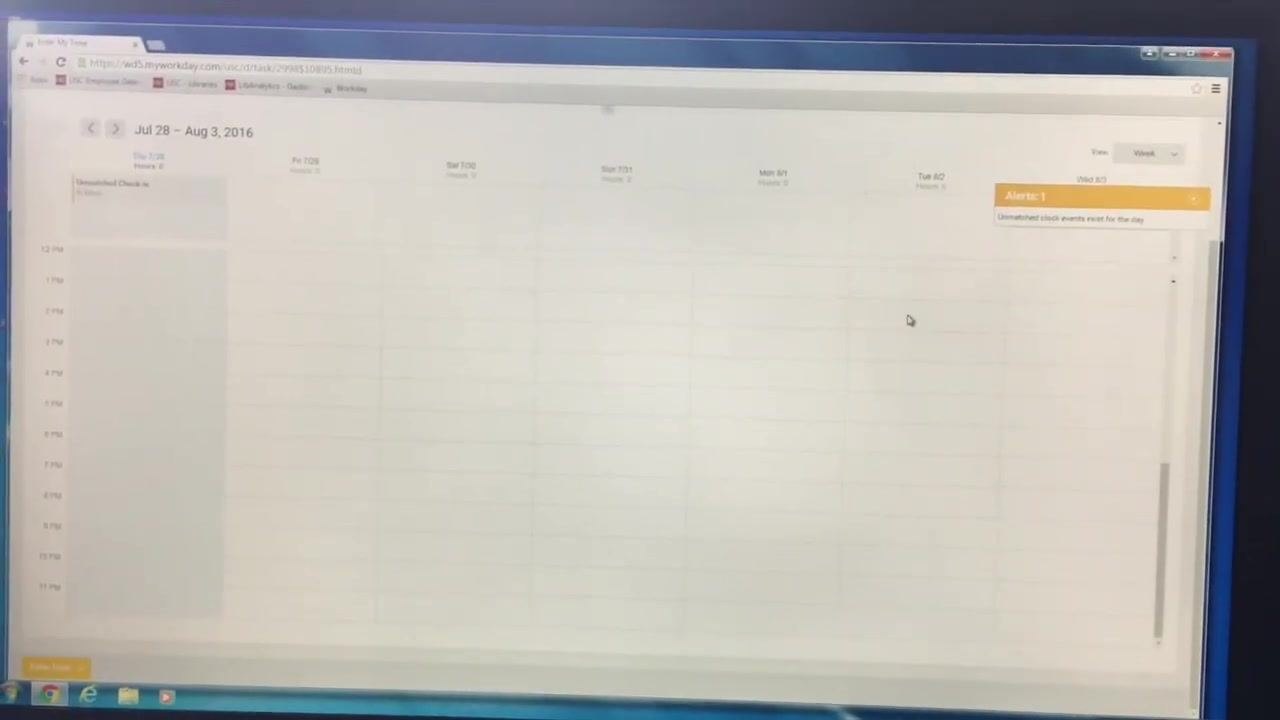
Review the weekly layout of the hours you have worked, and check for any missing punches or alerts, such as "Unmatched clock events exist for the day."
Step 18: Submit your timesheet
If all times are correct, click Submit in the bottom left corner, then click OK to finalize your timesheet submission.
Important notes:
- If you have a missing punch, Workday will alert you in the top right corner. You must get your supervisor's approval to correct or edit the missing punch before making any changes.
- Always ensure your timesheet is accurate before submitting to avoid payment delays.
What's next
Now that you know how to clock-in and clock-out in Workday, make it a habit to check in and out for every shift and meal break, keep your personal information current each semester, and submit your timesheet on time every other Wednesday to avoid payment delays. If you notice a missed punch, reach out to your supervisor right away for approval before editing your timesheet.
Generation details: cost, quality tiers
Docsie billed 2,000 credits ($1.40) to analyze this 4-minute video at standard quality. The rewrite, template fill and Word/PDF exports were included. The same video at each quality tier:
| Quality | Frames sampled | Credits | Approx. cost |
|---|---|---|---|
| Draft | every 16-30 s | 1,000 | $0.70 |
| Standard (this guide) | every 8-15 s | 2,000 | $1.40 |
| Detailed | every 4-7 s | 4,000 | $2.80 |
| Ultra | every 1-3 s | 8,000 | $5.60 |
Credits priced at $0.70 per 1,000; plans include a monthly allowance. Enterprise customers on on-premise or bring-your-own-model deployments run this on their own inference and pay no per-video credits.
Generated by Docsie Video-to-Docs on 2026-10-02 from a 3-minute video. Screenshots are frames from the source video and belong to their creator, Melissa Miller, whose original is embedded above. If you own this video and want the guide removed or credited differently, contact us and we will act within one business day.