
How to Change Your Direct Deposit in Paylocity
If you need to update where your paycheck lands, this guide walks you through how to change your direct deposit in Paylocity using the mobile app. You'll learn how to log in, review existing accounts, add a new bank account, and adjust how your pay is allocated across accounts.
Video: How to Change Direct Deposit on Paylocity app by 5 Minute Solution (2025). All credit for the demonstration goes to the creator; watch the original on YouTube. The written guide below was generated from this video by Docsie. Creator? Request a change or removal.
If you need to update where your paycheck lands, this guide walks you through how to change your direct deposit in Paylocity using the mobile app. You'll learn how to log in, review existing accounts, add a new bank account, and adjust how your pay is allocated across accounts.
Prerequisites
Before you begin, make sure you have the following on hand:
- The Paylocity app installed on your mobile device
- Your Company ID, Username, and Password (or Single Sign-On credentials, if your organization uses SSO)
- Your bank's routing number and your account number
Open the Paylocity app
Locate the Paylocity app icon on your mobile device's home screen and tap it to launch the app.
Log in to your account
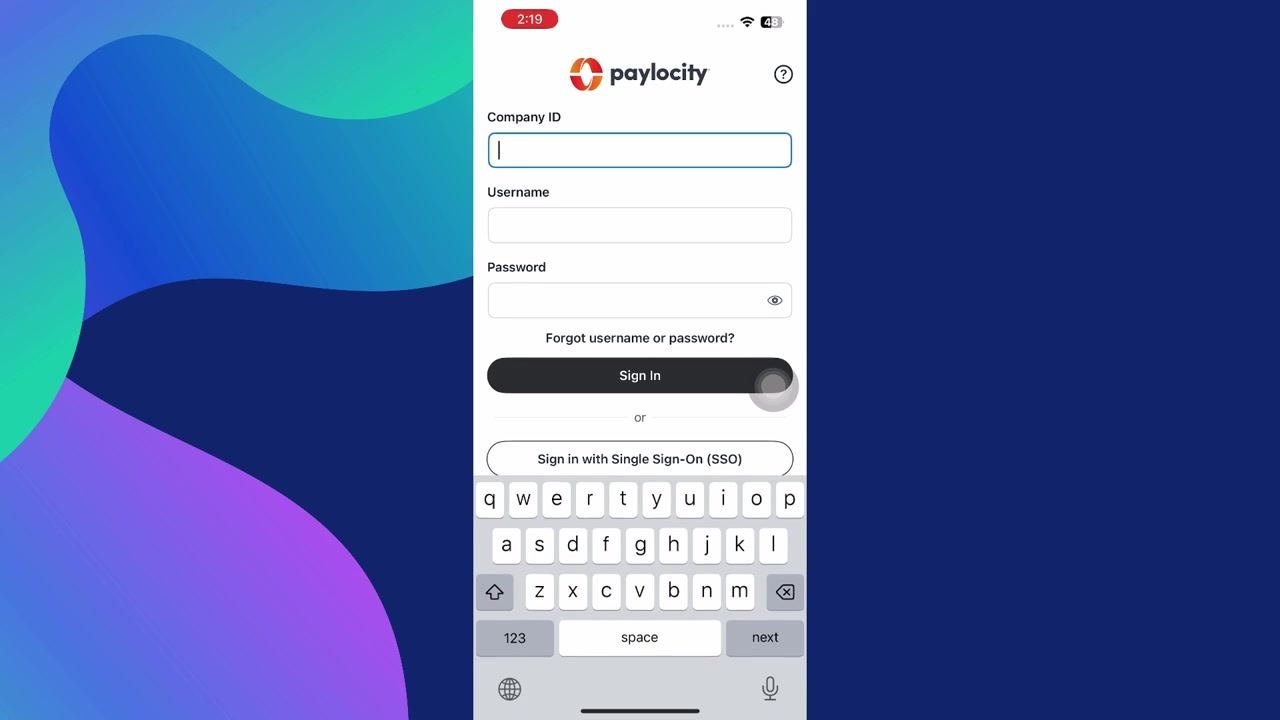
If you aren't already signed in, you'll land on the Paylocity login screen.
- Enter your Company ID in the corresponding field.
- Enter your Username.
- Enter your Password.
- Tap Sign In to access your account.
- If your organization uses Single Sign-On, tap Sign in with Single Sign-On (SSO) instead.
Go to your profile
Once you're logged in and on the home screen, tap the My Profile icon, typically located at the top left corner of the screen. This opens your personal settings.
Open direct deposit settings
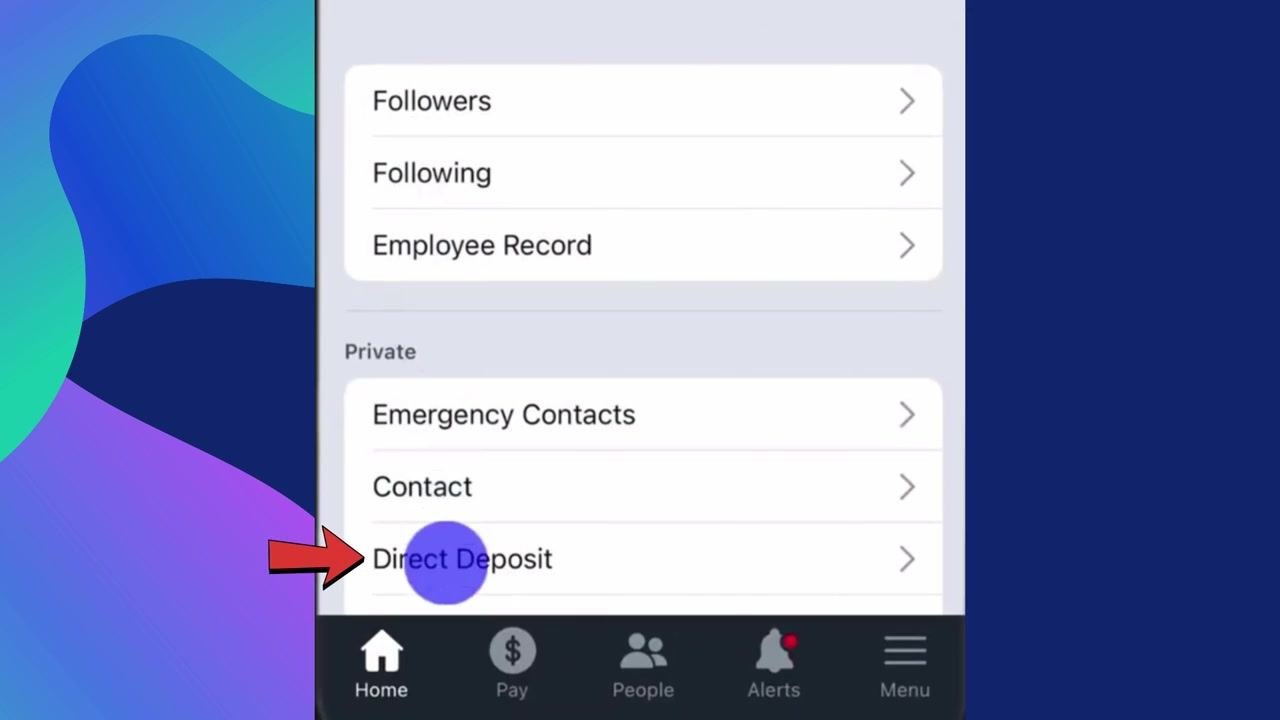
Scroll down the profile settings menu and tap Direct Deposit, listed under the Private section.
Review your existing accounts
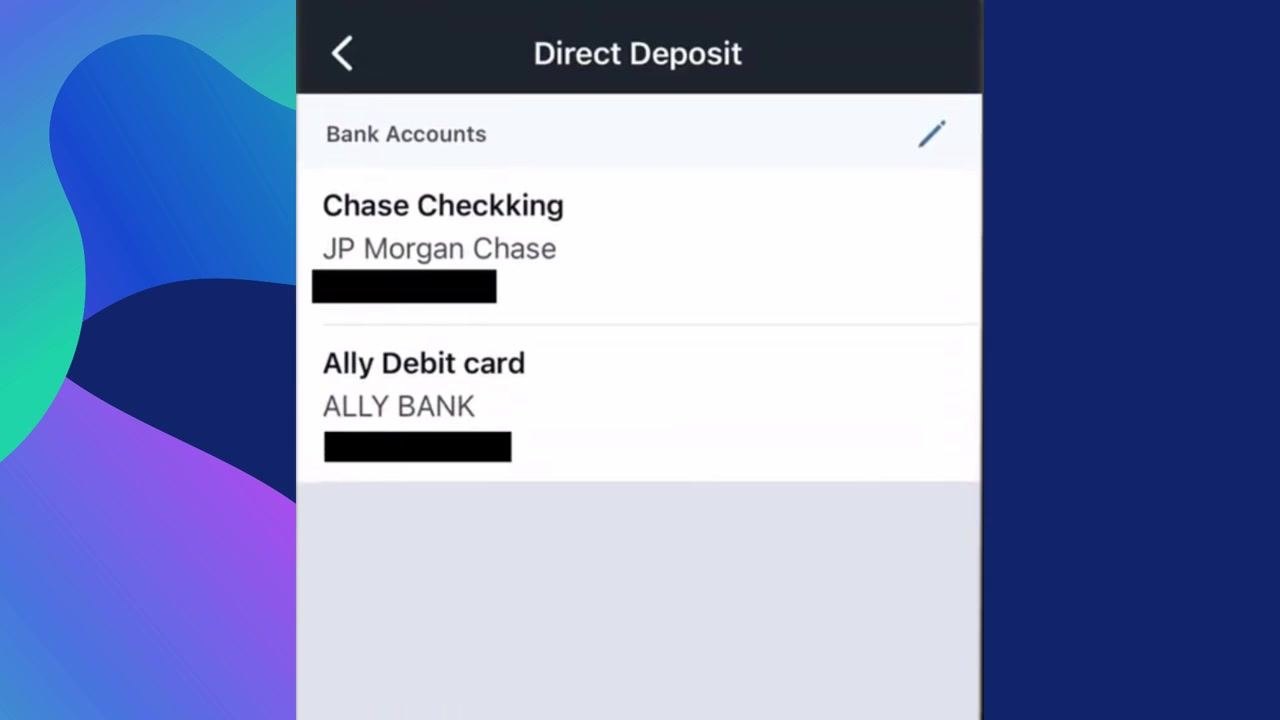
If you've previously set up direct deposit, your current bank accounts will appear on this screen — for example, a checking account at one bank and a debit card linked to another. If you haven't set up direct deposit yet, this section will be blank.
Direct deposit automatically sends your paycheck to your selected bank account(s) on payday, eliminating paper checks and giving you faster access to your salary.
Add or edit a bank account
To add a new account or edit an existing one, tap the pencil icon in the top right corner of the Direct Deposit screen, then tap Add Account to begin entering new bank details.
You'll be prompted to provide:
- Routing number
- Account number
- Account type (checking or savings)
You can also choose how your paycheck is split — for example, a percentage to savings with the remainder going to checking.
Note: Always double-check your bank account and routing numbers for accuracy to avoid payment delays.
Enter your bank account details
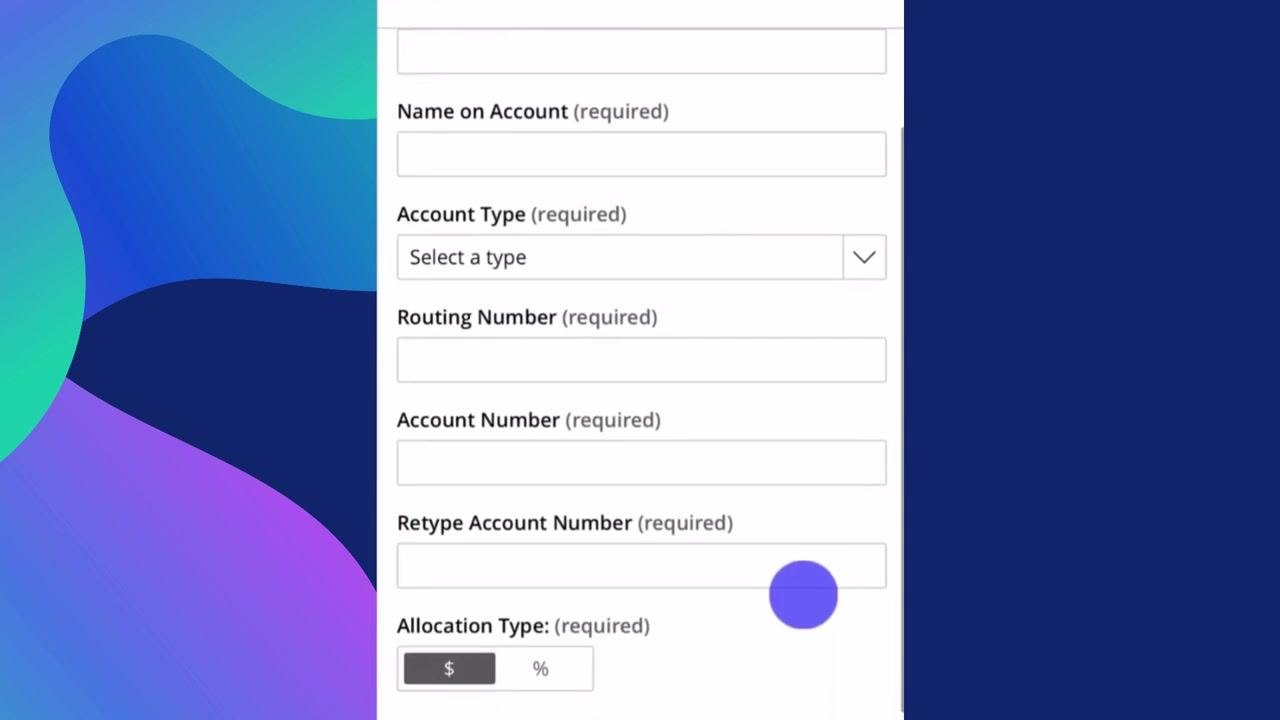
When adding a new account, fill in the following required fields:
- Name on Account
- Account Type (select Checking or Savings from the dropdown)
- Routing Number
- Account Number
- Retype Account Number to confirm
Enter all information carefully to avoid payment issues.
Choose how your paycheck is allocated
After entering your account details, select how you want this account funded:
- Fixed Dollar Amount ($): Deposit a specific dollar amount into this account.
- Percentage (%): Deposit a percentage of your paycheck.
- Remaining Balance: If you have multiple accounts, assign whatever is left over to this account.
This is useful if you want to split your paycheck between accounts, such as directing part of it to savings and the rest to checking.
Edit an existing account
To update an account you've already set up, return to the Direct Deposit page and tap the pencil icon next to Bank Accounts. From here you can:
- Update routing numbers
- Switch accounts
- Change allocation types
- Remove an old bank account you no longer use
Save your changes
After making any additions or edits, scroll down and tap Save to apply your updates. If you want to cancel instead, tap Close. Saving submits your changes for processing.
Note: Changes to your direct deposit may take one or two pay periods to take effect, depending on your company's payroll cycle. If you're unsure about the status of your update, check with your HR department.
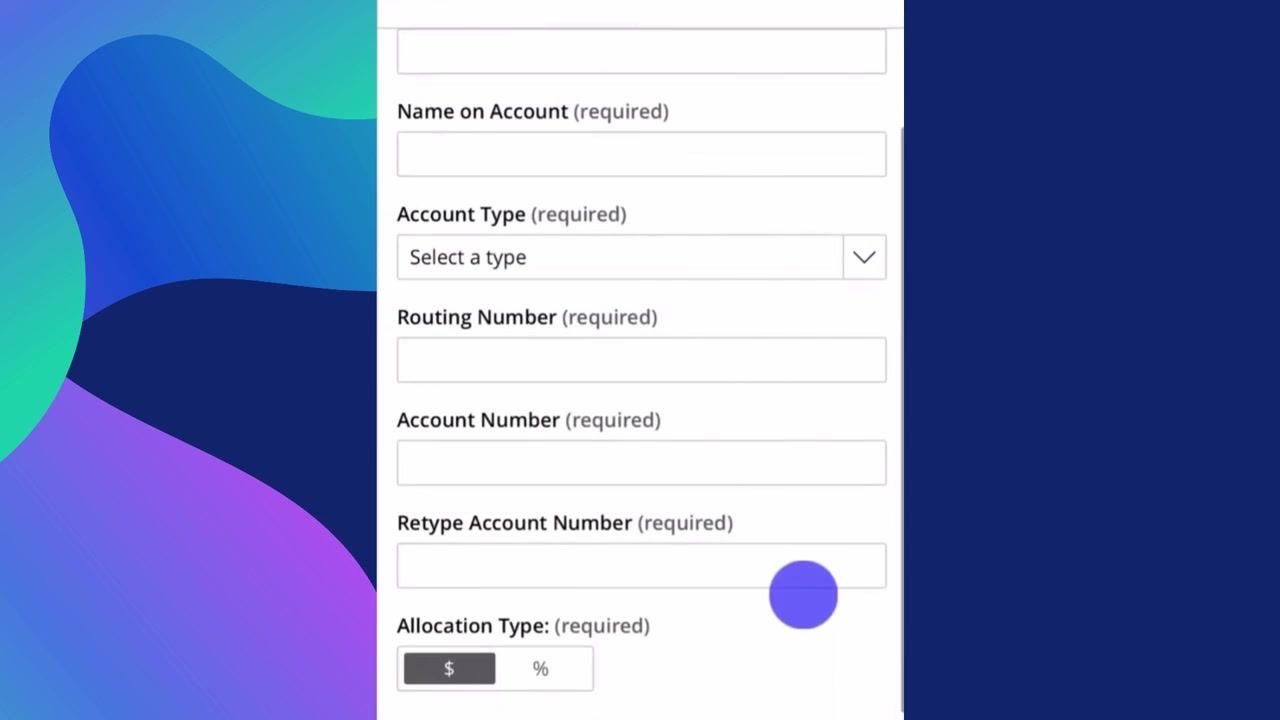
Verify your details before finalizing
Before you finish, confirm your banking details one more time. A single incorrect digit in your routing or account number can delay your paycheck or cause it to be returned. Take a few extra seconds to check everything for accuracy.
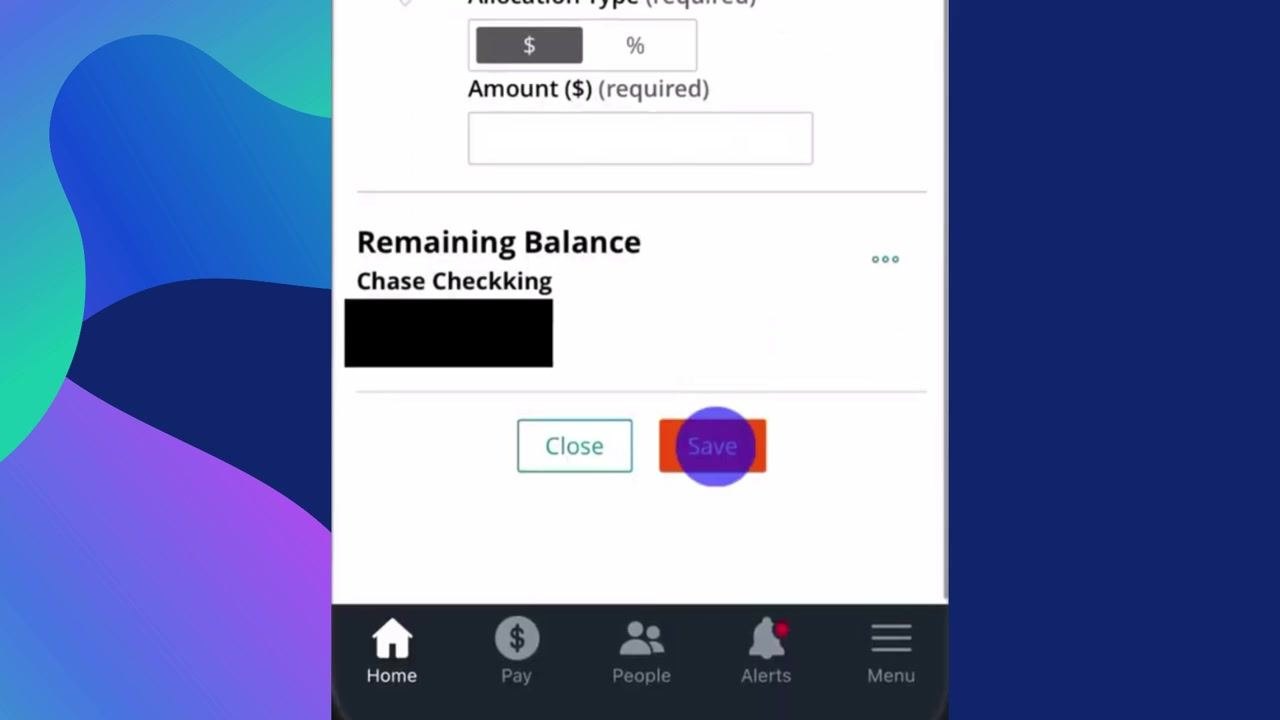
Confirm and save your final setup
Review all the information on the direct deposit setup screen, including your allocation type (dollar amount or percentage) and the account listed under Remaining Balance. When everything looks correct, tap Save at the bottom of the screen to submit your changes, or tap Close if you decide not to save.
The navigation bar at the bottom of the app gives you quick access to Home, Pay, People, Alerts, and Menu for further navigation.
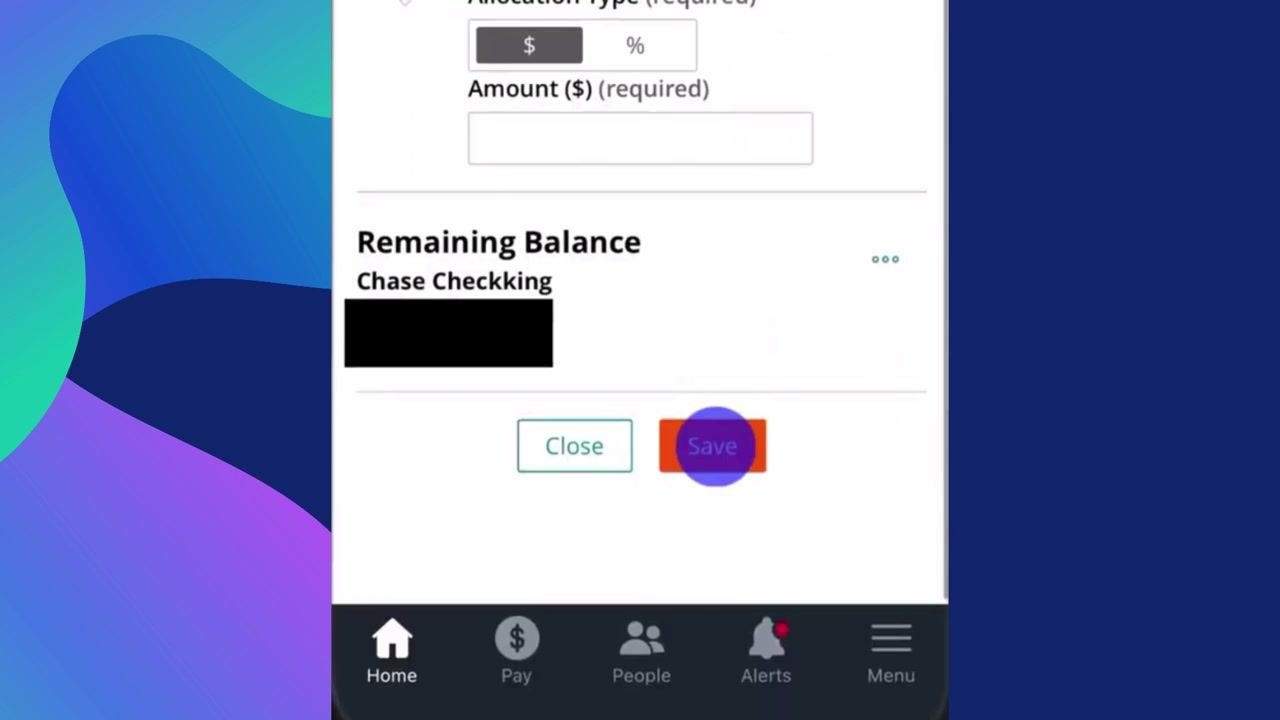
What's next
You now know how to add, edit, and manage your direct deposit information in the Paylocity app. Always double-check your account details before saving, and remember that changes may take one or two pay cycles to process. If you have questions about your setup or its status, consult your HR department or check the additional resources available within the app.
Generation details: cost, quality tiers
Docsie billed 2,000 credits ($1.40) to analyze this 4-minute video at standard quality. The rewrite, template fill and Word/PDF exports were included. The same video at each quality tier:
| Quality | Frames sampled | Credits | Approx. cost |
|---|---|---|---|
| Draft | every 16-30 s | 1,000 | $0.70 |
| Standard (this guide) | every 8-15 s | 2,000 | $1.40 |
| Detailed | every 4-7 s | 4,000 | $2.80 |
| Ultra | every 1-3 s | 8,000 | $5.60 |
Credits priced at $0.70 per 1,000; plans include a monthly allowance. Enterprise customers on on-premise or bring-your-own-model deployments run this on their own inference and pay no per-video credits.
Generated by Docsie Video-to-Docs on 2026-10-02 from a 3-minute video. Screenshots are frames from the source video and belong to their creator, 5 Minute Solution, whose original is embedded above. If you own this video and want the guide removed or credited differently, contact us and we will act within one business day.