
How to Clock-in and Clock-out in Paylocity
This guide walks you through how to clock-in and clock-out in Paylocity using the mobile app, including how to transfer to a specific job assignment, verify your punch history, and resolve common punch issues.
Video: How to clock in and out using Paylocity App by YMCA of Greenville - Employee Resources. All credit for the demonstration goes to the creator; watch the original on YouTube. The written guide below was generated from this video by Docsie. Creator? Request a change or removal.
This guide walks you through how to clock-in and clock-out in Paylocity using the mobile app, including how to transfer to a specific job assignment, verify your punch history, and resolve common punch issues.
Prerequisites
- The Paylocity app installed on your mobile device.
- Your Company ID, Username, and Password (or registration details if you are a new user).
Open the Paylocity app
Locate the Paylocity app icon on your mobile device's home screen and tap it to launch the app.
Register as a new user (if needed)
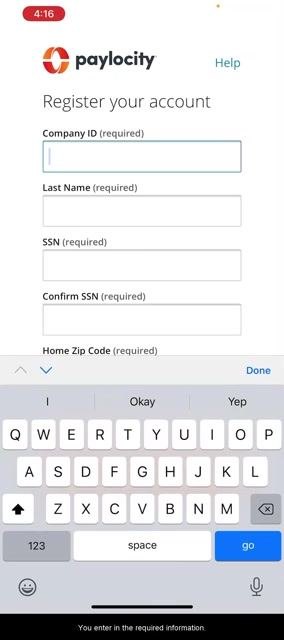
If you have not registered yet, tap Register new user at the bottom right of the login screen. Enter the required information:
- Company ID
- Last Name
- SSN
- Confirm SSN
- Home Zip Code
Tap Continue and follow the on-screen instructions to complete registration.
Log in to the app
Enter your Company ID (for example, 134430), Username (for example, Olaf.Frozen), and Password. You can optionally tap Login with Face ID if you prefer biometric authentication. Tap Login to access your account.
Navigate to the Punch section
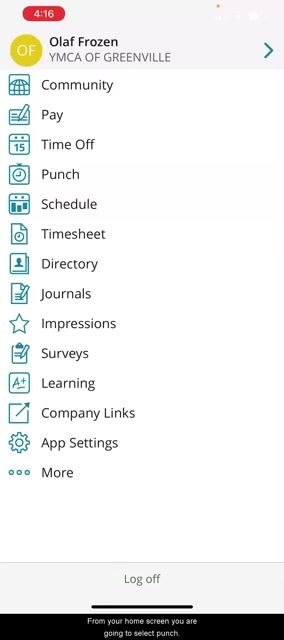
From the home menu, tap Punch to begin the clock-in process.
View the Punch screen
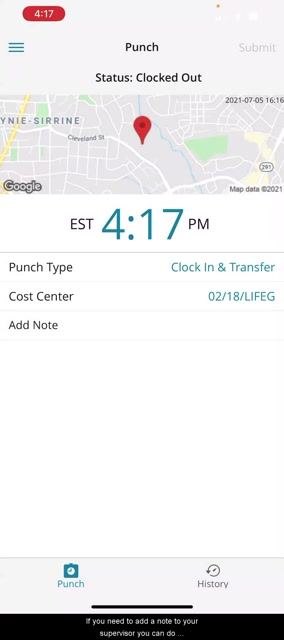
The Punch screen displays your current status (for example, Status: Clocked Out), the current time, and your location status. The first section on this screen is labeled Punch Type.
Select the Punch Type
Tap Punch Type and choose Clock In & Transfer from the available options. You can select this option under either Automatic or Manual mode; both are acceptable.
Select your Cost Center
Tap Cost Center to specify your work location and assignment. Select the appropriate Branch (for example, 02 - Caine Halter Family YMCA), Department (for example, 04 - Summer Resident Camp), and Job (for example, Lifeguard 1).
Double-check your selections
Confirm that the Punch Type, Cost Center (branch, department, job), and any other details are correct. If you need to add a note for your supervisor, tap Add Note and enter your message; this step is optional.
Submit your punch
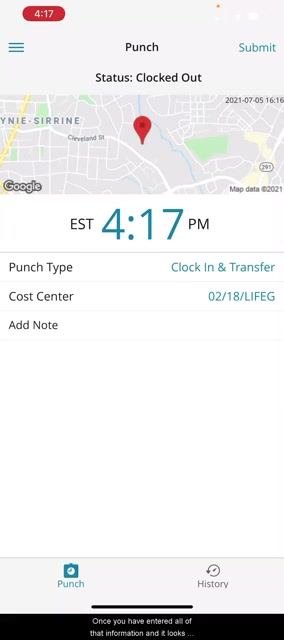
Once all information is correct, tap Submit in the top right corner to complete the clock-in and transfer process.
Confirm your punch was successful
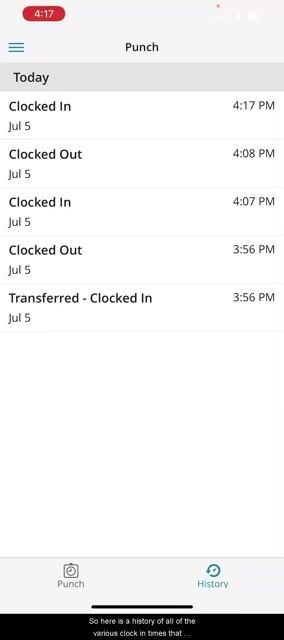
After submitting your punch, a confirmation message appears indicating your punch has updated successfully. Tap OK to dismiss the confirmation. You are then redirected to the History screen, where you can review all your clock-in and clock-out times for the day.
Verify that your most recent punch appears at the top of the list with the correct time and type (for example, "Clocked In" at 4:17 PM or "Clocked Out" at 4:08 PM). Use this screen to confirm you clocked in to the correct job and department.
Review punch details
To view more details about a specific punch, tap on the entry (for example, "Transferred - Clocked In"). Review the detailed information, including:
- Date (for example, Monday July 5, 2021)
- Cost Centers (for example, 02/18/LIFEG)
- Time (for example, 3:56 PM)
- Latitude and longitude (location data)
Confirm that the job, department, and location are correct. If you notice an error—such as clocking in to the wrong job or department—notify your supervisor so they can correct it.
Clock out
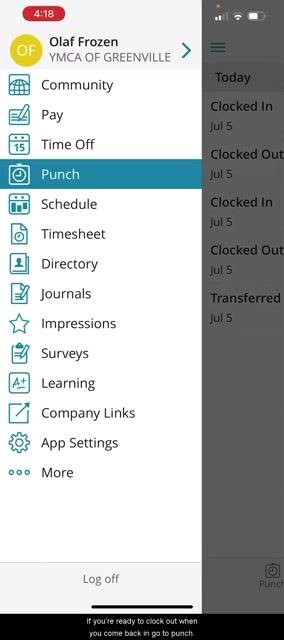
When you are ready to clock out, open the Paylocity app, go to the main menu, and tap Punch.
The Punch screen automatically sets the Punch Type to Clock Out. Review the displayed information to ensure accuracy, then tap Submit in the top right corner to complete your clock-out.
Verify your clock-out
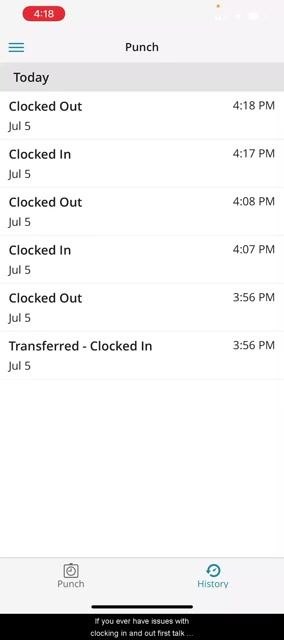
After clocking out, a confirmation message appears indicating your punch has updated successfully. Tap OK to return to the History screen and confirm that your clock-out time is listed at the top of the history (for example, "Clocked Out" at 4:18 PM).
Troubleshoot punch issues
If you encounter any issues with clocking in or out—such as incorrect times, incorrect jobs, or missed punches—first speak with your supervisor to resolve the issue. If further assistance is needed, contact your Human Resources (HR) department.
Summary
By following these steps, you can accurately clock in, transfer, and clock out using the Paylocity app, as well as verify your punch history and resolve any issues that may arise. Always double-check your entries before submitting and reach out for help if needed.
Generation details: cost, quality tiers
Docsie billed 1,500 credits ($1.05) to analyze this 3-minute video at standard quality. The rewrite, template fill and Word/PDF exports were included. The same video at each quality tier:
| Quality | Frames sampled | Credits | Approx. cost |
|---|---|---|---|
| Draft | every 16-30 s | 750 | $0.52 |
| Standard (this guide) | every 8-15 s | 1,500 | $1.05 |
| Detailed | every 4-7 s | 3,000 | $2.10 |
| Ultra | every 1-3 s | 6,000 | $4.20 |
Credits priced at $0.70 per 1,000; plans include a monthly allowance. Enterprise customers on on-premise or bring-your-own-model deployments run this on their own inference and pay no per-video credits.
Generated by Docsie Video-to-Docs on 2026-10-06 from a 2-minute video. Screenshots are frames from the source video and belong to their creator, YMCA of Greenville - Employee Resources, whose original is embedded above. If you own this video and want the guide removed or credited differently, contact us and we will act within one business day.