
How to Create a Custom Role in NetSuite
Every NetSuite user needs access to the data required for their job, but no more than that. This guide shows you how to create a custom role in NetSuite so you can precisely control what each user can see and do, improving both security and operational efficiency.
Video: Custom Roles in NetSuite by SuiteRep (2022). All credit for the demonstration goes to the creator; watch the original on YouTube. The written guide below was generated from this video by Docsie. Creator? Request a change or removal.
Every NetSuite user needs access to the data required for their job, but no more than that. This guide shows you how to create a custom role in NetSuite so you can precisely control what each user can see and do, improving both security and operational efficiency.
Why custom roles matter
NetSuite users across your company need access tailored to their specific job functions, without being granted more data visibility than necessary.
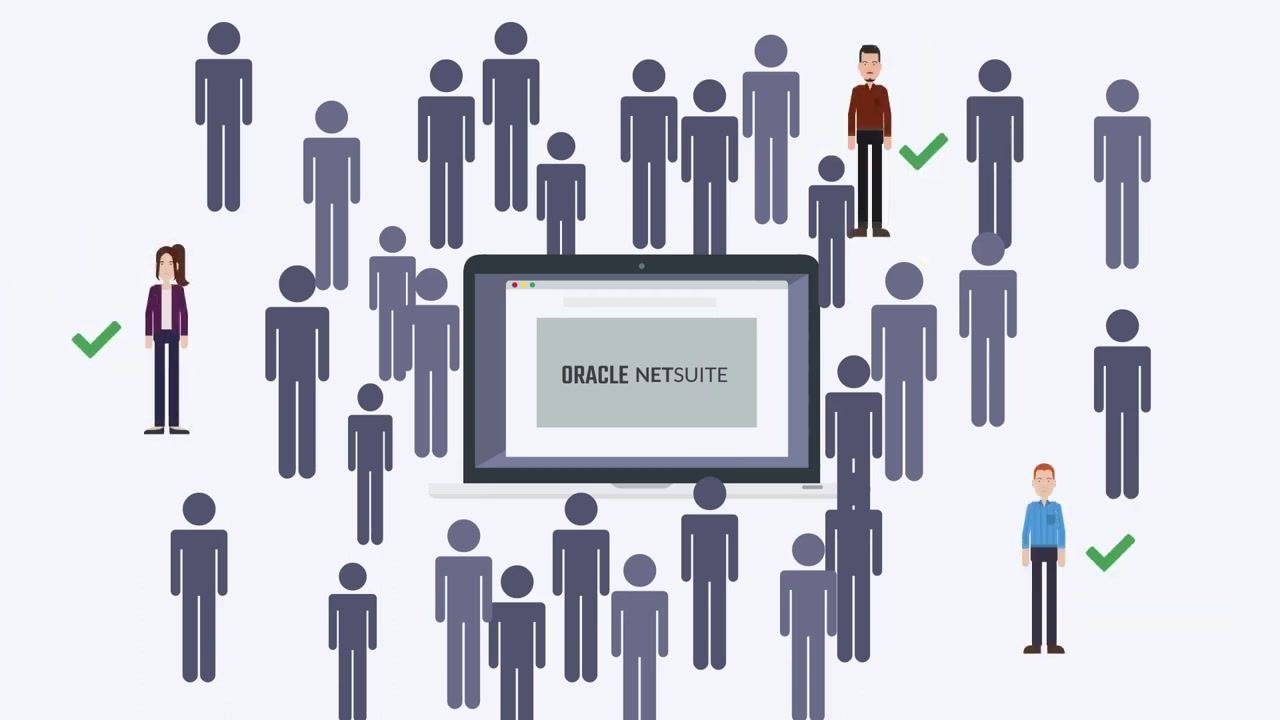
You assign permissions so that each user has exactly the access they need and nothing more. Only the appropriate users should be granted access to a given area of data.
NetSuite ships with standard roles, such as Administrator, Accountant, Marketing Manager, and Warehouse Manager, each with a predefined set of permissions.
A custom role is created by modifying the permissions and restrictions of a standard role so it matches your company's unique needs. Standard roles carry a fixed set of permissions, while custom roles let you tailor that set precisely. For clarity and precision, it's best practice to build custom roles rather than relying on standard roles alone.
Prerequisites
- Administrator access to your NetSuite account, since role management features require this level of access.
- A clear understanding of the job function the new role needs to support.
Log in as Administrator
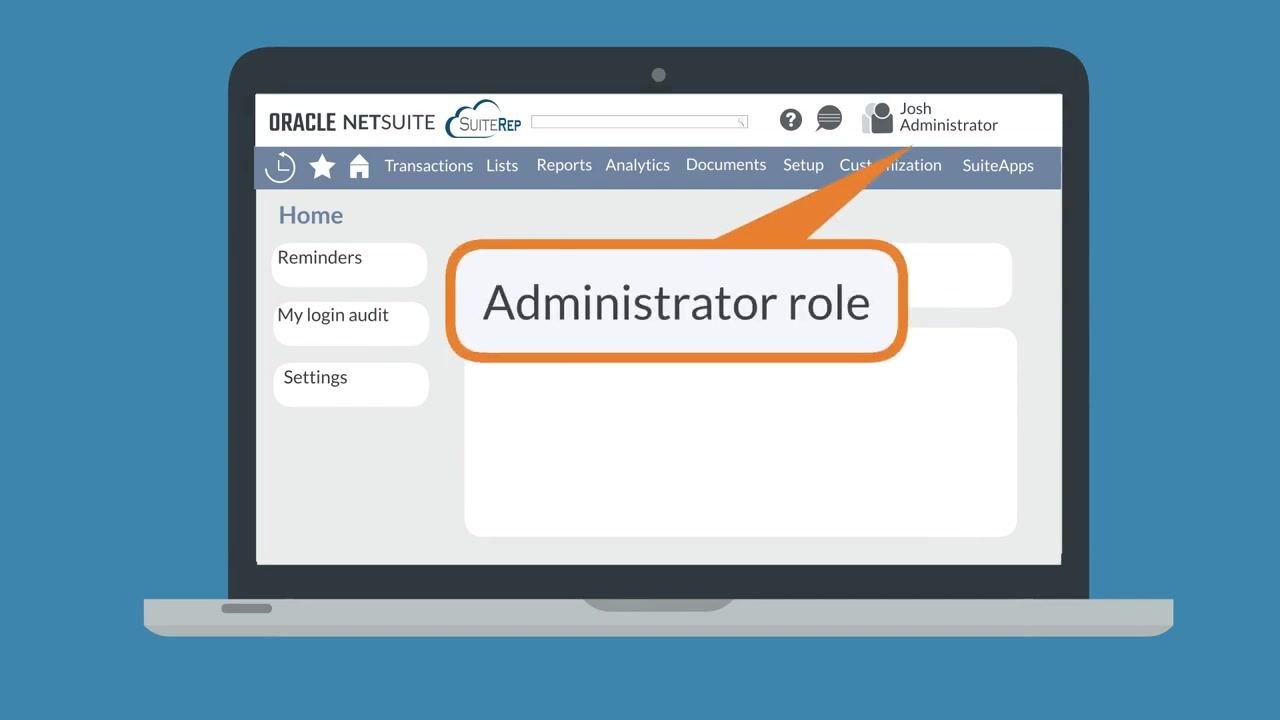
Log in to NetSuite using the Administrator role. This gives you access to role management features.
Open the Manage Roles page
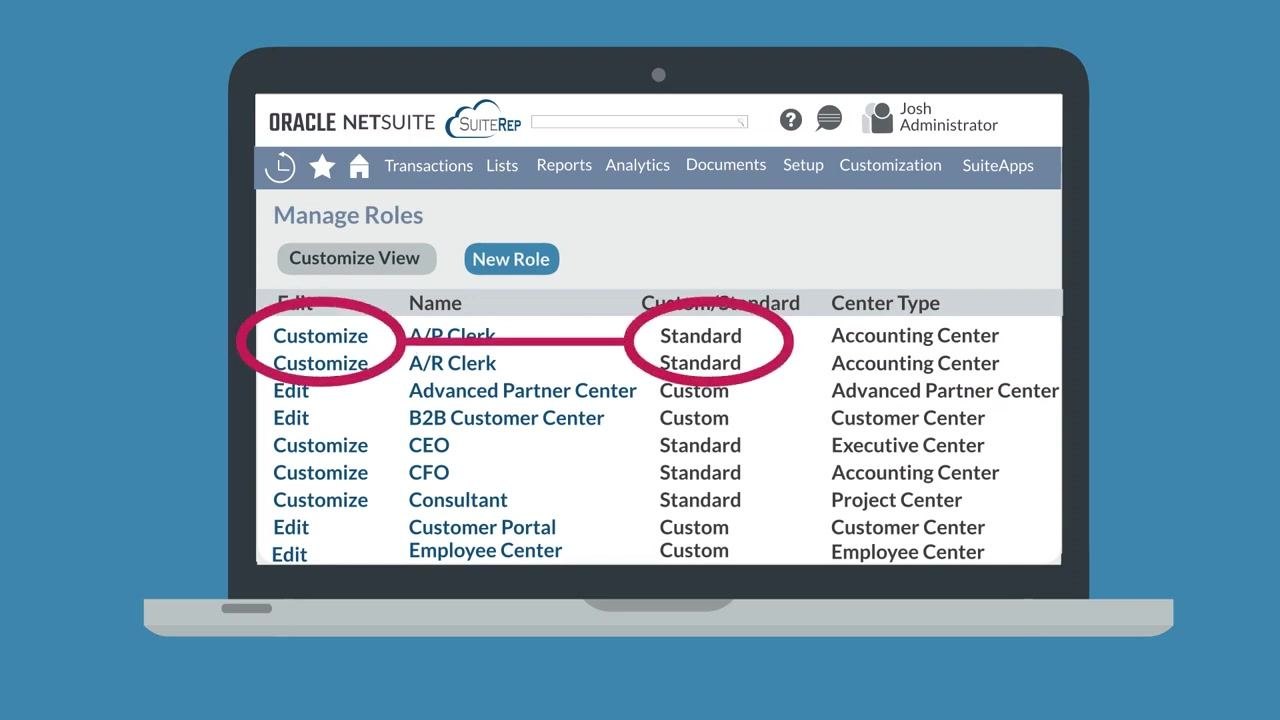
Navigate to Setup > Users/Roles > User Management > Manage Roles. From here, you can customize standard roles or edit roles you've previously customized. Roles labeled "Standard" in the Custom/Standard column are the built-in roles you can base a custom role on.
Create a custom role by customizing a standard role
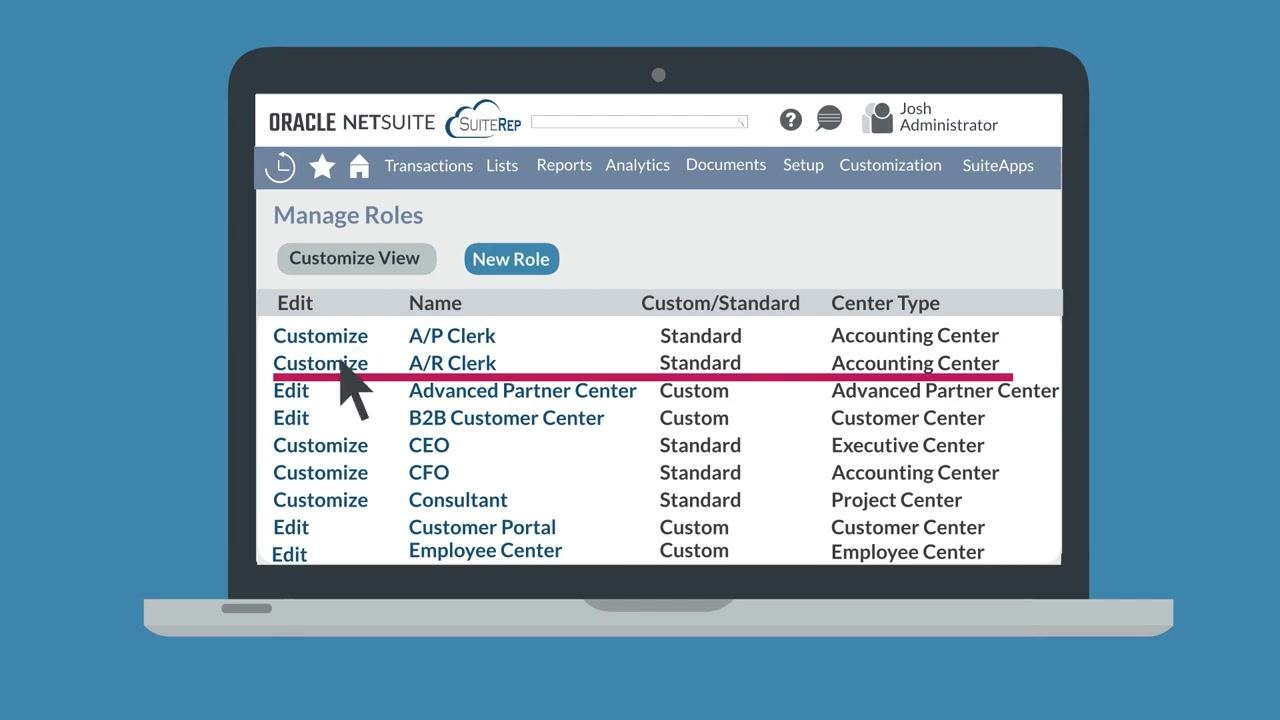
Find the standard role that most closely matches the custom role you want to create, then click Customize next to it.
Open the role customization page
Clicking Customize takes you to the role customization page, where you name your new custom role and set its specific restrictions and permissions. Note that the center type, such as Accounting Center or Customer Center, cannot be changed once you start customizing the role.
Choose the appropriate role center
Select a standard role whose center type fits your custom role, since the center type determines the navigation and features available to users assigned to it. For example, when creating a custom A/R Clerk role, make sure the standard role uses the Accounting Center.
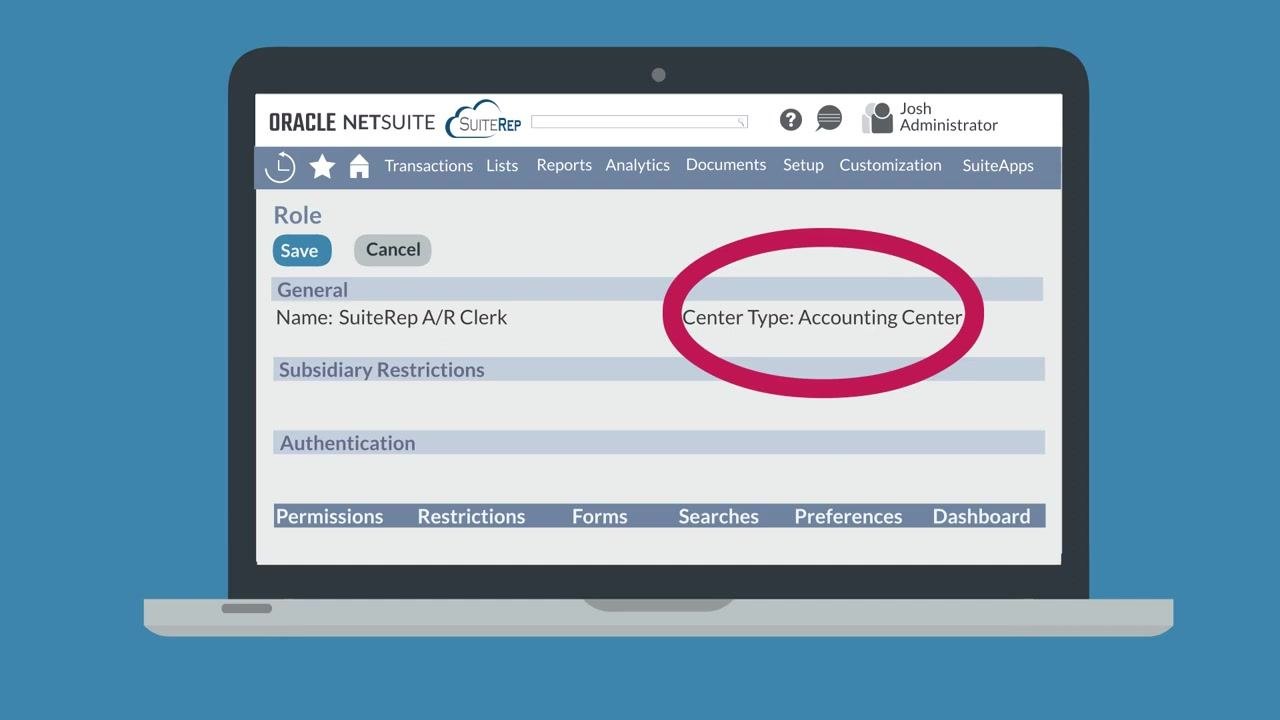
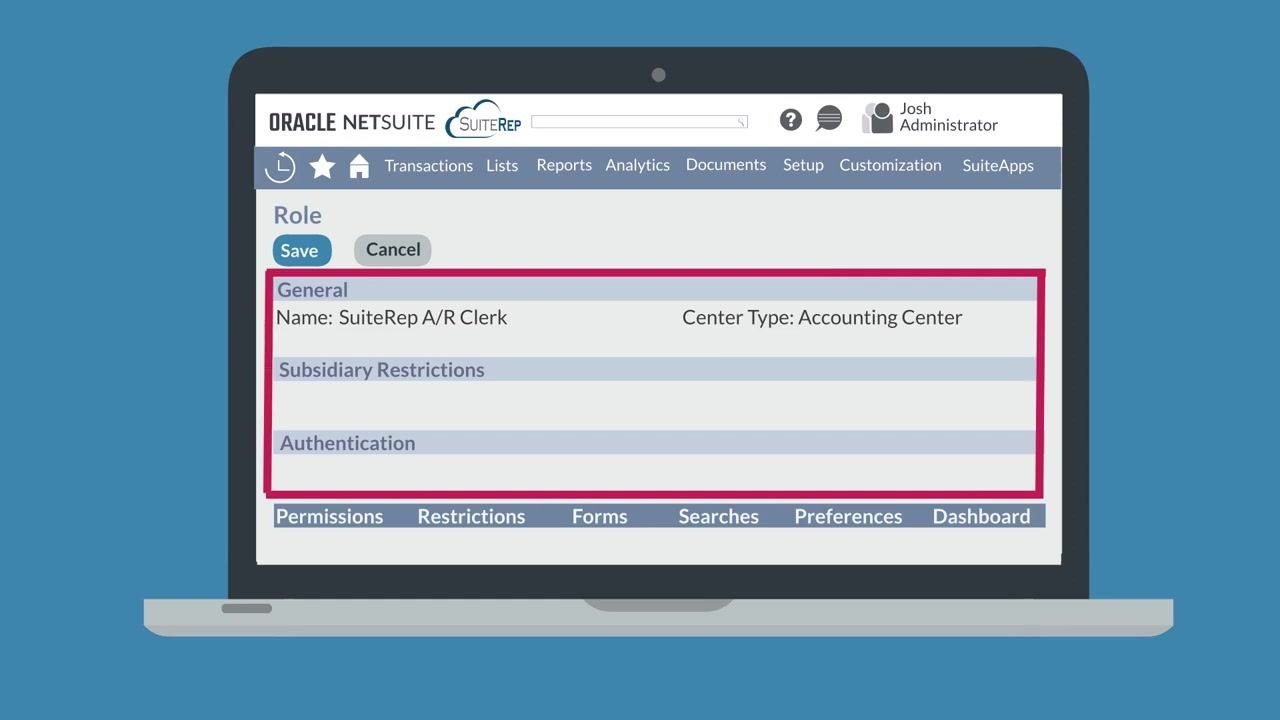
Review the top field groups
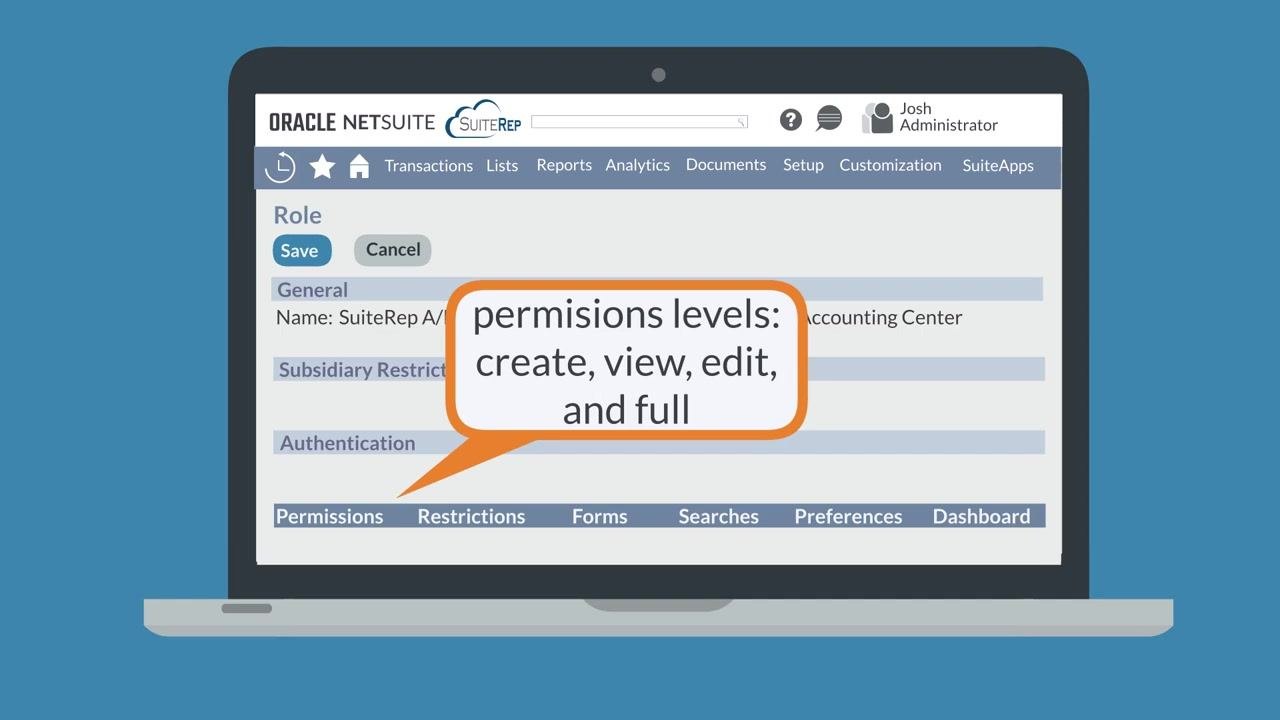
The General, Subsidiary Restrictions, and Authentication field groups at the top of the page give you broad control options for the role.
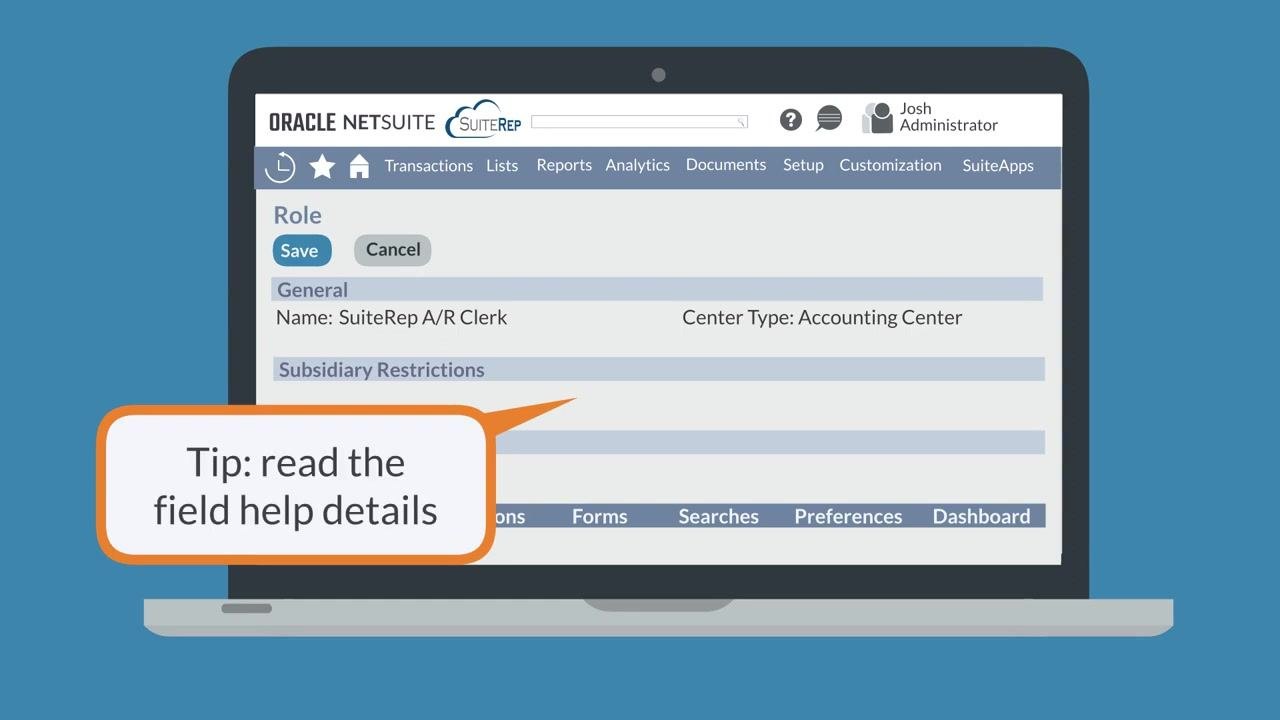
Click any field name to open its field help and read a detailed explanation of what that control does before changing it.
Set subsidiary restrictions
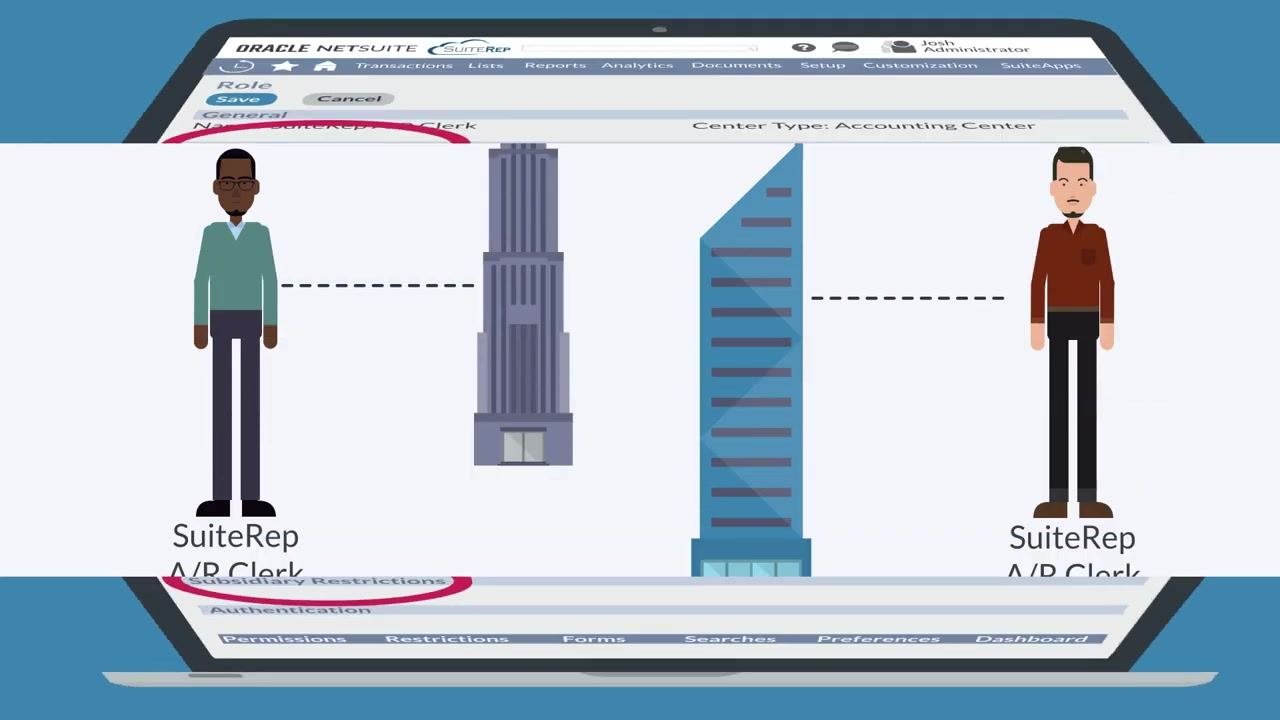
Use Subsidiary Restrictions to limit the role based on the subsidiary assigned to each user. Two users with the identical custom role can end up with access limited to their own respective subsidiaries.
Configure authentication settings
Under the Authentication section, choose how NetSuite authenticates users when they sign in with this role.
Refine access using the subtabs
The subtabs at the bottom of the role customization page let you fine-tune the role further:
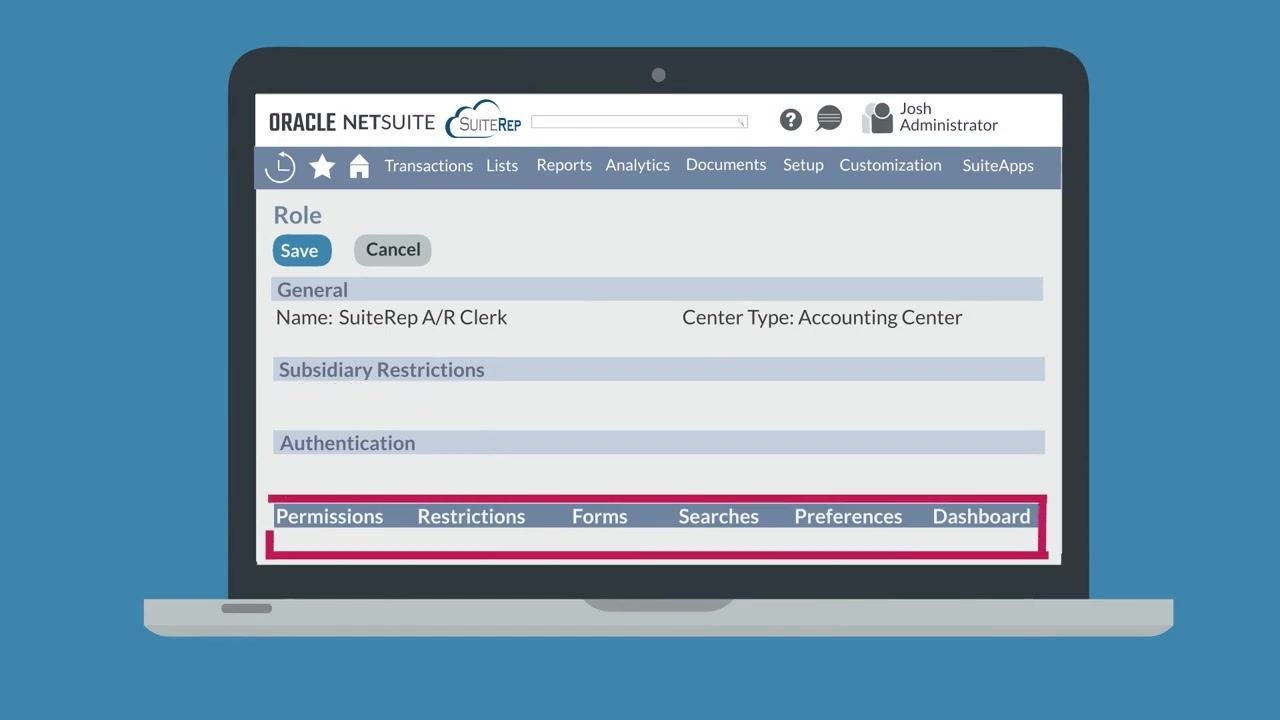
- Permissions: Set permission levels (Create, View, Edit, Full) for transactions, reports, and lists.
- Restrictions: Limit access by department, type, or location.
- Forms: Enable or restrict specific NetSuite forms for the role.
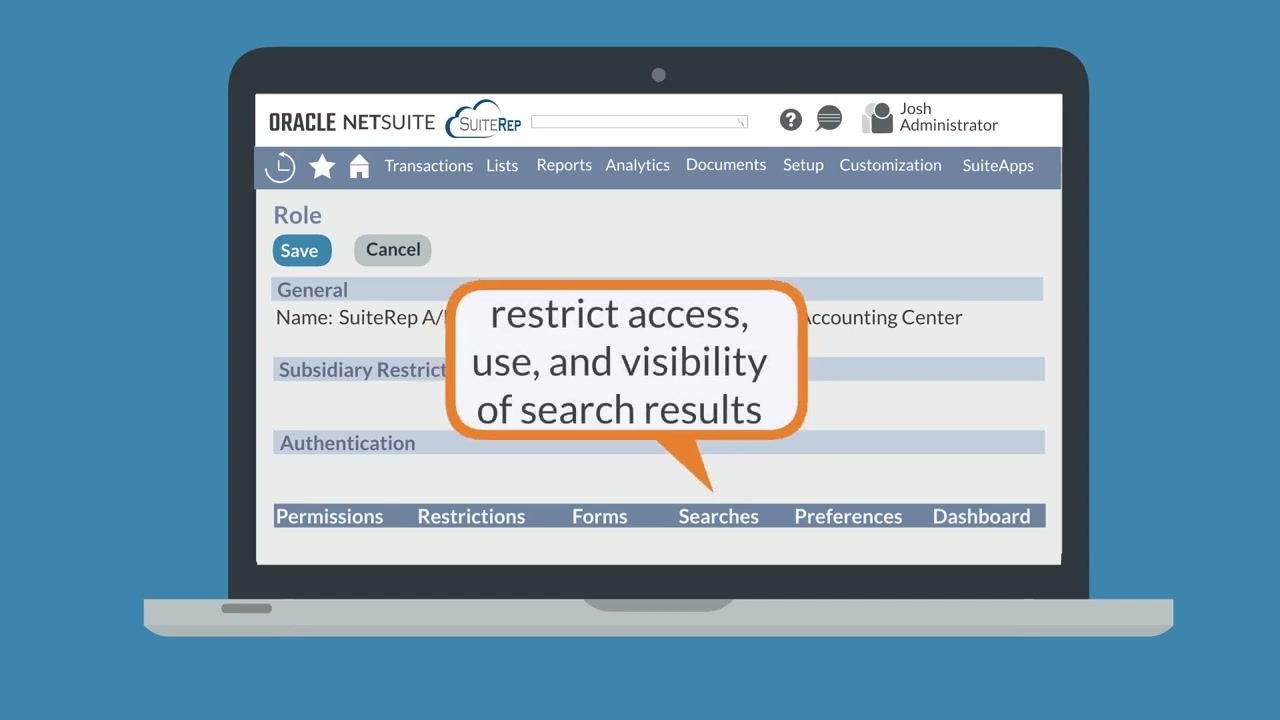
- Searches: Restrict access, use, and visibility of specific search results.
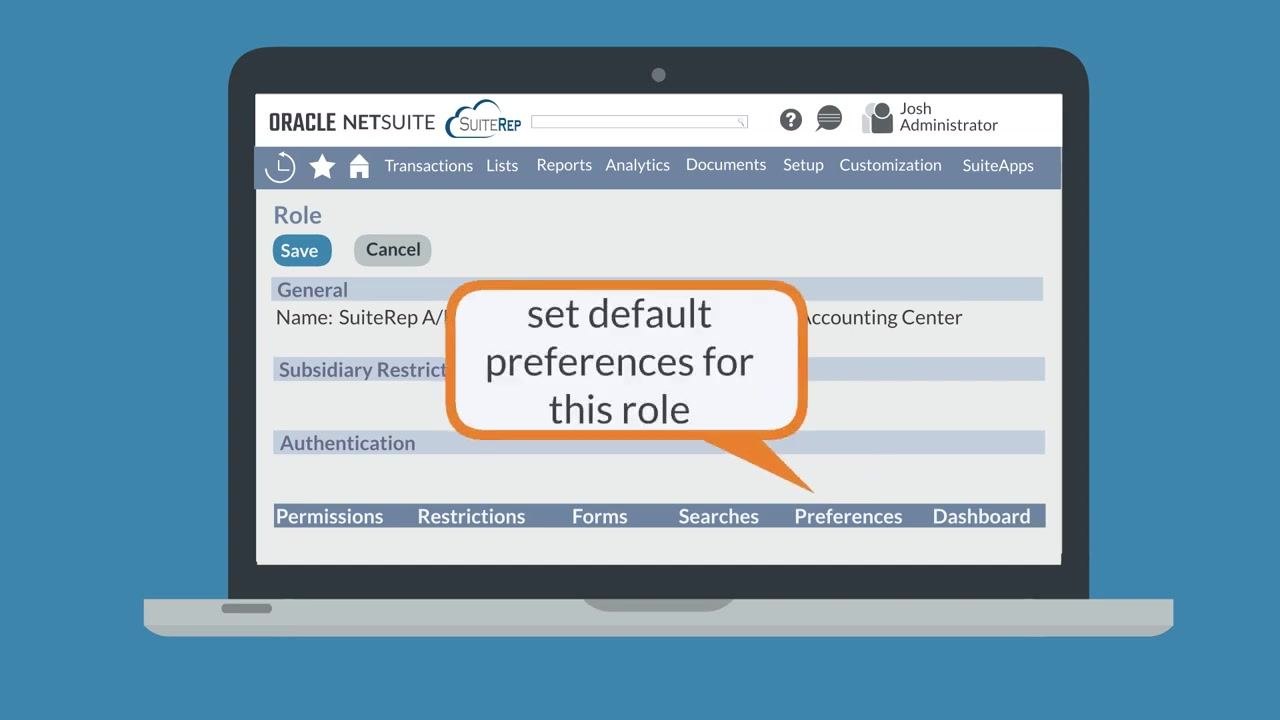
- Preferences: Set default preferences for users assigned to the role; users can override these individually.
- Dashboard: Assign a pre-configured dashboard to the role.
Adjust permission levels
Under the Permissions subtab, set the permission level for each item to Create, View, Edit, or Full, adjusting these to either grant broader access or restrict it further.
Restrict search results
Under the Searches subtab, restrict the access, use, and visibility of specific search results for the role.
Set default preferences
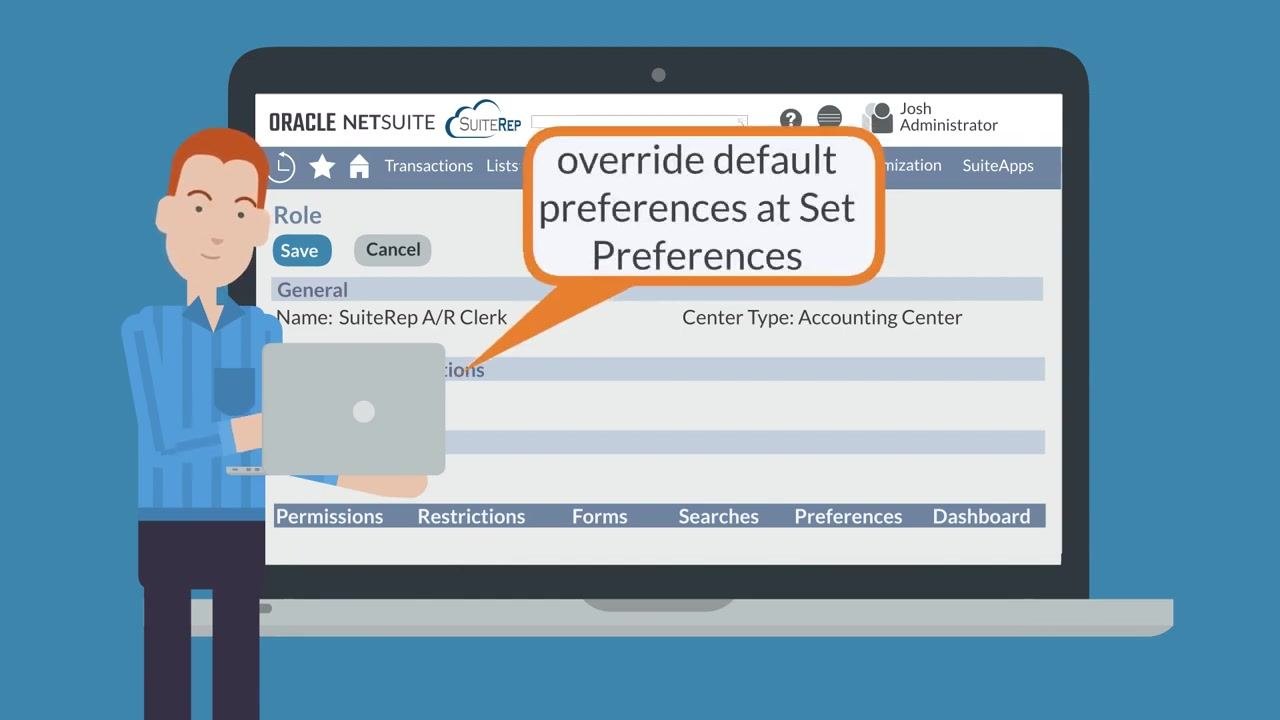
Use the Preferences subtab to set default preferences for users assigned to the role. Users can change these defaults individually by selecting Set Preferences while logged in.
Auditing and testing your custom roles
After you create a custom role in NetSuite, review it periodically to keep access accurate and secure.
Audit role permissions regularly
Periodically review the access and permissions assigned to each role and confirm they still align with each user's current job function. Remove unnecessary permissions to reduce security risks, and tailor roles to actual job responsibilities rather than forcing job functions to fit standard NetSuite roles.
Segregate processes and transactions
Assign processes and transactions across multiple users so no single person has full control over a process. This segregation of duties reduces the risk of fraud or error.
Compare roles with the Role Permission Differences tool
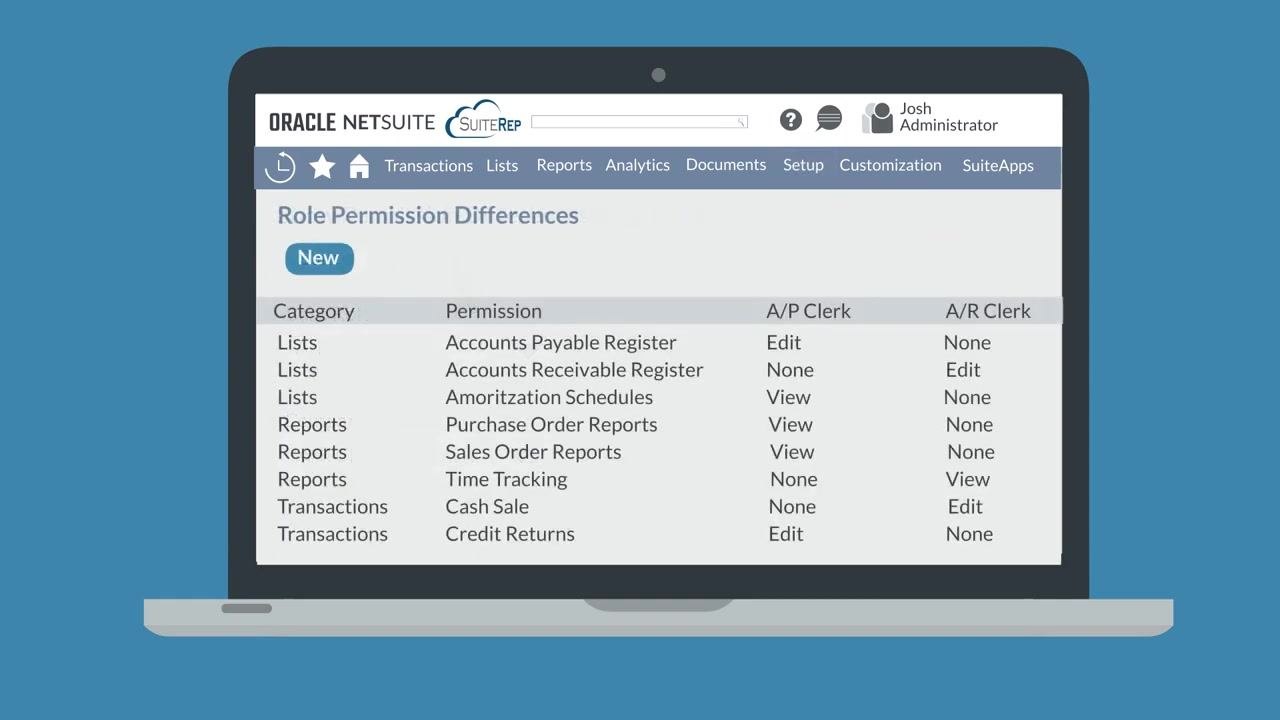
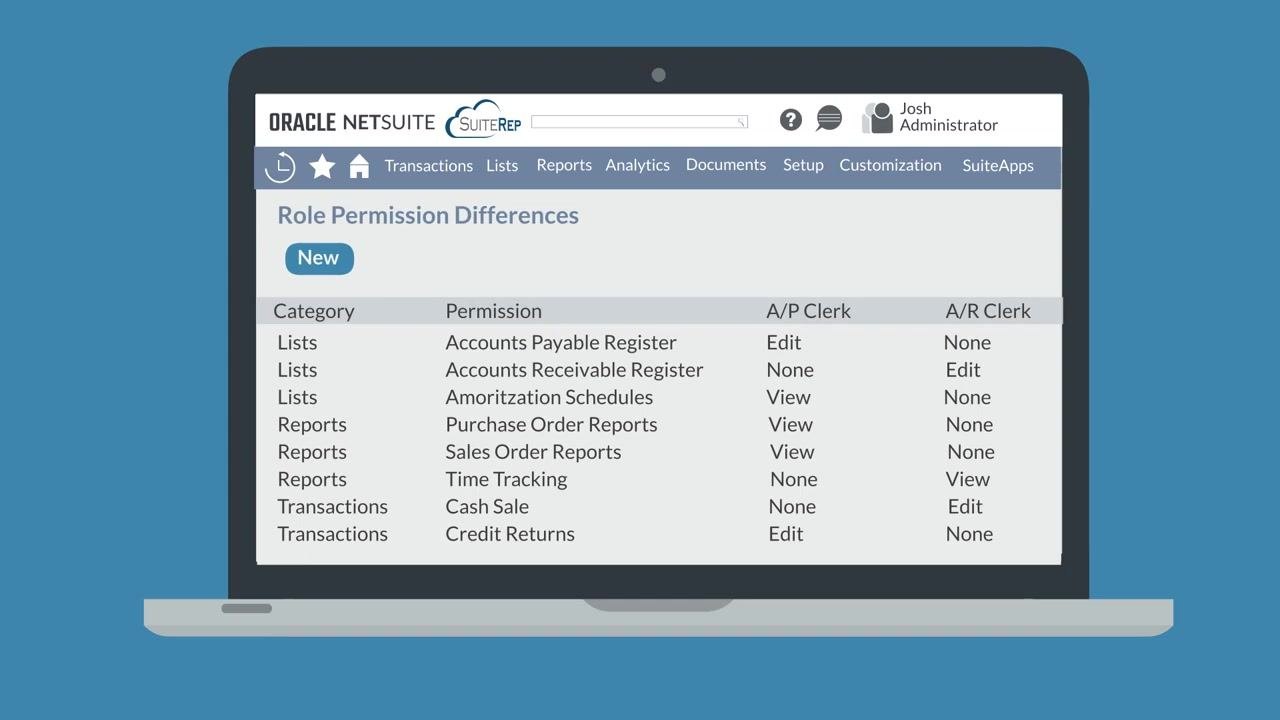
Navigate to Setup > Users/Roles > User Management > Show Role Differences to open the Role Permission Differences page. Use this tool to compare permissions between two roles side by side, which is especially useful when auditing similar roles for discrepancies or unnecessary access. For example, you can compare the "A/P Clerk" and "A/R Clerk" roles to see differences such as the Accounts Payable Register permission (Edit vs. None) and the Accounts Receivable Register permission (None vs. Edit).
Allow users to override default preferences
Users can override the default preferences you set for their role by navigating to Set Preferences while logged in, without affecting the overall role configuration.
Test controls on the custom role
After configuring a custom role, log in as a user assigned to it and verify that the permissions, restrictions, and preferences behave as intended.
What's next
With these steps, you can ensure every NetSuite user has access only to the data they need, while keeping your roles secure, up to date, and aligned with actual job responsibilities. For additional guidance or support with NetSuite roles and permissions, visit SuiteRep at suiterep.com.
Generation details: cost, quality tiers
Docsie billed 2,500 credits ($1.75) to analyze this 5-minute video at standard quality. The rewrite, template fill and Word/PDF exports were included. The same video at each quality tier:
| Quality | Frames sampled | Credits | Approx. cost |
|---|---|---|---|
| Draft | every 16-30 s | 1,250 | $0.88 |
| Standard (this guide) | every 8-15 s | 2,500 | $1.75 |
| Detailed | every 4-7 s | 5,000 | $3.50 |
| Ultra | every 1-3 s | 10,000 | $7.00 |
Credits priced at $0.70 per 1,000; plans include a monthly allowance. Enterprise customers on on-premise or bring-your-own-model deployments run this on their own inference and pay no per-video credits.
Generated by Docsie Video-to-Docs on 2026-10-02 from a 4-minute video. Screenshots are frames from the source video and belong to their creator, SuiteRep, whose original is embedded above. If you own this video and want the guide removed or credited differently, contact us and we will act within one business day.