
How to Weld Copper
This guide explains how to weld copper pipe for plumbing applications by cleaning, fluxing, and sweat-soldering a joint until it forms a smooth, leak-free seal. Follow each step in order, and complete the full cooling and inspection process before pressurizing or using the finished pipe assembly.
Video: How Professional Plumbers BRAZE COPPER LINES by Roger Wakefield Plumbing Education (2020). All credit for the demonstration goes to the creator; watch the original on YouTube. The written guide below was generated from this video by Docsie. Creator? Request a change or removal.
This guide explains how to weld copper pipe for plumbing applications by cleaning, fluxing, and sweat-soldering a joint until it forms a smooth, leak-free seal. Follow each step in order, and complete the full cooling and inspection process before pressurizing or using the finished pipe assembly.
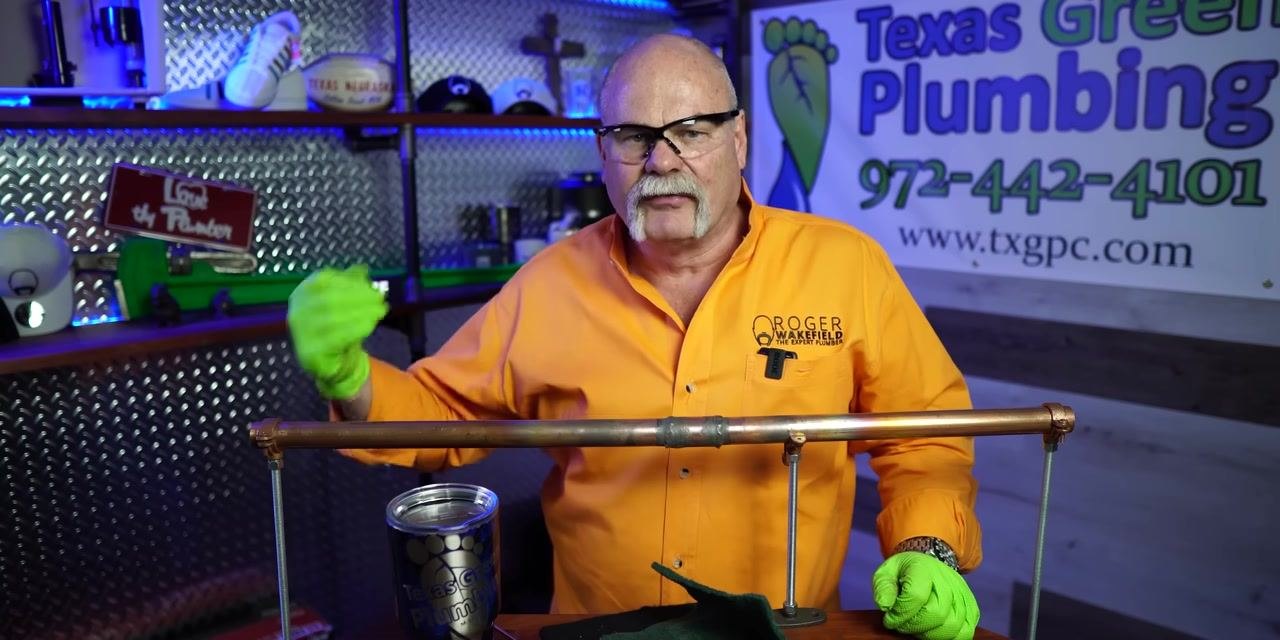
Purpose
This procedure describes how to prepare, clean, and solder a copper pipe joint so that it forms a secure, leak-free plumbing connection. It covers pipe setup, surface cleaning, flux and fitting application, torch heating, solder application, and final inspection.
Scope
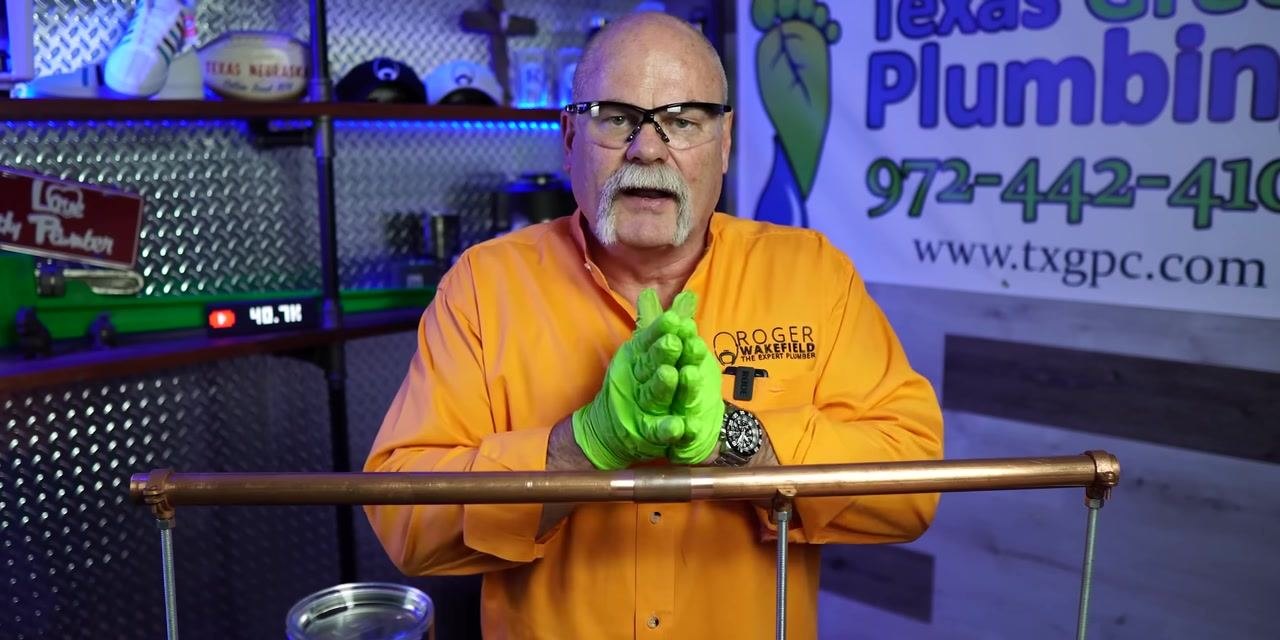
This procedure applies to horizontal copper pipe joints prepared for sweat soldering in a plumbing workshop setting. It covers the full workflow from initial pipe cleaning through final joint verification.
Requirements
Before you begin, gather the following equipment and personal protective equipment:
- Safety glasses
- Bright green protective gloves
- Long-sleeve shirt for additional protection
- Copper pipe and pipe supports or clamps to hold the pipe horizontally and stable
- Pipe cleaning tool (round tool with a handle)
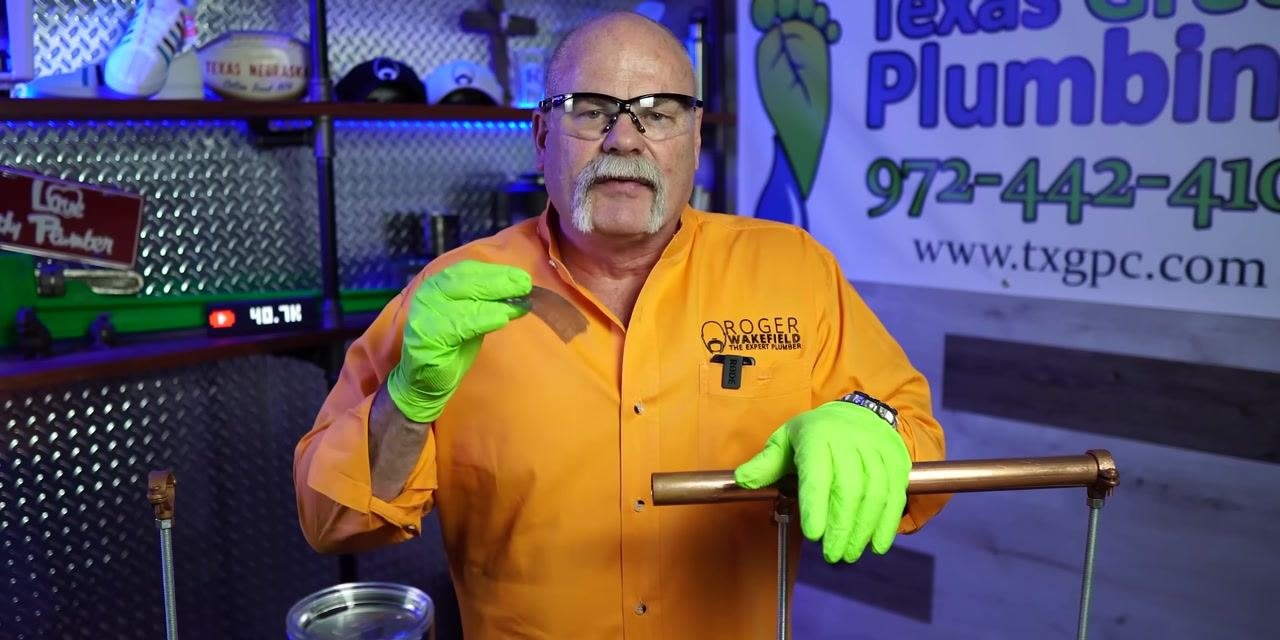
- Abrasive cloth (brown, flexible, sandpaper-like)
- Green abrasive scouring pad
- Cleaning compound or flux and a container for it
- Copper fittings (couplings)
- Propane or MAP gas torch
- Solder wire
- Flashlight (for final inspection)
- A well-lit, organized, well-ventilated workspace free of flammable materials
Preparing and cleaning the copper pipe
-
Secure the copper pipe. Mount the pipe horizontally using pipe supports at both ends and confirm it is stable and does not move during cleaning or preparation.
-
Put on your protective equipment and gather tools. Wear safety glasses and bright green gloves, and have the pipe cleaning tool, fittings, and cleaning materials ready on the workbench.
-
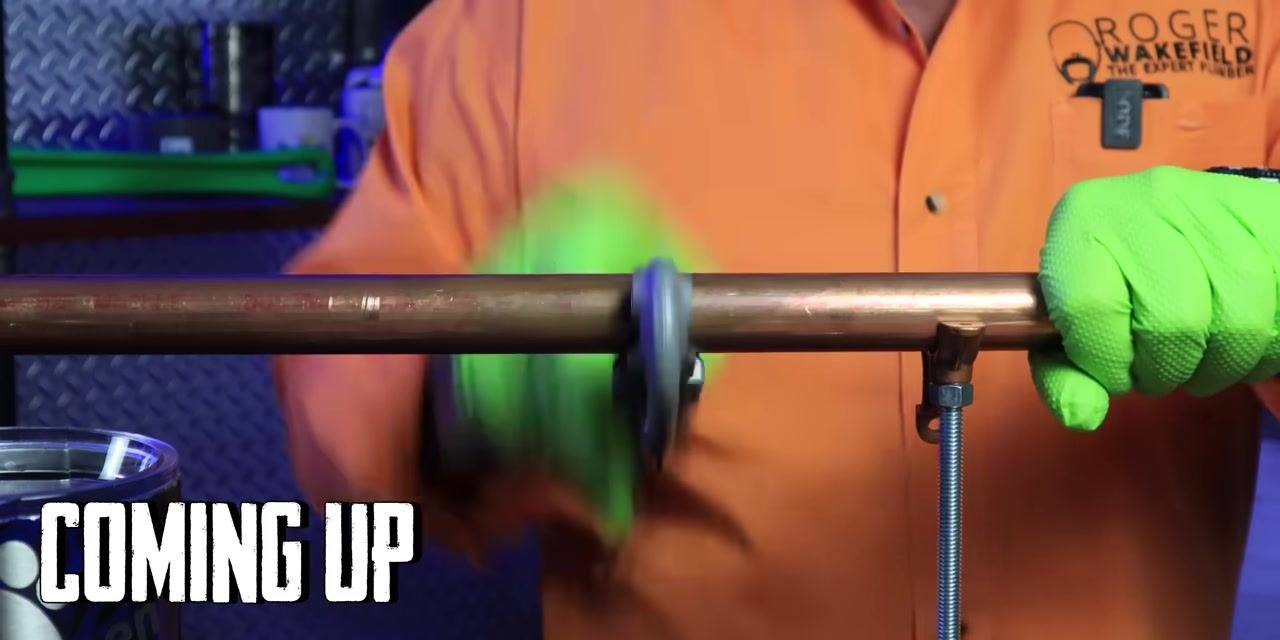
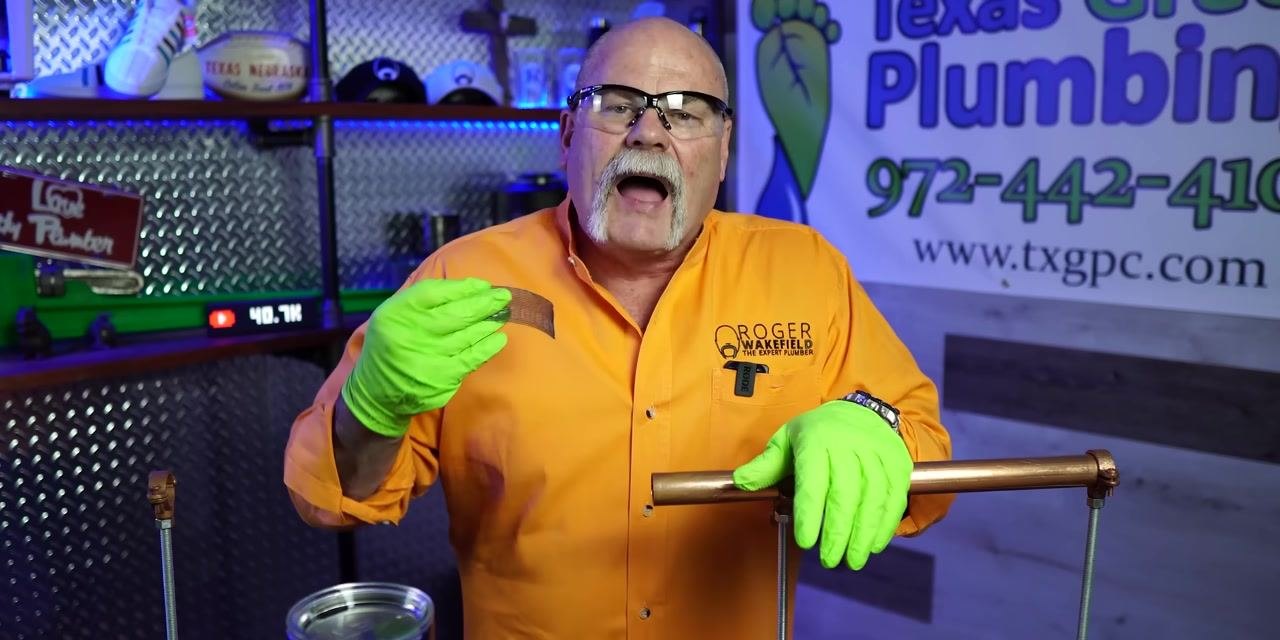
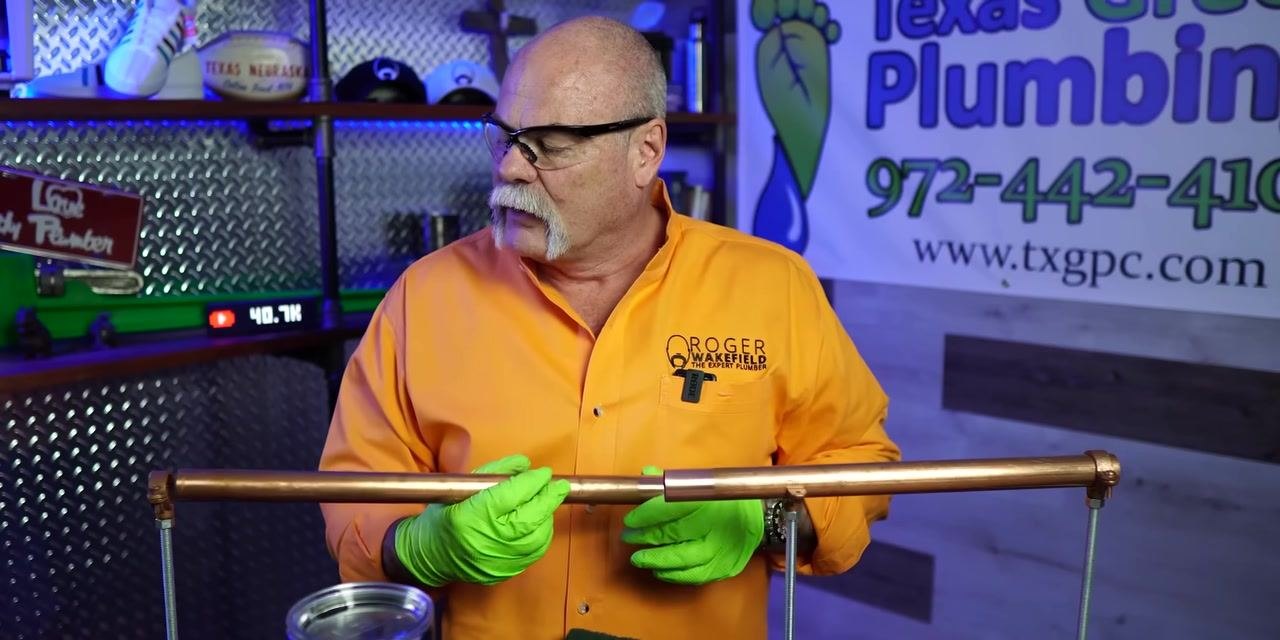
Clean the pipe exterior. Hold the pipe firmly with one hand and use the pipe cleaning tool to scrub the exterior surface, moving the tool back and forth to remove oxidation and debris. Clean the entire circumference of the pipe.
-
Inspect the cleaned section. Visually check that the cleaned area of the pipe is shiny and free of debris, and confirm that all necessary tools and fittings remain within reach on the workbench.
-
Continue cleaning any missed spots. Rotate the cleaning tool around the pipe to ensure even coverage, maintaining a firm grip on the pipe to prevent movement.
-
Prepare fittings and additional materials. Place copper fittings (couplings) and cleaning rods or brushes on the workbench, and open the container of cleaning compound or flux. Organize all materials for easy access during the next steps.
-
Apply flux to the fitting or pipe end. While wearing gloves, dip a finger into the cleaning compound or flux and apply it to the inside of the copper fitting or the end of the pipe, ensuring an even coating for optimal joint preparation.
-
Attach the copper fitting. Align the fitting with the cleaned end of the pipe, then push and twist it onto the pipe to ensure a snug fit. Confirm the fitting is fully seated and properly aligned.
-
Secure and adjust the fitting. Hold the pipe and fitting firmly, twisting or adjusting the fitting as needed for a tight, secure connection. Double-check that the fitting is flush with the pipe.
-
Perform a final inspection before soldering. Confirm that the fitting is properly seated and the pipe is clean, and make any final alignment adjustments before proceeding.
-
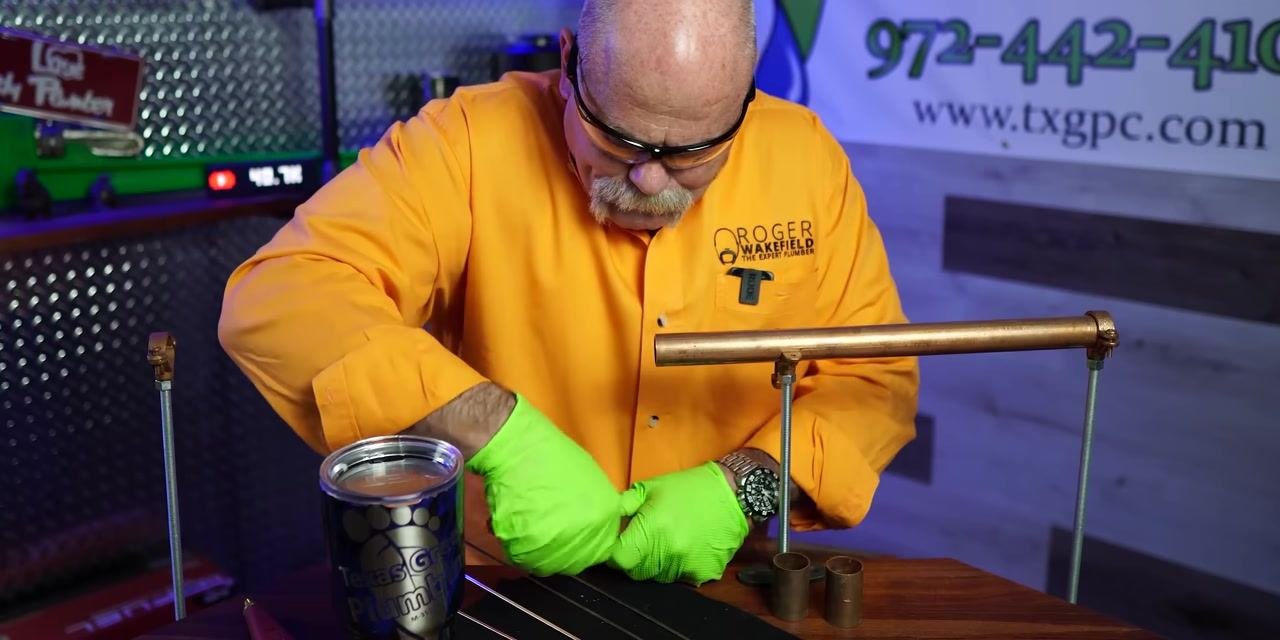
Clean the joint area with abrasive cloth. Hold the pipe securely with one hand and use the other hand to wrap and rub an abrasive cloth around the exterior surface, focusing on the area where the fitting will attach. Ensure the pipe is free of oxidation and residue.
-
Continue cleaning thoroughly with the abrasive cloth. Maintain a firm grip on the pipe and continue rubbing the cloth back and forth, checking visually as you go to confirm removal of all tarnish and debris.
-
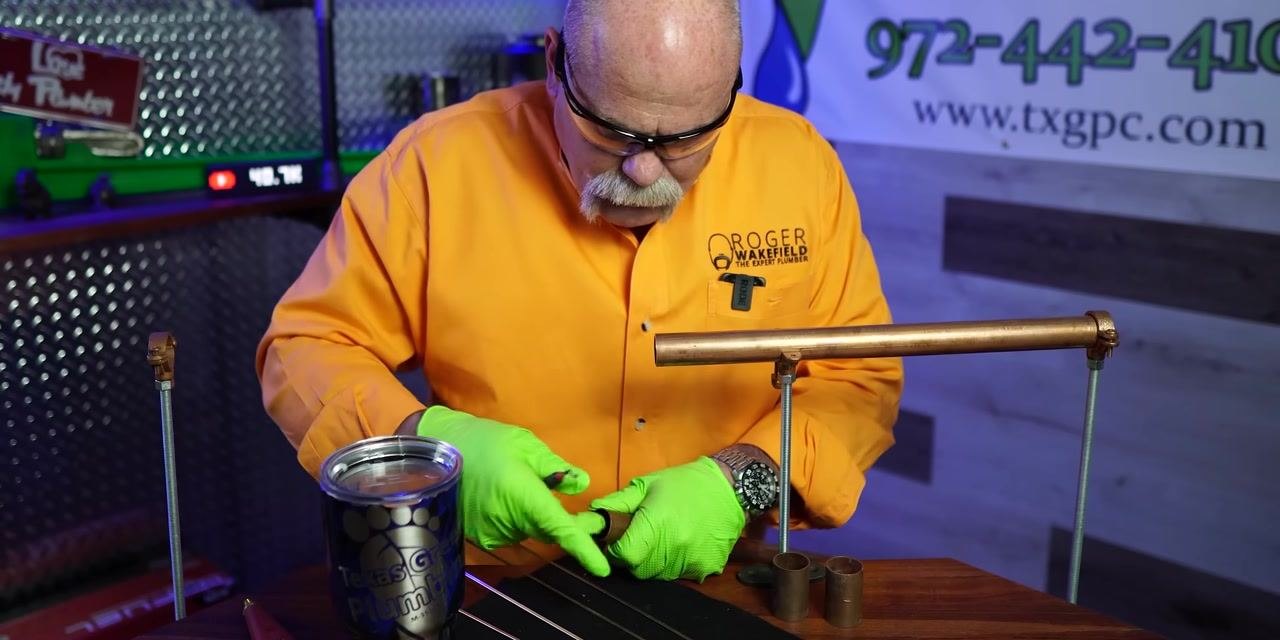
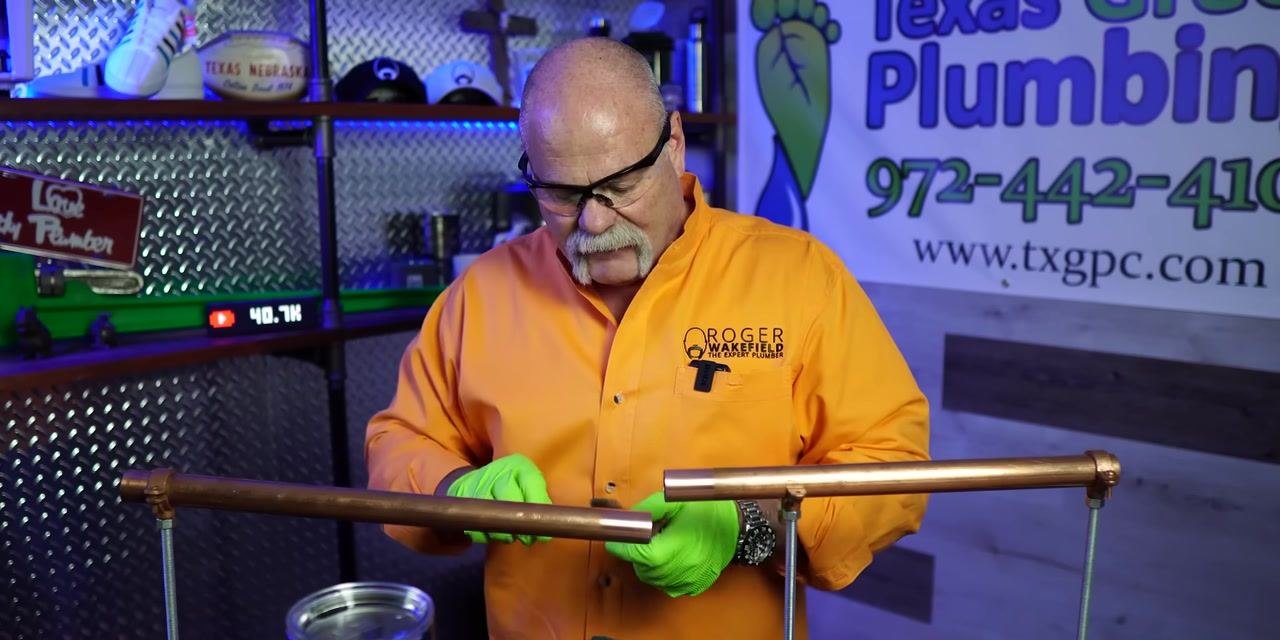
Prepare the abrasive pad. Hold a green abrasive scouring pad in one hand and a copper fitting or pipe section in the other, positioning the pad near the pipe for the next cleaning step.
-
Position the abrasive pad on the pipe. Place the pad directly on the copper pipe, aligning it with the area to be cleaned, while holding the pipe steady with one hand.
-
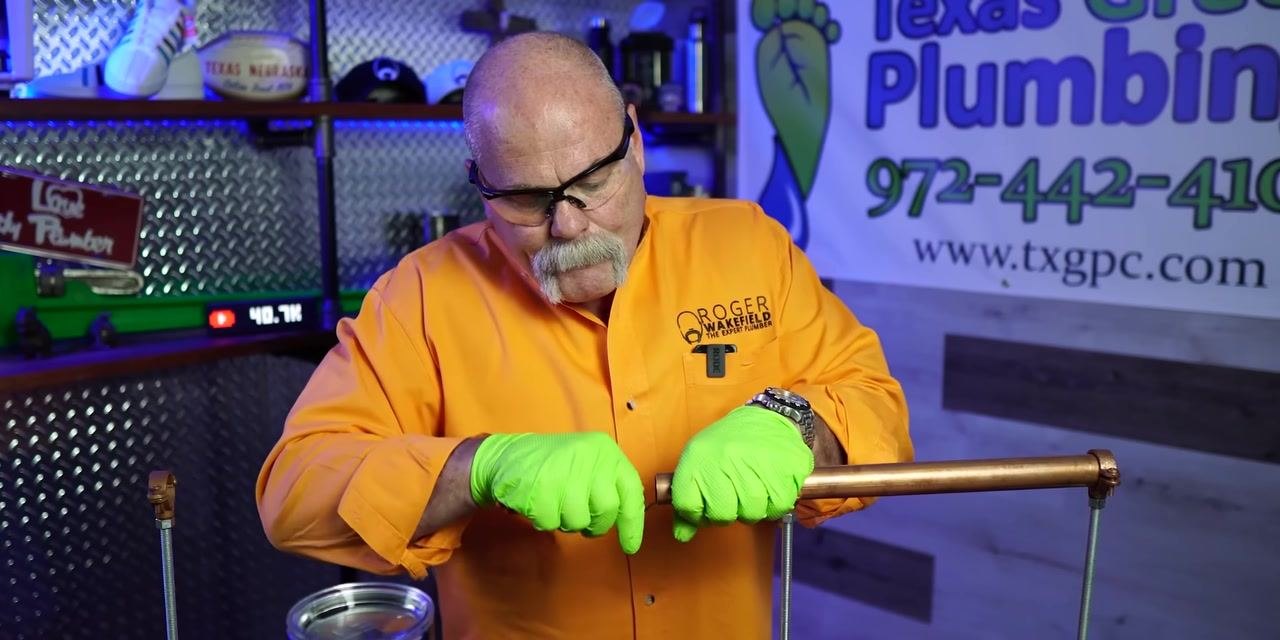
Inspect the pad placement. Look down at the pipe and pad to confirm correct placement, ensuring the pad covers the area to be cleaned before you begin scrubbing.
-
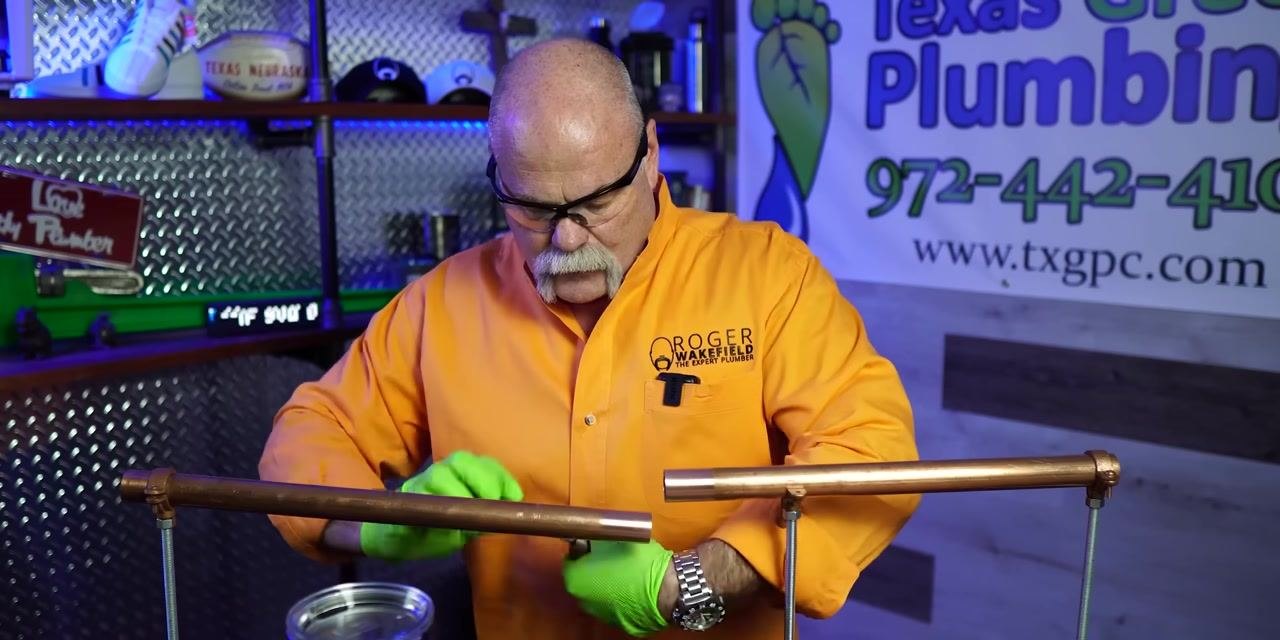
Begin cleaning with the abrasive pad. Rub the pad back and forth along the pipe surface, focusing on removing any remaining oxidation or residue missed by the abrasive cloth, and keep a steady grip on the pipe.
-
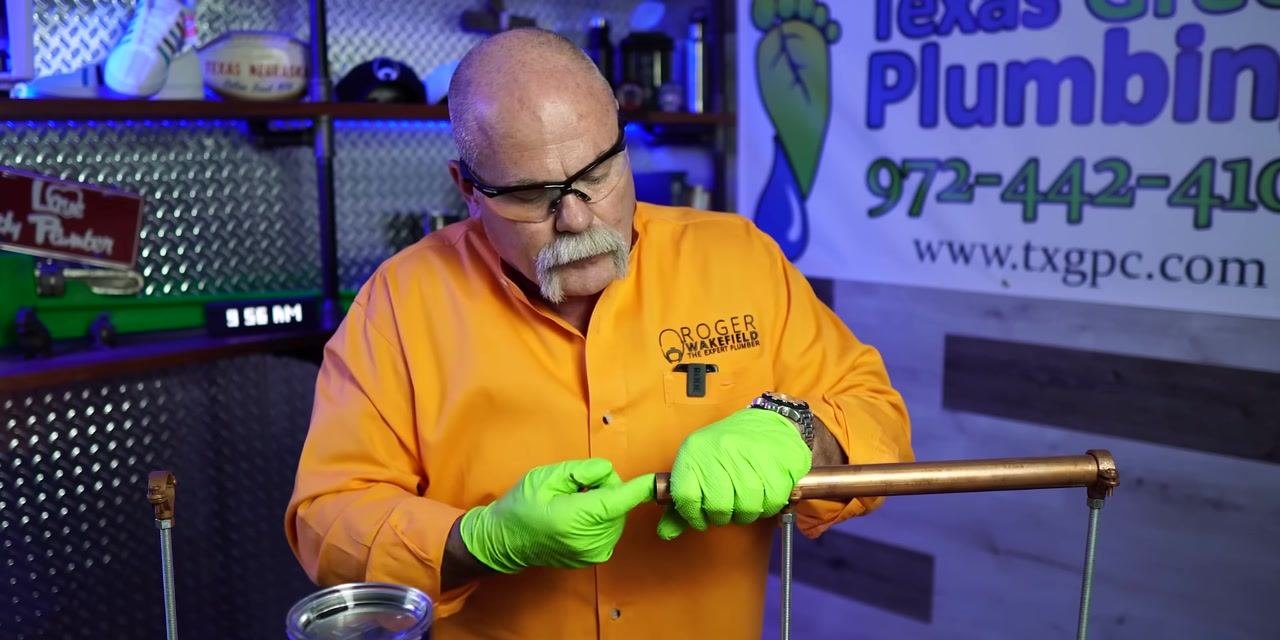
Continue cleaning with the abrasive pad. Move the pad along the length of the pipe, inspecting as you go to confirm a shiny, residue-free surface across the entire cleaned area.
Preparing for soldering
-
Perform a final inspection of the cleaned pipe. Hold the pipe securely with both hands, focusing on the area where the fitting will be soldered, and confirm it is thoroughly cleaned and ready for the next step.
-
Position your hands for soldering. Place both hands on the pipe, ensuring it is steady and properly aligned, and confirm the pipe and fitting are correctly positioned before heat is applied.
-
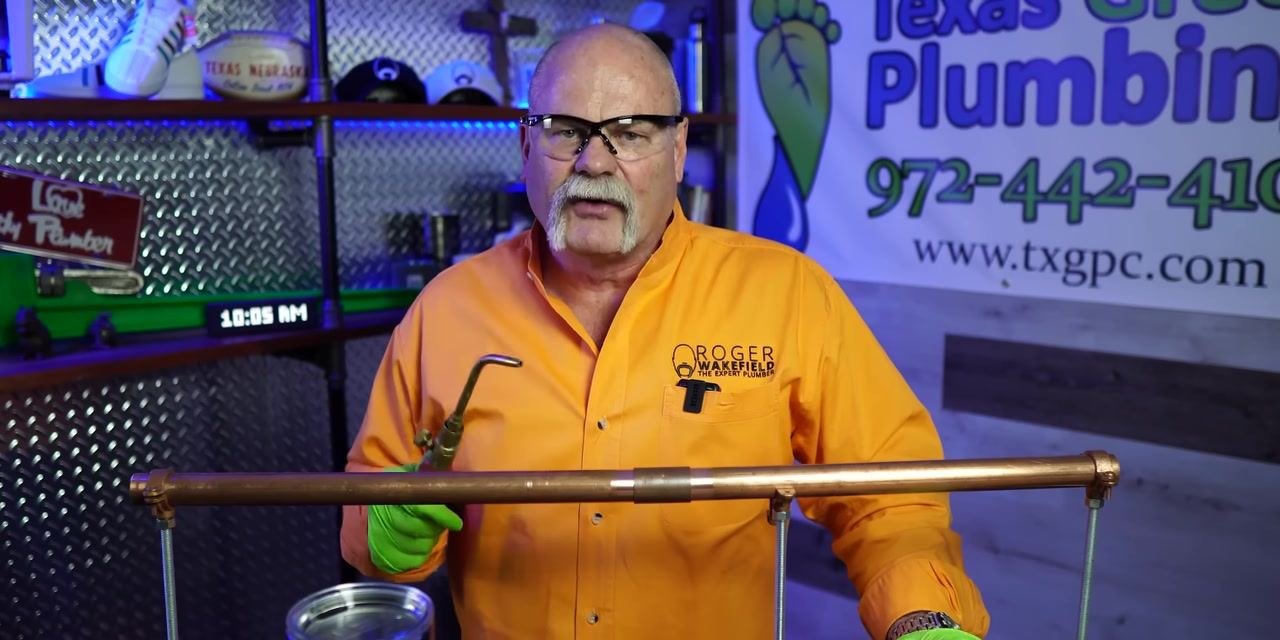
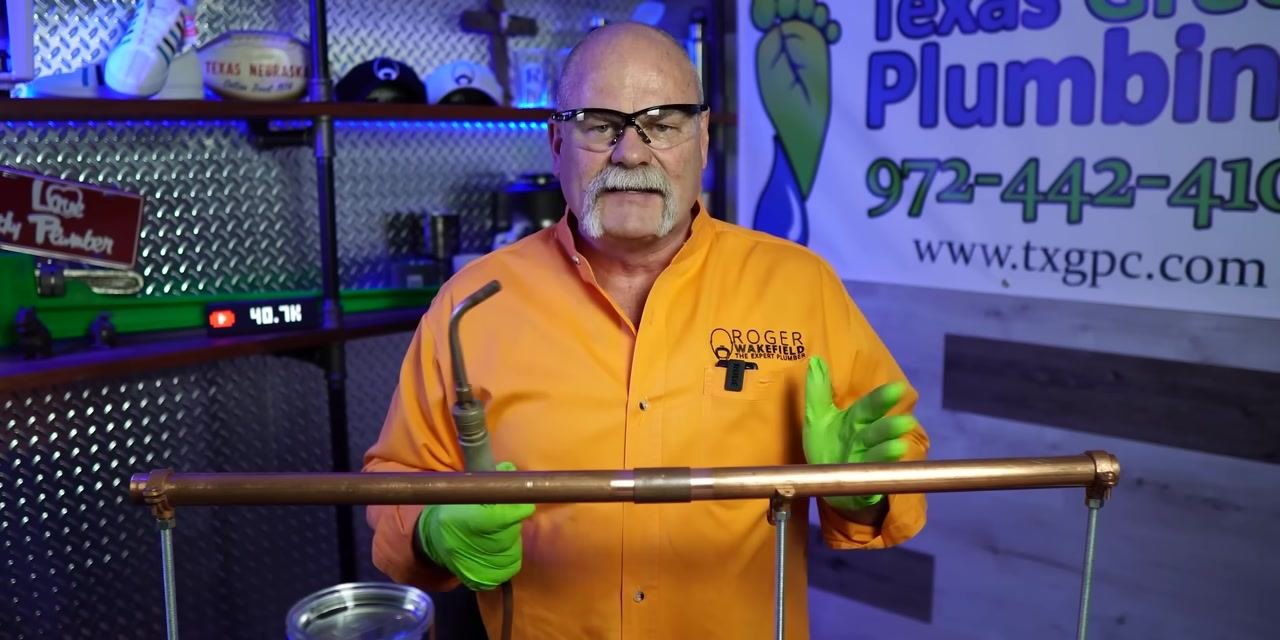
Introduce and check the soldering torch. Hold the torch in one hand and confirm all safety equipment, including gloves and safety glasses, is in place before beginning the soldering process.
-
Position the torch near the pipe. Hold the torch near the pipe and fitting, and maintain a safe distance from the pipe while preparing to apply heat.
Safety note: Keep a safe distance from the flame until you are ready to begin heating, and confirm the workspace remains clear and organized.
-
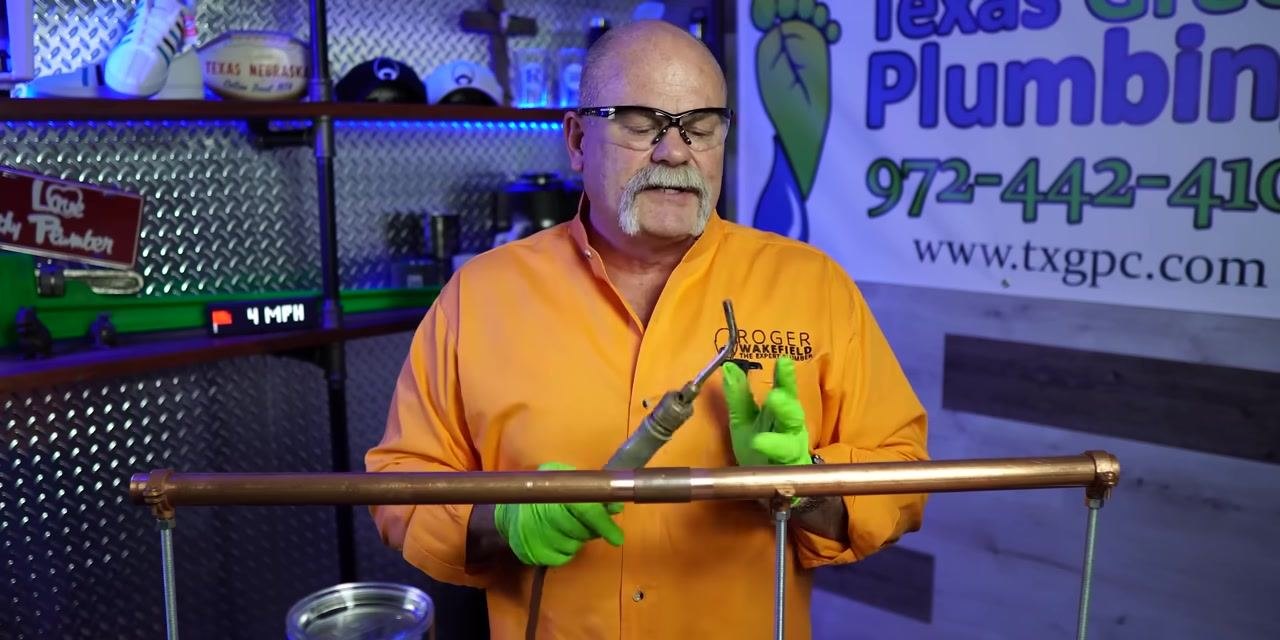
Hold the torch upright and confirm safety precautions. Keep the workspace clear and organized for soldering before proceeding to the next step.
-
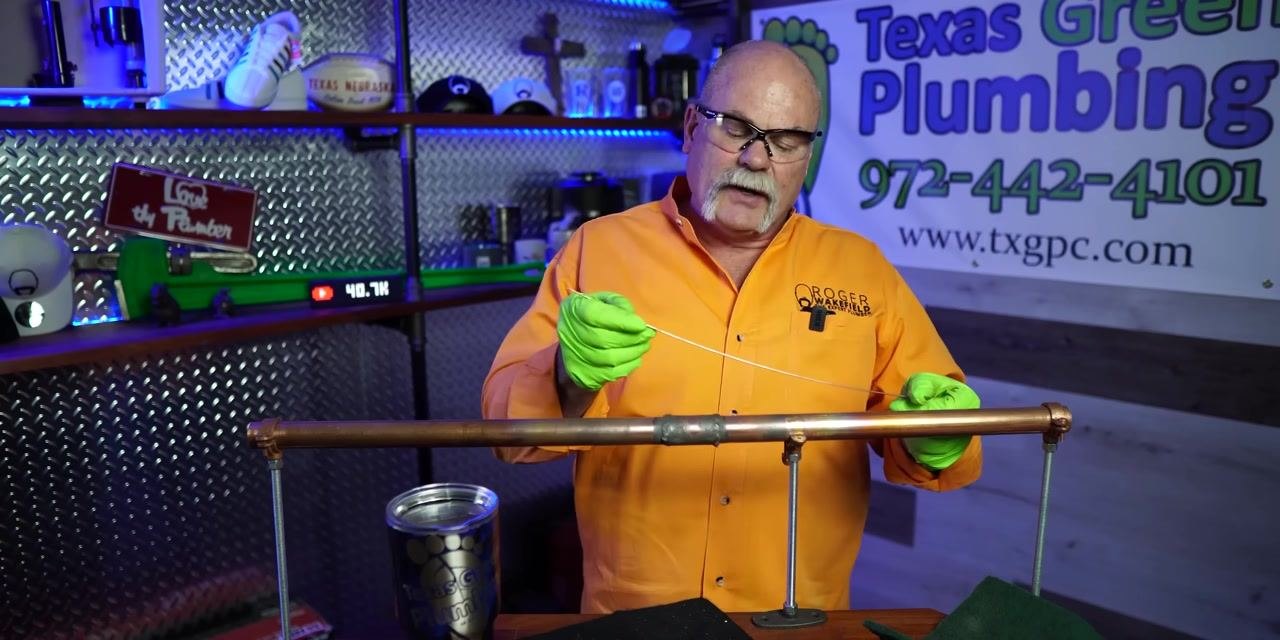
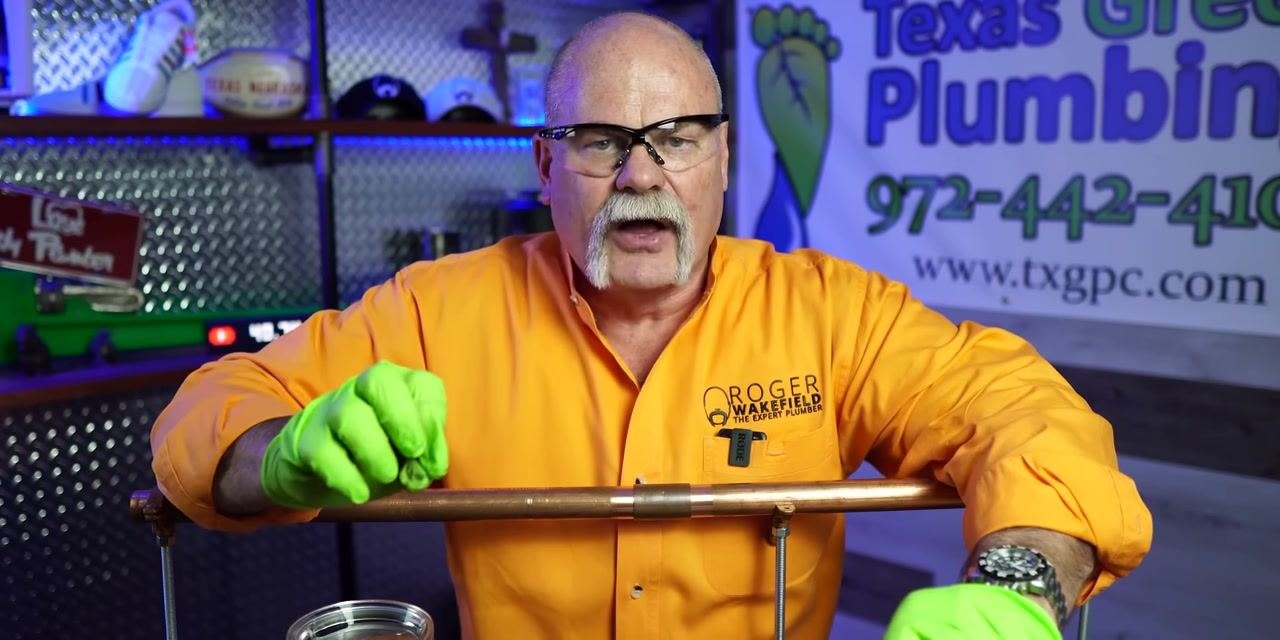
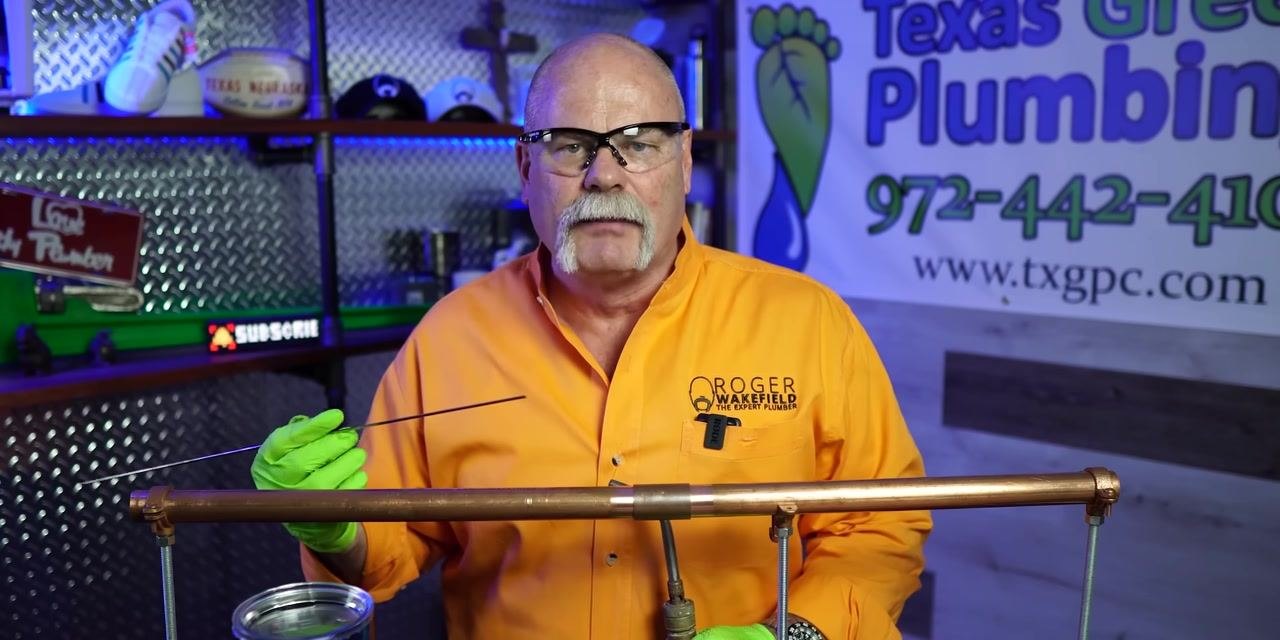
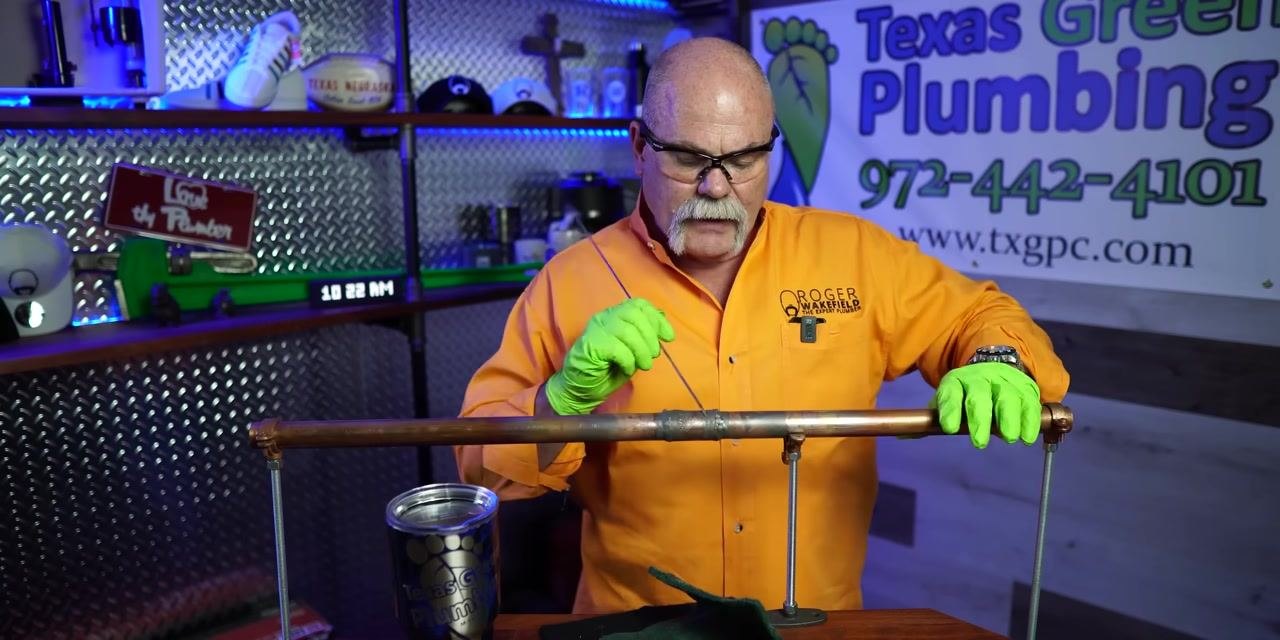
Prepare the solder wire. Hold a length of solder wire near the copper pipe, ready for use once the pipe is heated. Keep the wire straight and easily accessible for the soldering process.
-
Review the soldering setup and reinforce safety. Rest both hands on the copper pipe, which is held securely by the pipe supports, and confirm the pipe and fitting are properly aligned and ready for soldering. Confirm all safety equipment, including gloves and safety glasses, remains in use.
Heating and soldering the joint
-
Set up the work area and PPE for soldering. Confirm the copper pipe is mounted horizontally using pipe supports or clamps, wear safety glasses and green protective gloves, and keep the torch, solder, and flux within reach. Confirm the workspace is free of flammable materials and well ventilated.
-
Inspect and position the copper pipe joint. Visually confirm the pipe is clean and properly aligned, and ensure the joint is centered and securely held by the supports before applying heat.
-
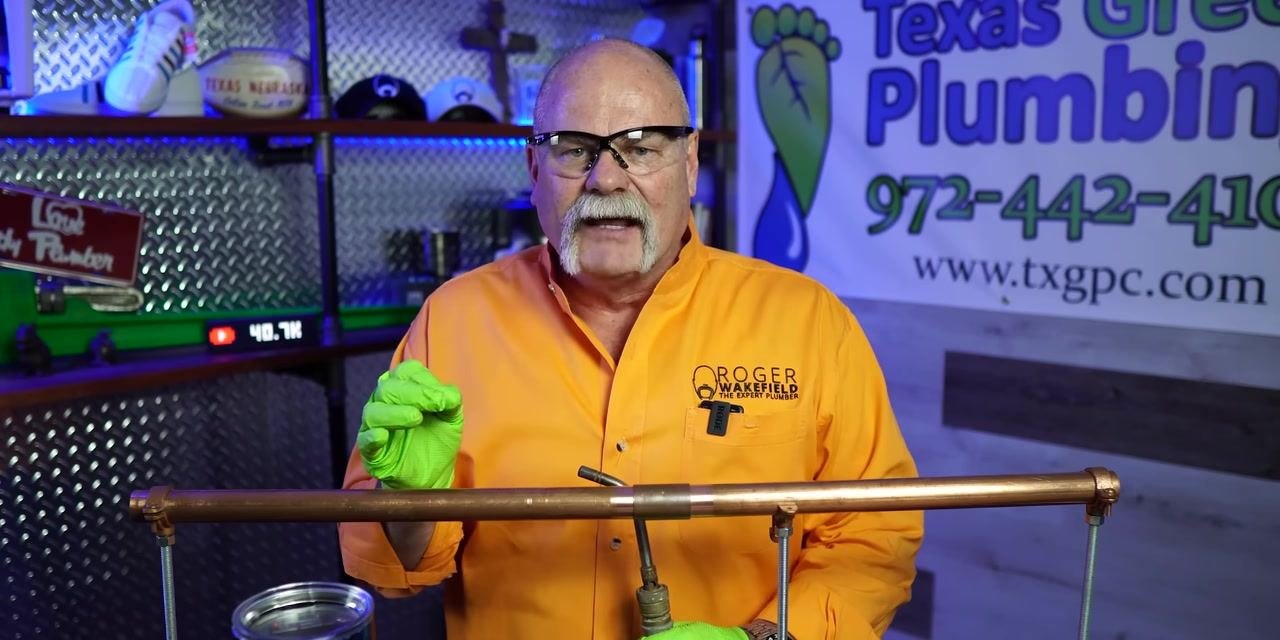
Position the torch below the joint. Hold the plumbing torch below the copper pipe joint, and position a container of flux or soldering paste nearby for easy access.
-
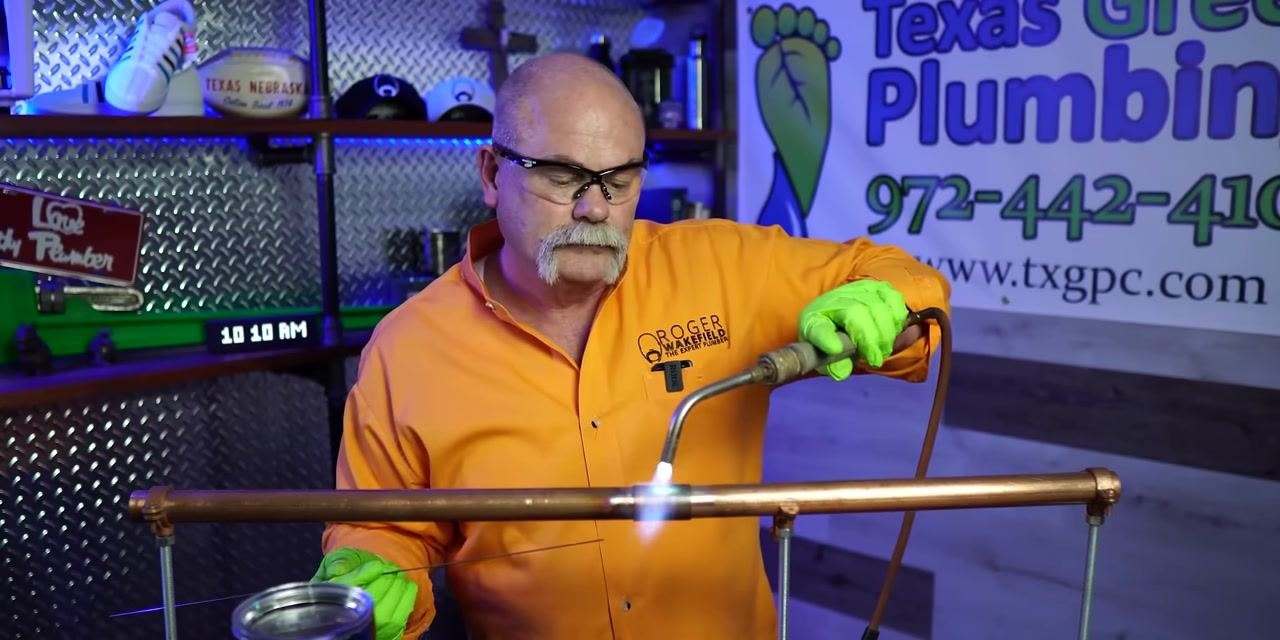
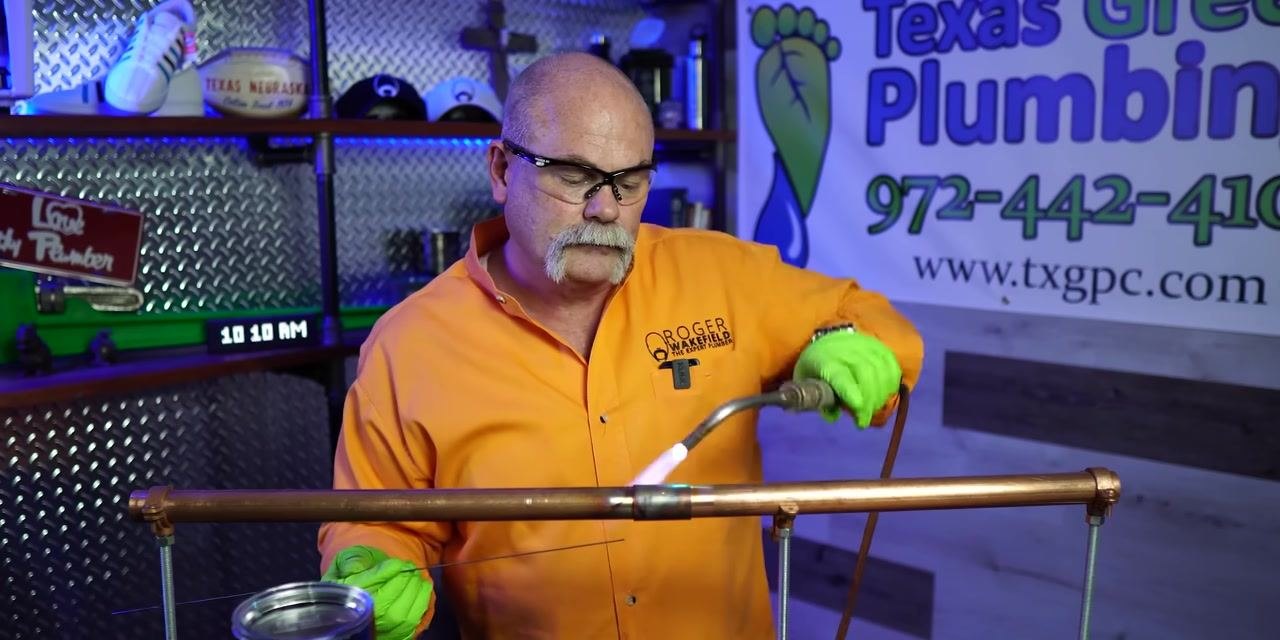
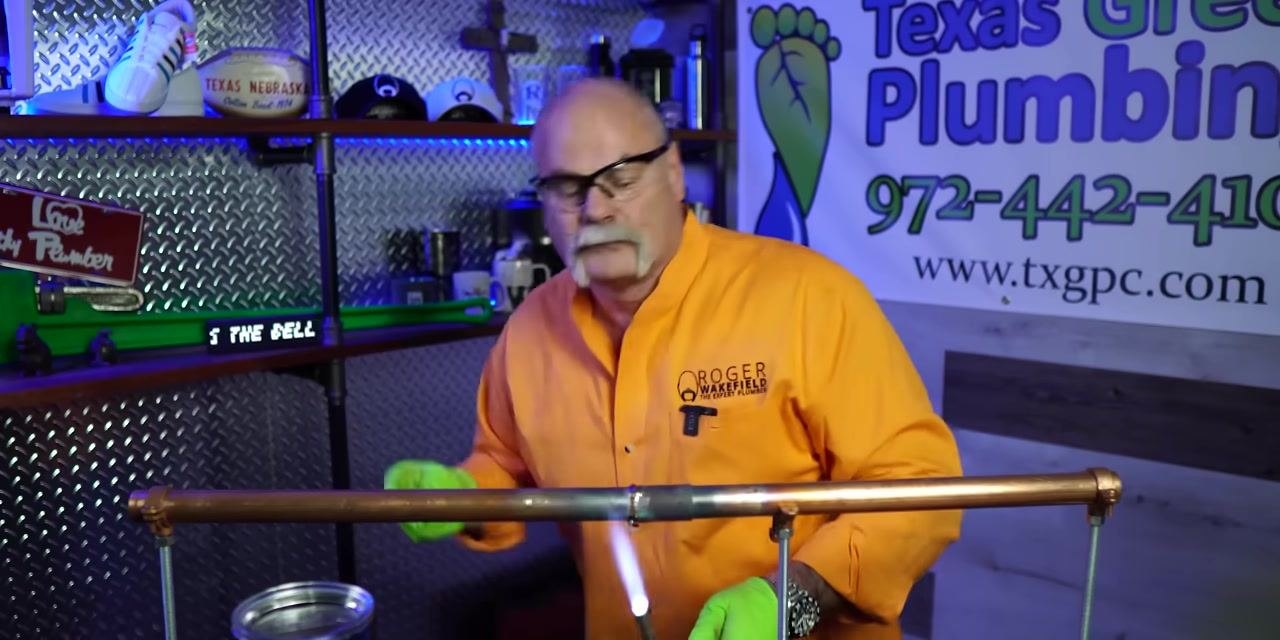
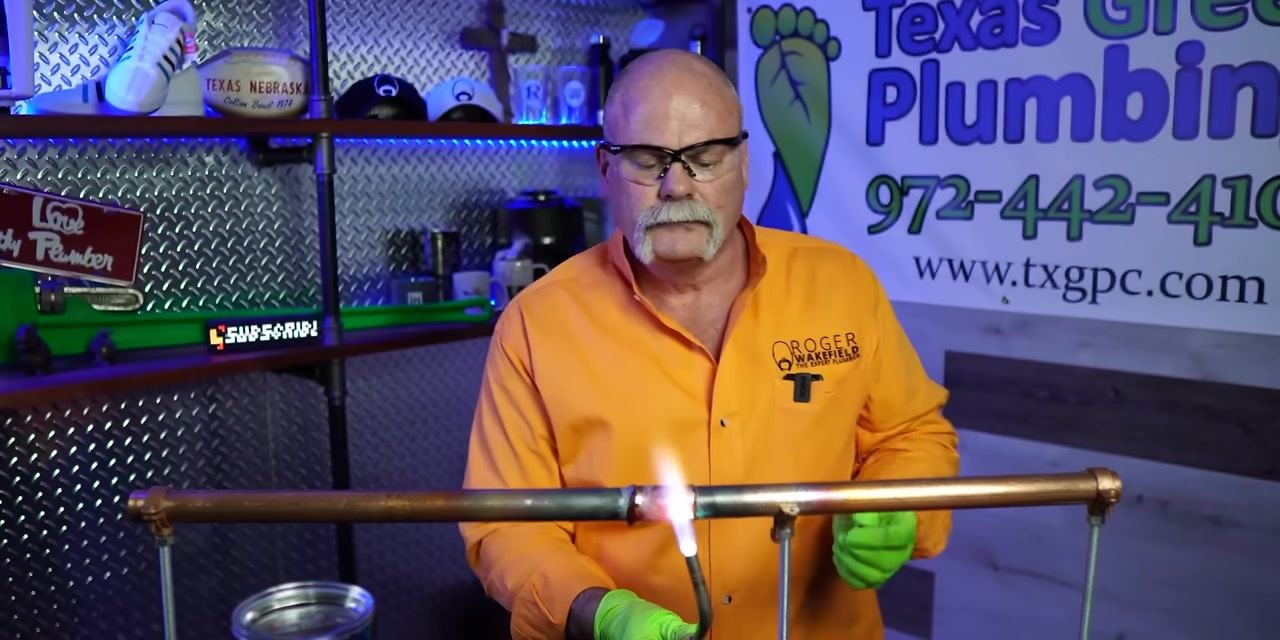
Begin heating the pipe joint. Ignite the torch and apply heat evenly around the joint, focusing on the area where the pipe and fitting meet. Move the torch in a circular motion to ensure uniform heating.
Safety note: Do not overheat the pipe. Watch for visual cues that the joint is reaching the correct temperature, such as darkening of the pipe or bubbling of the flux.
-
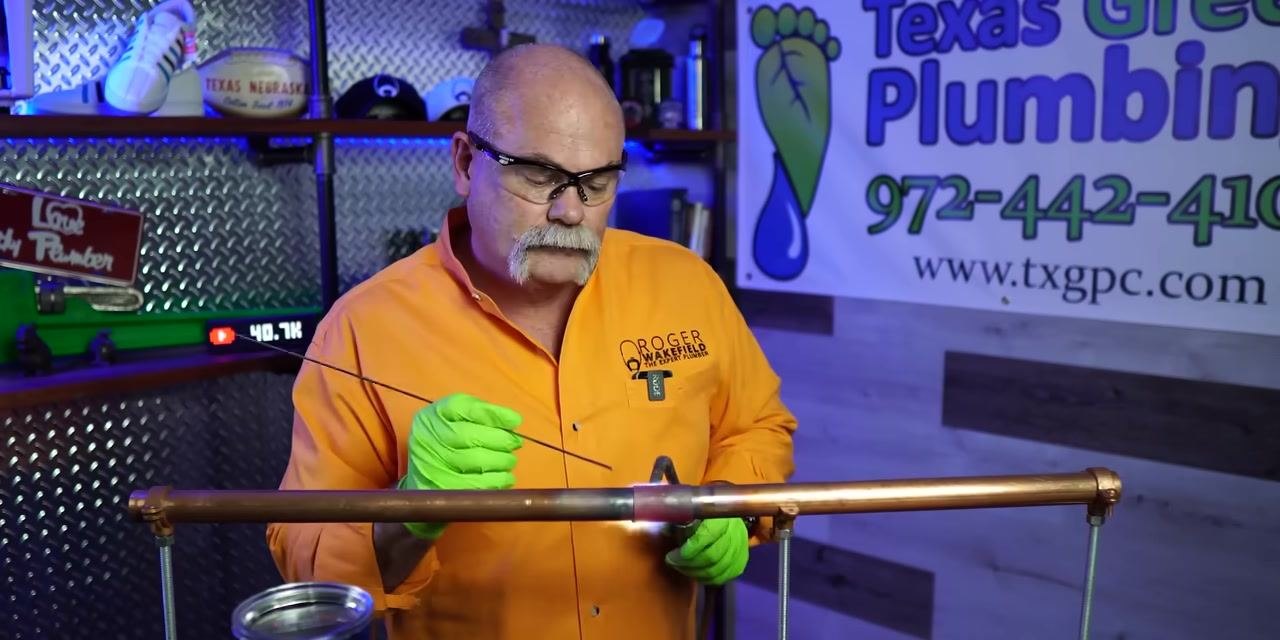
Prepare the solder wire near the joint. Hold the solder wire with your gloved hand near the joint, ready to apply it as soon as the pipe reaches the correct temperature.
-
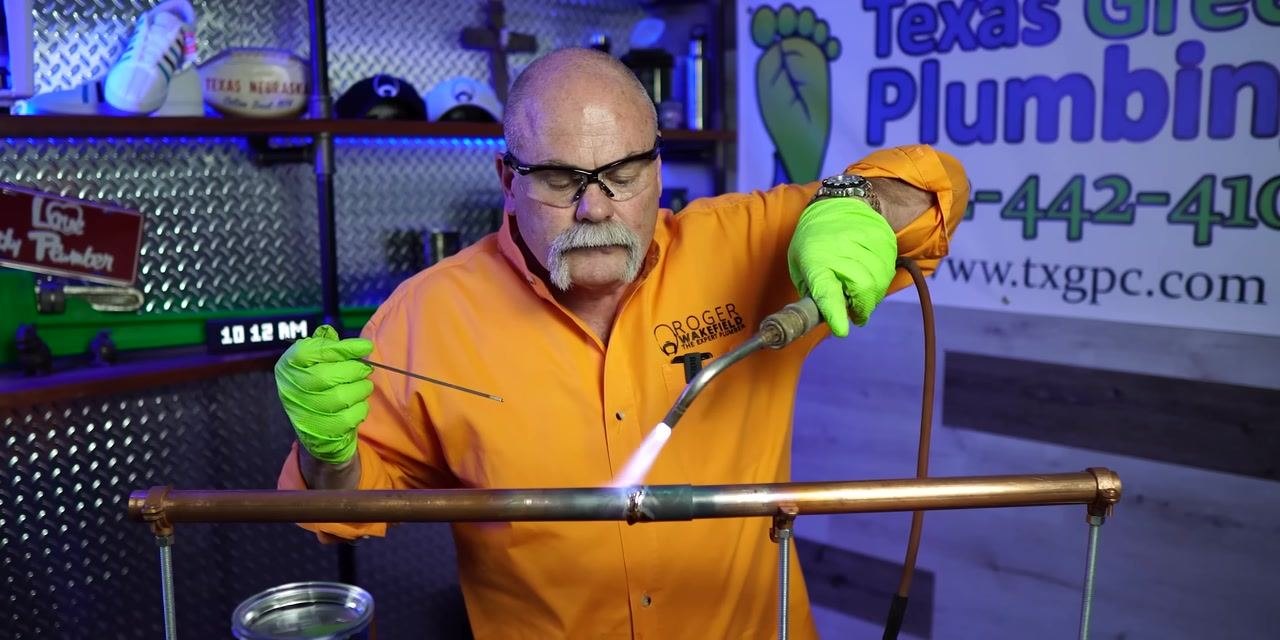
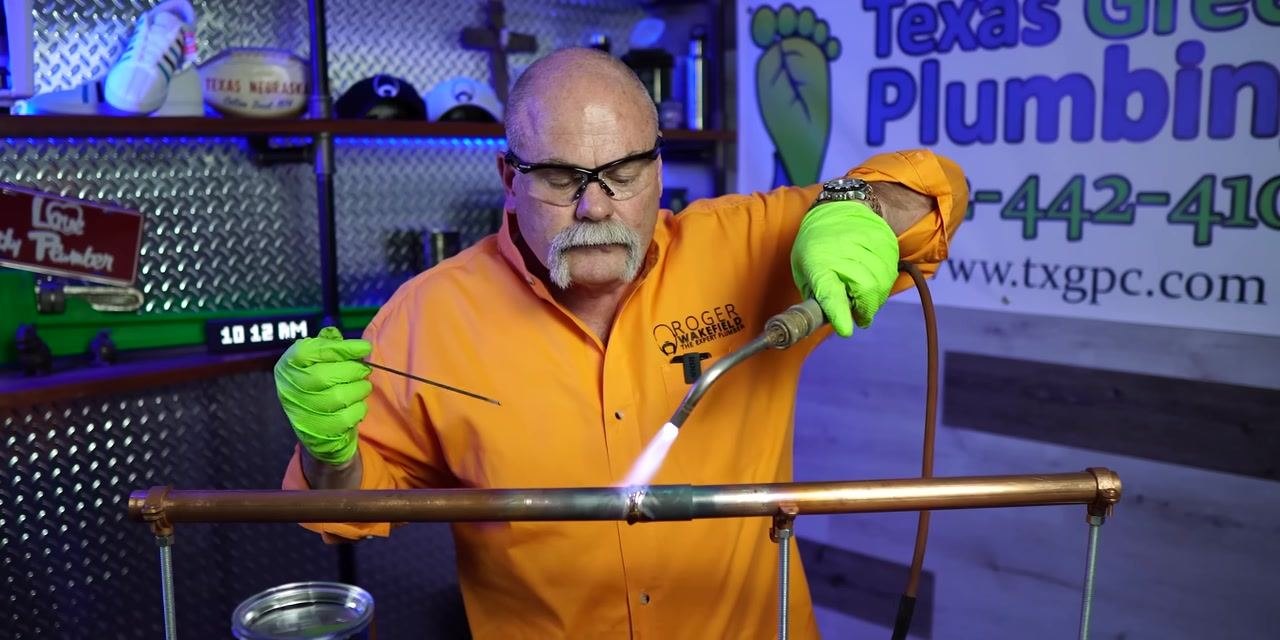
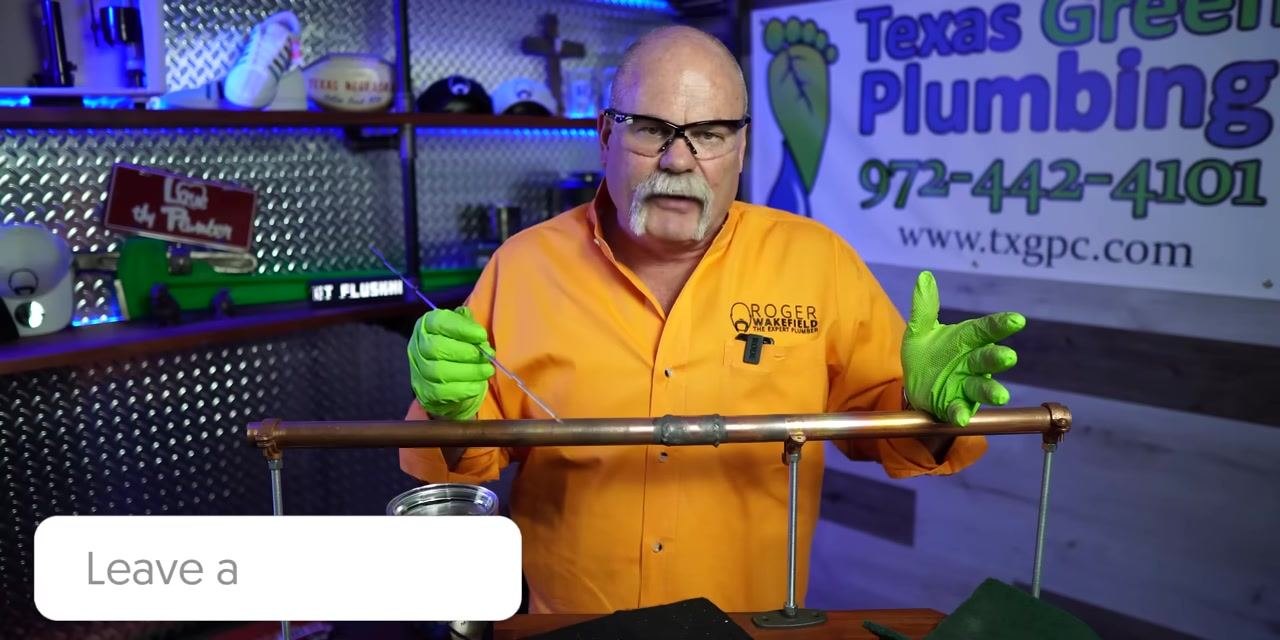
Apply solder to the heated joint. Touch the tip of the solder wire to the heated joint and allow the solder to melt and flow into the joint by capillary action. Move the solder around the circumference of the joint for a complete seal.
-
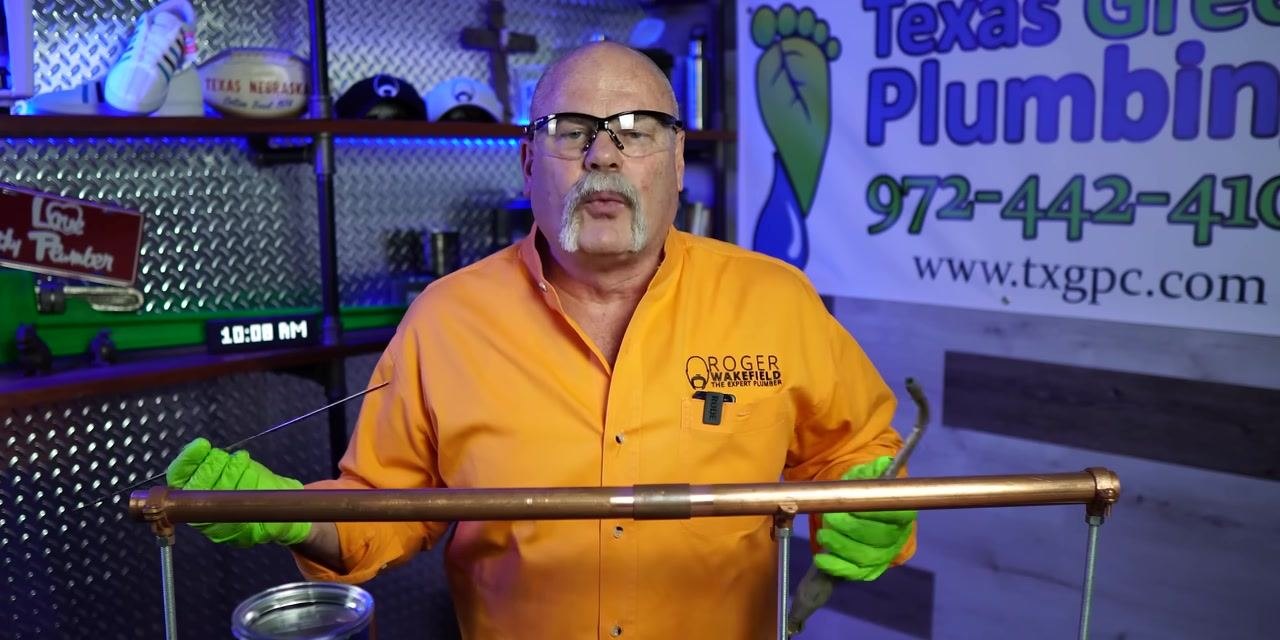
Continue the solder application. Keep the solder wire in one hand and the torch in the other, positioning both near the joint, and confirm the flux container remains nearby with the pipe securely supported.
-
Reheat the pipe joint. Ignite the torch and direct the flame at the joint, moving it in a controlled manner to evenly heat the area where the pipe and fitting meet. Watch for signs the joint is reaching soldering temperature, such as flux bubbling or a change in pipe color, and maintain a safe distance from the flame.
-
Alternate between solder and torch. Position the solder wire near the joint, ready to apply it as soon as the pipe is sufficiently heated, while keeping the workspace safe and organized.
-
Apply heat directly to the joint. Move the torch flame around the circumference of the joint to ensure even heating, holding the solder wire close by and monitoring for visual cues indicating readiness for soldering.
-
Continue heating for full coverage. Move the torch around the joint to ensure the entire circumference is evenly heated, keeping the solder wire ready and watching for changes in color or flux activity.
-
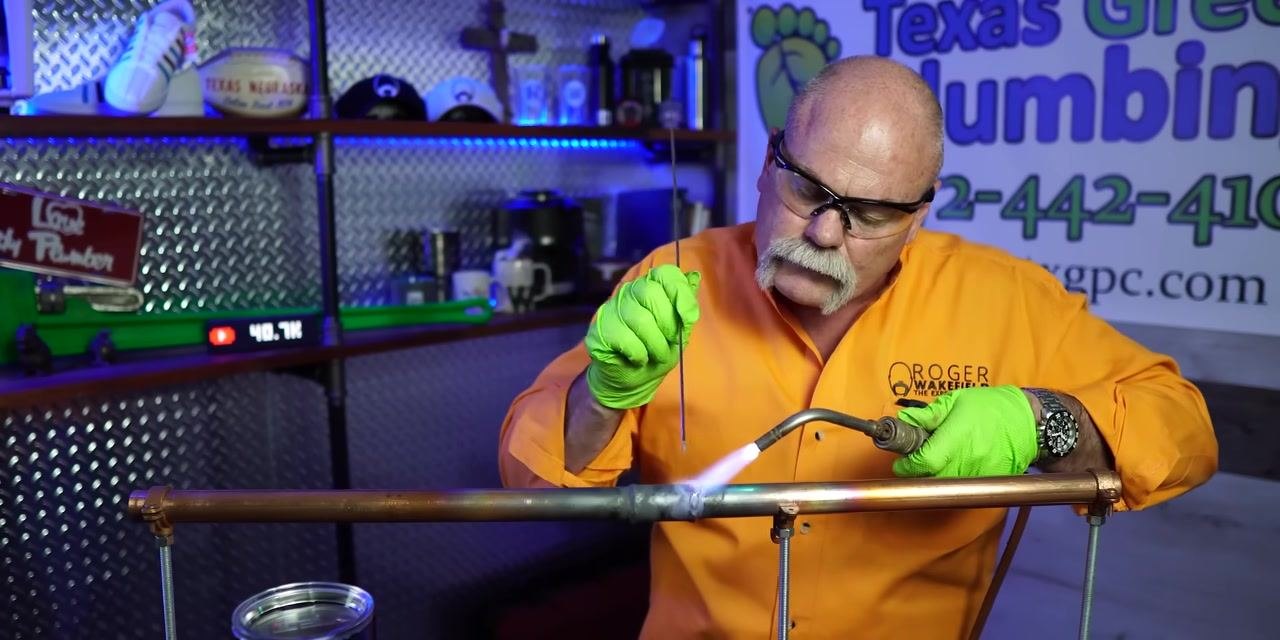
Apply solder to the heated joint. Touch the tip of the solder wire to the joint while maintaining heat with the torch, allowing the solder to melt and flow into the joint. Move the wire around the joint to ensure a complete and even seal, watching for the solder to be drawn into the joint.
-
Alternate heating and soldering. Continue alternating between applying heat with the torch and feeding solder into the joint, ensuring the solder flows smoothly and fills the entire circumference without overheating or burning the pipe.
-
Complete the soldering process. Continue applying solder until the joint is fully sealed and excess solder is visible around the circumference, then remove the torch and allow the joint to cool naturally.
-
Perform a final pass and inspection. Perform a final pass with the torch to ensure the solder is fully melted and the joint is sealed, then remove the torch and visually inspect the joint for gaps or incomplete areas.
-
Allow the joint to cool. Remove the torch from the joint and set it aside safely. Let the soldered joint cool naturally before touching or testing it, and visually inspect it for a smooth, even bead of solder around the entire circumference.
-
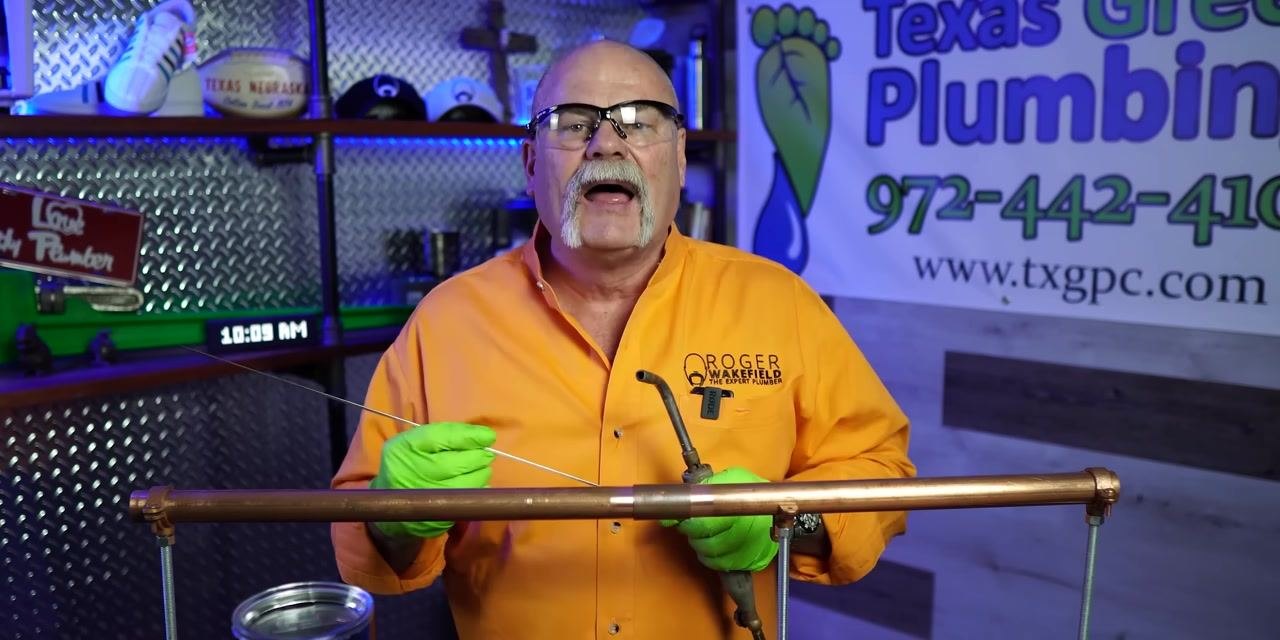
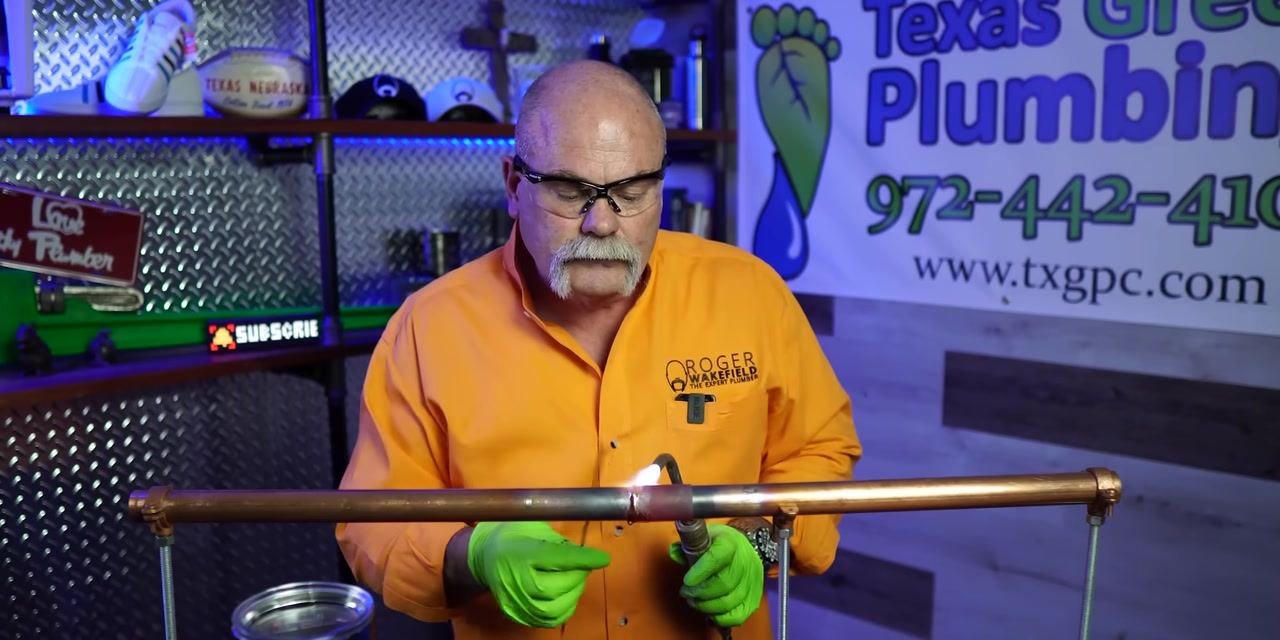
Reapply heat and inspect the joint. Hold the torch in one hand and the solder wire in the other, directing the flame at the area where the pipe and fitting meet. Observe the joint closely to confirm the solder has fully melted and flowed into the connection.
-
Continue heating for complete solder flow. Maintain the torch flame on the joint for even heating around the circumference, keeping the solder wire positioned nearby in case more solder is needed. Keep your hands clear of the direct flame.
-
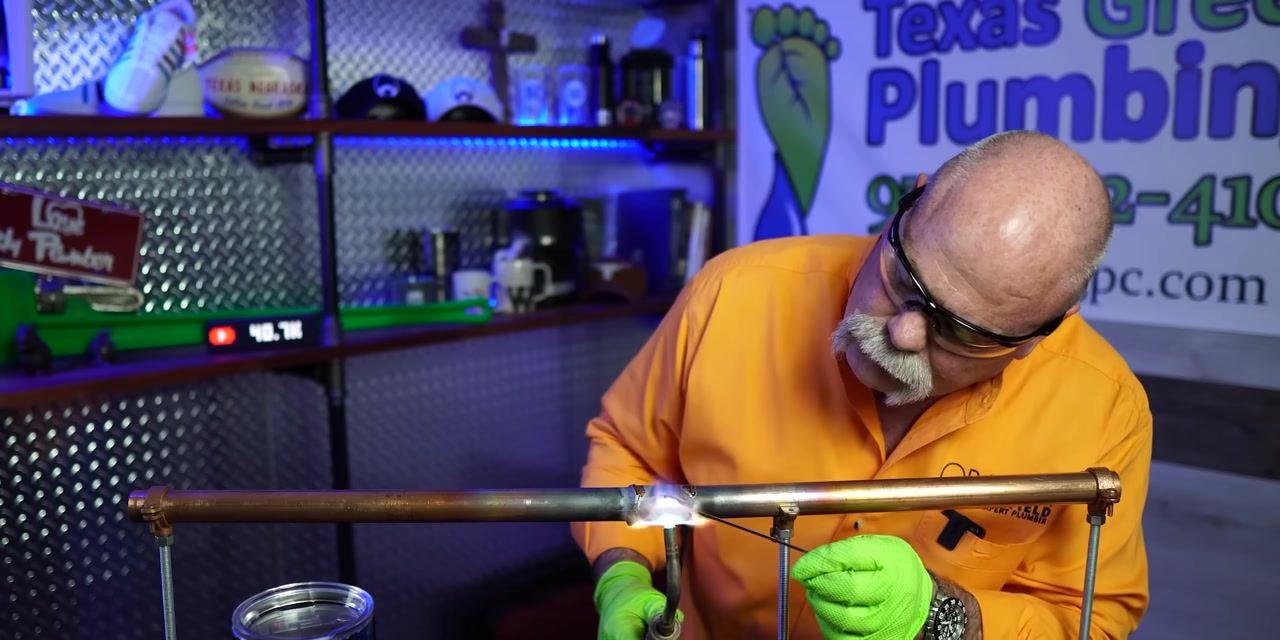
Visually inspect the soldered joint. Lean in and check the joint up close for a smooth, even bead of solder around the entire circumference, confirming there are no visible gaps or voids.
-
Touch up the joint if needed. If any areas appear incomplete, briefly reheat the joint with the torch and apply additional solder as needed to fill any gaps. Use controlled, precise movements to avoid overheating the pipe.
-
Perform final heating and solder application. Apply heat directly to the joint while feeding solder into it as the pipe reaches the correct temperature, watching for the solder to flow smoothly and fill the joint completely.
-
Inspect the joint from multiple angles. Lean in and check the joint from different angles to confirm a uniform bead of solder, reheating and adding solder to any areas that appear incomplete.
-
Allow the joint to cool and observe the result. Remove the torch from the joint and hold it safely away from the pipe. Stand back and observe the finished joint as it cools, confirming the solder bead is smooth and continuous.
-
Perform a final solder application if needed. If any areas require additional solder, reapply the torch flame and feed more solder into the joint until it flows evenly and fills any remaining gaps.
-
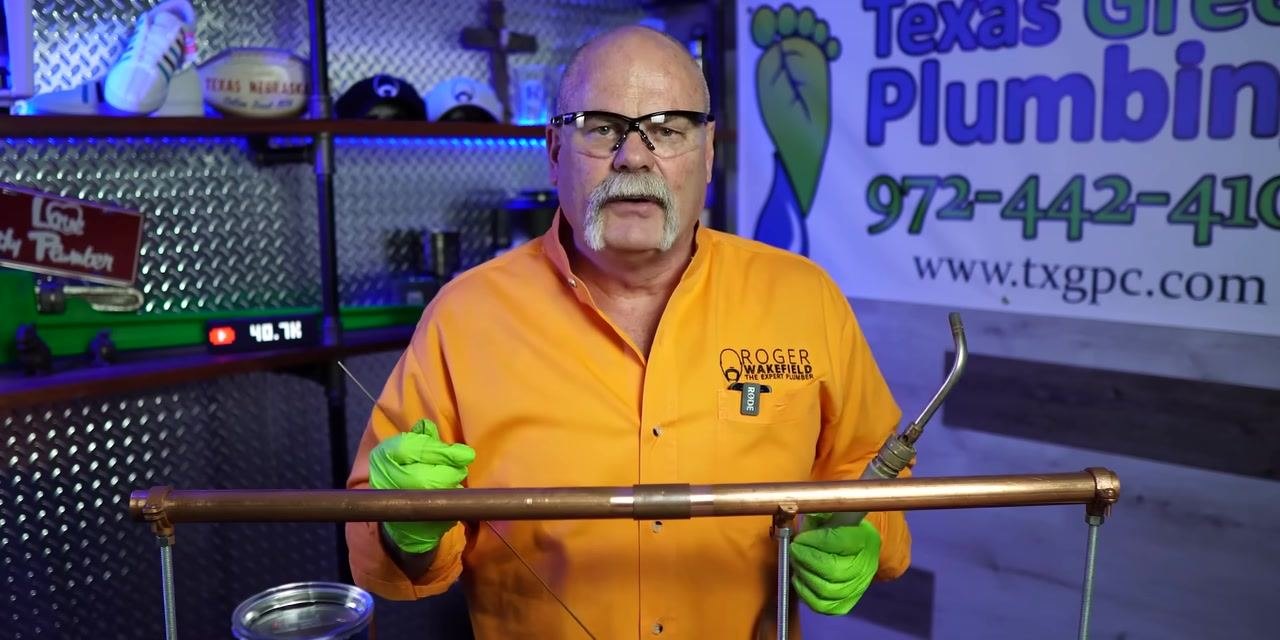
Perform a final touch-up and inspection. Hold the torch in one hand and the solder wire in the other to complete any last touch-ups, carefully inspecting the joint to confirm a flawless, leak-free seal.
-
Conclude the soldering process. Turn off the torch and set it aside in a safe location. Allow the joint to cool completely before handling or testing, and perform a final visual inspection to confirm the quality and integrity of the joint.
Completing and reviewing the solder joint
-
Prepare the work area. Confirm the copper pipe is securely mounted horizontally using pipe supports, wear safety glasses and green protective gloves, and have a propane or MAP gas torch, soldering wire, and a container ready on the workbench.
-
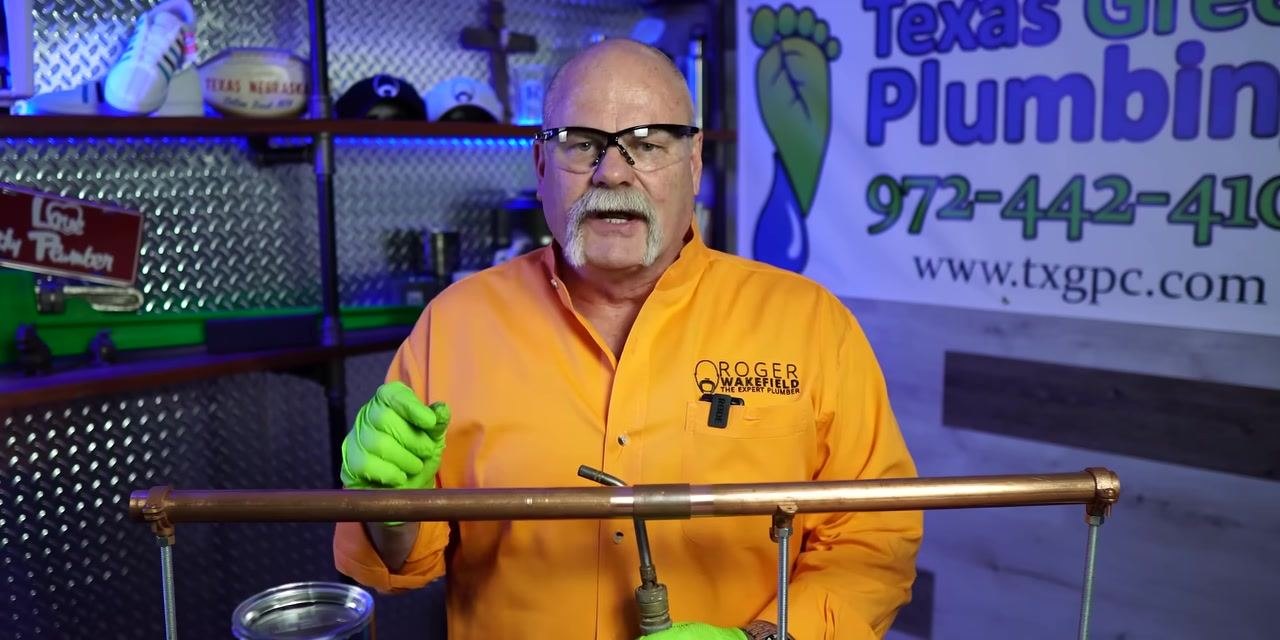
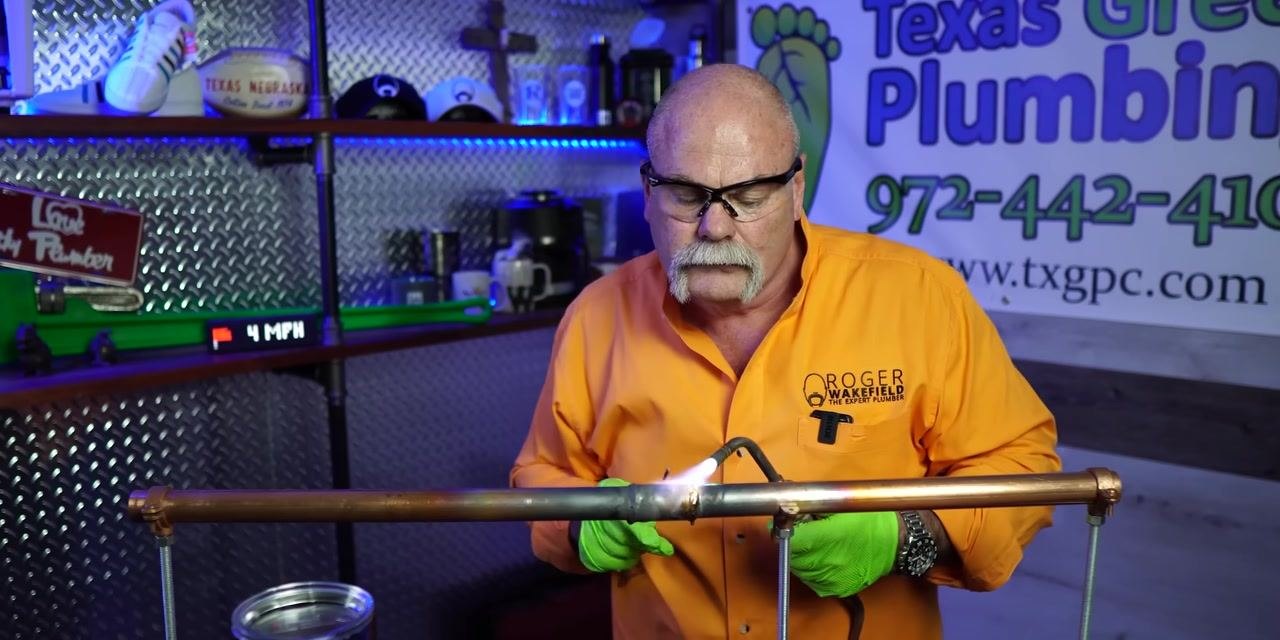
Begin heating the pipe joint. Ignite the torch and adjust the flame. Hold the torch in your dominant hand and direct the flame onto the pipe joint to begin heating it evenly, holding the solder wire in your other hand ready for application. Keep the flame moving to avoid overheating any one spot.
-
Test the pipe temperature and apply solder. Periodically bring the solder wire close to the joint to test if the pipe is hot enough for soldering; the solder should begin to melt on contact. Once the pipe is sufficiently heated, touch the solder wire to the joint and allow it to melt and flow into the joint by capillary action, moving the wire around the circumference for even distribution.
-
Inspect and finish soldering. Carefully inspect the joint to confirm solder has fully filled the seam, then remove the torch and allow the joint to cool naturally. Wipe away any excess solder or residue with a clean cloth if necessary.
-
Allow the joint to cool. Set aside the torch and solder wire, and wait for the joint to cool before handling or testing it. Do not touch the joint immediately after soldering to avoid burns.
-
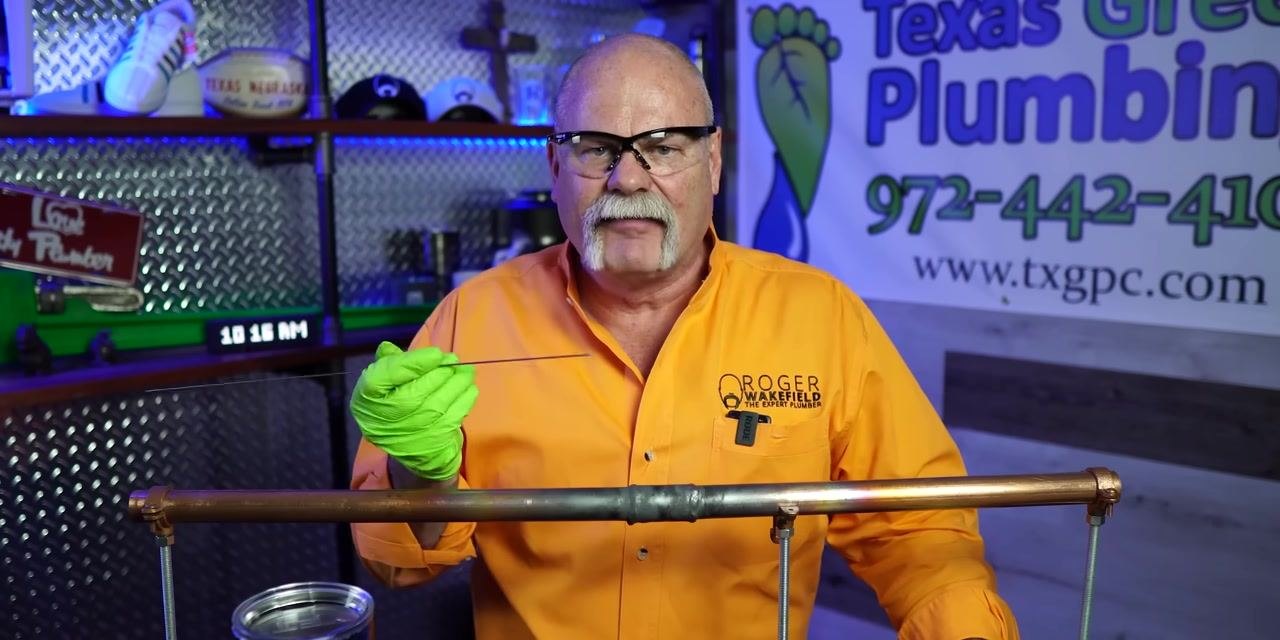
Review the completed joint. Visually inspect the joint for a smooth, shiny solder bead all around, confirming there are no gaps, holes, or missed spots.
Cleaning and inspecting the soldered joint
-
Prepare for cleaning and inspection. Wear safety glasses and green protective gloves, and confirm the workspace remains organized, with a green scouring pad or cloth and inspection tools within reach.
-
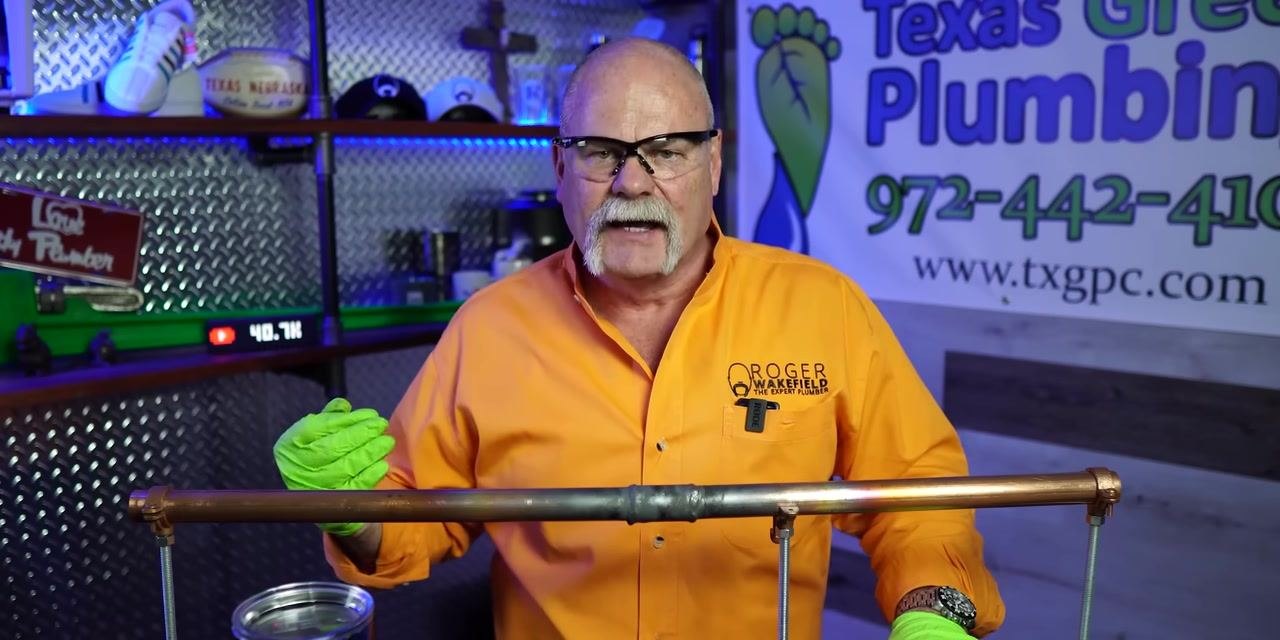
Visually inspect the soldered joint. Examine the soldered area for a smooth, continuous bead of solder around the entire circumference. Look for any visible gaps, holes, or uneven spots, holding the pipe at eye level if necessary to check all sides.
-
Confirm the key inspection points. Look for a shiny, even solder bead, which indicates a strong, leak-free joint, and confirm there are no sharp protrusions or excess solder that could interfere with pipe function.
-
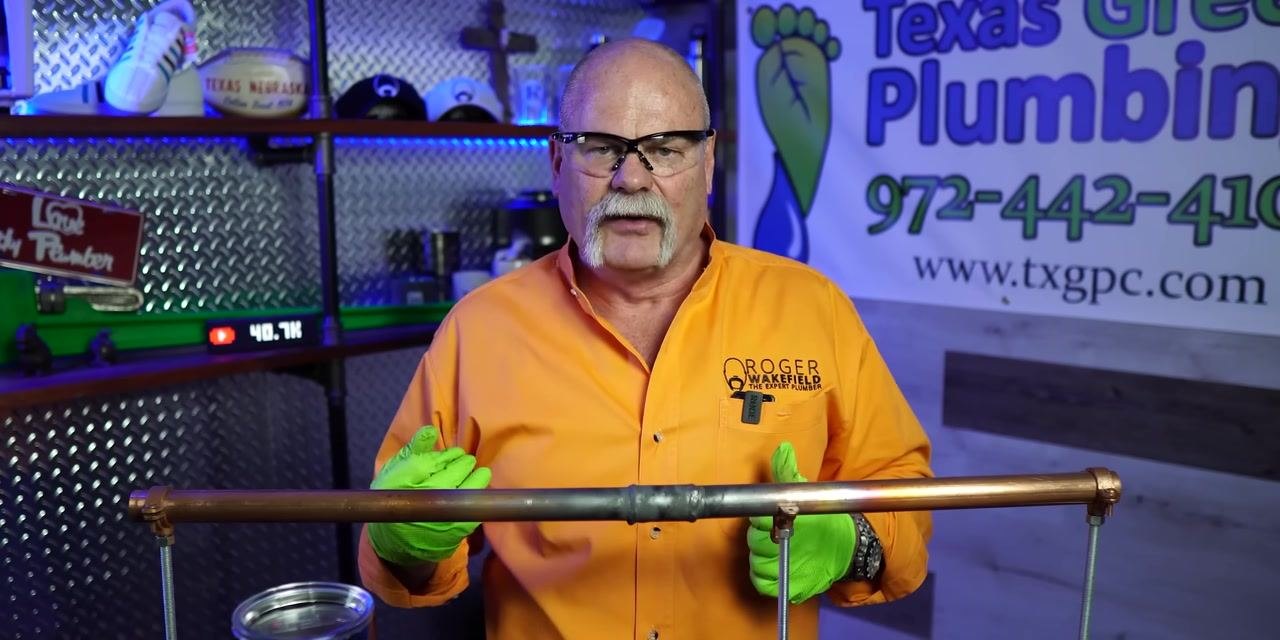
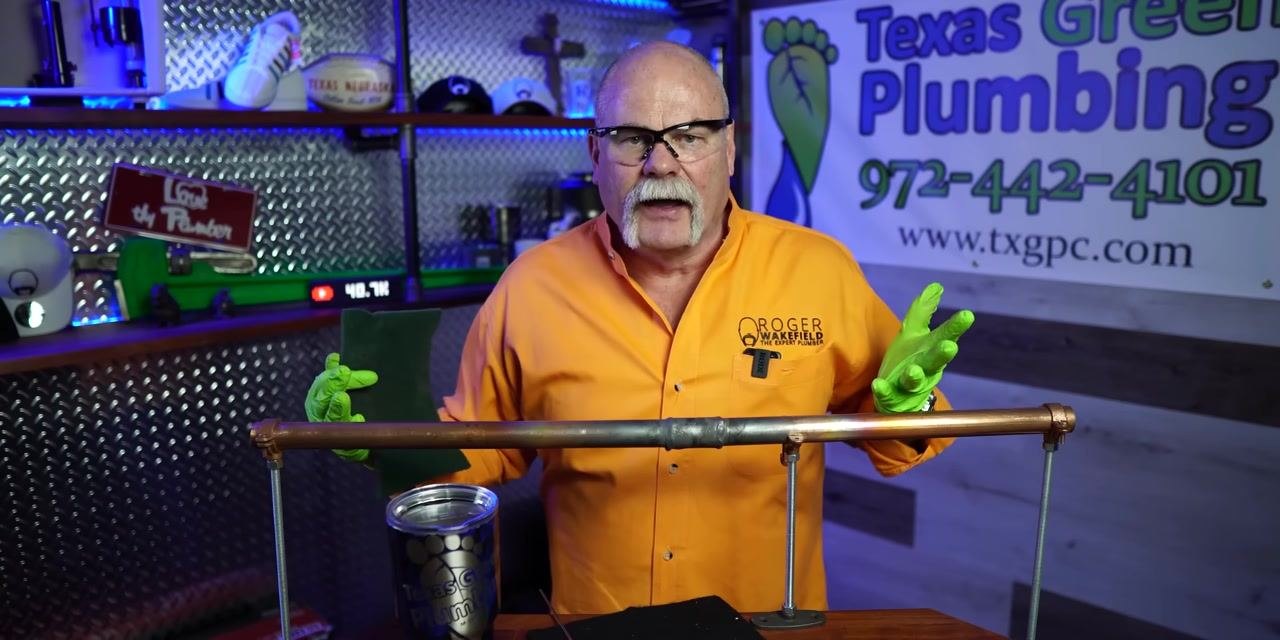
Prepare cleaning materials. Pick up a green scouring pad or cleaning cloth from the workbench, holding it in one hand and ready to clean the joint.
-
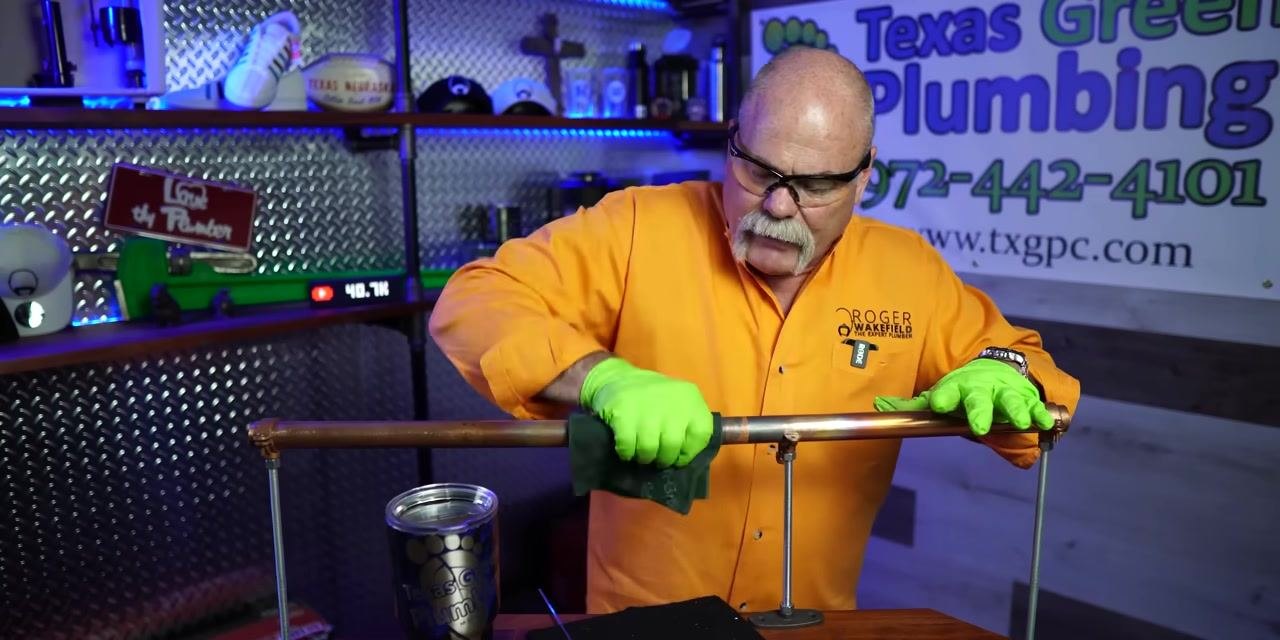
Clean the soldered joint. Use the scouring pad or cloth to gently wipe the soldered area, moving it around the circumference of the joint to remove flux residue, oxidation, or excess solder. Apply light pressure to avoid damaging the joint.
-
Continue cleaning all sides. Rotate the pad and clean all accessible surfaces of the joint, ensuring the entire soldered area is free of residue and has a clean, polished appearance.
-
Perform a final inspection with a flashlight. Visually inspect the cleaned joint for a uniform, shiny finish, confirming all residue has been removed and the solder bead is intact.
-
Review the solder application technique. Hold the solder wire near the joint to review proper application technique, emphasizing even solder distribution and proper cleaning for a professional finish.
Final verification
-
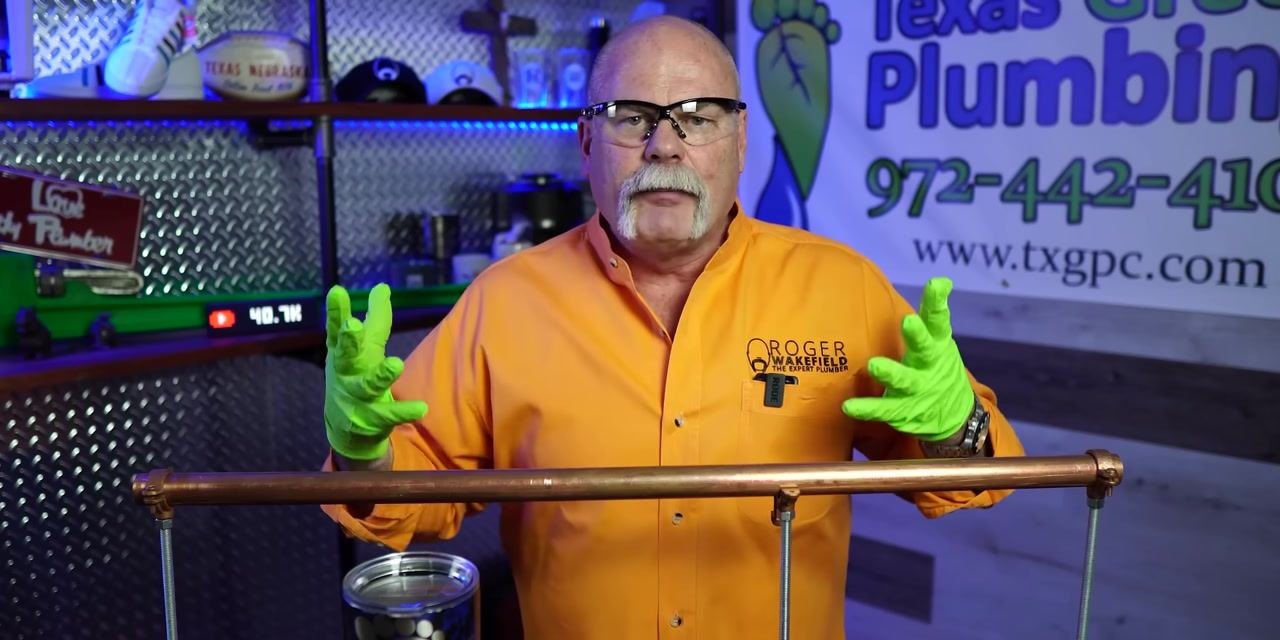
Display and confirm the finished joint. Position both hands near the pipe and look down at the joint to visually inspect the final result, confirming it is clean, shiny, and free of excess solder or residue.
-
Confirm the joint is ready for use. Ensure the joint has cooled completely, that the solder bead is smooth and continuous around the full circumference, and that no gaps, holes, or missed spots remain before pressurizing or using the pipe system.
Verification checklist
Before putting the joint into service, confirm the following:
- The pipe surface was fully cleaned with the pipe cleaning tool, abrasive cloth, and abrasive pad before assembly.
- Flux was applied evenly to the fitting or pipe end, and the fitting was fully seated and aligned.
- The joint was heated evenly around its full circumference before solder was applied.
- Solder was drawn into the joint by capillary action, forming a smooth, continuous, shiny bead with no gaps, holes, or voids.
- The joint was allowed to cool completely before handling.
- The finished joint was cleaned of flux residue and oxidation and inspected visually, including with a flashlight if needed.
Safety notes
- Always wear safety glasses and protective gloves when cleaning, fluxing, heating, or soldering copper pipe.
- Keep the workspace well-lit, organized, and free of flammable materials, with adequate ventilation.
- Maintain a safe distance from the torch flame until you are ready to apply heat, and avoid overheating any one area of the pipe.
- Do not touch a soldered joint immediately after heating; allow it to cool naturally before handling or testing.
- Double-check all connections before pressurizing or using the pipe system.
What's next
After the joint has fully cooled and passed final inspection, proceed to any additional plumbing steps required for your installation, such as pressure testing the completed pipe assembly.
Generation details: cost, quality tiers
Docsie billed 7,500 credits ($5.25) to analyze this 15-minute video at standard quality. The rewrite, template fill and Word/PDF exports were included. The same video at each quality tier:
| Quality | Frames sampled | Credits | Approx. cost |
|---|---|---|---|
| Draft | every 16-30 s | 3,750 | $2.62 |
| Standard (this guide) | every 8-15 s | 7,500 | $5.25 |
| Detailed | every 4-7 s | 15,000 | $10.50 |
| Ultra | every 1-3 s | 30,000 | $21.00 |
Credits priced at $0.70 per 1,000; plans include a monthly allowance. Enterprise customers on on-premise or bring-your-own-model deployments run this on their own inference and pay no per-video credits.
Generated by Docsie Video-to-Docs on 2026-09-20 from a 14-minute video. Screenshots are frames from the source video and belong to their creator, Roger Wakefield Plumbing Education, whose original is embedded above. If you own this video and want the guide removed or credited differently, contact us and we will act within one business day.