
How to Track a Conveyor Belt
This procedure explains how to track a conveyor belt correctly by first tensioning it evenly and then fine-tuning its position while it runs. Proper tensioning keeps the belt centered on the pulleys, and the tracking adjustments described below correct any drift once the conveyor is operating. Follow each step in order, verify the result before moving to the next step, and keep both sides of the conveyor even throughout the process.
Video: LEWCO Conveyor Belt Tension and Tracking by LEWCOCONVEYOR (2013). All credit for the demonstration goes to the creator; watch the original on YouTube. The written guide below was generated from this video by Docsie. Creator? Request a change or removal.
This procedure explains how to track a conveyor belt correctly by first tensioning it evenly and then fine-tuning its position while it runs. Proper tensioning keeps the belt centered on the pulleys, and the tracking adjustments described below correct any drift once the conveyor is operating. Follow each step in order, verify the result before moving to the next step, and keep both sides of the conveyor even throughout the process.
Purpose
This procedure ensures a conveyor belt is properly tensioned and tracked so that it runs centered on the pulleys and rollers, without slipping, drifting, or edge damage.
Scope
This procedure applies to conveyors with adjustable tension screws at both ends of the frame and an adjustable roller bracket at the drive end for fine tracking adjustments.
Required equipment
- 3/8" ratchet
- 12-point 3/4" socket
- Tape measure
- Wrench (for drive-end tracking adjustments)
Safety precautions
- Perform all setup and initial adjustment steps with the conveyor powered off and locked out.
- Make all tension and tracking adjustments in small, equal increments, and verify the result before continuing.
- Do not overtighten tension screws or adjustment bolts, as this can damage the belt or the conveyor frame.
Part 1: Level, square, and tension the conveyor belt
- Verify conveyor level and squareness Ensure the conveyor is level with the floor and that the frame is square to itself. Inspect both ends to confirm there is no sagging up or down, and make sure the conveyor bed is level at both ends. Confirm that the pulleys are centered and split evenly between the frame, and repeat these checks at the drive end. Pulleys at both ends must be aligned and centered.
-
Check the initial belt tension Observe whether the belt is loose enough to slide side to side on the pulley, and center the belt so it sits in the middle of the pulley split.
-
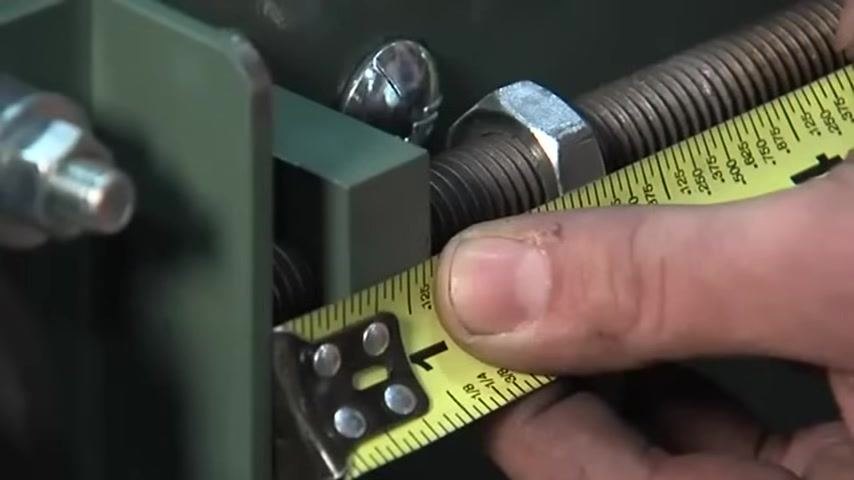
Begin the tension adjustment Locate the tension adjustment screws on both sides of the conveyor. Using a 3/8" ratchet with a 12-point 3/4" socket, turn both tension screws out evenly to maintain squareness. Start with a common adjustment value, such as turning each screw out by 1/2 inch.
-
Measure and confirm the adjustment Use a tape measure to verify that each tension screw has been adjusted by exactly 1/2 inch, and ensure both sides are adjusted equally to keep the pulley square.
-
Check belt tension and tracking Press on the belt and observe its movement to check the tension. Confirm that the belt remains centered on the pulley. If needed, repeat the adjustment in small increments while keeping both sides even.
-
Repeat as needed Continue adjusting and checking until the belt is properly tensioned and tracks straight down the center of the conveyor.
Note: Always use the specified tools and measurement values, such as 1/2 inch per side, as described. Proper leveling, squareness, and even tensioning are critical for safe and efficient conveyor operation.
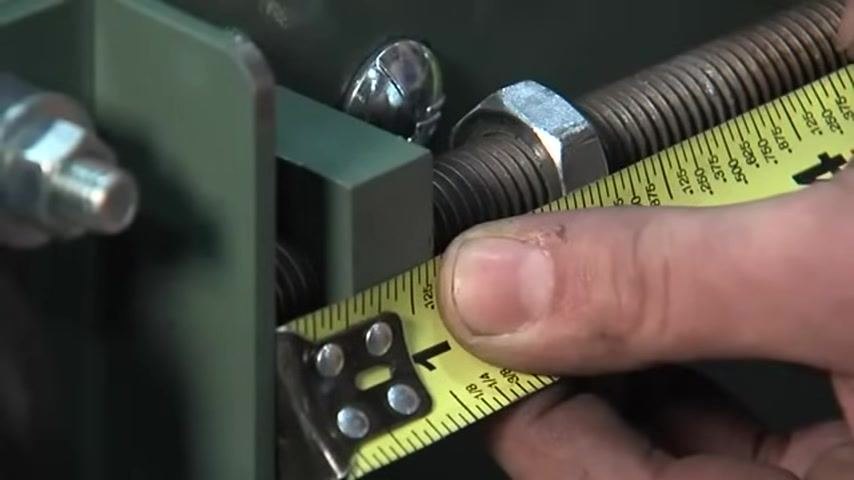
- Confirm whether 1/2 inch of tension is sufficient With both tension screws set to 1/2 inch, try moving the belt side to side by hand. If it still moves easily, the tension is not yet sufficient.
-
Increase tension to 3/4 inch Adjust each tension screw to 3/4 inch, check that both sides match, and test the belt by moving it side to side. If it still moves easily, continue tensioning.
-
Increase tension to 1 inch Increase both screws to 1 inch, always matching the adjustment on both sides to keep the pulley square. Check the belt tension by hand after this adjustment, and if it is still loose, continue the process, increasing both screws equally.
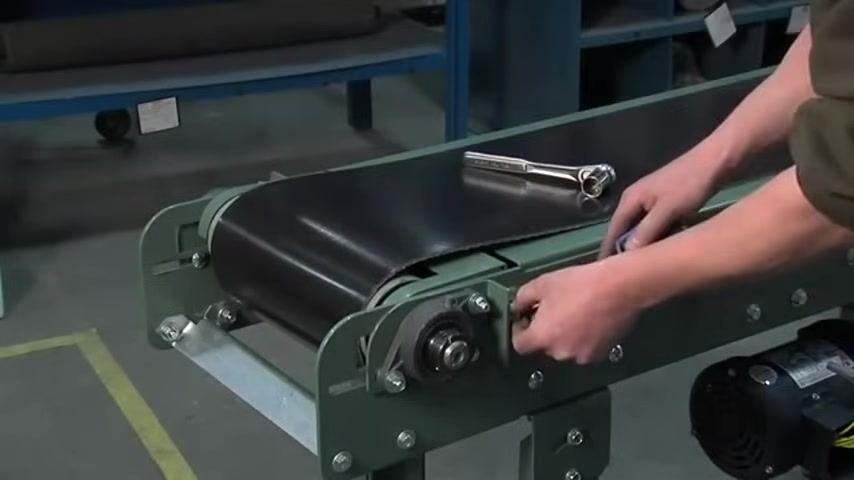
- Continue increasing tension in measured increments Use the tape measure to move to 1-1/4 inches, then 1-1/2 inches, and beyond, confirming that both sides are always set to the same measurement.
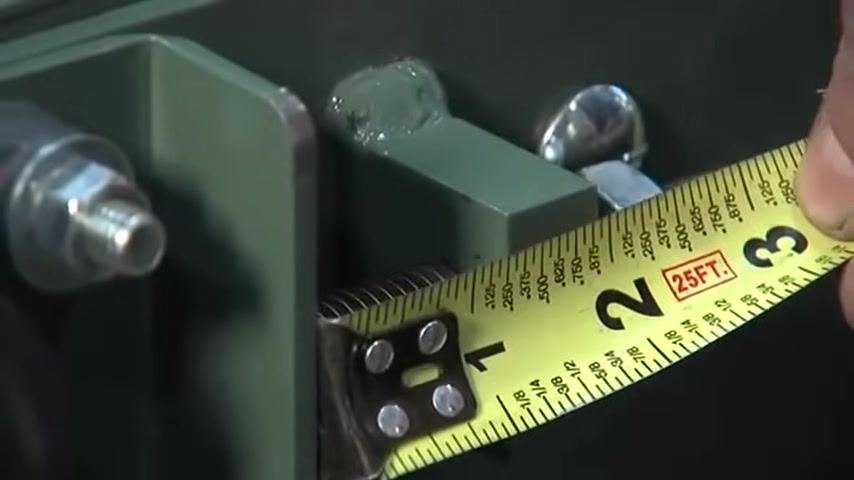
- Confirm the belt cannot be moved by hand Continue this process until the belt is properly tensioned and cannot be moved side to side by hand. Final adjustments may land just over 1-1/2 inches, around 1-9/16 inches, on each side.
Tips: Always work in small increments to avoid over-tensioning. Adjust both sides equally at every step to maintain pulley alignment and prevent tracking issues, and use a tape measure for every adjustment to guarantee accuracy.
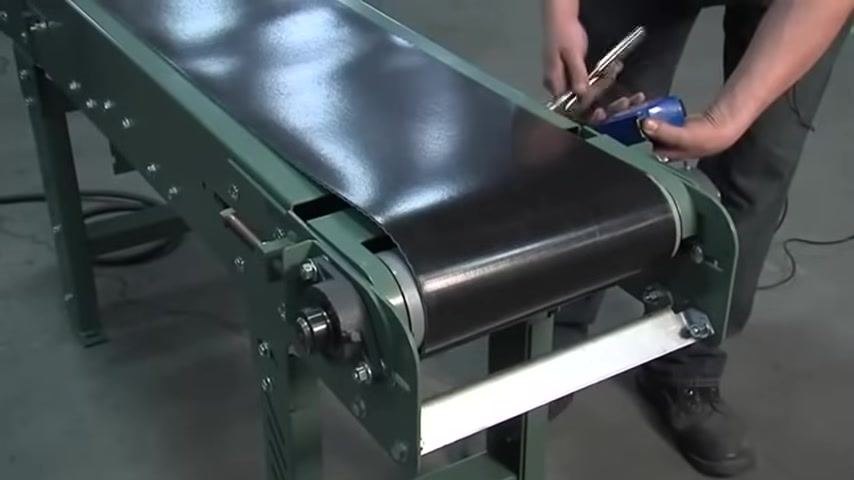
- Re-check the tension screw setting Measure the current adjustment on the tension screw; for example, the reading may show 9/16 inch. If the belt can still be moved side to side, continue tensioning.
-
Increase the adjustment further Adjust the tension screw to 1-3/4 inches as needed, always checking both sides for an equal adjustment.
-
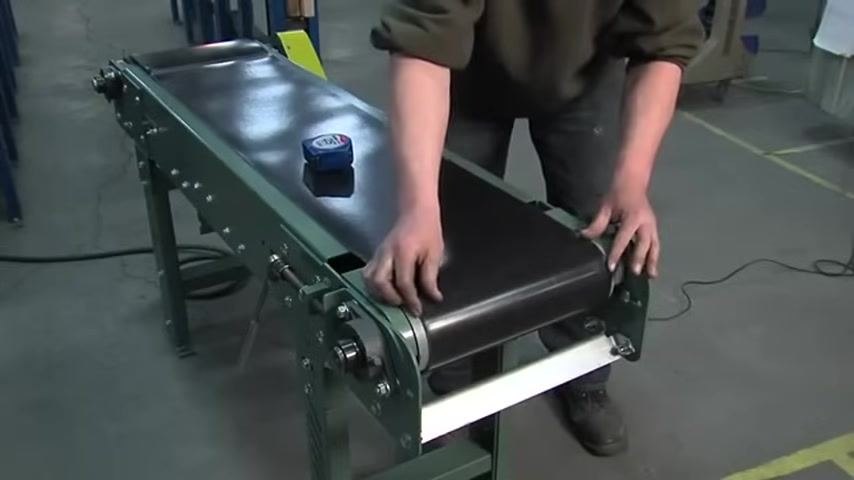
Test the belt tension by hand Attempt to move the belt side to side. If it still moves easily, further tensioning is required.
-
Continue tensioning if the belt is still loose If play remains, repeat the process by adjusting both sides equally in small increments.
-
Measure both sides for consistency Use the tape measure to confirm both tension screws are set to 2 inches.
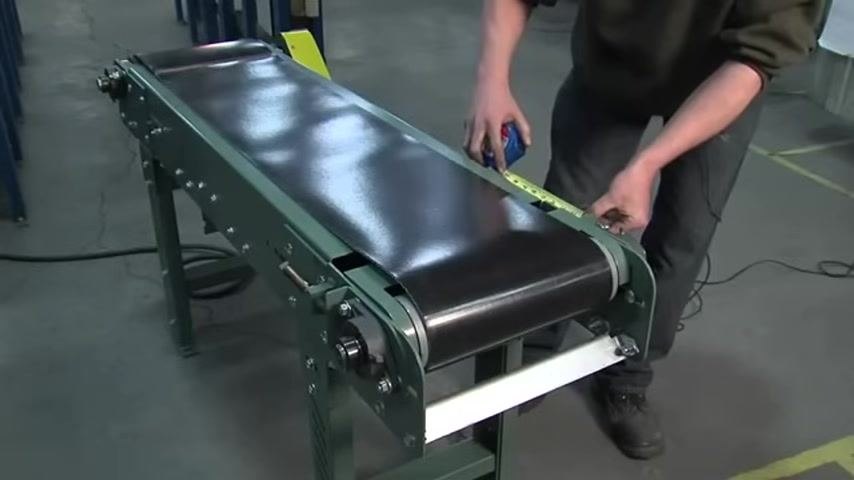
- Check for remaining play If there is still a little play, continue adjusting in 1/4 inch increments, always working evenly across both sides.
-
Adjust both sides in 1/4 inch increments Use a ratchet to make small, equal adjustments to each tension screw.
-
Reach the target tension Measure and adjust until the desired tension is reached, for example increasing the adjustment to 2-1/4 inches on both sides.
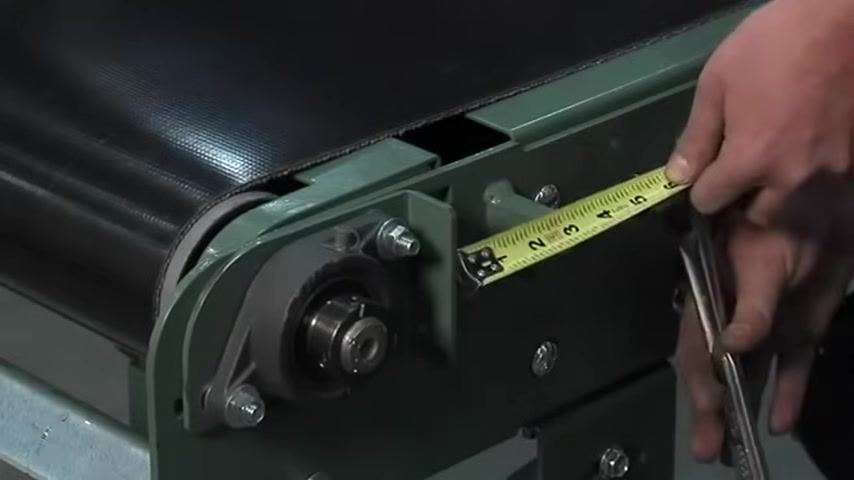
- Perform the final tension check Confirm that the belt can no longer be moved side to side on the pulley, and use the tape measure to verify the final adjustment, such as 2-1/4 inches.
Tips: Use small, equal increments, such as 1/4 inch, on both sides to avoid over-tensioning and maintain pulley alignment. Keep checking belt tension by hand after each adjustment. The belt is properly tensioned once it cannot be moved side to side and both sides are equal.
- Visually confirm proper belt tension Inspect the belt and pulley assembly to ensure the belt is centered and sits evenly across its width, with a smooth surface, no visible slack or sagging, and an edge that runs parallel to the pulley edge. Verify both sides of the tension adjustment remain equal, and inspect for uneven wear or misalignment before proceeding.
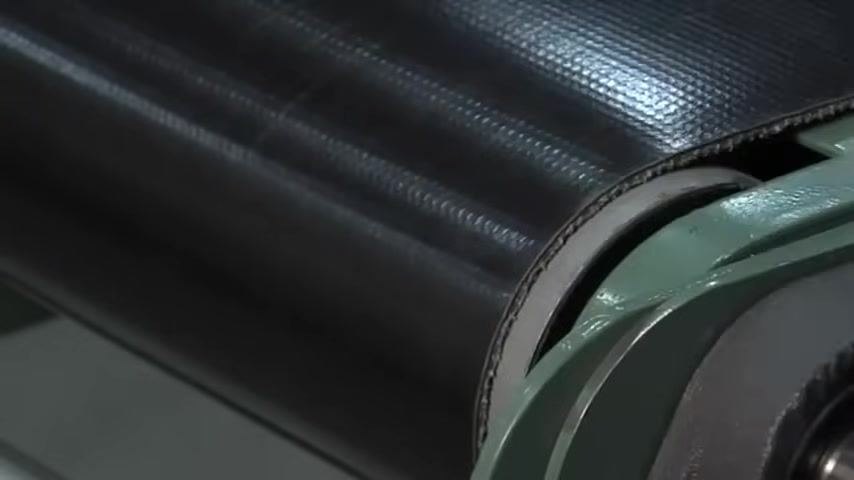
Tips: A properly tensioned belt runs smoothly and quietly, with no visible side-to-side movement or vibration. Double-check all fasteners and adjustment points before starting the conveyor.
Part 2: Track the conveyor belt during operation
Once the belt is evenly tensioned, start the conveyor and use the following steps to track a conveyor belt so it runs straight and centered while operating.
- Observe how the belt tracks Look at the belt from the end to see if it is centered or drifting to one side. The belt should move smoothly without veering off the rollers.
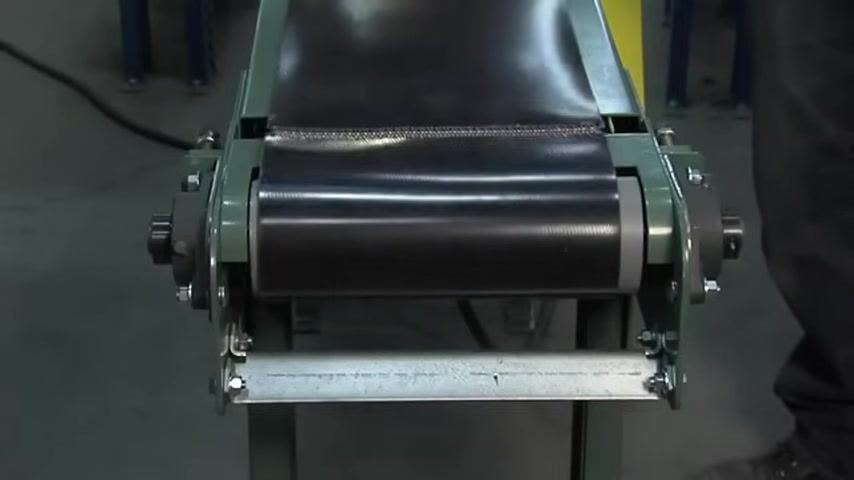
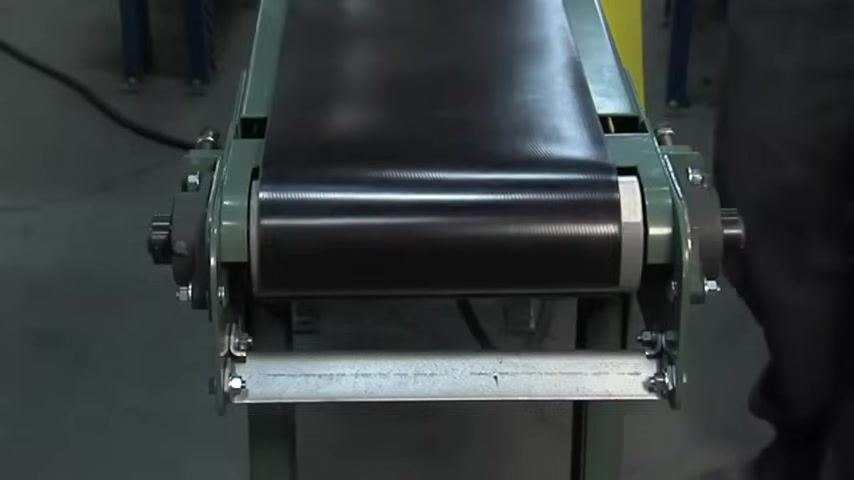
- Let the belt run before adjusting Allow the belt to run for a short period to see if it continues to track off to one side. Do not make immediate adjustments; let the belt settle so you can observe its natural tracking behavior.
-
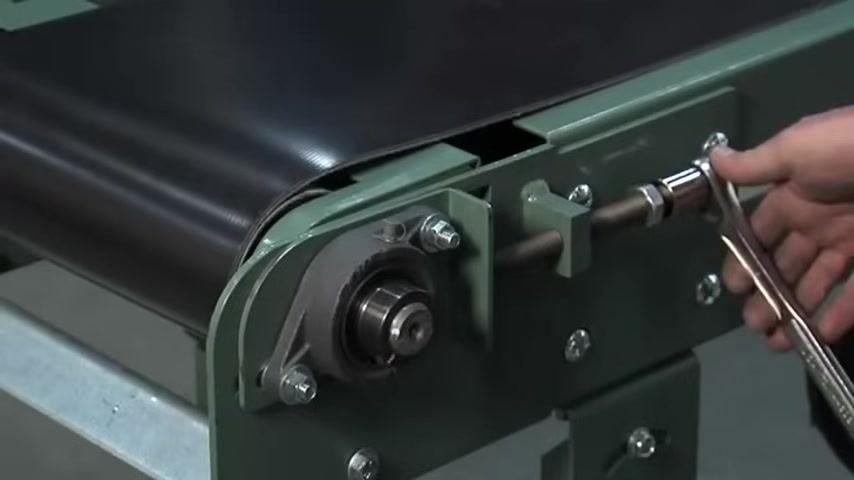
Prepare to adjust the corresponding tension screw If the belt tracks off to one side, identify the tension adjustment screw and nut on the side where the belt is drifting, and prepare a wrench for the adjustment.
-
Tighten the tension screw to bring the belt toward center Slightly tighten the tension screw on the side where the belt is drifting, turning it a small amount at a time, and observe the belt's response after each adjustment.
-
Monitor the belt and fine-tune as needed If the belt moves back toward center, continue monitoring its position. If it overcorrects and moves too far the other way, back the screw off slightly, and repeat small adjustments until the belt is centered.
-
Allow time for the adjustment to take effect Belt speed affects how quickly it responds to tension changes: faster belts react more quickly, while slower belts may take more time to show the effects of an adjustment. Be patient and let the belt run for a few moments after each change.
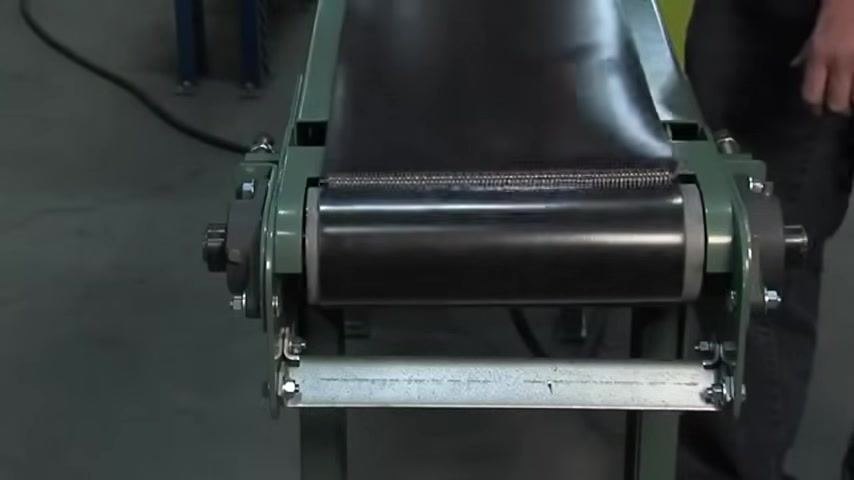
- Confirm the belt tracks properly Continue making small adjustments and observing the belt until it tracks properly and remains centered on the pulley. Stand back and visually confirm the belt is running straight.
Tips: Always make small adjustments and observe the results before proceeding. Do not overtighten the tension screws, as this can damage the belt or the conveyor frame. Regularly check belt tracking during operation to ensure continued alignment.
Part 3: Fine-tune tracking at the drive end
- Watch for the belt starting to drift Watch the belt closely for signs that it is moving toward one side of the roller. Any deviation from center indicates further adjustment is needed.
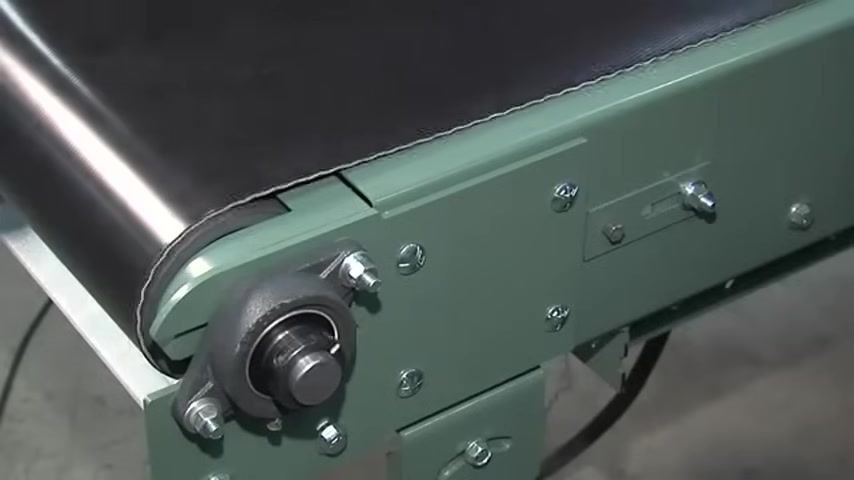
- Locate the drive-end adjustment screw Identify the adjustment screw and nut on the conveyor frame near the drive end, and use a wrench to make small, precise adjustments that help keep the belt tracking properly.
-
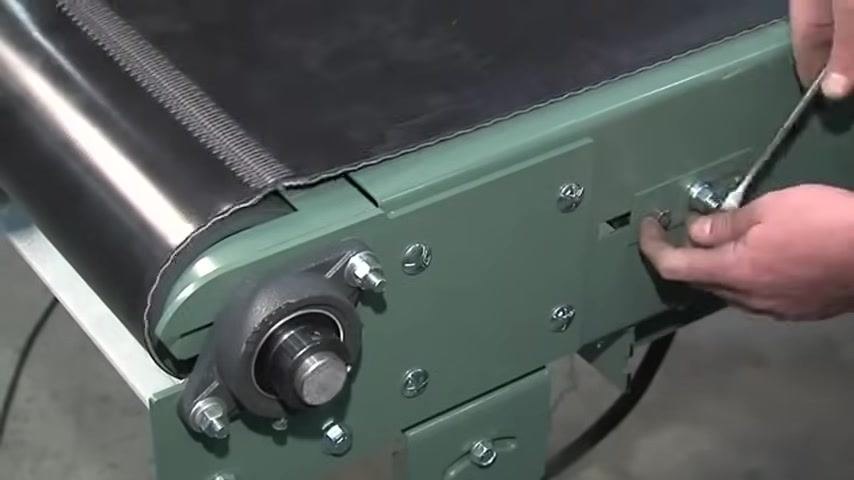
Loosen the bolt and reposition the roller Loosen the bolt on the adjustment bracket using a wrench, then pull the roller toward you to shift the belt's position and help realign it with the center of the roller.
-
Tighten the adjustment bolt After repositioning the roller, use a wrench to securely tighten the bolt so the roller is held firmly in its new position.
-
Observe the effect of the adjustment Allow the belt to run for a short period and watch for changes in its position, confirming it is moving toward the center.
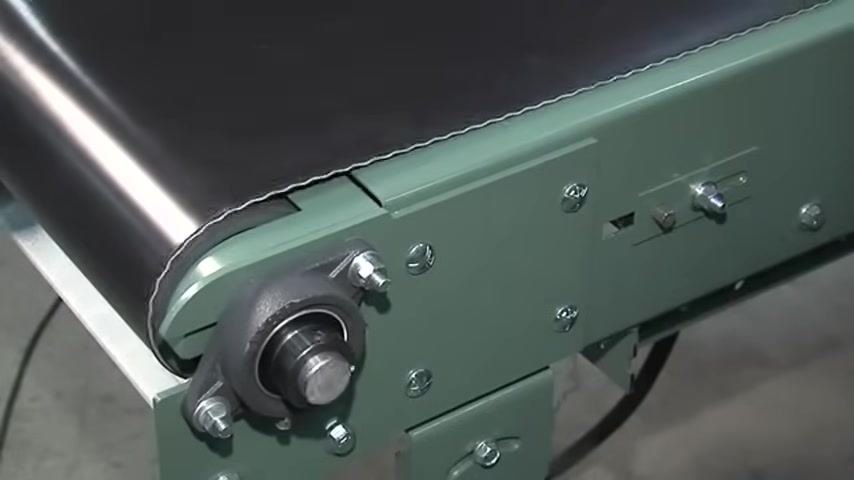
- Continue with patient, incremental adjustments Tracking may require several small changes, so avoid making large adjustments all at once.
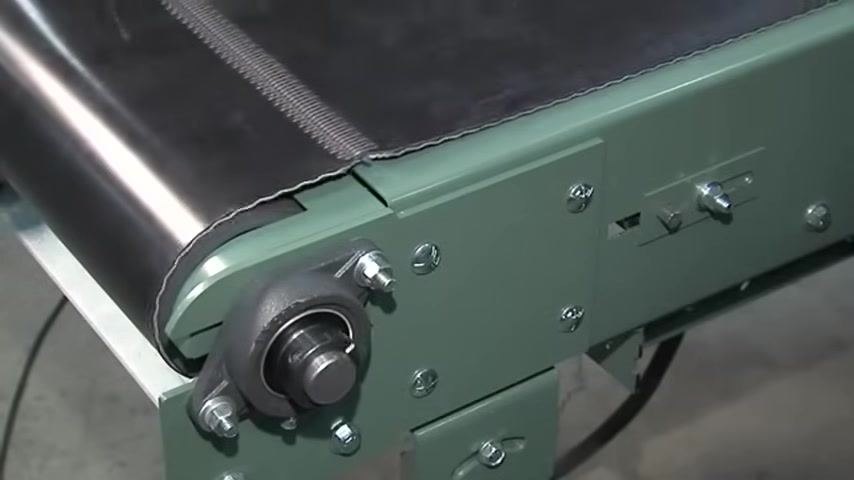
- Repeat adjusting, tightening, and observing as needed It may take some time and effort to achieve perfect tracking; repeat the process until the belt is well aligned.
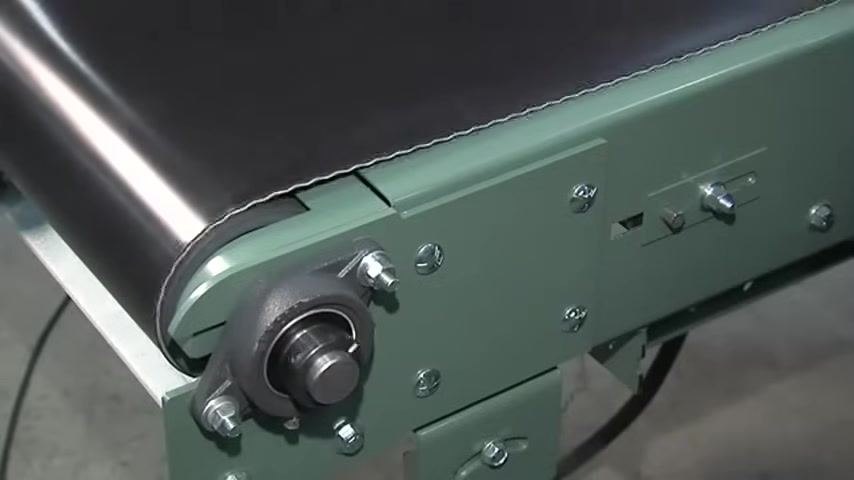
-
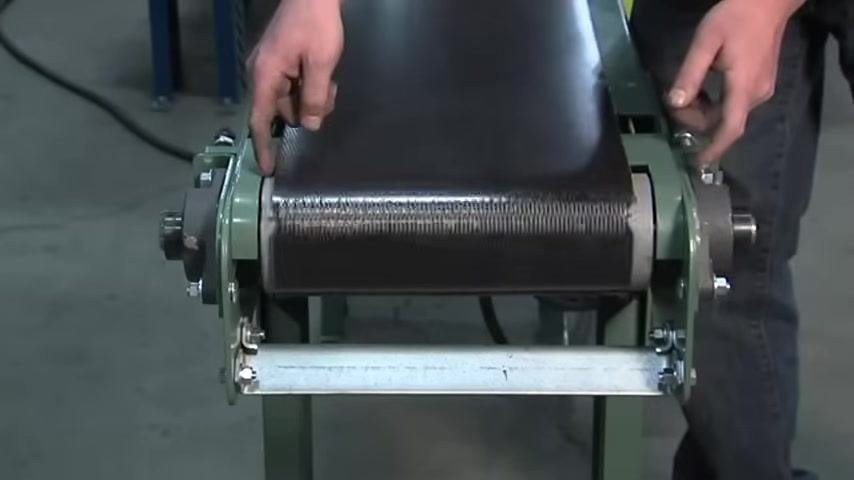
Check the belt from the end of the conveyor Stand at the end of the conveyor and look straight down the belt to ensure it is running straight and not veering off to either side.
-
Inspect the belt edges for wear or damage Confirm the belt is not rubbing against the frame or tearing at the edges. Good tracking is indicated by smooth operation and undamaged belt edges.
-
Confirm successful tracking As long as the belt is not tearing at the edges and remains centered, tracking is successful. Continue to monitor the belt during operation for any future misalignment.
Verification and summary
- The belt is properly tensioned when it cannot be moved side to side by hand and both tension screws are set to equal measurements.
- The belt is properly tracked when it runs straight down the center of the conveyor without drifting toward either side.
- The belt edges should show no signs of rubbing, tearing, or wear against the frame.
- Always make small, incremental adjustments and observe the results before making further changes.
- Take your time; proper tracking may require patience and several attempts.
- Regularly inspect the belt for signs of misalignment or edge damage, and ensure all bolts and adjustment screws are securely tightened after each adjustment.
Belt tracking is a straightforward process, but always proceed with care, taking time with each adjustment to ensure safety and accuracy. Do not rush; careful, incremental changes yield the best results.
What's next
For additional support and resources on conveyor maintenance and troubleshooting, refer to LEWCO, a world-class industrial equipment manufacturer that is ISO 9001:2008 registered. Visit the LEWCO website at www.lewcoinc.com for further documentation, support, and contact information. Keep this guide accessible for future reference and share it with team members as needed.

Generation details: cost, quality tiers
Docsie billed 4,500 credits ($3.15) to analyze this 9-minute video at standard quality. The rewrite, template fill and Word/PDF exports were included. The same video at each quality tier:
| Quality | Frames sampled | Credits | Approx. cost |
|---|---|---|---|
| Draft | every 16-30 s | 2,250 | $1.57 |
| Standard (this guide) | every 8-15 s | 4,500 | $3.15 |
| Detailed | every 4-7 s | 9,000 | $6.30 |
| Ultra | every 1-3 s | 18,000 | $12.60 |
Credits priced at $0.70 per 1,000; plans include a monthly allowance. Enterprise customers on on-premise or bring-your-own-model deployments run this on their own inference and pay no per-video credits.
Generated by Docsie Video-to-Docs on 2026-09-28 from a 8-minute video. Screenshots are frames from the source video and belong to their creator, LEWCOCONVEYOR, whose original is embedded above. If you own this video and want the guide removed or credited differently, contact us and we will act within one business day.