
How to Calibrate a Micrometer
This calibration log documents how to calibrate a micrometer for accurate readings, using a step-by-step zero-alignment procedure. The record covers a 0–1 inch Fowler micrometer and a 1–2 inch STORM micrometer, and it can be adapted for other mechanical micrometers of similar design. Use this log to capture instrument identity, the standards applied, the results of each calibration check, and the final release decision.
Video: How to calibrate a micrometer by Hunter Automotive (2021). All credit for the demonstration goes to the creator; watch the original on YouTube. The written guide below was generated from this video by Docsie. Creator? Request a change or removal.
This calibration log documents how to calibrate a micrometer for accurate readings, using a step-by-step zero-alignment procedure. The record covers a 0–1 inch Fowler micrometer and a 1–2 inch STORM micrometer, and it can be adapted for other mechanical micrometers of similar design. Use this log to capture instrument identity, the standards applied, the results of each calibration check, and the final release decision.
Instrument Details
| Instrument ID | Model | Serial Number | Location | Owner | Intended Use |
|---|---|---|---|---|---|
| Not specified | Fowler 0–1" 0.0001" micrometer | Not specified | Workbench | Not specified | Precision linear measurement |
| Not specified | STORM 1–2" 0.0001" micrometer | Not specified | Workbench | Not specified | Precision linear measurement |
Lay out the micrometer, its calibration tool (spanner wrench), and any included standards or accessories before beginning work.
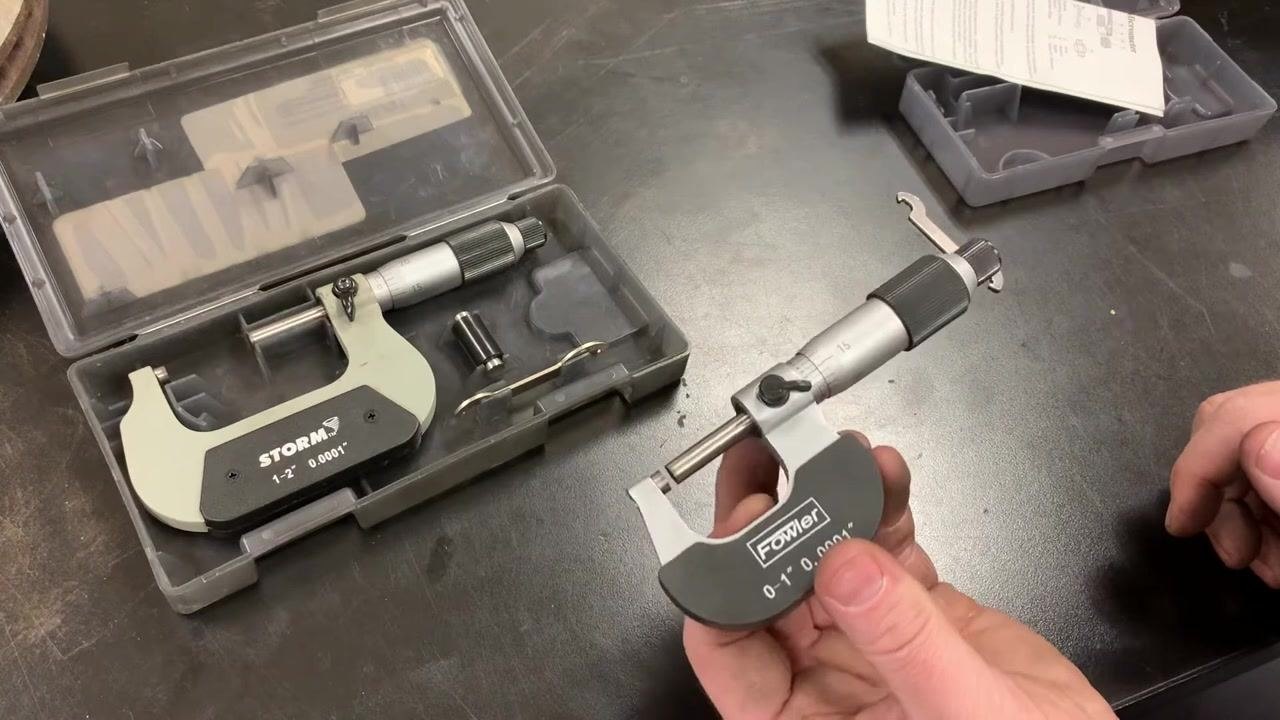
Note: Instrument ID, serial number, and owner fields should be completed from your lab's asset records; the demonstrated procedure does not assign these identifiers.
Calibration Schedule
| Frequency | Due Date | Procedure | Responsible Role |
|---|---|---|---|
| Periodic recheck recommended | Not specified | Zero-alignment calibration using ratchet stop and spanner wrench | Not specified |
The procedure recommends rechecking calibration periodically to maintain accurate readings, but it does not specify an exact interval, a due date, or a named responsible role. These details should be defined by your lab's calibration policy and entered here for each recurring log entry.
Standards Used
| Standard | Description | Lot Number | Certificate | Expiration Date | Traceability |
|---|---|---|---|---|---|
| Spanner wrench | Calibration adjustment tool included in the micrometer kit | Not specified | Not specified | Not specified | Not specified |
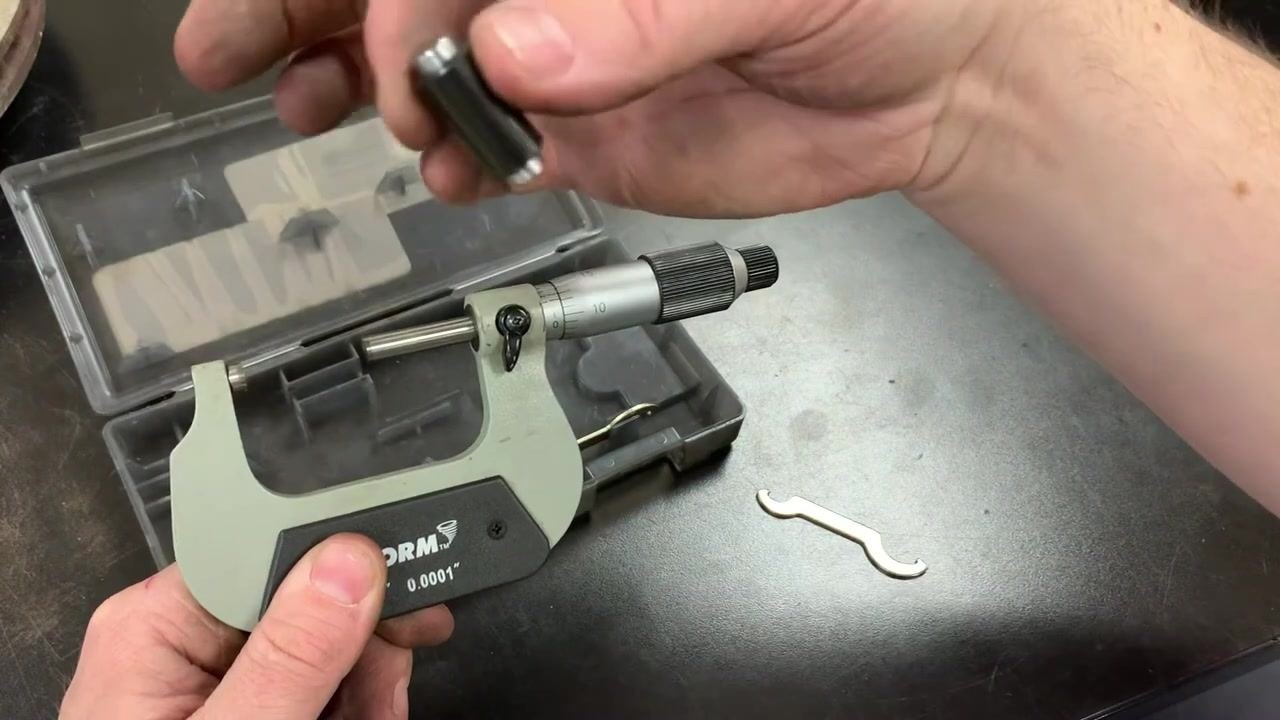
| 1" gauge block | Cylindrical reference standard stored in the micrometer case, used to zero micrometers with a range greater than 0–1" | Not specified | Not specified | Not specified | Not specified |
For micrometers larger than 0–1", locate the reference standard included in the kit (for example, a 1" gauge block for a 1–2" micrometer). The reference standard is typically a cylindrical metal piece stored in the micrometer case.
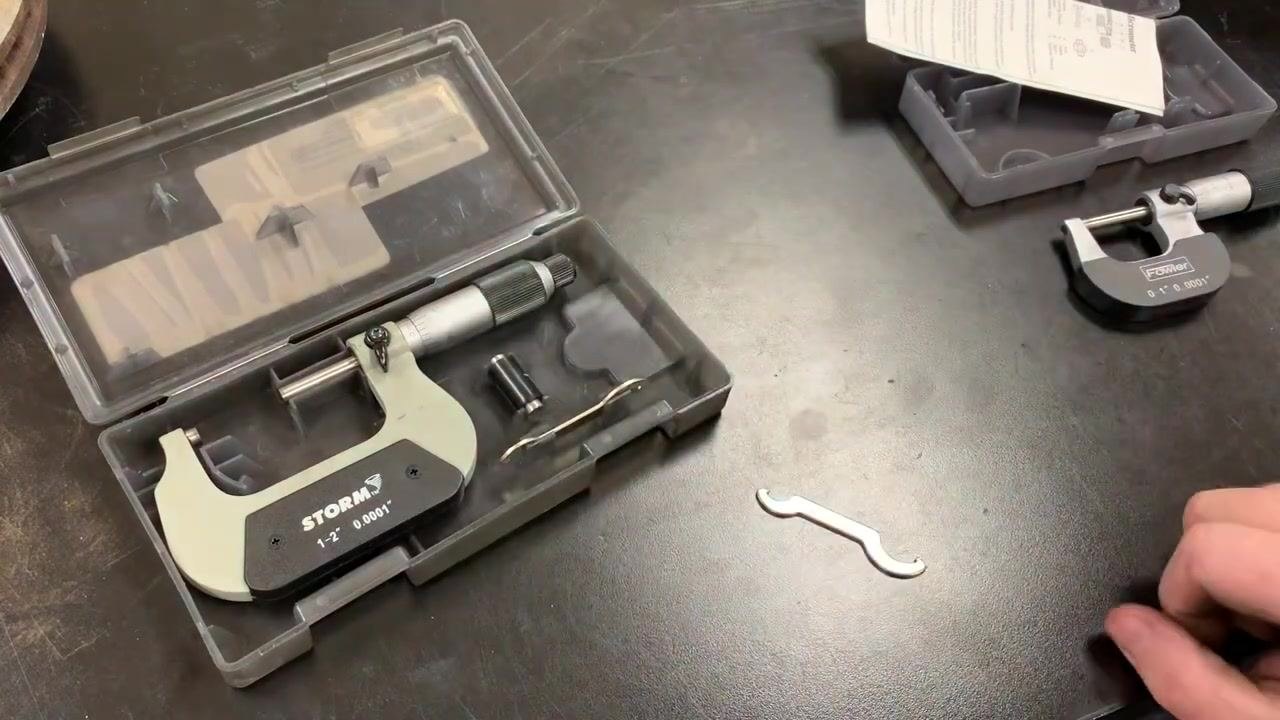
Lot numbers, certificates, expiration dates, and formal traceability records are not addressed in the demonstrated procedure and should be added from your standard's certificate of calibration.
Calibration Results
Standard-range micrometer (0–1")
-
Close the micrometer using the ratchet stop. Hold the micrometer and gently close the spindle until the anvil and spindle faces touch, then use the ratchet stop for final tightening to ensure consistent pressure.
-
Check the zero alignment. Inspect the scale to confirm the '0' on the thimble aligns exactly with the '0' line on the sleeve. If the zeros do not align, note the offset (for example, two thousandths off).
-
Insert the spanner wrench. Locate the small adjustment hole on the sleeve, usually on the backside of the micrometer, and insert the tip of the spanner wrench so the sleeve can be rotated for calibration.
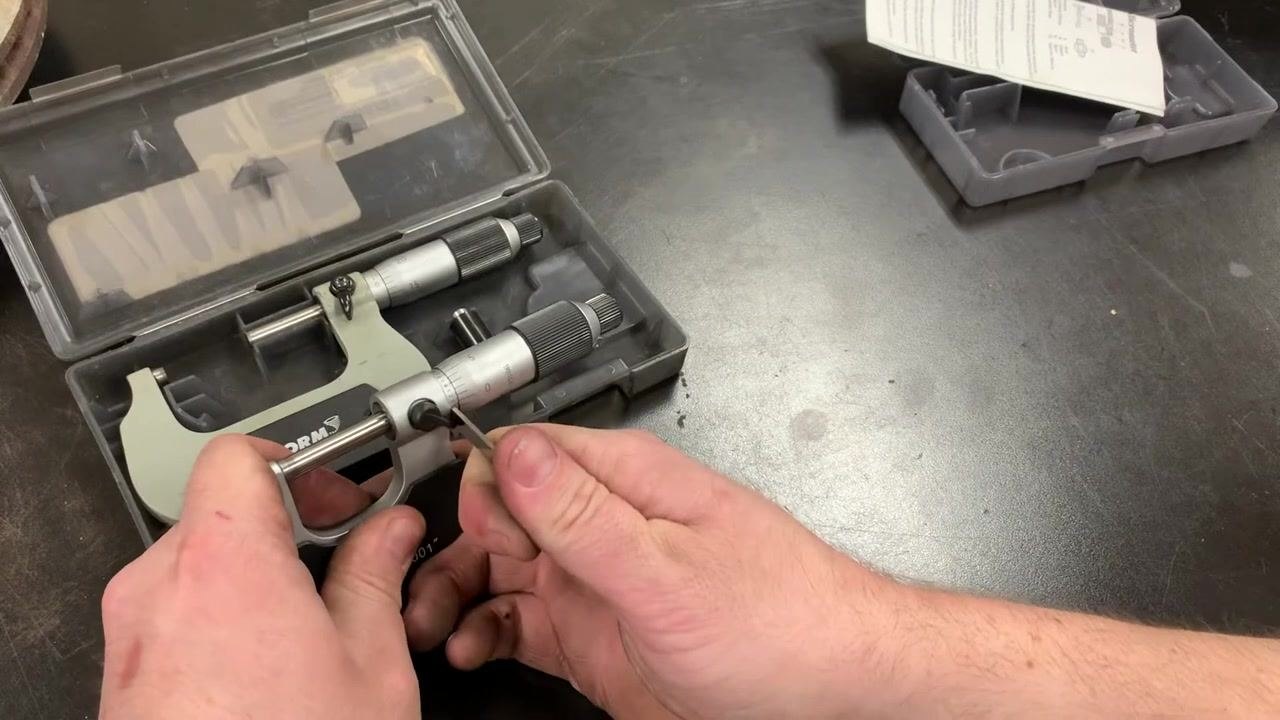
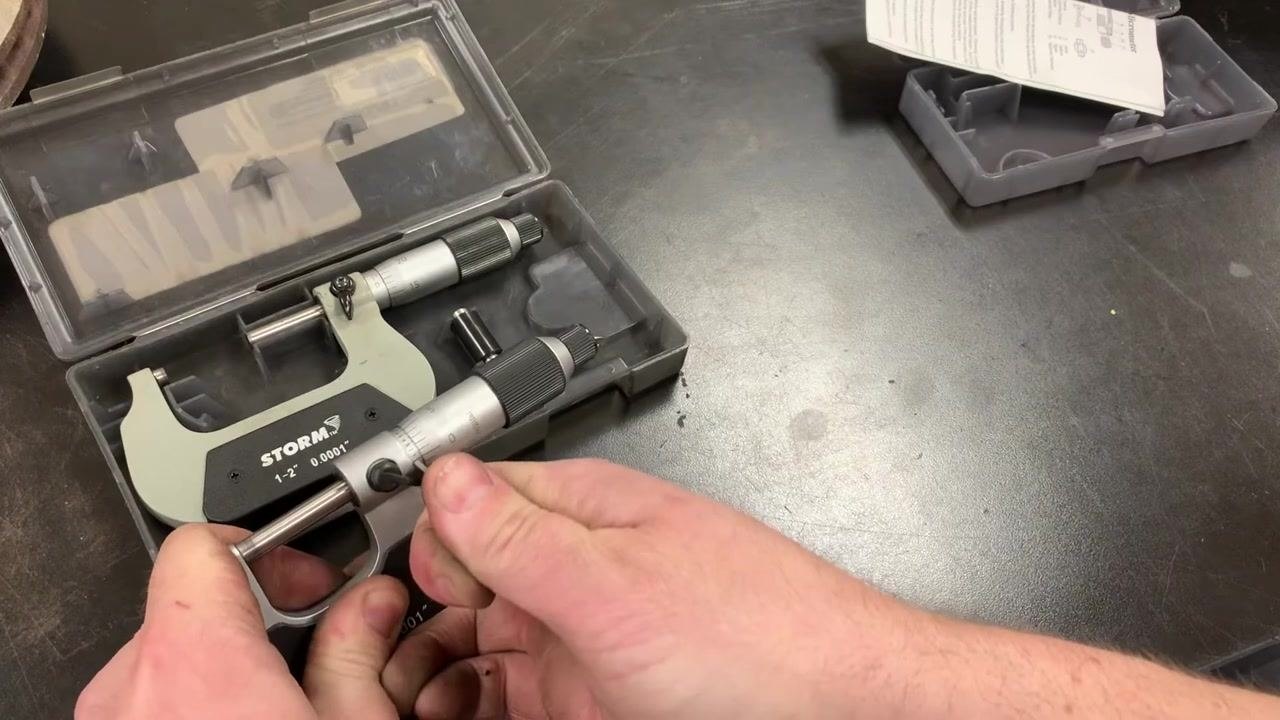
- Adjust the sleeve. Gently rotate the sleeve using the spanner wrench until the zero marks align, then remove the tool and recheck alignment by closing the micrometer again. Repeat the adjustment if the marks are still slightly off.
-
Fine-tune the adjustment. Continue making small adjustments, checking the zero alignment after each change; if you overshoot, adjust in the opposite direction.
-
Verify the result. Once the zeros are perfectly aligned, the micrometer is calibrated and ready for accurate measurements.
| Measured Value | Acceptance Limit | Pass/Fail | Analyst Initials |
|---|---|---|---|
| Zero offset observed, then adjusted to zero alignment | Zero marks must align exactly | Pass after adjustment | Not specified |
Larger-range micrometer (1–2", 2–3", etc.)
For micrometers with a range greater than 0–1 inch, use a reference standard included in the kit (such as a 1" gauge block) in addition to the steps above.
-
Insert the reference standard. Remove the standard from the case and place it between the anvil and spindle; this sets the correct zero point for larger micrometers.
-
Zero the micrometer using the reference standard. Close the micrometer gently on the standard using the ratchet stop for consistent pressure, then check the zero alignment on the scale. If the zeros do not align, use the spanner wrench to adjust the sleeve as described above, repeating until the zero marks align with the standard in place.
-
Confirm alignment. After adjusting the sleeve, ensure the zero marks on the thimble and sleeve are perfectly aligned so future measurements will be accurate.
| Measured Value | Acceptance Limit | Pass/Fail | Analyst Initials |
|---|---|---|---|
| Zero offset checked against reference standard, then adjusted to zero alignment | Zero marks must align exactly with the reference standard in place | Pass after adjustment | Not specified |
Maintenance
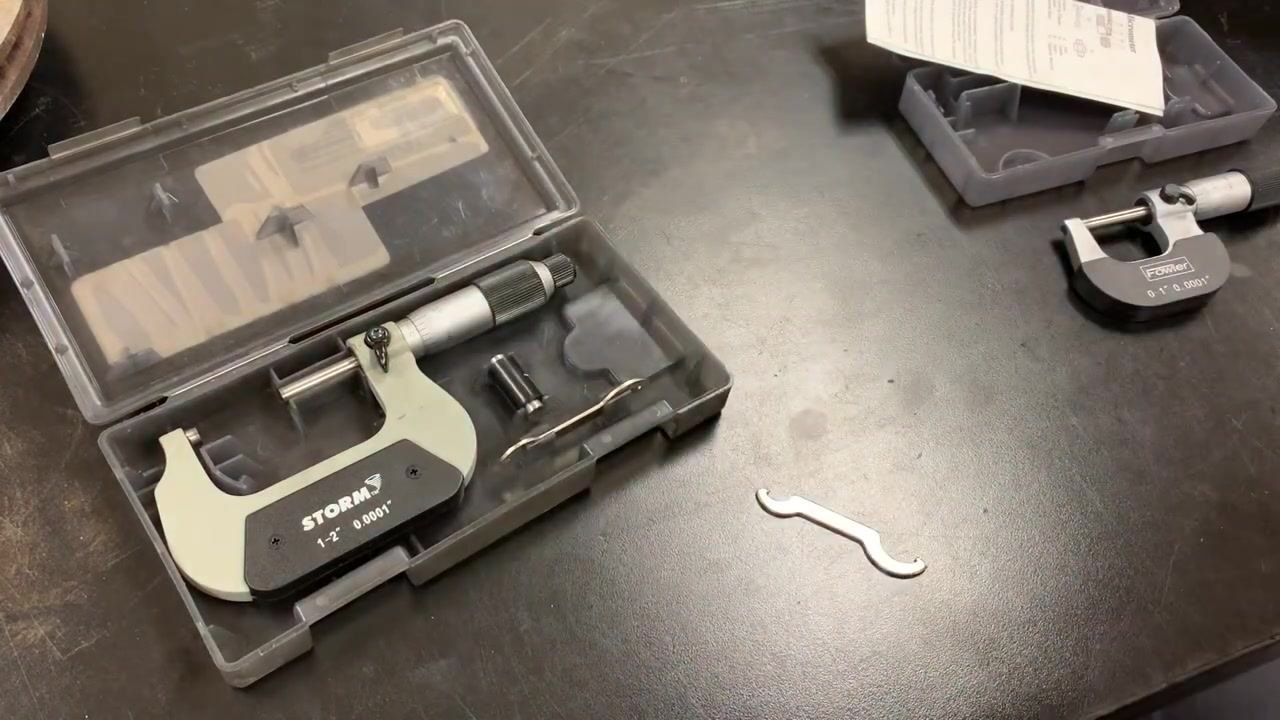
Once calibration is complete, return the reference standard and spanner wrench to the case for safekeeping.
Preventive maintenance activities, repairs, parts replaced, and any external service provider are not addressed in the demonstrated procedure and should be logged separately when they occur.
Out-of-Tolerance Actions
If the zero marks do not align after closing the micrometer, note the offset and repeat the adjustment: insert the spanner wrench into the adjustment hole, rotate the sleeve, remove the tool, and recheck alignment, repeating as needed until the zeros align. For larger micrometers, repeat this adjustment with the reference standard in place until the zero marks align with the standard.
Impact assessment on prior measurements, review of affected data, and any quarantine of the instrument are not addressed in the demonstrated procedure; these should be evaluated according to your lab's out-of-tolerance protocol before the instrument is returned to use.
Approval
Reviewer, approval date, and release-to-use decision are not addressed in the demonstrated procedure. This section should be completed by the designated reviewer once the calibration results above are verified and the instrument is confirmed fit for use.
Generation details: cost, quality tiers, downloads
Docsie billed 1,500 credits ($1.05) to analyze this 3-minute video at standard quality. The rewrite, template fill and Word/PDF exports were included. The same video at each quality tier:
| Quality | Frames sampled | Credits | Approx. cost |
|---|---|---|---|
| Draft | every 16-30 s | 750 | $0.52 |
| Standard (this guide) | every 8-15 s | 1,500 | $1.05 |
| Detailed | every 4-7 s | 3,000 | $2.10 |
| Ultra | every 1-3 s | 6,000 | $4.20 |
Credits priced at $0.70 per 1,000; plans include a monthly allowance. Enterprise customers on on-premise or bring-your-own-model deployments run this on their own inference and pay no per-video credits.
Generated by Docsie Video-to-Docs on 2026-09-28 from a 2-minute video. It was generated straight into Docsie's Instrument Calibration Log template, so every section of that template is filled from the video. Screenshots are frames from the source video and belong to their creator, Hunter Automotive, whose original is embedded above. If you own this video and want the guide removed or credited differently, contact us and we will act within one business day.