
How to Set Up Oxygen with a Nasal Cannula
This documentation describes how to set up oxygen with a nasal cannula when converting a patient from a Venturi mask, including the clinical rationale, required equipment, and the oxygen conversion reference used to determine the correct flow rate. Follow these steps to ensure the patient remains adequately oxygenated throughout the transition.
Video: Oxygen therapy: How to set up a patient on nasal cannula by Harrogate and District NHS Foundation Trust (2023). All credit for the demonstration goes to the creator; watch the original on YouTube. The written guide below was generated from this video by Docsie. Creator? Request a change or removal.
This documentation describes how to set up oxygen with a nasal cannula when converting a patient from a Venturi mask, including the clinical rationale, required equipment, and the oxygen conversion reference used to determine the correct flow rate. Follow these steps to ensure the patient remains adequately oxygenated throughout the transition.
Device overview
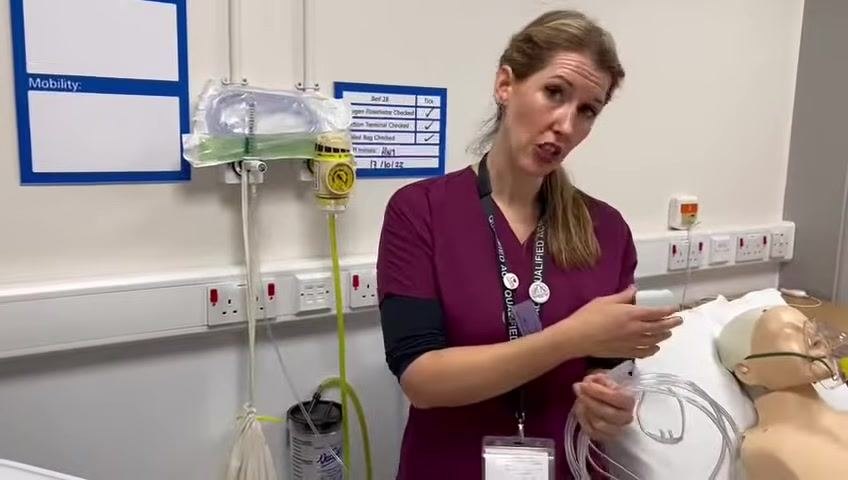
The nasal cannula is a low-flow oxygen delivery accessory consisting of two soft prongs that sit in the patient's nostrils, connected by tubing that loops over the ears and is secured with a slider under the chin. The tubing connects directly to the hospital wall oxygen flow meter, replacing the Venturi mask as the oxygen delivery interface.
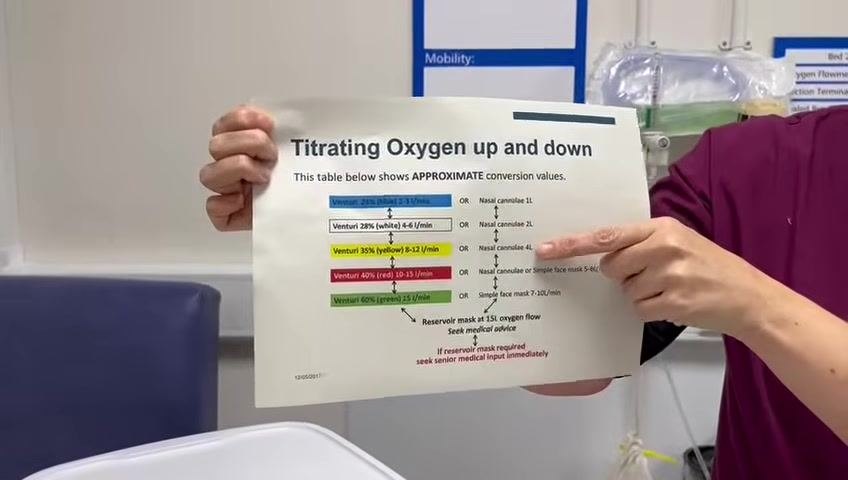
The nasal cannula delivers a set litres-per-minute (L/min) flow of oxygen directly into the nostrils, rather than the percentage-based delivery of a Venturi mask. Because the two devices use different measurement systems, the "Titrating Oxygen up and down" conversion chart is used to translate a Venturi percentage setting into an equivalent nasal cannula flow rate.
A labeled diagram would typically show the nasal prongs, the curved underside that faces downward into the nostrils, the tubing path over each ear, and the chin slider used to secure the fit; this is not provided in the source material.
Indications & contraindications
Consider setting up oxygen with a nasal cannula instead of a Venturi mask when:
- The patient needs to eat or drink throughout the day and cannot be left without oxygen support.
- The patient is using nebulisers and requires oxygen entrainment.
- The patient cannot tolerate the mask, for example due to claustrophobia.
Before converting, confirm that the patient is hypoxic and requires continuous oxygen support, as this determines whether uninterrupted delivery is clinically necessary.
Caution: Do not leave the patient without oxygen at any point during the transition from Venturi mask to nasal cannula.
The source material does not specify additional absolute or relative contraindications for nasal cannula use; any such conditions should be confirmed against local clinical policy before proceeding.
Setup & installation
-
Assess the current oxygen delivery. Identify the oxygen concentration and flow rate currently being delivered via the Venturi mask. For example, a patient may be on 35% oxygen (yellow Venturi) at 8 litres per minute (L/min).
-
Locate the oxygen conversion chart. Reference the "Titrating Oxygen up and down" chart to determine the equivalent nasal cannula flow rate for the current Venturi setting. The chart is available on the hospital intranet, within Medicines Management, and is often attached directly to observation (OBS) machines for quick reference. For a 35% Venturi setting (yellow, 8–12 L/min), the equivalent nasal cannula flow is 4 L/min.
-
Gather the required equipment before starting the change:
- Nasal cannula tubing
- Access to the oxygen flow meter
- The oxygen conversion chart, for reference
-
Verify the target nasal cannula flow rate against the chart before making any changes. For a patient previously on 35% Venturi at 8 L/min, confirm the target setting of 4 L/min.
-
Prepare for a rapid switch. Keep all equipment within reach so the oxygen delivery method can be changed quickly and efficiently, avoiding any risk of hypoxia during the transition.
Programming & operation
- Open and prepare the nasal cannula. Take a new nasal cannula from its packaging and ensure the tubing is untangled and ready for immediate use. Explain to the patient that you will be switching their oxygen delivery method.
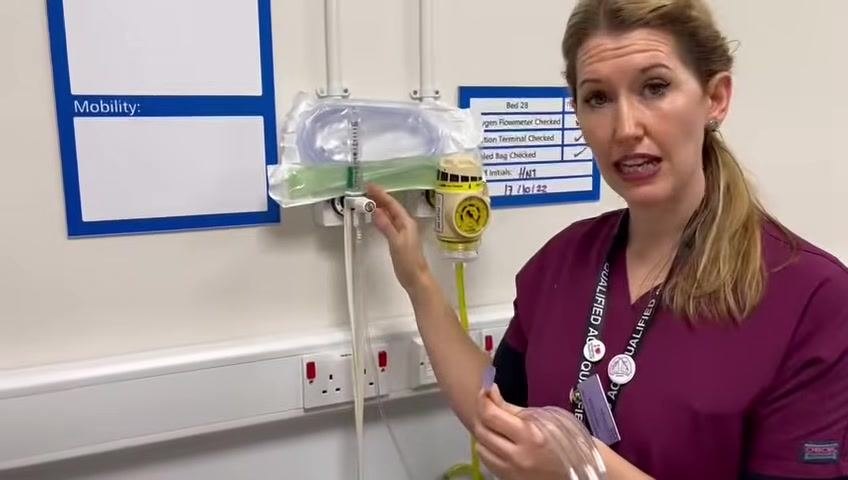
- Adjust the oxygen flow meter. Approach the flow meter on the wall and reduce the setting to the target rate determined by the conversion chart — 4 L/min for a patient previously on 35% Venturi. Confirm the new setting visually on the meter.
-
Remove the Venturi mask and attach the nasal cannula. Disconnect the Venturi mask from the oxygen supply and immediately connect the nasal cannula tubing to the oxygen outlet. Confirm the connection is secure and oxygen is flowing through the cannula.
-
Fit the nasal cannula to the patient. Insert the prongs gently into the nostrils with the curved side facing downward. Hook the tubing over both ears, then adjust the slider under the chin to secure the cannula comfortably.
-
Secure and adjust the cannula. Ensure the fit is snug but not too tight under the chin, and confirm correct positioning in the nostrils and behind the ears.
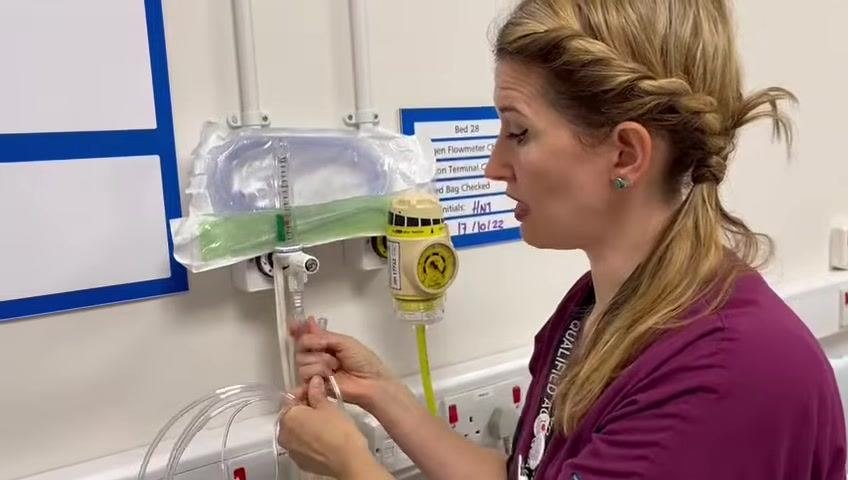
- Monitor the patient after the change. Once the nasal cannula is in place, monitor the patient's oxygen saturation (SpO2) to confirm it remains within the target range.
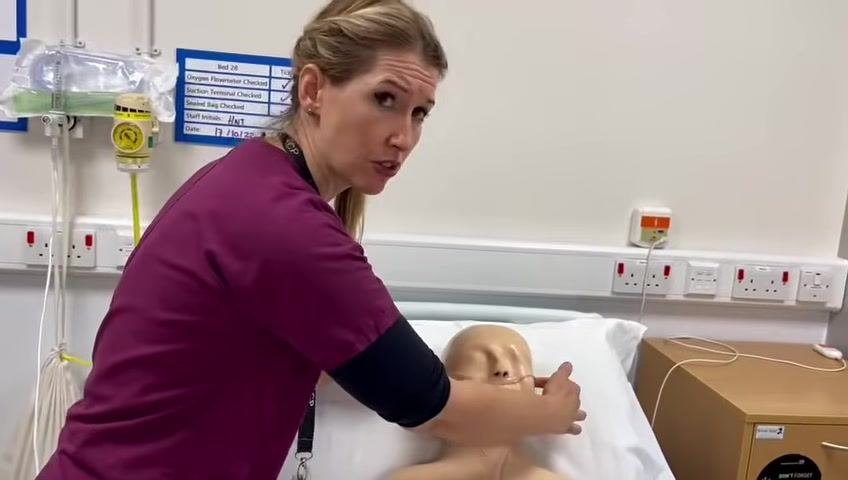
- Adjust the flow rate if necessary. If the patient's SpO2 falls outside the desired range, increase the nasal cannula flow rate as needed, up to a maximum of 6 L/min, based on the patient's needs and the conversion chart.
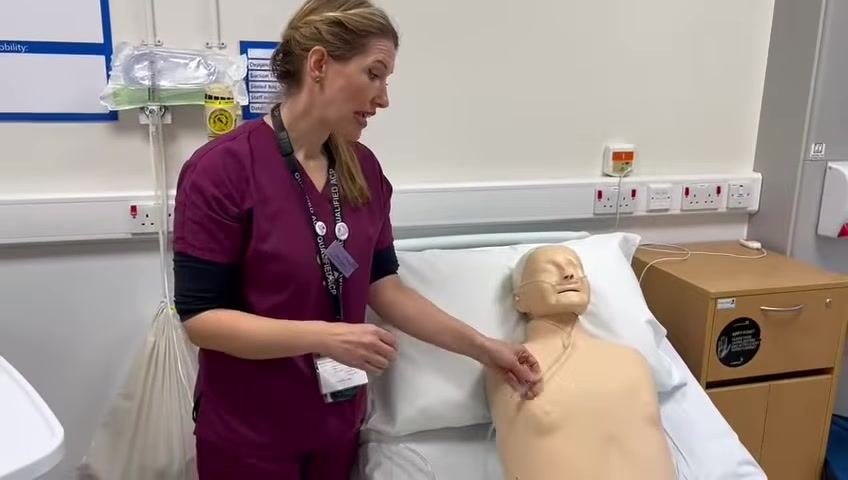
- Reference the conversion chart when uncertain. Consult the "Titrating Oxygen up and down" chart on the observation machine or hospital intranet to verify the patient is receiving the appropriate oxygen flow for their clinical needs.
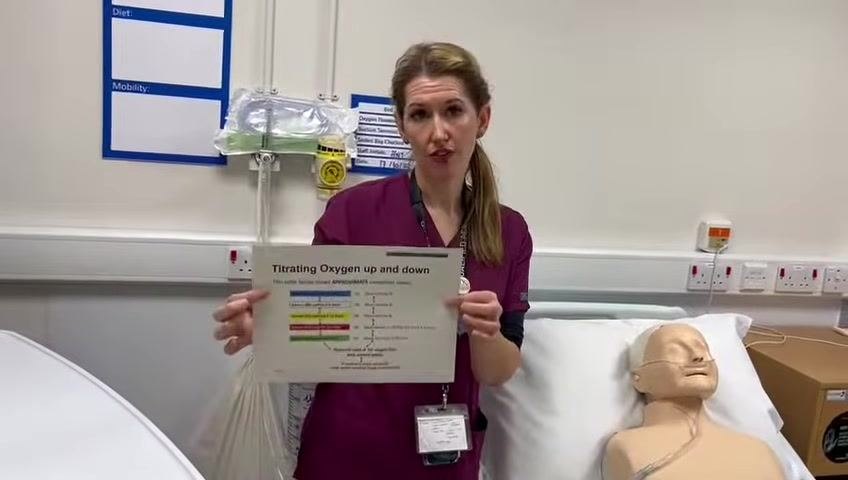
- Complete the procedure. Confirm the patient is comfortable, and document the change in oxygen delivery method and flow rate in the patient's records.
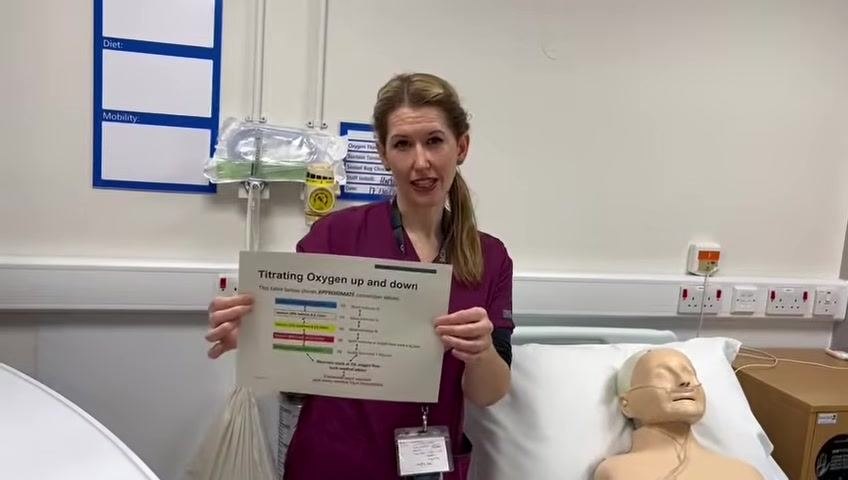
Operational parameters referenced in this procedure:
| Venturi mask setting | Flow rate (Venturi) | Equivalent nasal cannula flow |
|---|---|---|
| 35% (yellow) | 8–12 L/min | 4 L/min |
| Increased requirement | — | Up to 6 L/min maximum |
Alarms & alerts
The source material does not describe device alarm conditions. In practice, this section would document SpO2 desaturation alerts and any oxygen flow meter alarms, with their priority level, probable cause, and corrective action; monitoring of SpO2 after the switch is the only alert-related activity described in the source.
Cleaning & maintenance
The source material does not provide cleaning agents, methods, or a maintenance schedule for the nasal cannula or flow meter. This section would normally list approved cleaning products, cleaning frequency, and any calibration requirements for the oxygen flow meter.
Troubleshooting
| Issue | Possible cause | Solution |
|---|---|---|
| Patient cannot tolerate the mask | Claustrophobia or discomfort with Venturi mask | Convert to nasal cannula using the conversion chart |
| Pressure marks behind the ears | Prolonged nasal cannula use with tubing routed over the ears | Check fit regularly and add cushioning if needed for long-term use |
| SpO2 falls outside target range after switch | Nasal cannula flow rate too low for patient's needs | Increase flow rate up to a maximum of 6 L/min, referencing the conversion chart |
| Uncertainty over correct flow rate | Incorrect or unclear Venturi-to-cannula conversion | Consult the "Titrating Oxygen up and down" chart on the intranet or OBS machine |
Technical specifications
| Parameter | Value |
|---|---|
| Venturi reference setting | 35% (yellow), 8–12 L/min |
| Equivalent nasal cannula flow | 4 L/min |
| Maximum nasal cannula flow (per source) | 6 L/min |
The source material does not include physical dimensions, electrical specifications, environmental requirements, or regulatory classification for the nasal cannula or flow meter equipment; these would be documented in this section from the manufacturer's technical data when available.
What's next
After completing the conversion, continue to monitor the patient's SpO2 and adjust the nasal cannula flow rate as clinically indicated, referring back to the "Titrating Oxygen up and down" chart whenever the patient's oxygen requirements change.
Generation details: cost, quality tiers, downloads
Docsie billed 2,000 credits ($1.40) to analyze this 4-minute video at standard quality. The rewrite, template fill and Word/PDF exports were included. The same video at each quality tier:
| Quality | Frames sampled | Credits | Approx. cost |
|---|---|---|---|
| Draft | every 16-30 s | 1,000 | $0.70 |
| Standard (this guide) | every 8-15 s | 2,000 | $1.40 |
| Detailed | every 4-7 s | 4,000 | $2.80 |
| Ultra | every 1-3 s | 8,000 | $5.60 |
Credits priced at $0.70 per 1,000; plans include a monthly allowance. Enterprise customers on on-premise or bring-your-own-model deployments run this on their own inference and pay no per-video credits.
Generated by Docsie Video-to-Docs on 2026-09-28 from a 3-minute video. It was generated straight into Docsie's Medical Device IFU template, so every section of that template is filled from the video. Screenshots are frames from the source video and belong to their creator, Harrogate and District NHS Foundation Trust, whose original is embedded above. If you own this video and want the guide removed or credited differently, contact us and we will act within one business day.