
How to Run Quality Control on a Glucometer
Running quality control on a glucometer confirms that the device and test strips are calibrated correctly before you rely on them for blood glucose readings. Quality control (QC) uses a special solution provided with your glucometer to verify accuracy, and the results should be recorded in a calibration log such as this one. Use this document to guide each quality control check and to maintain a traceable record of instrument performance.
Video: How to Perform a Quality Control QC Test on a Glucometer | Nursing Clinical Skill by RegisteredNurseRN (2015). All credit for the demonstration goes to the creator; watch the original on YouTube. The written guide below was generated from this video by Docsie. Creator? Request a change or removal.
Running quality control on a glucometer confirms that the device and test strips are calibrated correctly before you rely on them for blood glucose readings. Quality control (QC) uses a special solution provided with your glucometer to verify accuracy, and the results should be recorded in a calibration log such as this one. Use this document to guide each quality control check and to maintain a traceable record of instrument performance.
Prerequisites
Before you run quality control on a glucometer, gather the following items:
- Glucometer device
- Quality control solution (provided with your glucometer)
- Test strips that are not expired
- Your glucometer's user manual, for any additional items or device-specific instructions
Inspect your test strips before use. Check the expiration date printed on the test strip container, and note that once opened, test strips are typically good for four months. Discard any strips older than this or past their printed expiration date.
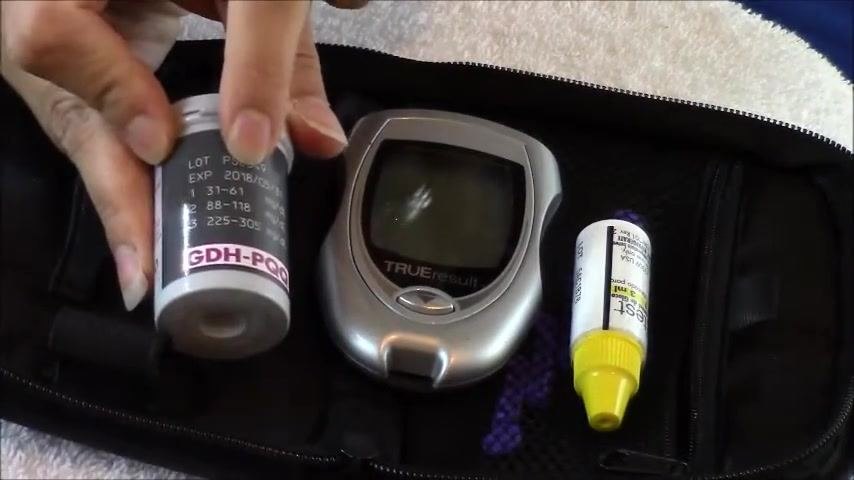
Locate the expiration date and lot number on the test strip container and confirm the strips fall within the valid date range before testing.
Instrument Details
| Instrument ID | Model | Serial Number | Location | Owner | Intended Use |
|---|---|---|---|---|---|
| Record per facility policy | TRUEresult glucometer | Record per facility policy | Record per facility policy | Record per facility policy | Blood glucose testing |
The source material identifies the device model only. Record the instrument ID, serial number, location, and owner according to your facility's asset-tracking policy at the time of logging.
Calibration Schedule
| Frequency | Due Date | Procedure | Responsible Role |
|---|---|---|---|
| Before first use of a new glucometer | Record at time of test | See procedure steps below | Record per facility policy |
| Each time you open a new batch of test strips | Record at time of test | See procedure steps below | Record per facility policy |
| Periodically throughout the week | Record at time of test | See procedure steps below | Record per facility policy |
| When blood sugar readings are unusually high or low | Record at time of test | See procedure steps below | Record per facility policy |
Always refer to your glucometer's user manual for device-specific QC recommendations. The source material does not assign a specific responsible role; record this per your facility's protocol.
Procedure for running quality control on a glucometer:
- Record the opening and expiration dates of your test strips and control solution directly on their containers.
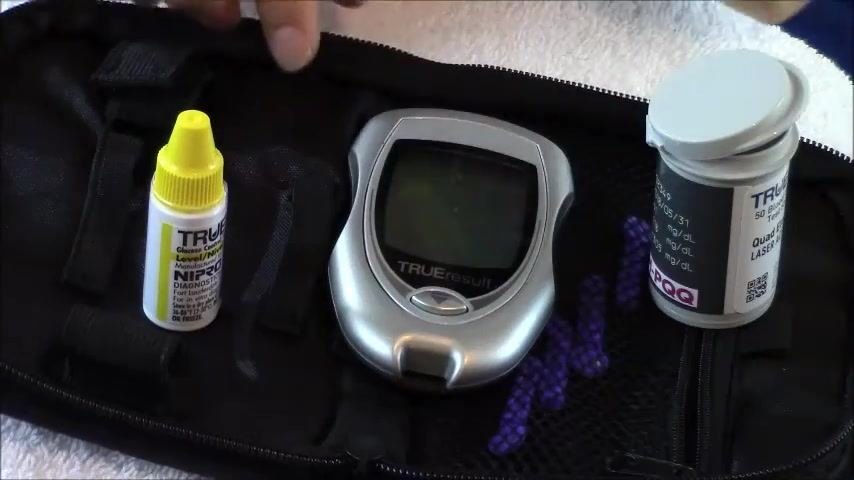
- Mix the quality control solution by rolling the bottle gently between your hands. Do not shake it, so the solution stays homogeneous.
-
Prepare the glucometer. For a TRUEresult monitor, insert a test strip to power on the device; other models may require you to turn the device on manually, per the user manual.
-
Insert a new test strip into the glucometer's slot with the marked end facing in. The device should power on automatically.
-
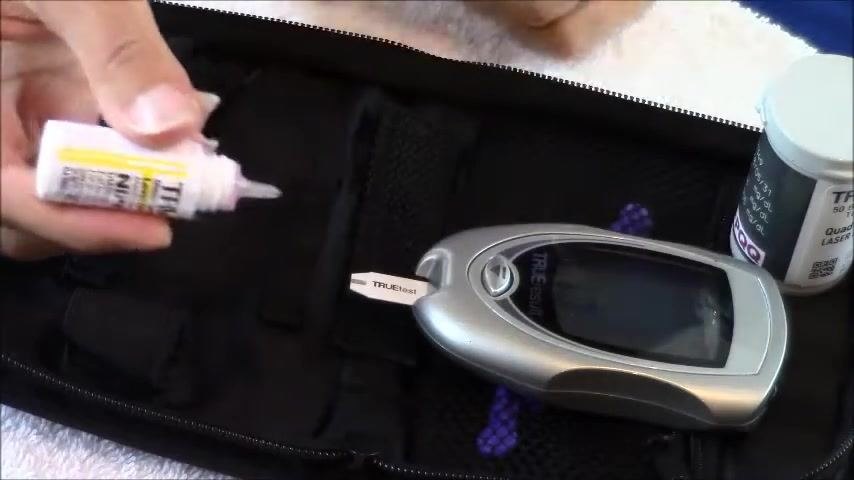
Remove the cap from the control solution bottle and apply a small drop to the area of the test strip where you would normally apply a blood sample. The strip draws up the solution automatically.
Standards Used
| Reference Standard | Lot Number | Certificate | Expiration Date | Traceability |
|---|---|---|---|---|
| Quality control solution | Printed on test strip/solution container | Not specified in source | 3 months after opening (solution); 4 months after opening (test strips) | Not specified in source |
Check the lot number and expiration date printed on the test strip container before each test. Certificate and traceability details are not covered in the source material; record these per your facility's reference-standard documentation requirements.
Calibration Results
| Measured Value | Acceptance Limits | Pass/Fail | Analyst Initials |
|---|---|---|---|
| 46 (example reading, Level 1 control) | Per Level 1 range printed on test strip container or user guide | Pass if within range / Fail if outside range | Record per facility policy |
After applying the control solution, wait for the glucometer to process the sample and display a result.
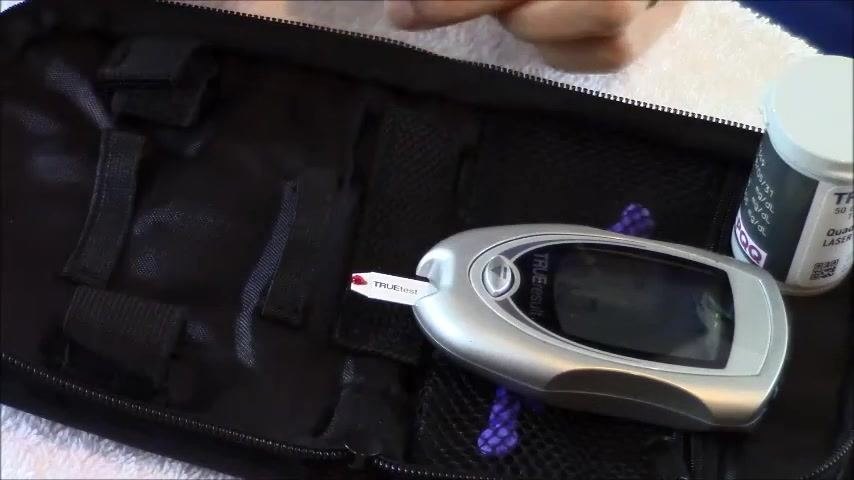
Compare the displayed reading to the acceptable control range for the control solution level you used (for example, Level 1, Level 2, or Level 3), as printed on the test strip container or user manual. Some glucometers display a PASS message when the result falls within range.
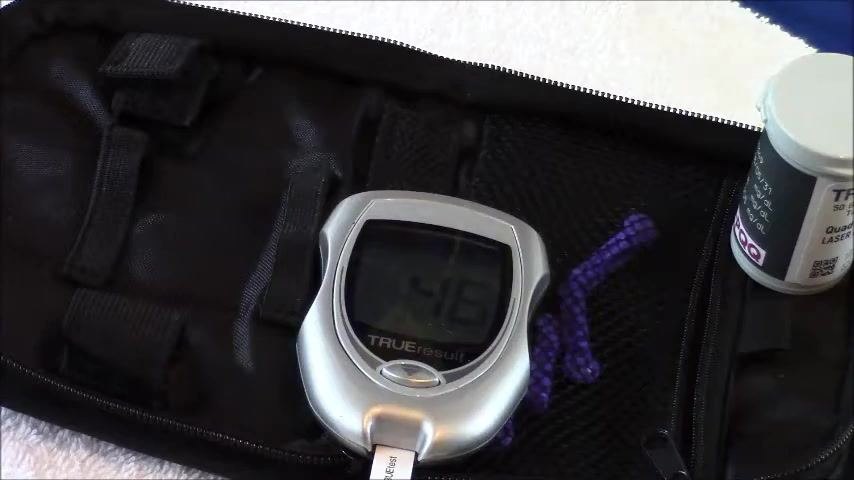
Identify which control solution level you used and confirm the result falls within the printed range for that level. The source material does not specify an analyst initials field; record this per your facility's logging requirements.
Maintenance
| Preventive Maintenance | Repairs | Parts Replaced | Service Provider |
|---|---|---|---|
| Replace the cap on the control solution bottle tightly; close the test strip container securely; store the glucometer, strips, and solution in their carrying case away from direct sunlight and moisture | Not specified in source | Not specified in source | Not specified in source |
The source material covers storage practices only. Record any repairs, parts replaced, or service provider information per your facility's maintenance protocol when applicable.
Out-of-Tolerance Actions
| Impact Assessment | Affected Data Review | Quarantine | Corrective Action |
|---|---|---|---|
| Not specified in source | Not specified in source | Not specified in source | Repeat the test with a new test strip and new control solution |
If the repeated result remains outside the acceptable range, consult your user manual or contact the manufacturer. The source material does not address impact assessment, affected data review, or quarantine procedures; follow your facility's protocol for these steps when a glucometer fails quality control.
Approval
| Reviewer | Date | Release-to-Use Decision |
|---|---|---|
| Record per facility policy | Record at time of review | Record per facility policy |
Document the result, date, and control solution level used in your logbook or quality control record, as recommended by your facility or personal tracking system. The source material does not specify a reviewer, review date, or formal release-to-use decision; complete these fields according to your facility's approval process before the glucometer is returned to use.
What's Next
For more information on using your glucometer, refer to your device's user manual. You can also review related instructional resources on checking your blood sugar, loading a lancet device, and using a lancet device.
Generation details: cost, quality tiers, downloads
Docsie billed 2,500 credits ($1.75) to analyze this 5-minute video at standard quality. The rewrite, template fill and Word/PDF exports were included. The same video at each quality tier:
| Quality | Frames sampled | Credits | Approx. cost |
|---|---|---|---|
| Draft | every 16-30 s | 1,250 | $0.88 |
| Standard (this guide) | every 8-15 s | 2,500 | $1.75 |
| Detailed | every 4-7 s | 5,000 | $3.50 |
| Ultra | every 1-3 s | 10,000 | $7.00 |
Credits priced at $0.70 per 1,000; plans include a monthly allowance. Enterprise customers on on-premise or bring-your-own-model deployments run this on their own inference and pay no per-video credits.
Generated by Docsie Video-to-Docs on 2026-10-02 from a 4-minute video. It was generated straight into Docsie's Instrument Calibration Log template, so every section of that template is filled from the video. Screenshots are frames from the source video and belong to their creator, RegisteredNurseRN, whose original is embedded above. If you own this video and want the guide removed or credited differently, contact us and we will act within one business day.