
How to Reposition a Patient in Bed
This procedure describes how to reposition a patient in bed using a draw sheet when only one caregiver is available. It covers patient assessment, bed adjustment, the repositioning technique itself, pressure-injury prevention, and restoring the room to a safe setup afterward. The technique is intended for caregivers—including family members—who may not have a second person present to assist.
Video: Moving a Patient Up in Bed with a One - Person Assist by The Hospice Care Plan (2020). All credit for the demonstration goes to the creator; watch the original on YouTube. The written guide below was generated from this video by Docsie. Creator? Request a change or removal.
This procedure describes how to reposition a patient in bed using a draw sheet when only one caregiver is available. It covers patient assessment, bed adjustment, the repositioning technique itself, pressure-injury prevention, and restoring the room to a safe setup afterward. The technique is intended for caregivers—including family members—who may not have a second person present to assist.
Purpose & scope
This procedure applies to repositioning a patient who has slid down in bed, using a draw sheet already placed under the patient. It is designed specifically for the one-person technique, acknowledging that family caregivers often provide care alone without a second person available.
The technique applies in a home care setting, as referenced throughout the procedure (for example, being mindful of personal items around the bed). It uses a standard adjustable hospital-style bed with a movable head section, movable foot section, and locking wheels. The procedure assumes the patient may or may not be able to assist with the move; this guide demonstrates the steps assuming the patient is unable to assist.
Patient assessment
Before attempting to move the patient, assess the patient's position and the surrounding environment using the checklist below.
| Assessment item | What to check |
|---|---|
| Patient position | Confirm whether the patient's feet are pressed against the foot of the bed and whether the hips are low, which can cause discomfort and increase the risk of bed sores |
| Draw sheet placement | Confirm a draw sheet is already positioned under the patient for easier repositioning |
| Room environment | Remove unnecessary items from around the bed to allow space for movement; in a home setting, be mindful of personal items that may obstruct the process |
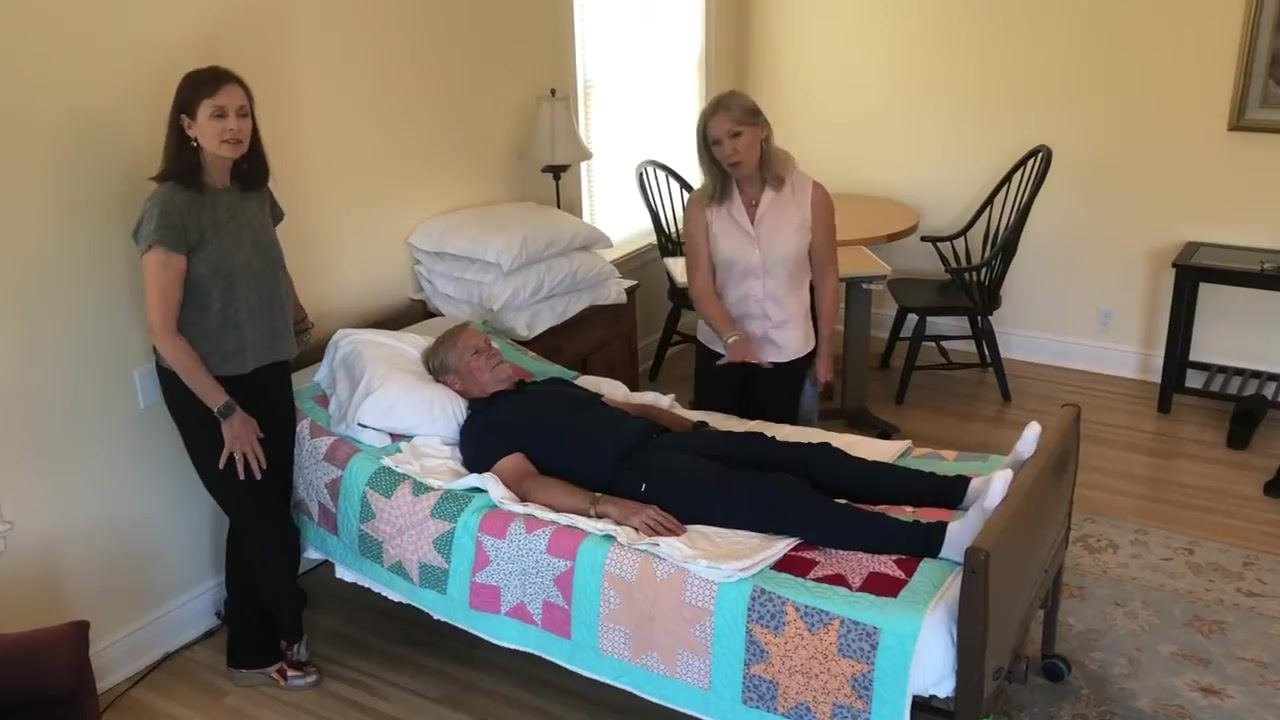
This assessment is limited to positioning and environmental safety. Vital sign monitoring frequency, a formal pain assessment tool, and neurovascular checks are not addressed in this source and should be documented separately according to standard patient monitoring policy.
Care protocol
Follow these phases in order to safely reposition the patient up in bed.
Phase 1: Bed adjustment
- Flatten the head of the bed using the bed controls so the patient is lying flat. This makes repositioning easier and safer.
- Unlock the bed wheels. The wheel locks are typically found on opposite corners of the bed (one at the head, one at the foot). Flip the lock lever down to lock and up to unlock. Unlock both wheels to allow the bed to move.
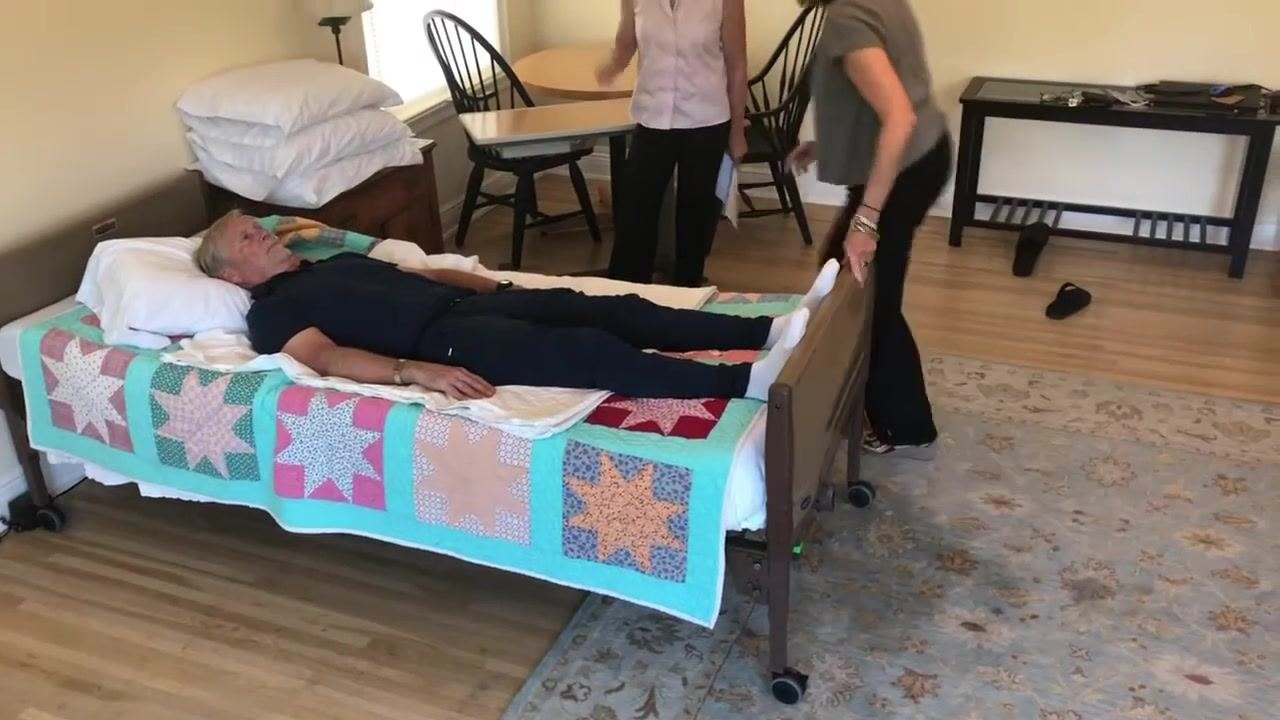
- Carefully pull the bed away from the wall to create space for repositioning the patient.
- Lock the bed wheels again by flipping the levers down once the bed is in its new position. Double-check that the bed is stable and will not move during the maneuver.
Phase 2: Position the bed for gravity assistance
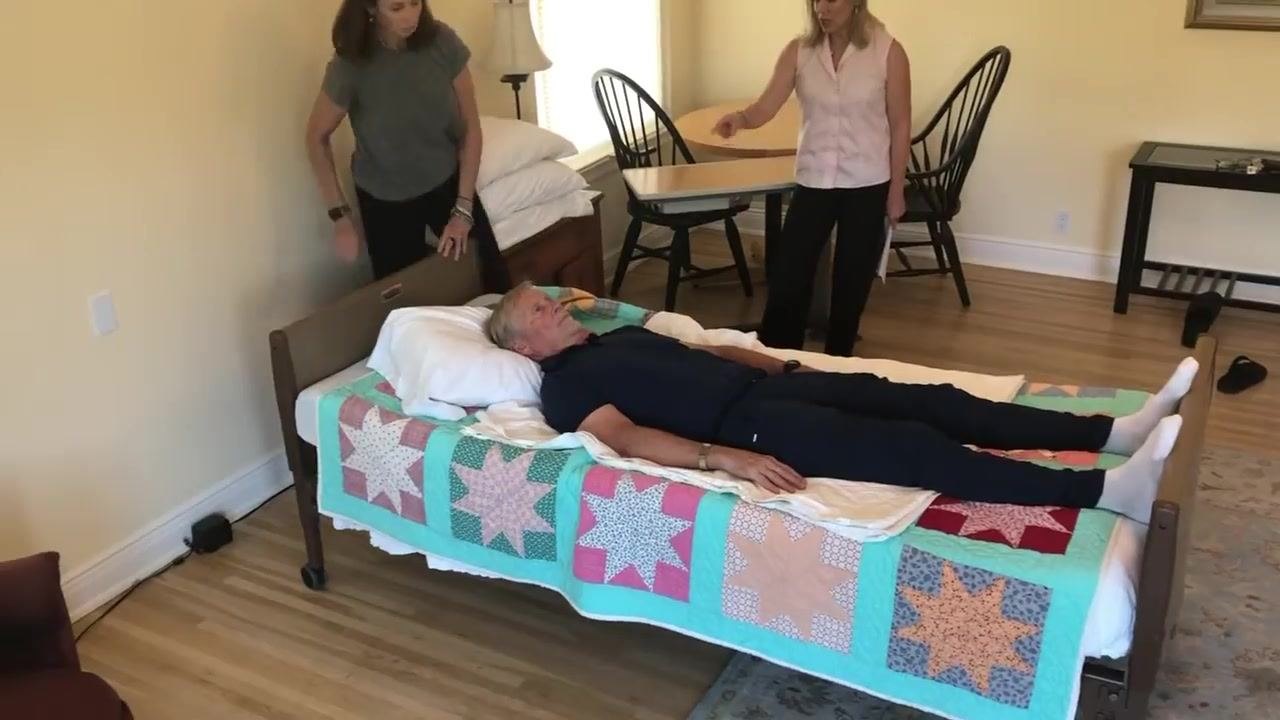
- Using the bed control, raise only the foot of the bed, leaving the head flat. This uses gravity to help move the patient up the bed, which is especially helpful when working alone.
Phase 3: Prepare the pillow and draw sheet
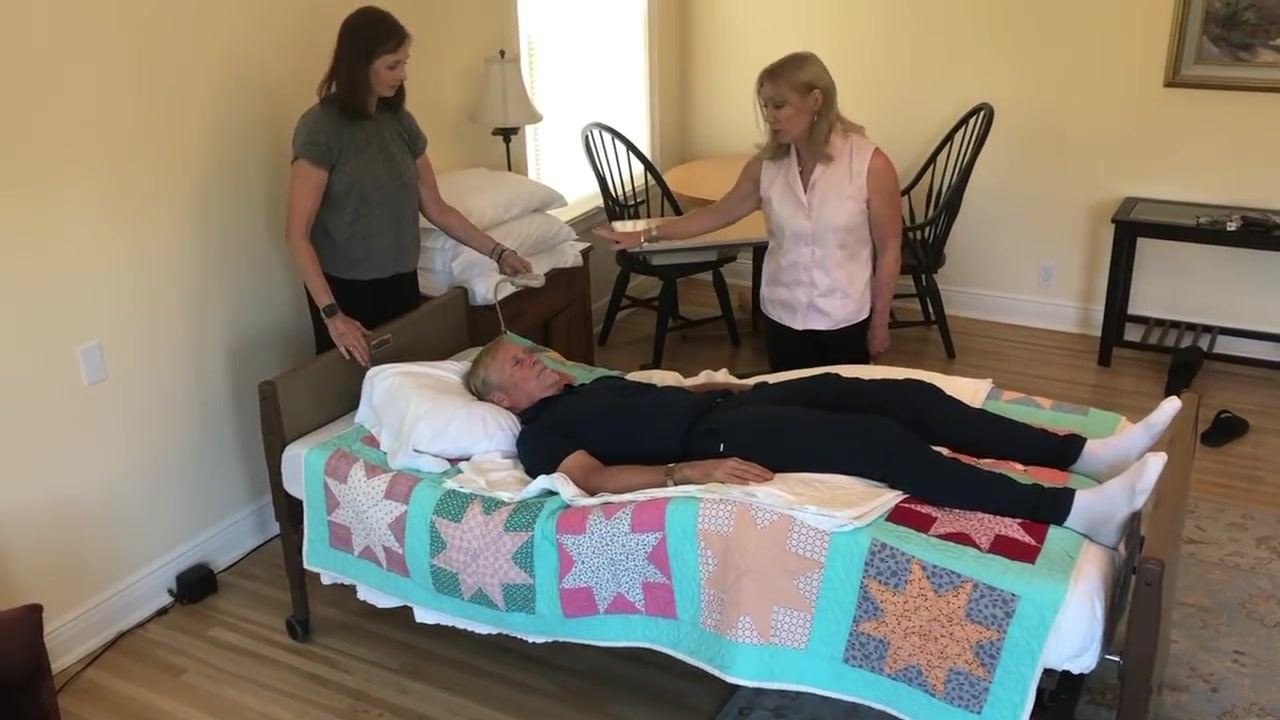
- Pull the pillow up toward the head of the bed and straighten it so it will support the patient's head after repositioning.
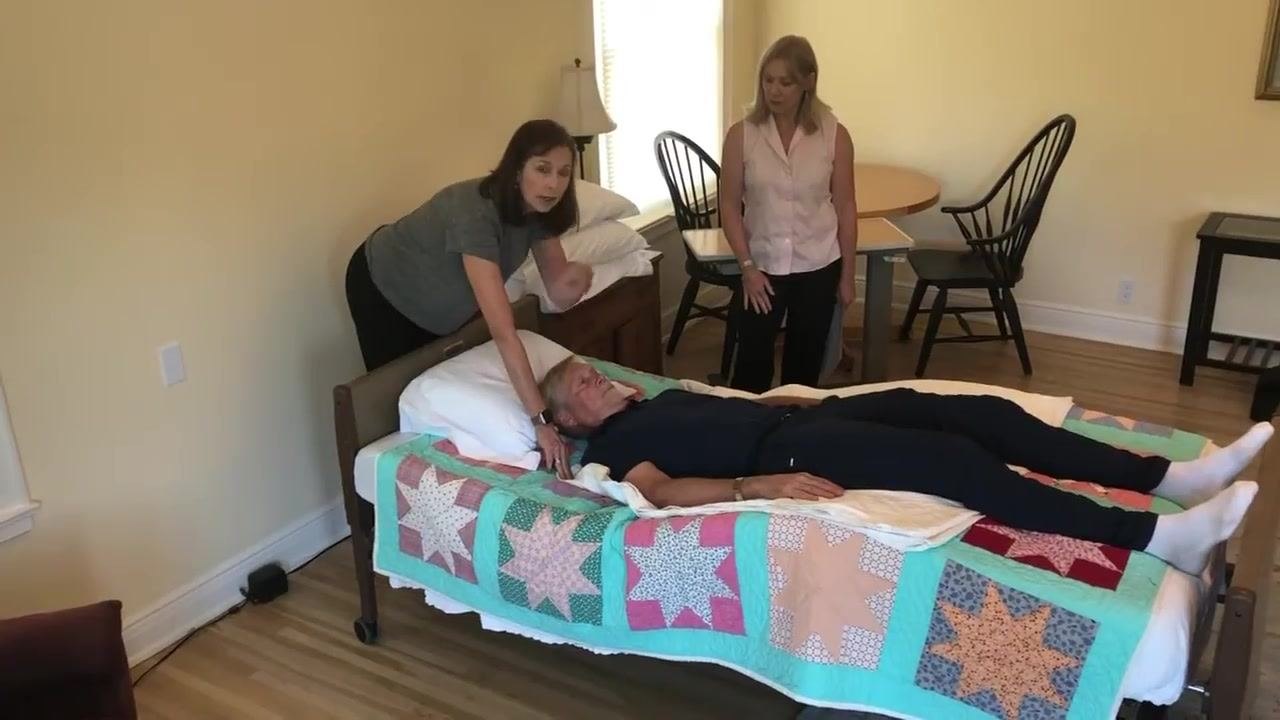
- Confirm the draw sheet is flat and positioned under the patient's shoulders for a secure grip.
Phase 4: Position yourself and communicate
- Stand with your feet shoulder-width apart for good footing and balance.
- Grasp the draw sheet firmly at the patient's shoulders, keeping your hands close to the patient for better control.
- If the patient is able to assist, instruct them to bend their knees and push with their feet to help move up in bed.
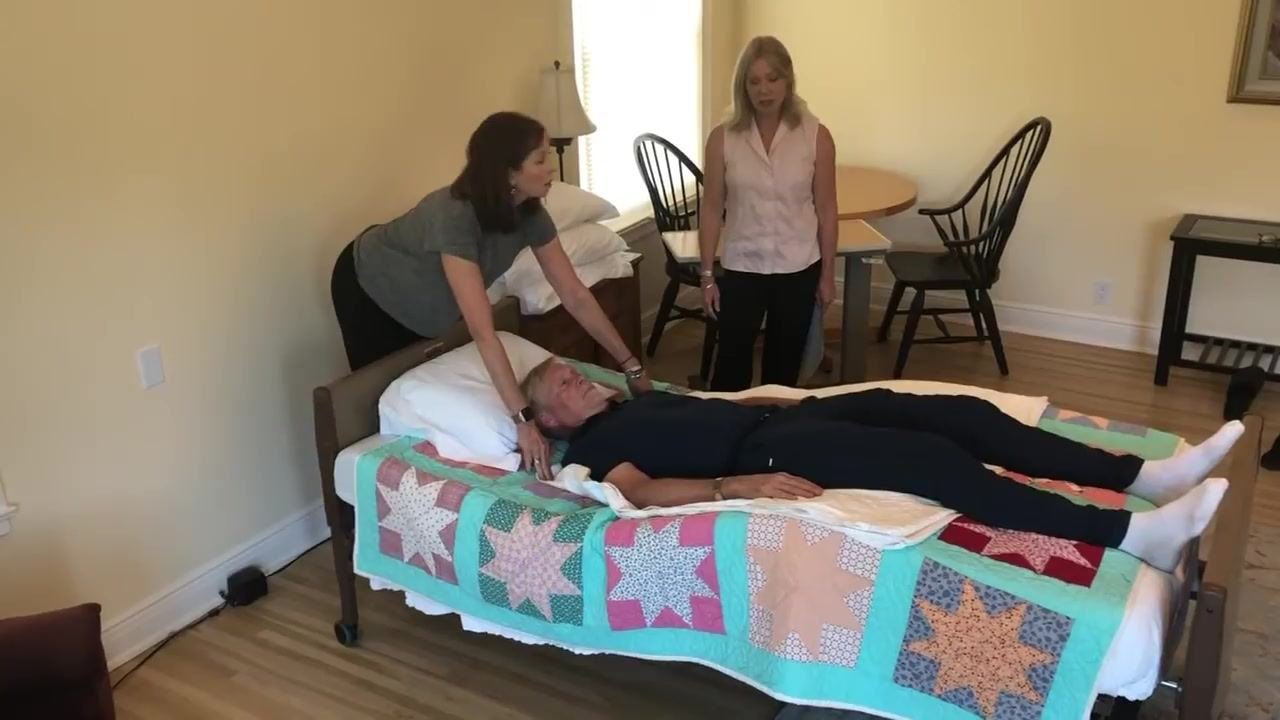
Phase 5: Inform the patient
- Always tell the patient what you are about to do to avoid startling them. For example, say, "I'm going to move you toward the head of the bed."
- Ensure the patient is ready and aware before proceeding.
Phase 6: Move the patient up in bed
- On the count of three, use the draw sheet to gently but firmly pull the patient up toward the head of the bed.
- Use your legs and core muscles to avoid straining your back.
- Ensure the patient's head and neck are supported by the pillow as you complete the move.
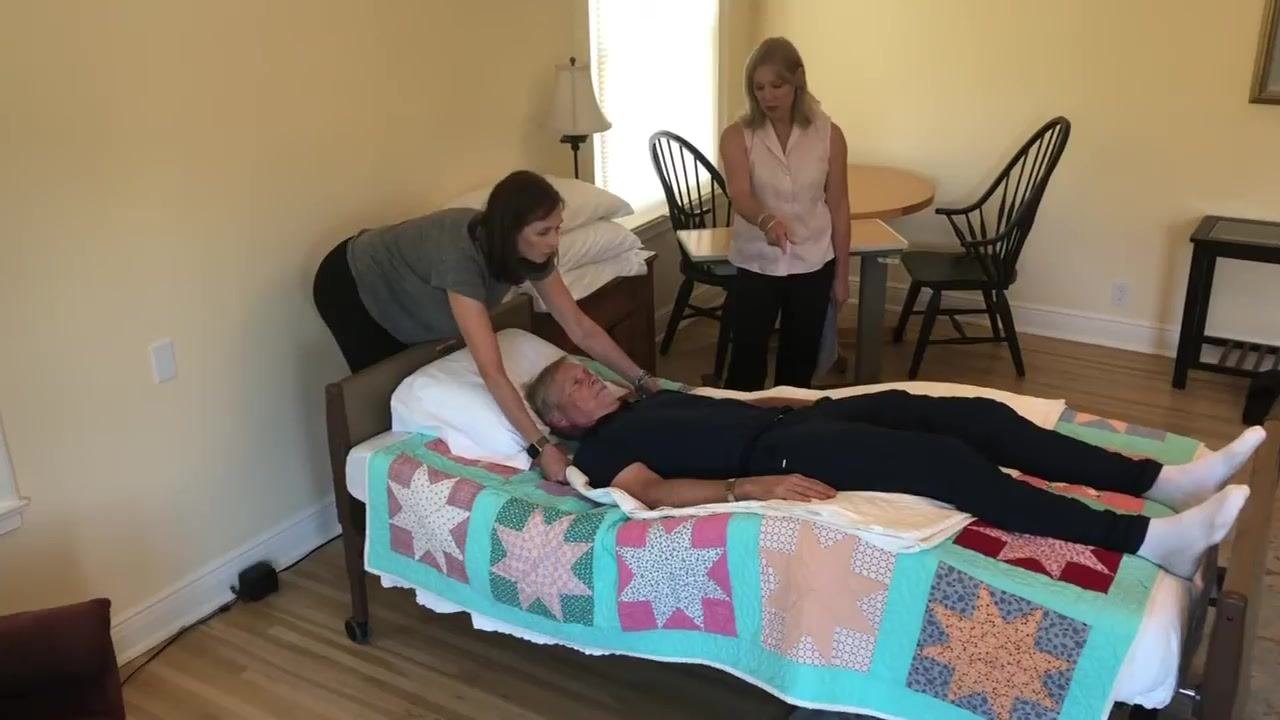
Phase 7: Adjust the pillow and confirm position
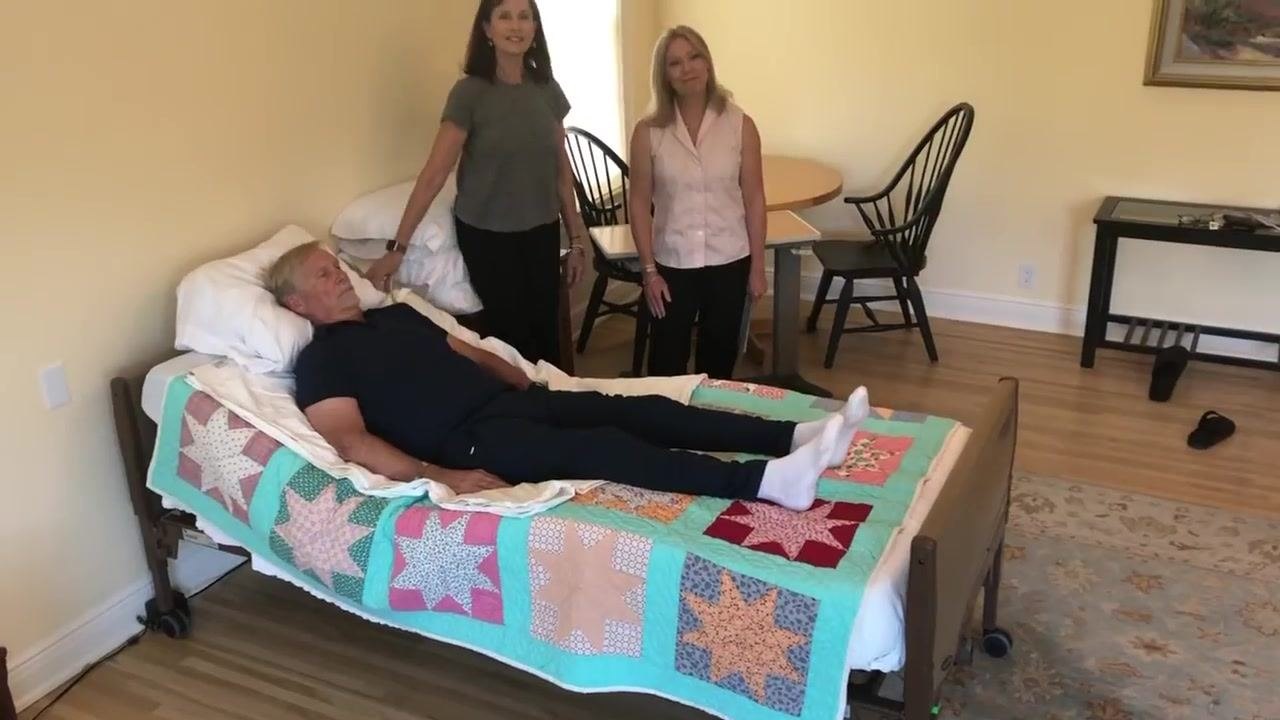
- Once the patient is in the desired position, adjust the pillow to ensure their head and neck are well supported.
- Confirm the patient is lying comfortably and is not too high or too low in the bed.
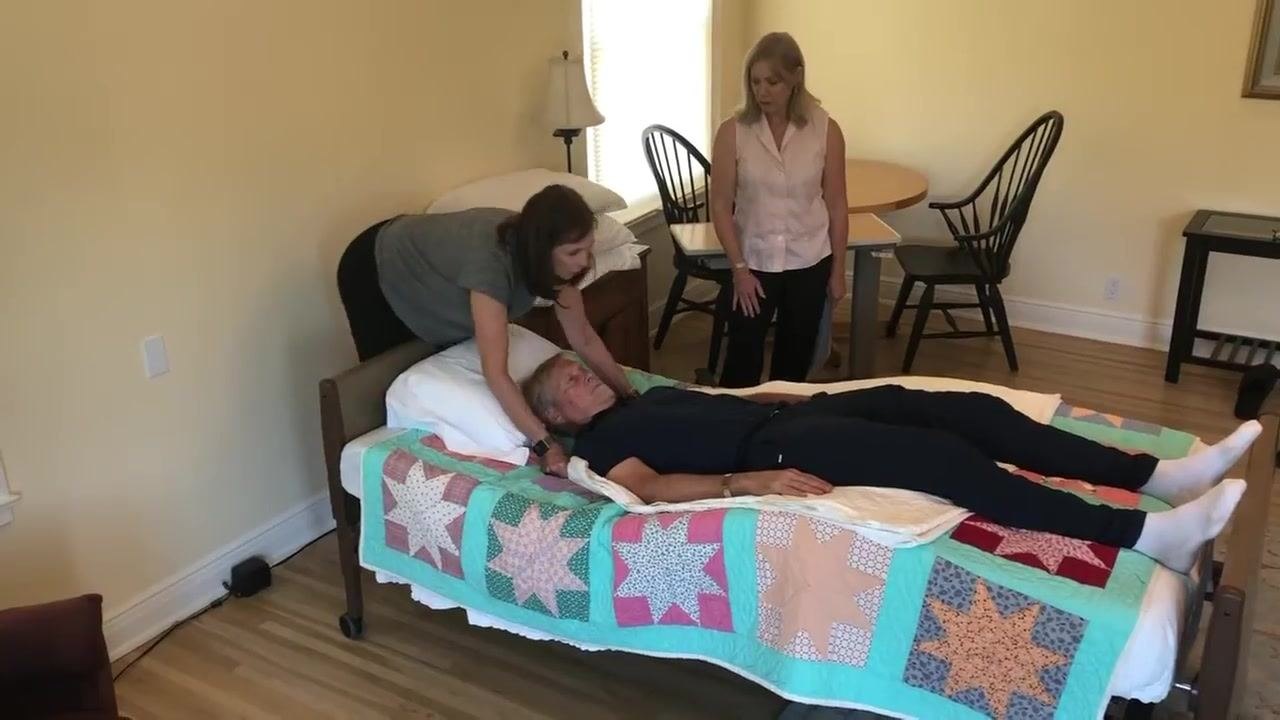
Phase 8: Final comfort check and sliding prevention
- Double-check the patient's alignment and comfort. Smooth out the draw sheet and bedding to prevent wrinkles that could cause discomfort or pressure sores.
-
Note that patients may gradually slide down again over time, so regular repositioning may be necessary.
-
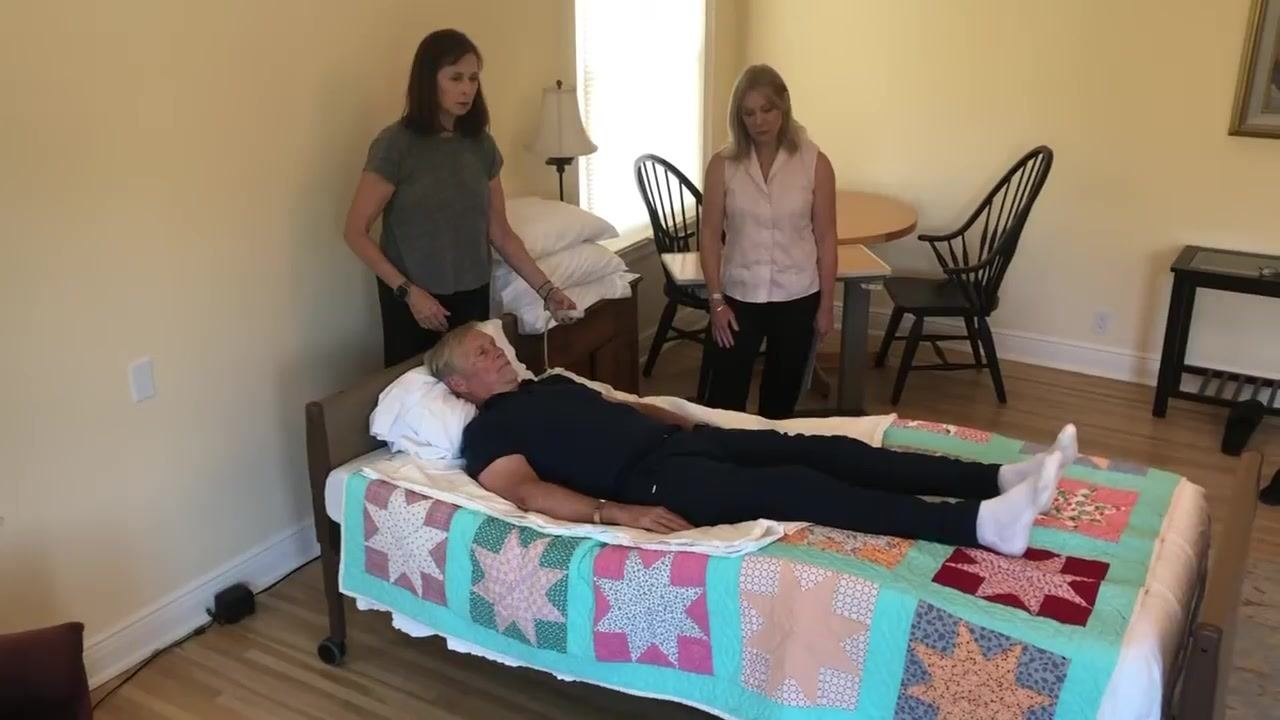
Use the bed controls to lower the legs partway, keeping the knees slightly elevated. This helps prevent the patient from sliding down when the head of the bed is raised. This technique is sometimes called "tacoing."
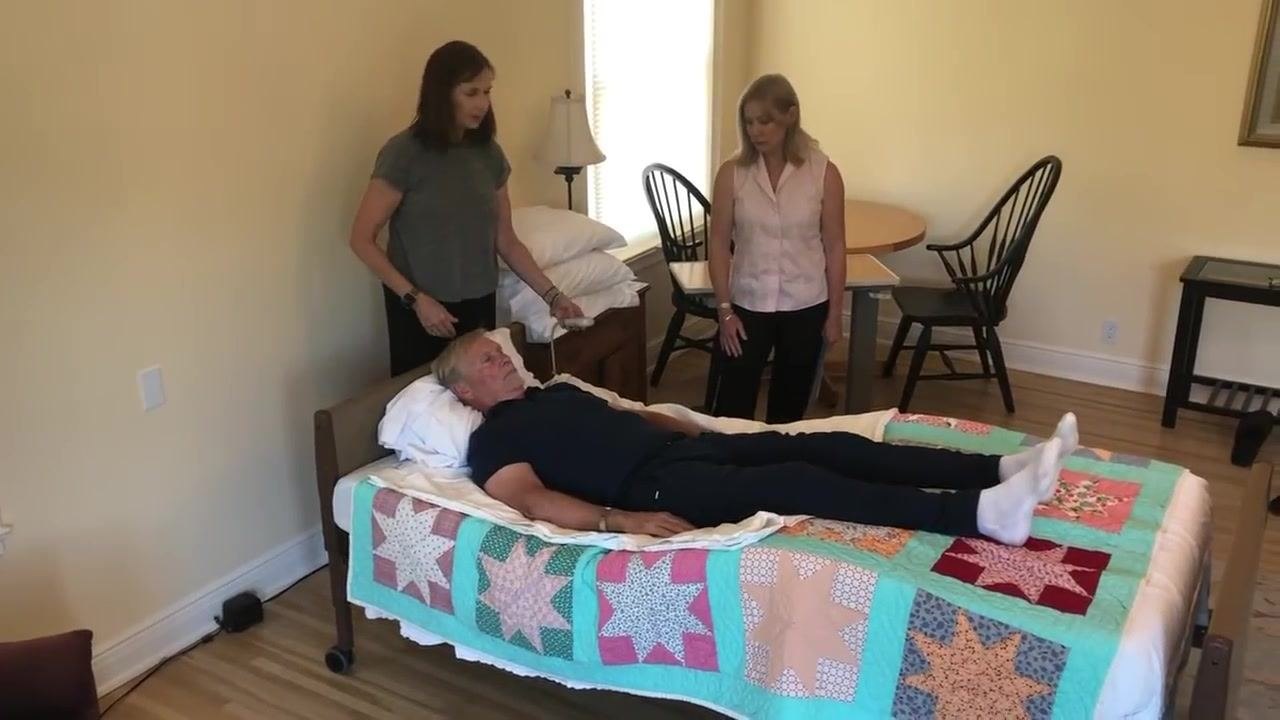
-
Keep the knees up just a little bit for optimal support and to minimize sliding.
-
If working in a small space, ensure you have enough room to maneuver safely around the bed.
Phase 9: Return the bed to its original position
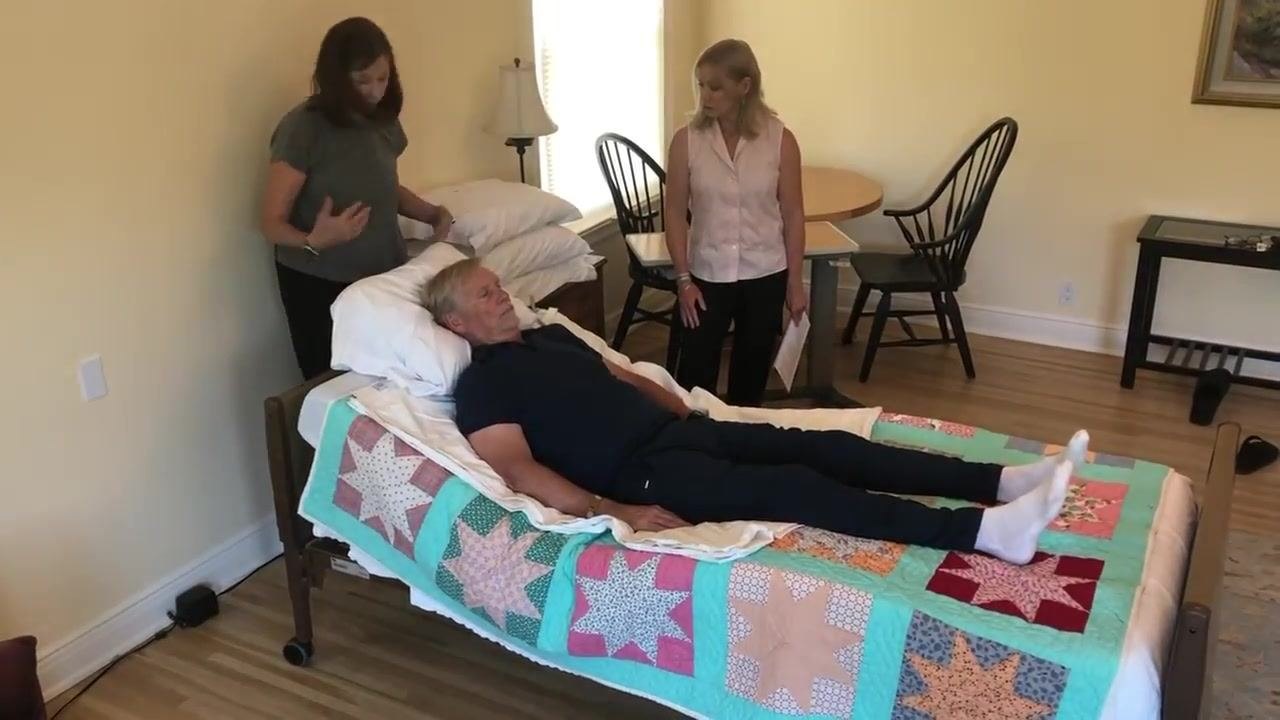
- Decide bed placement based on room size. In a large room, you may leave the bed pulled out from the wall by about 18 inches, allowing easier access to both sides of the bed for repositioning and care. If space is limited, move the head of the bed back against the wall.
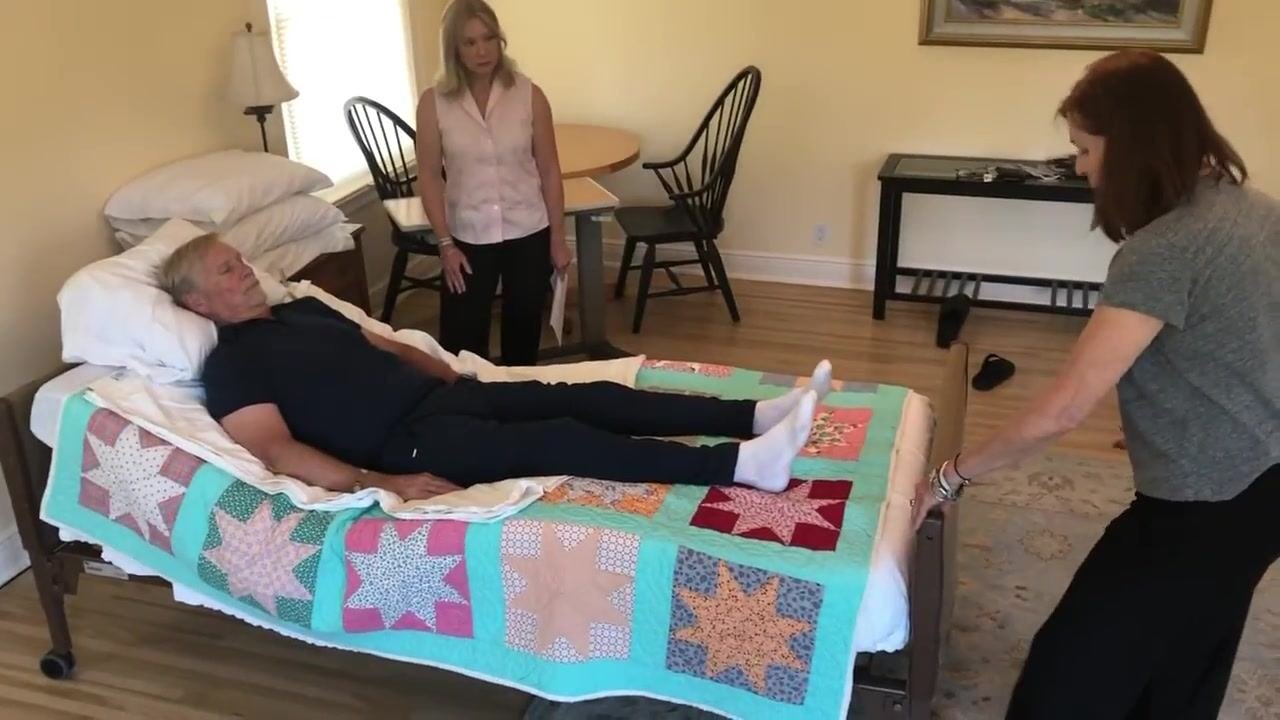
- If needed, carefully roll or slide the bed back so the head of the bed is flush against the wall. Ensure there is still enough space on each side for safe patient care and movement, and confirm the bed is positioned straight and not at an angle.
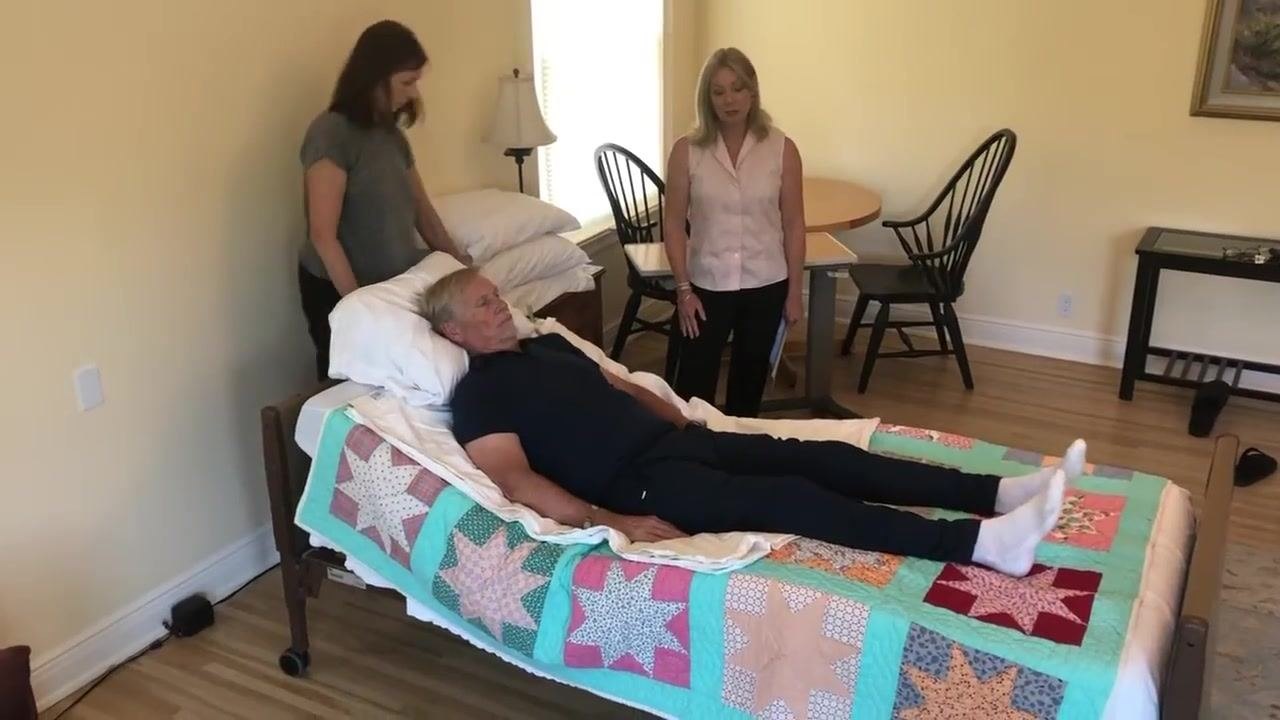
- Once the bed is in the desired position, lock the bed wheels to prevent any movement. Double-check that all wheels are securely locked for patient safety.
- Confirm the patient is still comfortable and safely positioned, that pillows and bedding are properly arranged, and that the room is tidy with clear pathways and any necessary equipment within reach.
Pain management
This procedure does not include a medication protocol, dosing table, or pain score targets. A complete pain management section would normally specify multimodal medications (drug, dose, route, frequency), target pain scores, and an escalation pathway, but none of this information is covered by the source material.
Mobility milestones
| Milestone | Detail from procedure |
|---|---|
| Repositioning frequency | Patients may gradually slide down again over time, so regular repositioning may be necessary |
A full progressive mobility timeline (such as bed exercises, chair transfer, and ambulation with a walker across specific days) is not addressed in this source and should be defined separately based on the patient's broader care plan.
Complication monitoring
Monitor for the following signs during and after repositioning:
- Feet pressed against the foot of the bed and low hip position, which can cause discomfort and increase the risk of bed sores
- Wrinkled draw sheet or bedding, which could cause discomfort or pressure sores
- Gradual sliding down in bed over time, indicating the need for repositioning
Specific early warning criteria and escalation contacts for complications are not covered in this source and should follow your facility's or home care program's standard escalation protocol.
Discharge criteria
This procedure addresses in-bed repositioning only and does not include discharge criteria. Discharge readiness should be assessed separately according to the patient's overall care plan.
Patient education
Before and during the repositioning process, provide the following guidance to the patient:
- Always tell the patient what you are about to do before moving them, to avoid startling them (for example, "I'm going to move you toward the head of the bed").
- If the patient is able to assist, instruct them to bend their knees and push with their feet to help move up in bed.
- Maintain eye contact and clear communication throughout the move so the patient knows what to expect.
- Thank the patient and any assisting caregivers for their cooperation once the move is complete.
What's next
Continue to monitor the patient's position regularly, as patients may gradually slide down in bed over time and require repositioning again. Always confirm the bed wheels are locked after any adjustment, and maintain clear communication with the patient and any other caregivers throughout ongoing care.
Generation details: cost, quality tiers, downloads
Docsie billed 2,000 credits ($1.40) to analyze this 4-minute video at standard quality. The rewrite, template fill and Word/PDF exports were included. The same video at each quality tier:
| Quality | Frames sampled | Credits | Approx. cost |
|---|---|---|---|
| Draft | every 16-30 s | 1,000 | $0.70 |
| Standard (this guide) | every 8-15 s | 2,000 | $1.40 |
| Detailed | every 4-7 s | 4,000 | $2.80 |
| Ultra | every 1-3 s | 8,000 | $5.60 |
Credits priced at $0.70 per 1,000; plans include a monthly allowance. Enterprise customers on on-premise or bring-your-own-model deployments run this on their own inference and pay no per-video credits.
Generated by Docsie Video-to-Docs on 2026-10-02 from a 3-minute video. It was generated straight into Docsie's Patient Care Procedure template, so every section of that template is filled from the video. Screenshots are frames from the source video and belong to their creator, The Hospice Care Plan, whose original is embedded above. If you own this video and want the guide removed or credited differently, contact us and we will act within one business day.