
How to Remove Surgical Staples
This procedure describes how to remove surgical staples safely and provides the assessment, technique, and aftercare steps nursing and allied health staff should follow. It is intended for use whenever a patient with a stapled surgical incision is due for staple removal in an outpatient, clinic, or ward setting.
Video: How to Remove Surgical Staples :) by EmpoweRN (2014). All credit for the demonstration goes to the creator; watch the original on YouTube. The written guide below was generated from this video by Docsie. Creator? Request a change or removal.
This procedure describes how to remove surgical staples safely and provides the assessment, technique, and aftercare steps nursing and allied health staff should follow. It is intended for use whenever a patient with a stapled surgical incision is due for staple removal in an outpatient, clinic, or ward setting.

Purpose & scope
This procedure applies to any patient presenting with a healing surgical incision closed with staples that requires removal per provider orders. It covers wound assessment, the mechanics of staple removal, and the application of Steri-Strips as a supportive dressing.
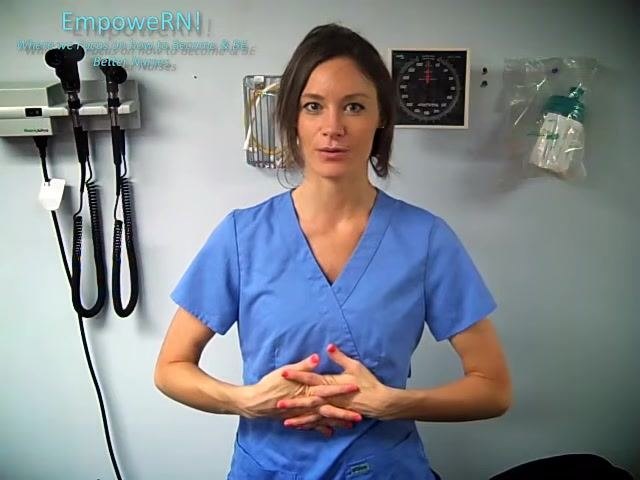
The setting shown is a clinical exam room equipped with standard medical supplies. Staff should exercise particular care with patients who have compromised wound healing, including those with peripheral vascular disease (PVD), diabetes, or wounds located on the lower extremities, as reduced blood flow in these populations increases the risk of complications.
Patient assessment
Before beginning staple removal, complete a full wound assessment to confirm the incision is stable and ready for staple removal.
| Assessment item | Expected finding | Action if abnormal |
|---|---|---|
| Hand hygiene | Hands washed with soap and water, or hand sanitizer applied | Repeat hand hygiene before touching the wound |
| Wound appearance | Skin around staples is only slightly pink, edges mostly approximated | Do not proceed; notify the provider |
| Signs of infection | No significant redness, bleeding, or discharge | Stop the procedure and reassess |
| Risk factors | Patient has PVD, diabetes, or a lower-extremity wound | Proceed with extra caution and closer monitoring |
| Pain level | Removal is expected to be painless | Stop and inspect for infection if the patient reports pain |
Vital sign monitoring frequency: the source material does not specify a vital sign monitoring schedule for this procedure; follow your facility's standard protocol for wound care visits.
Neurovascular checks: formal neurovascular assessment steps are not detailed in this procedure beyond confirming adequate circulation in patients with PVD; use your facility's neurovascular assessment protocol for at-risk limbs.
Pain assessment tool: a specific numeric or scale-based pain assessment tool is not specified; the working standard is that staple removal should be painless, and any reported pain should prompt further evaluation for infection.
Care protocol
Follow the phases below in order. Do not proceed to the next phase until all assessment checks in the current phase are satisfied.
Phase 1: Preparation and risk review
- Wash your hands thoroughly with soap and water or hand sanitizer before touching the wound.
- Inspect the wound carefully. Confirm the surrounding skin is only slightly pink with no significant redness, bleeding, or signs of infection. Do not proceed if any of these warning signs are present.
- Understand the risk of dehiscence. Removing staples from an unstable wound can cause the wound to come apart. Only proceed if you are confident the wound is healing properly.
- Identify high-risk patients, particularly those with wounds on the lower extremities or with peripheral vascular disease (PVD), which involves compromised blood circulation in the legs and feet, and patients with diabetes, since reduced blood flow can impair tissue healing.
Phase 2: Removing the staples
- Prepare the wound area. Confirm the wound remains only slightly pink with most skin edges together and no signs of infection or separation before proceeding.
-
Measure the wound. Use a ruler or measuring tape to record the wound length in centimeters in the patient's chart.
-
Count the number of staples present and document the total to confirm all are accounted for after removal.
-
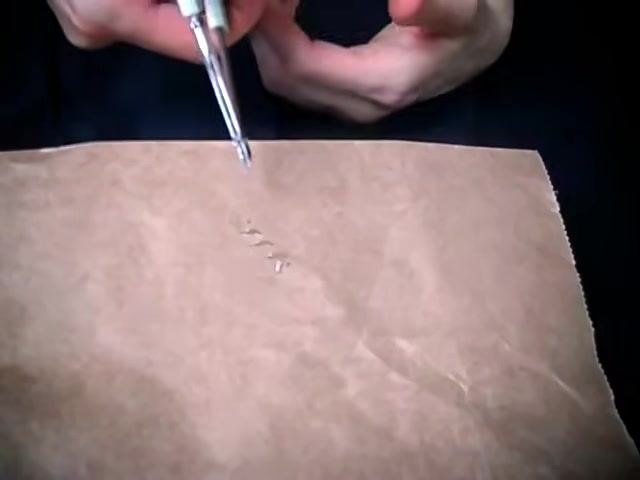
Identify the staple remover tool. Note the flat end, which slides under the staple next to the skin, and the top part, which is pressed to lift the staple ends upward.
-
Remove each staple. Slide the flat end of the remover under the center of the staple, gently press down on the top part to lift both staple ends, and carefully lift the staple away once released.
-
Repeat for all remaining staples, working methodically and checking for complications with each removal.
Phase 3: Post-removal wound care
-
Assess for pain and infection. Staple removal should be painless. If the patient reports significant pain, stop and inspect for redness, swelling, or discharge.
-
Confirm complete removal. Verify all staples have been removed and the wound edges remain approximated.
- Review the provider's dressing order. Check the chart for whether Steri-Strips or another dressing is required; Steri-Strips are the most common order following staple removal.
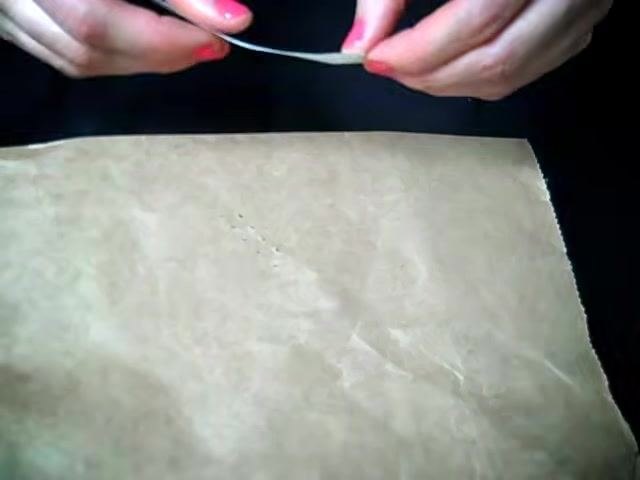
- Prepare Steri-Strips and adhesive supplies. Gather Steri-Strips, tape adhesive, and tape prep as needed, and open the Steri-Strip package while maintaining sterility. Always wear gloves during this step in clinical practice.
- Apply tape prep or adhesive, if used, by wiping around the wound area to help the Steri-Strips adhere better to the skin.
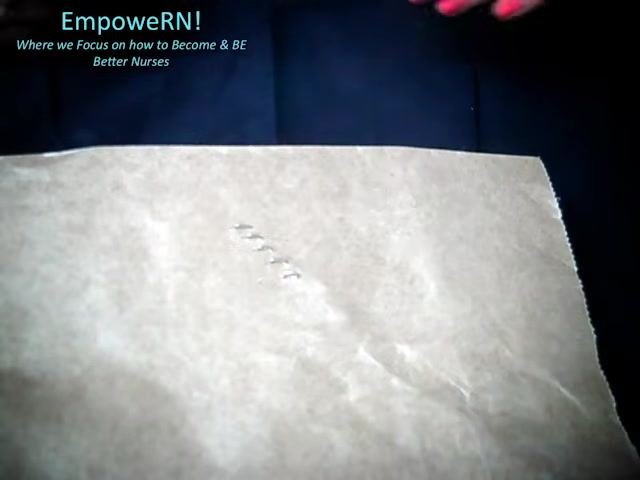
- Apply the Steri-Strips. Place one end on one side of the incision, center the wound beneath the strip, and press it down gently, smoothing it for secure adhesion.
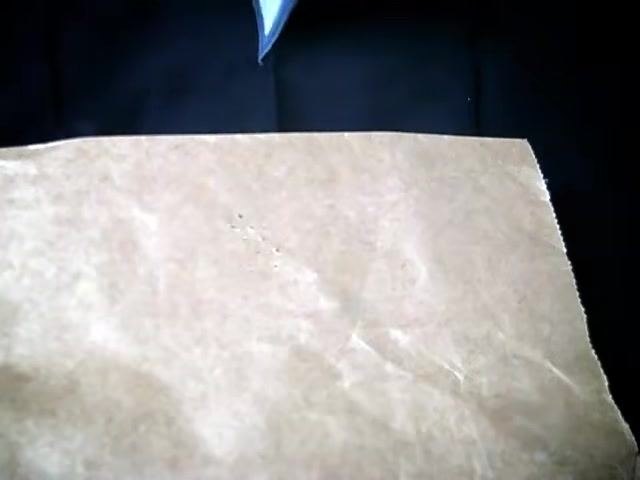
- Repeat application with additional Steri-Strips as ordered, spacing them evenly across the incision.
Phase 4: Patient instructions
- Educate the patient on Steri-Strip care as detailed in the Patient Education section below before concluding the visit.
Pain management
Staple removal is expected to be a painless procedure. If the patient reports significant pain during or after removal, stop the procedure and inspect the wound for signs of infection, such as redness, swelling, or discharge, rather than proceeding.
A specific analgesic medication table (drug, dose, route, frequency) is not provided in this procedure, since routine staple removal does not typically require pharmacologic pain management. If the provider has ordered analgesia for a specific patient, document and administer it per that order and your facility's medication protocol.
Escalation pathway: if pain persists or is accompanied by signs of infection or wound separation, stop the procedure and notify the provider before continuing.
Mobility milestones
This procedure does not include mobility goals, as staple removal and Steri-Strip application do not restrict a patient's activity level. Follow the provider's general post-surgical activity orders relevant to the patient's underlying condition.
Complication monitoring
Monitor for the following throughout and after the procedure:
- Wound dehiscence: removing staples from an unstable wound can cause the wound to separate; do not proceed if the wound is not healing properly.
- Signs of infection: watch for redness, swelling, discharge, or increased pain during or after removal.
- Poor circulation risk: patients with PVD or diabetes have compromised blood flow, which can impair healing and increase complication risk, especially with lower-extremity wounds.
- Pain during removal: unexpected pain may indicate an underlying issue and warrants stopping to reassess the wound.
Escalation contact: advise the patient to contact their healthcare provider if they notice redness, swelling, discharge, increased pain, or if the wound edges separate after leaving the visit.
Discharge criteria
Before concluding the staple removal visit, confirm that:
- All counted staples have been removed and accounted for.
- The wound edges remain approximated with no signs of separation.
- No signs of infection are present (no significant redness, swelling, discharge, or bleeding).
- Steri-Strips or the ordered dressing have been applied per the provider's instructions.
- The patient has received and understood aftercare instructions.
Patient education
Provide the following instructions to the patient before they leave:
- Let Steri-Strips fall off naturally. Do not pull or peel them off.
- It is safe to get Steri-Strips wet, such as during showering.
- Avoid direct rubbing or soaping the Steri-Strips directly.
- Pat the area dry gently after bathing or showering rather than rubbing it.
- Watch for signs of infection, including redness, swelling, discharge, or increased pain, and contact your healthcare provider if these occur.
- Contact your provider if the wound edges separate at any point during healing.
What's next
Once staple removal and dressing application are complete, document the total number of staples removed, the wound measurement, and the dressing applied in the patient's chart. Schedule any follow-up visit as directed by the provider, and instruct the patient to seek care promptly if signs of infection or wound separation develop.
Generation details: cost, quality tiers, downloads
Docsie billed 3,000 credits ($2.10) to analyze this 6-minute video at standard quality. The rewrite, template fill and Word/PDF exports were included. The same video at each quality tier:
| Quality | Frames sampled | Credits | Approx. cost |
|---|---|---|---|
| Draft | every 16-30 s | 1,500 | $1.05 |
| Standard (this guide) | every 8-15 s | 3,000 | $2.10 |
| Detailed | every 4-7 s | 6,000 | $4.20 |
| Ultra | every 1-3 s | 12,000 | $8.40 |
Credits priced at $0.70 per 1,000; plans include a monthly allowance. Enterprise customers on on-premise or bring-your-own-model deployments run this on their own inference and pay no per-video credits.
Generated by Docsie Video-to-Docs on 2026-09-28 from a 5-minute video. It was generated straight into Docsie's Patient Care Procedure template, so every section of that template is filled from the video. Screenshots are frames from the source video and belong to their creator, EmpoweRN, whose original is embedded above. If you own this video and want the guide removed or credited differently, contact us and we will act within one business day.