
How to Put on Sterile Gloves
This document explains how to put on sterile gloves correctly, using an aseptic technique that protects both the patient and the clinician from contamination. Sterile gloving is a foundational skill required before procedures such as inserting a Foley catheter, accessing a subcutaneous port, or changing a central line dressing. Follow the steps below in order, and repeat the process from the beginning if sterility is ever compromised.
Video: How to Put on or Don Sterile Gloves for Nursing Students & Health Care Workers by RegisteredNurseRN (2014). All credit for the demonstration goes to the creator; watch the original on YouTube. The written guide below was generated from this video by Docsie. Creator? Request a change or removal.
This document explains how to put on sterile gloves correctly, using an aseptic technique that protects both the patient and the clinician from contamination. Sterile gloving is a foundational skill required before procedures such as inserting a Foley catheter, accessing a subcutaneous port, or changing a central line dressing. Follow the steps below in order, and repeat the process from the beginning if sterility is ever compromised.
Purpose and scope
This protocol standardizes how nurses and nursing students put on sterile gloves before performing invasive or sterile-field procedures. It applies to any clinical situation requiring a sterile barrier between the clinician's hands and the patient, including:
- Inserting a Foley catheter
- Accessing a subcutaneous port
- Changing a central line dressing
Nursing students should note that clinical instructors commonly test this skill directly, so this protocol also serves as a competency reference.
Pathogen overview
This protocol addresses aseptic hand-covering technique in general rather than a single pathogen. A pathogen-specific version of this document would instead describe the transmission mode, incubation period, risk factors, and clinical significance of the organism the sterile technique is intended to guard against.
Screening and identification
Patient- or pathogen-specific screening is outside the scope of this procedure. A full protocol addressing a specific organism would define admission screening criteria, diagnostic tests, expected turnaround times, and the notification workflow for positive results.
Isolation precautions
Sterile gloves are the primary personal protective equipment (PPE) covered by this protocol. The table below summarizes glove sizing guidance before you begin.
| Consideration | Guidance |
|---|---|
| Sizing system | Gloves come in small, medium, large, or numbered sizes (for example, size 6) |
| Selecting a size | Choose the size that matches your hand; smaller hands typically fit a size 6 |
| Sex-based note | Men may require larger glove sizes |
Patient placement and signage requirements are not addressed by this procedure, as it covers PPE donning technique rather than isolation status. Sterile gloves remain in place for the duration of the procedure being performed and must be removed and reapplied if contamination occurs at any point.
Step 1: Gather your sterile gloves
Obtain a pair of sterile gloves in the correct size before beginning the procedure.
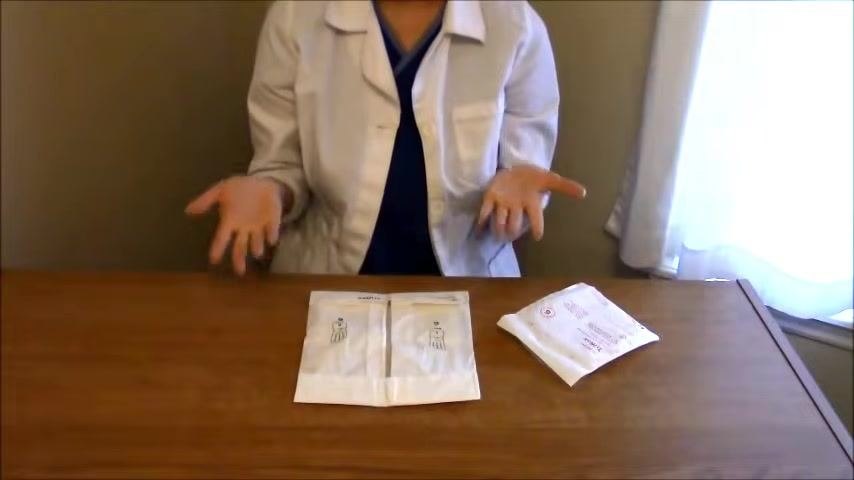
Step 2: Open the sterile glove package
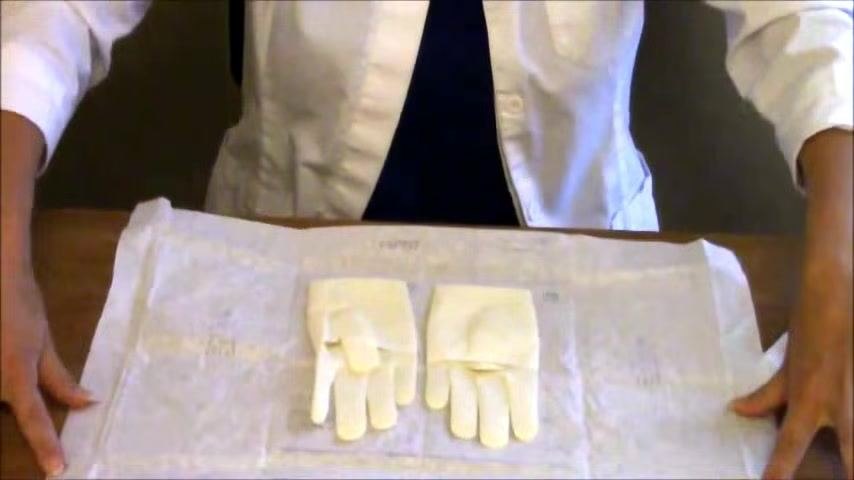
Place the unopened sterile glove package on a clean, flat surface. Unfold the outer package carefully, touching only the outer edges to preserve sterility. The packaging includes creases and folds designed to let you open it without contaminating the gloves inside.
Step 3: Perform hand hygiene
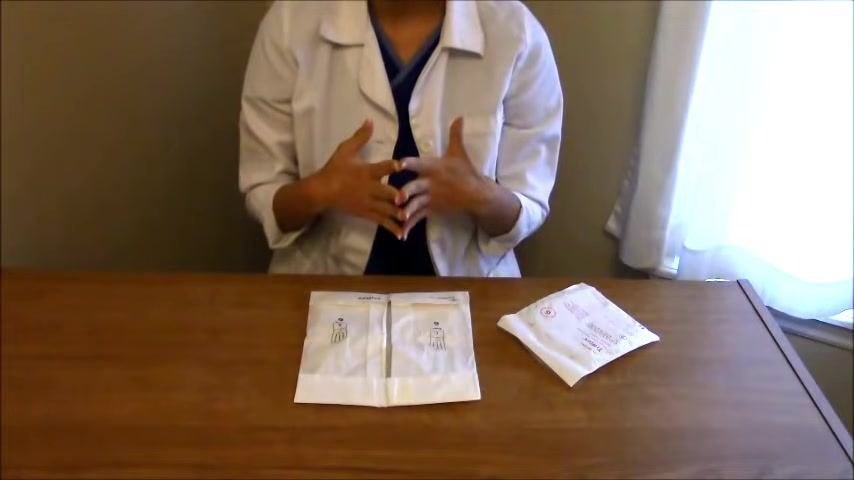
Before touching the gloves, wash your hands thoroughly with soap and water, or use an alcohol-based hand rub. This step is critical to prevent contamination of the sterile gloves before they are even opened.
Step 4: Unfold the inner glove wrapper
Carefully unfold the inner wrapper to reveal the gloves inside. Note the creases around the edges of the wrapper, which are designed so you can open the package without directly touching the gloves.
Step 5: Position your hands to remove the gloves
Reach underneath the creased edges of the wrapper with your fingers, avoiding contact with the gloves themselves.
Step 6: Open the sterile field completely
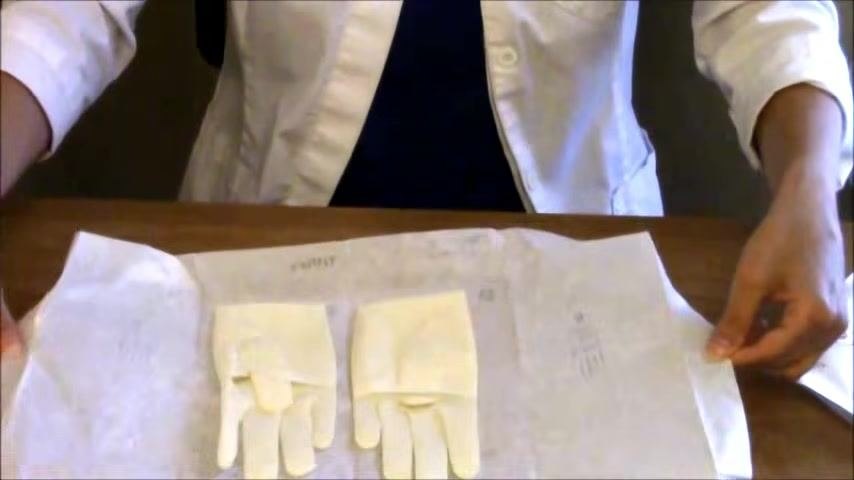
Grasp the small flaps on the edges of the inner wrapper and pull them outward to fully open the sterile field. A two-inch border around the wrapper is safe to touch without contaminating the field; if the wrapper starts to close, pull it open again and flatten it. Ensure both the left and right gloves are fully exposed and accessible.
Step 7: Identify the left and right gloves
Confirm the layout: the left glove sits on the left side of the wrapper, and the right glove sits on the right. Decide which hand is your dominant hand — right-handed clinicians start with the right glove, left-handed clinicians start with the left glove.
Step 8: Grasp the cuff of the first glove
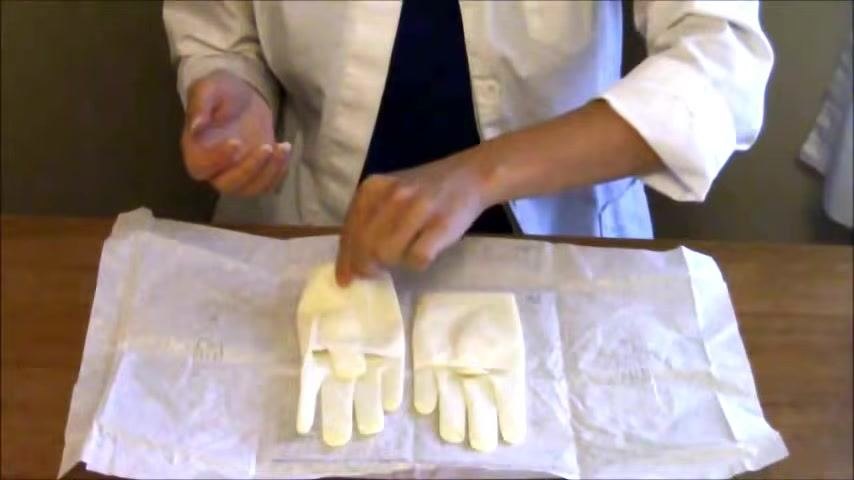
Use your non-dominant hand to glove your dominant hand first. Grasp only the inside of the folded cuff, keeping your thumb tucked in so it cannot touch and contaminate the outside of the glove.
Step 9: Put on the first glove
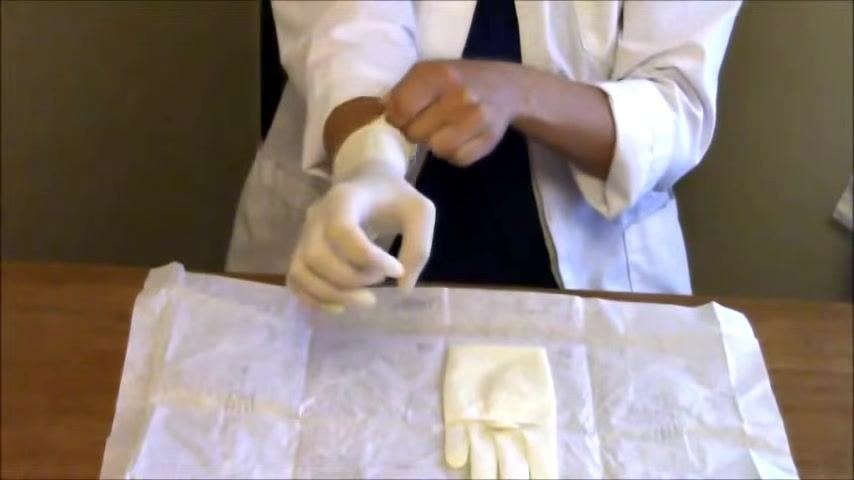
Slide your dominant hand into the glove while keeping your thumb tucked in, then pull the glove up over your hand and wrist using the inside of the cuff. Once this glove is on, treat that hand as sterile and touch only the other glove or the inside of the wrapper.
Step 10: Adjust the fit of the first glove
Use your gloved hand to gently pull the glove up your arm for a snug fit, touching only the inside of the cuff or the glove itself.
Important: Once your dominant hand is gloved, it is sterile. Do not touch your face, skin, bedside table, or any non-sterile surface with it.
Step 11: Glove the non-dominant hand
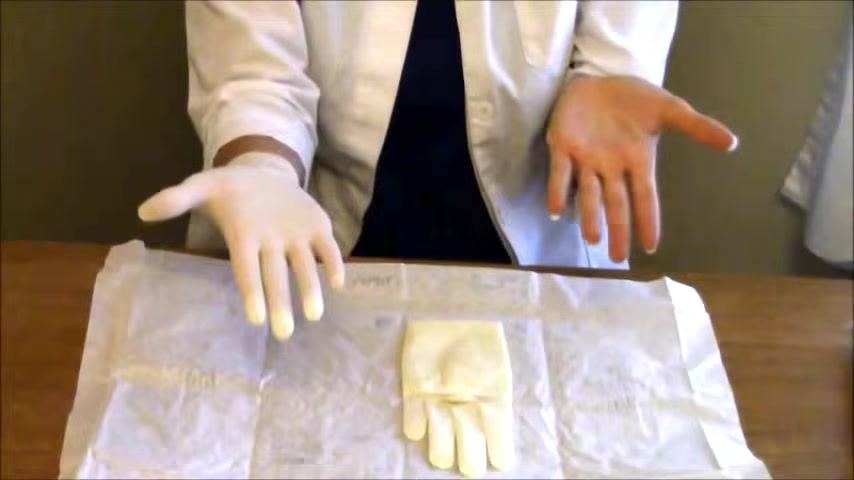
With your sterile gloved hand, slide your gloved fingers underneath the cuff of the remaining glove rather than grasping the outside as before. Work slowly, since the paper wrapper may shift. Keep your thumb out and your fingers together as you prepare to insert your non-dominant hand.
Step 12: Insert the non-dominant hand into the glove
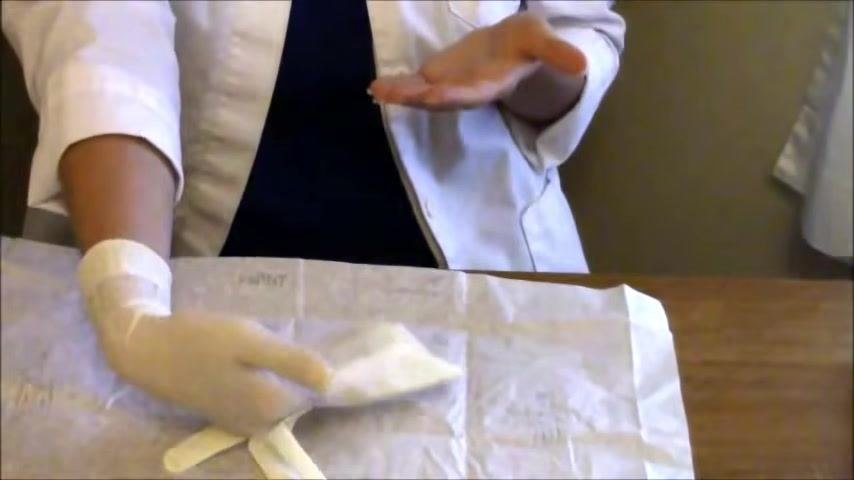
Slide your non-dominant hand into the glove with your thumb out and fingers together. Use your already-gloved hand to guide the glove up over your fingers and hand, then tuck your thumb under once the glove is partially on to help slide it fully into place.
Step 13: Adjust both gloves and maintain sterility
If the gloves feel twisted, adjust them by touching only the sterile surfaces with your gloved hands. Keep both hands above waist level and in front of you, and avoid touching your face, skin, bedside table, bed, or any non-sterile surface for the remainder of the procedure.
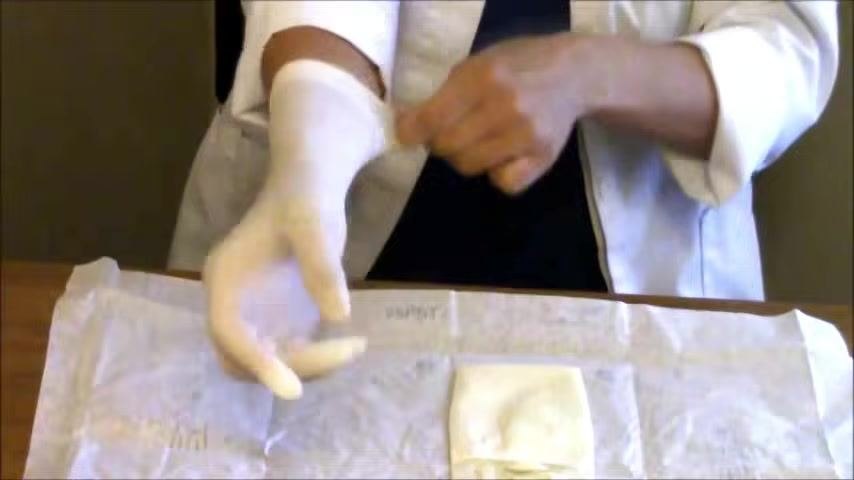
If you touch a non-sterile surface at any point, remove both gloves and repeat the entire procedure from the beginning.
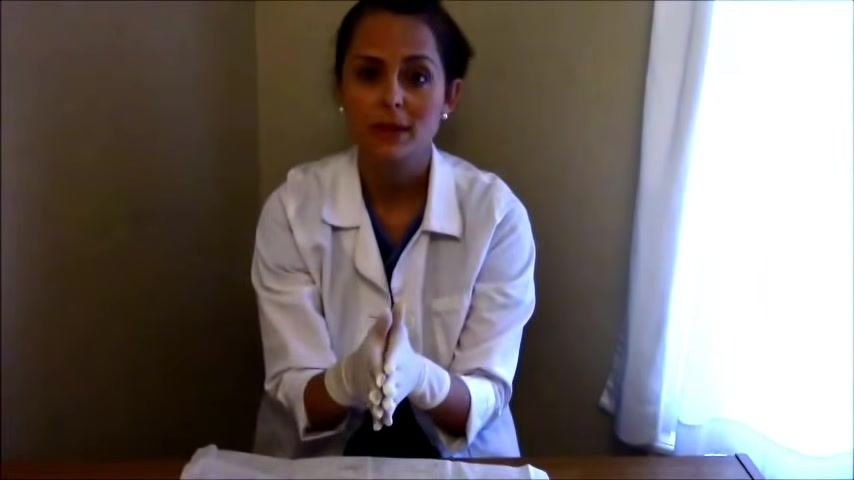
Hand hygiene protocol
Hand hygiene is required before the sterile gloving procedure begins, as a contaminated hand will compromise the sterile field before the gloves are even opened.
| Moment | Action |
|---|---|
| Before donning sterile gloves | Wash hands thoroughly with soap and water, or use an alcohol-based hand sanitizer |
| While opening packaging | Touch only the outer edges of packaging; do not re-contact hands to gloves without repeating hand hygiene if interrupted |
| If gloves are contaminated | Remove gloves, repeat hand hygiene, and redon a fresh pair |
Compliance is monitored informally through direct observation, such as evaluation by a clinical instructor confirming the technique was performed correctly and without contamination.
Environmental cleaning
Environmental cleaning of the room, work surface, or equipment is not addressed by this procedure. A complete cleaning protocol would specify cleaning agents and concentrations, cleaning frequency, terminal cleaning steps, shared equipment handling, and waste management.
Surveillance and reporting
This procedure does not include outbreak surveillance or mandatory reporting requirements. The only monitoring built into the technique itself is self-surveillance for contamination: if a gloved hand touches a non-sterile surface, the clinician must recognize this immediately, remove the gloves, and repeat the procedure.
Staff education
Nursing students should expect to be tested on this skill directly by clinical instructors, so hands-on repetition is recommended until the technique can be performed without contaminating the gloves. Additional learning resources referenced for this procedure include:
- RegisteredNurseRN.com
- The book "How to Pass Nursing School"
No formal annual refresher schedule is specified in this procedure; competency is assessed through direct clinical instructor observation of the technique.
What's next
Once sterile gloves are correctly in place, proceed directly to the sterile procedure they were intended for — such as Foley catheter insertion, subcutaneous port access, or central line dressing change — keeping gloved hands above waist level and away from any non-sterile surface throughout.
Generation details: cost, quality tiers, downloads
Docsie billed 3,000 credits ($2.10) to analyze this 6-minute video at standard quality. The rewrite, template fill and Word/PDF exports were included. The same video at each quality tier:
| Quality | Frames sampled | Credits | Approx. cost |
|---|---|---|---|
| Draft | every 16-30 s | 1,500 | $1.05 |
| Standard (this guide) | every 8-15 s | 3,000 | $2.10 |
| Detailed | every 4-7 s | 6,000 | $4.20 |
| Ultra | every 1-3 s | 12,000 | $8.40 |
Credits priced at $0.70 per 1,000; plans include a monthly allowance. Enterprise customers on on-premise or bring-your-own-model deployments run this on their own inference and pay no per-video credits.
Generated by Docsie Video-to-Docs on 2026-09-20 from a 5-minute video. It was generated straight into Docsie's Infection Control Protocol template, so every section of that template is filled from the video. Screenshots are frames from the source video and belong to their creator, RegisteredNurseRN, whose original is embedded above. If you own this video and want the guide removed or credited differently, contact us and we will act within one business day.