
How to Put on Isolation Gown and PPE
This document describes how to put on isolation gown and PPE correctly, and how to remove it safely, for staff providing care to patients who require transmission-based precautions. Follow this sequence every time you enter a room where contact, droplet, or airborne precautions are in place. This protocol is for educational and procedural reference; always confirm current requirements with your employer, as PPE protocols may change over time.
Video: Donning and Removing PPE | Donning and Doffing PPE: Gown, Gloves, Mask, Respirator, Goggles by RegisteredNurseRN (2017). All credit for the demonstration goes to the creator; watch the original on YouTube. The written guide below was generated from this video by Docsie. Creator? Request a change or removal.
This document describes how to put on isolation gown and PPE correctly, and how to remove it safely, for staff providing care to patients who require transmission-based precautions. Follow this sequence every time you enter a room where contact, droplet, or airborne precautions are in place. This protocol is for educational and procedural reference; always confirm current requirements with your employer, as PPE protocols may change over time.
Before you begin, make sure you have: - Access to hand sanitizer or soap and water - A gown sized according to what your employer provides - A face mask or respirator appropriate to the precaution type - Goggles or a face shield - Gloves sized to fit your hands
Purpose & Scope
This procedure covers how to select, don, and doff personal protective equipment, including the isolation gown, face mask or respirator, eye protection, and gloves. The specific PPE you select depends on two factors: the procedure you are performing for the patient, and the type of transmission-based precaution required for that patient (for example, contact, droplet, or airborne). This procedure applies to any staff member entering the room of a patient under transmission-based precautions.
Pathogen Overview
This document does not identify a specific pathogen. Instead, PPE selection is driven by the transmission-based precaution category ordered for the patient — contact, droplet, or airborne — as determined through the facility's diagnostic and clinical assessment process. Confirm the precaution category assigned to the patient before selecting your PPE combination.
Screening & Identification
This document does not cover admission screening criteria, diagnostic testing, turnaround times, or notification workflows. Refer to your facility's screening protocol to determine the transmission-based precaution category for a patient before proceeding with PPE selection.
Isolation Precautions
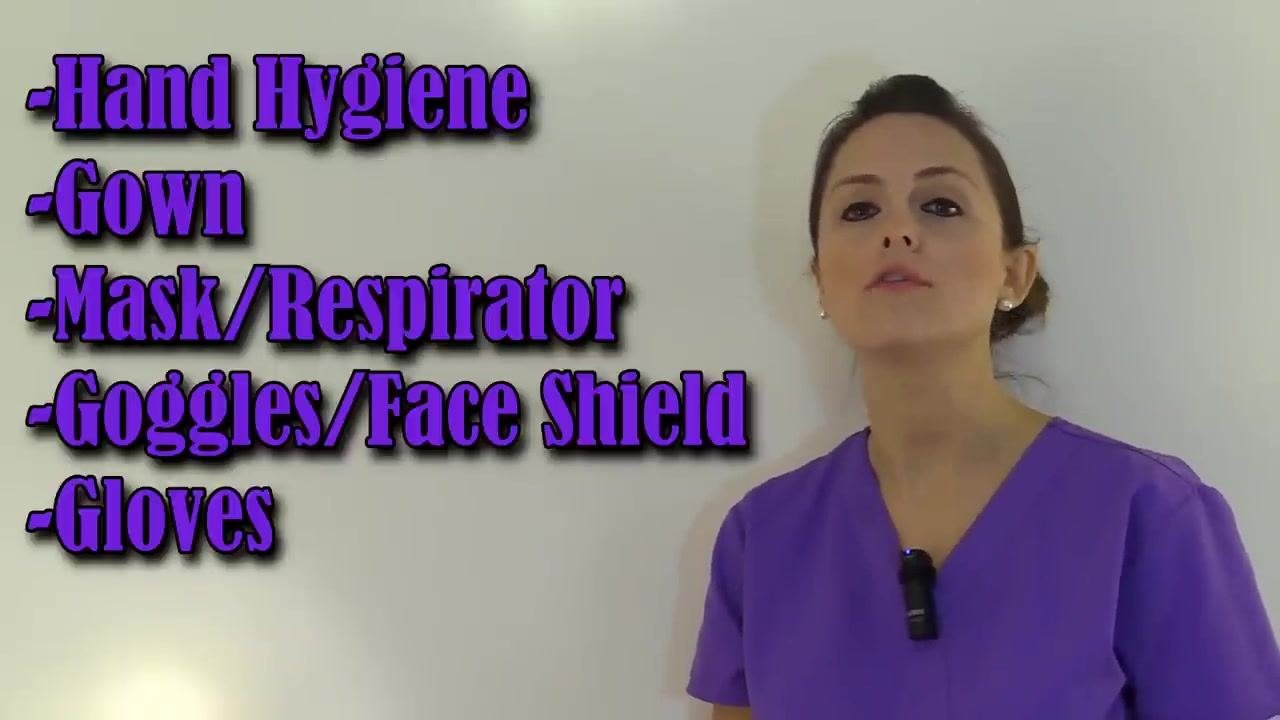
PPE requirements by item
| PPE Item | When Used | Purpose |
|---|---|---|
| Gown | All patient contact requiring protection from splashes | Protects your clothing from splashes of body fluids such as blood, urine, or mucus |
| Face mask | Droplet precautions, or risk of splash to nose/mouth | Protects against droplet transmission |
| Respirator (for example, N95) | Airborne precautions | Protects against droplet nuclei from airborne disease |
| Goggles or face shield | Risk of splash to the eyes | Protects your eyes from splashes of blood or other body fluids |
| Gloves | All patient contact | Protects your hands from fluids and contaminants |
Select the gown size, glove size, and eye protection type based on what your employer provides and the anticipated risk of exposure. If your employer provides a face mask with an attached shield, you can select that option when there is a risk of exposure to the eyes.
Key points while wearing PPE
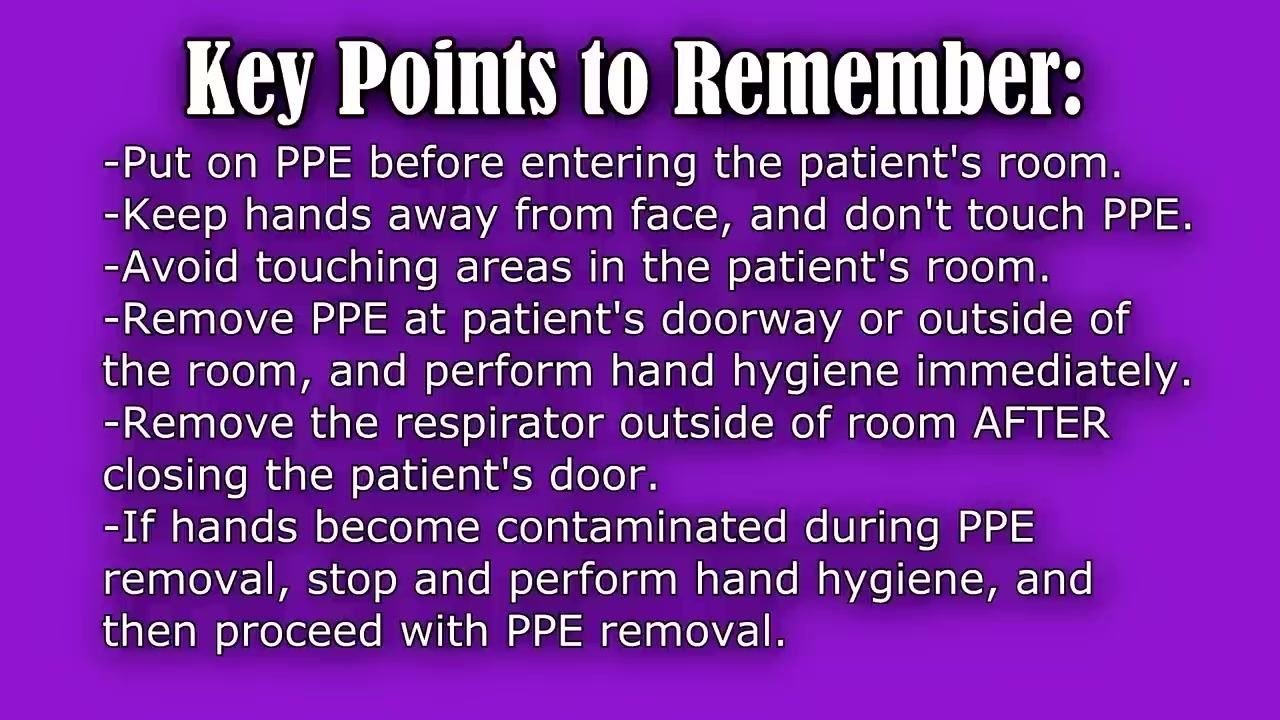
- Put on all required PPE before entering the patient's room.
- Once inside the room, keep your hands away from your face, avoid touching your PPE unnecessarily, and avoid touching unnecessary surfaces in the room.
- Remove PPE at the patient's doorway or just outside the room.
- If you wear a respirator, remove it outside the patient's room after closing the door.
- Perform hand hygiene immediately after removing PPE.
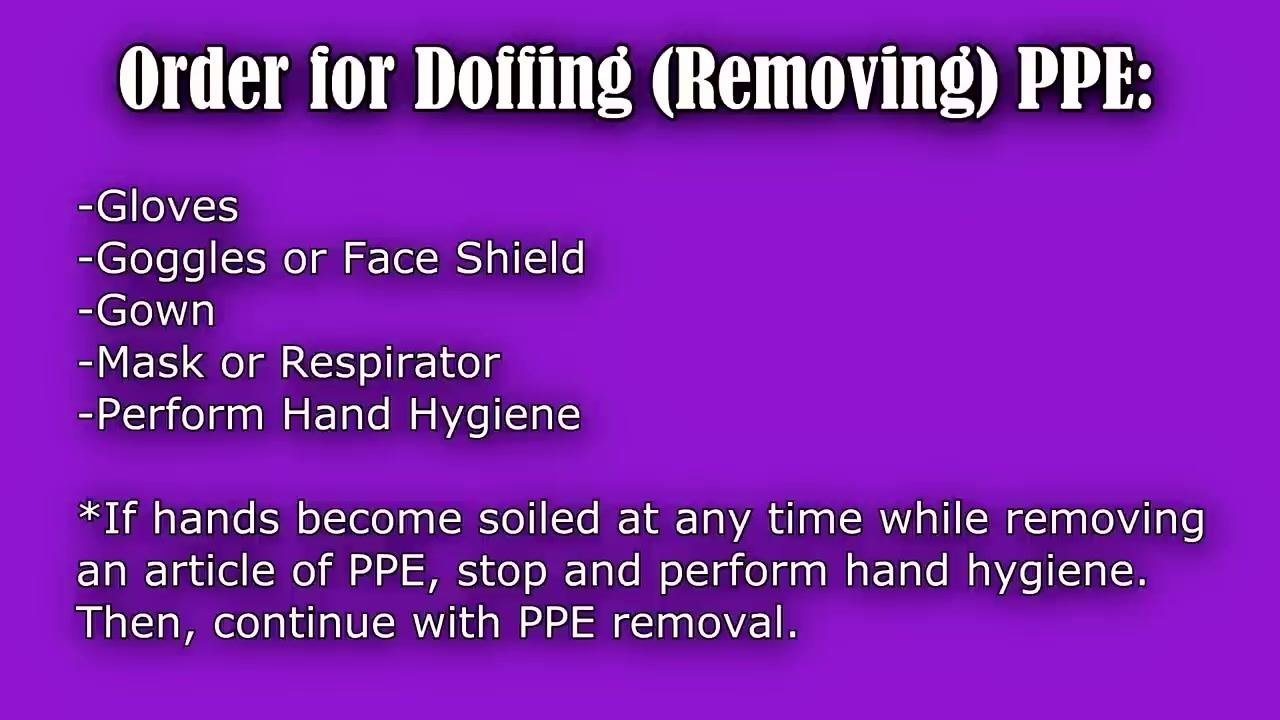
- If your hands become contaminated at any point during removal, stop and perform hand hygiene before continuing.

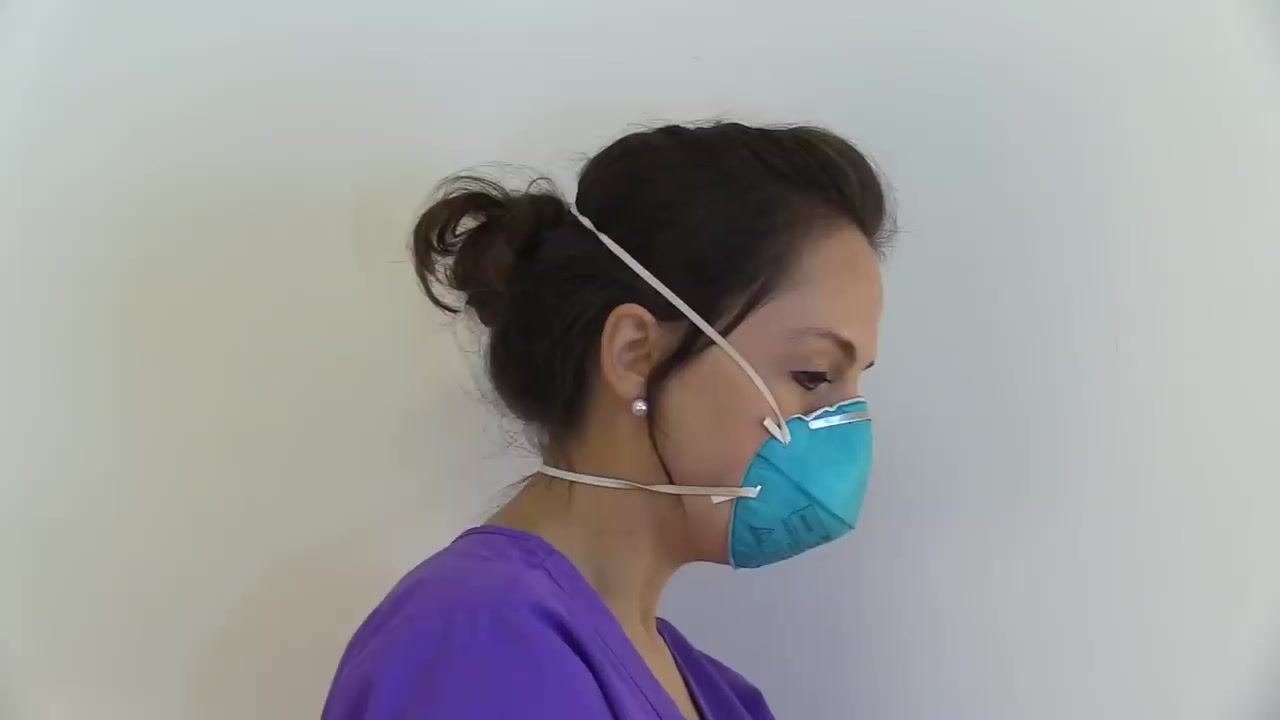
Putting on isolation gown and PPE (donning procedure)
Follow this order when putting on isolation gown and PPE: hand hygiene, gown, mask or respirator, goggles or face shield, then gloves.
-
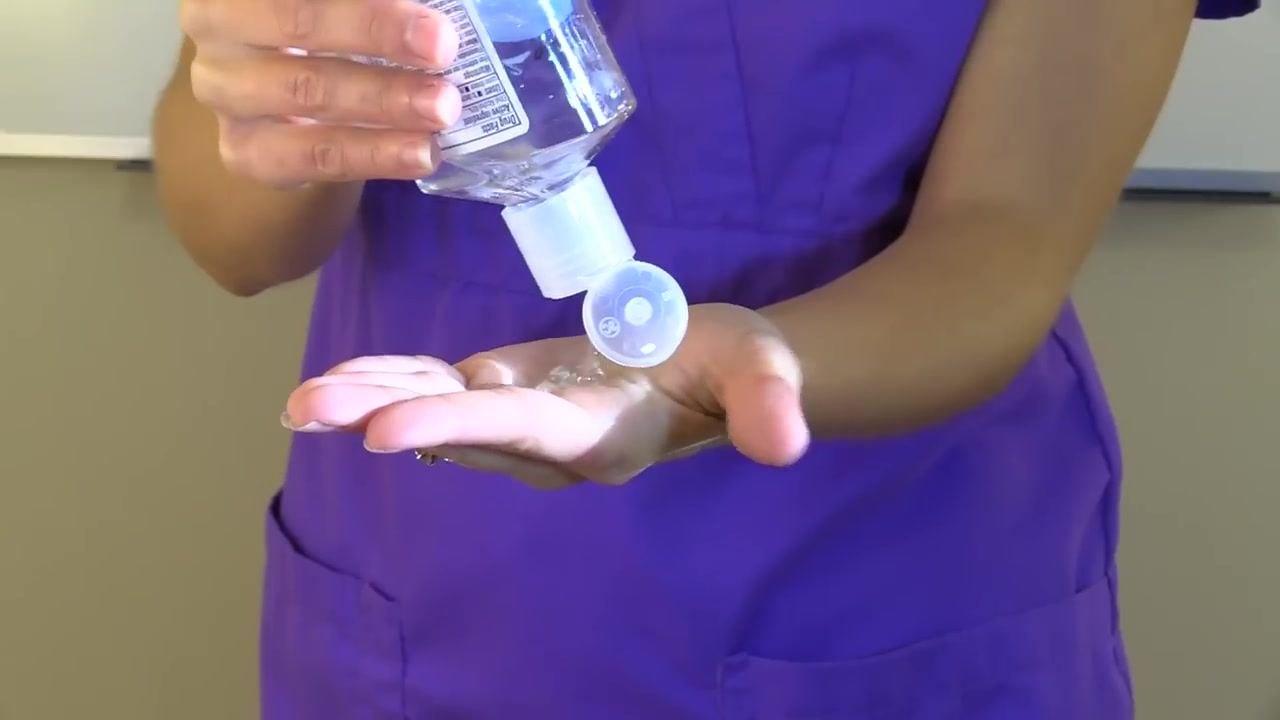
Perform hand hygiene. Use hand sanitizer or wash your hands thoroughly with soap and water. Apply sanitizer to the palm of one hand and rub your hands together, covering all surfaces until dry.
-
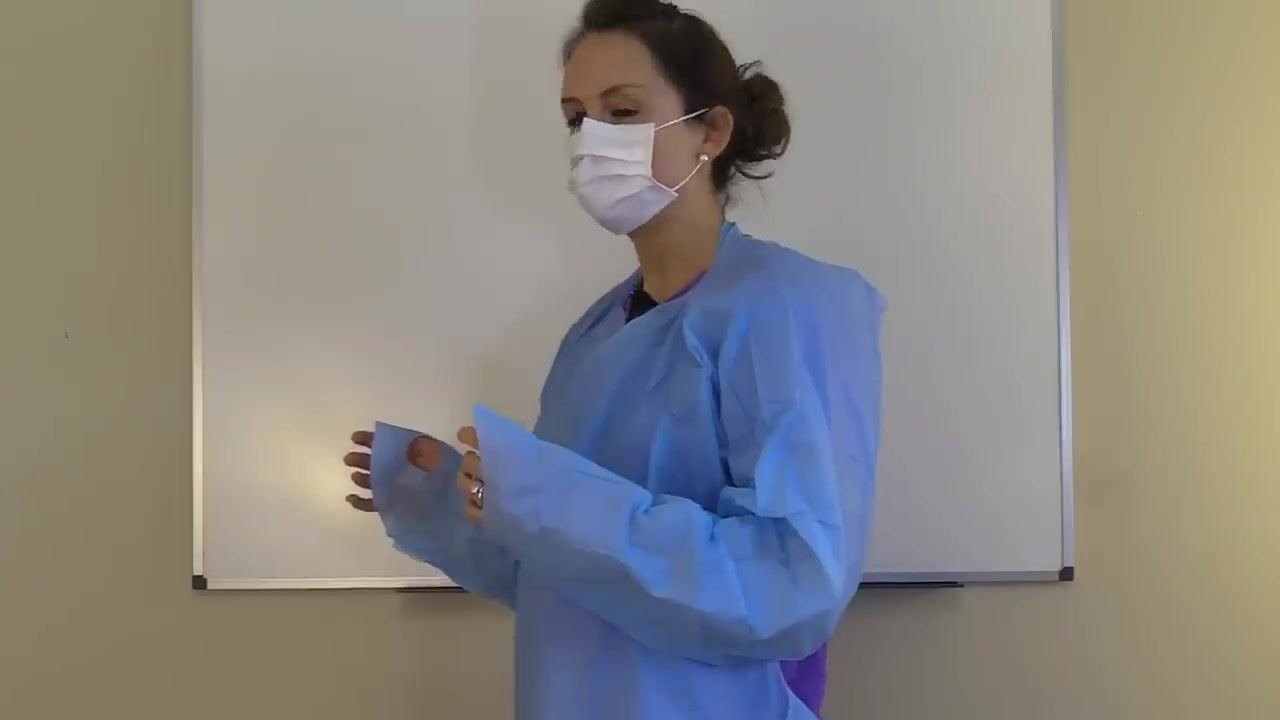
Put on the gown. Hold the gown in front of you and place it over your head, then slide your arms through the sleeves completely. If the gown has thumb hooks, insert your thumbs to keep the sleeves in place during patient care. Tie all ties securely at the back of the gown.
-
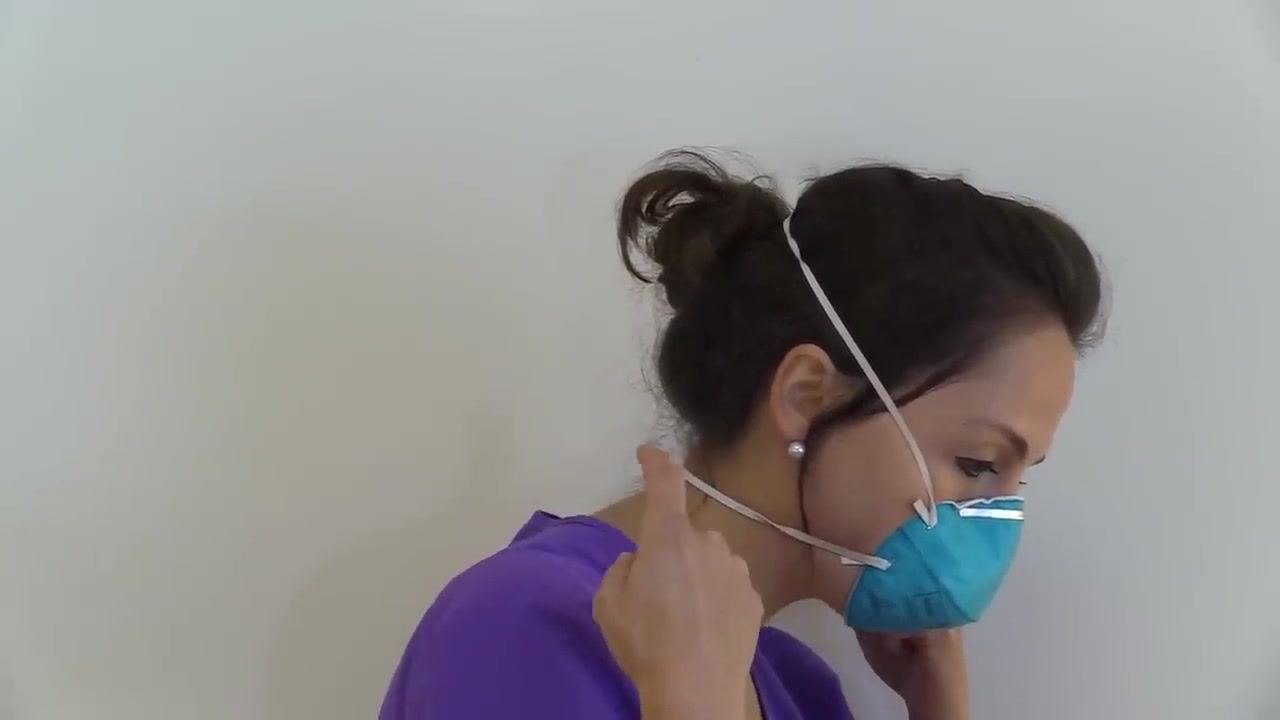
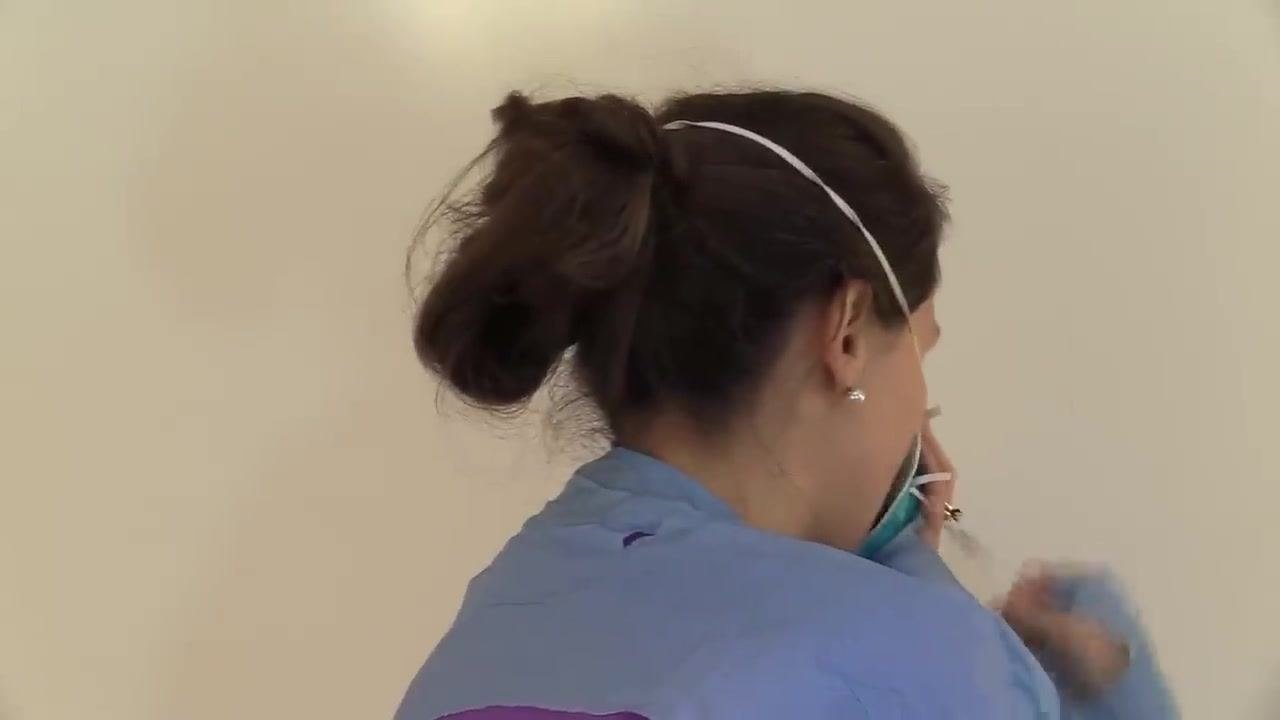
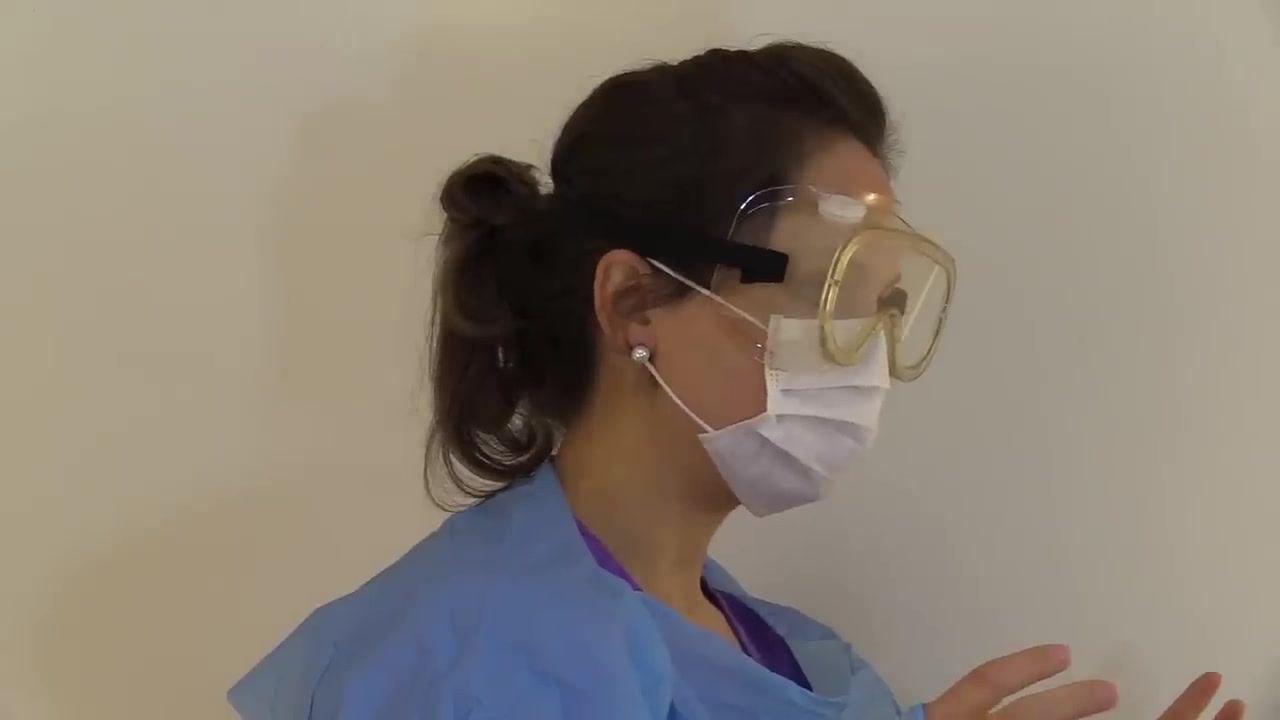
Put on the mask or respirator. For a standard face mask, place it over the bridge of your nose, form the nosepiece to fit snugly, pull the straps around your ears, then pull the bottom of the mask down to cover your chin so both your mouth and nose are fully covered. For a respirator such as an N95, always follow the manufacturer's instructions: place it over your nose and mouth while cupping it in your hand, form the nosepiece to fit snugly, pull the top strap to the crown of your head, and pull the bottom strap to the base of your neck.
-
Secure respirator straps. Pull the top strap over your head to the crown, then pull the bottom strap to the base of your neck, ensuring it sits comfortably below your ears without crossing the top strap. Adjust both straps as needed for a snug, secure fit, and make sure your hair is tied back so it does not interfere with the seal.
-
Perform a seal check. Place your hands over the mask and gently inhale to check for air leaks and confirm a proper seal.
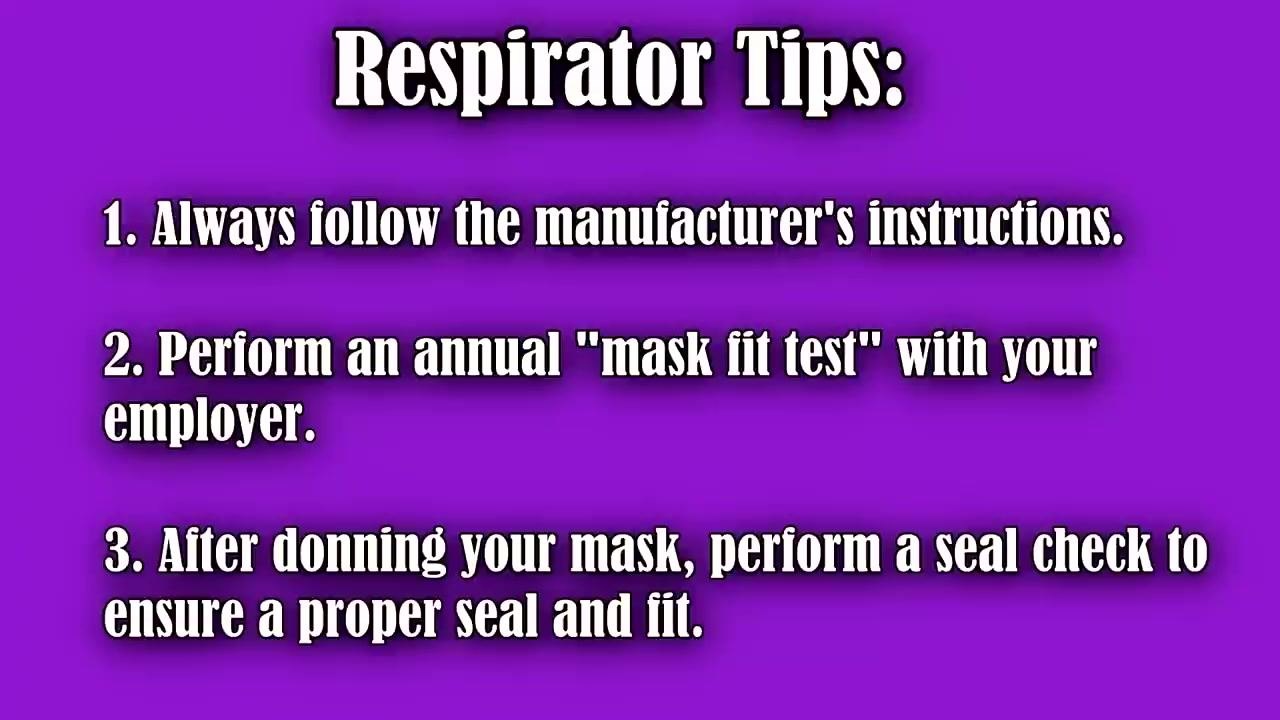
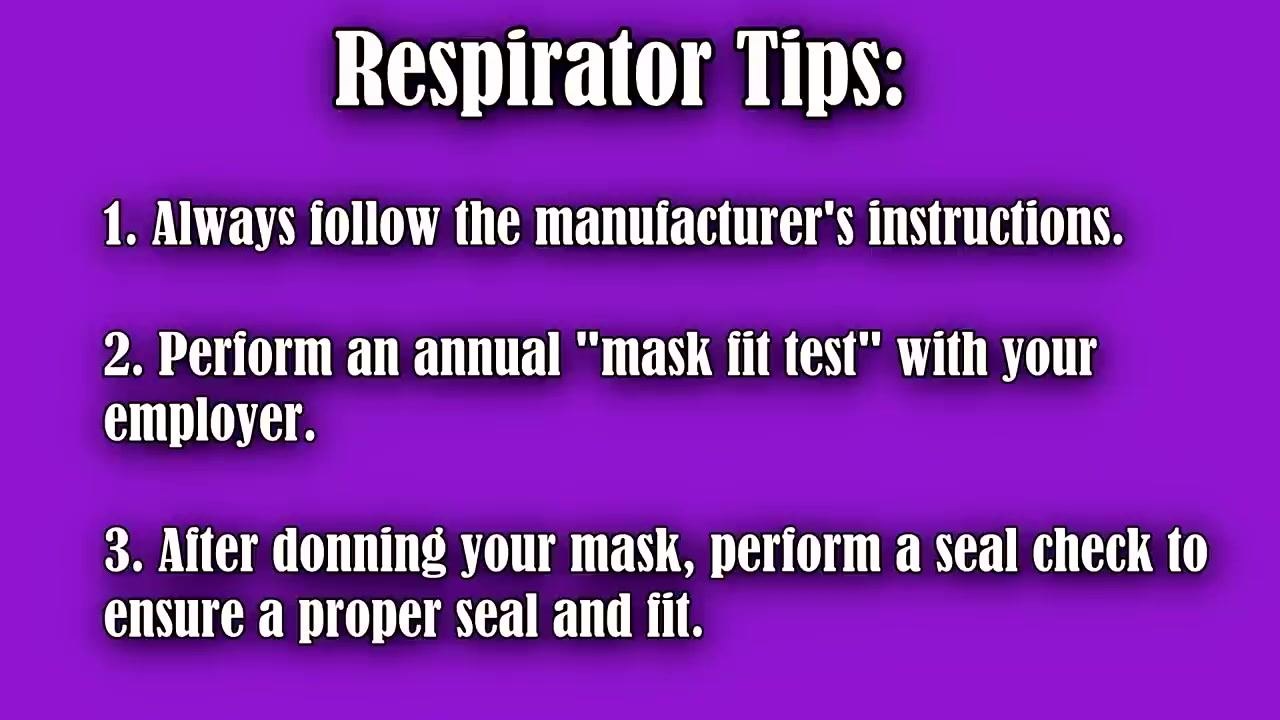
Respirator safety tips: always follow the manufacturer's instructions for donning and using a respirator, complete an annual mask fit test with your employer, and perform a seal check every time after donning your mask.
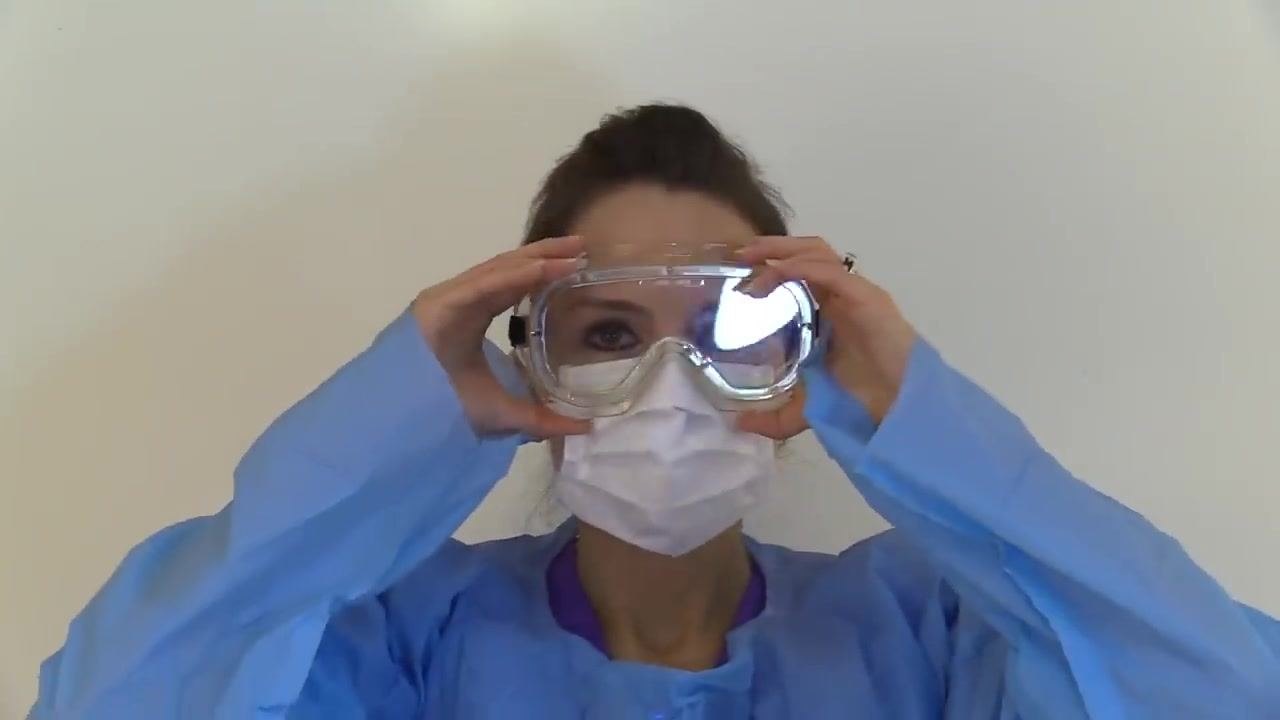
- Put on eye protection. Place goggles or a face shield onto your eyes and adjust them to fit snugly but not too tight.
- Put on gloves. Pull the cuff of each glove up over your gown sleeve for full coverage.
Removing PPE (doffing procedure)
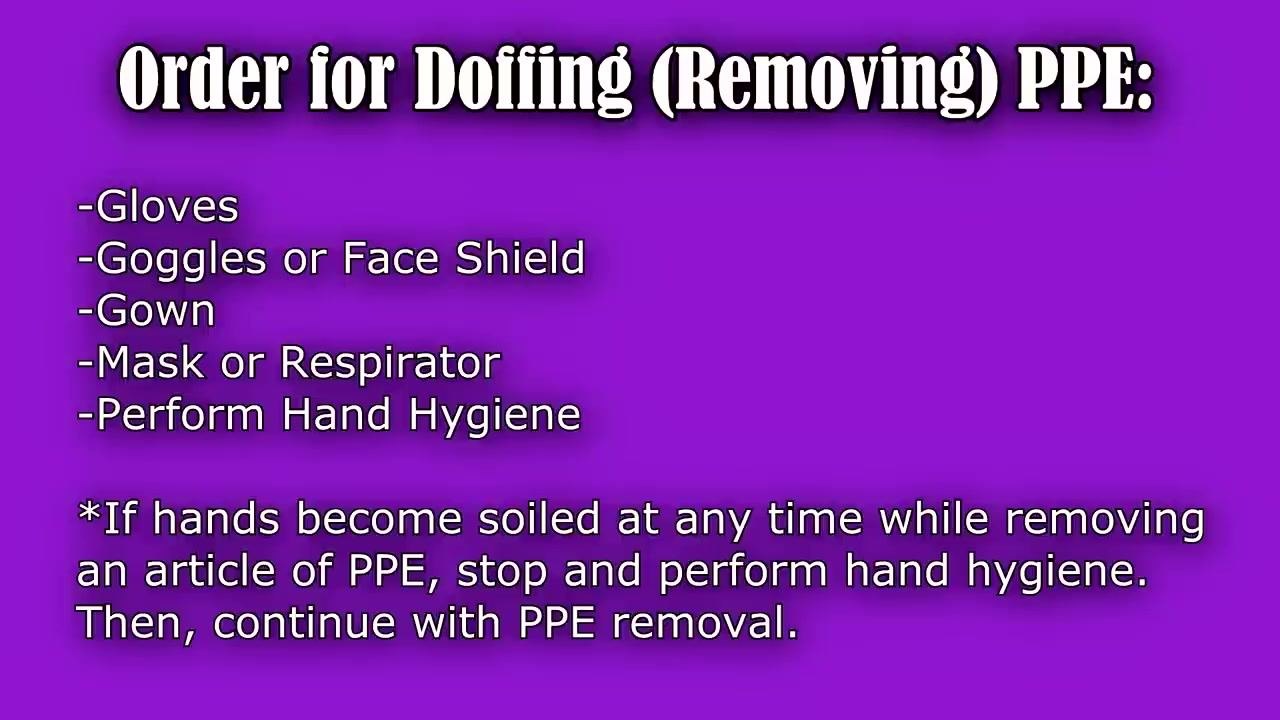
Follow this order when removing PPE: gloves, goggles or face shield, gown, then mask or respirator. Perform hand hygiene immediately after removing all PPE. If your hands become soiled at any point during removal, stop and perform hand hygiene before continuing.
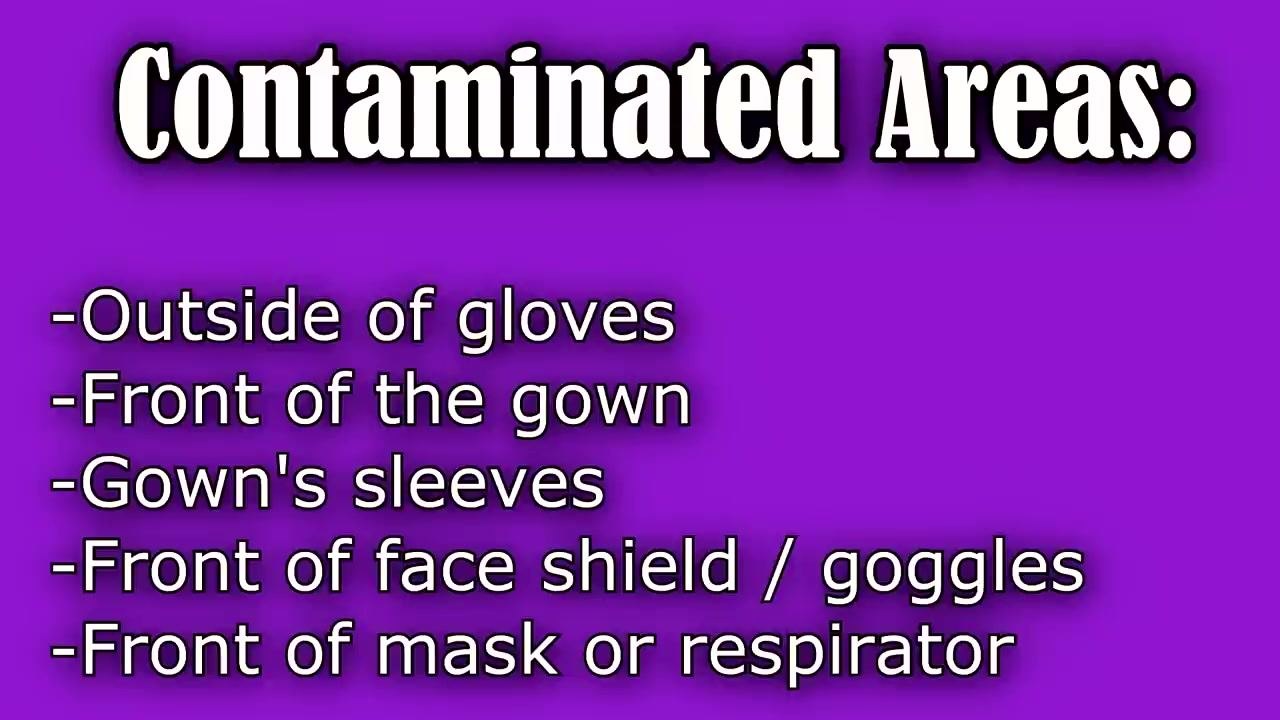
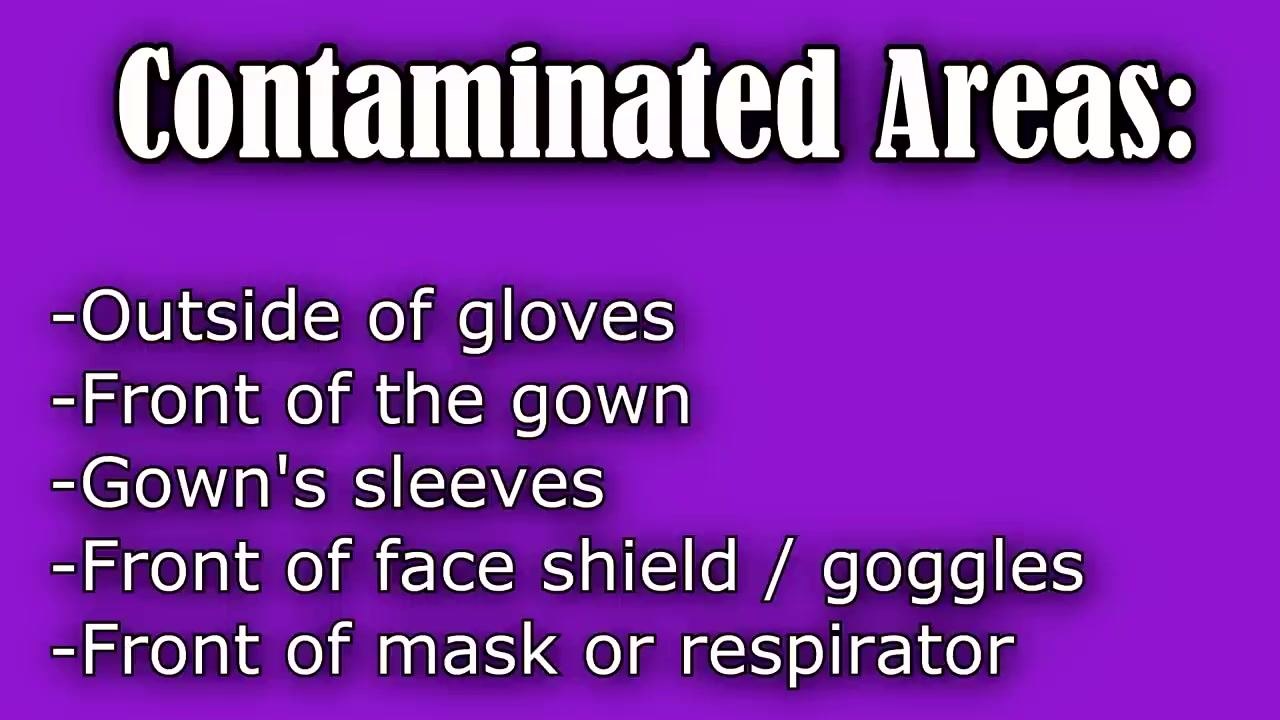
During removal, be aware of which surfaces are contaminated and which are clean:
| Area | Status |
|---|---|
| Outside of gloves | Contaminated |
| Front of the gown | Contaminated |
| Gown sleeves | Contaminated |
| Front of face shield or goggles | Contaminated |
| Front of mask or respirator | Contaminated |
| Inside of gloves | Clean |
| Back of the gown | Clean |
| Gown ties | Clean |
| Straps of face shield or goggles | Clean |
| Straps of mask or respirator | Clean |

-
Remove gloves. Peel one glove away from your hand, grabbing it with the gloved hand. Slide a finger under the wrist of the remaining glove, touching only the inside, which is clean. Peel off the second glove, turning it inside out so it contains the first glove.
-
Discard gloves. Hold the removed gloves in your bare hand and discard them in the appropriate waste container.
-
Remove goggles or face shield. Grasp them by the strap or arms, avoiding contact with the front surface. Lift them away from your face and discard them, or place them in the designated reprocessing area if reusable.
-
Remove the gown. Untie or break the gown ties at the back. Pull the gown away from your body starting at the back, touching only the inside. Slide your arms up through the sleeves, turning the gown inside out as you remove it, and avoid touching the outside of the gown, as it is considered contaminated. Roll the gown inside out and discard it in the appropriate waste container.
-
Remove the mask or respirator outside the patient's room. Grasp only the straps, as they are considered clean, and avoid touching the front of the mask or respirator, which is contaminated. Remove your respirator and other PPE outside the patient's room, with the door closed, to prevent contaminating the environment.
-
Remove the bottom strap. Grasp the bottom strap with your fingers without touching the front of the mask, and pull it carefully over your head. Keep the respirator in place with your other hand if needed to prevent it from snapping back onto your face.
-
Remove the top strap and discard. Grasp the top strap, again avoiding contact with the front of the mask, and pull it over your head in the same manner. Hold the respirator by the straps and discard it in the appropriate waste container.
-
Perform hand hygiene immediately after removing and discarding the respirator.
Isolation signage, patient room placement, and duration of precautions are not detailed in this procedure; follow your facility's isolation precaution policy for those requirements.
Hand Hygiene Protocol
This procedure identifies three hand hygiene moments: before donning any PPE, if your hands become contaminated at any point during doffing, and immediately after removing all PPE. For the complete set of hand hygiene moments used across your facility, refer to your local hand hygiene policy.
Use hand sanitizer or wash your hands thoroughly with soap and water. When using sanitizer, apply it to the palm of one hand and rub your hands together, covering all surfaces until dry. This document does not address hand hygiene compliance monitoring; refer to your facility's quality improvement program for auditing procedures.
Environmental Cleaning
Discard single-use items — gown, mask or respirator, and gloves — in the designated waste container immediately after removal. If your goggles or face shield are reusable, place them in the designated reprocessing area instead of discarding them. This document does not specify cleaning agents, concentrations, cleaning frequency, terminal cleaning steps, or shared equipment handling; refer to your facility's environmental services protocol for these requirements.
Surveillance & Reporting
This document does not include active surveillance methods, outbreak thresholds, mandatory reporting requirements, or a line-listing template; refer to your facility's infection prevention and control department for these procedures.
Staff Education
- Always follow the manufacturer's instructions when donning and using a respirator.
- Complete an annual mask fit test with your employer to confirm proper fit.
- After donning your mask or respirator, perform a seal check every time to confirm a proper seal and fit.
Training requirements and competency assessment beyond the respirator fit test and seal check are not detailed in this document; refer to your facility's staff education program for a full training and refresher schedule.
What's Next
Review your facility's specific policies for screening and identification, environmental cleaning agents and schedules, and surveillance and reporting, as these are governed locally and are not covered in detail here. Confirm your annual mask fit test is current before relying on a respirator for airborne precautions.
Generation details: cost, quality tiers, downloads
Docsie billed 5,000 credits ($3.50) to analyze this 10-minute video at standard quality. The rewrite, template fill and Word/PDF exports were included. The same video at each quality tier:
| Quality | Frames sampled | Credits | Approx. cost |
|---|---|---|---|
| Draft | every 16-30 s | 2,500 | $1.75 |
| Standard (this guide) | every 8-15 s | 5,000 | $3.50 |
| Detailed | every 4-7 s | 10,000 | $7.00 |
| Ultra | every 1-3 s | 20,000 | $14.00 |
Credits priced at $0.70 per 1,000; plans include a monthly allowance. Enterprise customers on on-premise or bring-your-own-model deployments run this on their own inference and pay no per-video credits.
Generated by Docsie Video-to-Docs on 2026-10-02 from a 9-minute video. It was generated straight into Docsie's Infection Control Protocol template, so every section of that template is filled from the video. Screenshots are frames from the source video and belong to their creator, RegisteredNurseRN, whose original is embedded above. If you own this video and want the guide removed or credited differently, contact us and we will act within one business day.