
How to Perform Intermittent Self Catheterization
This procedure describes how to perform intermittent self-catheterization (CISC) safely and hygienically. Clean intermittent self-catheterization is a safe and effective method to empty the bladder when it does not empty completely on its own. It is intended for patients who retain urine and need a reliable, repeatable technique to prevent complications such as urinary tract infection (UTI).
Video: Intermittent Self Catheterization - male patients by Saskatchewan Health Authority - Saskatoon area (2021). All credit for the demonstration goes to the creator; watch the original on YouTube. The written guide below was generated from this video by Docsie. Creator? Request a change or removal.
This procedure describes how to perform intermittent self-catheterization (CISC) safely and hygienically. Clean intermittent self-catheterization is a safe and effective method to empty the bladder when it does not empty completely on its own. It is intended for patients who retain urine and need a reliable, repeatable technique to prevent complications such as urinary tract infection (UTI).
Purpose & scope
This procedure applies to patients who cannot fully empty their bladder on their own and who have been taught to manage this at home using clean intermittent self-catheterization. Urine is produced by the kidneys, transported to the bladder, and stored there until it is emptied. When the bladder does not empty completely, urine can remain (retention), which increases the risk of infection in the kidneys, bladder, ureters, and urethra — collectively referred to as a urinary tract infection (UTI).
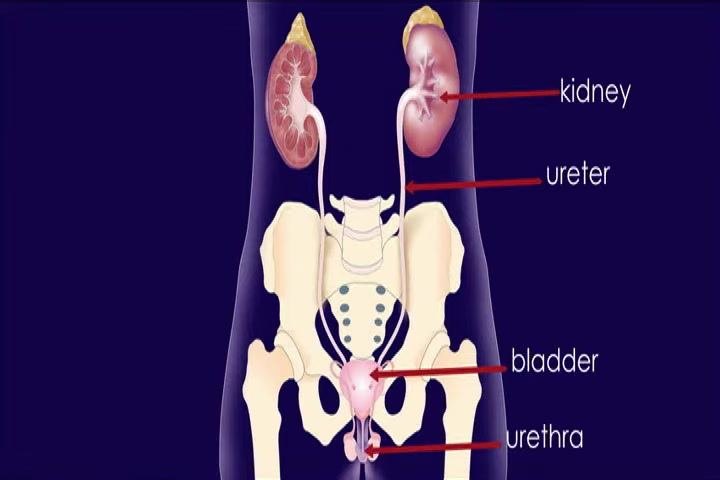
This guidance is intended for patient self-management in the home setting, supported by a reference pamphlet and ongoing contact with a nurse for questions or concerns.
Patient assessment
Before each catheterization, assess the need to catheterize and check for signs that the bladder is too full.
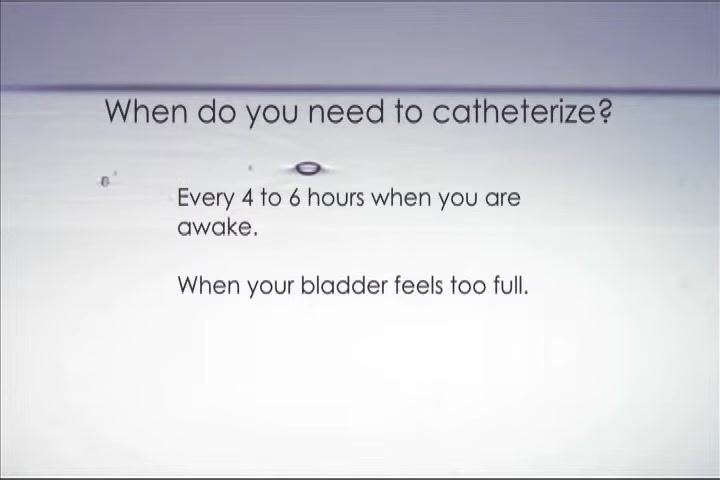
When to catheterize: - Every 4 to 6 hours while awake. - Sooner if you drink a lot of liquids or feel uncomfortable. - Whenever your bladder feels too full.
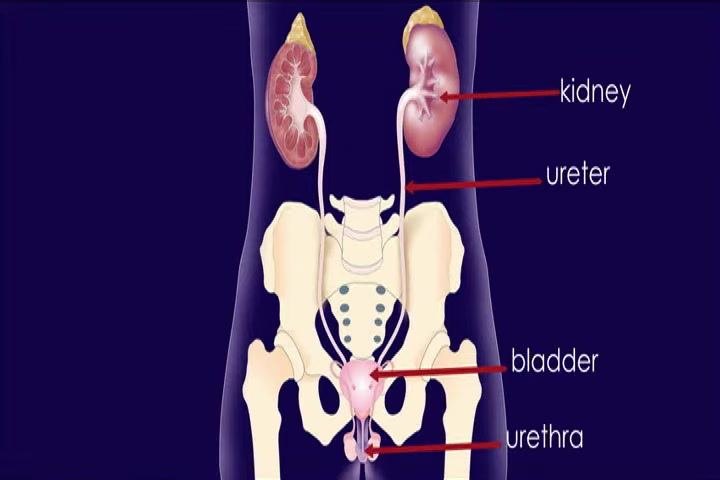
Understanding bladder distension: Bladder distension occurs when the bladder becomes too full. Do not allow the bladder to become over-distended, as this can cause complications. A normal amount of urine in the bladder can be compared to a single balloon; an over-distended bladder is like a larger or additional balloon.
Symptoms checklist — signs the bladder is too full:
| Symptom | Present? |
|---|---|
| Pain or uncomfortable feeling in the lower abdomen | |
| Feeling restless | |
| Sweating | |
| Chills | |
| Headaches | |
| Flushed or pale skin | |
| Cold fingers, toes, arms, or legs |
Note: some people may not experience any pain, discomfort, or symptoms even if the bladder is overfull, so scheduled catheterization on time remains important regardless of symptoms.

Care protocol
Phase 1: Prepare supplies and workspace
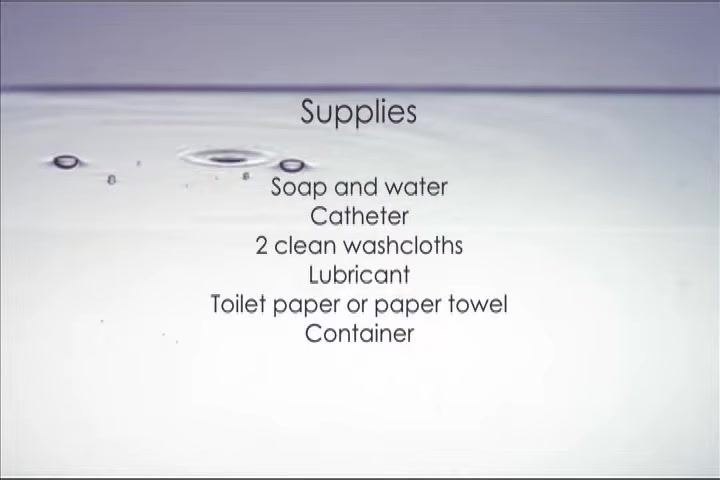
Gather all supplies before starting: - Soap and water for washing - Catheter - 2 clean washcloths - Water-soluble lubricant (do not use Vaseline or mineral oil) - Toilet paper or a paper towel - Container to drain urine into
Arrange all supplies within easy reach in your workspace before beginning.

Phase 2: Initial steps
Go to the bathroom and pass urine into a collection container, urinal, or toilet. At first, measure and record the amount of urine; over time, once established, you may pass urine directly into the toilet without measuring.
Wash your hands thoroughly with soap and water, then dry them well.
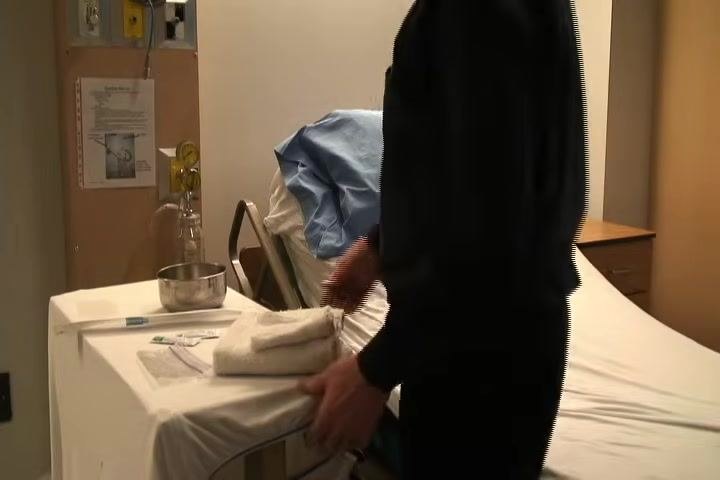
Open the lubricant and squeeze at least a tablespoon (or more) onto the paper towel or toilet paper. Open the catheter package and lubricate the tip of the catheter to approximately 6 inches (15 centimeters).
Phase 3: Position yourself
Sit or lie on a bed, propped in a semi-sitting position, with all supplies within reach.
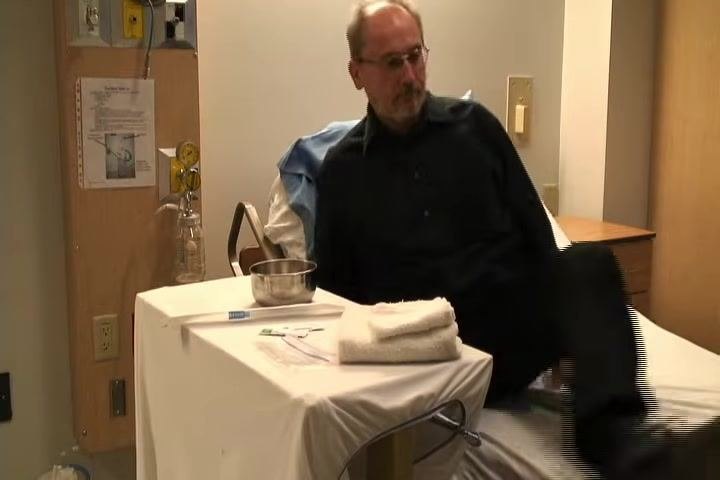
If you are right-handed, use your left hand to hold your penis; if you are left-handed, use your right hand.
Phase 4: Clean the area
If you are not circumcised, gently retract the foreskin with your non-dominant hand before cleaning. Wash the penis thoroughly with the wet, soapy washcloth, using a circular motion, moving from the tip to the base.
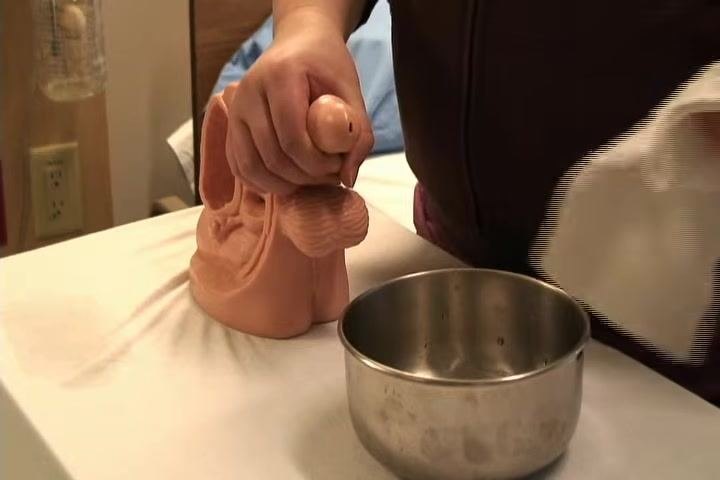
Rinse away all soap with a second clean washcloth to prevent irritation, then dry the area well with a clean towel or washcloth.
Phase 5: Insert the catheter
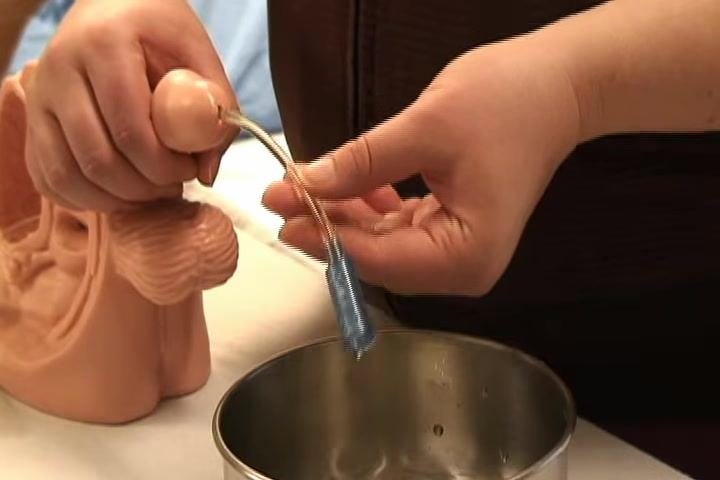
Pick up the catheter with your free hand, avoiding contact with the lubricated tip to keep it sterile. Place the wider, open end of the catheter into the urine collection container so it is positioned to catch all urine.
Gently insert the lubricated tip of the catheter into the urinary opening, advancing about 8 to 10 inches (20 to 25 centimeters) until urine begins to flow. If you feel resistance just before the catheter enters the bladder, apply gentle, firm pressure until it passes and urine starts to flow; this is normal.
Phase 6: Complete the procedure
When urine stops flowing, slowly and steadily remove the catheter.

Wash your hands thoroughly with soap and water, then dry them well.
Pain management
The source procedure does not describe a medication schedule or pain score target for this technique. It notes only that gentle, firm pressure may be needed to overcome resistance at the bladder neck, which is a normal sensation during insertion. A complete pain management section would specify any prescribed analgesia, dosing, and escalation steps if the patient experiences persistent pain during or after catheterization; this information is not provided in the source material.
Mobility milestones
The source material does not include a mobility milestone timeline for this procedure. A complete section would outline expected activity progression (for example, positioning in bed, sitting, and ambulation) relevant to the patient's overall care plan; no such details are given in the source.
Complication monitoring
Watch for signs that the bladder is too full, as listed in the Patient Assessment section (abdominal pain or discomfort, restlessness, sweating, chills, headaches, flushed or pale skin, cold extremities). Remember that some patients may show no symptoms even when the bladder is overfull, so adherence to the scheduled catheterization frequency (every 4 to 6 hours while awake, or sooner if needed) is essential to prevent over-distension and reduce UTI risk.
If reusing catheters at home, clean and store them properly after each use to prevent infection: - Wash the catheter with warm, soapy water immediately after use. - Rinse the catheter well inside and out. - Allow the catheter to air dry on a clean towel. - Store the dry catheter in a dry paper towel or a resealable plastic bag.
Escalation: If you have any questions or concerns about the procedure, symptoms of infection, or your supplies, contact your nurse for assistance.
Discharge criteria
The source material does not specify formal discharge criteria for this home-based procedure. A complete section would list measurable readiness indicators (such as demonstrated competence performing the technique independently and understanding of warning signs) that must be confirmed before a patient is considered ready to self-manage without supervision; these specifics are not detailed in the source.
Patient education
Before managing this procedure independently, ensure the patient understands the following: - Why catheterization is needed and how incomplete bladder emptying increases UTI risk. - The recommended catheterization schedule (every 4 to 6 hours while awake, sooner if drinking large amounts of fluid or feeling uncomfortable, or whenever the bladder feels too full). - How to recognize symptoms of bladder distension, including the reminder that some people may have no symptoms at all. - Correct hand hygiene, cleaning technique, and safe insertion and removal steps. - Proper cleaning, drying, and storage of reusable catheters to prevent infection. - Who to contact (their nurse) with any questions or concerns about the procedure or supplies.
Patients are also given a printed pamphlet with these instructions for ongoing reference at home.
What's next: Refer to the provided pamphlet for a written summary of these steps, and follow up with your nurse if you notice symptoms of infection, difficulty inserting the catheter, or any change in your usual routine.


Generation details: cost, quality tiers, downloads
Docsie billed 3,000 credits ($2.10) to analyze this 6-minute video at standard quality. The rewrite, template fill and Word/PDF exports were included. The same video at each quality tier:
| Quality | Frames sampled | Credits | Approx. cost |
|---|---|---|---|
| Draft | every 16-30 s | 1,500 | $1.05 |
| Standard (this guide) | every 8-15 s | 3,000 | $2.10 |
| Detailed | every 4-7 s | 6,000 | $4.20 |
| Ultra | every 1-3 s | 12,000 | $8.40 |
Credits priced at $0.70 per 1,000; plans include a monthly allowance. Enterprise customers on on-premise or bring-your-own-model deployments run this on their own inference and pay no per-video credits.
Generated by Docsie Video-to-Docs on 2026-09-28 from a 5-minute video. It was generated straight into Docsie's Patient Care Procedure template, so every section of that template is filled from the video. Screenshots are frames from the source video and belong to their creator, Saskatchewan Health Authority - Saskatoon area, whose original is embedded above. If you own this video and want the guide removed or credited differently, contact us and we will act within one business day.