
How to Pack a Wound with Gauze
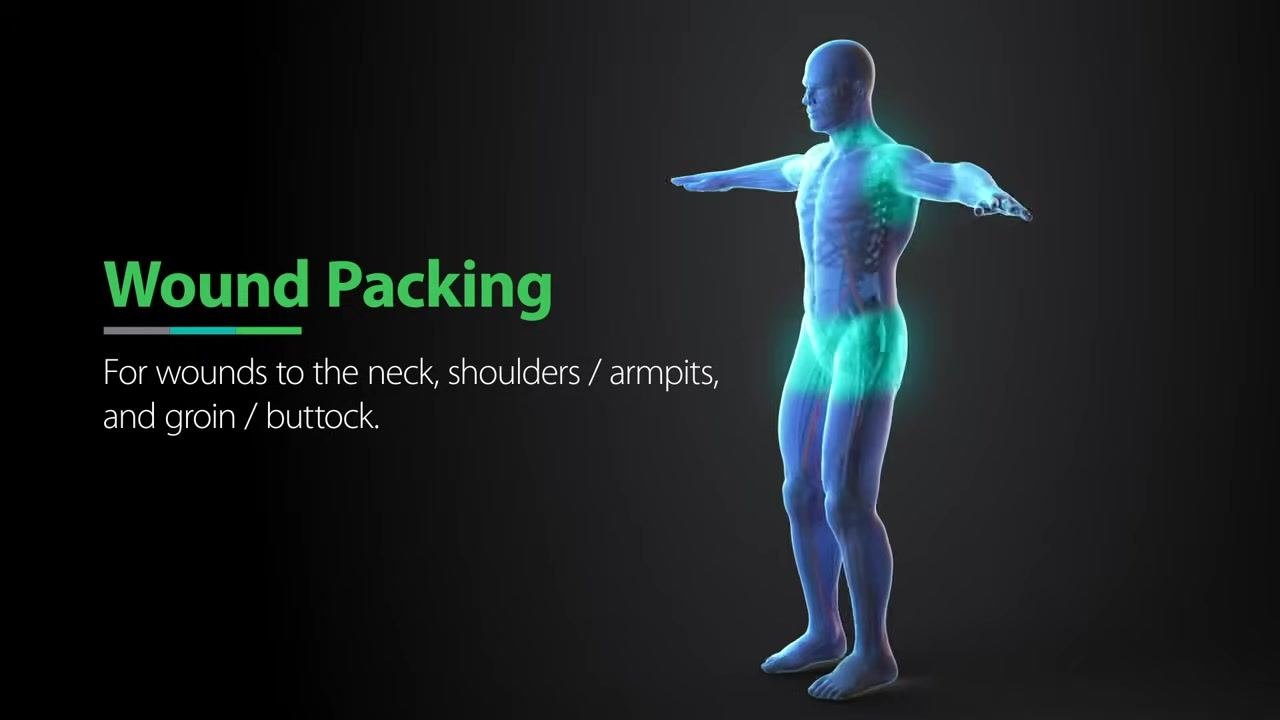
This procedure describes how to pack a wound with gauze to control severe bleeding, followed by the application of a pressure dressing to secure the packed wound. It applies to wounds located on the neck, shoulders/armpits, groin, or buttock, where a tourniquet cannot be applied and direct wound packing is required to stop active bleeding.
Video: How to pack a wound by TyTekMedical (2021). All credit for the demonstration goes to the creator; watch the original on YouTube. The written guide below was generated from this video by Docsie. Creator? Request a change or removal.
This procedure describes how to pack a wound with gauze to control severe bleeding, followed by the application of a pressure dressing to secure the packed wound. It applies to wounds located on the neck, shoulders/armpits, groin, or buttock, where a tourniquet cannot be applied and direct wound packing is required to stop active bleeding.
Purpose & Scope
Clinical context: This procedure is used for severe bleeding wounds in anatomical locations where a tourniquet is not effective—specifically the neck, shoulders/armpits, groin, or buttock. Anatomical diagrams or training materials should be referenced first to confirm the wound location is suitable for packing.
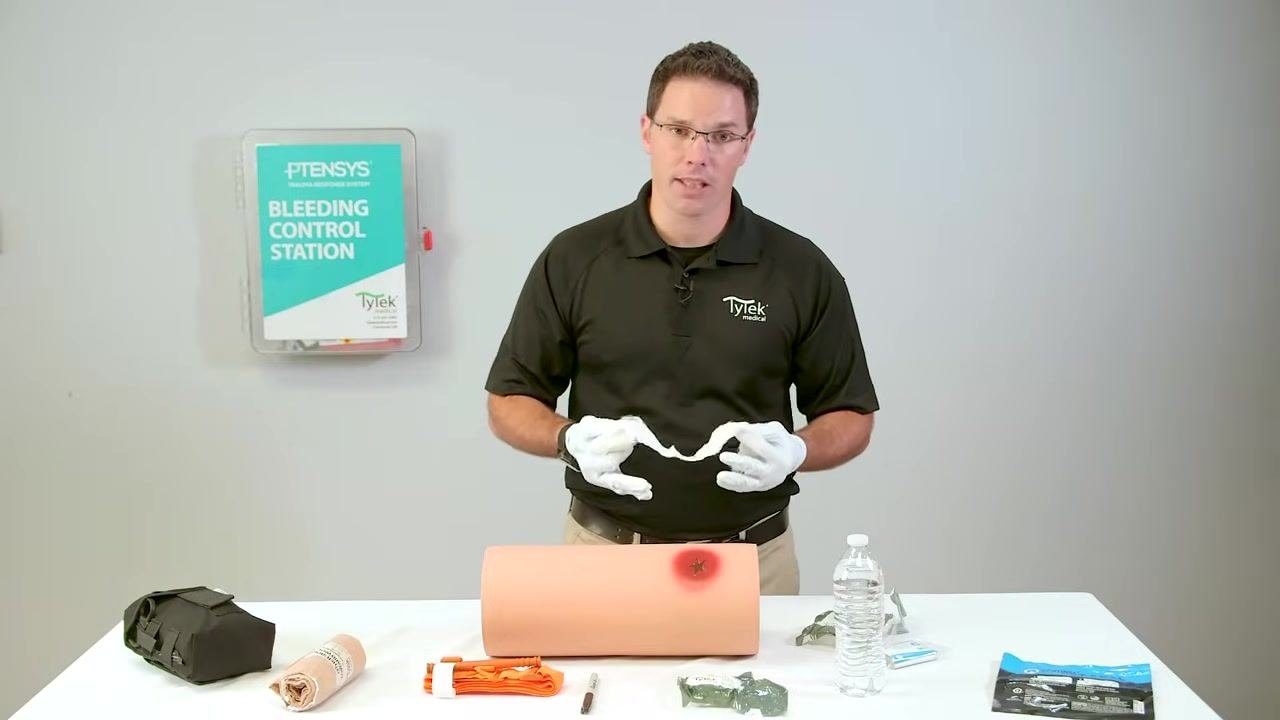
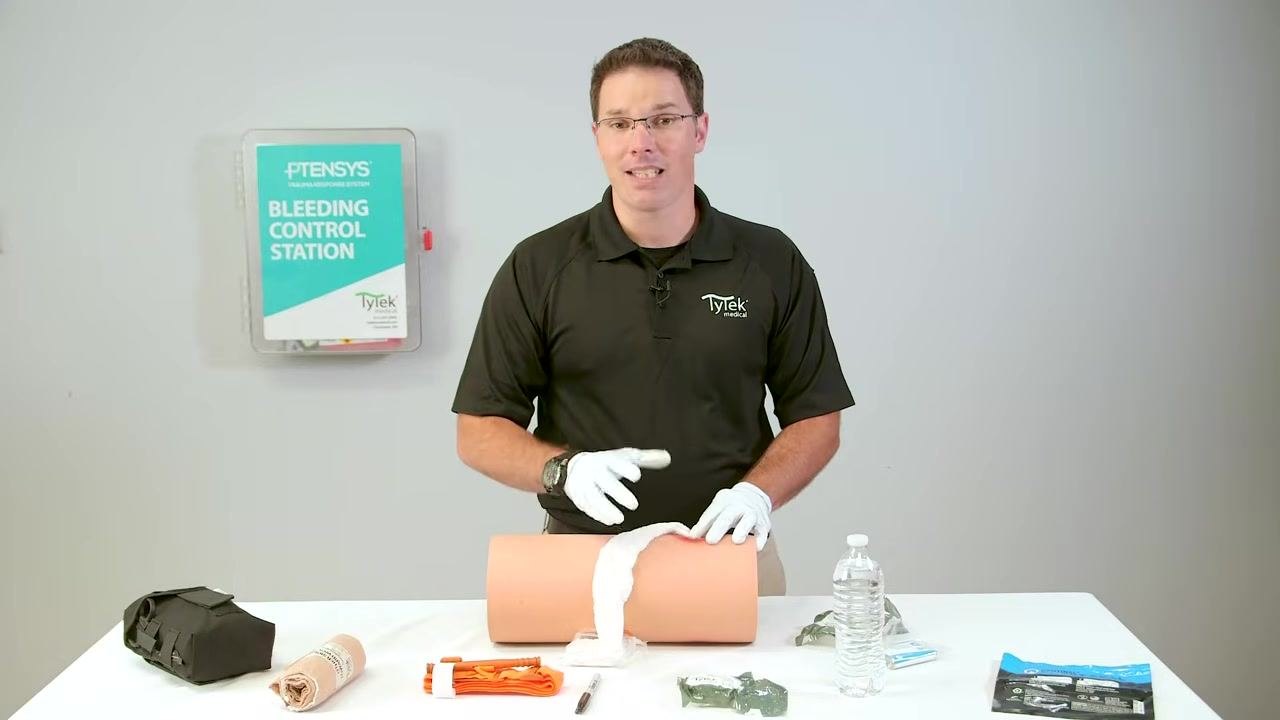
Care setting: This procedure is performed in emergency and prehospital bleeding-control situations, using a bleeding control station and wound packing trainer supplies as shown below.
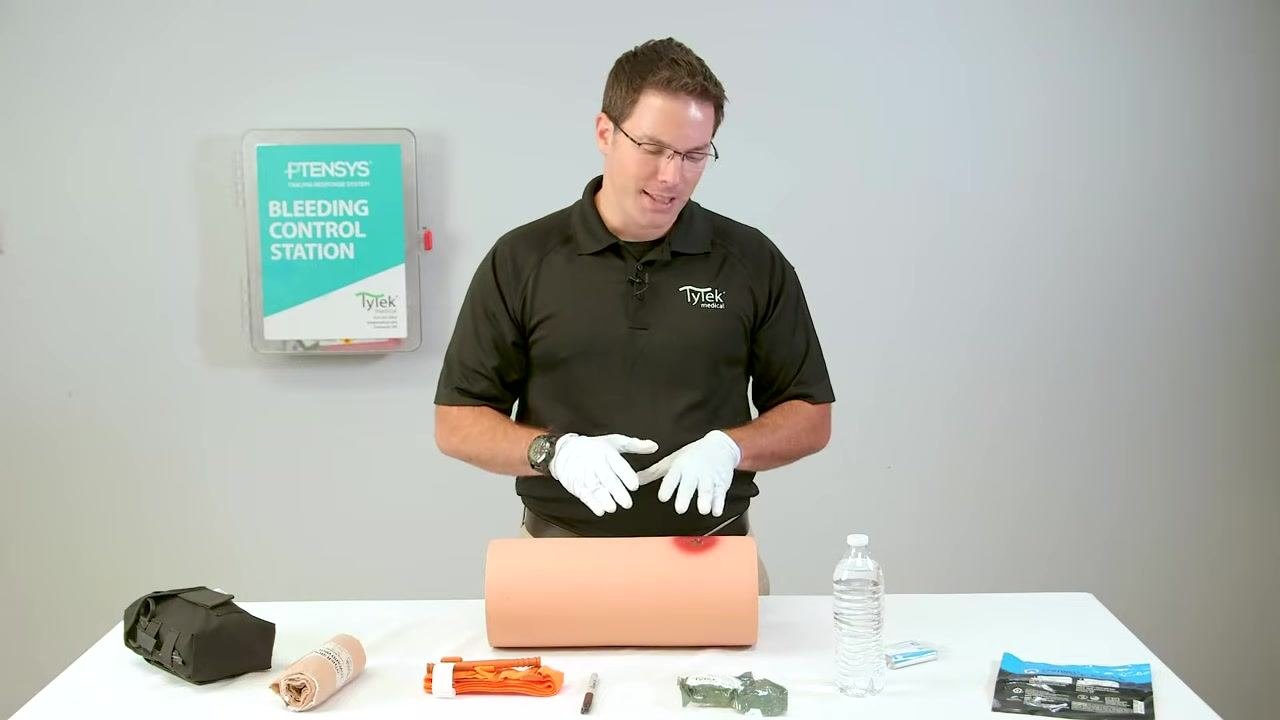
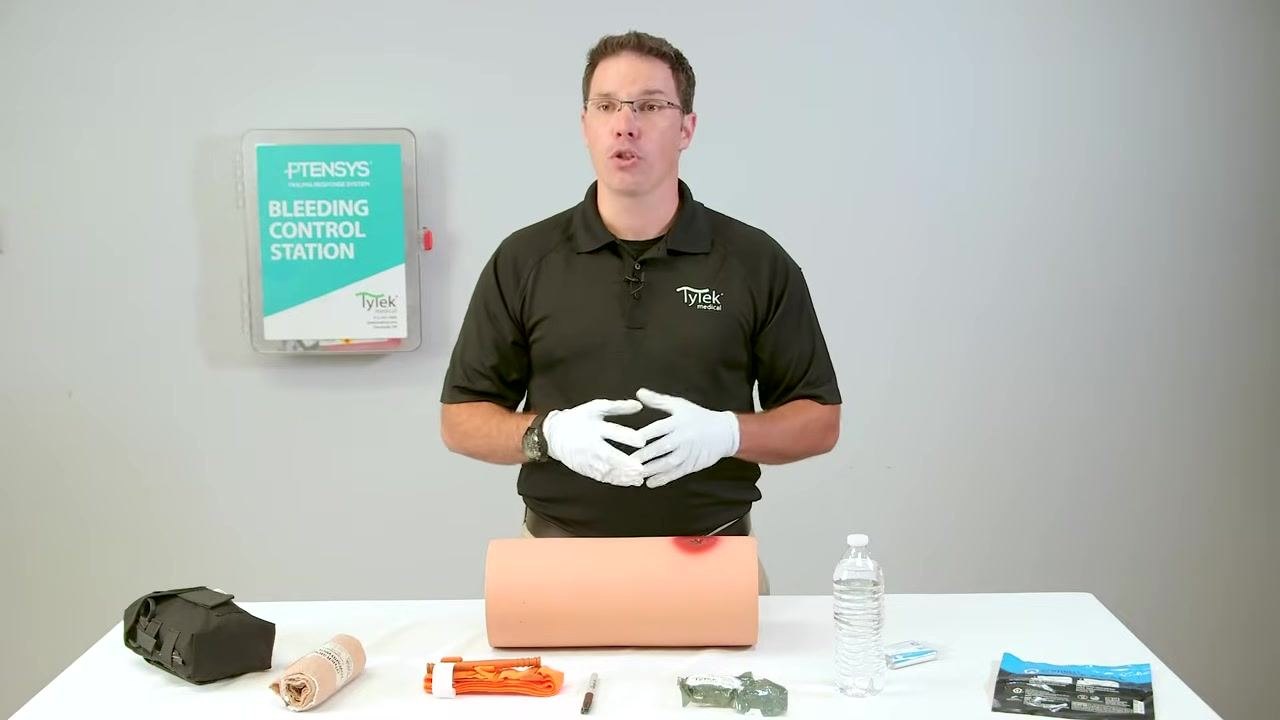
Required supplies: - Bleeding control station (wall-mounted) - Wound packing gauze (such as Tytek Easy Gauze, or similar) - Tourniquet - Pressure/trauma bandage (such as the TYTEK trauma bandage) - Bolster material (extra gauze or a firm object such as a water bottle) - Medical gloves - Permanent marker - Improvised packing material (tie, handkerchief, or scarf) if sterile gauze is unavailable
Patient Assessment
Before packing, expose and inspect the wound to identify the bleeding source. Use the checklist below to complete the initial assessment.
| Assessment step | What to check |
|---|---|
| Expose the wound | Open or tear away clothing to fully expose the injury site |
| Clear debris | Remove any visible debris from the wound |
| Clear pooled blood | Wipe away pooled blood so the wound and bleeding source are clearly visible |
| Remove clots | Remove larger, loose blood clots if needed to improve visibility |
| Identify bleeding source | Look directly into the wound to find the most active bleeding point(s); most wounds have only one or two significant sources of bleeding |
Focus all packing efforts on the identified bleeding source(s), since most wounds have only one or two points requiring direct pressure.
This assessment focuses on locating the bleeding source. The source material does not specify vital sign monitoring frequency, a formal pain assessment tool, or neurovascular checks; a complete assessment protocol should also include these elements alongside wound inspection.
Care Protocol
The care protocol for how to pack a wound with gauze proceeds in three phases: preparing the packing material, packing the wound cavity, and applying a pressure dressing.
Phase 1: Preparing the packing material
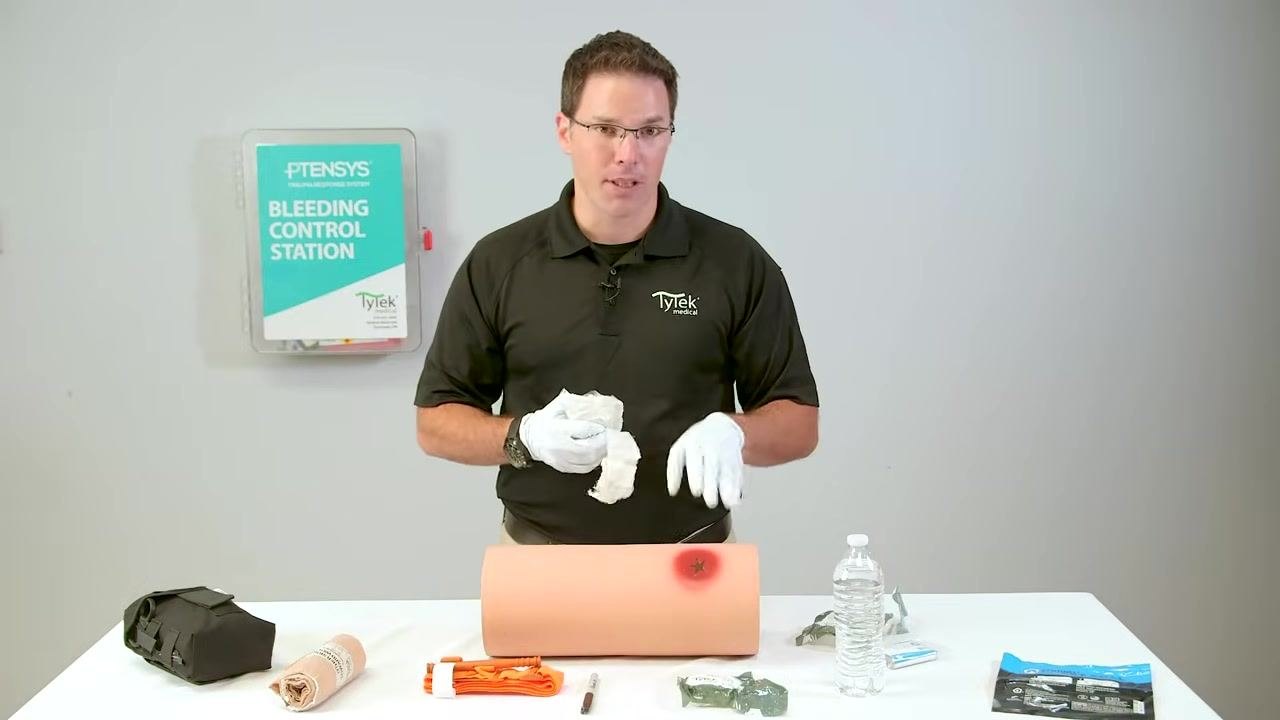
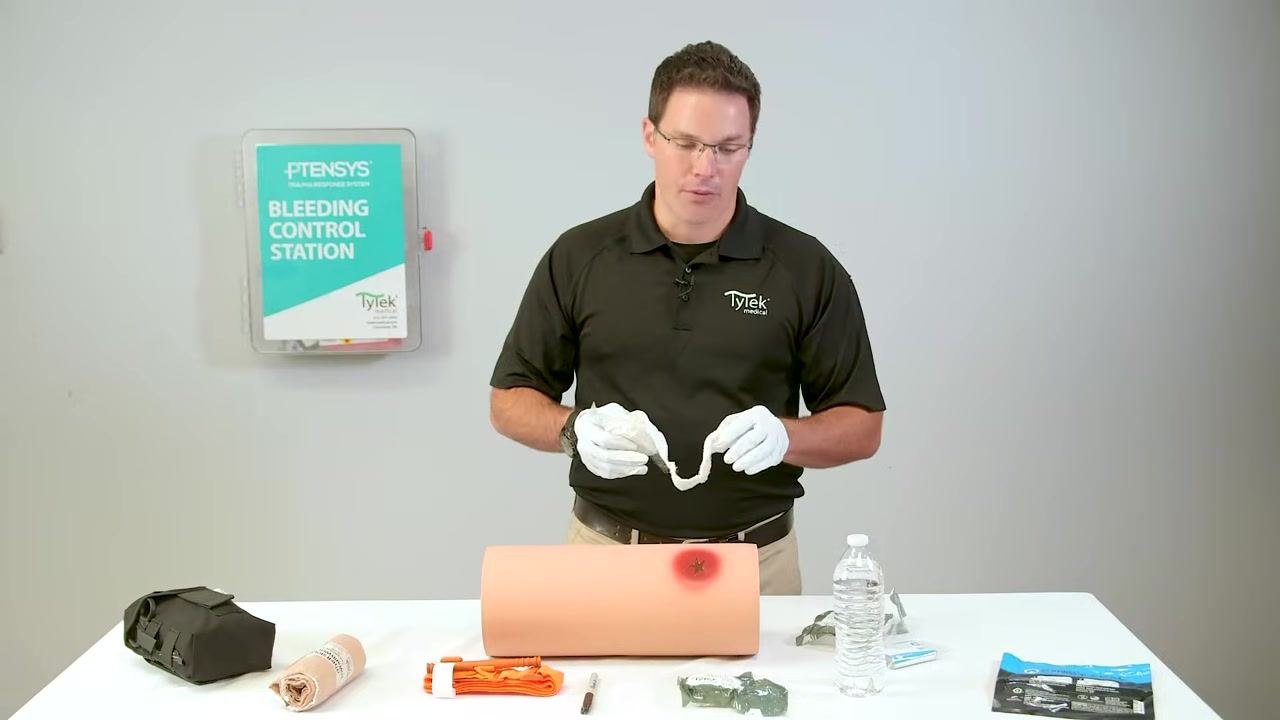
- Open the outer packaging of the gauze to access the sterile inner package.
- The inner package keeps the gauze clean while it is handled.
- If the gauze is dropped, or if only an improvised material (tie, handkerchief, scarf) is available, use it anyway—stopping the bleeding takes priority over maintaining sterility.
- If the gauze or material becomes unsterile during use, continue using it. Immediate bleeding control is more important than sterility; infection can be treated later.
Phase 2: Packing the wound cavity
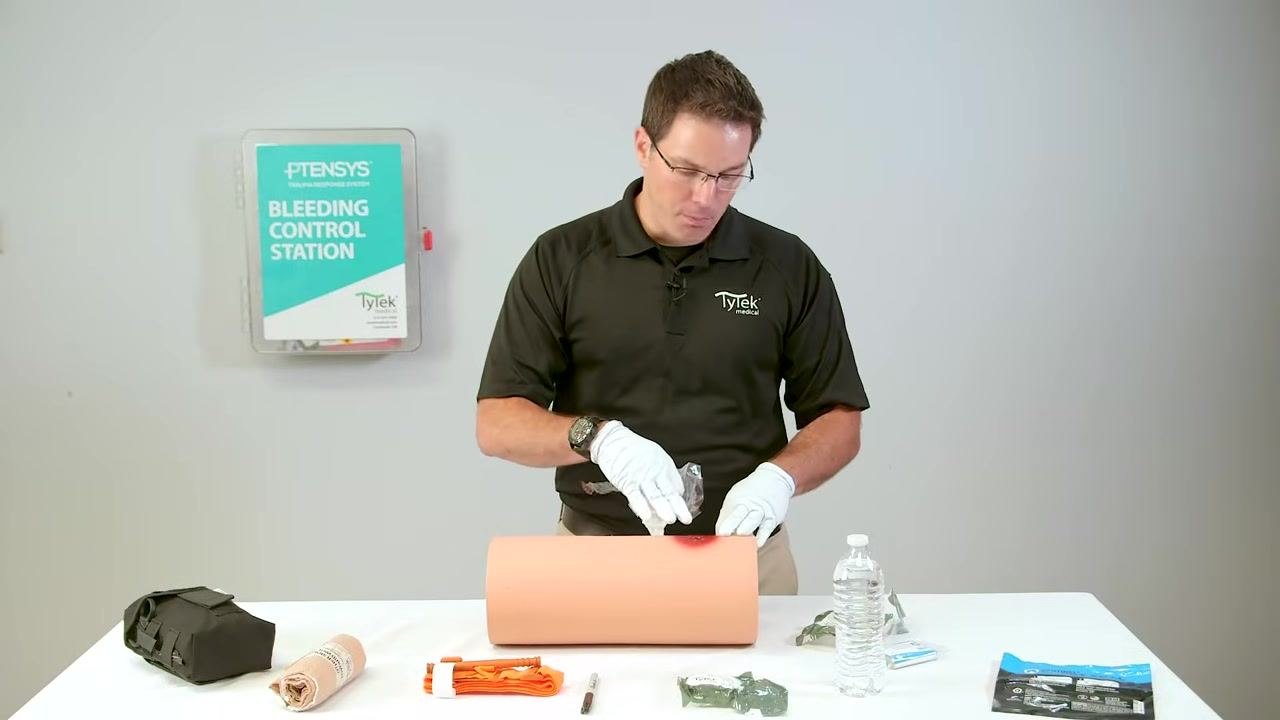
- Apply the prepared gauze directly to the most significant bleeding point identified during assessment.
- Use a two-handed technique: one hand adds small amounts of gauze into the wound while the other maintains firm pressure on the bleeding source.
- Continue adding gauze incrementally, keeping pressure on the most active bleeding point at all times, until the wound cavity is filled as completely as possible.
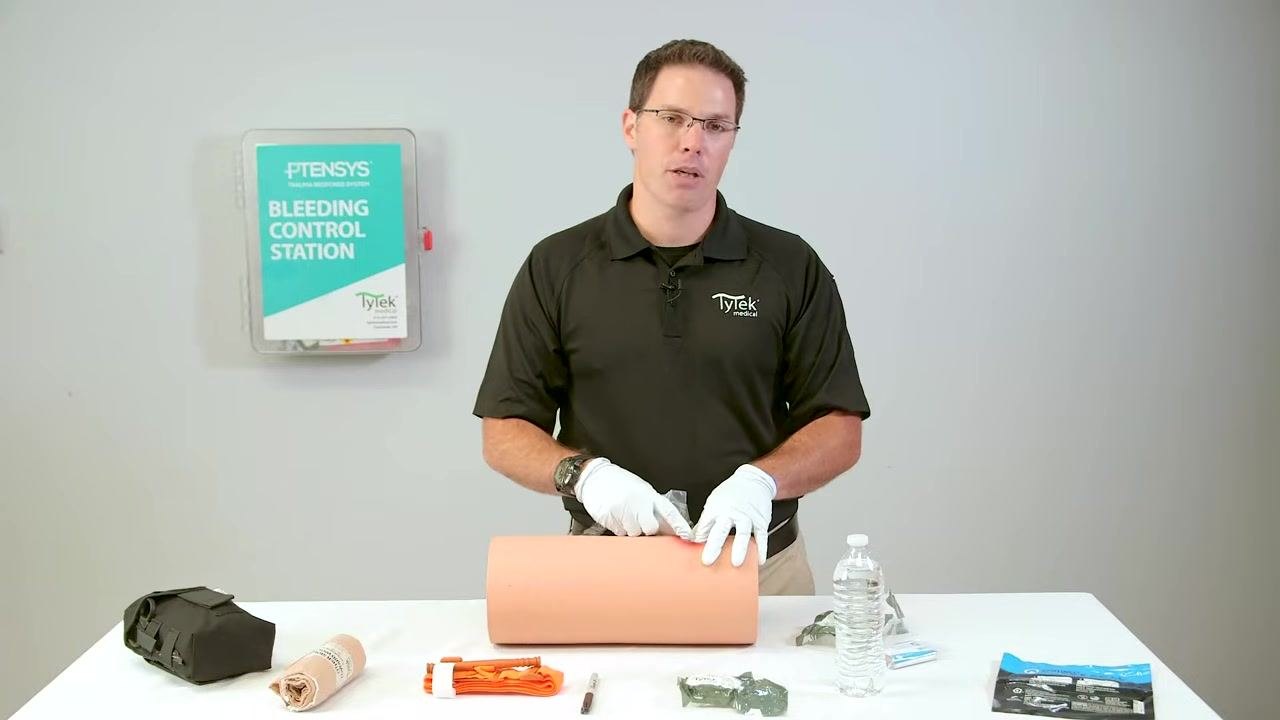
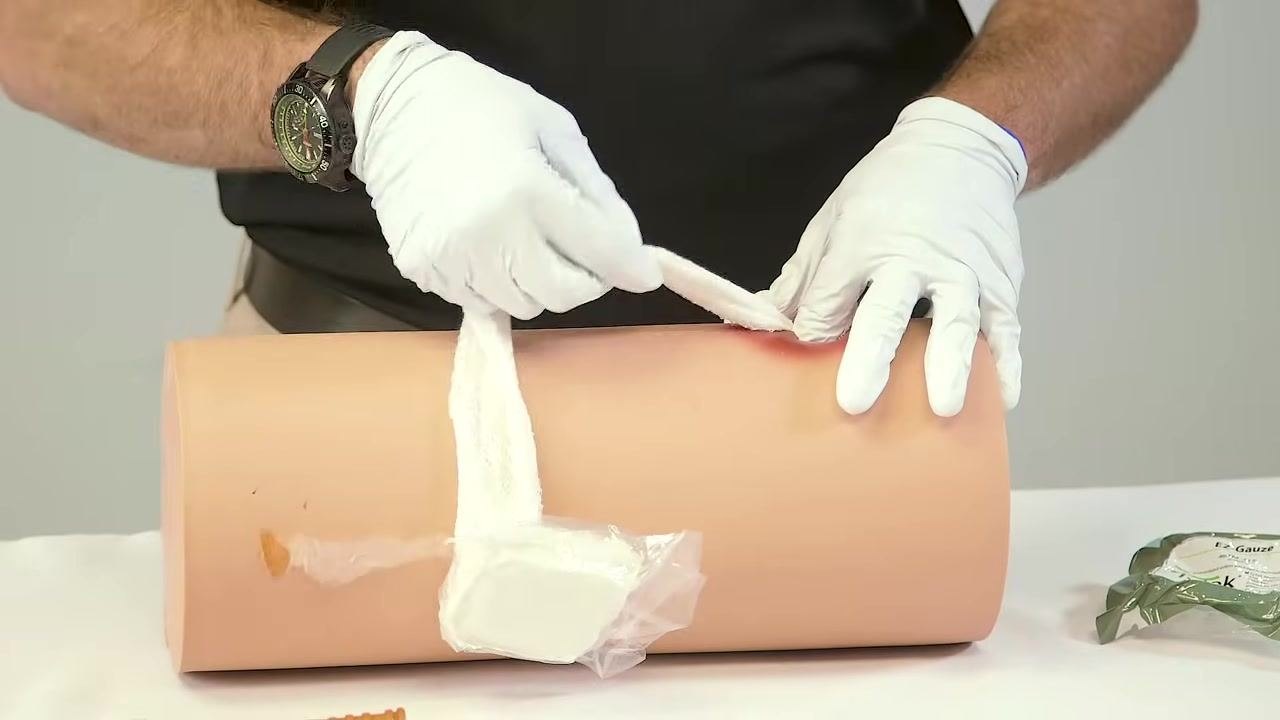
- Be cautious of sharp objects inside the wound, such as fragments from the object that caused the injury or bone shards; these can penetrate exam gloves and cause injury. Keep your own safety as a priority throughout packing.
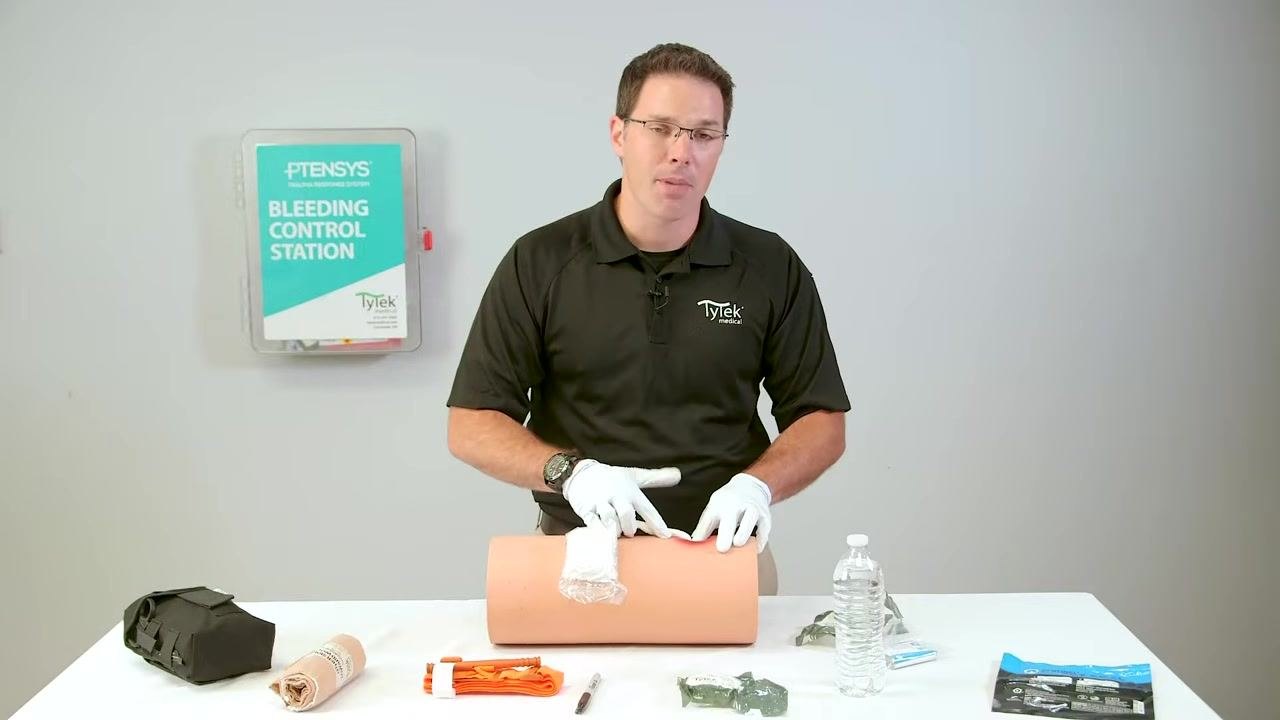
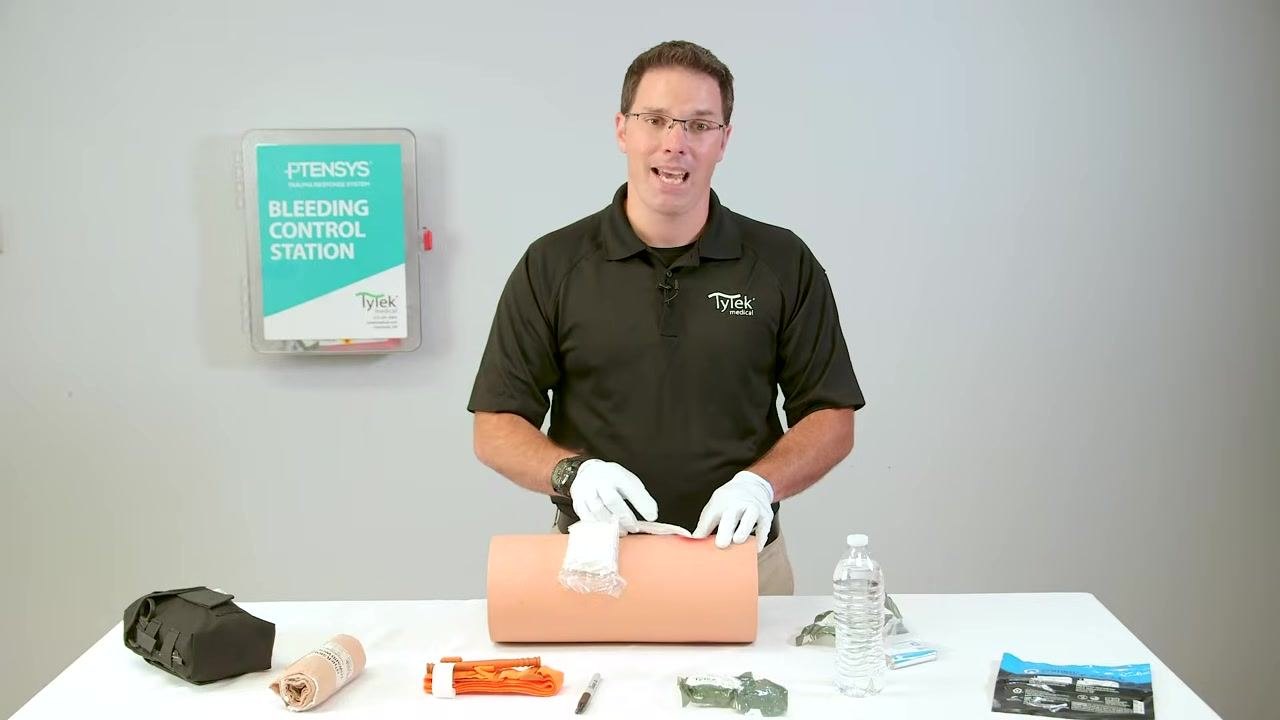
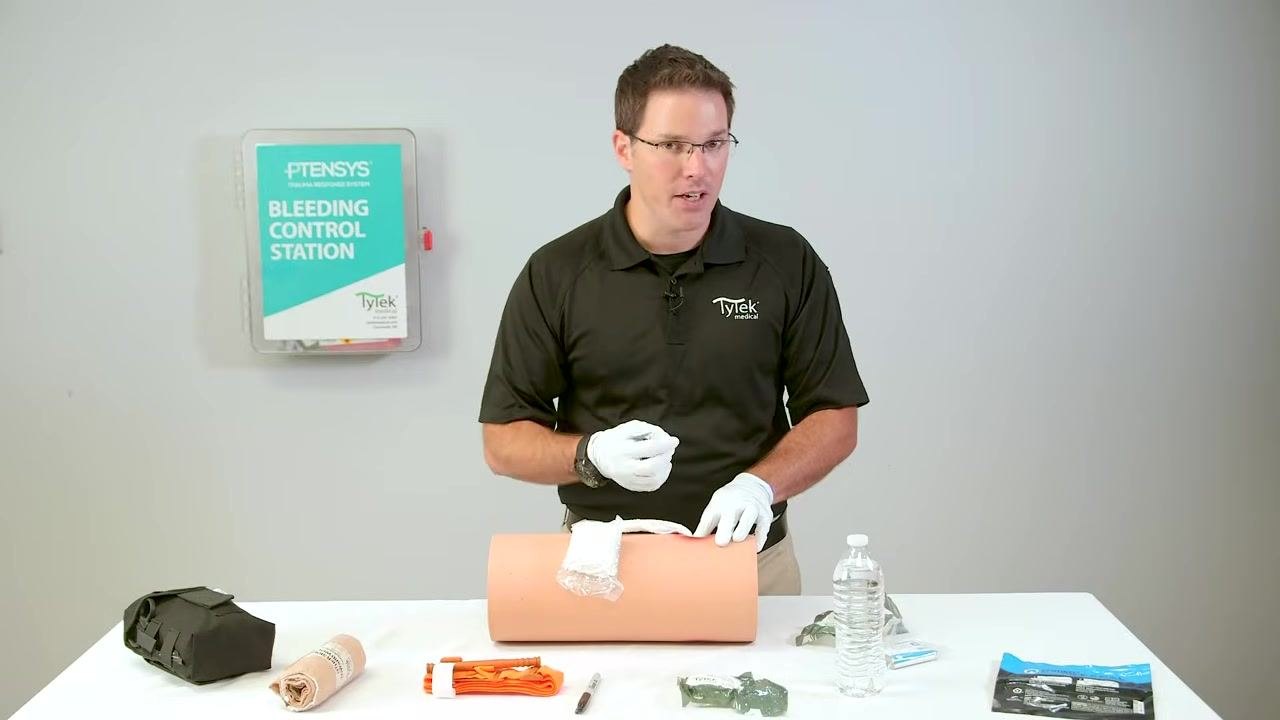
- If the wound cavity is not completely packed and the gauze runs out, immediately seek additional packing material (another gauze roll, clean cloth, or improvised material). Do not stop packing until the wound is fully packed or no more material is available.
- If the wound cavity is filled completely before the gauze runs out, place the remaining gauze as a bolster directly on top of the bleeding source and continue applying firm pressure.
Phase 3: Applying the pressure dressing
- After packing, hold firm direct pressure on the wound for three to five minutes, using both hands if possible to maximize pressure directly over the bleeding source.
-
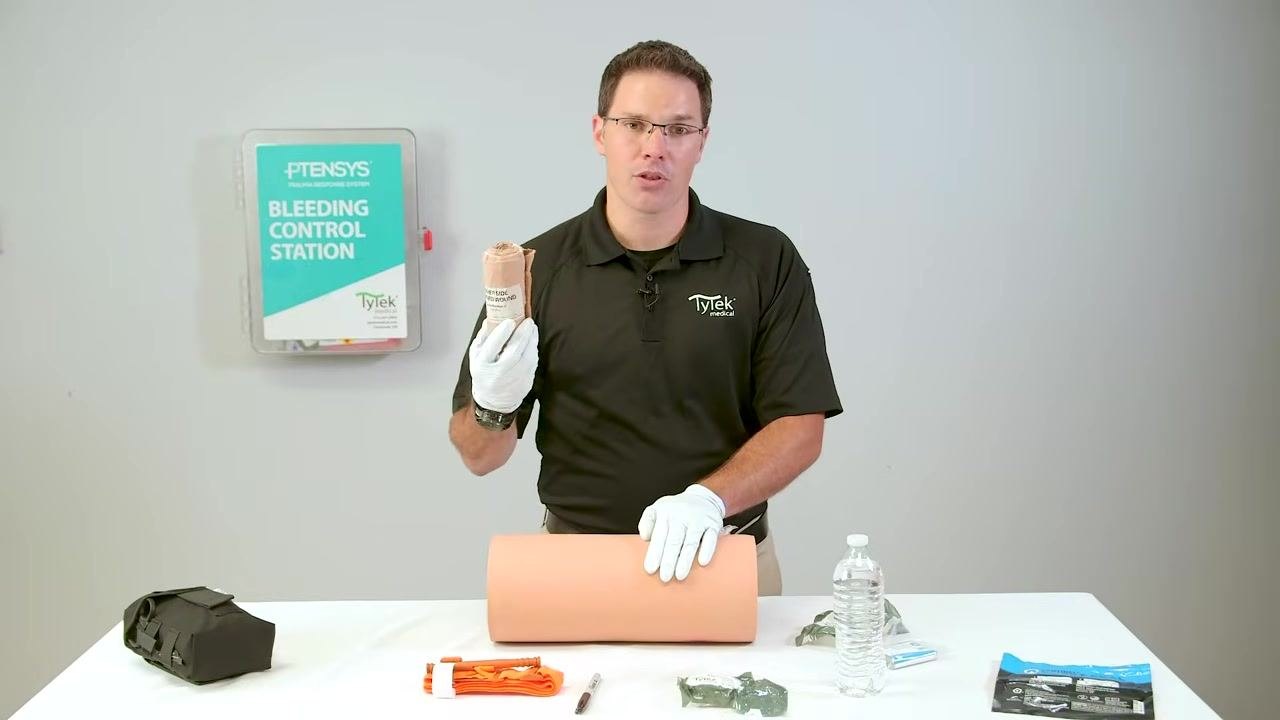
Select a pressure dressing, such as the TYTEK trauma bandage. Before applying it, add bolster material (extra gauze or a firm object such as a water bottle) directly over the wound—the more substantial the bolster, the more focused the pressure on the bleeding source.
-
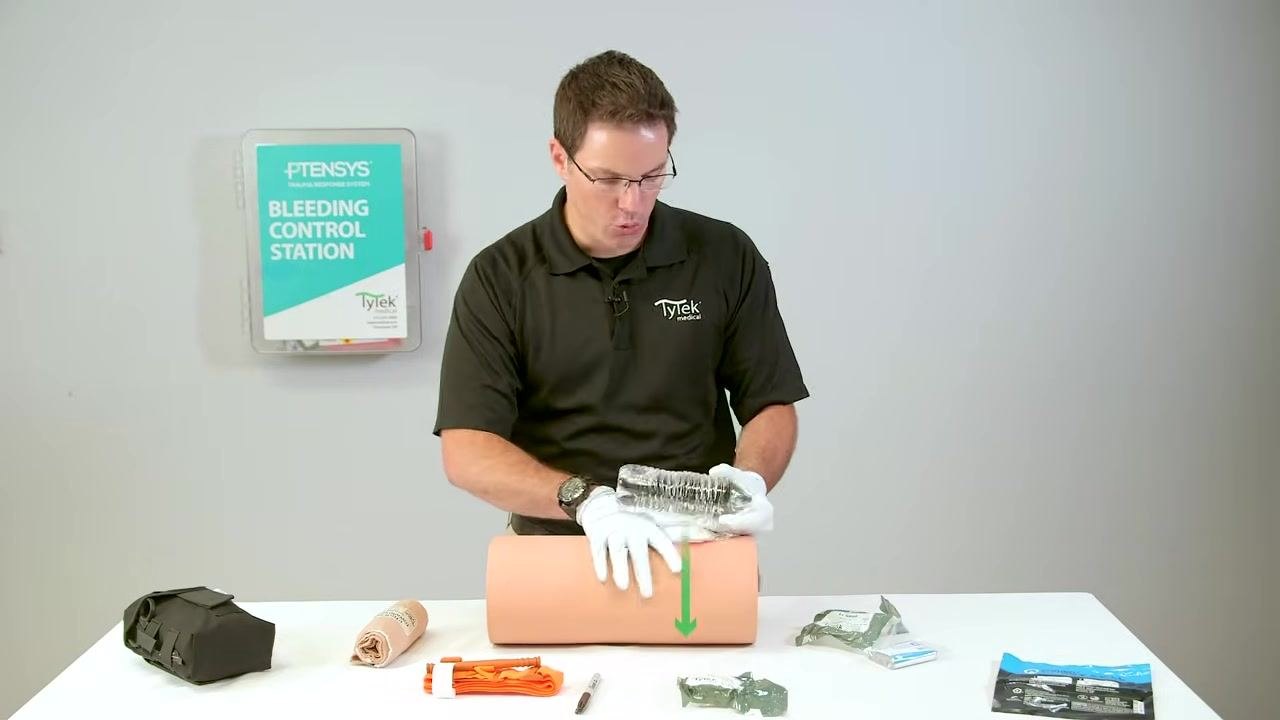
Place the bolster (for example, a water bottle) directly on top of the packed wound. Adjust the limb as needed to keep the bolster in place.
-
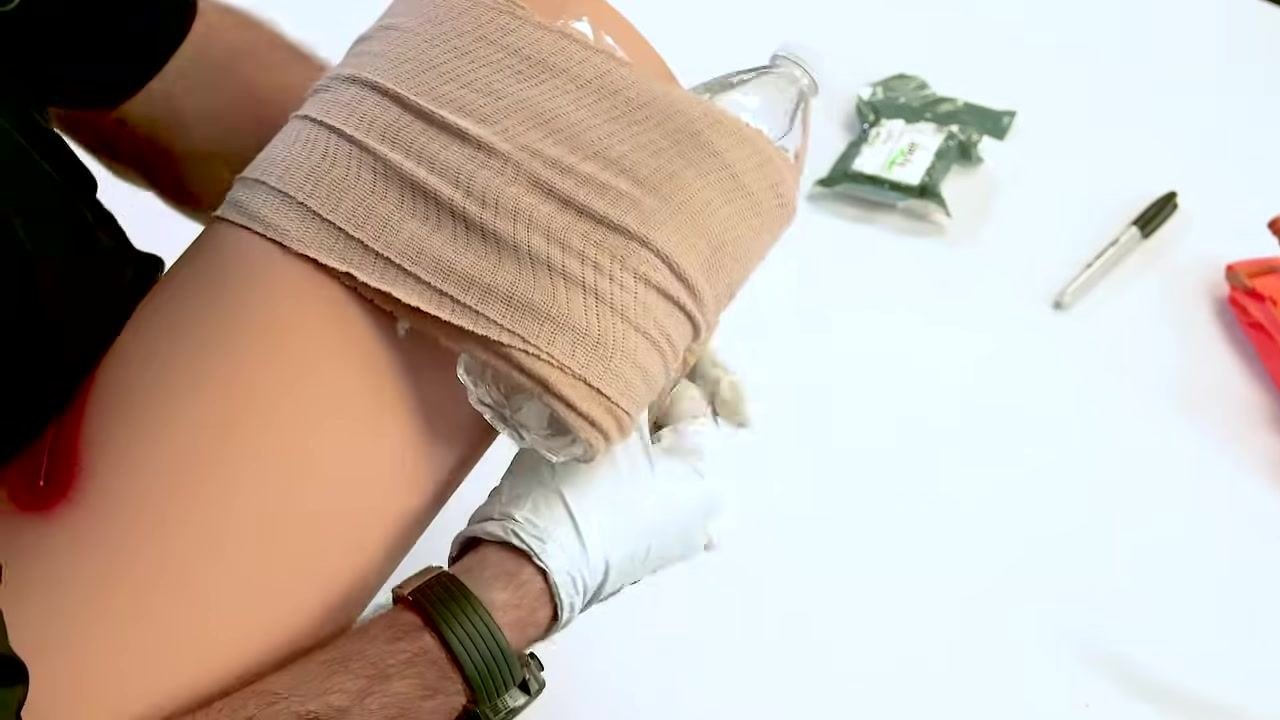
While maintaining pressure, begin wrapping the dressing around the limb and over the bolster, starting with the end labeled "other side toward wound" directly over the bolster. Wrap slowly and snugly, overlapping each layer, and use as much of the dressing's elastic property as possible.
-
Continue wrapping the full length of the dressing around the limb, keeping the bolster in place and maintaining pressure. Use any Velcro sections to prevent the wrap from unraveling if you must let go briefly.
-
Once the full length of the dressing has been used, secure the end with the plastic clips provided, ensuring the dressing is tight and the bolster remains directly over the wound.
-
After securing the dressing, continue to apply firm pressure over the wound for an additional three to five minutes, monitoring for continued bleeding.
The source material does not include medication administration or nutrition guidance for this procedure; a complete care protocol should address these elements where clinically indicated for the patient's ongoing care.
Pain Management
The source material does not describe a pharmacologic pain management plan for this procedure. A complete pain management section should include a multimodal medication table (drug, dose, route, frequency), pain score targets, and an escalation pathway for uncontrolled pain.
Mobility Milestones
The source material does not address a progressive mobility plan following this procedure. This section should list mobility goals with a timeline (for example, bed exercises, chair transfer, and ambulation with assistance) as appropriate for the patient's condition.
Complication Monitoring
- Watch for sharp objects inside the wound, such as fragments from the causative object or bone shards, which can penetrate exam gloves and injure the person performing the procedure.
- If packing material runs out before the wound cavity is filled, seek additional gauze, clean cloth, or improvised material immediately rather than stopping the procedure.
- After the pressure dressing is secured, monitor the wound for continued bleeding and be prepared to add more pressure or adjust the dressing if bleeding persists.
- Maintain pressure on the bleeding source at all times during packing and dressing; interrupted pressure is a key risk to monitor against.
Discharge Criteria
The source material does not define measurable criteria for discharging the patient from care after this procedure. This section should specify benchmarks—such as confirmed bleeding control and stable vital signs—that must be met before the patient can be released or transferred from active care.
Patient Education
The source material does not include teaching points for the patient or family. This section should cover guidance such as wound care instructions, signs of infection to watch for, and follow-up care needed after the packed wound and pressure dressing are assessed by further medical personnel.
Generation details: cost, quality tiers, downloads
Docsie billed 2,500 credits ($1.75) to analyze this 5-minute video at standard quality. The rewrite, template fill and Word/PDF exports were included. The same video at each quality tier:
| Quality | Frames sampled | Credits | Approx. cost |
|---|---|---|---|
| Draft | every 16-30 s | 1,250 | $0.88 |
| Standard (this guide) | every 8-15 s | 2,500 | $1.75 |
| Detailed | every 4-7 s | 5,000 | $3.50 |
| Ultra | every 1-3 s | 10,000 | $7.00 |
Credits priced at $0.70 per 1,000; plans include a monthly allowance. Enterprise customers on on-premise or bring-your-own-model deployments run this on their own inference and pay no per-video credits.
Generated by Docsie Video-to-Docs on 2026-09-28 from a 4-minute video. It was generated straight into Docsie's Patient Care Procedure template, so every section of that template is filled from the video. Screenshots are frames from the source video and belong to their creator, TyTekMedical, whose original is embedded above. If you own this video and want the guide removed or credited differently, contact us and we will act within one business day.