
How to Log Roll a Patient
This procedure explains how to log roll a patient who has a suspected or confirmed spinal injury. Log rolling keeps the head, neck, and spine aligned as a single unit while the patient is turned, assessed, or repositioned. The steps below describe the team setup, hand placement, body mechanics, and communication needed to carry out the roll safely.
Video: PDSB - How to Log Roll a patient by McGill Satoko Shibata Clinical Nursing Laboratories (2022). All credit for the demonstration goes to the creator; watch the original on YouTube. The written guide below was generated from this video by Docsie. Creator? Request a change or removal.
This procedure explains how to log roll a patient who has a suspected or confirmed spinal injury. Log rolling keeps the head, neck, and spine aligned as a single unit while the patient is turned, assessed, or repositioned. The steps below describe the team setup, hand placement, body mechanics, and communication needed to carry out the roll safely.
Purpose and scope
Log rolling is performed when a patient has a suspected or confirmed spinal injury and needs to be turned, assessed, or moved without disrupting spinal alignment. The procedure is designed for a hospital bed setting and requires three healthcare workers working in coordination.
Equipment, environment, and institutional policies may vary between facilities, so adapt the specific setup to your unit while preserving the core safety principles described here. This procedure references guidance from the McGill School of Physical and Occupational Therapy and the Ingram School of Nursing; the instructional content should not be reproduced, distributed, or modified for commercial purposes.
Patient assessment
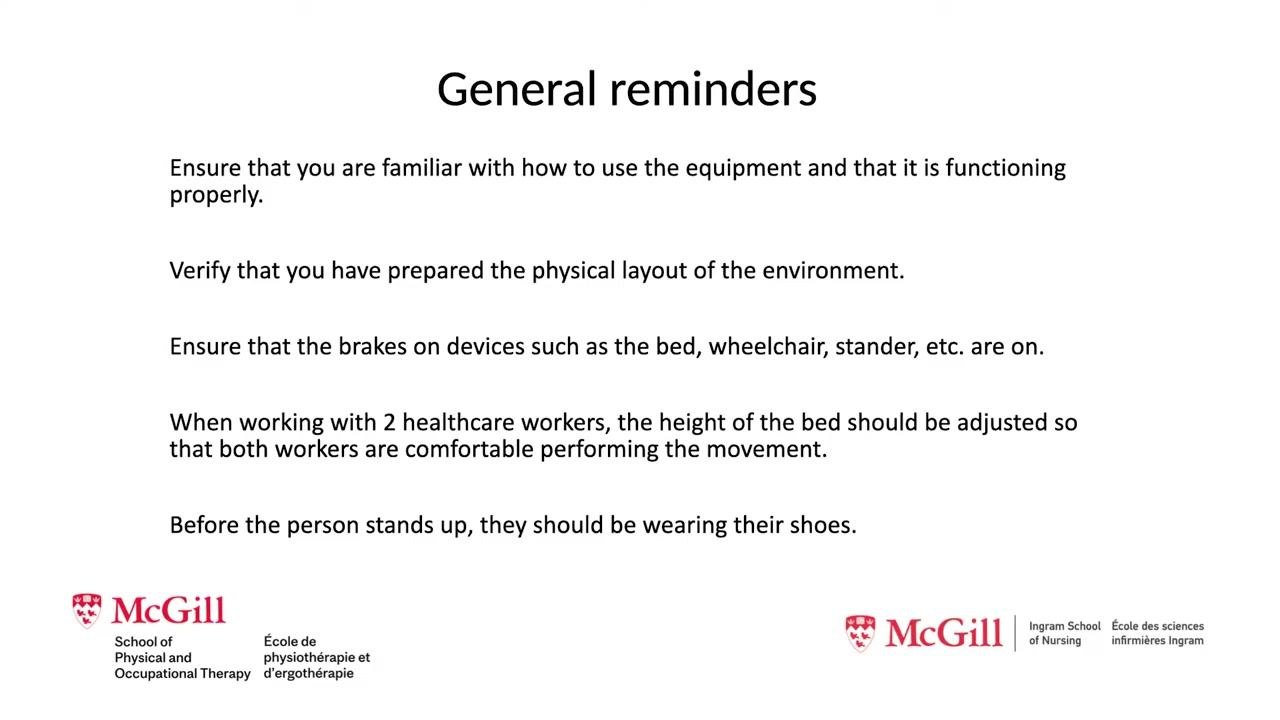
Before starting the log roll, complete the following pre-procedure checks to confirm the patient and environment are ready.
| Check | Action |
|---|---|
| Equipment | Confirm all equipment is functioning properly before you begin. |
| Environment | Prepare the physical layout of the room so the team has enough space to move around the bed. |
| Brakes | Engage brakes on all devices involved, including the bed, wheelchair, or stander. |
| Bed height | Adjust the bed height so both healthcare workers positioned at the side are comfortable. |
| Patient footwear | Ensure the patient is wearing shoes before any standing or transfer occurs. |
This procedure focuses on equipment and positioning checks rather than clinical assessment; a facility's standard vital sign monitoring frequency and a validated pain assessment tool should be applied separately, following your unit's existing assessment protocol.
Care protocol
The log roll is carried out in a series of phases, from team assembly through to returning the patient to a supine position.
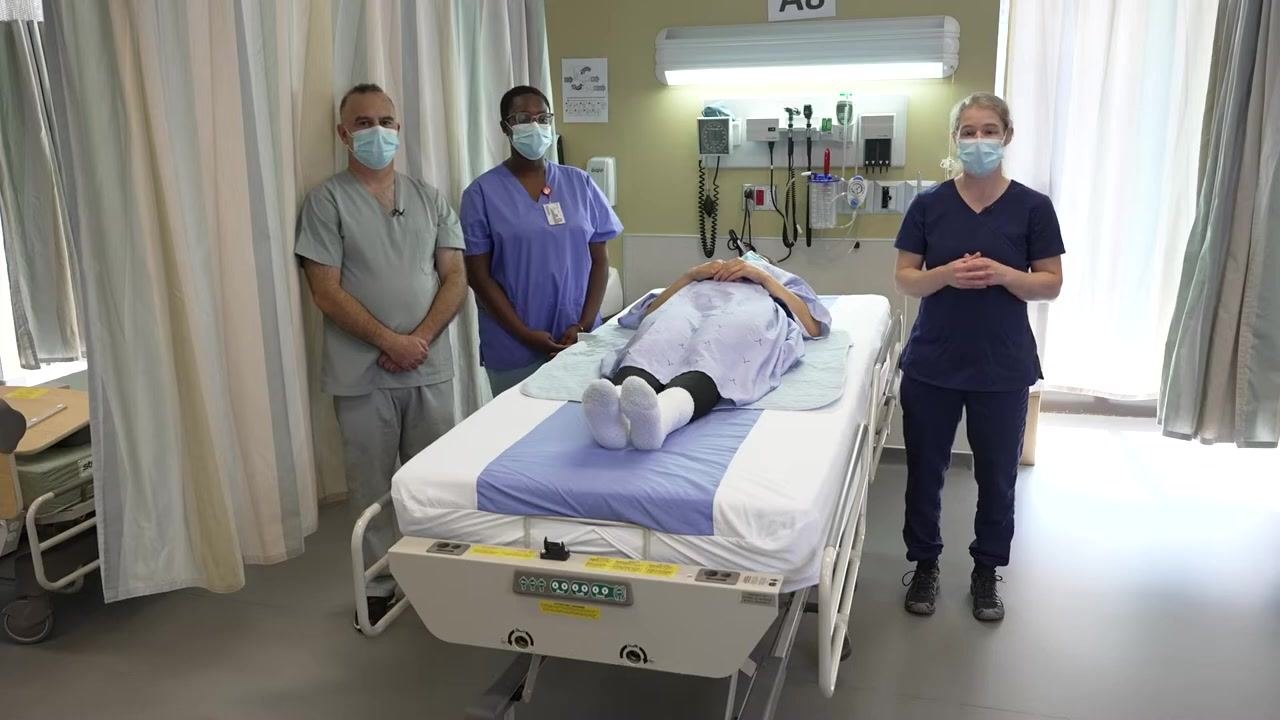
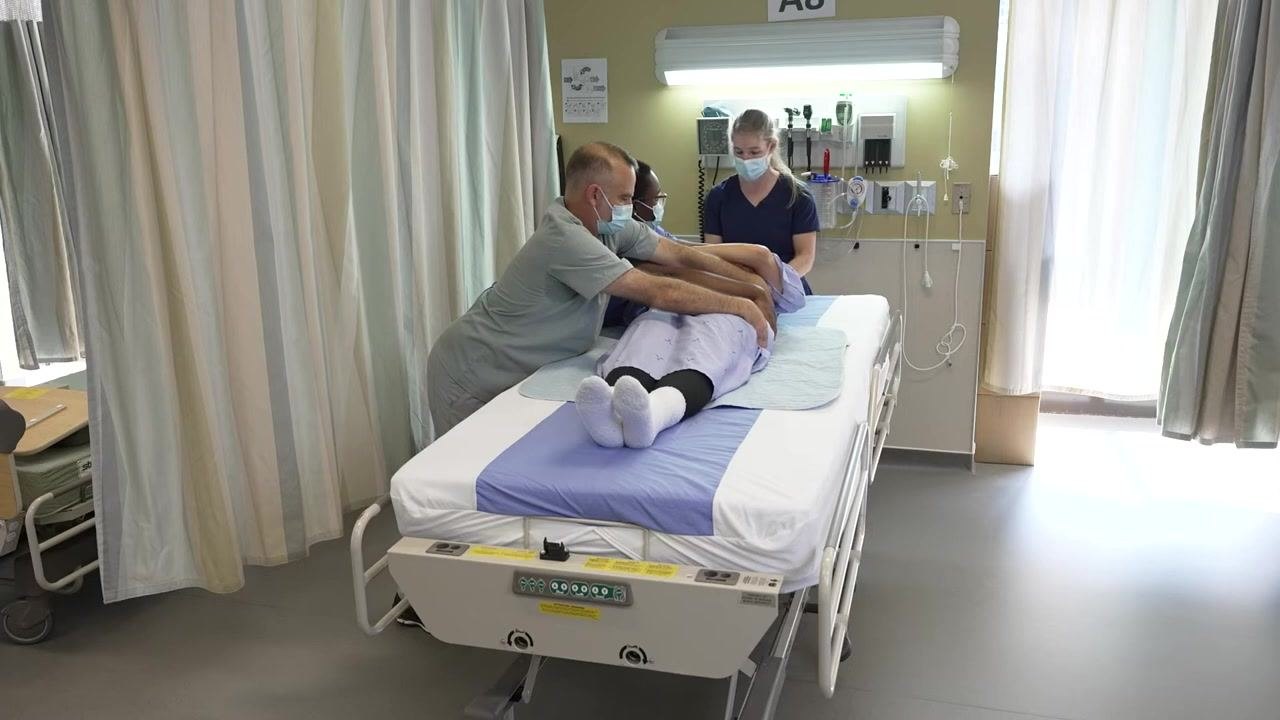
Phase 1: Assemble the team Gather three healthcare workers for the procedure, and introduce the team members to the patient before starting.
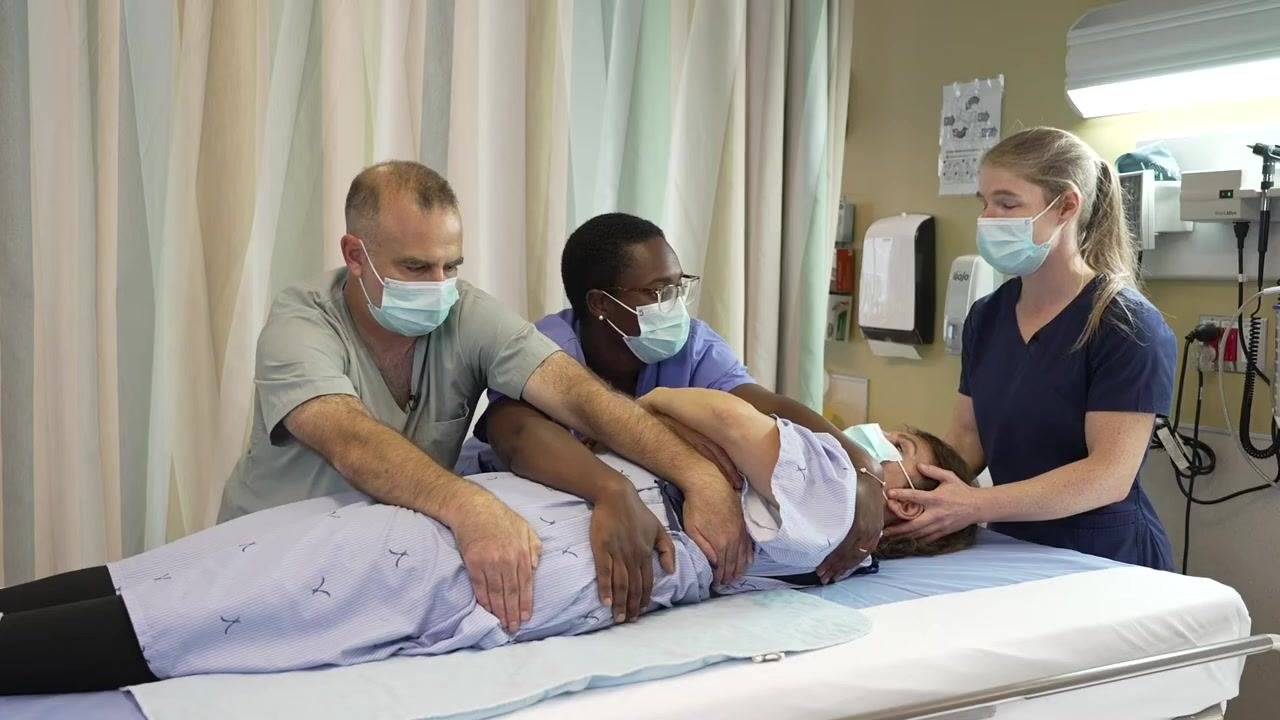
Phase 2: Assign roles Position one healthcare worker at the patient's head. This person is responsible for maintaining spinal alignment throughout the movement and leads the count that signals when the team moves.

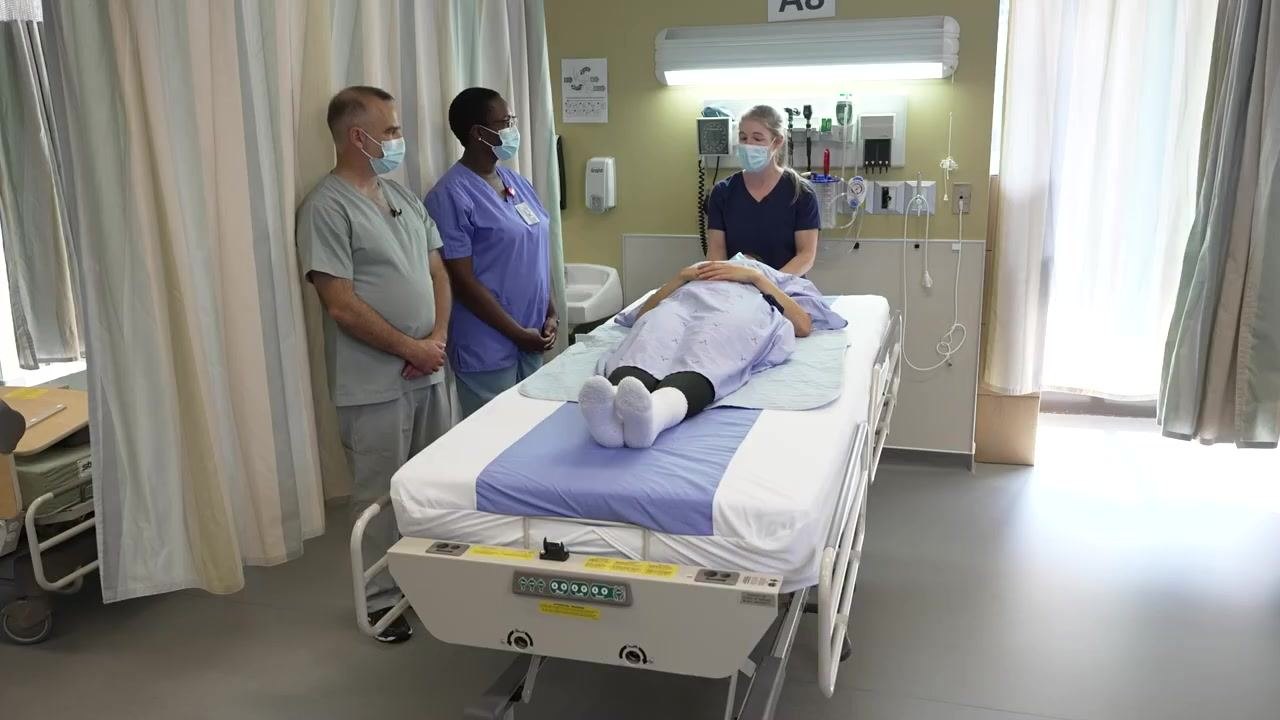
Phase 3: Position hands and grip The worker at the head places their hands so the patient's ear sits between their index and middle fingers, giving a solid grip on the head. The two remaining workers stand on the same side of the bed: one grips the patient's shoulder and hip, and the other grips the waist and thigh.
Phase 4: Set up body mechanics All workers keep their fingers close together for a secure grip. Position the body for a forward-backward weight transfer by slightly bending the elbows, keeping the back straight, and placing weight on the forward foot before starting the movement.
Phase 5: Return the patient to supine position After the assessment or procedure is complete, inform the team of the plan to roll the patient back: "Once it's done, we're going to go back on the patient's back. On my count, on three, we're going to go back." On the count of three, all team members roll the patient back onto their back together, maintaining spinal alignment throughout.

Pain management
This procedure does not include medication administration. Patient comfort is monitored verbally before, during, and after the roll rather than through a medication schedule. A multimodal pain management plan with a drug, dose, route, and frequency table is not part of this positioning procedure and should be sourced from the patient's existing pain management order set if needed.
Mobility milestones
Rather than a multi-day mobility progression, this procedure moves through a short sequence of positioning milestones within a single session.
| Time marker | Milestone |
|---|---|
| 0:00–0:17 | Review safety reminders and prepare equipment and environment. |
| 0:17–1:09 | Assemble the team, assign roles, and position hands and grips. |
| 1:09–1:41 | Communicate the turn to the patient and perform the log roll using a forward-backward weight transfer. |
| 1:41–2:19 | Conduct the assessment or procedure on the patient's side, then return the patient to the supine position. |
A longer-term mobility progression, such as chair transfer or ambulation with a walker, is not addressed in this procedure since it covers a single positioning technique rather than a multi-day recovery plan.
Complication monitoring
Watch for the following signs during the log roll:
- Loss of spinal alignment if the patient's head, neck, and spine are not moved as a single unit.
- Patient discomfort or pain reported during the movement.
- Improper hand placement or grip that could compromise control of the head or body.
If the patient reports discomfort or alignment appears compromised, pause the movement and reassess positioning before continuing. Confirm with the patient that they are comfortable and feeling okay once they are on their side, and again after they are returned to the supine position. Specific escalation contacts for complications are not defined in this procedure and should follow your facility's standard escalation pathway.
Discharge criteria
This procedure describes a single positioning technique rather than a full episode of care, so specific discharge criteria are not part of this content. Discharge readiness should be assessed against your facility's standard discharge protocol.
Patient education
Before performing the roll, tell the patient what is about to happen, for example: "We're going to turn towards your left side, okay?" After the roll, check in directly with the patient to confirm comfort and alignment, for example: "You're feeling okay?" Explain that the team will move them as a unit to protect the spine throughout the turn and when returning to the supine position.
Acknowledgments
This procedure draws on instructional content developed by the McGill School of Physical and Occupational Therapy and the Ingram School of Nursing. Contributors include Catherine Leblanc, Hugo Marchand, David Charles, Shaun Cleaver, Susanne Mak, Anne-Laurie Beaubrun, Augusto Alfonso Cuellar Diaz, and Liliana Abruzzese, with filming support from Jimmy Reynolds, Elena Petkovic, and Frank Roop.
Generation details: cost, quality tiers, downloads
Docsie billed 1,500 credits ($1.05) to analyze this 3-minute video at standard quality. The rewrite, template fill and Word/PDF exports were included. The same video at each quality tier:
| Quality | Frames sampled | Credits | Approx. cost |
|---|---|---|---|
| Draft | every 16-30 s | 750 | $0.52 |
| Standard (this guide) | every 8-15 s | 1,500 | $1.05 |
| Detailed | every 4-7 s | 3,000 | $2.10 |
| Ultra | every 1-3 s | 6,000 | $4.20 |
Credits priced at $0.70 per 1,000; plans include a monthly allowance. Enterprise customers on on-premise or bring-your-own-model deployments run this on their own inference and pay no per-video credits.
Generated by Docsie Video-to-Docs on 2026-10-02 from a 2-minute video. It was generated straight into Docsie's Patient Care Procedure template, so every section of that template is filled from the video. Screenshots are frames from the source video and belong to their creator, McGill Satoko Shibata Clinical Nursing Laboratories, whose original is embedded above. If you own this video and want the guide removed or credited differently, contact us and we will act within one business day.