
How to Give an Insulin Injection with a Pen
This procedure explains how to give an insulin injection with a pen safely and correctly, from hand hygiene through disposal of used needles. It is intended for patients with type 1 diabetes and for patients with type 2 diabetes who require insulin injections, as well as for caregivers assisting with self-administration.
Video: How to Give an Insulin Pen Injection by Prisma Health (2021). All credit for the demonstration goes to the creator; watch the original on YouTube. The written guide below was generated from this video by Docsie. Creator? Request a change or removal.
This procedure explains how to give an insulin injection with a pen safely and correctly, from hand hygiene through disposal of used needles. It is intended for patients with type 1 diabetes and for patients with type 2 diabetes who require insulin injections, as well as for caregivers assisting with self-administration.
Purpose & Scope
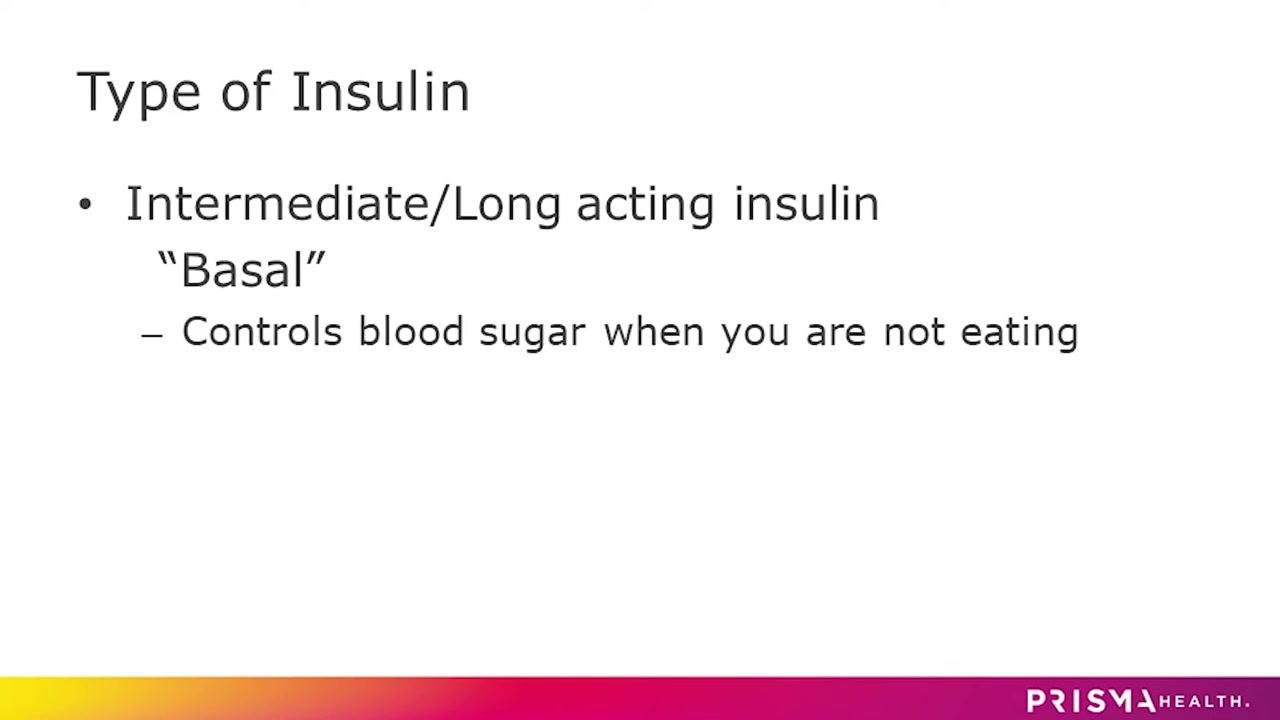
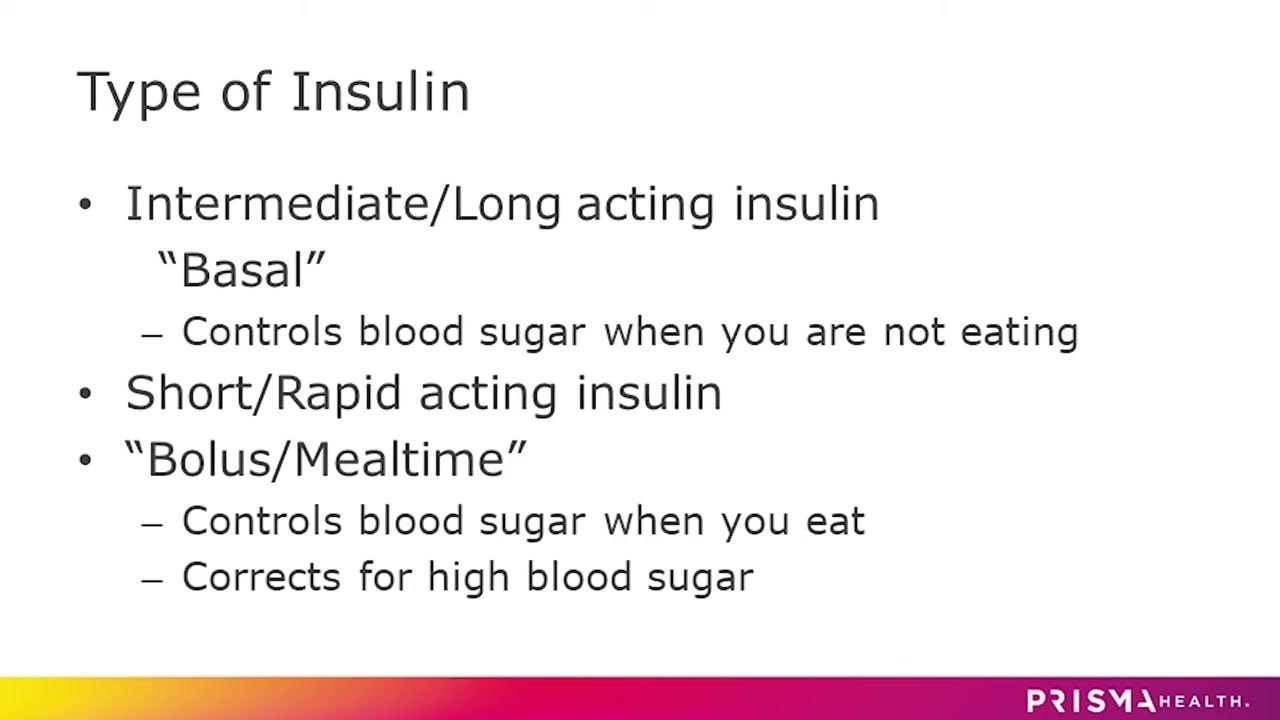
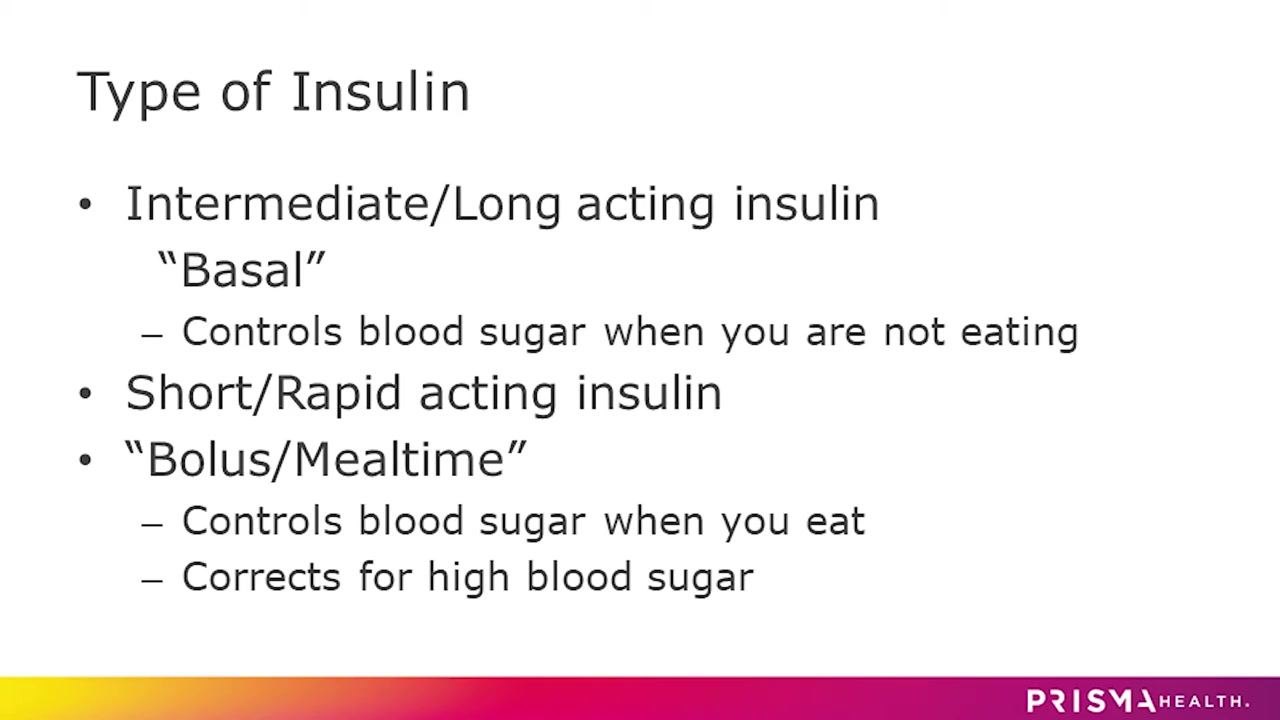
Insulin helps move glucose from the blood into the cells to provide energy. All patients with type 1 diabetes and many patients with type 2 diabetes require insulin injections to lower blood sugar. Many patients need two types of insulin: basal (long-acting) insulin and bolus (mealtime) insulin.
| Insulin type | Function | Timing |
|---|---|---|
| Basal (Intermediate/Long-acting) | Controls blood sugar overnight and between meals | Taken every day, regardless of eating |
| Bolus (Short/Rapid-acting or Mealtime) | Prevents a spike in blood sugar after eating | Taken with the first bite of a meal; skip if the meal is skipped |
This procedure applies to self-administered or caregiver-administered insulin injections given with an insulin pen, typically in the outpatient or home setting.
Patient Assessment
Complete the following checks before every insulin pen injection:
| Assessment step | Detail |
|---|---|
| Hand hygiene | Wash hands thoroughly with warm soapy water for at least 20 seconds to prevent infection |
| Injection site selection | Choose from the abdomen, back of the arm, upper thigh, or top of the buttocks |
| Site rotation | Rotate injection sites every time to reduce the risk of scar tissue or infection |
| Distance from belly button | Stay at least two inches away from the belly button if injecting in the abdomen |
| Supplies check | Confirm all supplies are on hand before starting the injection |
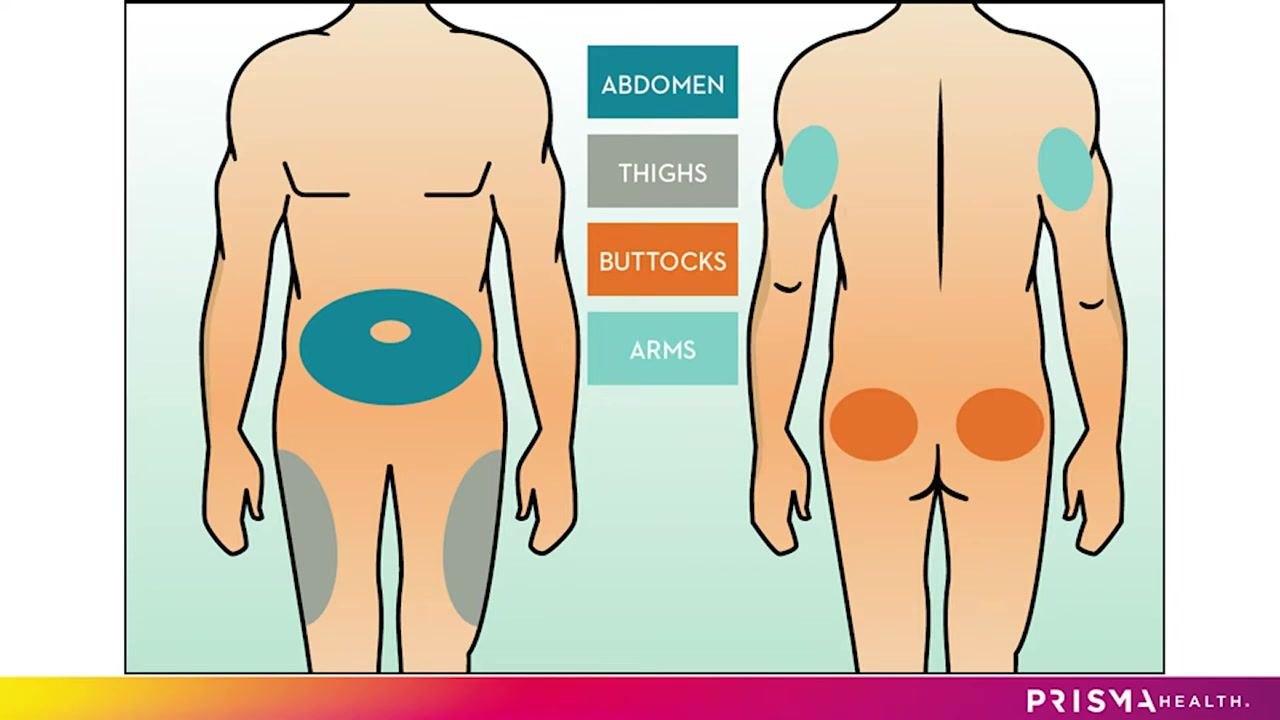
Even when using the same general area, such as the abdomen, move the injection point a few inches from the last injection each time.
Rotating the injection site helps reduce the risk of scar tissue development or infection.
This procedure does not include vital sign monitoring, a formal pain assessment tool, or neurovascular checks, as an insulin pen injection is a brief self-administered task rather than a monitored clinical intervention.
Care Protocol
Phase 1: Preparation
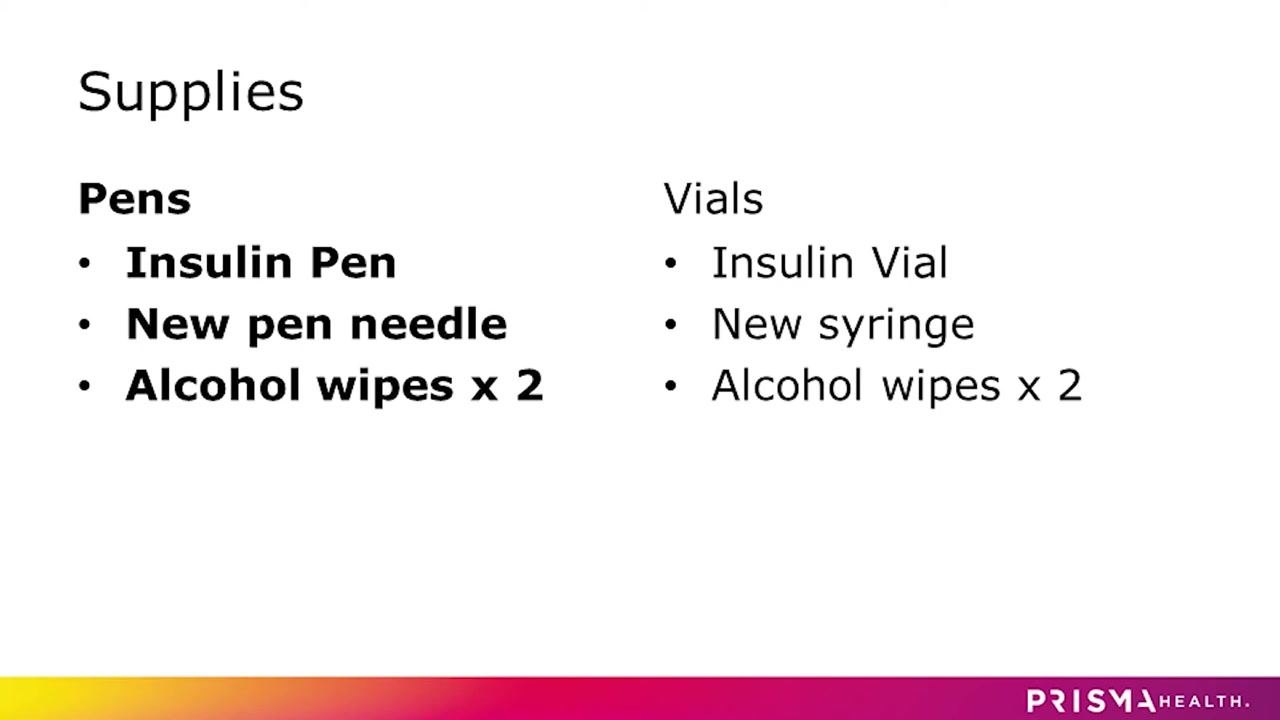
Gather your supplies before beginning:
| Method | Supplies needed |
|---|---|
| Insulin pen | Insulin pen, new pen needle, two alcohol wipes |
| Insulin vial | Insulin vial, new syringe, two alcohol wipes |
Always use a new pen needle or syringe for every injection. Do not reuse needles or syringes, to prevent infection and ensure an accurate dose.
Phase 2: Site cleaning and pen preparation
Clean the injection site with an alcohol wipe. Wipe the chosen area (abdomen, thigh, arm, or buttocks) thoroughly and allow the alcohol to dry completely before proceeding, to avoid stinging and to keep the site sterile.
Remove the cap from the insulin pen and wipe the rubber seal of the pen with a second alcohol wipe to ensure cleanliness.
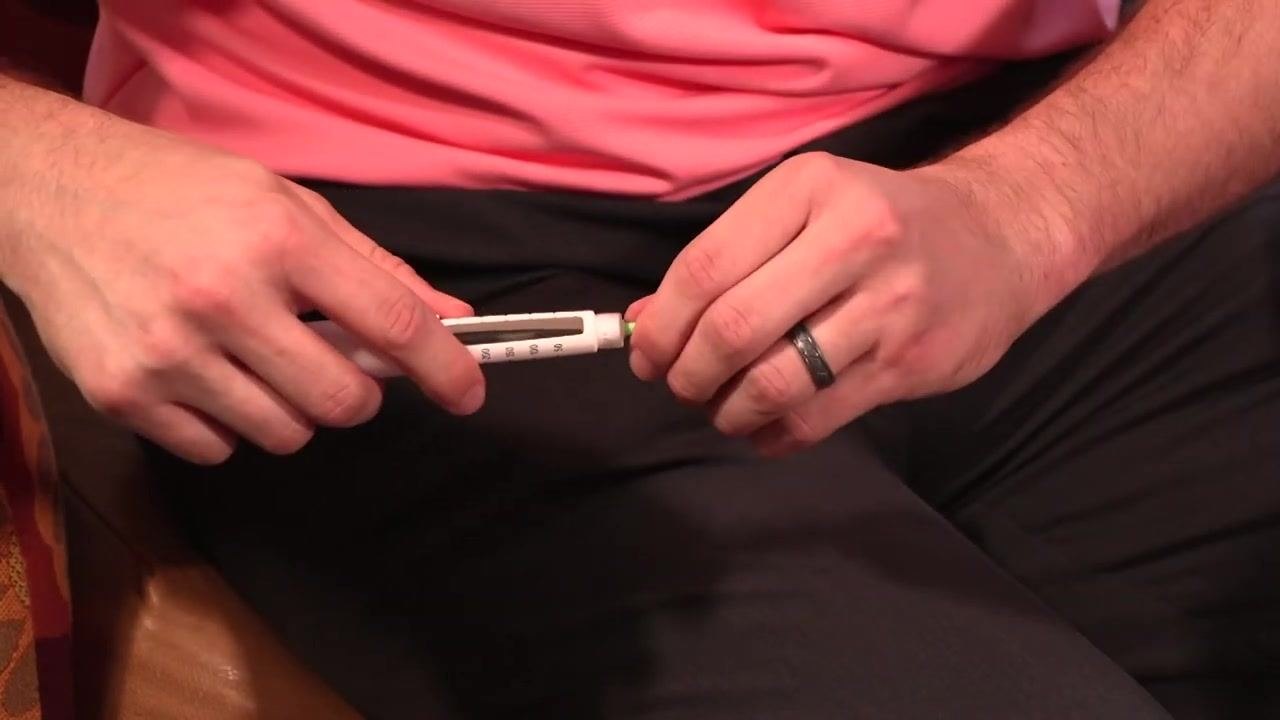
Take a new pen needle, peel off the paper backing, and twist the needle onto the insulin pen immediately before the injection. Do not store the insulin pen with a pen needle attached, as this can lead to contamination or leakage.
The pen needle has two caps: an outer cap and an inner cap. Remove the outer cap and save it for later needle disposal, then carefully remove the inner cap to expose the needle.
Phase 3: Priming and dosing
Prime the pen needle before every injection to remove air and confirm the pen is working. Turn the dose dial to 2 units, hold the pen with the needle pointing straight up, and press the injection button. Look for a spray or drops of insulin at the needle tip; repeat the priming step if none appears.
Confirm that insulin is visible at the tip of the needle before continuing.
Turn the dose dial to the number of units prescribed by the doctor and double-check the dose window to confirm accuracy.
Phase 4: Giving the injection
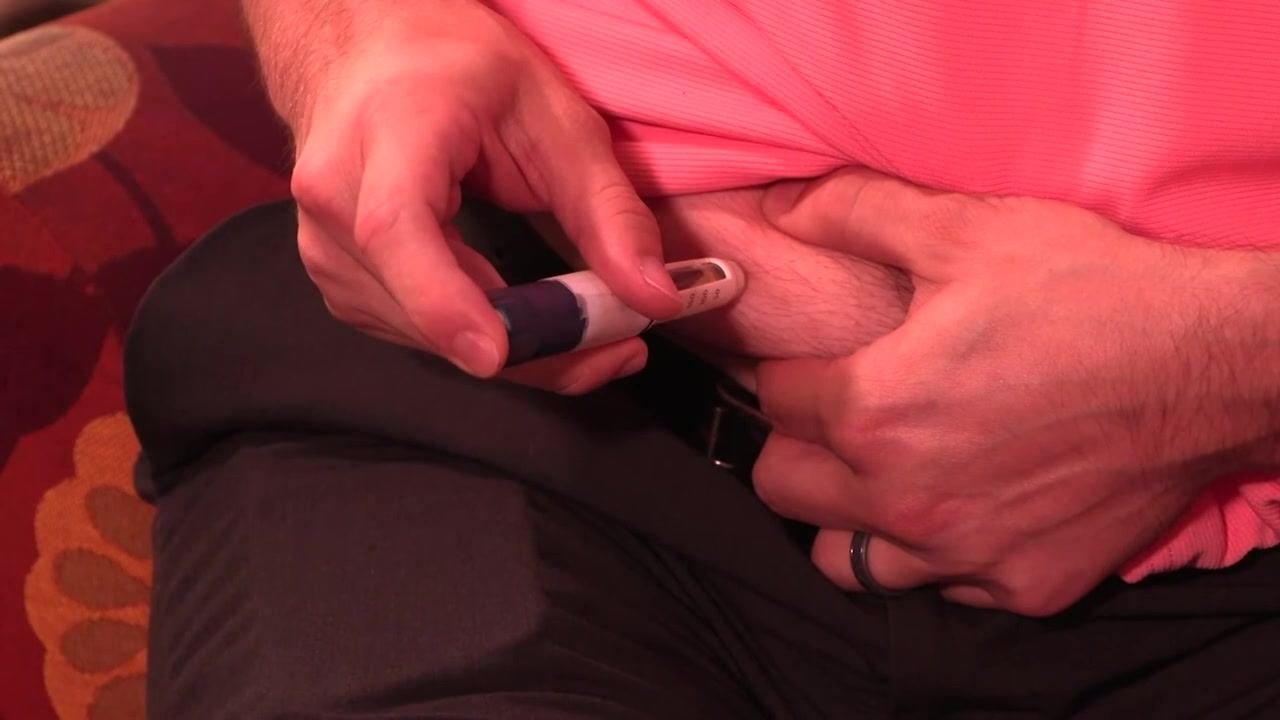
If using a nano pen needle, pinching the skin is not necessary. For all other needle lengths, gently pinch the skin at the injection site. Insert the needle at a 90-degree angle into the skin, press the pen button to deliver the insulin, and watch the dose dial turn down to zero to confirm the full dose has been administered.
Count to 10 slowly before withdrawing the needle from the skin. This ensures the entire dose is delivered and helps prevent insulin leakage.
Phase 5: Needle removal and disposal
Place the outer cap back onto the pen needle carefully, twist the capped needle off the insulin pen, and remove it. Never store the insulin pen with a used needle attached, as this can cause contamination or leakage.
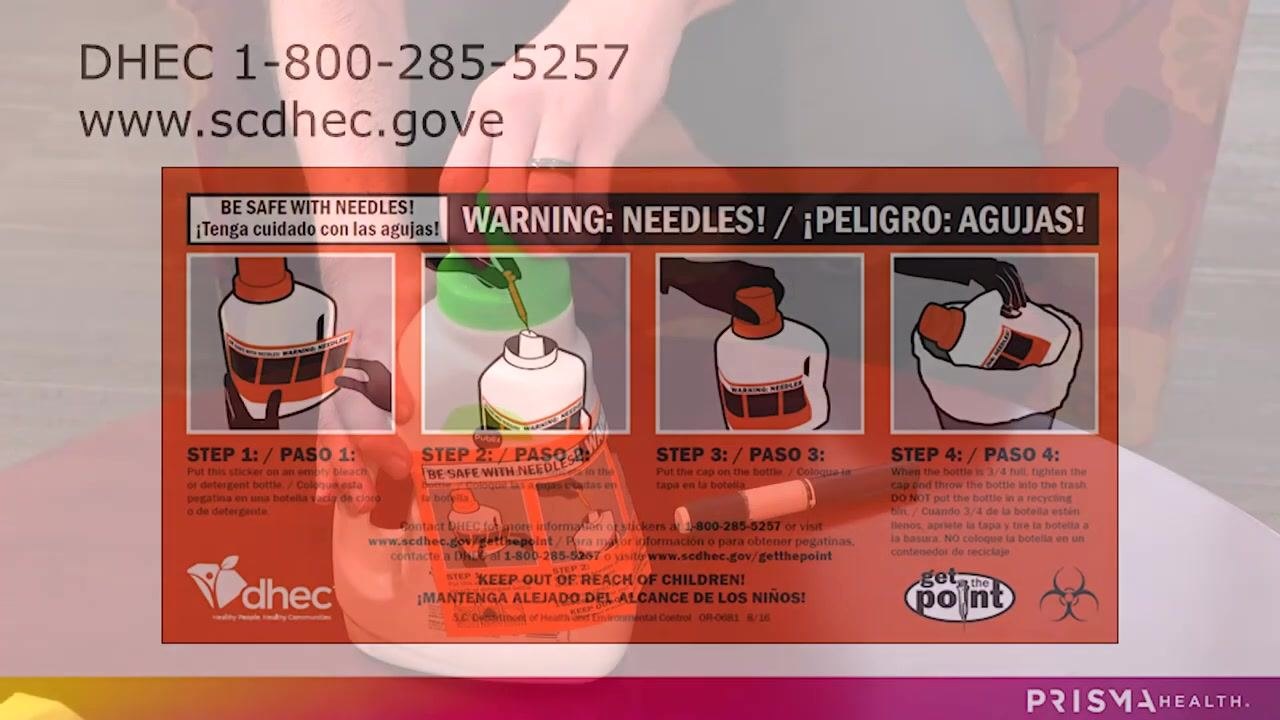
Put the main cap back on the insulin pen to keep it clean and protected, then place the capped, used needle immediately into a sharps container.
Pain Management
This procedure does not include a medication table, pain score target, or escalation pathway, as an insulin pen injection does not require pain medication. Discomfort can be minimized by gently pinching the skin (except when using a nano pen needle) and by inserting the needle at a 90-degree angle as described in the Care Protocol.
Mobility Milestones
Mobility milestones are not applicable to this procedure, since giving an insulin pen injection is a brief self-administered task rather than a recovery process requiring progressive mobility goals.
Complication Monitoring
Watch for the following risks and follow the corresponding preventive actions:
| Risk | Preventive action |
|---|---|
| Infection at injection site | Wash hands before injecting; clean the site with an alcohol wipe and let it dry fully |
| Scar tissue development | Rotate injection sites every time, staying a few inches from the previous site |
| Contamination or leakage | Never store the pen with a needle attached; attach the needle only immediately before injecting |
| Incomplete dose | Prime the pen before every use; watch the dial return fully to zero; count to 10 before removing the needle |
| Needlestick injury | Recap the used needle immediately and place it in a sharps container right away |
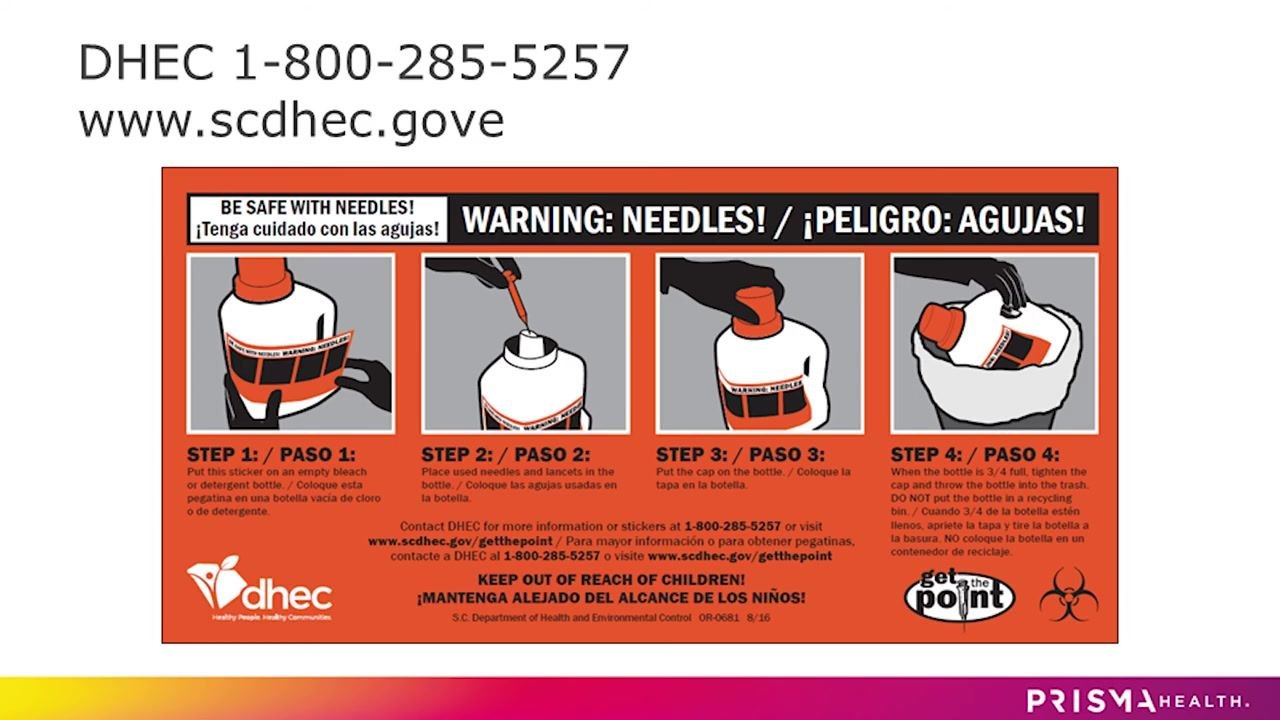
Use a homemade sharps container, such as a hard plastic detergent or milk jug, and place the used needle (with its cap on) into the container immediately after removal.
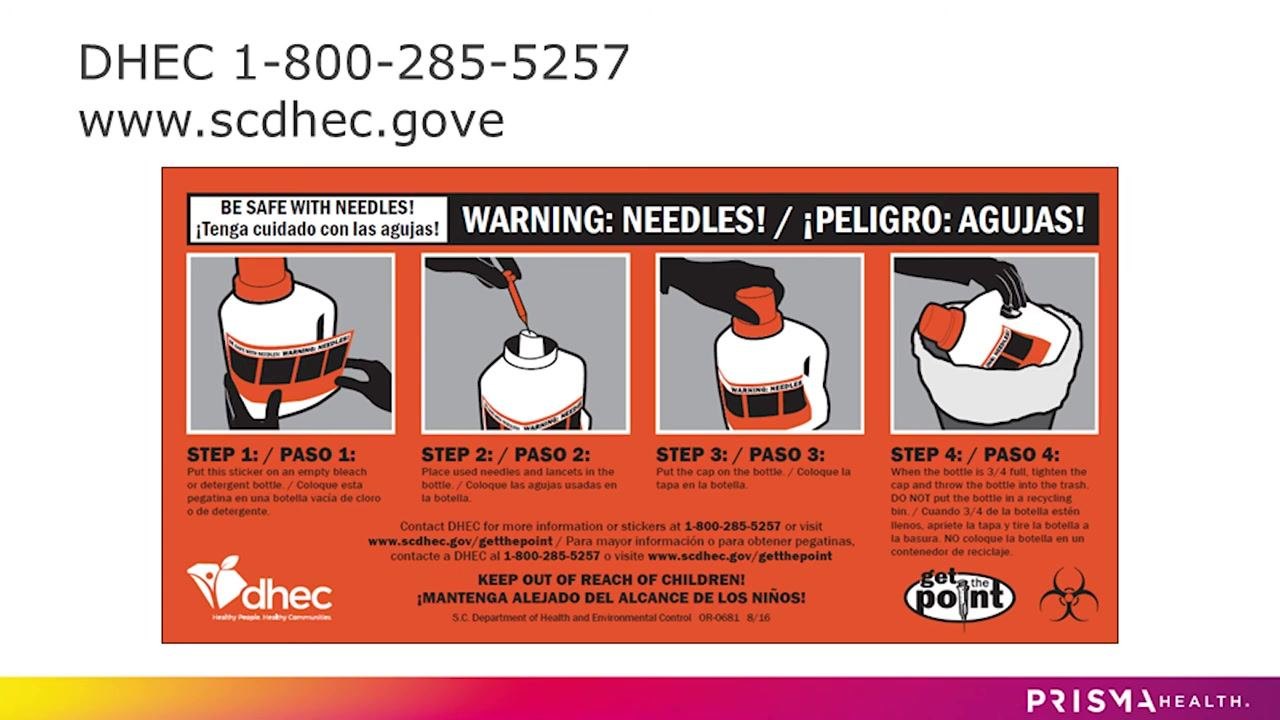
When the container is three-quarters full, secure the cap tightly, throw it in the regular trash (never in a recycling bin), and keep it out of reach of children at all times.
For further assistance with any complication, contact your healthcare provider.
Discharge Criteria
An insulin pen injection is complete and can be considered finished when all of the following are met:
| Criterion | Confirmation |
|---|---|
| Full dose delivered | Dose dial has returned fully to zero |
| Needle held in place | Needle was left in the skin for a count of 10 after pressing the button |
| Needle safely removed | Outer cap replaced and needle twisted off the pen |
| Pen stored properly | Main cap replaced on the pen with no needle attached |
| Needle disposed of | Used, capped needle placed immediately into a sharps container |
Patient Education
Before ending the injection routine, review the following points with the patient or caregiver:
- Wash hands with warm soapy water for at least 20 seconds before every injection.
- Understand the difference between basal (daily, regardless of eating) and bolus (with meals) insulin.
- Rotate injection sites among the abdomen, back of the arm, upper thigh, and buttocks, staying at least two inches from the belly button.
- Use a new pen needle or syringe for every injection; never reuse them.
- Prime the pen before each injection and confirm a drop of insulin appears at the needle tip.
- Never store the insulin pen with a needle attached.
- Dispose of used needles in a proper sharps container, such as a homemade one made from a hard plastic bottle.
The South Carolina Department of Health and Environmental Control (DHEC) provides free warning stickers to label a homemade sharps container. Place the sticker on the container to clearly indicate it contains hazardous sharps.
DHEC will mail these stickers free of charge, or they can be printed from the DHEC website. Contact DHEC at 1-800-285-5257 or visit www.scdhec.gov/getthepoint for more information or to request stickers.
For more information, visit PrismaHealth.org or follow Prisma Health on social media for additional resources and support.
By following these steps, the patient or caregiver can safely complete the insulin injection and properly dispose of all sharps, protecting themselves and others from accidental injury or contamination. For further assistance, contact a healthcare provider or use the resources listed above.
Generation details: cost, quality tiers, downloads
Docsie billed 2,500 credits ($1.75) to analyze this 5-minute video at standard quality. The rewrite, template fill and Word/PDF exports were included. The same video at each quality tier:
| Quality | Frames sampled | Credits | Approx. cost |
|---|---|---|---|
| Draft | every 16-30 s | 1,250 | $0.88 |
| Standard (this guide) | every 8-15 s | 2,500 | $1.75 |
| Detailed | every 4-7 s | 5,000 | $3.50 |
| Ultra | every 1-3 s | 10,000 | $7.00 |
Credits priced at $0.70 per 1,000; plans include a monthly allowance. Enterprise customers on on-premise or bring-your-own-model deployments run this on their own inference and pay no per-video credits.
Generated by Docsie Video-to-Docs on 2026-09-20 from a 4-minute video. It was generated straight into Docsie's Patient Care Procedure template, so every section of that template is filled from the video. Screenshots are frames from the source video and belong to their creator, Prisma Health, whose original is embedded above. If you own this video and want the guide removed or credited differently, contact us and we will act within one business day.