
How to Flush a Picc Line
This procedure explains how to flush a PICC line to confirm patency, administer medications, and lock the line safely afterward. It follows the SAS/SASH protocol and reflects the sequence, supplies, and technique demonstrated on a simulated central line model. Use this guide alongside your facility's protocols whenever you need to know how to flush a PICC line before an infusion, after a blood draw, or during a routine patency check.
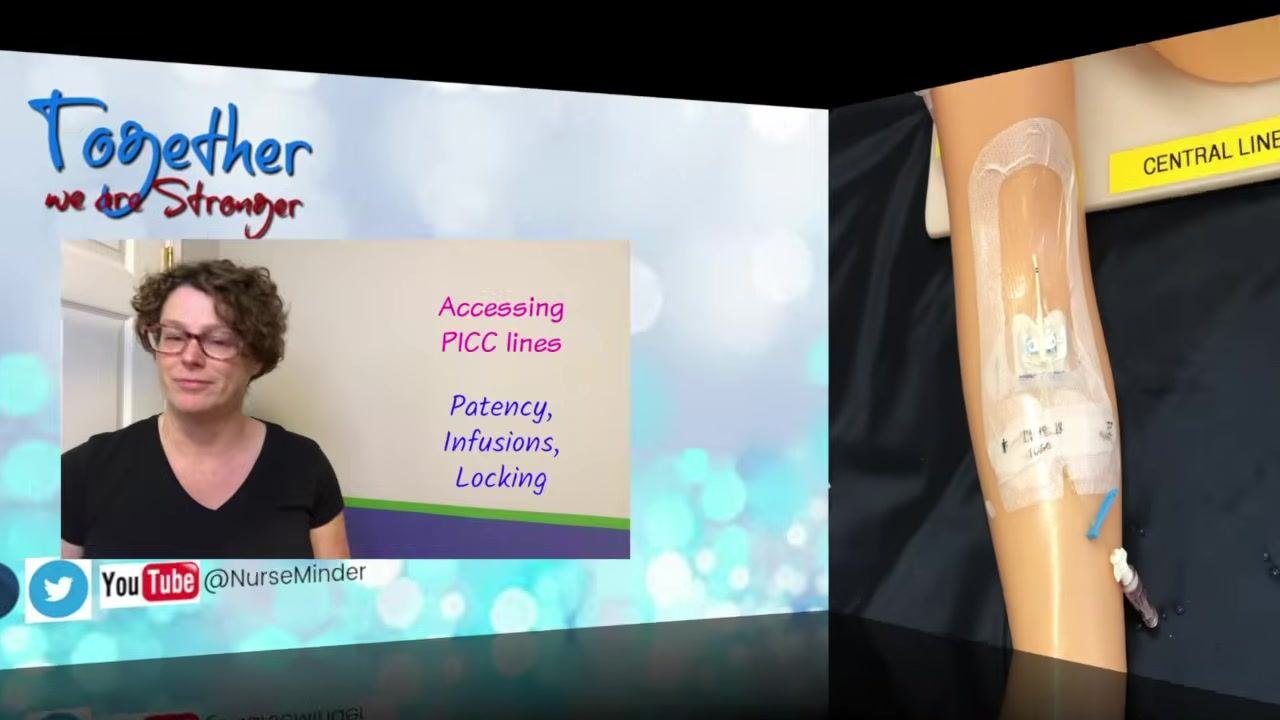
Video: How To Flush a PICC line (peripherally inserted central catheter) by NurseMinder (2018). All credit for the demonstration goes to the creator; watch the original on YouTube. The written guide below was generated from this video by Docsie. Creator? Request a change or removal.
This procedure explains how to flush a PICC line to confirm patency, administer medications, and lock the line safely afterward. It follows the SAS/SASH protocol and reflects the sequence, supplies, and technique demonstrated on a simulated central line model. Use this guide alongside your facility's protocols whenever you need to know how to flush a PICC line before an infusion, after a blood draw, or during a routine patency check.
Purpose & Scope
You access a PICC line to perform a patency check or to administer medications. A patency check is required before infusing medications or fluids, and at minimum every 24 hours if the line has not been accessed.
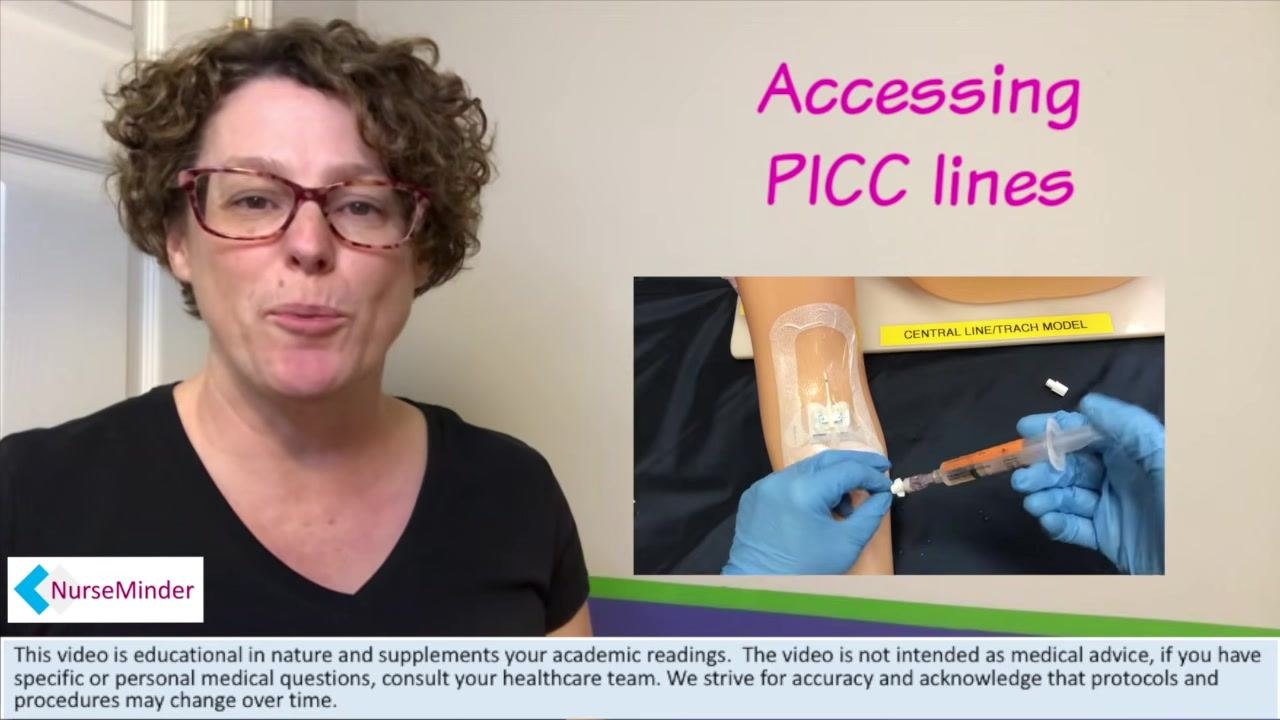
The procedure follows the SAS acronym: Saline flush, Administer medication/fluids, Saline flush, and a final Sodium citrate lock. If your facility uses heparin instead of sodium citrate, follow the same sequence under the acronym SASH, ending with Heparin.
This guidance is based on a simulated training environment. Always follow your facility's protocols and the manufacturer's instructions for the specific PICC line, cap, and locking solution in use.
Patient assessment
Before and during PICC line access, confirm the following:
| Assessment item | When to perform it |
|---|---|
| Line patency | Before any infusion, or at least every 24 hours if the line is unaccessed |
| Blood return | Immediately after the initial 2 mL saline flush |
| Resistance during flushing | Throughout the flush; stop immediately if felt |
| Cap condition | Before every cap change and whenever contamination is suspected |
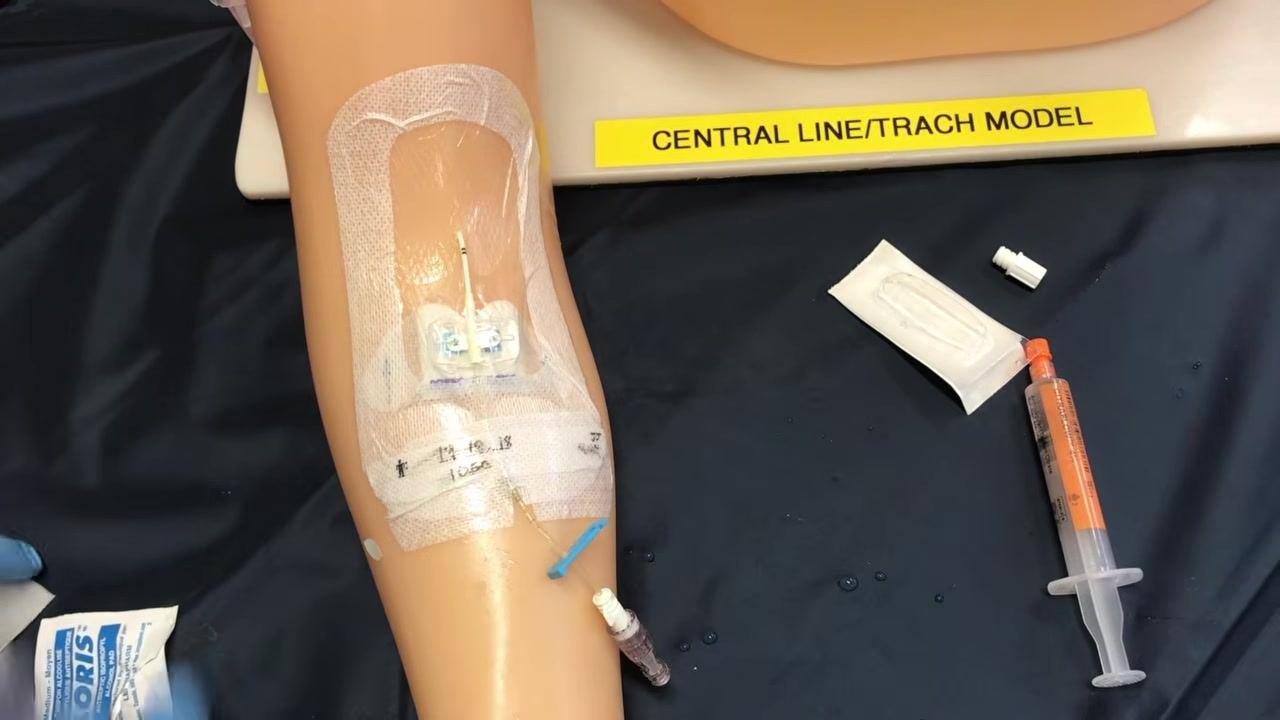
If you cannot confirm patency, or if you meet resistance during flushing, stop the procedure and troubleshoot for a positional or partially clotted line according to your facility's guidelines.
Vital sign monitoring frequency, formal pain assessment tools, and neurovascular checks are not addressed in this procedure and should follow your facility's separate assessment protocols.
Care protocol
Phase 1: Preparing to access the PICC line
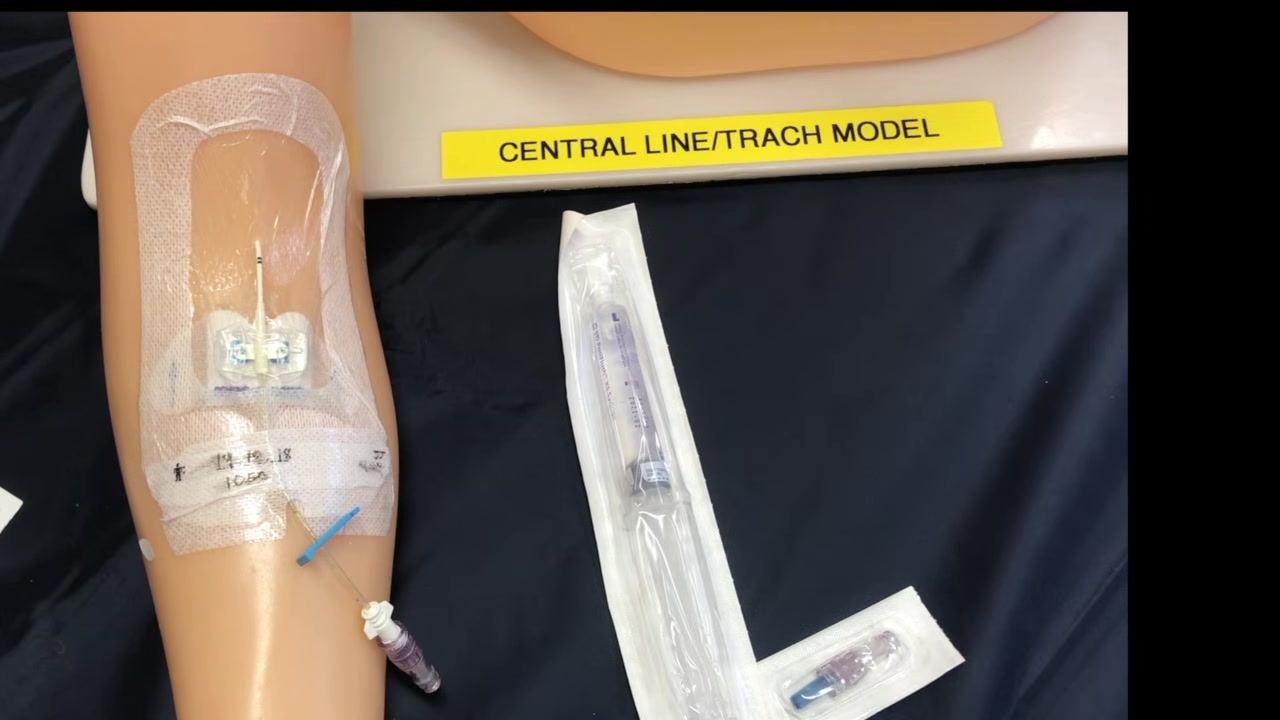
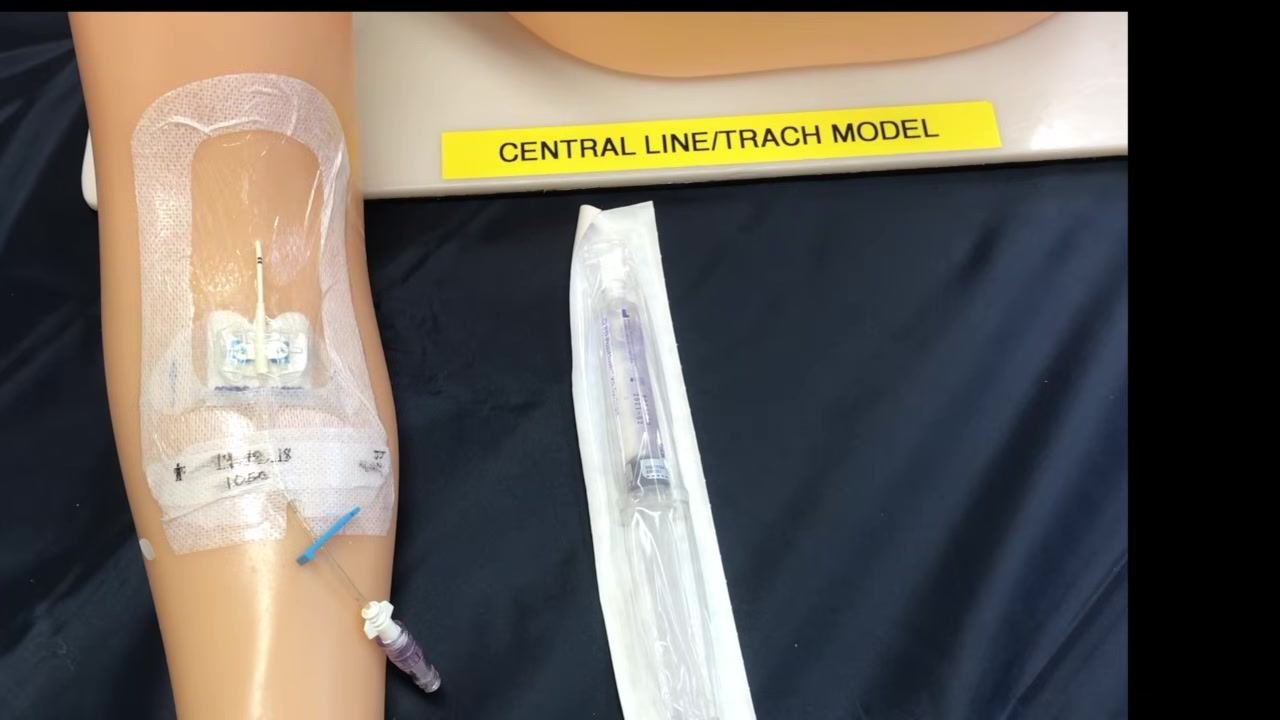
- Gather your supplies. Collect an alcohol or chlorhexidine swab, a pre-filled saline flush syringe, a medication syringe (if administering medication), and sodium citrate or heparin (if locking is required). Confirm all sterile packaging is intact before use.
-
Cleanse the PICC line hub. Scrub the hub thoroughly with an alcohol or chlorhexidine swab for at least 15 seconds, using friction and covering all surfaces to prevent contamination. Allow the hub to air dry completely.
-
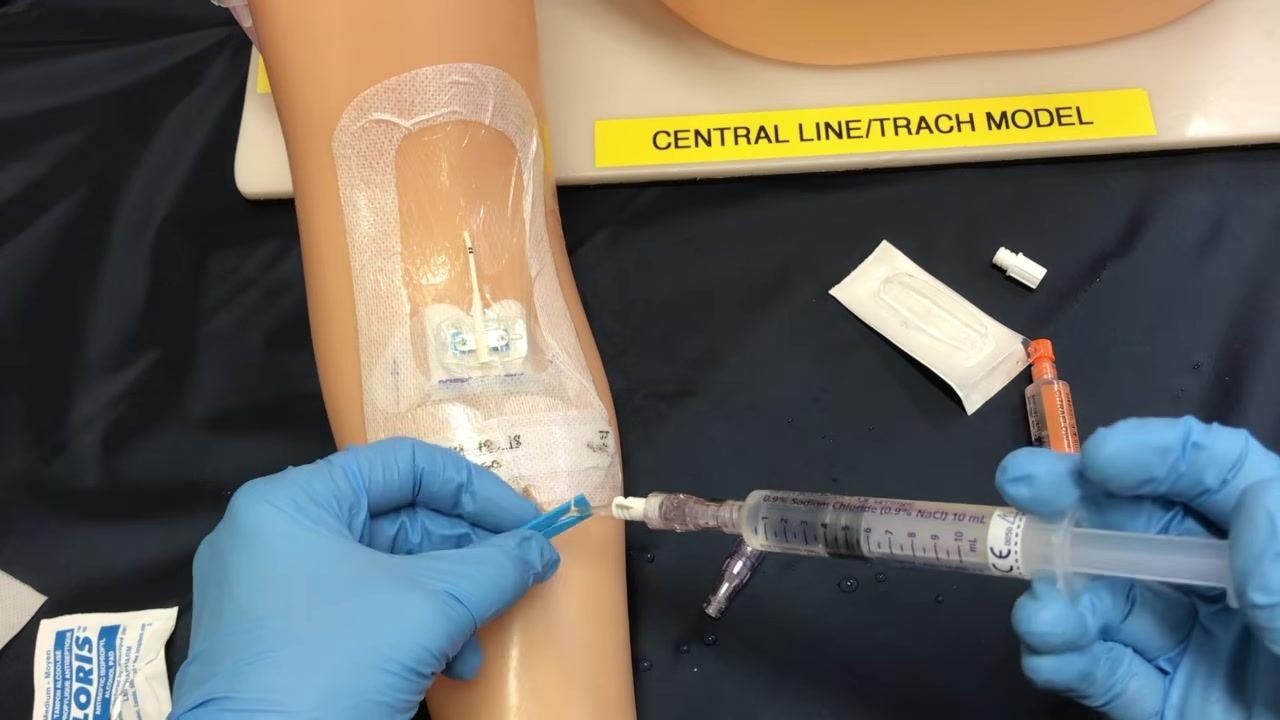
Prepare and attach the saline syringe. Remove the saline syringe from its packaging and expel any air. Attach it to the cleansed hub using a push-and-twist motion to create a secure connection.
-
Unlock the line. If the PICC line has a clamp or locking mechanism, release it to allow infusion.
Phase 2: How to flush a PICC line for patency confirmation
-
Inject 2 mL of saline. Use gentle pressure so the saline flows smoothly without force. This initial flush confirms the line is open and ready for use.
-
Check for blood return. Gently pull back on the syringe plunger and watch for a flash of blood in the saline. Blood return confirms the line is patent. If you do not see blood return, stop and troubleshoot per your facility's guidelines.
-
Infuse the remaining saline. Once patency is confirmed, deliver the rest of the saline using a pulsing (push-pause) technique. As you reach the last 1 mL, begin clamping the line to maintain positive pressure and prevent blood reflux. Stop and troubleshoot if you meet resistance.
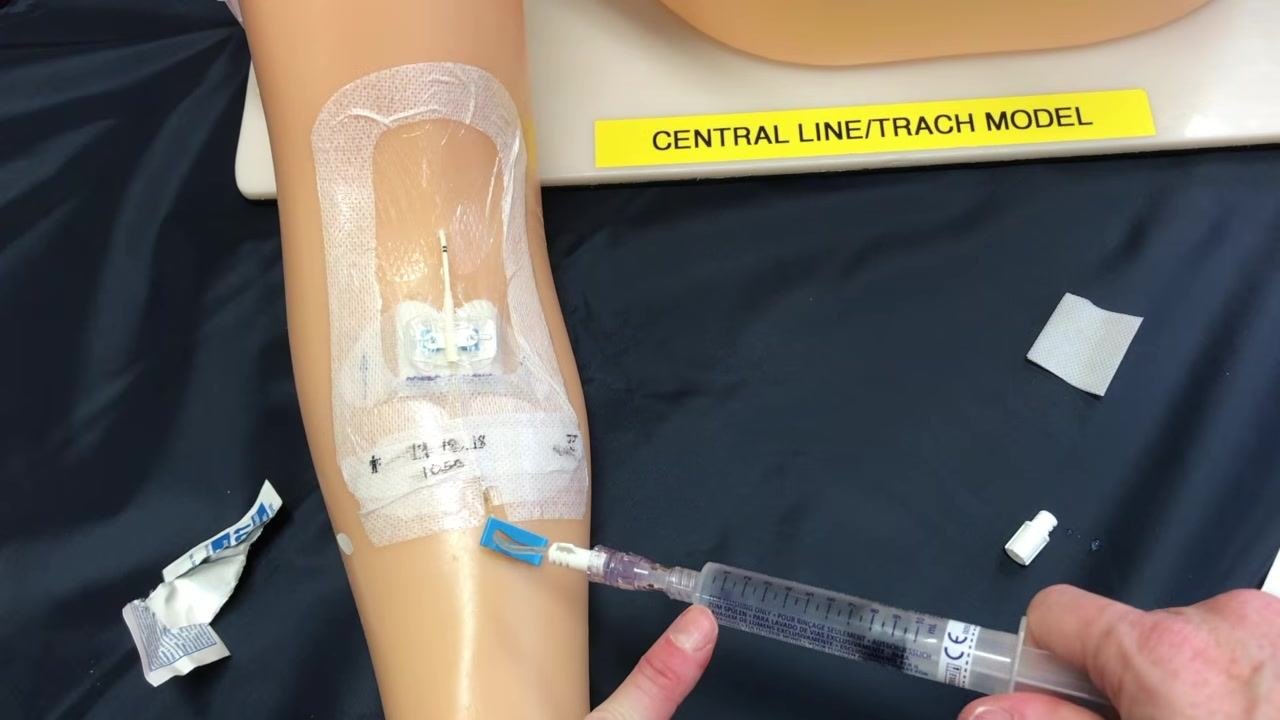
- Disconnect the saline syringe. Remove the syringe from the hub and keep the line clamped to prevent air entry or blood reflux.
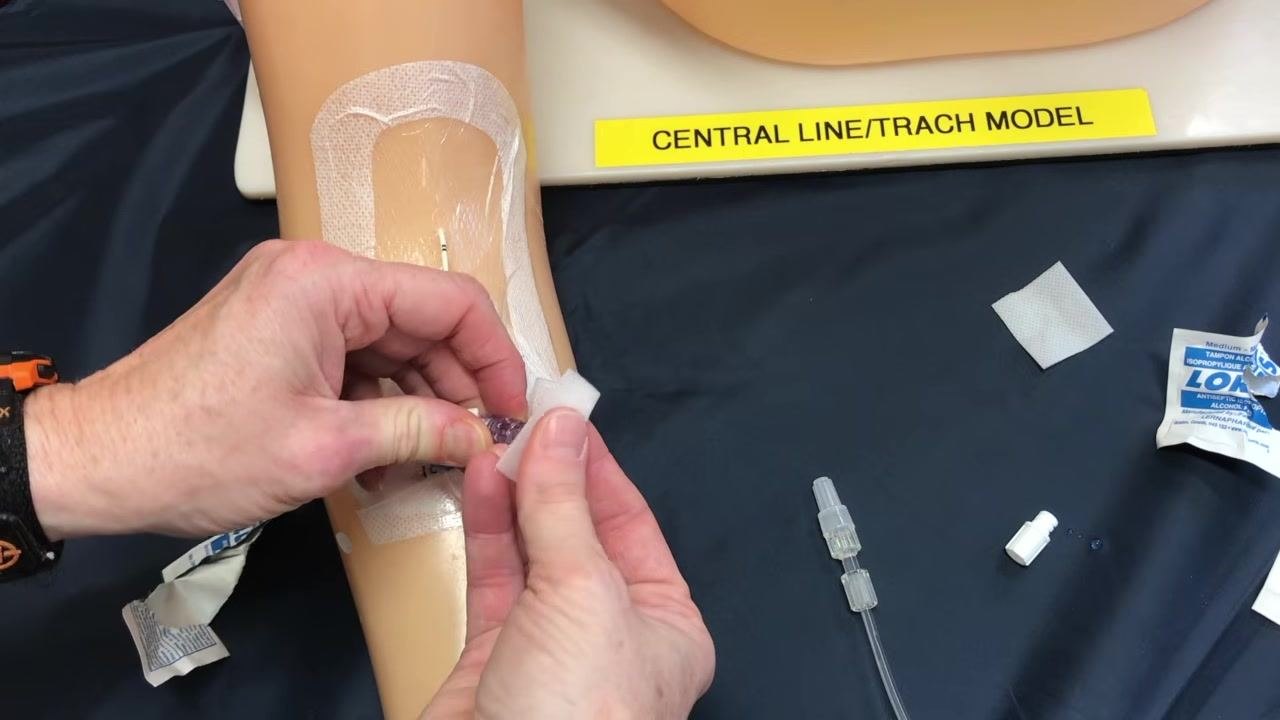
Phase 3: Administering medication through the PICC line
-
Re-cleanse the hub. Using a new alcohol or chlorhexidine swab, scrub all hub surfaces for at least 15 seconds with friction, then allow the hub to air dry completely.
-
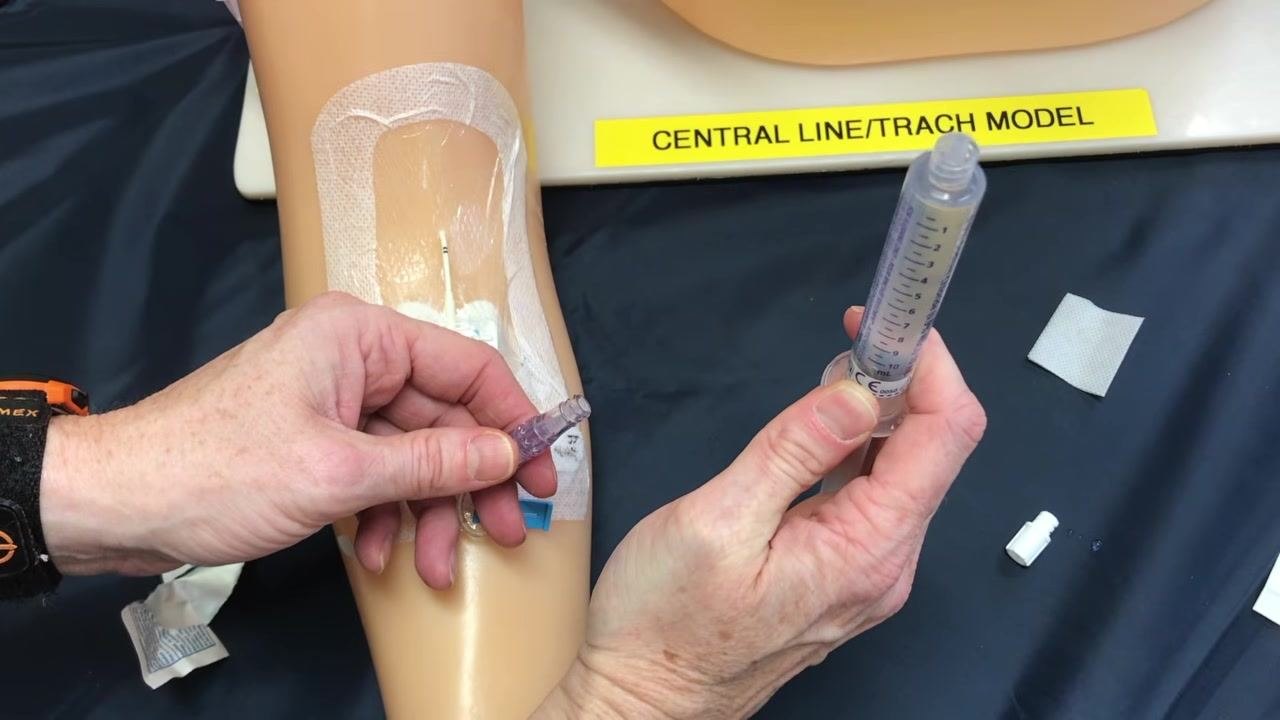
Attach the medication or infusion line. Connect the prepared medication syringe or infusion line to the neutral cap using a push-and-twist motion for a secure connection.
-
Start and monitor the infusion. Unclamp the line to allow medication or fluids to infuse, and monitor to confirm it is running smoothly.
-
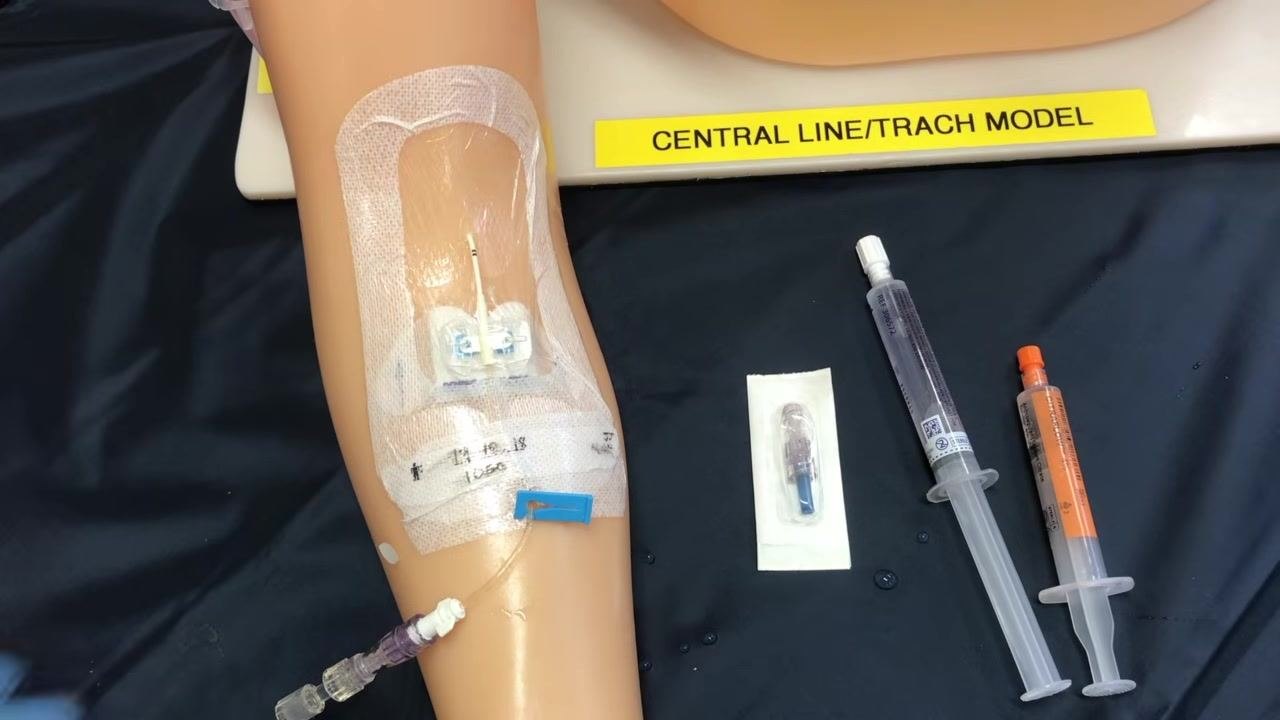
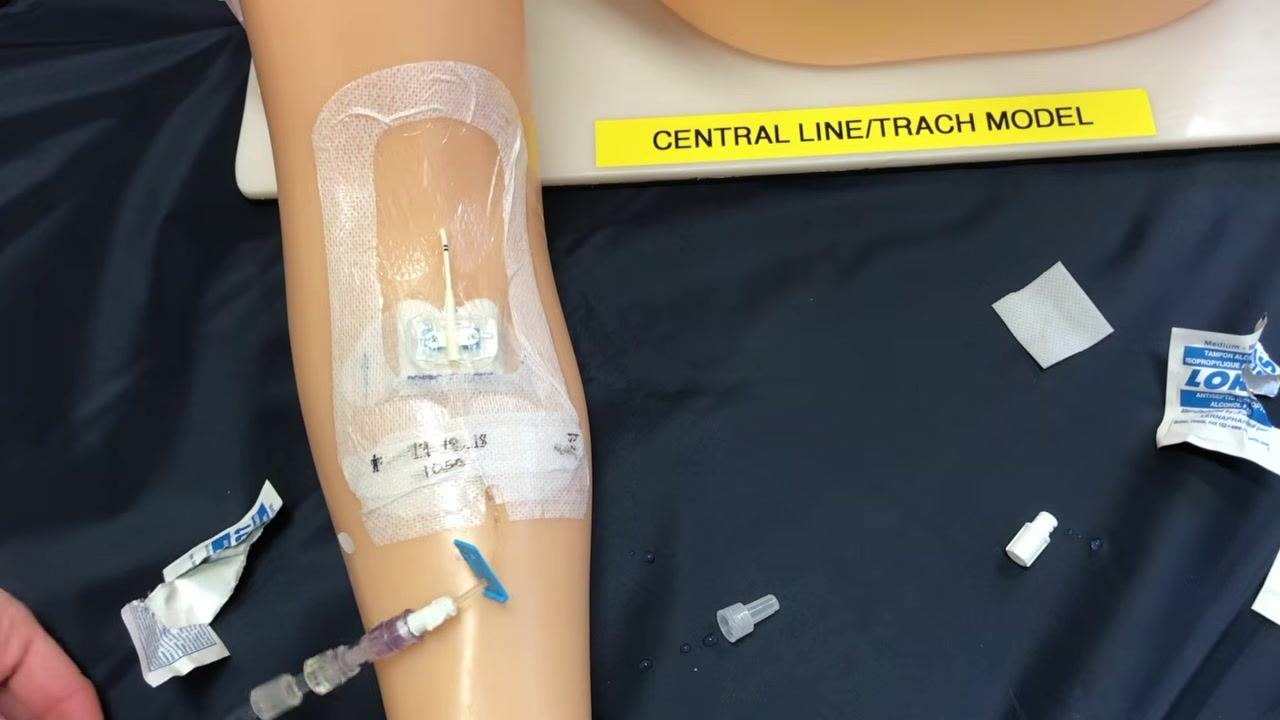
Secure the line. Tape the PICC line and tubing to the patient's arm to prevent the line from dangling or being pulled accidentally.
Phase 4: Second saline flush and cap change
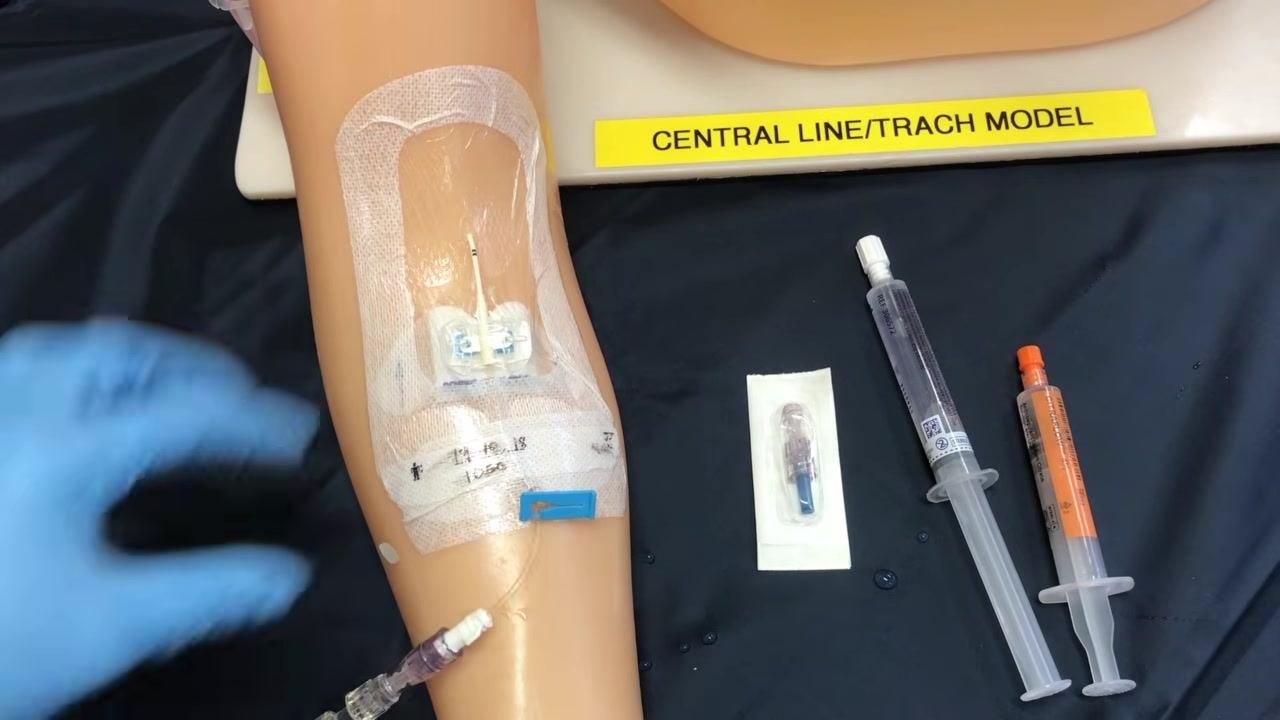
- Gather supplies for the second flush and lock. Collect a new sterile cap, a saline flush syringe (typically 10 mL), and a sodium citrate or heparin syringe per your facility's locking protocol. Cap changes are performed every 96 hours, after blood draws, or whenever the cap appears contaminated; if a change is not needed, proceed without changing the cap.
-
Follow the SASS sequence. After the first saline flush and medication administration, perform a second saline flush followed by the sodium citrate or heparin lock.
-
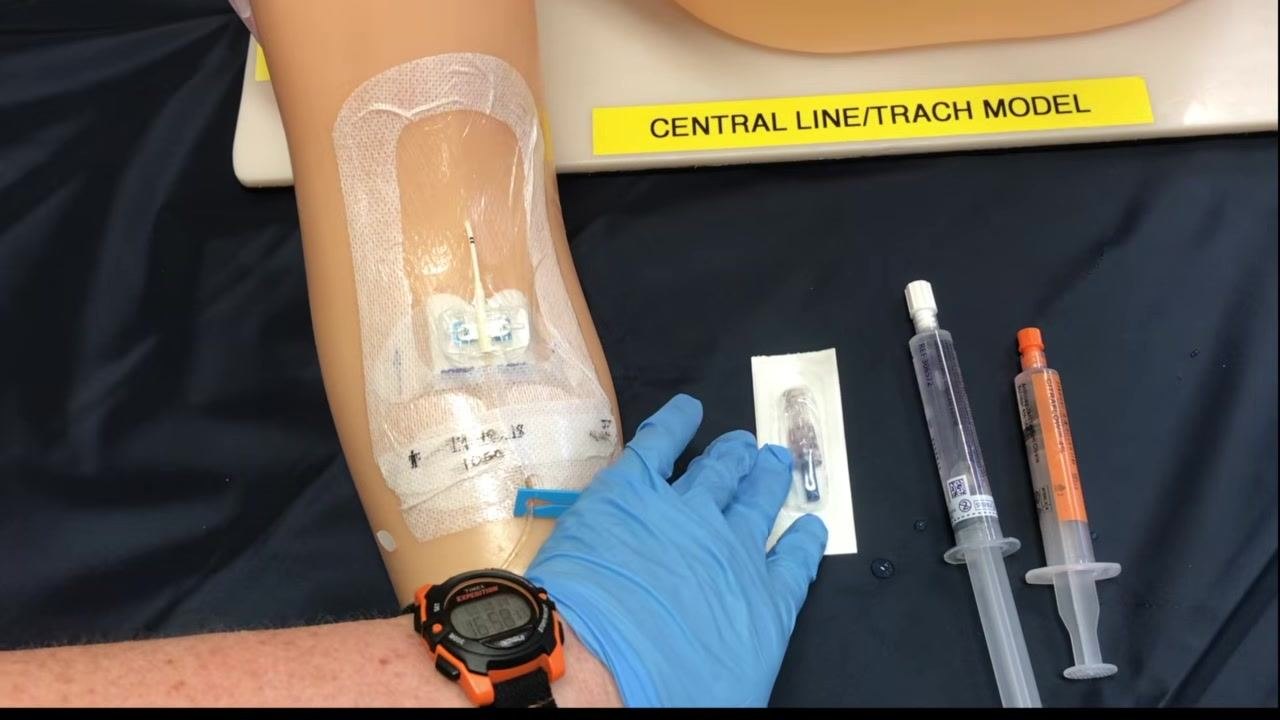
Stage supplies for the cap change. Place the new sterile cap and the saline and sodium citrate (or heparin) syringes within reach, keeping all items sterile until use.
-
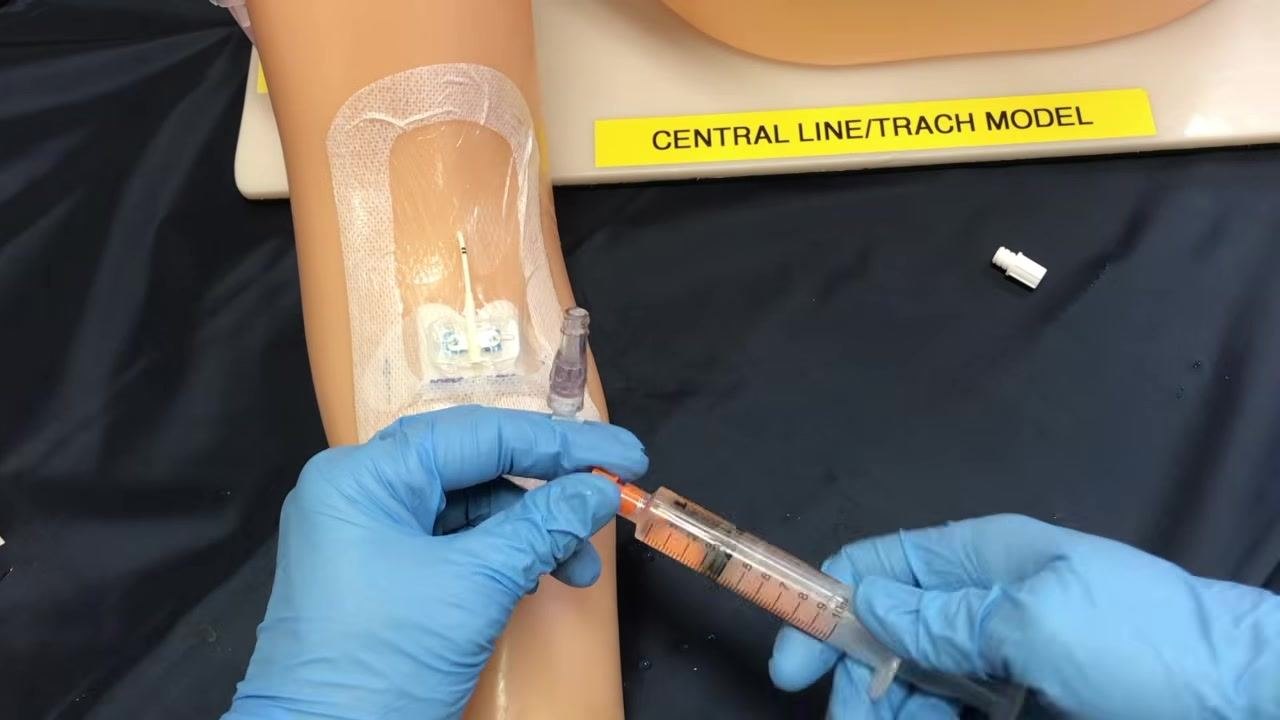
Prime the new cap. Remove the cap from its sterile packaging and attach the saline syringe, maintaining sterile tip-to-tip contact. Gently push saline through the cap until it is fully primed and free of air.
-
Complete the priming. Continue gently pushing the plunger until saline flows through the cap with no remaining air.
-
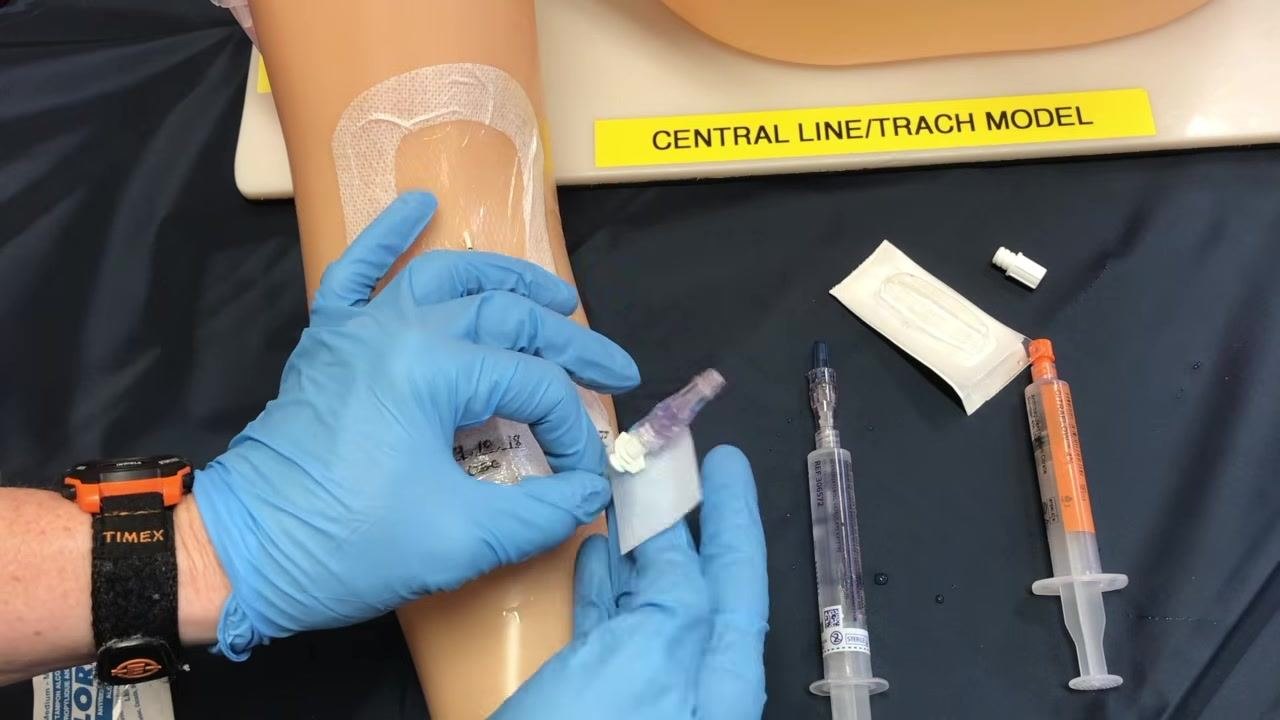
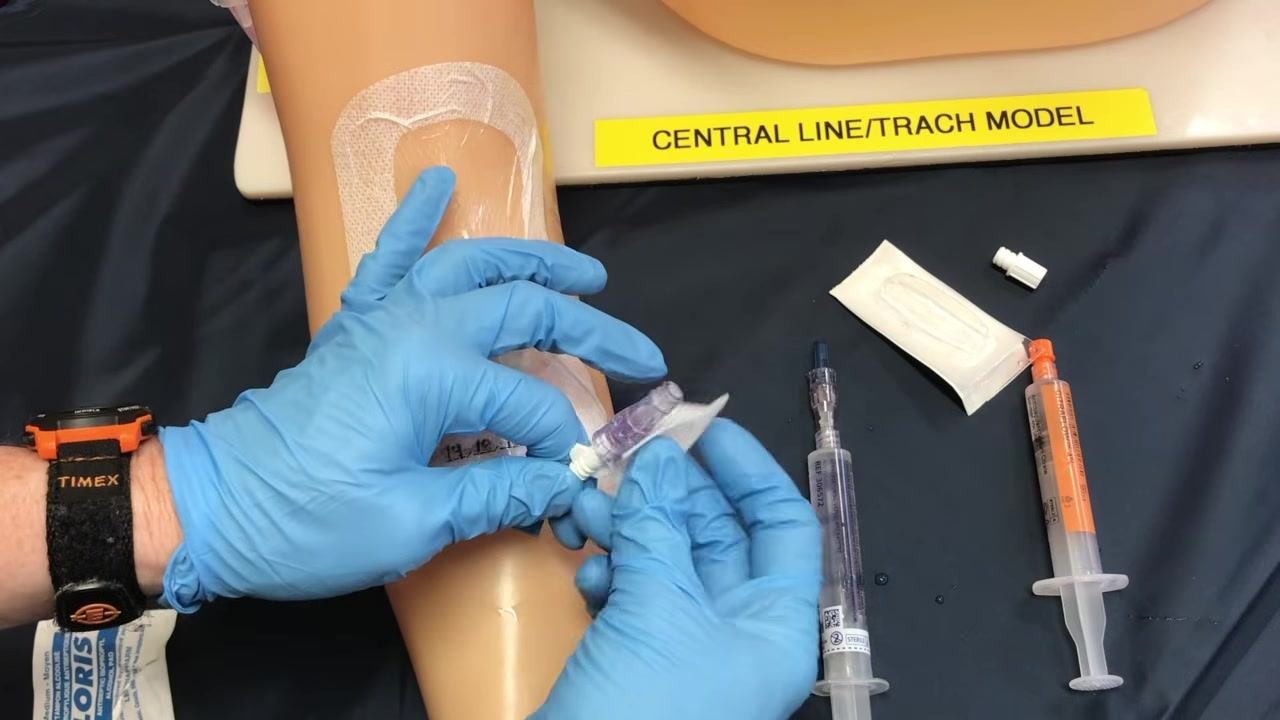
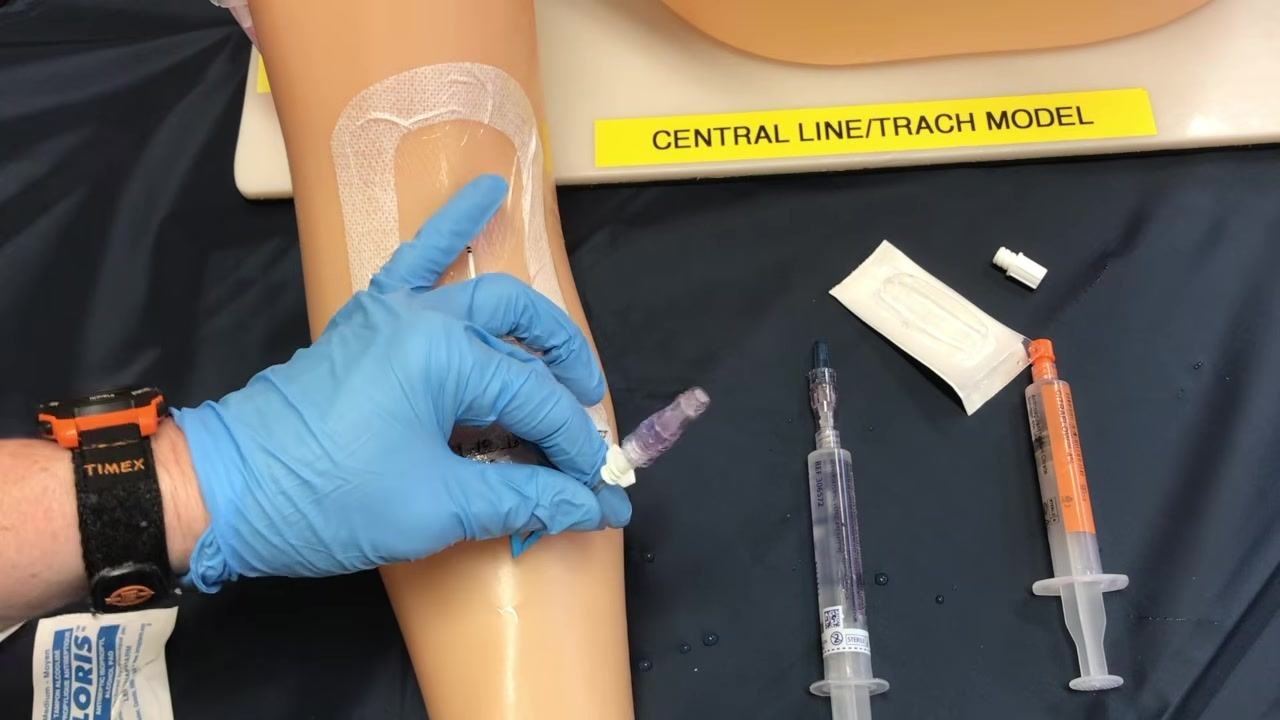
Cleanse the catheter connection site. Using a new swab, scrub the area where the old cap connects to the catheter for at least 15 seconds, focusing on the lower area where the cap will detach.
-
Continue cleansing and allow the site to air dry. Keep scrubbing until the area is thoroughly clean, then wait for it to dry before proceeding.
-
Allow the site to fully air dry. Do not touch the cleansed area while it dries; this step is critical for antiseptic effect and infection prevention. Use this time to gather the next set of supplies.
Phase 5: Locking and securing the PICC line
- Prepare to lock the line. Confirm patency was checked prior to medication administration, and gather sterile gloves, a saline syringe, a locking solution syringe (e.g., sodium citrate), alcohol swabs, and a sterile cap. Confirm the field is clean and all equipment is within reach.
-
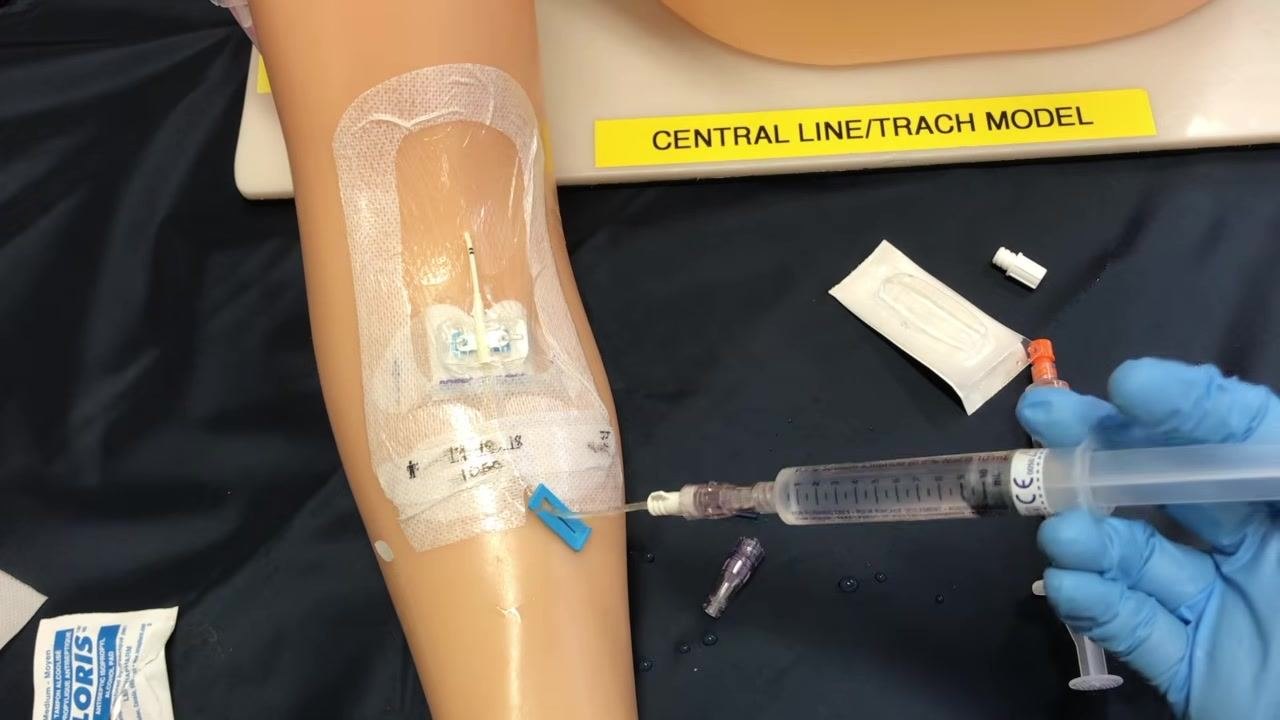
Administer medication using pulsating pressure. Attach the medication syringe to the extension set and deliver the medication with a push-pause technique to promote patency. Watch for resistance or complications.
-
Clamp the line during the final milliliter. As you reach the last 1 mL of medication or flush, clamp the extension set while still administering the final portion of fluid to maintain positive pressure and prevent blood reflux.
-
Remove the syringe and prepare for locking. Detach the syringe, keeping the line clamped to prevent air entry or blood reflux, and set aside the used syringe.
-
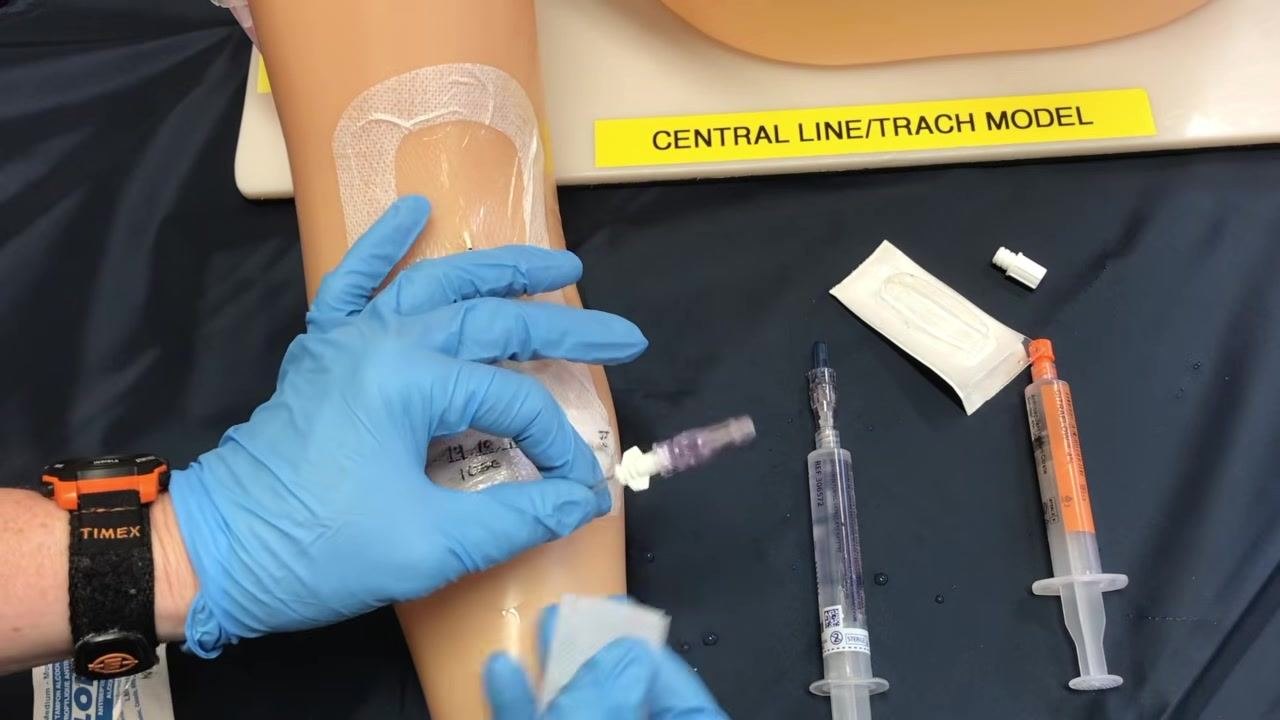
Disinfect the cap. Scrub the access cap with an alcohol swab for at least 15 seconds and allow it to dry completely before proceeding.
-
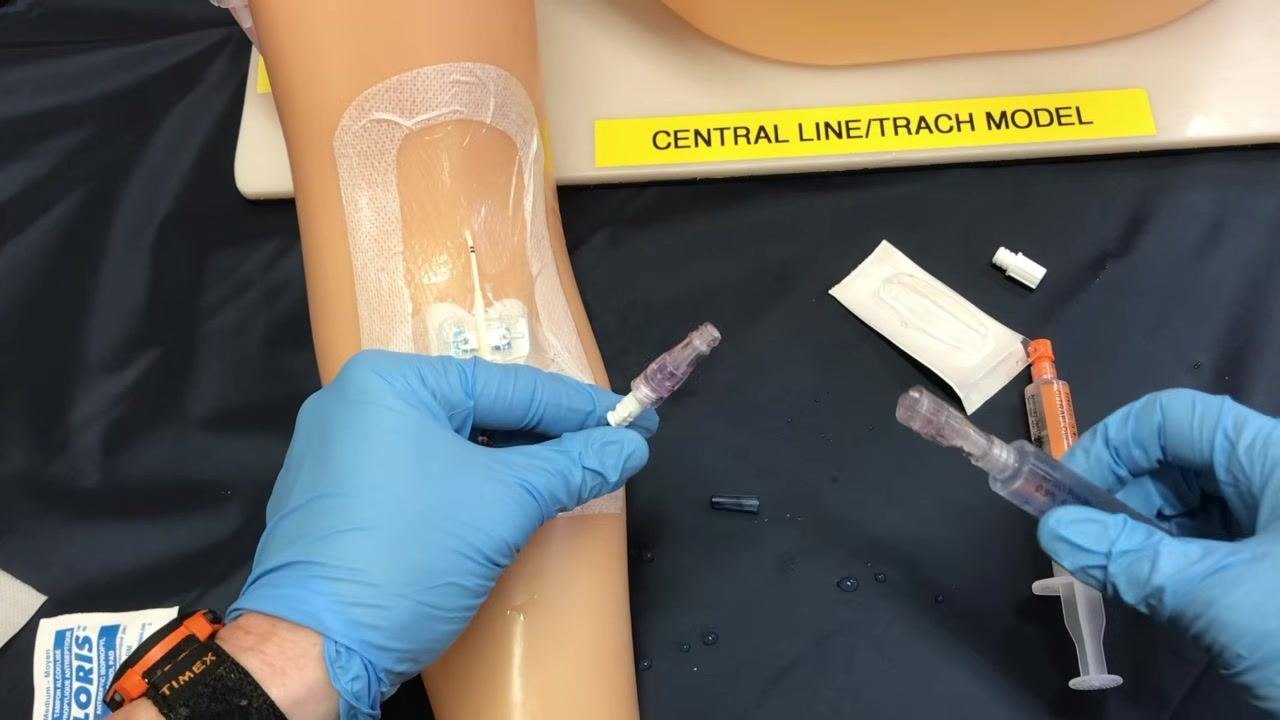
Attach the locking solution syringe. Maintain sterile technique by touching only sterile surfaces, then attach the locking solution syringe (labeled CITRAFLOW™ 4% in this example) to the disinfected cap, inserting and turning it to secure the connection.
-
Infuse the locking solution and finalize the lock. Slowly infuse the solution, using a pulsating technique if recommended. As you reach the last 1 mL, clamp the line to lock it under positive pressure, then remove the syringe while keeping the line clamped.
If sterility is compromised at any point during this procedure, replace the affected supplies and repeat the cleansing step before continuing.
Pain management
This source does not describe an analgesic or pain management plan; it addresses only the saline flush and sodium citrate/heparin locking solutions used to maintain line patency, as detailed in the Care Protocol above. For pain assessment and analgesic dosing, refer to your facility's separate pain management protocol.
Mobility milestones
Progressive mobility goals and timelines are not addressed in this procedure, as it focuses solely on PICC line access, flushing, and locking technique.
Complication monitoring
Watch for the following signs and respond as indicated:
- Resistance or the need to force fluid during a flush — stop and troubleshoot for a positional or partially clotted line
- Absence of blood return after the initial 2 mL saline flush — stop and troubleshoot before proceeding
- Compromised sterility during hub or cap cleansing — replace supplies and repeat the cleansing step
- Cap appears contaminated, or 96 hours have passed since the last change, or a blood draw has occurred — perform a cap change
If you cannot confirm patency or resolve resistance, stop the procedure and follow your facility's guidelines and manufacturer instructions. This source does not specify named escalation contacts; direct escalation to your institution's designated line per its own protocol.
Discharge criteria
This procedure does not include discharge criteria, as it covers PICC line access and locking technique rather than a full episode of care.
Patient education
This source does not include patient or family teaching content; it is written for clinical staff performing the access, flush, and locking technique. Patient-facing education materials should be developed separately according to your facility's standards.
What's next
Once the line is locked, document the procedure, including patency confirmation, medication administered, and the locking solution used, per your institution's charting requirements. Continue routine patency checks at least every 24 hours if the line remains unaccessed, and follow your facility's schedule for cap changes and dressing care. Always confirm any product-specific steps against the manufacturer's instructions for the PICC line, cap, and locking solution in use.

Generation details: cost, quality tiers, downloads
Docsie billed 3,500 credits ($2.45) to analyze this 7-minute video at standard quality. The rewrite, template fill and Word/PDF exports were included. The same video at each quality tier:
| Quality | Frames sampled | Credits | Approx. cost |
|---|---|---|---|
| Draft | every 16-30 s | 1,750 | $1.22 |
| Standard (this guide) | every 8-15 s | 3,500 | $2.45 |
| Detailed | every 4-7 s | 7,000 | $4.90 |
| Ultra | every 1-3 s | 14,000 | $9.80 |
Credits priced at $0.70 per 1,000; plans include a monthly allowance. Enterprise customers on on-premise or bring-your-own-model deployments run this on their own inference and pay no per-video credits.
Generated by Docsie Video-to-Docs on 2026-09-20 from a 6-minute video. It was generated straight into Docsie's Patient Care Procedure template, so every section of that template is filled from the video. Screenshots are frames from the source video and belong to their creator, NurseMinder, whose original is embedded above. If you own this video and want the guide removed or credited differently, contact us and we will act within one business day.