
How to Draw Up Medication from a Vial
This procedure describes how to draw up medication from a vial and administer it as a subcutaneous injection, using heparin as the reference medication. It covers hand hygiene, vial preparation, aseptic drawing technique, injection administration, and safe disposal, so that the medication is prepared and given without contamination or needle-stick risk.
Video: How To Draw Up Medication From A Vial » Nursing School » Medication Administration by NurseInTheMaking (2024). All credit for the demonstration goes to the creator; watch the original on YouTube. The written guide below was generated from this video by Docsie. Creator? Request a change or removal.
This procedure describes how to draw up medication from a vial and administer it as a subcutaneous injection, using heparin as the reference medication. It covers hand hygiene, vial preparation, aseptic drawing technique, injection administration, and safe disposal, so that the medication is prepared and given without contamination or needle-stick risk.
Formulation summary
- Drug name: Heparin (or other medication as prescribed).
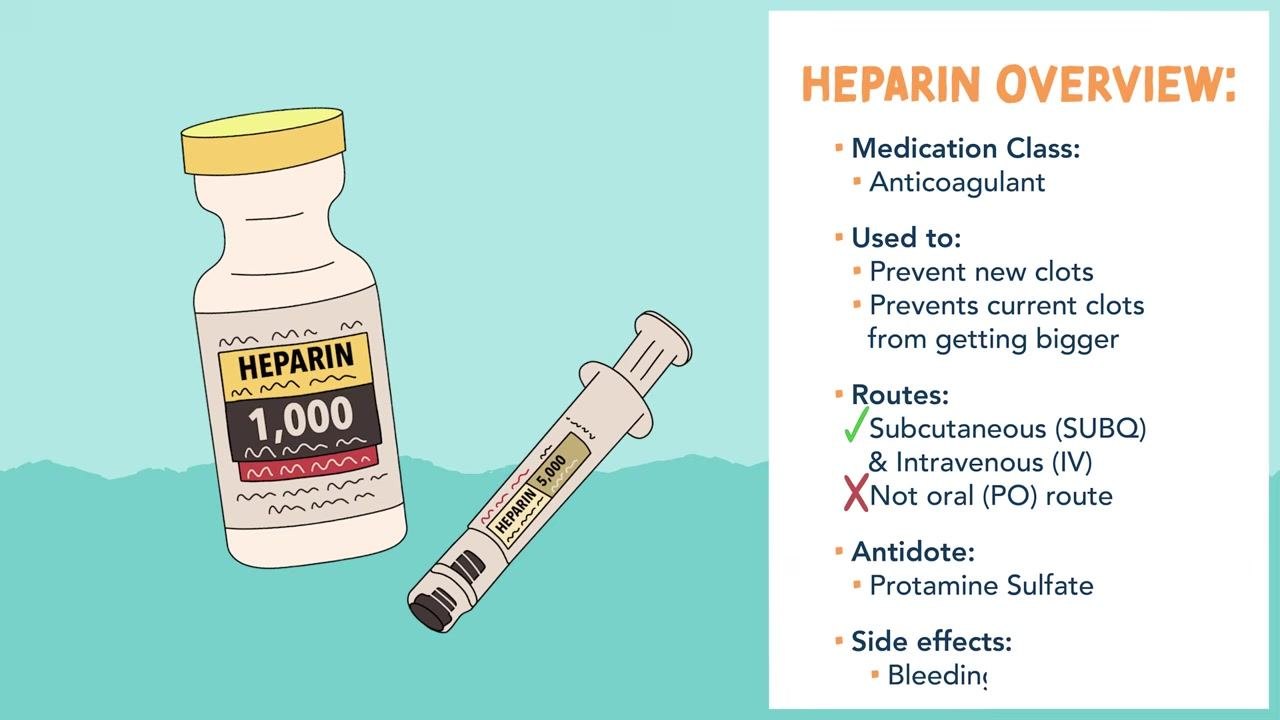
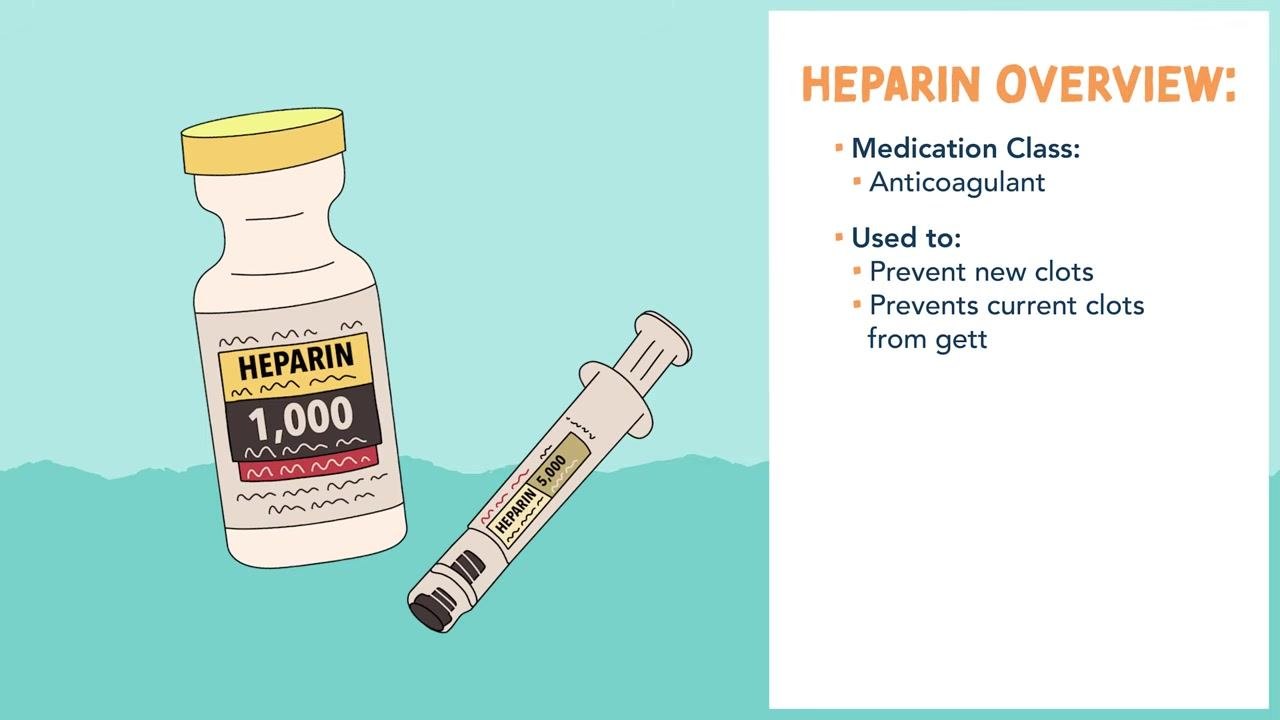
- Medication class: Anticoagulant, used to prevent new blood clots from forming and to prevent existing clots from getting bigger.
- Dosage form: Injectable solution supplied in a vial.
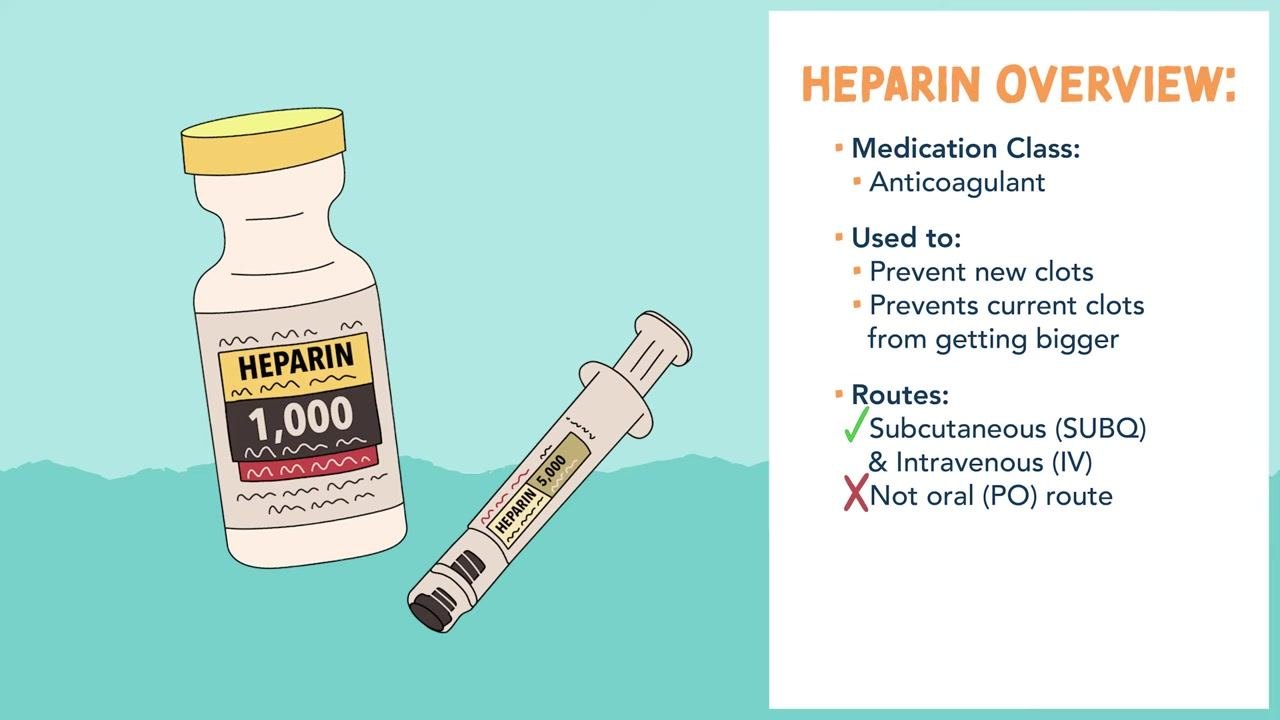
- Route of administration: Subcutaneous (SUBQ) or intravenous (IV) injection. Heparin is not given orally (PO), because it is inactivated by gastric acids in the stomach.
- Volume/quantity to prepare: The volume drawn from the vial equals the ordered dose, measured in units, and should match the volume of air injected into the vial beforehand.
Ingredients & equipment
Gather the following items and place them on a clean, flat surface before beginning:
| Item | Quantity | Grade/specification | NDC/lot number | Supplier |
|---|---|---|---|---|
| Alcohol prep pads | As needed (individually packaged) | Sterile, single-use | Not specified in procedure — record per facility policy | Not specified in procedure — record per facility policy |
| Sterile syringe with needle | 1 per dose | 25-gauge, 5/8 inch, 3 mL (e.g., BD Eclipse) | Not specified in procedure — record per facility policy | Not specified in procedure — record per facility policy |
| Heparin vial (or prescribed medication) | 1 vial | Per prescriber order; verify label, strength, and expiration date | Not specified in procedure — record per facility policy | Not specified in procedure — record per facility policy |
| Clean gloves | 2 pairs (one set for preparation, one fresh set for injection) | Non-sterile exam gloves | Not applicable | Not specified in procedure — record per facility policy |
| Sharps container | 1 | Facility-approved sharps disposal container | Not applicable | Not specified in procedure — record per facility policy |
Note: The source procedure does not specify NDC numbers, lot numbers, or suppliers. Record these details on the vial label and dispensing documentation according to your facility's labeling and traceability requirements.
Compounding procedure
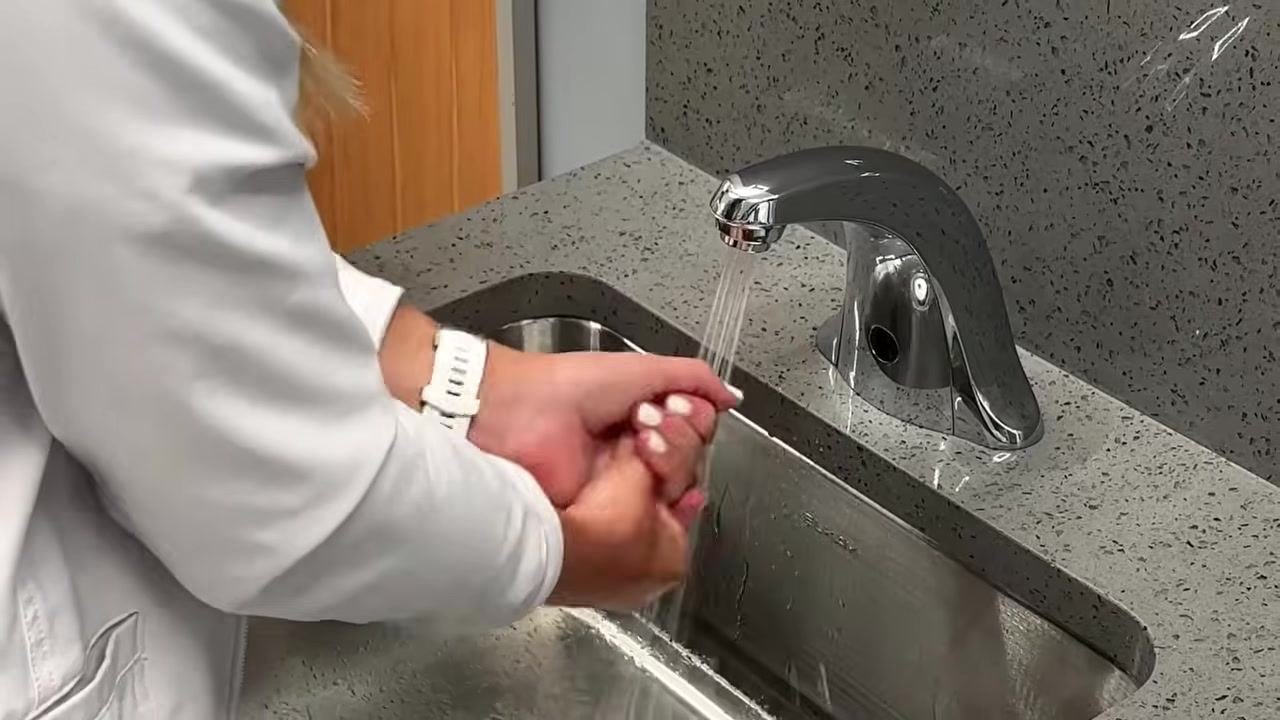
Step 1: Perform hand hygiene
Wash your hands thoroughly with soap and water at a sink before starting the procedure. Ensure all surfaces of your hands are cleaned to reduce the risk of contamination.
Step 2: Verify the medication
Check the medication label, strength, and expiration date on the vial before proceeding.
Step 3: Prepare the vial
Remove the protective cap from the medication vial. Open an alcohol prep pad and use it to thoroughly clean the rubber stopper on top of the vial. This step is essential to prevent contamination.
⚠️ Critical step: Always disinfect the rubber stopper before inserting the needle to maintain aseptic technique.
Step 4: Prepare the syringe and needle
Uncap the sterile needle from the syringe. Do not touch the needle at any point, to maintain sterility.
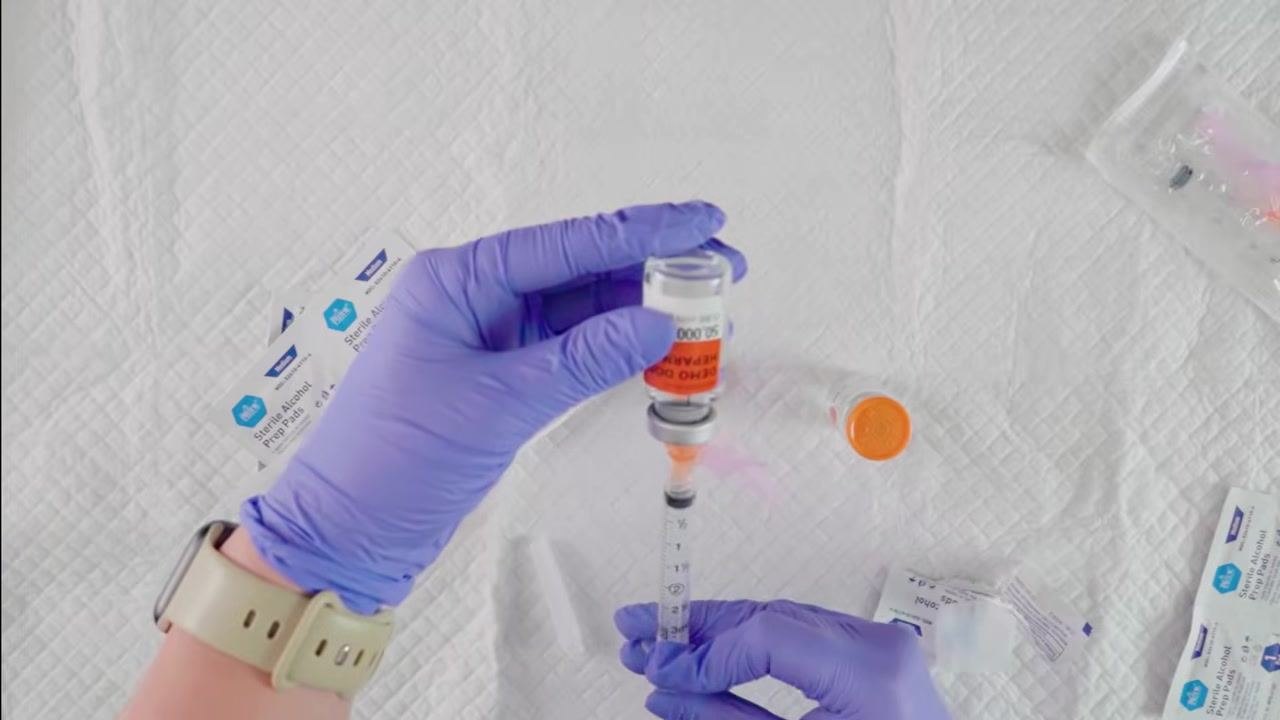
Step 5: Draw air into the syringe
Pull back the plunger to draw air into the syringe equal to the volume of medication you will withdraw from the vial, as ordered.
Step 6: Insert the needle and inject air
Insert the needle through the rubber stopper of the vial. Inject the air from the syringe into the vial by pushing the plunger in. This equalizes pressure and makes it easier to withdraw the medication.
Step 7: Draw up medication from the vial
With the needle still in the vial, turn the vial upside down and ensure the needle tip is submerged in the liquid medication. Slowly pull back on the plunger to draw up the ordered volume, in units, of medication.
Step 8: Check for air bubbles
Inspect the syringe for air bubbles. If bubbles are present, gently tap the syringe to move them to the top, then push the plunger slightly to expel the air without losing medication.
Step 9: Remove and recap the needle
Remove the needle from the vial. Inspect the needle for bends or damage; replace it with a new sterile needle if it appears bent. Carefully recap the needle using the "swoop" method to avoid accidental needle sticks.
⚠️ Safety note: Use the swoop method rather than a two-handed recap to reduce the risk of an accidental needle-stick injury.
Step 10: Prepare for injection
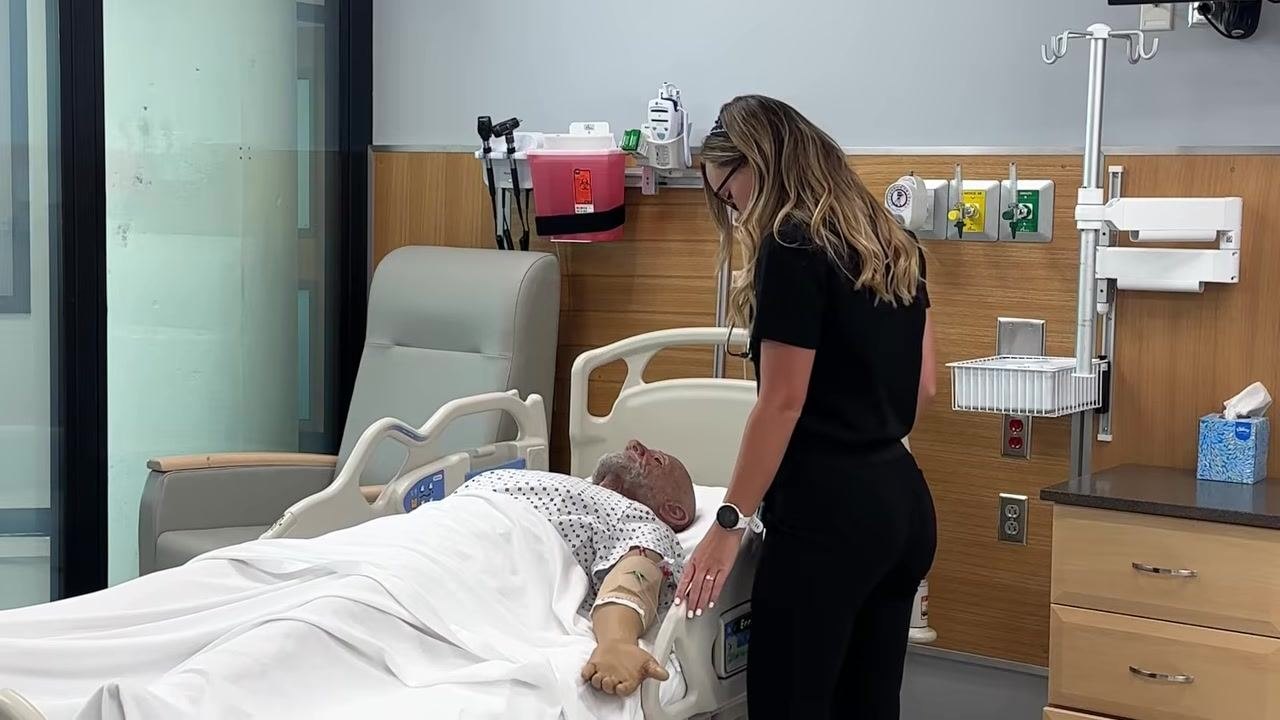
Review the patient's chart or records to determine where the last injection was given, and rotate injection sites as appropriate to prevent tissue damage.
Step 11: Perform hand hygiene again and don gloves
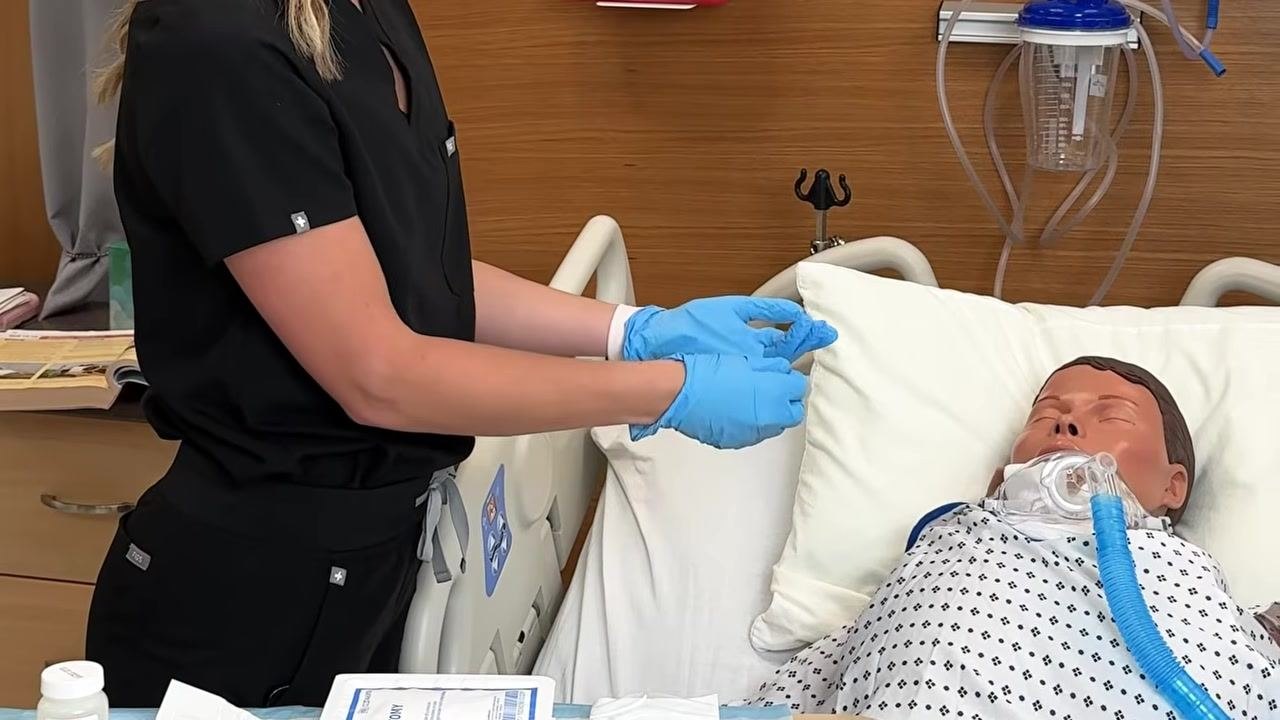
Wash your hands again before proceeding to the injection, then put on a new pair of clean gloves.
Step 12: Clean the injection site
Use a new alcohol prep pad to clean the selected injection site on the patient. Allow the area to air dry completely before administering the injection.
Step 13: Administer the injection
Hold the syringe at the appropriate angle for a subcutaneous injection, typically 45 or 90 degrees as per protocol. Push the needle all the way into the skin at the selected site, then inject the medication slowly and steadily until the entire dose is delivered.
Step 14: Withdraw the needle and activate the safety shield
Remove the needle from the skin at the same angle it was inserted. Immediately activate the safety feature on the needle, such as pushing the safety shield over it, to prevent accidental needle sticks.
Step 15: Dispose of the syringe properly
Place the used syringe and needle directly into a designated sharps container without recapping, if possible, to ensure safe disposal.
⚠️ Critical step: Never attempt to recap a used needle by hand after injection; dispose of it directly into a sharps container.
Quality control checks
- Verify the medication label, strength, and expiration date on the vial before drawing up the dose.
- Confirm the drawn volume matches the ordered dose in units.
- Inspect the syringe for air bubbles and expel any before administration, without losing medication.
- Inspect the needle for bends or damage after withdrawal from the vial; replace if damaged.
- Confirm the injection site has been rotated appropriately based on the patient's chart, to prevent tissue damage.
- Be aware of heparin's antidote and primary side effect as part of ongoing patient monitoring: the reversal agent is protamine sulfate, and the primary side effect is bleeding.
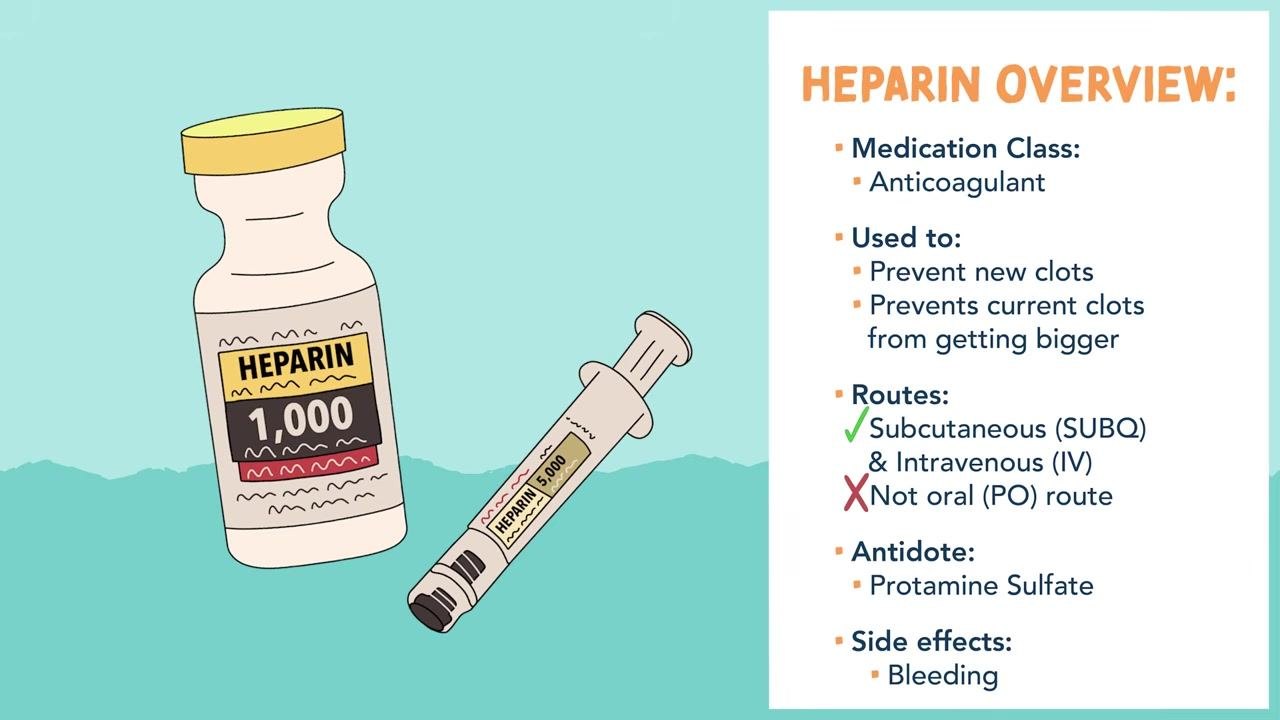
⚠️ Safety note: Monitor patients receiving heparin for signs of bleeding, and be prepared to reference protamine sulfate as the reversal agent if needed.
Labeling requirements
The procedure describes verifying the existing manufacturer label on the medication vial, confirming the drug name, strength, and expiration date before use. It does not describe preparing a new compounded-product label; if your facility requires a syringe label prior to administration, apply it according to your facility's labeling policy and state board requirements.
Beyond-use dating
The procedure does not specify a beyond-use date (BUD) for the drawn-up dose. Assign a BUD according to your facility's policy and USP guidance for the specific drug and preparation conditions, and administer the dose promptly after drawing it up.
Storage & handling
The procedure does not describe storage temperature or light-sensitivity requirements for the vial. After use, dispose of the syringe and needle immediately into a designated sharps container without recapping, if possible, to ensure safe handling.
References
The procedure does not cite specific USP chapters or formulary references. The following heparin medication overview is provided as clinical reference based on the content covered:
- Medication class: Anticoagulant.
- Uses: Prevent new blood clots from forming; prevent existing clots from getting bigger.
- Approved routes: Subcutaneous (SUBQ) and intravenous (IV); not administered orally (PO), as it is inactivated by gastric acids.
- Antidote: Protamine sulfate.
- Primary side effect: Bleeding.
Consult your facility's protocols and applicable USP standards for aseptic technique and injection safety requirements beyond what is captured here.
What's next
Continue with the injection procedure according to your facility's protocol, ensuring all safety and aseptic techniques are followed for each patient encounter. Document the administered dose, injection site, and any observations per your facility's charting requirements.
Generation details: cost, quality tiers, downloads
Docsie billed 1,500 credits ($1.05) to analyze this 3-minute video at standard quality. The rewrite, template fill and Word/PDF exports were included. The same video at each quality tier:
| Quality | Frames sampled | Credits | Approx. cost |
|---|---|---|---|
| Draft | every 16-30 s | 750 | $0.52 |
| Standard (this guide) | every 8-15 s | 1,500 | $1.05 |
| Detailed | every 4-7 s | 3,000 | $2.10 |
| Ultra | every 1-3 s | 6,000 | $4.20 |
Credits priced at $0.70 per 1,000; plans include a monthly allowance. Enterprise customers on on-premise or bring-your-own-model deployments run this on their own inference and pay no per-video credits.
Generated by Docsie Video-to-Docs on 2026-09-20 from a 2-minute video. It was generated straight into Docsie's Pharmacy Compounding Procedure template, so every section of that template is filled from the video. Screenshots are frames from the source video and belong to their creator, NurseInTheMaking, whose original is embedded above. If you own this video and want the guide removed or credited differently, contact us and we will act within one business day.