
How to Drain a Pleurx Catheter
This procedure explains how to drain a PleurX catheter safely and consistently, whether the catheter is placed in the chest or the abdomen. It reinforces the training already provided by a healthcare professional and is intended to be followed every time a drainage session is performed at home, with or without the assistance of a caregiver.
Video: Pleurx Catheter Drain Home Training Program For Home Health in Dallas Texas by Iron Fist (2017). All credit for the demonstration goes to the creator; watch the original on YouTube. The written guide below was generated from this video by Docsie. Creator? Request a change or removal.
This procedure explains how to drain a PleurX catheter safely and consistently, whether the catheter is placed in the chest or the abdomen. It reinforces the training already provided by a healthcare professional and is intended to be followed every time a drainage session is performed at home, with or without the assistance of a caregiver.
Purpose & Scope
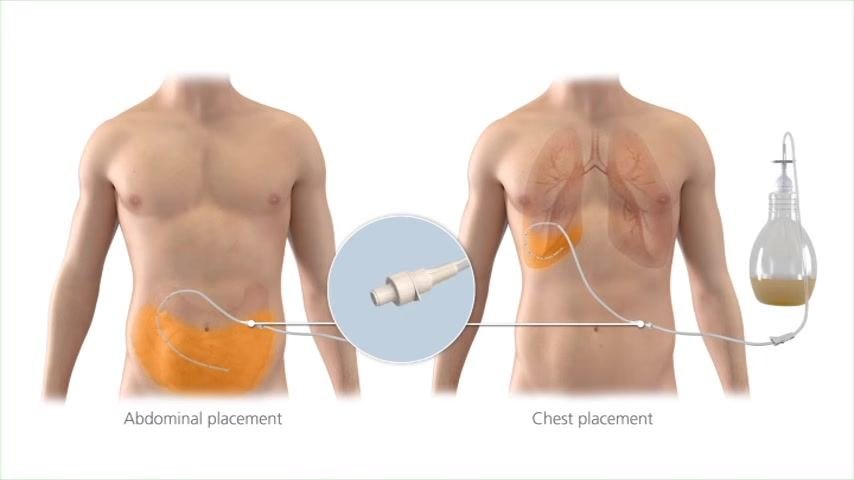
Clinical context: The PleurX drainage system is used to manage recurrent fluid buildup (pleural or peritoneal) by allowing the patient or a caregiver to drain fluid through an indwelling catheter before symptoms become uncomfortable. The system is designed for ease of use and straightforward, repeatable operation.
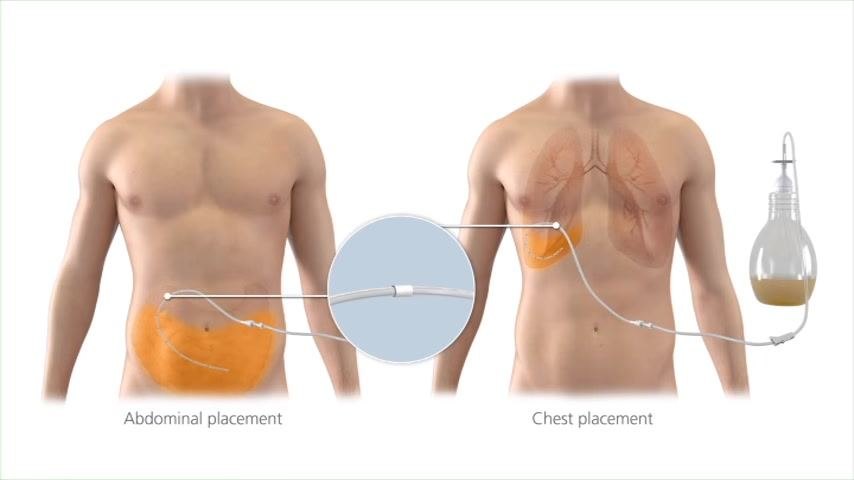
Patient population: Patients with a PleurX catheter placed in either the chest or the abdomen. The drainage procedure and the precautions are the same regardless of catheter location.
Care setting: This procedure is performed in the home setting by the patient, with optional support from a family member or caregiver. It supplements — but does not replace — the instructions for use included with each drainage kit and the training provided by the treating doctor or nurse.
Catheter anatomy relevant to this procedure: - The internal portion of the catheter sits inside the body and has holes that allow fluid to enter. - A white cuff located mid-catheter is part of the internal section and should never be visible outside the body. - The external end of the catheter remains outside the body and connects to the drainage line. - A valve at the external end prevents fluid leakage and blocks air from entering the catheter.
Patient Assessment
Before every drainage session, complete a brief self-assessment of the catheter site and confirm that supplies are intact. The source protocol does not specify a formal vital-sign monitoring schedule or a numeric pain-assessment scale; use the discomfort guidance in the Pain Management section below to judge whether the session should proceed.
Pre-procedure checklist:
| Assessment item | What to check |
|---|---|
| Catheter site | Redness or swelling around the site |
| Catheter site | Any fluid leaking from the site |
| Catheter site | White cuff visible outside the body |
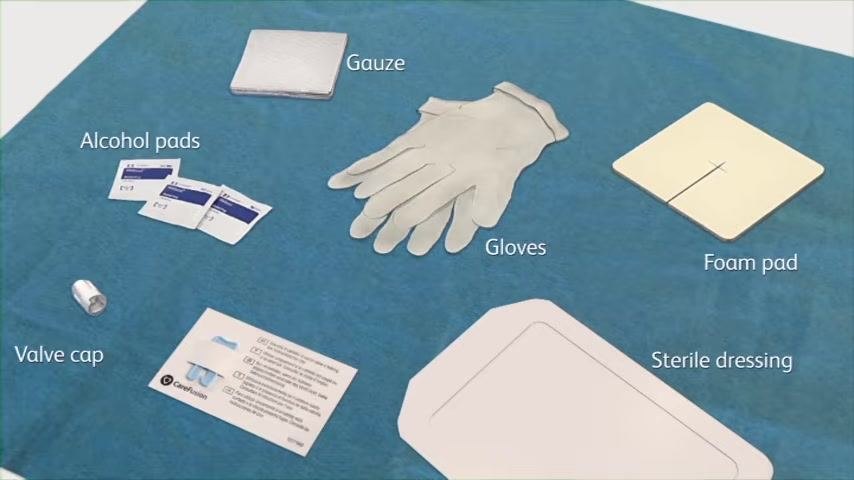
| Kit contents | Sterile gloves, new valve cap, alcohol pads, gauze, foam pad, sterile dressing all present |
| Emergency clamp | Blue emergency slide clamp present in the kit |
| Hand hygiene | Rings removed; hands washed with soap and water for one full minute |
If redness, swelling, leaking fluid, or a visible white cuff is observed, continue with the drainage procedure as instructed, but call the doctor or nurse after the procedure to report what was observed.
Neurovascular checks are not part of this home drainage procedure and are not addressed in this guide; any such checks would be defined separately by the prescribing clinician if clinically indicated.
Care Protocol
The care protocol is organized by phase: preparing for drainage, performing the drainage, and closing out the session. Follow the phases in order every time a drainage is performed.
Phase 1 — Prepare for drainage
-
Confirm the drainage schedule. Drain fluid as directed by the doctor, usually every one to two days. Do not change the frequency or drain more fluid than recommended without consulting the doctor.
-
Review the drainage bottle and line. Identify the drainage bottle and its attached drainage line, which will be connected to the catheter during the procedure. The color of drained fluid may vary from person to person.
-
Review kit contents. Each PleurX drainage kit contains sterile gloves, a new valve cap for the catheter, alcohol pads, gauze, a foam pad, and a sterile dressing.
-
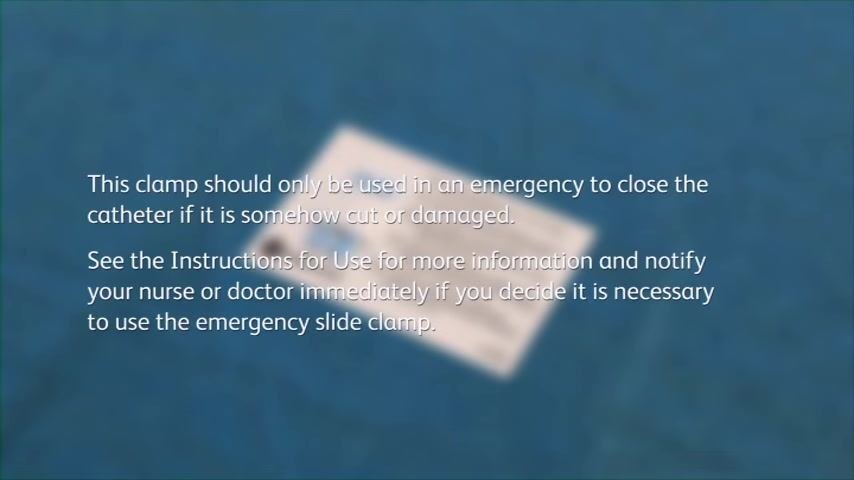
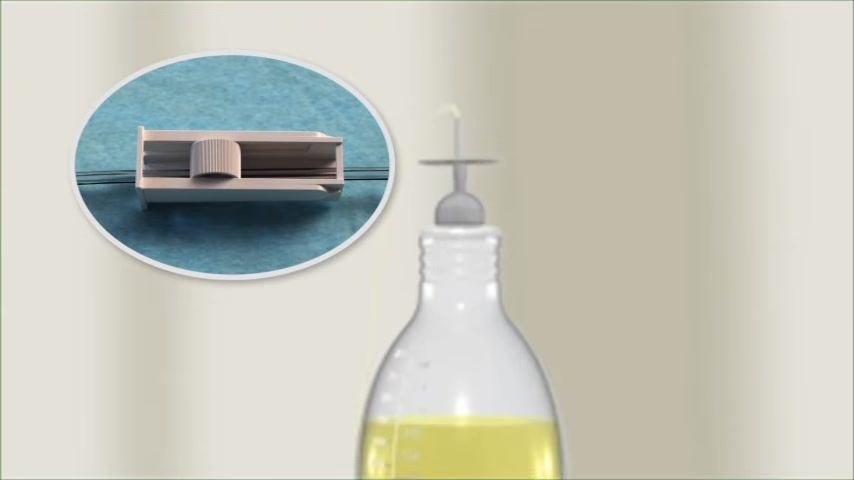
Locate the emergency slide clamp. The kit includes a blue emergency slide clamp for use only if the catheter is cut or damaged. See the instructions for use for details, and notify the nurse or doctor immediately if the clamp is used.
- Wash hands. Remove any rings, wash hands thoroughly with soap and water for a full minute, and dry with clean paper towels — this is required even though gloves will be worn.
-
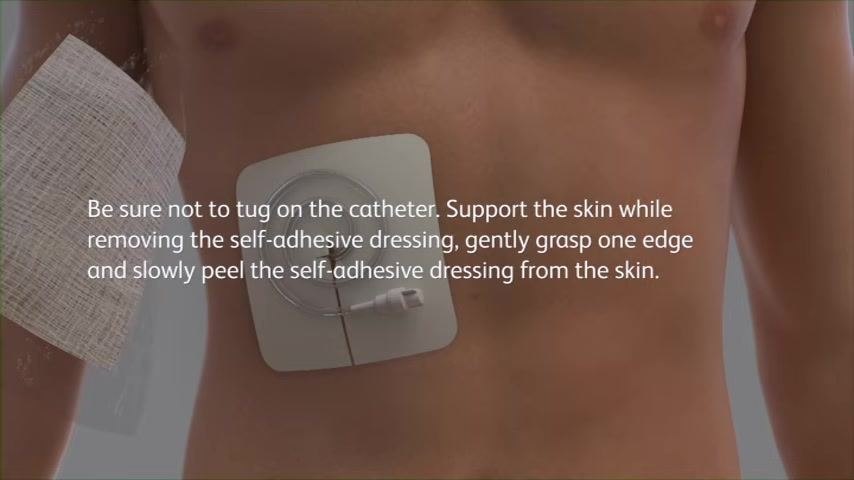
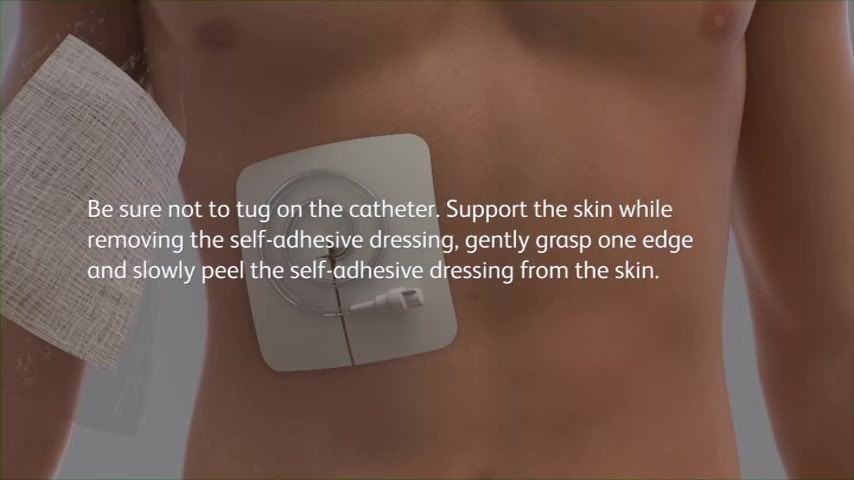
Remove the old dressing. Support the skin, gently grasp one edge, and slowly peel the self-adhesive dressing from the skin without tugging on the catheter.
-
Inspect the site, then wash hands again for a full minute and dry with a clean paper towel.
-
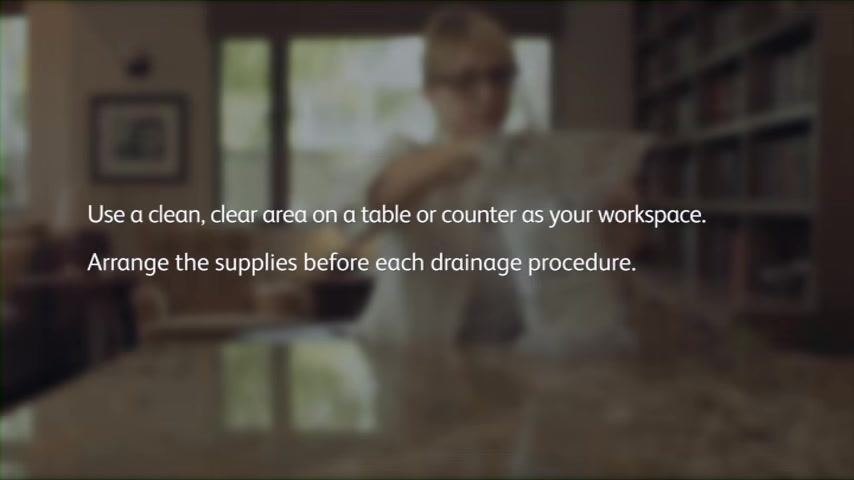
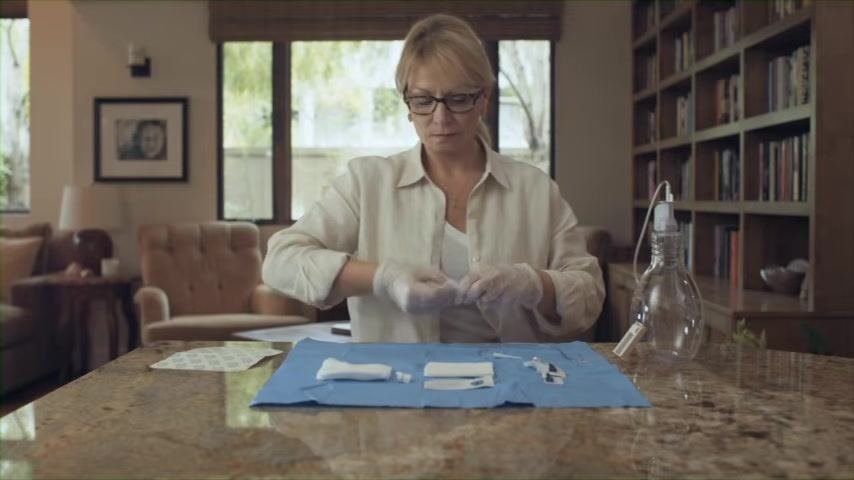
Set up a clean workspace. Use a clean, clear area on a table or counter and remove any unnecessary items.
- Arrange all supplies before beginning: the drainage kit, gloves, alcohol pads, gauze, foam pad, valve cap, sterile dressing, and drainage bottle.
-
Open the drainage kit and procedure pack. Remove the procedure pack, then take out the blue wrapped bundle and the adhesive dressing.
-
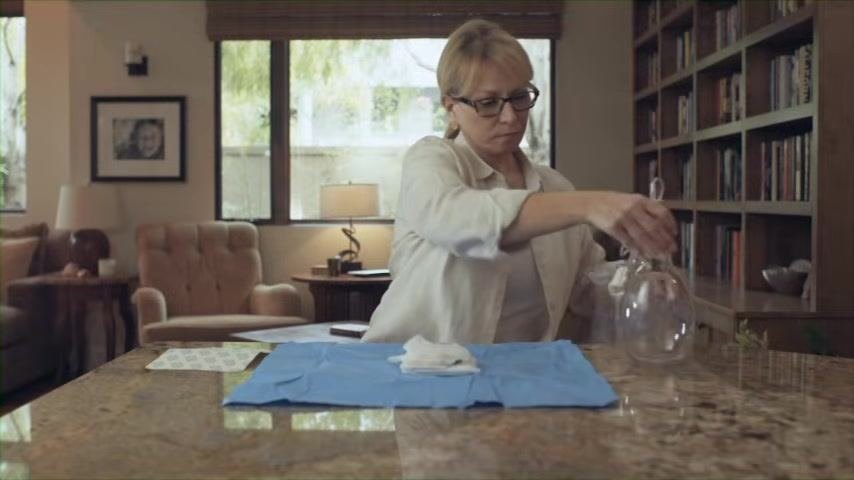
Set up the sterile field. Set the adhesive dressing aside, place the blue wrapped bundle folded-side up, and carefully unfold it by pulling the outer edges. Do not touch the items inside; the inside of the wrap becomes the clean work area.
-
Position the drainage bottle next to the sterile wrapping.
-
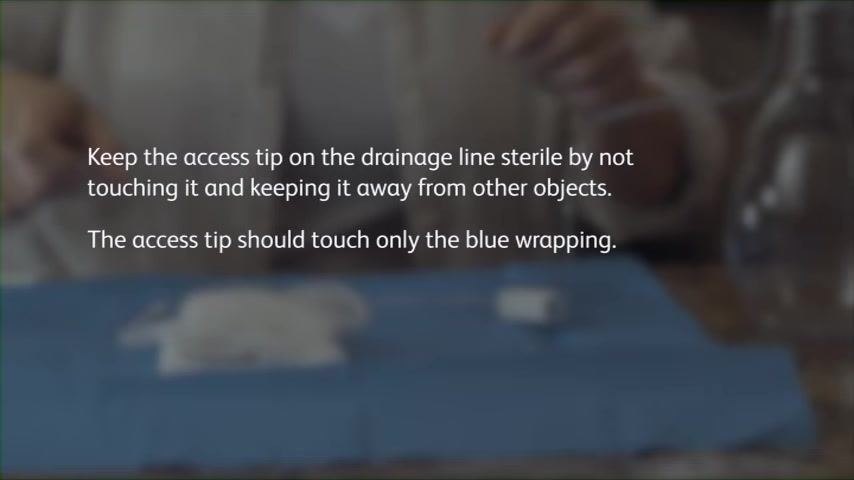
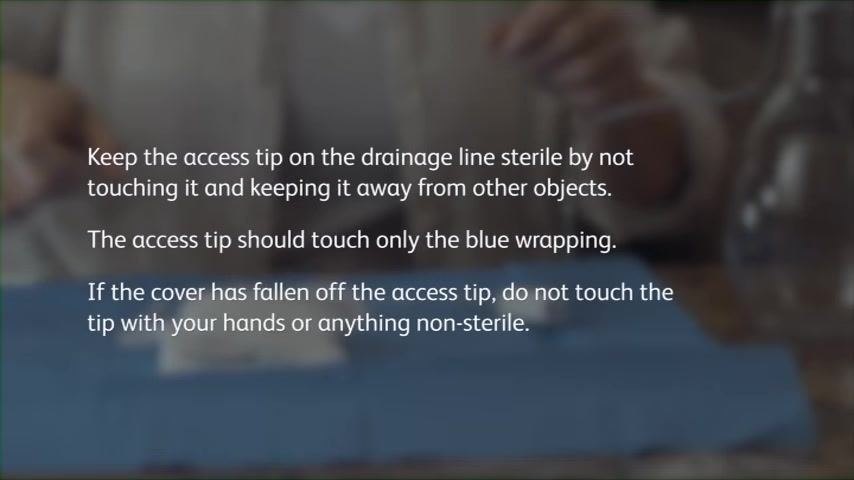
Prepare the access tip. Remove the tape from the drainage line and set the covered access tip on the sterile wrap. Keep it untouched and away from any non-sterile object; it should touch only the blue wrapping. If the cover has fallen off, do not touch the tip with hands or anything non-sterile.
Phase 2 — Connect and drain
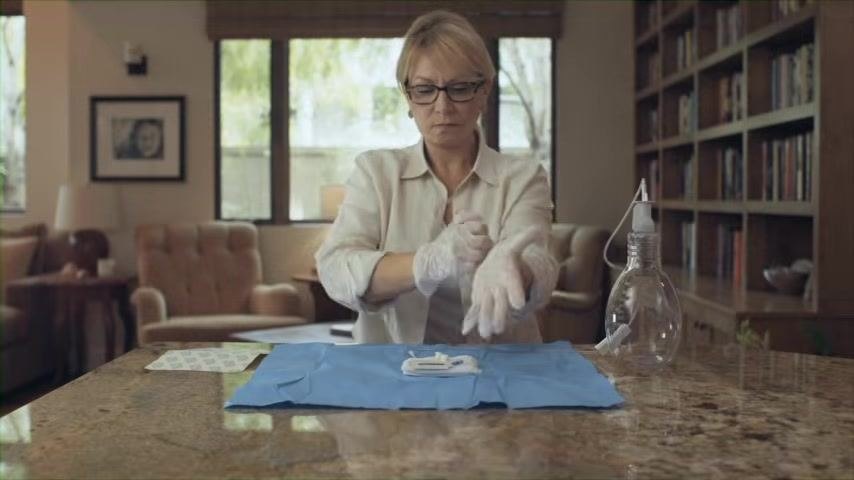
- Don gloves and protect the sterile field. Once gloved, keep hands above the sterile drape and avoid touching skin, clothing, or any item outside the sterile field. Do not remove pads from their pouches until instructed.
-
Close the roller clamp completely by rolling the wheel toward the bottle, so fluid cannot drain prematurely.
-
Pick up the drainage line near the tip, twist the cover, and pull it off to expose the sterile end of the line.
-
Remove and discard the catheter cap, then clean around the opening of the catheter with an alcohol pad — do not attempt to clean inside the catheter.
-
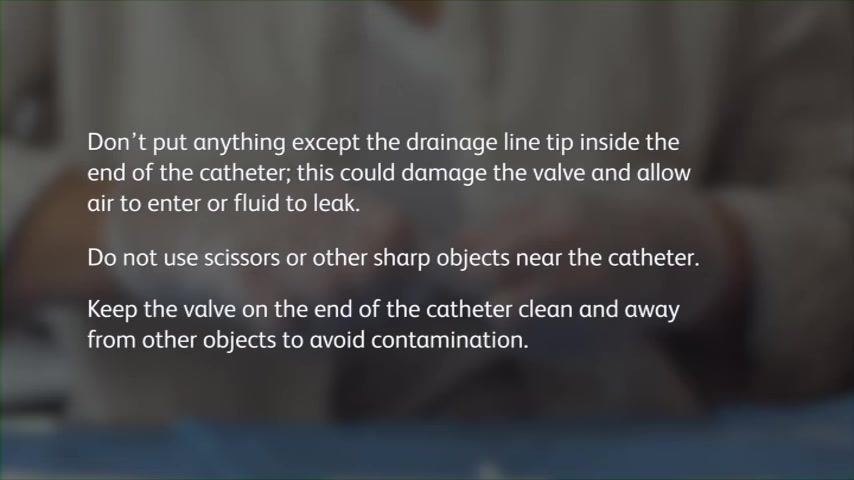
Connect the drainage line to the catheter. Insert only the drainage line tip into the catheter until a click is felt and heard, confirming a secure connection. Never insert anything else, and never use scissors or sharp objects near the catheter, as this can damage the valve and allow air in or fluid to leak.
-
Confirm the connection is secure, checking for any gap or looseness at the connection point.
-
Select a new drainage bottle for every session to avoid contamination, and keep all remaining supplies untouched on the sterile drape until needed.
-
Break the vacuum seal only when ready to drain. The bottle uses active vacuum technology to provide suction and should remain sealed until the session begins.
-
Verify the roller clamp is still closed before starting drainage.
-
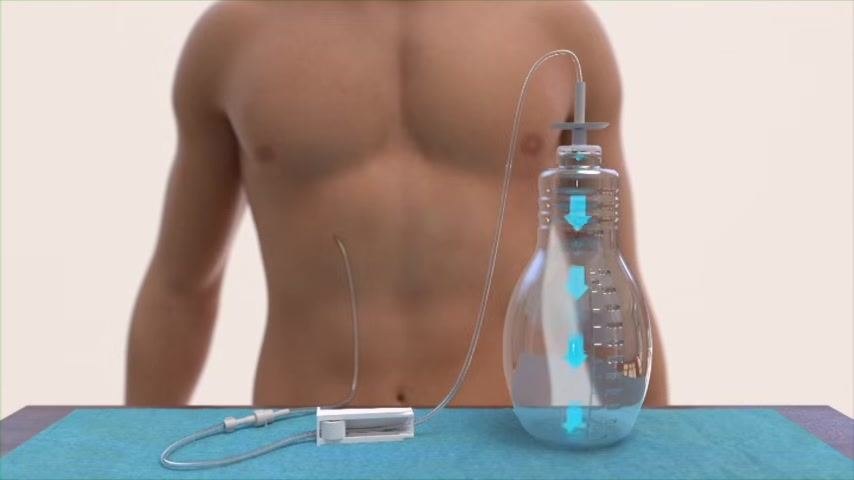
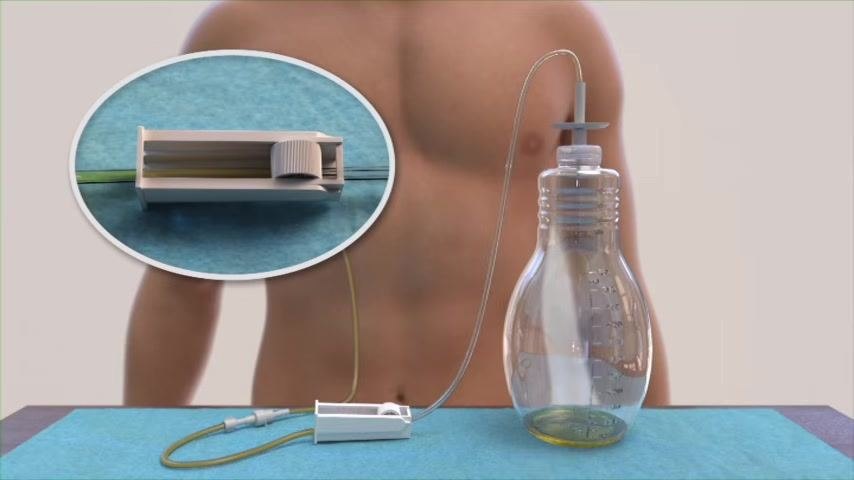
Open the roller clamp to begin draining. Roll the wheel away from the bottle to allow fluid to flow from the catheter into the bottle, and monitor that the tubing stays securely connected.
-
Allow the fluid to drain, typically five to fifteen minutes, observing a steady flow and an unobstructed tube and clamp.
-
Monitor the roller clamp and tubing periodically to confirm the clamp remains open and the tubing is not kinked or blocked, so fluid continues to flow freely.
Phase 3 — Close out the session
-
Stop drainage when flow decreases or stops. The bottle should contain the drained fluid, with tubing still connected to the catheter.
-
Close the roller clamp by rolling the wheel toward the bottle so no more fluid can pass through the tubing.
-
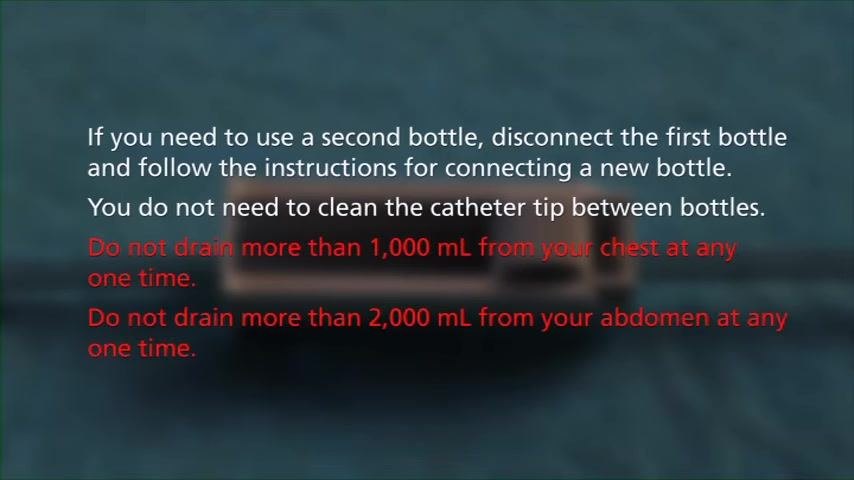
If a second bottle is needed, disconnect the first (full) bottle and connect a new sterile bottle following the same steps. The catheter tip does not need to be cleaned between bottles.
-
Disconnect the used bottle from the catheter. Wearing gloves, gently twist and pull the drainage line connector away from the catheter valve, then set the used bottle aside for disposal.
-
Clean the catheter opening and apply a new cap. Use a new alcohol pad to clean the skin around the opening, then twist a new sterile cap onto the catheter valve until a slight click confirms it is locked. Dispose of all used supplies properly.
-
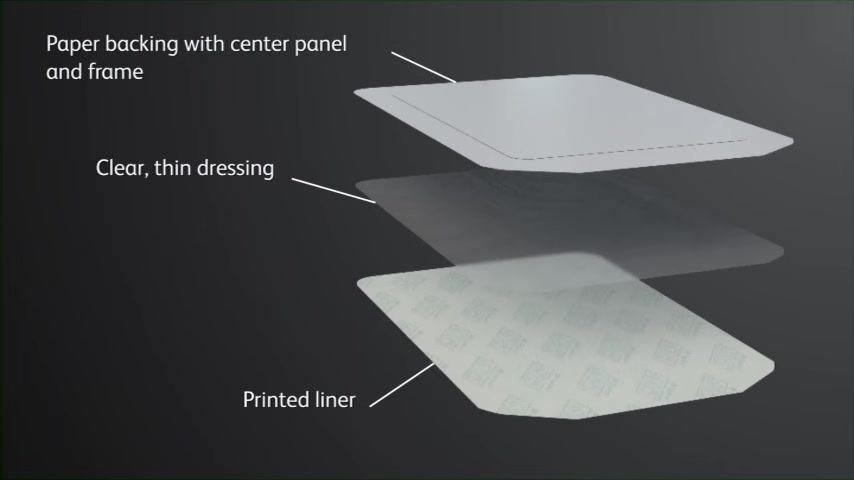
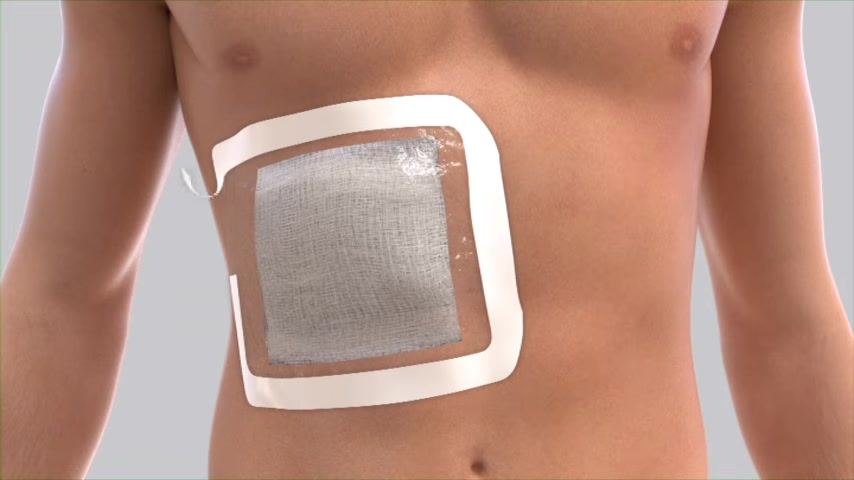
Cover the site with sterile gauze pads, then prepare the self-adhesive dressing, which has three layers: a printed liner (bottom), a clear thin dressing (middle), and a paper backing with a center panel and frame (top).
-
Remove gloves before applying the dressing, then remove and discard the center panel from the paper backing.
-
Peel the printed liner from the dressing to expose the adhesive surface, handling it carefully to avoid touching the adhesive area.
-
Apply the dressing over the site so the absorbent pad fully covers it, beginning by adhering one edge to the skin.
-
Smooth down the edges as the remaining liner is peeled away, sealing the dressing edges to prevent lifting.
-
Record the volume drained on the drainage chart, writing the measured amount clearly in the appropriate row and column.
-
Empty the used bottle. Push down on the white cap to release any remaining vacuum, then close the clamp on the drainage line completely.
-
Detach the drainage line from the bottle by placing a thumb on the edge of the cap and pushing sideways and down until the line is fully detached.
-
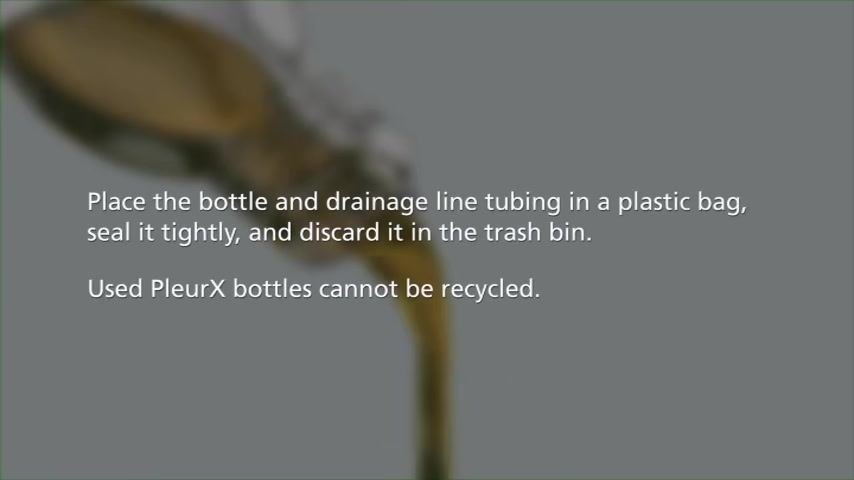
Dispose of the used bottle and tubing in a plastic bag, sealed tightly, and discarded in the trash bin. Used PleurX bottles cannot be recycled and must always go in the trash.
Pain Management
The source protocol does not specify a medication regimen, dose, route, or frequency for pain control during PleurX drainage; any analgesic plan should be defined by the prescribing clinician. The guidance below covers the non-pharmacological monitoring described for this procedure.
Expected sensation: It is normal to feel some discomfort or mild pain during drainage.
| Symptom during or after drainage | Action |
|---|---|
| Mild, expected discomfort | Continue the procedure as instructed |
| Severe pain | Stop the procedure and seek medical advice |
| Feeling unwell during drainage | Stop the procedure and seek medical advice |
| No improvement after draining | Contact the doctor or nurse |
| Worsening shortness of breath | Contact the doctor or nurse immediately |
Although rare, pain that does not resolve, is severe, or is accompanied by worsening shortness of breath may be a sign of infection and should be reported to the doctor or nurse immediately.
No numeric pain-score target is defined in this procedure; the escalation pathway above (stop the procedure, then contact the doctor or nurse) is the defined response to pain that exceeds mild discomfort.
Mobility Milestones
This procedure is a self-administered home drainage session and does not include a progressive mobility plan, bed exercises, or ambulation milestones; the source material contains no guidance on activity or mobility progression.
Complication Monitoring
Monitor for the following signs and symptoms during and after each drainage session, and escalate as described.
| Sign/symptom | Escalation |
|---|---|
| Redness or swelling around the catheter site | Continue the drainage procedure, then call the doctor or nurse afterward to report the finding |
| Fluid leaking from the catheter site | Continue the drainage procedure, then call the doctor or nurse afterward to report the finding |
| White cuff visible outside the body | Continue the drainage procedure, then call the doctor or nurse afterward to report the finding |
| Catheter is cut or damaged | Use the blue emergency slide clamp to close the catheter and notify the doctor or nurse immediately |
| Severe pain or feeling unwell during drainage | Stop the procedure and seek medical advice |
| No improvement, severe pain, or worsening shortness of breath after draining | Contact the doctor or nurse immediately; pain may rarely indicate infection |
Drainage volume limits are a critical safety threshold: - Do not drain more than 1,000 mL from the chest at any one time. - Do not drain more than 2,000 mL from the abdomen at any one time.
Discharge Criteria
This is a home self-care procedure rather than an inpatient stay, so there is no formal discharge process; the closest defined endpoint is the completion of a single drainage session. A session is considered complete when the following measurable criteria are met:
| Criterion | Confirmation |
|---|---|
| Fluid flow | Rate of flow has decreased or stopped |
| Roller clamp | Closed before disconnecting the bottle |
| Volume | Recommended maximum not exceeded (1,000 mL chest / 2,000 mL abdomen) |
| Catheter site | Cleaned with a new alcohol pad and capped with a new sterile cap until a click is felt |
| Dressing | New self-adhesive dressing applied with edges smoothed and sealed |
| Documentation | Volume drained recorded on the drainage chart |
| Disposal | Used bottle and tubing bagged, sealed, and discarded in the trash (not recycled) |
Patient Education
Teach the patient and any caregiver the following points before they perform the procedure independently:
- This guide supplements, and does not replace, the training received from the doctor or nurse. Always read the full instructions for use included with each drainage kit, and follow them every time a drainage is performed.
- The drainage procedure is the same whether the catheter is placed in the chest or the abdomen.
- Drain fluid only as directed by the doctor, usually every one to two days; do not change the frequency or amount drained without consulting the doctor.
-
Use only PleurX drainage bottles, available in 500 mL and 1,000 mL sizes; preparation and use are the same for both.
-
Always use a new, unused bottle for each session, and always use a new sterile cap on the catheter after each session.
- Never insert anything other than the drainage line tip into the catheter, and keep scissors or sharp objects away from the catheter.
- Keep the white cuff of the catheter from ever becoming visible outside the body, and check the site for redness, swelling, or leaking before every session.
- Understand and respect the maximum drainage volumes: 1,000 mL from the chest and 2,000 mL from the abdomen per session.
- Know when to use the blue emergency slide clamp — only if the catheter is cut or damaged — and notify the doctor or nurse immediately if it is used.
- Recognize warning signs that require contacting the doctor or nurse: no improvement after draining, severe pain, or worsening shortness of breath, which may rarely indicate infection.
-
Used PleurX bottles cannot be recycled and must always be placed in the trash.
-
Caregiver assistance is optional but can help, especially when a patient is first learning the procedure. A family member or caregiver may be taught to help with any step.
-
Before performing the procedure independently, confirm familiarity with the drainage bottles and tubing, including the different sizes, measurement markings, tubing, and clamps, and check that all components are clean and undamaged.
-
For further information, troubleshooting, or product details, visit the official website.

What's Next
After completing a drainage session, store or dispose of remaining supplies, keep the drainage chart up to date for the next session, and contact the doctor or nurse promptly if any of the warning signs described in Complication Monitoring occur. For additional guides, FAQs, or contact information, visit bd.com/pleurx, and direct any other questions or concerns to the healthcare provider.
Generation details: cost, quality tiers, downloads
Docsie billed 6,500 credits ($4.55) to analyze this 13-minute video at standard quality. The rewrite, template fill and Word/PDF exports were included. The same video at each quality tier:
| Quality | Frames sampled | Credits | Approx. cost |
|---|---|---|---|
| Draft | every 16-30 s | 3,250 | $2.27 |
| Standard (this guide) | every 8-15 s | 6,500 | $4.55 |
| Detailed | every 4-7 s | 13,000 | $9.10 |
| Ultra | every 1-3 s | 26,000 | $18.20 |
Credits priced at $0.70 per 1,000; plans include a monthly allowance. Enterprise customers on on-premise or bring-your-own-model deployments run this on their own inference and pay no per-video credits.
Generated by Docsie Video-to-Docs on 2026-09-20 from a 12-minute video. It was generated straight into Docsie's Patient Care Procedure template, so every section of that template is filled from the video. Screenshots are frames from the source video and belong to their creator, Iron Fist, whose original is embedded above. If you own this video and want the guide removed or credited differently, contact us and we will act within one business day.