
How to Do Perineal Care
This procedure describes how to do perineal care and change an incontinent brief and pad for a female patient. It covers front and back cleaning, safe repositioning, pad replacement, and the final safety checks required before leaving the patient. The steps apply equally to bedside nursing practice and to competency testing scenarios such as CNA skills evaluations.
Video: Perineal Care with Adult Diaper and Incontinent Pad Change on a Female #CNA #Nurse by Florida Training Academy (2023). All credit for the demonstration goes to the creator; watch the original on YouTube. The written guide below was generated from this video by Docsie. Creator? Request a change or removal.
This procedure describes how to do perineal care and change an incontinent brief and pad for a female patient. It covers front and back cleaning, safe repositioning, pad replacement, and the final safety checks required before leaving the patient. The steps apply equally to bedside nursing practice and to competency testing scenarios such as CNA skills evaluations.
Purpose & Scope
This procedure applies to female patients who are incontinent and require brief and pad changes combined with perineal hygiene care. It is intended for use at the bedside, whether in a hospital, long-term care, or skills-training setting.
The goal is to clean the perineal area, the rectum, and the buttocks safely, prevent skin breakdown and infection, and replace the soiled brief and pad while maintaining patient privacy and dignity throughout.
Supplies needed: - A clean incontinent brief and pad - Washcloths (at least two clean, dry washcloths for the front and back) - A basin of warm water - Soap - A clean towel - A disposal bag or laundry basket - Gloves - Skin protector or barrier paste (if required by the care plan)
Patient Assessment
Before starting, complete the following checks:
| Assessment item | What to confirm |
|---|---|
| Patient position | Lying comfortably on her back, covered with a privacy blanket or sheet |
| Water temperature | Have the patient check the water temperature for comfort and safety, if she is able |
| Gloves | Gloves are on before touching the soiled brief or patient |
| Supplies | Clean brief, washcloths, basin, soap, disposal bag, and towel are all within reach |
| Patient comfort | Ask the patient periodically, "Are you still doing okay?" |
This procedure does not include formal vital sign monitoring, a numeric pain assessment scale, or neurovascular checks; instead, comfort is monitored verbally throughout the procedure by checking in with the patient at each stage.
Care Protocol
Phase 1: Prepare the patient and remove the soiled brief
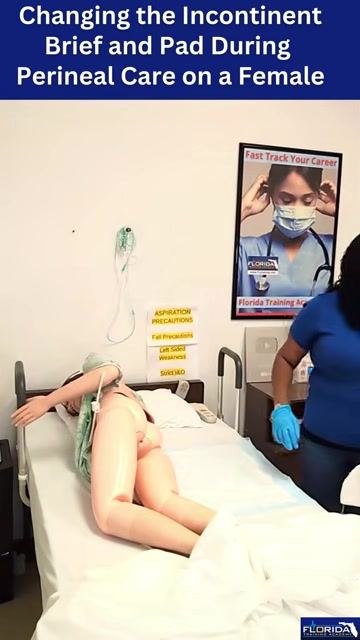
- Ensure the patient is lying comfortably on her back, covered with a privacy blanket or sheet.
- Wear gloves to maintain hygiene and prevent contamination.
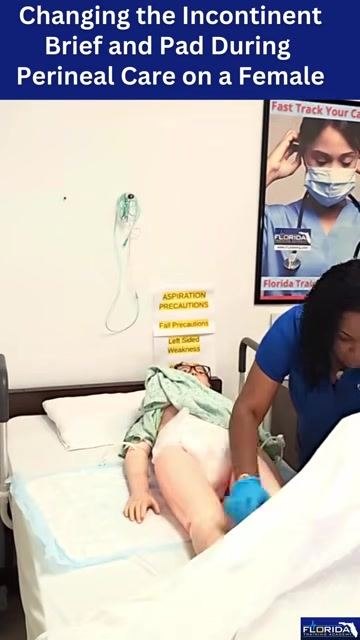
- Release the fasteners on the brief carefully.
- Roll the soiled brief in on itself, pushing it downward, similar to changing a baby's diaper.
- Dispose of the soiled brief in the appropriate disposal bag.

Phase 2: Prepare for perineal cleaning
- Fold a clean washcloth so it fits neatly into the palm of your hand.
- Wet the washcloth in the basin, wring out excess water, and apply one drop of soap only. Using more than one drop can irritate the skin.
Phase 3: Clean the perineal area
Clean the vaginal area in this sequence, always wiping downward:
- Wipe the outer labia going downward, then switch to a clean section of the washcloth.
- Wipe the labia closest to you, again going downward, then switch to a clean section.
- Wipe the center area downward.
- Continue wiping until no residue remains (one pass is sufficient on a mannequin).
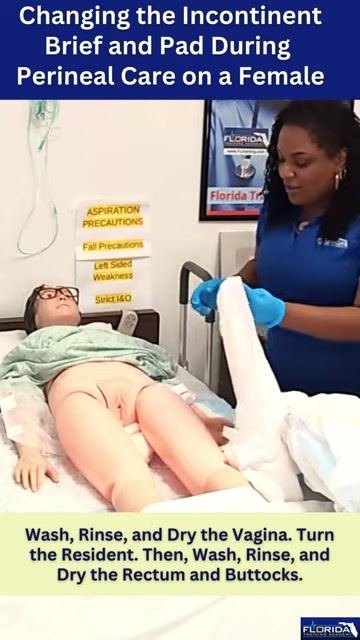
Rinse using the same downward sequence with a clean, wet washcloth and no soap: outer labia, then the labia closest to you, then the center. Pat the area dry with a clean towel.
Soap and irritation caution: For the Prometric CNA Exam in Florida, use only one drop of soap for the entire washcloth and follow the steps as demonstrated without overthinking the sequence. In real-world care, avoid using too much soap — especially antibacterial soap — as it can disrupt natural flora and cause irritation or yeast infections.
Phase 4: Maintain front-to-back technique
- Always wipe from front to back (downward) to prevent transferring fecal matter toward the vaginal area.
- Never wipe back to front, as this can introduce bacteria and cause infection.
- After cleaning each area, switch to a clean section of the washcloth before moving to the next area.
Check on the patient regularly during this phase, and keep towels, linens, and supplies away from your body and the patient's clean areas to avoid cross-contamination.
Phase 5: Prepare and turn the patient for backside cleaning
- Confirm the front is clean before proceeding to the back.
- Adjust the gown or sheet as needed to maintain privacy.
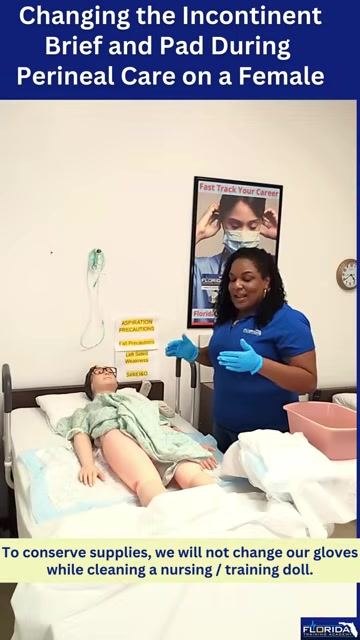
- For testing with mannequins, keep the same gloves on throughout unless they are obviously soiled — most testing sites require this to conserve supplies.
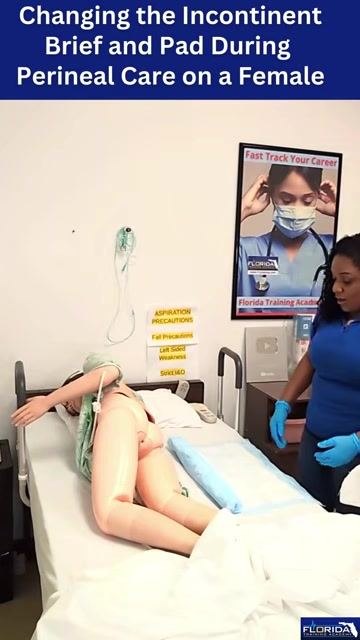
Turn the patient in increments for safety and comfort:
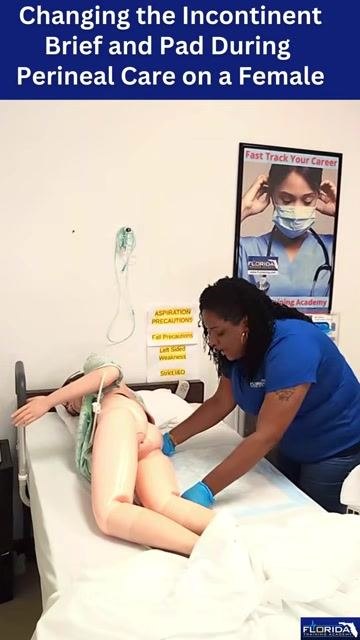
- Gently move the shoulders toward you.
- Move the hips toward you.
- Move the legs toward you.
- Cross the leg nearest you over the other leg to facilitate turning.
- On the count of three, turn the patient onto her side.
- Ask the patient to hold onto the side rail for support if possible.
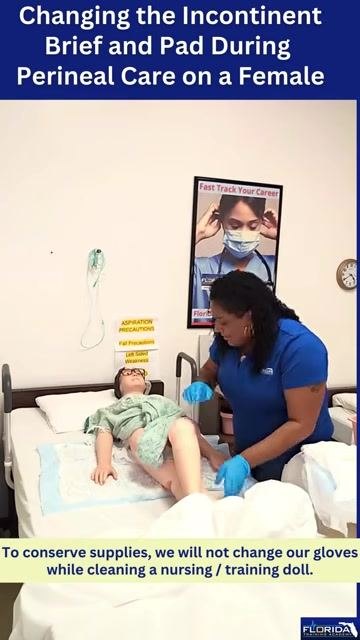
Once turned, expose the backside for cleaning while keeping the front covered for privacy. Prepare two clean washcloths for washing and rinsing the rectum and buttocks.
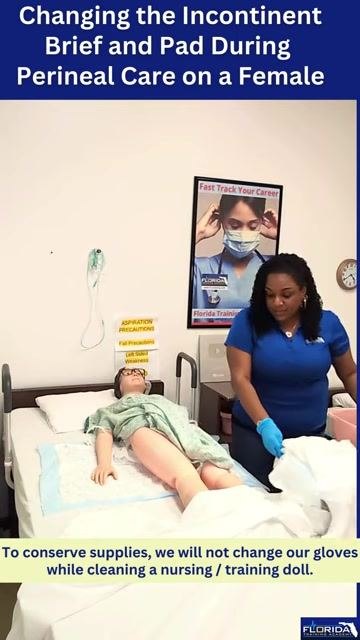
Phase 6: Clean the rectum and buttocks
- Wet the first washcloth, wring it out, and apply one drop of soap.
- Announce the cleaning process to the patient for comfort and transparency.
- Wipe from the crack of the buttocks toward the back ("crack to the back") to prevent contamination of the vaginal area — never wipe toward the vaginal area.
- Wipe one buttock, flip the washcloth to a clean side, then wipe the other buttock.
- Ask the patient, "Are you still doing okay? I'm almost done."
- Rinse with the second clean washcloth using the same "crack to the back" motion, flipping to a clean section for each side.
- Place used washcloths in the laundry basket immediately after use.
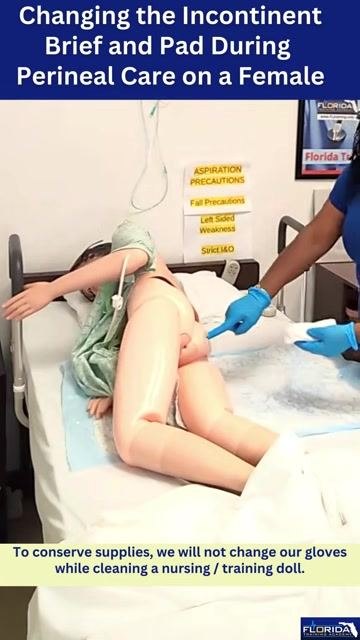
Phase 7: Dry the area and replace the pad
- Use a clean towel to pat the rectum and buttocks dry, without letting the towel touch your body or any contaminated surface such as a soiled pad.
- Place the used towel in the laundry basket.
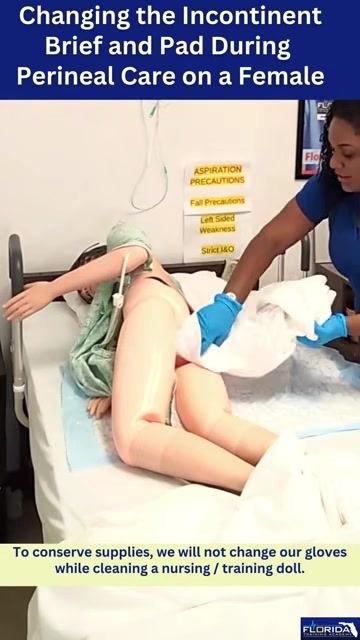
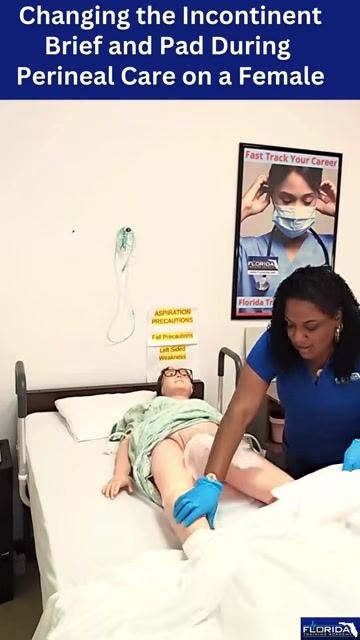
- With the patient still on her side, remove the soiled pad and place it in the trash.
-
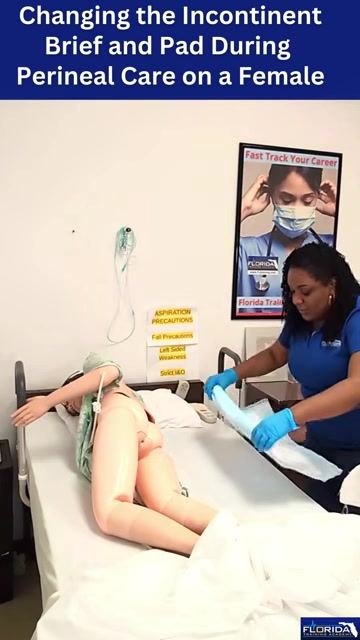
Roll the new pad so the cotton side will be against the patient's skin, just like a baby's diaper, and ensure the cotton side is facing up before positioning it under the patient.
-
Apply a skin protector or barrier paste to the cleaned area at this stage if required by the care plan or facility protocol, ensuring even coverage.
Phase 8: Position the pad and brief
-
Position the pad with the blue or plastic side facing the bedding to prevent moisture from leaking onto the bed.
-
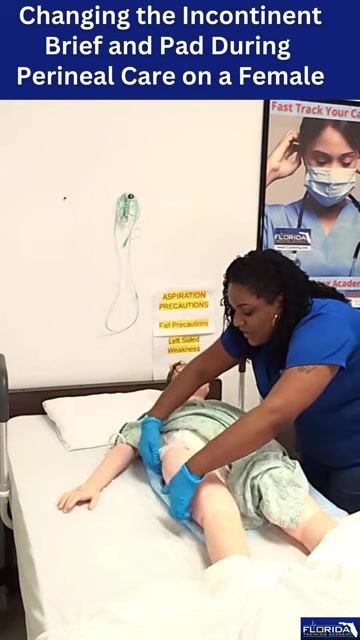
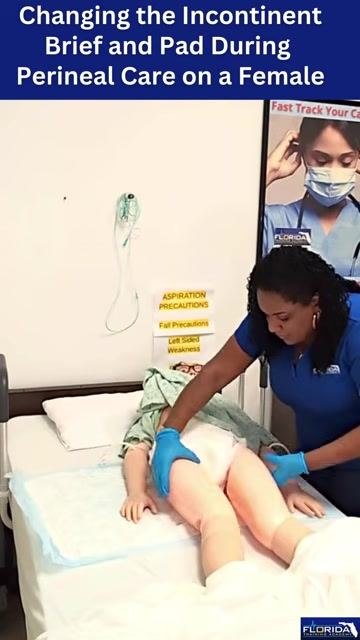
Start placing the pad from one edge of the bed, aligning it with the patient's upper hip.
-
Push the pad halfway through under the patient, then place the diaper under the patient so it is ready for alignment.
-
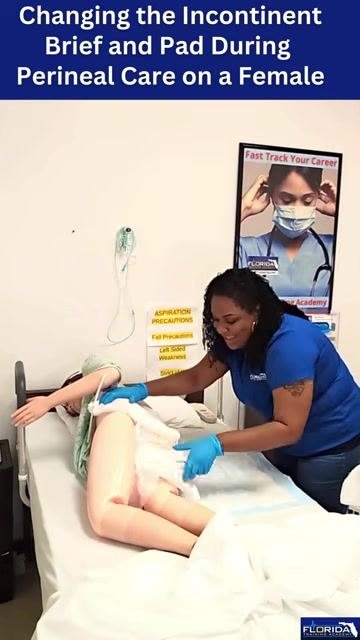
Check and adjust the alignment of the diaper and pad so they are properly positioned with the patient's body — this prevents discomfort and leakage.
-
Gently uncross the patient's legs to facilitate proper placement and fastening of the diaper.
-
Secure the fasteners on the side you are working from.
-
Adjust the diaper and pad as needed to ensure a snug, comfortable fit.
-
If necessary, gently turn the patient slightly toward you to confirm the pad and diaper are beneath the patient and correctly aligned.
-
Perform a final check to confirm both the pad and diaper are correctly positioned beneath the patient for comfort and protection.
Wear gloves and follow standard infection control procedures throughout this phase, and maintain patient privacy and dignity at all times.
Phase 9: Reposition and cover the patient
-
Gently reposition the patient's legs for comfort, and check that the torso is aligned with the rest of the body to prevent strain or discomfort.
-
Pull the bed linens up along the sides of the patient, ensuring they are smooth and free of wrinkles. Do not place any additional items beneath the patient, as this can cause discomfort, wrinkles, or increase the risk of skin breakdown or soiling if another accident occurs.
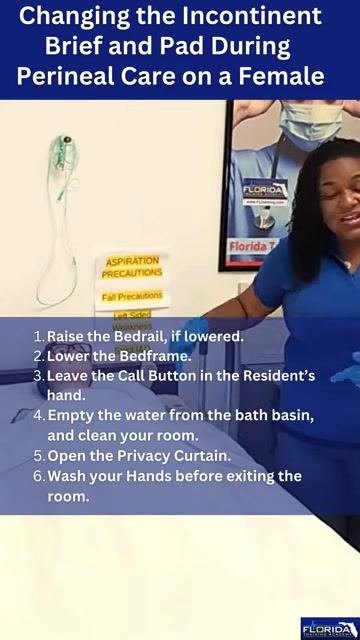
- Fully cover the patient with the bed linens to maintain privacy and dignity, and confirm the patient is comfortable and that the pad and brief are properly in place.
Phase 10: Remove gloves and finish the room
In a real patient scenario, remove gloves using proper technique: pinch the palm of one glove to remove it, then use the inside of the removed glove to peel off the second glove, avoiding skin contact. Dispose of gloves in the appropriate waste container.
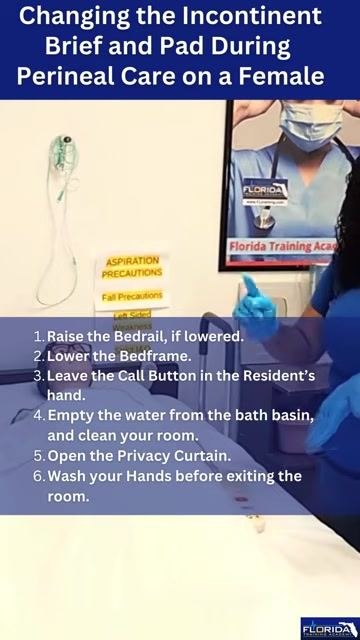
Complete the following final checks:
| Step | Action |
|---|---|
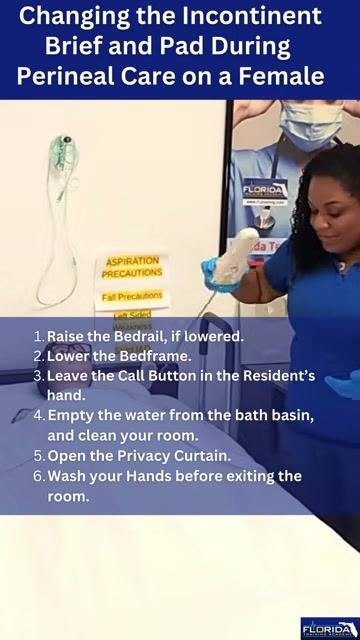
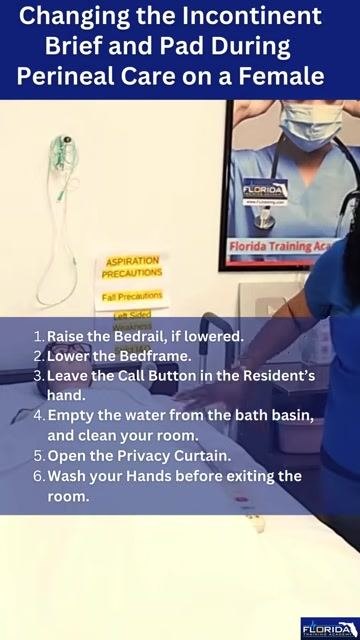
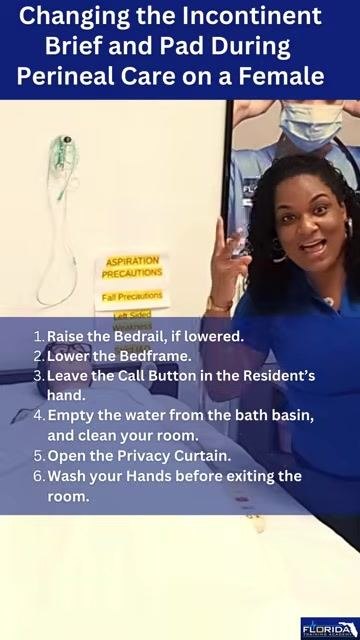
| 1 | Raise the bedrail, if lowered |
| 2 | Lower the bedframe to its lowest safe position |
| 3 | Leave the call button in the patient's hand |
| 4 | Empty the water from the bath basin and clean the room |
| 5 | Open the privacy curtain |
| 6 | Wash your hands before exiting the room |
Double-check that all items are cleaned, the room is tidy, and the patient is safe, comfortable, and has access to the call button before concluding the procedure.
Pain Management
This is a hygiene and brief-changing procedure rather than a post-operative or acute-pain scenario, so no medication schedule applies. Patient comfort is managed by communicating throughout the procedure — asking, "Are you still doing okay?" — and by using minimal soap and gentle wiping technique to avoid causing irritation. A formal multimodal medication table, pain score target, and escalation pathway are not part of this procedure and would need to be defined separately if the patient has an underlying pain condition.
Mobility Milestones
This procedure includes one mobility event: safely turning the patient onto her side for backside cleaning, and returning her to a comfortable, aligned position afterward. Turn the patient in increments (shoulders, then hips, then legs), cross the near leg over the other leg, count to three, and roll the patient while she holds the side rail for support. A broader day-by-day mobility progression (such as chair transfer or ambulation) is not addressed in this procedure and would need to be tracked separately as part of the patient's overall care plan.
Complication Monitoring
Watch for and prevent the following during and after perineal care:
- Cross-contamination and infection: Always wipe front to back and crack to the back; never wipe toward the vaginal area, as this can introduce bacteria and cause infection.
- Skin irritation or yeast infection: Avoid excess soap, especially antibacterial soap, which can disrupt natural flora and irritate the skin.
- Skin breakdown: Apply skin protector or barrier paste to the cleaned area as required by the care plan, and dry the area thoroughly before repositioning.
- Leakage: Confirm the pad's plastic side faces the bedding and that the pad and brief are properly aligned before covering the patient.
Specific early-warning criteria and named escalation contacts are not detailed in this procedure; facility protocol should be consulted for whom to notify if signs of irritation, infection, or skin breakdown are observed.
Discharge Criteria
This procedure does not involve a hospital discharge. Instead, completion of the procedure is confirmed when the following are in place before leaving the patient:
- The bedrail is raised, if it was lowered.
- The bedframe is at its lowest safe position.
- The call button is within the patient's reach, ideally in her hand.
- The bath basin has been emptied and the room cleaned.
- The privacy curtain is open.
- Hands have been washed before exiting the room.
Patient Education
- Explain each step as you perform it so the patient understands what is happening and can stay comfortable.
- Check in verbally throughout the procedure, for example asking, "Are you still doing okay?"
- If teaching a caregiver or family member, emphasize wiping front to back and crack to back to prevent infection.
- Advise against excessive soap use, particularly antibacterial soap, since it can disrupt natural flora and cause irritation or yeast infections.
- Reinforce that skin protector or barrier paste should be applied as directed by the care plan to prevent skin breakdown between changes.
Generation details: cost, quality tiers, downloads
Docsie billed 4,500 credits ($3.15) to analyze this 9-minute video at standard quality. The rewrite, template fill and Word/PDF exports were included. The same video at each quality tier:
| Quality | Frames sampled | Credits | Approx. cost |
|---|---|---|---|
| Draft | every 16-30 s | 2,250 | $1.57 |
| Standard (this guide) | every 8-15 s | 4,500 | $3.15 |
| Detailed | every 4-7 s | 9,000 | $6.30 |
| Ultra | every 1-3 s | 18,000 | $12.60 |
Credits priced at $0.70 per 1,000; plans include a monthly allowance. Enterprise customers on on-premise or bring-your-own-model deployments run this on their own inference and pay no per-video credits.
Generated by Docsie Video-to-Docs on 2026-09-28 from a 8-minute video. It was generated straight into Docsie's Patient Care Procedure template, so every section of that template is filled from the video. Screenshots are frames from the source video and belong to their creator, Florida Training Academy, whose original is embedded above. If you own this video and want the guide removed or credited differently, contact us and we will act within one business day.