
How to Do Passive Range of Motion Exercises
This procedure describes how to do passive range of motion (ROM) exercises on a resident's left shoulder when the resident is unable to assist with the movement. It covers preparation, the step-by-step technique for flexion/extension and abduction/adduction, and the communication and safety checks required at each stage. Always perform the exercises exactly as written in the resident's individualized Care Plan.
Video: How to Perform Range of Motion for Shoulder | CNA Skills for Prometric Exam by 4yourCNA (2025). All credit for the demonstration goes to the creator; watch the original on YouTube. The written guide below was generated from this video by Docsie. Creator? Request a change or removal.
This procedure describes how to do passive range of motion (ROM) exercises on a resident's left shoulder when the resident is unable to assist with the movement. It covers preparation, the step-by-step technique for flexion/extension and abduction/adduction, and the communication and safety checks required at each stage. Always perform the exercises exactly as written in the resident's individualized Care Plan.
Purpose & scope
This procedure applies to residents whose Care Plan specifies passive range of motion exercises for the left shoulder and who are not able to actively participate in the movement. It is intended for use in a resident care setting, at the bedside, as part of routine skilled care.
The exercises covered are: - Flexion/extension (up/down movement of the arm) - Abduction/adduction (side-to-side movement of the arm)
Each exercise is performed for three (3) repetitions, as directed by the Care Plan.
Patient assessment
Before beginning, confirm the following from the Care Plan and through direct observation of the resident.
| Assessment item | What to check |
|---|---|
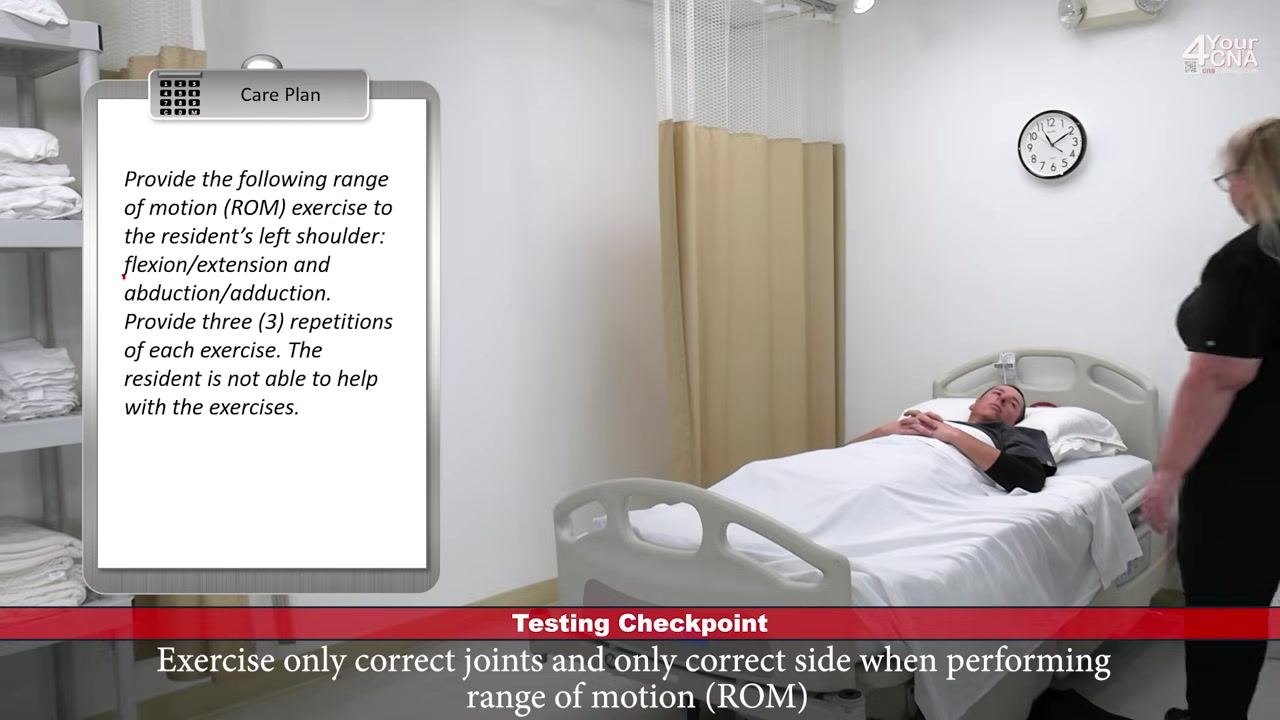
| Care Plan review | Confirm the specific exercises, joint, and side (left shoulder) ordered for this resident |
| Resident capability | Confirm the resident is not able to help with the exercises |
| Resident status | Ask how the resident is feeling before starting |
| Pain/discomfort | Ask the resident to report any pain or discomfort before, during, and after each repetition |
| Observation | Watch facial expressions and verbal cues throughout for signs of discomfort |
This procedure does not specify a vital sign monitoring frequency, a named pain assessment tool, or neurovascular checks; if your facility requires these, follow your facility's standard assessment protocol in addition to the steps below.
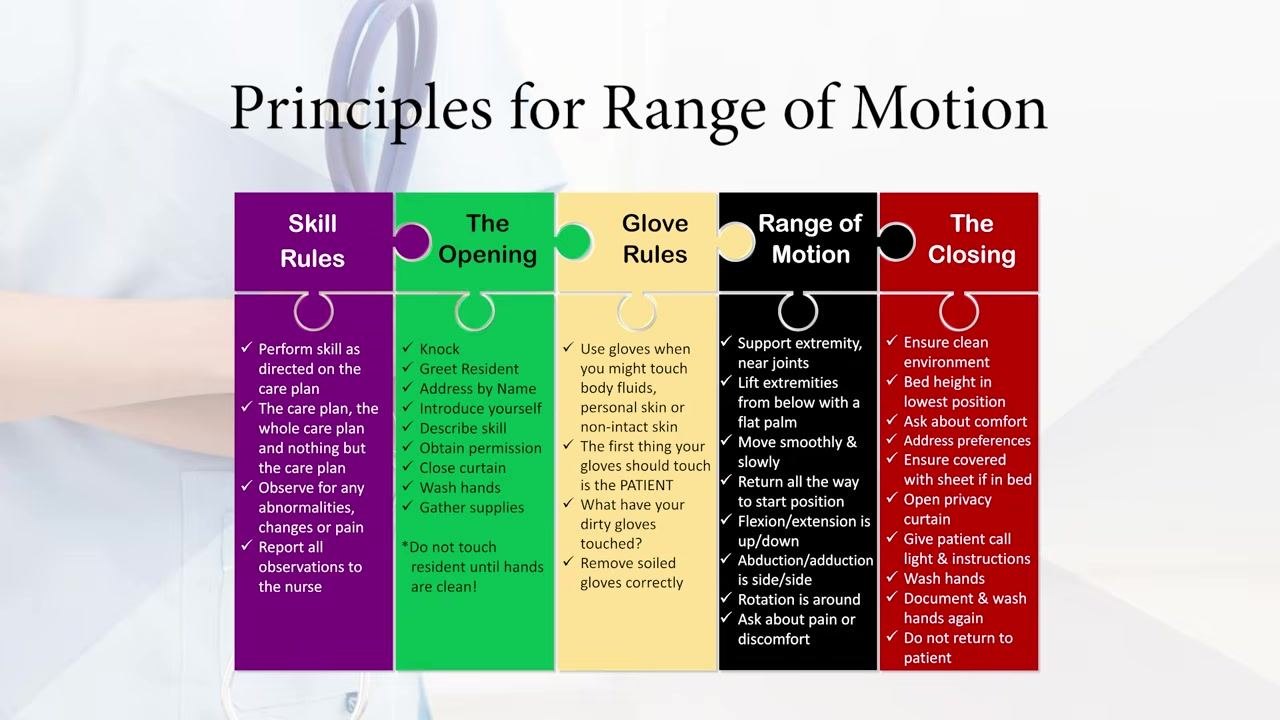
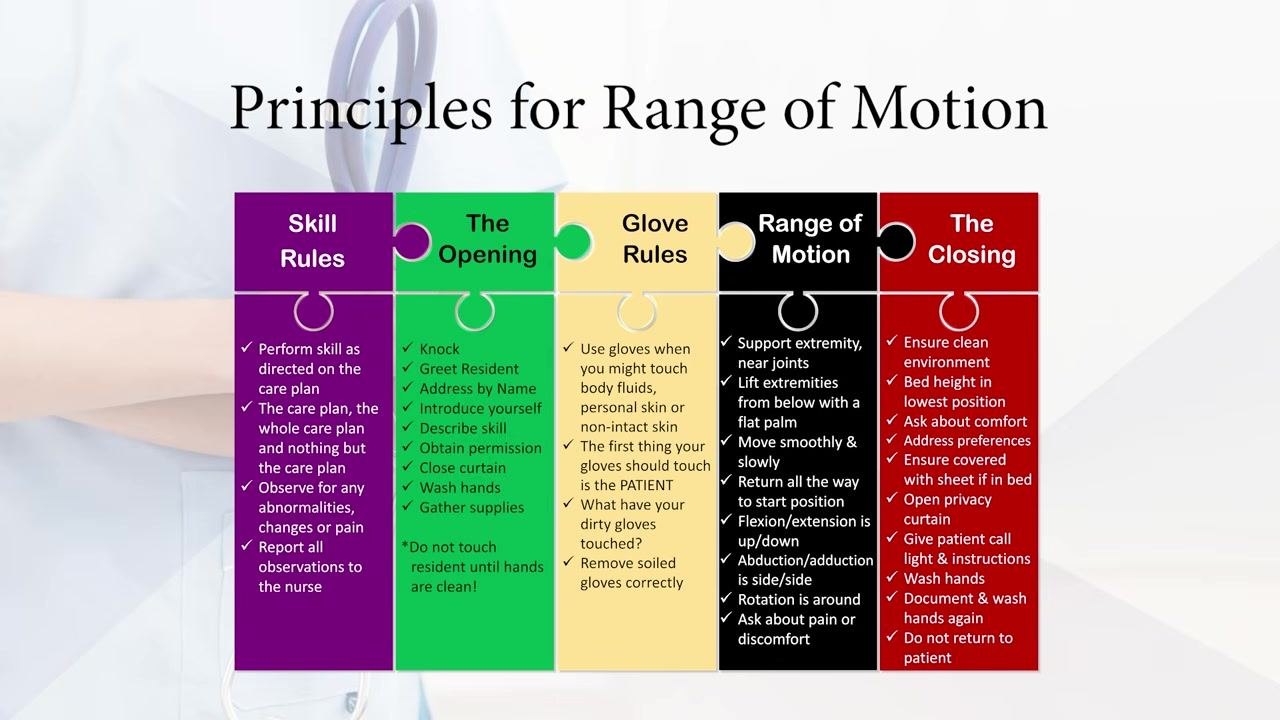
Before starting, review the core principles that govern this skill:
- Skill rules: Perform as directed, observe for abnormalities, and report all observations.
- The opening: Knock, greet the resident, address them by name, introduce yourself, describe the skill, obtain permission, close the curtain, wash your hands, and gather supplies.
- Glove rules: Use gloves when needed, ensure gloves touch the patient first, and remove soiled gloves correctly.
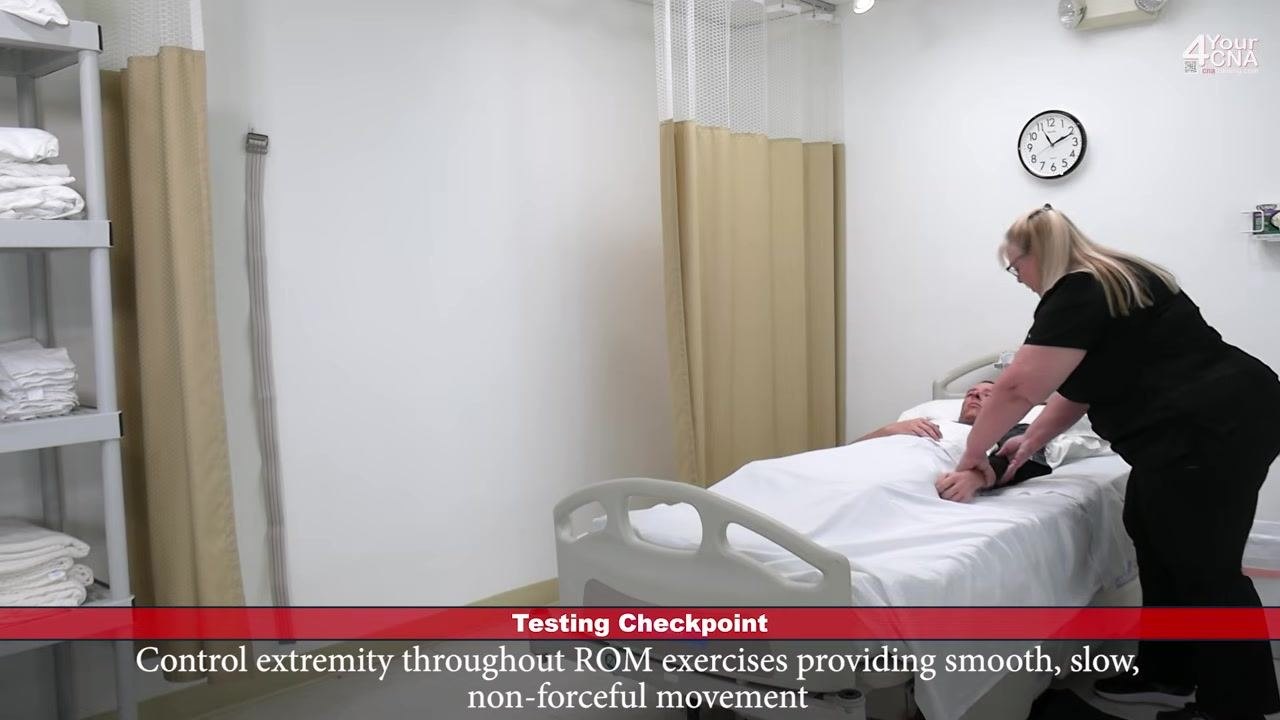
- Range of motion technique: Support the extremity near the joints, lift from below with a flat palm, move smoothly and slowly, return to the starting position, and ask about pain or discomfort.
- The closing: Leave the environment clean, bed in the lowest position, ask about comfort, address preferences, ensure the resident is covered, open the privacy curtain, provide the call light, wash your hands, document, and do not return to the resident afterward.
Care protocol
Phase 1: Opening and resident interaction
- Knock on the door and greet the resident.
- Address the resident by name (for example, "Hi, Mr. Jones.").
- Introduce yourself and your role (for example, "My name is Patty. I'm your CNA today.").
- Ask how the resident is feeling and respond appropriately.
- Explain the procedure: "I need to do some range of motion exercises on your left shoulder. Is that okay?"
- Obtain the resident's permission before proceeding.
- Close the privacy curtain and wash your hands before beginning.
Phase 2: Confirm the Care Plan
- Double-check the Care Plan to confirm you are performing the correct exercises on the correct side (left shoulder).
- Exercise only the correct joints and only the correct side, as specified.
Phase 3: Perform the exercises
| Exercise | Movement | Repetitions | Technique |
|---|---|---|---|
| Flexion/extension | Raise the arm above the head, then lower back to the bed | 3 | Support the left arm at both joints; move smoothly and slowly; check for pain each time |
| Abduction/adduction | Move the arm away from the side of the body, then back to the side | 3 | Support the arm; move smoothly and slowly; check for pain each time |
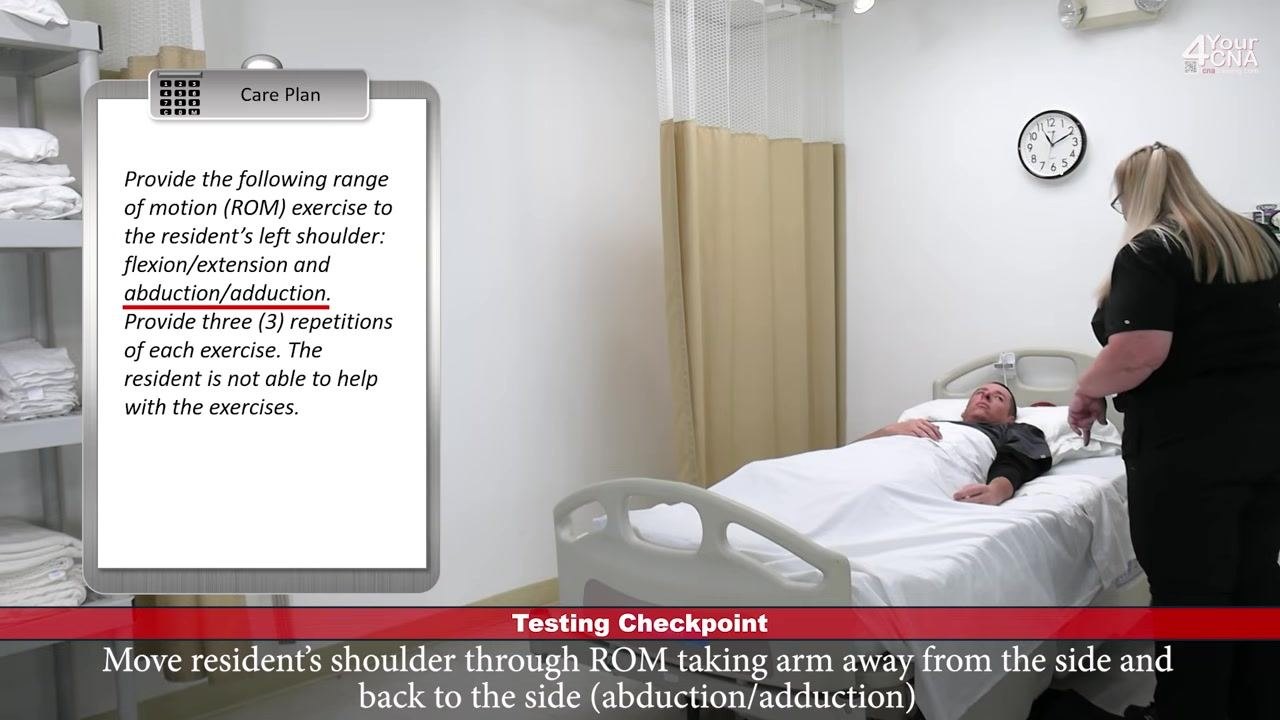
For flexion/extension, inform the resident: "The first exercise I'm going to do is bring your arm above your head and back down to the bed like you're asking a question." Reassure them: "I'll do all the work. All you have to do is let me know if there's any pain or discomfort as we do this, okay?"
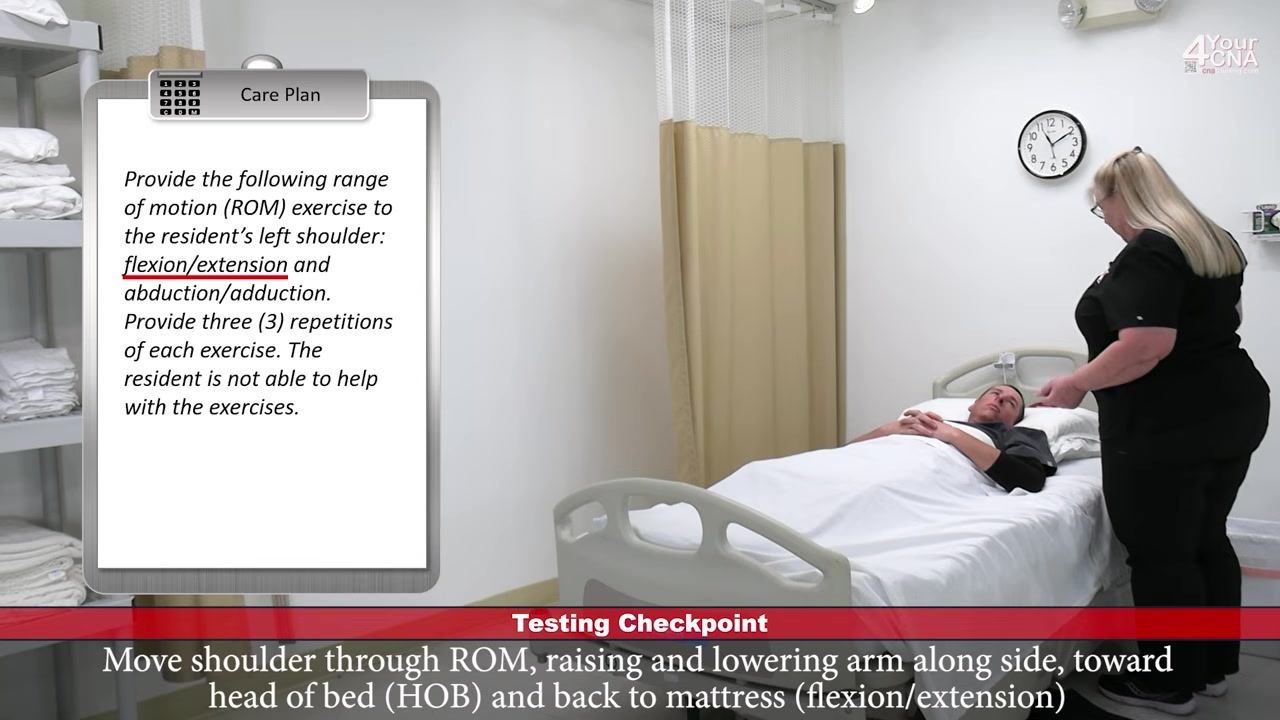
For abduction/adduction, explain the movement to the resident: "The next exercise we're going to do is bring your arm out and back in like you're making a snow angel."
Throughout both exercises, support the resident's left arm at two joints, move the arm all the way through the motion and back to the starting position, and check in after each repetition (for example, "Feel okay?" ... "Still okay?" ... "Good?"). The resident should confirm comfort after each repetition.
This procedure covers a single session of passive ROM exercises; it does not include multi-day nursing interventions, medication administration, wound care, or a nutrition plan.
Pain management
Pain management in this procedure consists of verbal check-ins rather than medication administration:
- Ask the resident to report pain or discomfort before starting.
- Ask again during each repetition of both exercises.
- Ask again after the exercises are complete.
- Report all observations of pain, discomfort, or abnormality as required by the Skill Rules.
This procedure does not include a medication table, dosing schedule, numeric pain score target, or escalation pathway; if medication-based pain management is required for this resident, refer to the resident's individual Care Plan and your facility's pain management policy.
Mobility milestones
This procedure describes a single bedside session rather than a multi-day mobility progression. The milestones for this session are:
| Step | Milestone |
|---|---|
| 1 | Complete 3 repetitions of flexion/extension of the left shoulder |
| 2 | Complete 3 repetitions of abduction/adduction of the left shoulder |
| 3 | Confirm resident comfort after each repetition and after the full set |
This procedure does not describe a day-by-day mobility progression (such as chair transfer or ambulation with a walker); such milestones would be documented separately in the resident's overall care and mobility plan.
Complication monitoring
Monitor the resident throughout the session for the following:
- Verbal reports of pain or discomfort during any repetition.
- Facial expressions or other nonverbal cues suggesting discomfort.
- Any abnormality observed while moving the joint through its range of motion.
Report all observations of pain, discomfort, or abnormal findings, in line with the Skill Rules. This procedure does not specify named early warning criteria or an escalation contact list; follow your facility's standard reporting chain for any concerns identified during care.
Discharge criteria
This procedure does not address discharge from a facility. It instead defines the criteria for safely completing this care session before leaving the resident:
- The environment is clean and the bed is in the lowest position.
- The resident has confirmed comfort and any additional needs or preferences have been addressed (for example, offering a magazine).
- The resident is left covered with the top sheet (arms do not need to be under the covers).
- The privacy curtain is open.
- The call light is within the resident's reach, and the resident has been told how to use it.
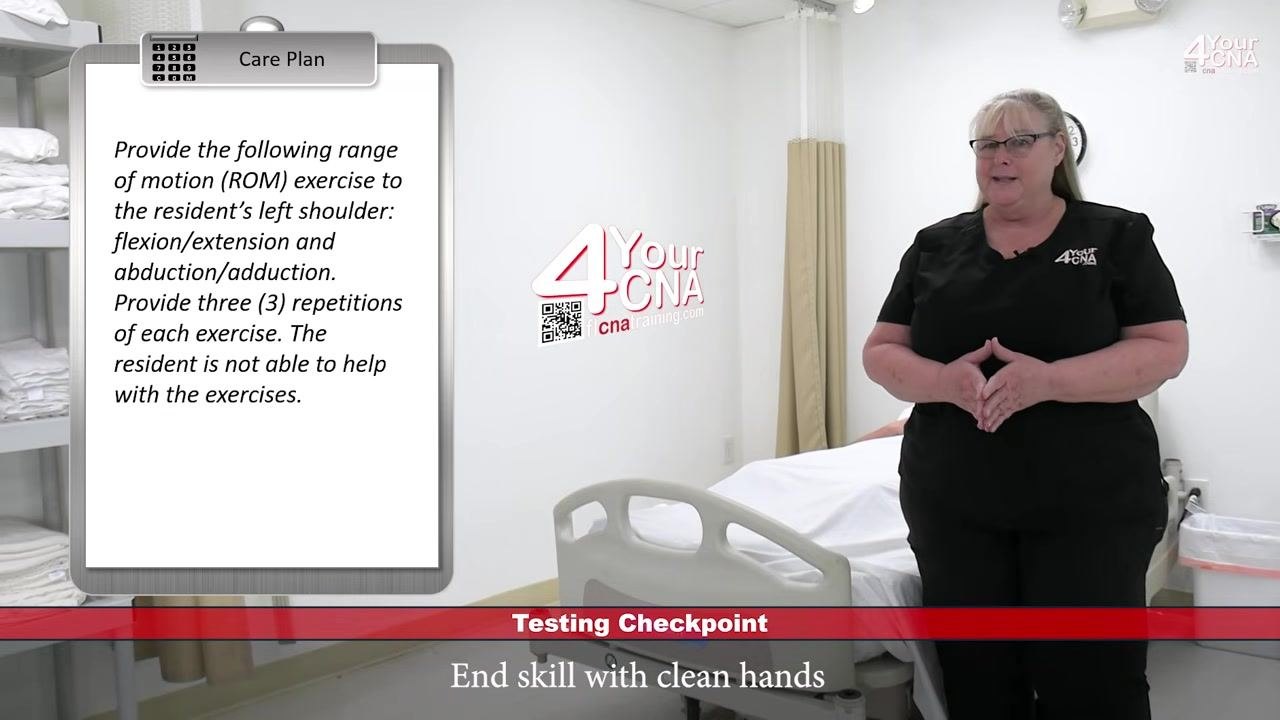
- Hands are washed and the procedure is documented.
- You do not return to the resident after these closing steps are complete.
Patient education
Key communication points to cover with the resident during this procedure:
- Explain the procedure clearly before starting: describe which exercises will be done and on which side.
- Ask for the resident's permission before beginning.
- Reassure the resident that you will do the movement and they only need to report pain or discomfort.
- Ask about comfort and preferences throughout and at the end of the session.
- Offer additional comfort items as appropriate (for example, a magazine) before leaving.
- Provide the call light and explain how to use it: "Here's your call light. If you need anything at all, just press that red button, we'll be happy to help."
- Thank the resident for their cooperation at the end of the session.
What's next
After completing and documenting this skill, review the Care Plan and your own performance for any corrections needed before your next scheduled task. Confirm the skill is complete before moving to the next resident or task.
Generation details: cost, quality tiers, downloads
Docsie billed 1,500 credits ($1.05) to analyze this 4-minute video at standard quality. The rewrite, template fill and Word/PDF exports were included. The same video at each quality tier:
| Quality | Frames sampled | Credits | Approx. cost |
|---|---|---|---|
| Draft | every 16-30 s | 1,000 | $0.70 |
| Standard (this guide) | every 8-15 s | 2,000 | $1.40 |
| Detailed | every 4-7 s | 4,000 | $2.80 |
| Ultra | every 1-3 s | 8,000 | $5.60 |
Credits priced at $0.70 per 1,000; plans include a monthly allowance. Enterprise customers on on-premise or bring-your-own-model deployments run this on their own inference and pay no per-video credits.
Generated by Docsie Video-to-Docs on 2026-09-28 from a 3-minute video. It was generated straight into Docsie's Patient Care Procedure template, so every section of that template is filled from the video. Screenshots are frames from the source video and belong to their creator, 4yourCNA, whose original is embedded above. If you own this video and want the guide removed or credited differently, contact us and we will act within one business day.