
How to Do a Nasal Swab
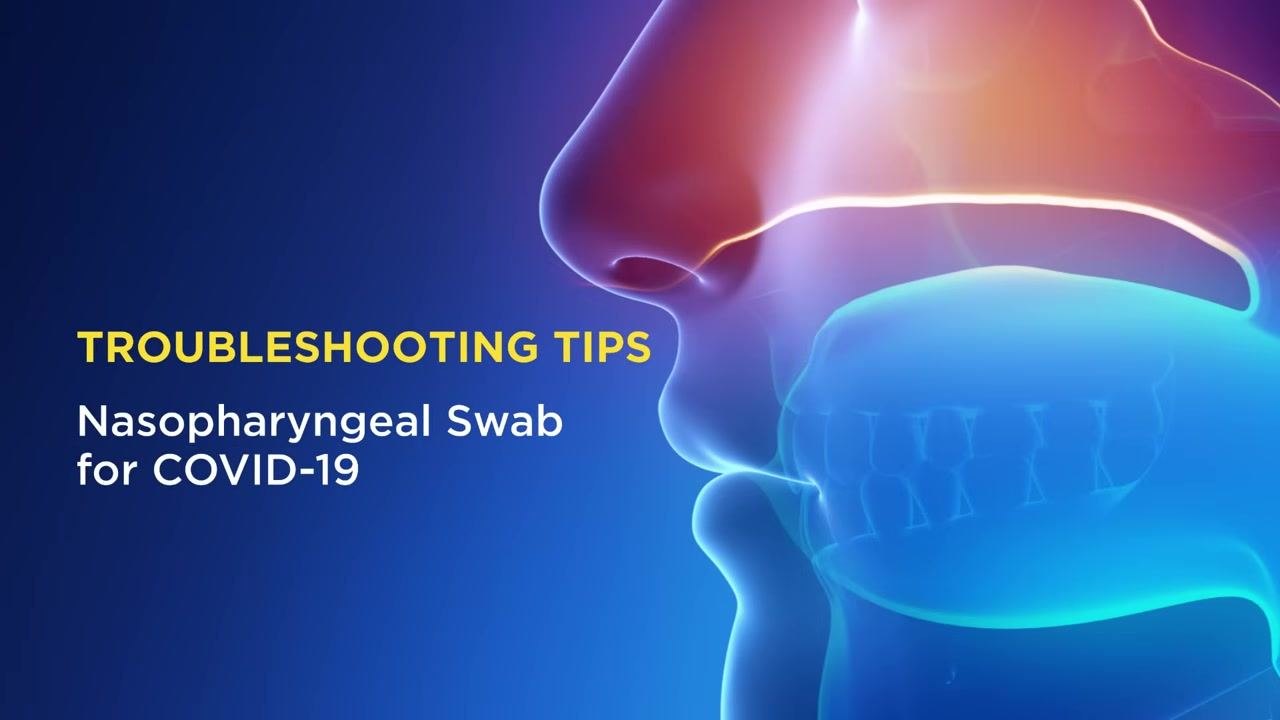
This procedure explains how to do a nasal swab for COVID-19 testing using the nasopharyngeal collection technique. It walks you through preparing the patient, inserting the swab correctly, collecting the specimen, and handling common difficulties that can arise during collection. Following these steps helps you obtain a safe, accurate, and adequate sample for laboratory analysis.
Video: Nasopharyngeal Swab for COVID-19 by UConn Health (2020). All credit for the demonstration goes to the creator; watch the original on YouTube. The written guide below was generated from this video by Docsie. Creator? Request a change or removal.
This procedure explains how to do a nasal swab for COVID-19 testing using the nasopharyngeal collection technique. It walks you through preparing the patient, inserting the swab correctly, collecting the specimen, and handling common difficulties that can arise during collection. Following these steps helps you obtain a safe, accurate, and adequate sample for laboratory analysis.
Test overview
- Test name: Nasopharyngeal swab collection for COVID-19 (SARS-CoV-2) testing.
- Methodology: Manual specimen collection using a flexible swab inserted into the nasopharynx; the swab is not a laboratory analytical method itself but the collection step that precedes laboratory testing.
- Analytes measured: Not applicable at the collection stage — the swab collects respiratory specimen material that is later analyzed by the laboratory for SARS-CoV-2.
- Clinical utility: Used to obtain a specimen for diagnosing COVID-19 infection.
- CPT code: Not specified; check your facility's billing protocol for the applicable code, as this detail is not covered in this procedure.

Specimen requirements
| Requirement | Detail |
|---|---|
| Specimen type | Nasopharyngeal swab specimen |
| Collection container | Transport media tube |
| Minimum volume | Not specified; ensure the swab tip is fully submerged/secured in the transport media |
| Patient preparation | Patient seated comfortably in an examination chair; mask kept on until the swab is inserted |
| Transport conditions | Cap fastened securely on the transport media tube to prevent spillage during transport |
| Stability | Not specified in this procedure; follow your facility's laboratory guidance |
| Rejection criteria | Not specified in this procedure; follow your facility's laboratory guidance |
Equipment and supplies
Before you begin, gather the following:
- Personal protective equipment (PPE): gown, gloves, mask, and face shield.
- Nasopharyngeal swab.
- Transport media tube with cap.
- Examination chair for the patient.
Catalog numbers, reagents, calibrators, and analyzer details are not applicable to this manual collection procedure; refer to your facility's supply and equipment list for specific product information.
Calibration and quality control
This is a manual specimen collection procedure and does not involve instrument calibration or numeric QC levels. Quality control for this procedure instead relies on correct technique: proper PPE use, correct swab insertion depth and angle, adequate dwell time, and secure specimen handling, all of which are detailed in the procedure steps below.
Procedure steps
Step 1: Prepare for the procedure
- Ensure you are in a clinical setting equipped for specimen collection.
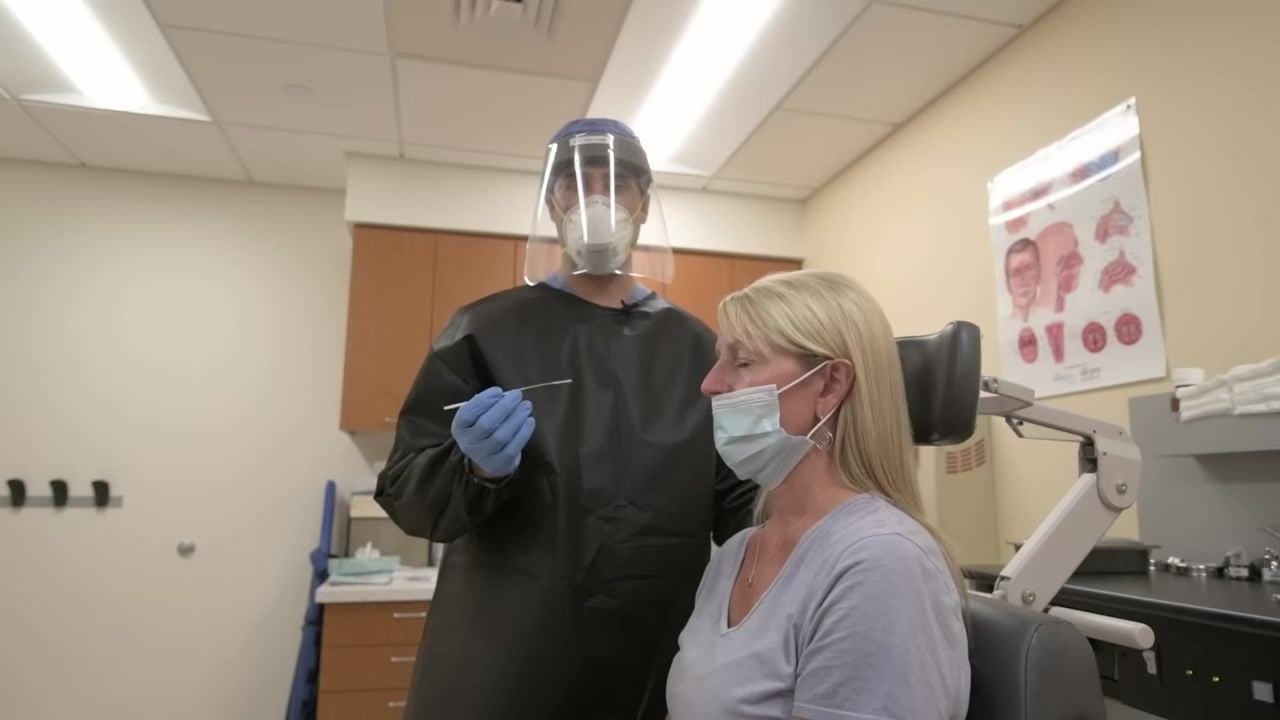
- Wear appropriate PPE: gown, gloves, mask, and face shield.
- Confirm the patient is seated comfortably in an examination chair.
- Introduce yourself and explain the procedure to the patient.
Step 2: Confirm patient mask protocol
- Before starting, ensure the patient's mask is still on and covering their mouth.
- This step is critical to protect you from any inadvertent coughing or sneezing during the procedure.
Step 3: Estimate swab insertion length
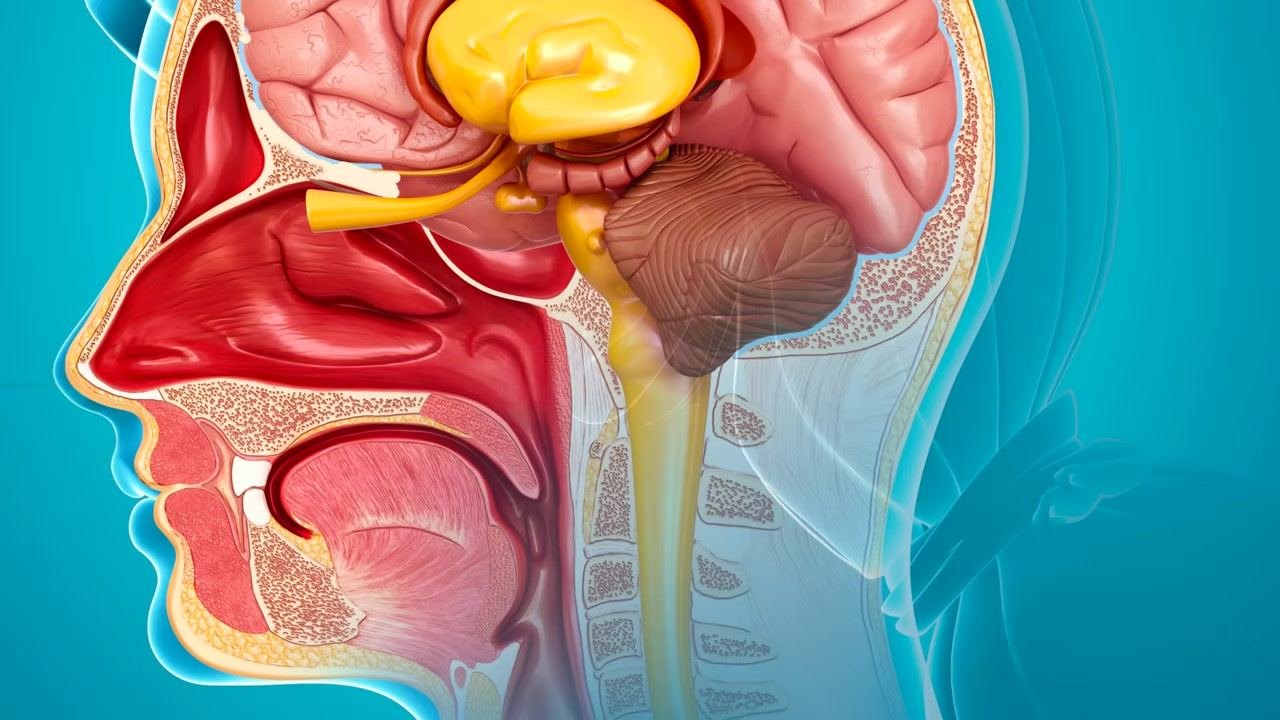
- Measure from the nasal ala (side of the nose) to the ear canal to estimate the correct insertion depth.
- The typical distance to the nasopharynx is approximately 7–8 centimeters from the nasal opening.
Step 4: Insert the swab with correct technique
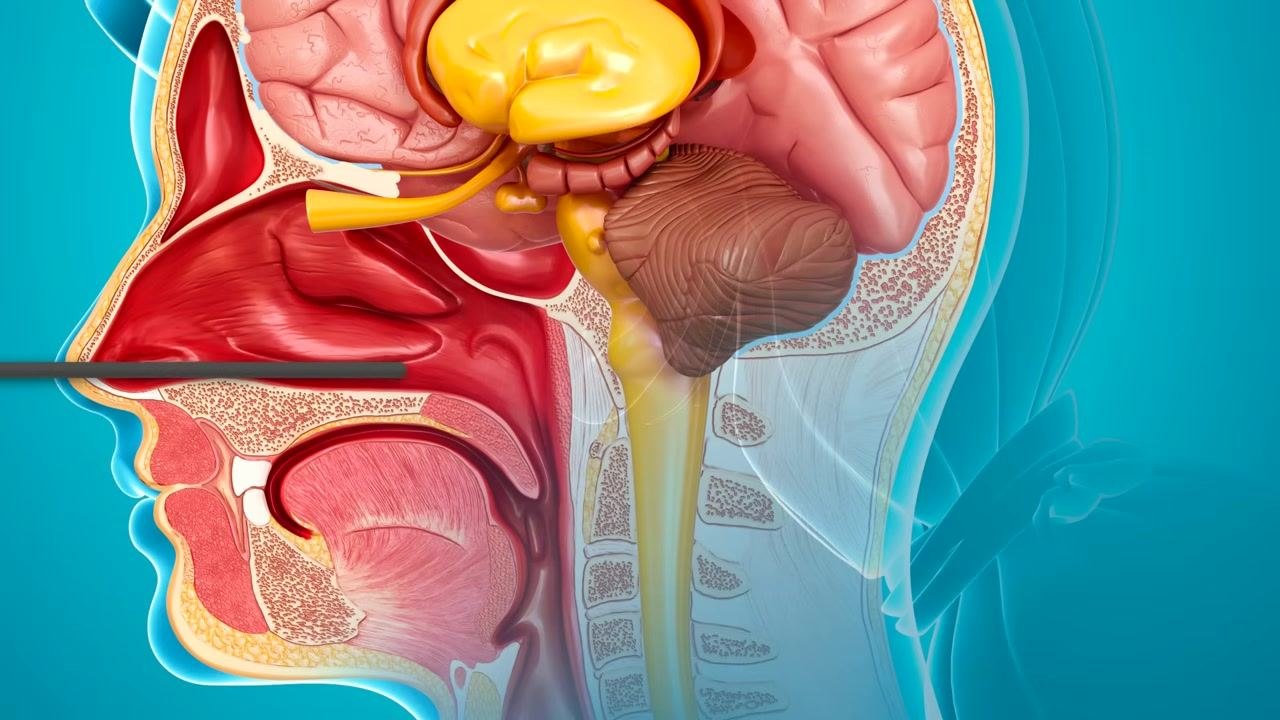
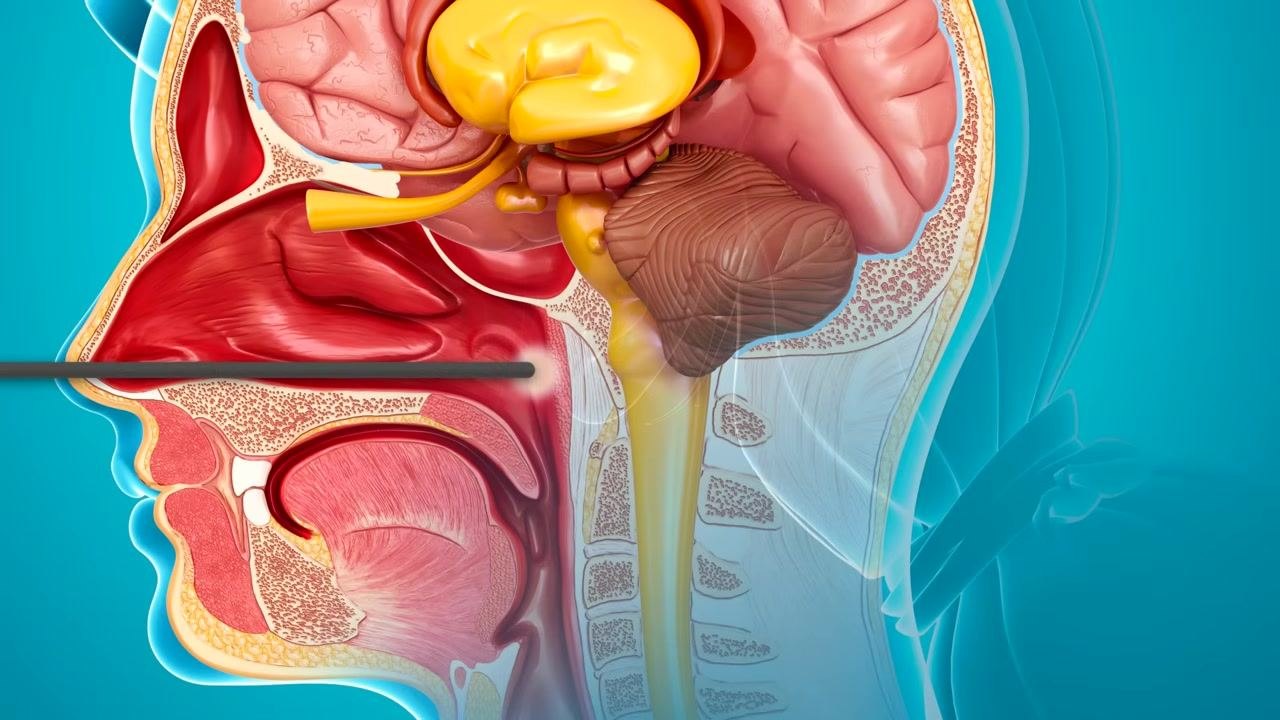
- Insert the swab straight back, parallel to the nasal floor — not upwards or at an angle.
- Avoid aiming toward the roof of the nose or other structures.
- Aim to reach the nasopharynx, which is directly back from the nasal opening.
Step 5: Collect the sample
- Advance the swab straight back approximately 7–8 centimeters until you feel resistance at the nasopharynx.
- Twist the swab gently back and forth for about 3–5 seconds to collect the specimen.
- Carefully remove the swab from the nostril.
Step 6: Repeat on the other nostril
- Perform the same procedure on the other side if required by your testing protocol.
Step 7: Handle the specimen
- Place the swab into the transport media tube.
- Break off the swab at its natural cleavage point so it fits inside the tube.
- Fasten the cap securely on the transport media tube to prevent spillage during transport.
Step 8: Send the specimen for laboratory testing
- Label the specimen according to your facility's protocol.
- Send the tube to the laboratory for COVID-19 testing.
Reference ranges
This procedure produces a qualitative respiratory specimen rather than a numeric result, so age- and sex-stratified reference ranges do not apply. The laboratory analysis of the collected specimen determines a positive or negative result for SARS-CoV-2. Critical/panic value definitions and notification requirements for a positive result are not specified in this procedure; follow your facility's reporting protocol.
Result interpretation
- A properly collected specimen — inserted straight back, parallel to the nasal floor, to a depth of approximately 7–8 centimeters, with adequate dwell time and gentle rotation — supports an accurate laboratory result.
- Interfering factors that can affect specimen adequacy include patient head movement during insertion, patient interference with the swab, and anatomical resistance preventing the swab from reaching the nasopharynx.
- Limitations: if the swab cannot reach the nasopharynx due to resistance or patient movement and cannot be corrected as described in the troubleshooting steps, specimen adequacy may be compromised.
Troubleshooting
Patient head movement
- A common issue during nasopharyngeal swabbing is the patient moving their head while the swab is in their nose.
- Position the patient's head in a neutral, straight-ahead position; avoid extension (tilting back) or flexion (tilting forward), as these make it difficult to reach the nasopharynx.
- If the patient moves their head during the procedure, pause temporarily and correct the patient's head back to the neutral position before continuing.
-
If necessary, fully remove the swab, communicate with the patient, and reinsert the swab on the same side to ensure an adequate test.
-
If the patient extends their head while the swab is being inserted, adjust the trajectory of your hand or ask the patient to return to the neutral position.
- Always prioritize patient comfort and safety.
Patient interference
- If the patient attempts to grab your hand or pull the swab out, calmly explain the importance of the procedure.
- Inform the patient that you must try again on the same side to obtain an adequate sample.
Anatomical resistance
- If you encounter resistance before reaching the nasopharynx, gently attempt to advance the swab past the obstruction if possible.
- If unable to proceed, gently remove the swab and attempt the procedure on the other nostril.
By following these steps and troubleshooting guidance, you can ensure safe, effective, and accurate nasopharyngeal swab collection, even in challenging situations. For further information and institutional protocols, visit health.uconn.edu.
Generation details: cost, quality tiers, downloads
Docsie billed 1,500 credits ($1.05) to analyze this 3-minute video at standard quality. The rewrite, template fill and Word/PDF exports were included. The same video at each quality tier:
| Quality | Frames sampled | Credits | Approx. cost |
|---|---|---|---|
| Draft | every 16-30 s | 750 | $0.52 |
| Standard (this guide) | every 8-15 s | 1,500 | $1.05 |
| Detailed | every 4-7 s | 3,000 | $2.10 |
| Ultra | every 1-3 s | 6,000 | $4.20 |
Credits priced at $0.70 per 1,000; plans include a monthly allowance. Enterprise customers on on-premise or bring-your-own-model deployments run this on their own inference and pay no per-video credits.
Generated by Docsie Video-to-Docs on 2026-09-28 from a 3-minute video. It was generated straight into Docsie's Lab Test Procedure template, so every section of that template is filled from the video. Screenshots are frames from the source video and belong to their creator, UConn Health, whose original is embedded above. If you own this video and want the guide removed or credited differently, contact us and we will act within one business day.