
How to Change an Ostomy Bag
This procedure explains how to change an ostomy bag, from gathering supplies through removing the old pouching system, cleaning and assessing the stoma, fitting a new skin barrier, applying the new pouch, and releasing trapped gas ("burping") from the bag. It is written for nursing and allied health staff supporting patients with a colostomy, ileostomy, or urostomy, and it doubles as a teaching reference for patients learning to manage their own ostomy care.
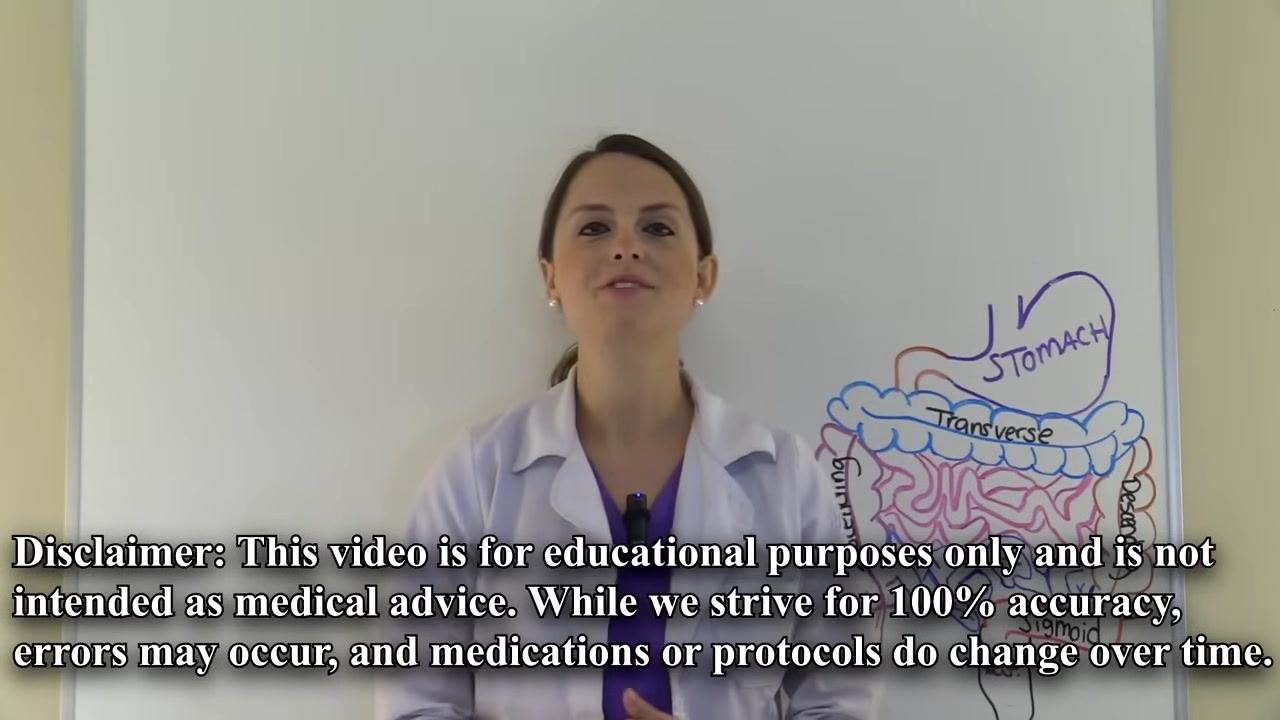
Video: Ostomy Bag Pouch Change | Ostomy Care Nursing | Colostomy, Ileostomy Bag Change by RegisteredNurseRN (2017). All credit for the demonstration goes to the creator; watch the original on YouTube. The written guide below was generated from this video by Docsie. Creator? Request a change or removal.
This procedure explains how to change an ostomy bag, from gathering supplies through removing the old pouching system, cleaning and assessing the stoma, fitting a new skin barrier, applying the new pouch, and releasing trapped gas ("burping") from the bag. It is written for nursing and allied health staff supporting patients with a colostomy, ileostomy, or urostomy, and it doubles as a teaching reference for patients learning to manage their own ostomy care.

Purpose and scope
This procedure describes how to change an ostomy bag safely, protect the peristomal skin, and prepare the patient for self-management. It applies to patients with an established or newly created stoma who require routine replacement of a one-piece or two-piece ostomy pouching system.
The procedure is intended for use at the bedside, in an outpatient stoma clinic, or in the patient's home once the patient or caregiver has been trained. It is educational in nature; always follow your facility's current protocols and product manufacturer instructions, since practices and products may change over time.
Patient assessment
Before starting the pouch change, assess the patient and the current pouching system to confirm that a change is needed and to plan the timing of the procedure.
| Assessment item | What to check |
|---|---|
| Pouch fullness | Inspect the pouch; empty it when it is one-third to one-half full, and change the full system every 3 to 5 days |
| Timing | Plan the change for when the gut is least active, typically in the morning before breakfast or before the patient eats |
| Patient history | If the patient is experienced with their ostomy, ask them when their stoma is usually least active; for a new stoma, morning is generally safest |
| Current pouching system | Confirm whether the patient uses a one-piece system (barrier attached to the pouch) or a two-piece system (barrier and pouch snap together) |
-
-
This procedure does not include vital sign monitoring frequency, a formal pain assessment tool, or neurovascular checks; where your facility requires these as part of routine care, document them according to local policy.
Care protocol
The care protocol for how to change an ostomy bag is organized into six phases: gathering supplies, removing the old pouch, cleaning and drying the stoma, measuring and cutting the new skin barrier, applying the new pouching system, and burping the bag to release gas.
| Phase | Focus | Key actions |
|---|---|---|
| 1 | Gather supplies and prepare | Assemble pouching system, barrier ring, clip, measuring card, pen, scissors, gloves, towel; perform hand hygiene; protect the patient |
| 2 | Remove the old pouch | Choose the optimal time; peel the barrier away gently; discard the used pouch |
| 3 | Clean and dry the stoma | Clean with warm water only; inspect for skin breakdown; trim hair if needed; dry thoroughly |
| 4 | Measure and cut the new barrier | Use the measuring board to size the stoma; mark and cut the barrier opening |
| 5 | Apply the new pouching system | Attach the closure clip; apply the barrier ring if needed; center and press the barrier onto the skin |
| 6 | Burp the bag | Release trapped gas periodically to prevent over-inflation |
Phase 1: Gather supplies and prepare
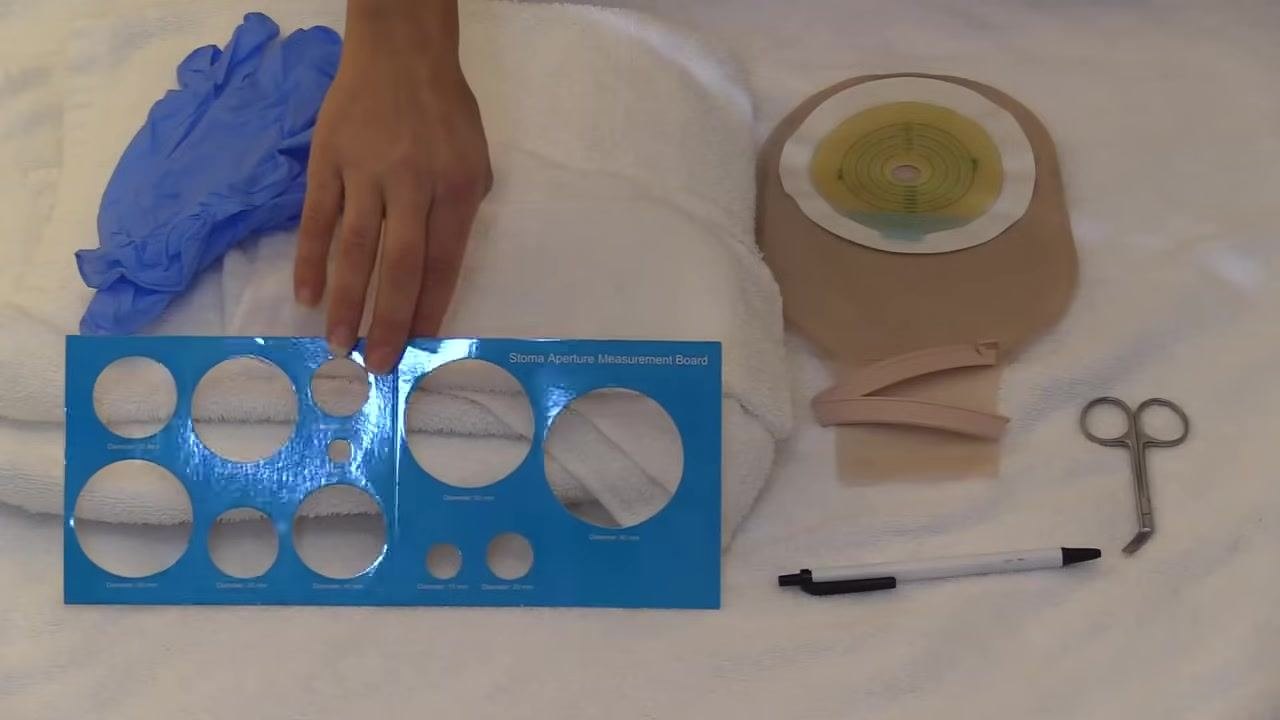
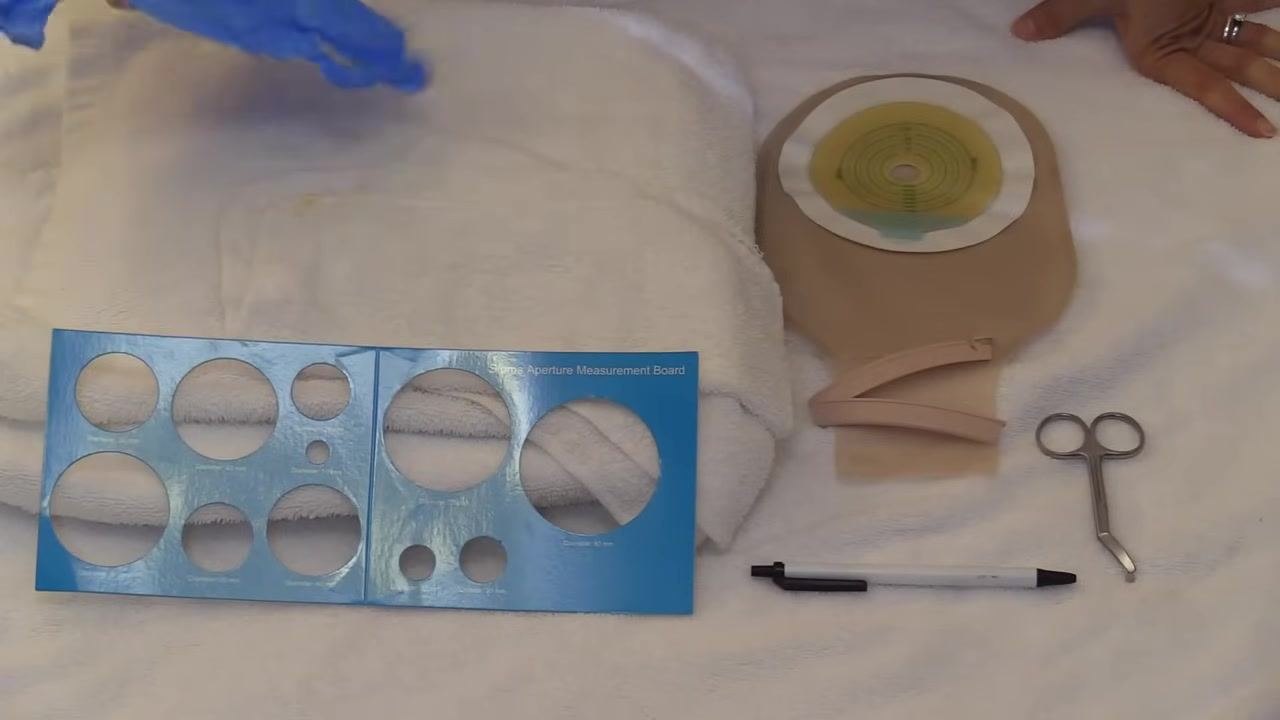
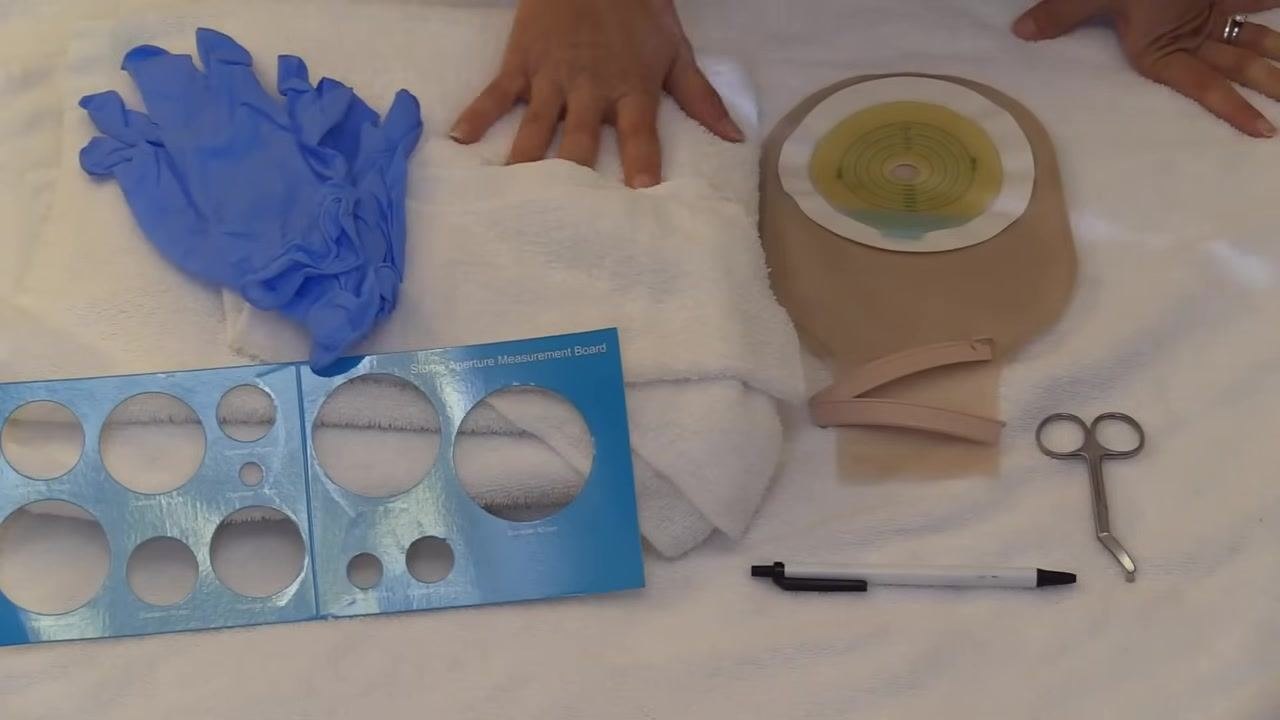
Assemble all supplies before starting:
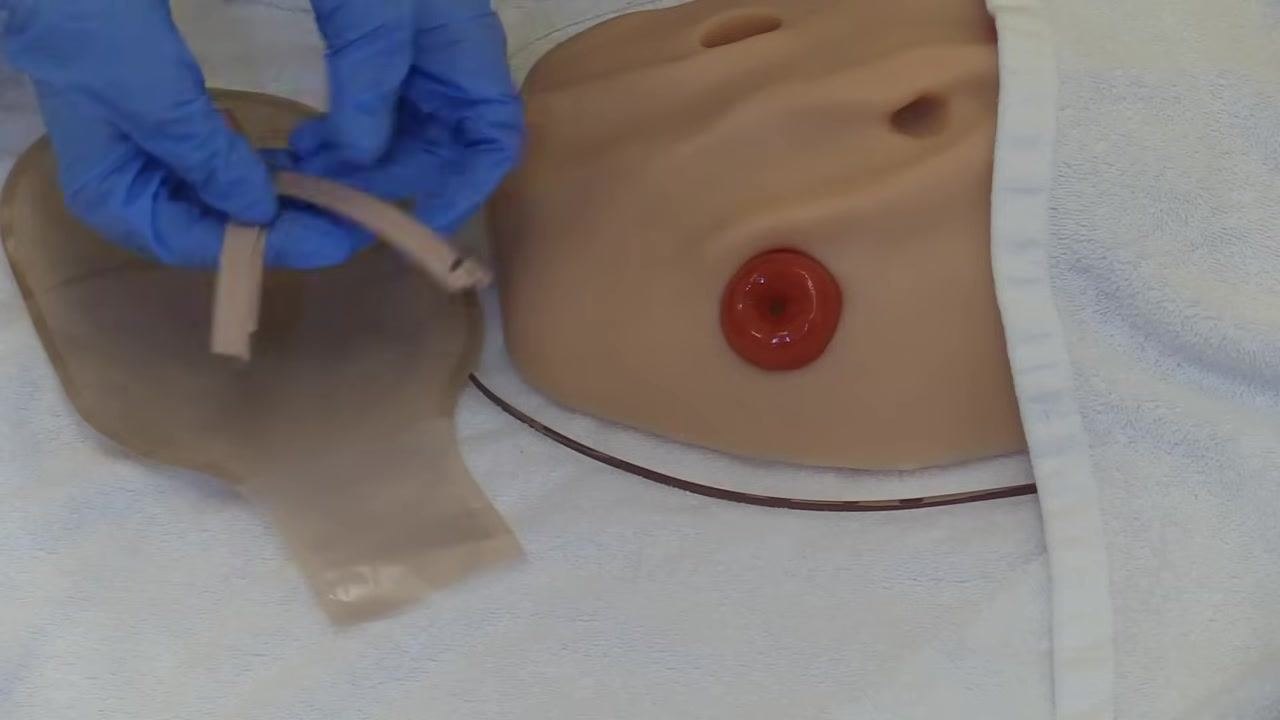
- Ostomy pouching system – a one-piece system (barrier attached to the pouch) or a two-piece system (barrier and pouch snap together)
- Barrier ring (optional) – for extra protection when a patient has skin breakdown from stool exposure
- Clip – required for some pouching systems to close the bag; some bags use Velcro instead
- Measuring card – used to measure the stoma for accurate cutting of the barrier
- Pen – for marking the barrier
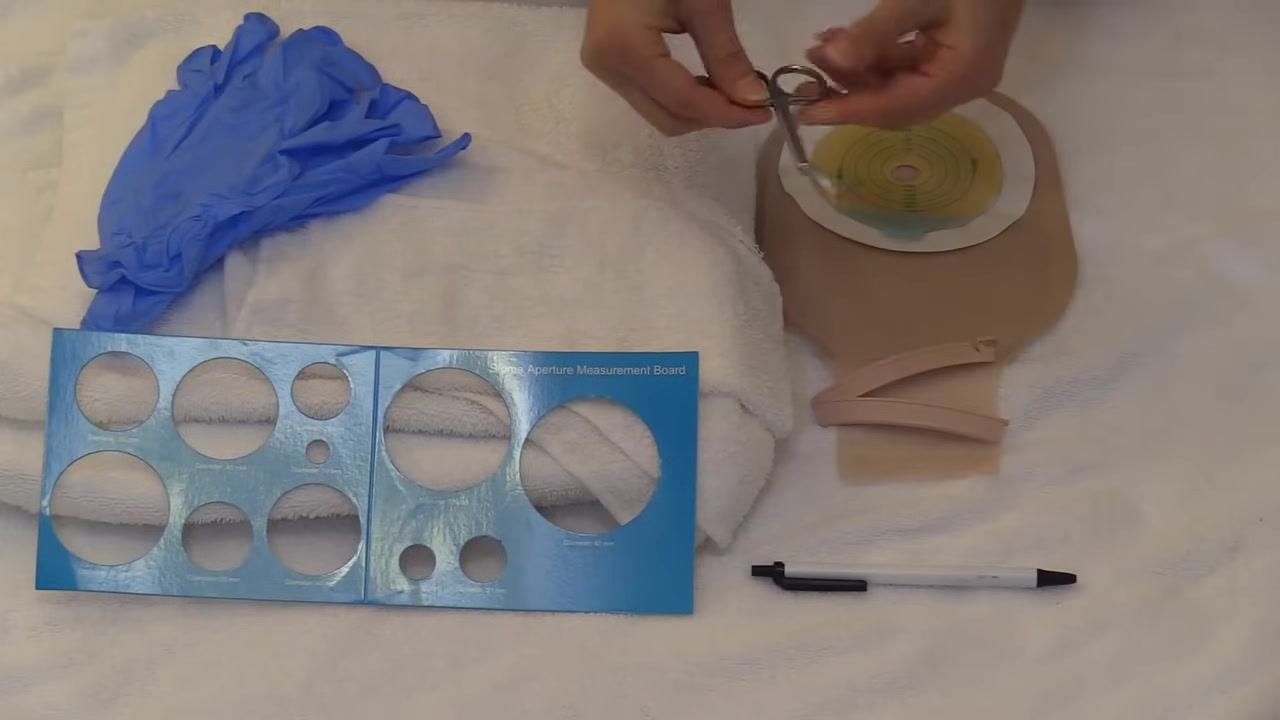
- Ostomy scissors – special scissors with a curved, blunt tip that create a smooth, circular cut in the barrier and prevent jagged edges
- Gloves – for hygiene and protection
- Washcloths – for cleaning and drying the stoma
- Towel – to create a clean working surface and to protect the patient's gown and skin from any stool leakage
Lay all supplies out on a clean towel for easy access, perform hand hygiene, and put on gloves before beginning.
-
-
-
-
Phase 2: Remove the old pouch
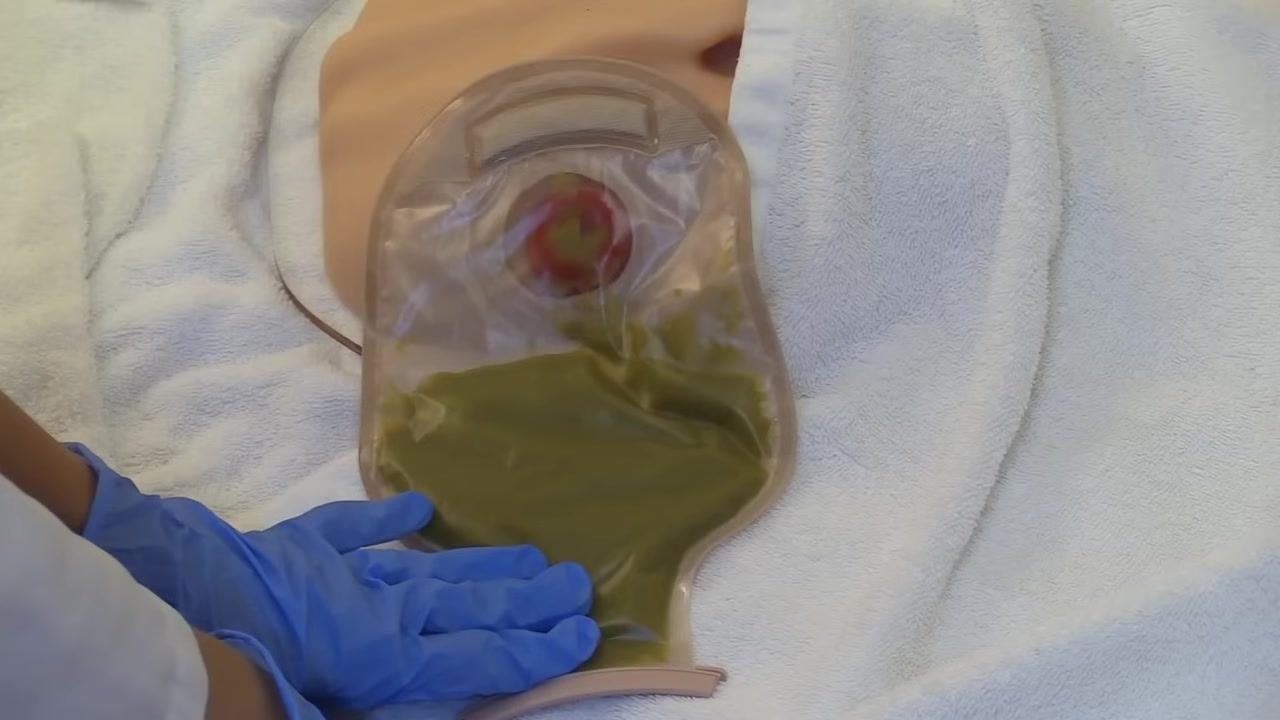
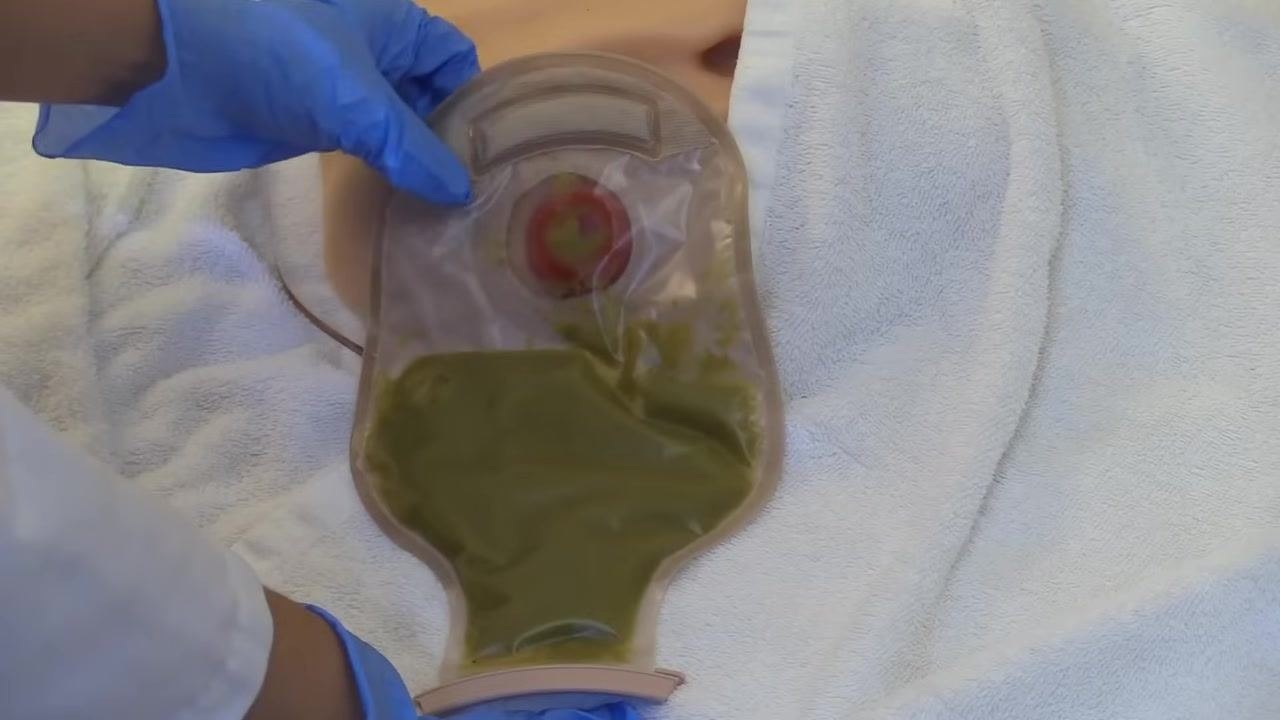
Time the change for when the gut is least active, usually in the morning before the patient eats. Peel the adhesive barrier of the pouching system away from the skin gently; if you meet resistance, use an adhesive remover to help lift the barrier rather than pulling quickly or forcefully. Discard the used pouch and barrier in an appropriate waste container according to facility or home guidelines.
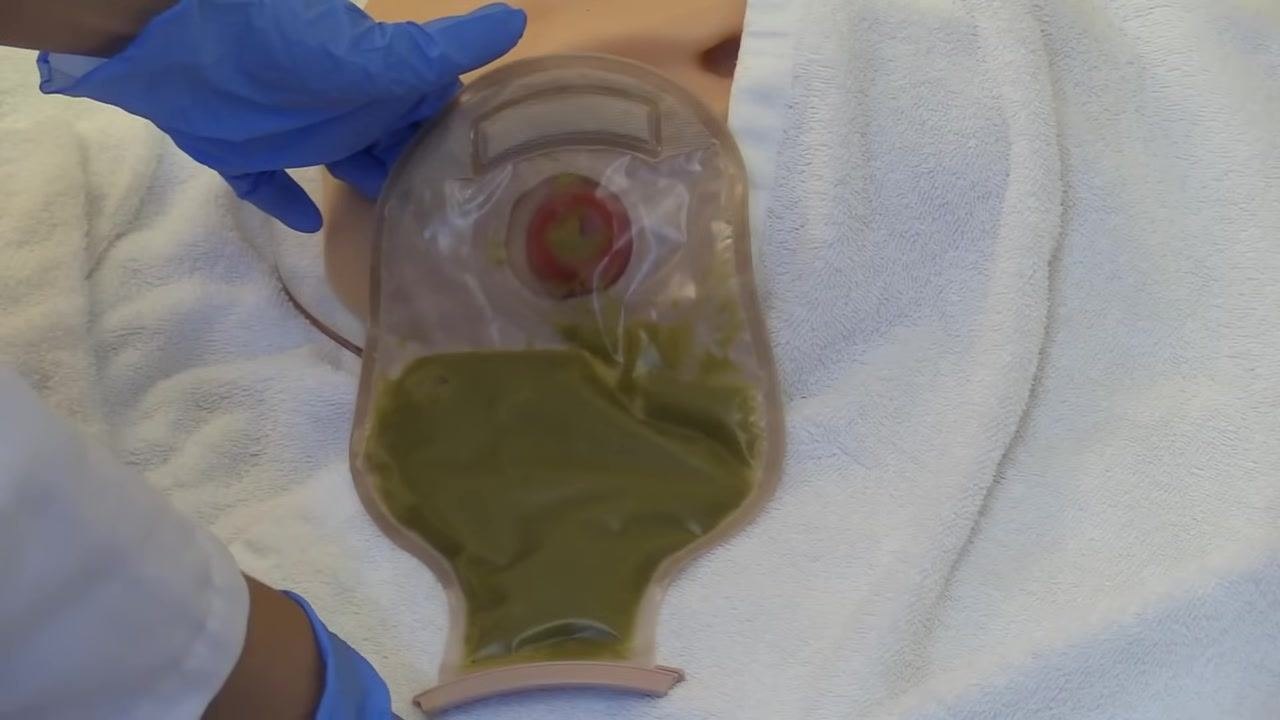
Encourage the patient to assist as much as possible during removal. Patient participation during the pouch change helps them build the skills and confidence for self-care at home.
Changing an ostomy pouch can produce strong odors. If you are sensitive to smells, consider wearing a mask or applying a small amount of vapor rub around your nose before starting.
-
-
Phase 3: Clean and dry the stoma
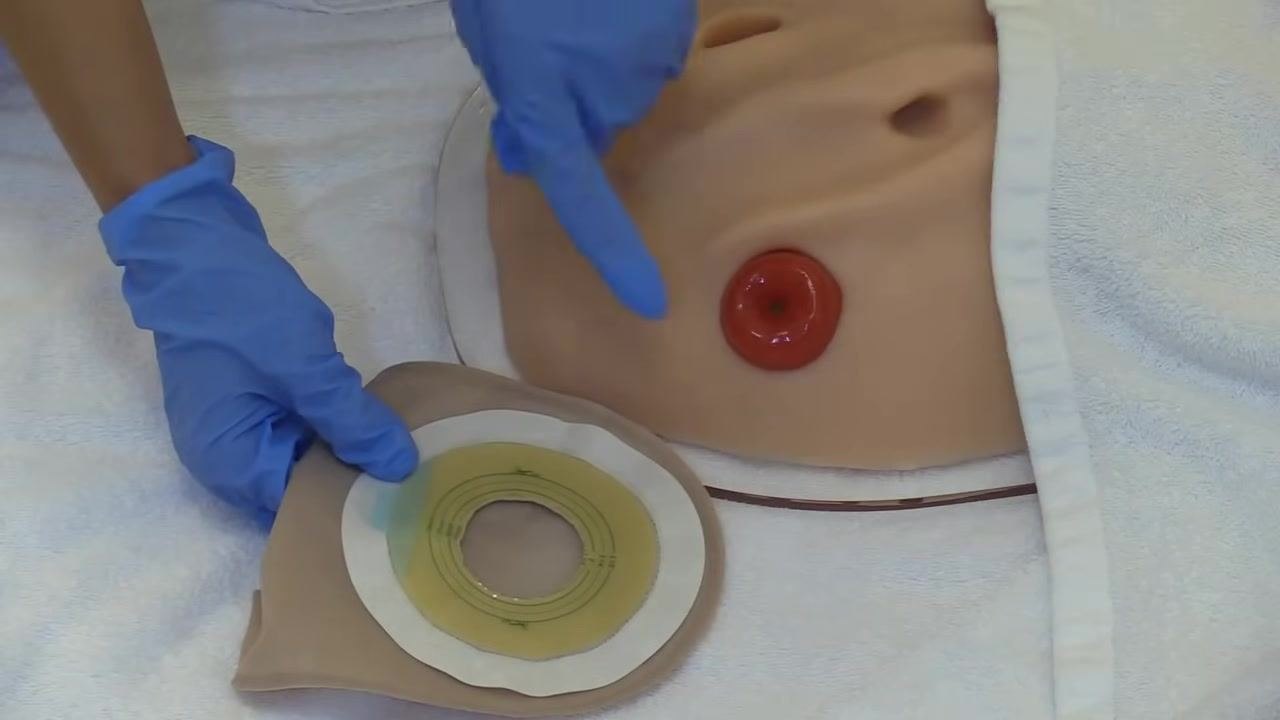
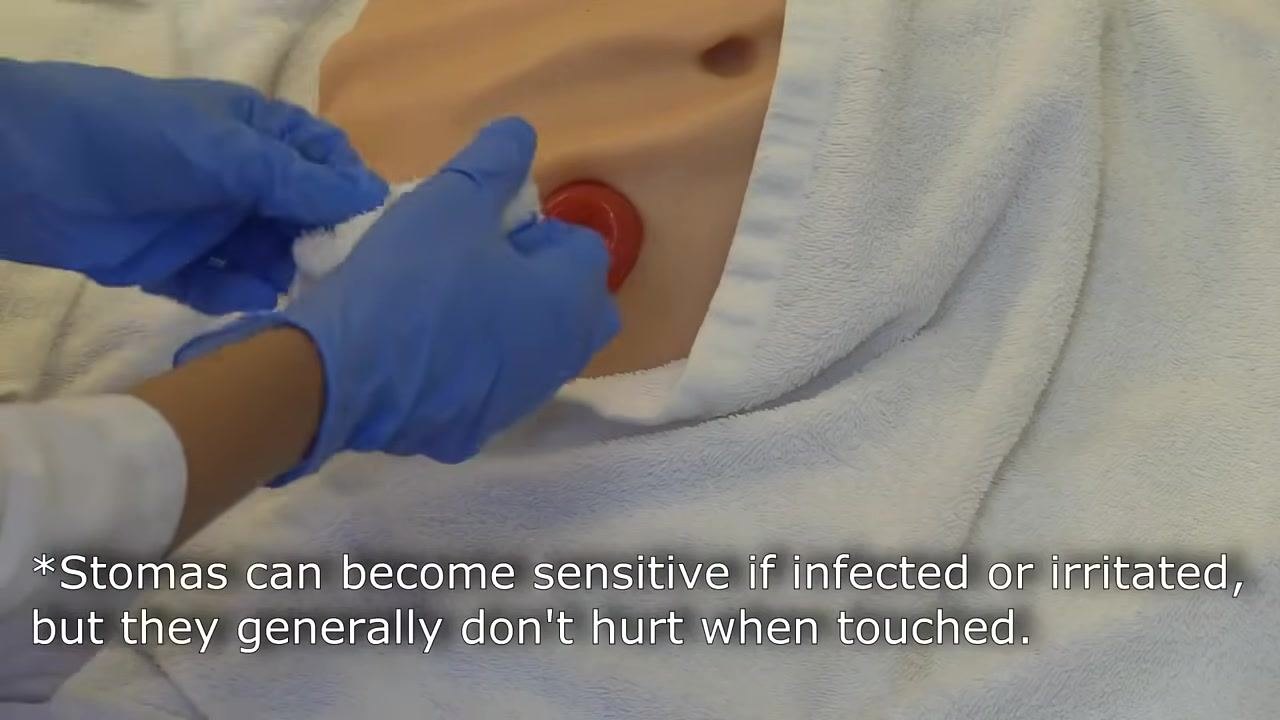
Use a washcloth dampened with warm water to clean around the stoma. Do not use soaps that contain lotions, powders, creams, or alcohol, since these can irritate the skin or interfere with adhesion. Clean in a circular motion around the stoma, then clean the stoma itself using a fresh section of the cloth, being gentle to avoid irritation.
Stomas can become sensitive if infected or irritated, but they generally do not hurt when touched. Continue cleaning as needed and stay alert for any signs of irritation.
Dispose of used cleaning materials appropriately, then pat the skin and stoma area completely dry with a clean towel or gauze. Moisture left on the skin can interfere with adhesion and increase the risk of skin breakdown. If hair is present around the stoma, trim it carefully — this helps the skin barrier stick better and prevents painful hair removal at the next pouch change. Remove and discard your gloves, then perform hand hygiene again before continuing.
-
-
-
Phase 4: Measure and cut the new skin barrier
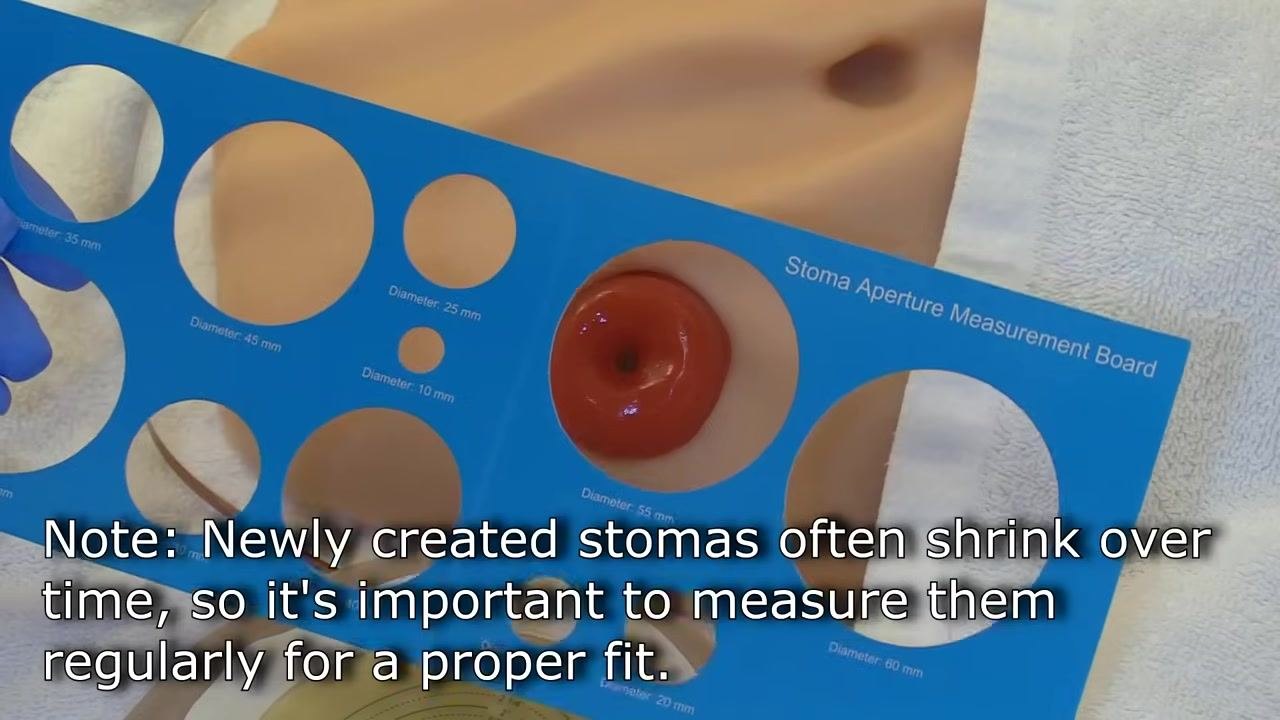
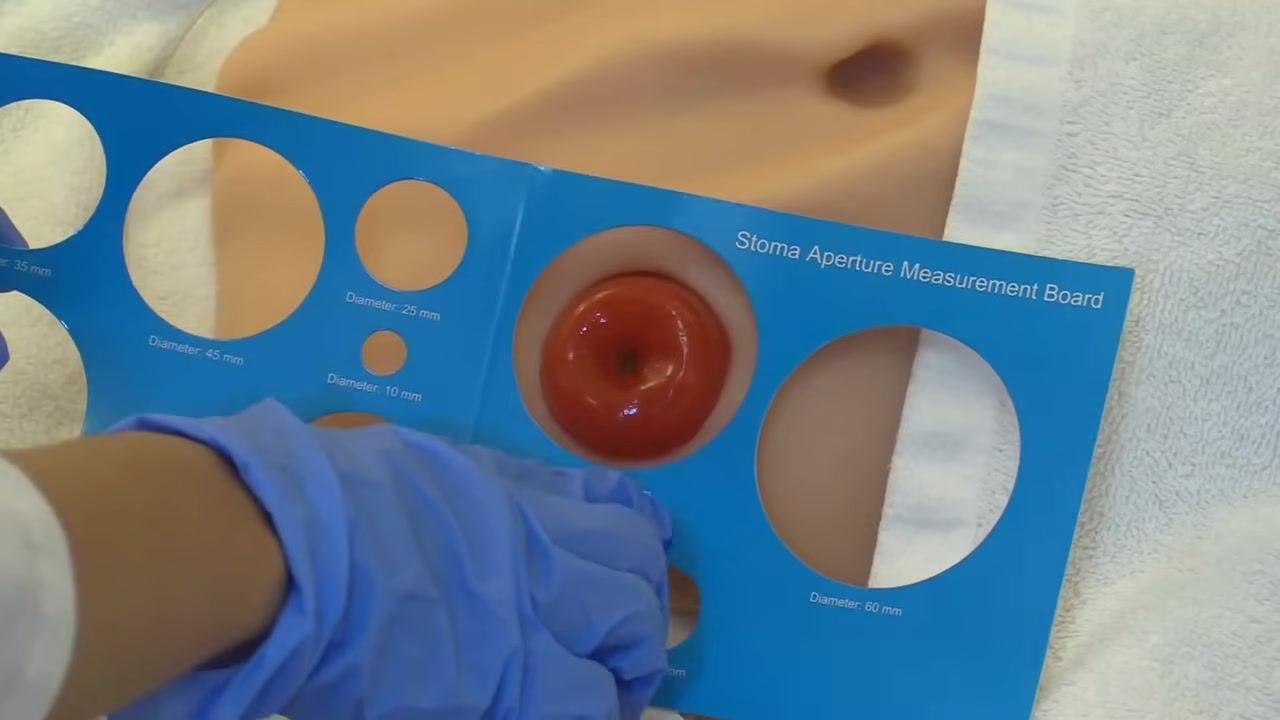
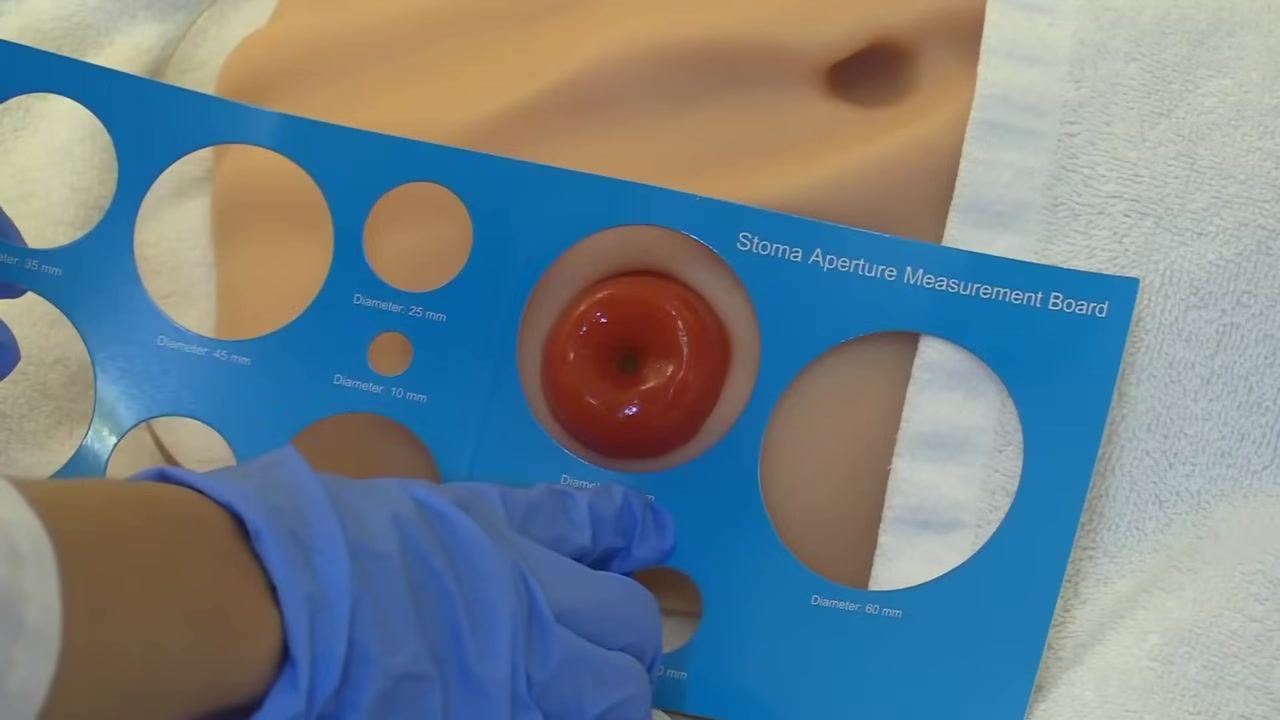
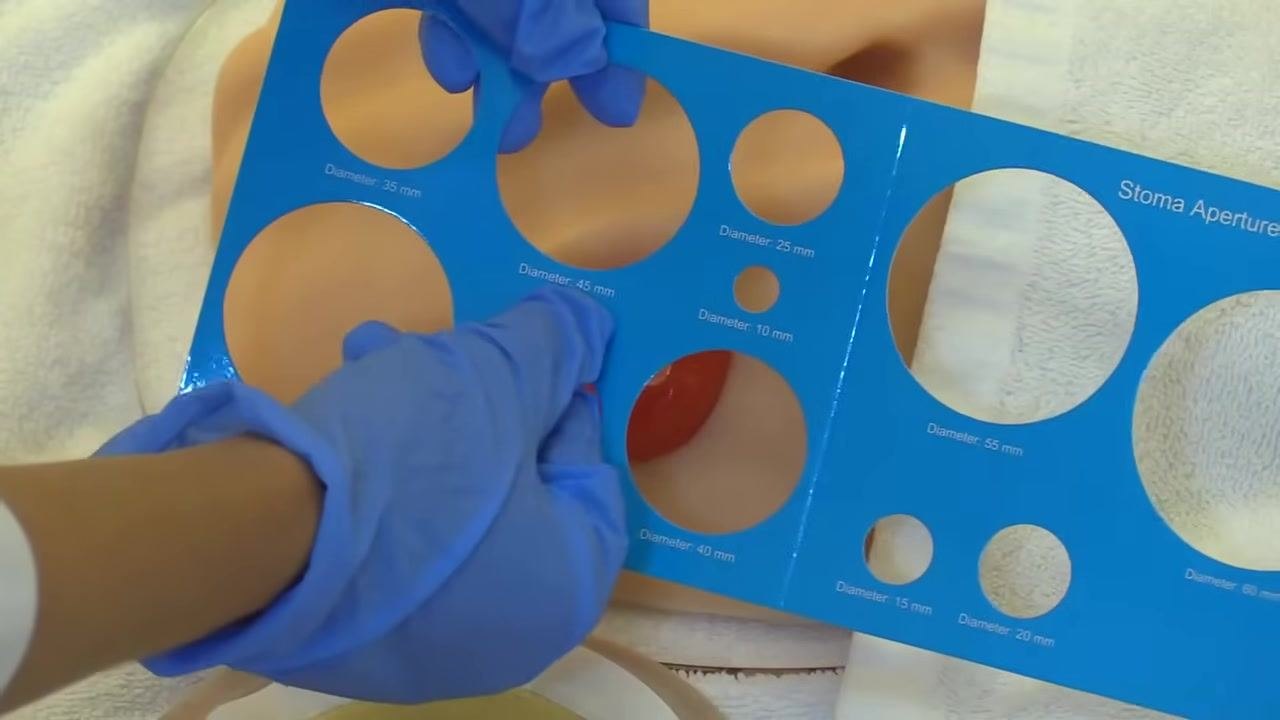
Use the stoma aperture measurement board to measure the diameter of the stoma. Newly created stomas often shrink over time, so measure regularly rather than assuming the previous size is still correct. Compare the board's labeled diameters (for example 25 mm, 35 mm, 45 mm, 60 mm) directly against the stoma until you find the opening that fits closely without constricting it.
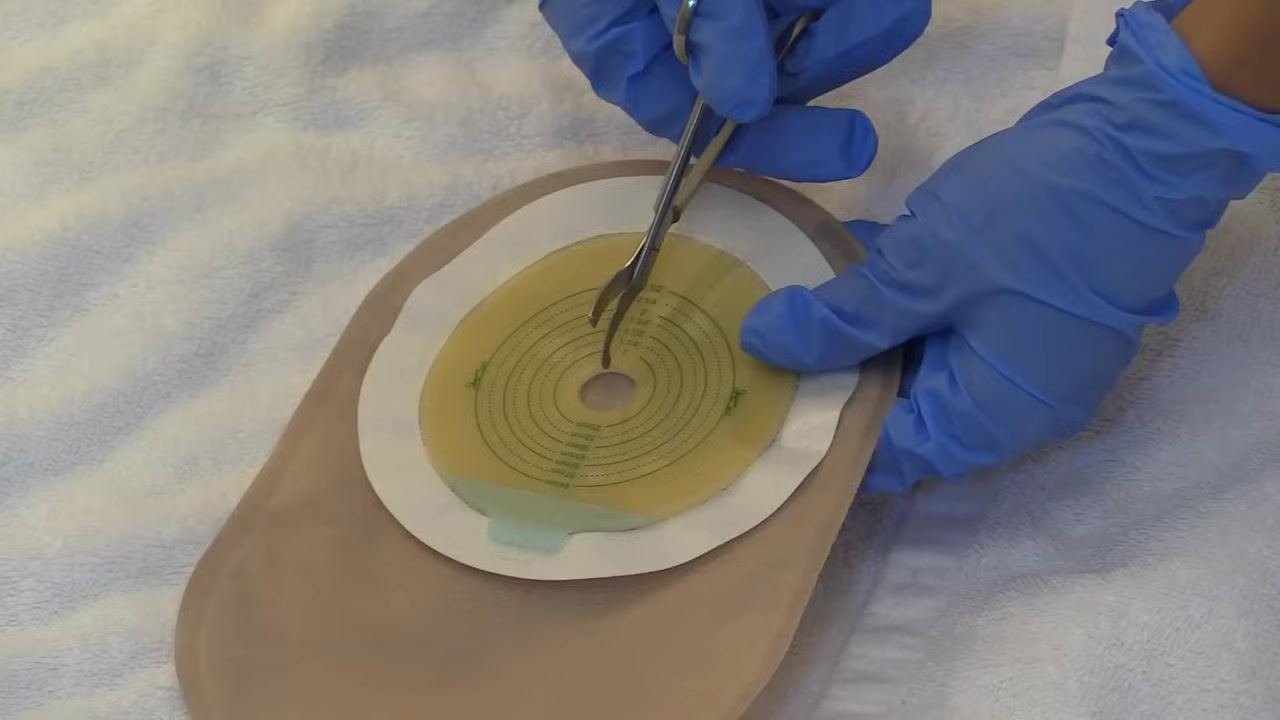
Match the confirmed measurement to the skin barrier. If the barrier is pre-labeled with concentric cutting guides (for example 25 mm, 32 mm, 38 mm, 45 mm, 50 mm, 57 mm, 64 mm), identify the correct line; if it is not pre-labeled, trace the correct opening onto the barrier using the measurement board. Use a marker to highlight the cutting line if it helps you cut accurately.
Cut along the marked line with ostomy scissors, holding the barrier steady and cutting slowly for a smooth, accurate opening. Rotate the barrier as you go so you can access all sides, and continue until the opening is complete. The finished opening should be about 1/8 inch (3 mm) larger than the stoma — large enough to avoid constriction, but small enough to minimize exposed skin. Inspect the cut edge and use the scissors to trim away any rough or jagged sections so the edge is round and even; a smooth edge helps prevent skin irritation and supports a snug fit.
-
-
-
-
-
Phase 5: Apply the new pouching system
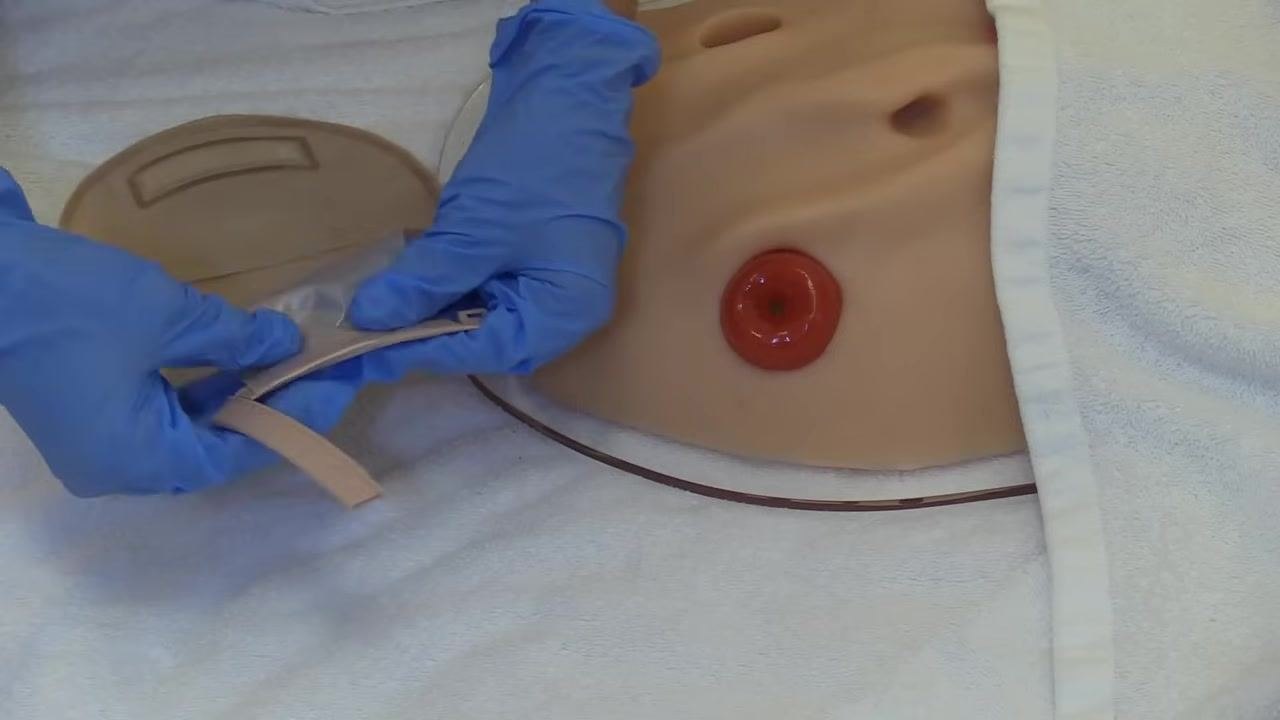
Lay the new pouch and closure clip out on a clean surface. Hold the clip in both hands and prepare to attach it to the open end of the pouch; align the clip with the end of the pouch, insert the pouch fully, and press the clip down until it snaps securely in place. Confirm the closure is tight before continuing, since clips can feel unfamiliar at first.
If the patient's peristomal skin shows redness, irritation, or a history of leakage, apply a barrier ring at this stage. Remove the backing from the ring, stretch or mold it as needed to fit snugly around the base of the stoma, and confirm it forms a complete seal without gaps.
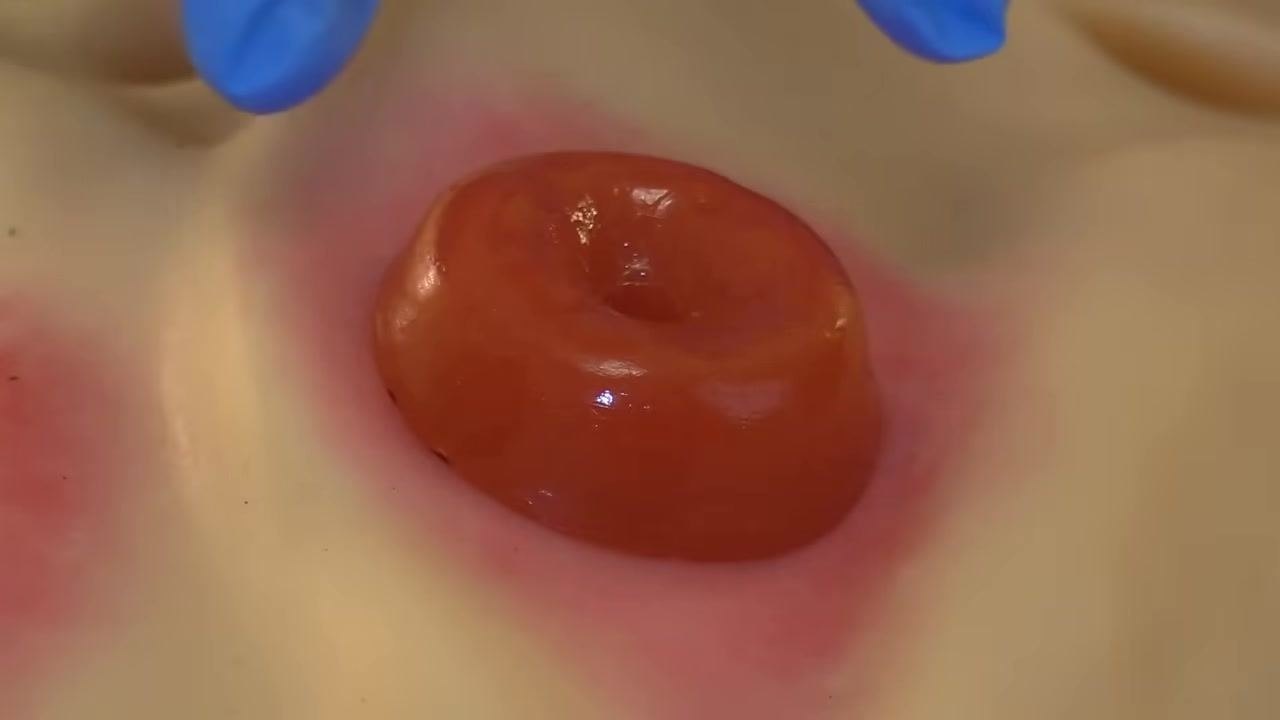
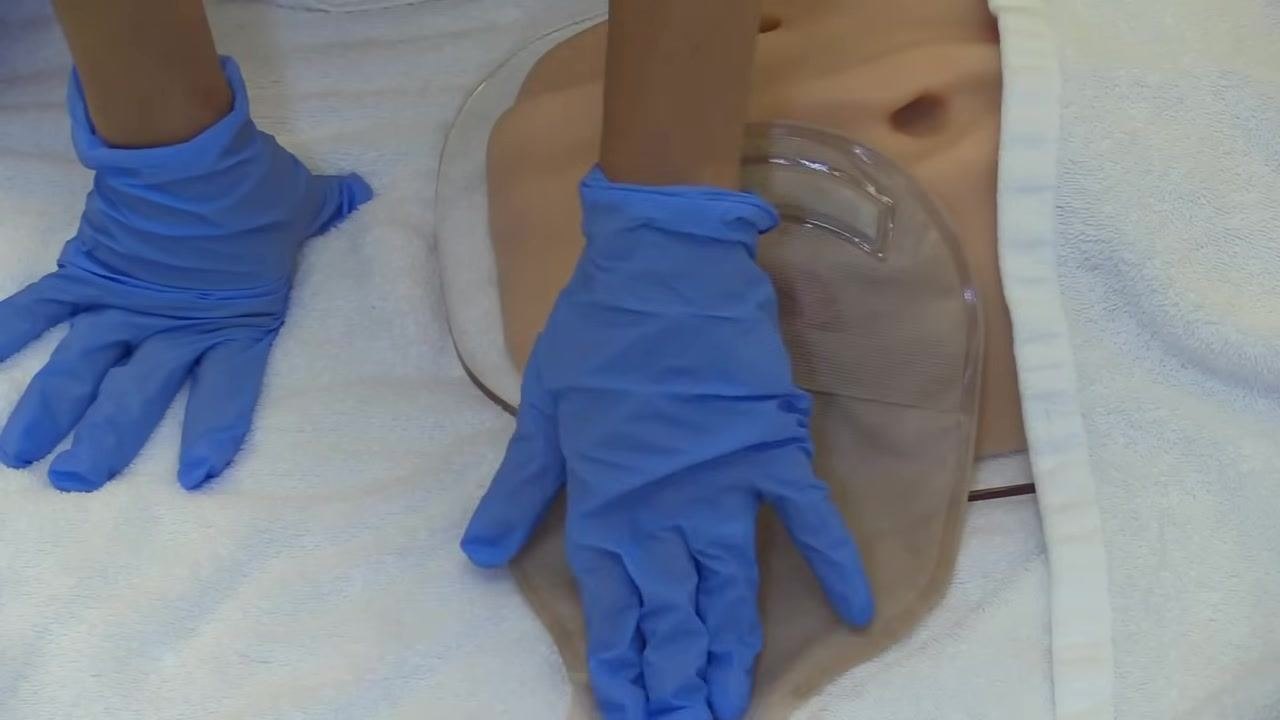
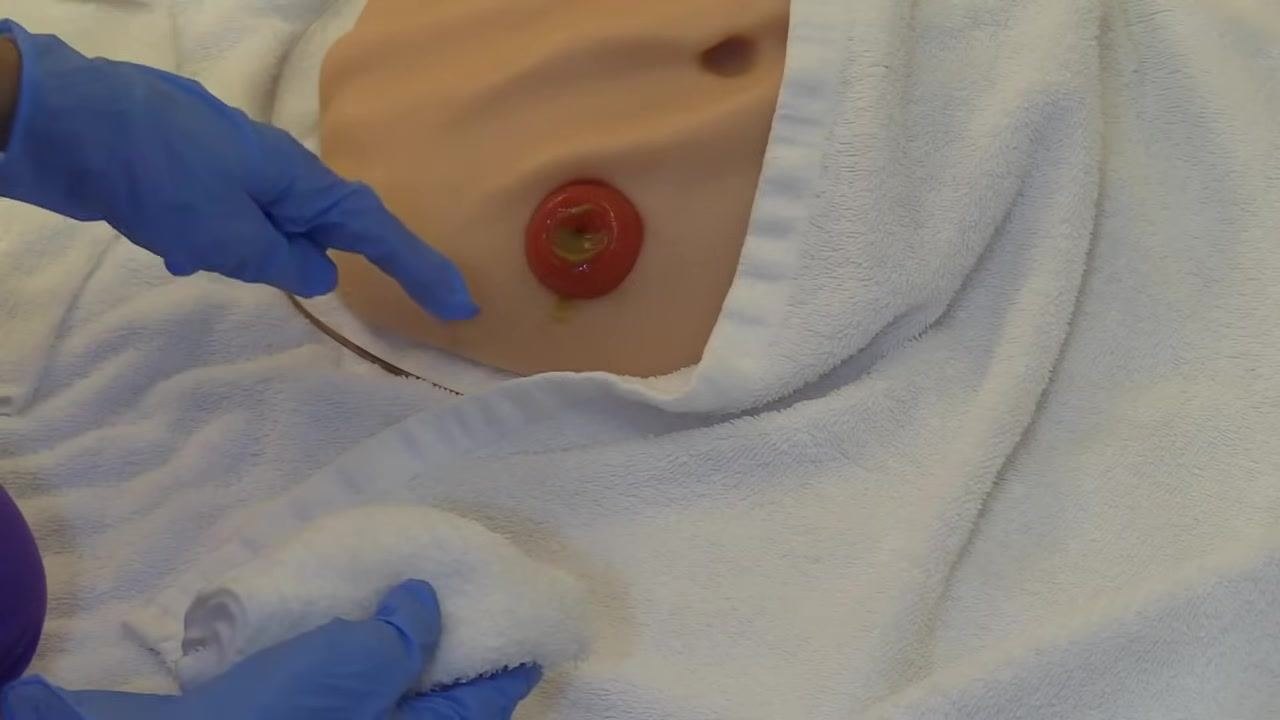
Center the opening of the skin barrier over the stoma, then gently press the barrier onto the skin, smoothing it around the stoma to ensure full contact and adhesion. Work out any wrinkles or air pockets with your fingers so the barrier fits snugly and adheres well. Once applied, press gently over the entire barrier to confirm it is fully adhered.
-
-
-
Phase 6: Burp the bag
Ostomy bags inflate with gas over time and need periodic "burping" to release trapped air and prevent over-inflation. Wear gloves before handling the bag. Locate the closure mechanism at the end of the bag — often a clip or Velcro — and gently open it to let the trapped air escape, holding the bag away from your face and body to avoid exposure to any odor. Open the bag only enough to release the air, not the contents, since releasing gas may produce an unpleasant odor.
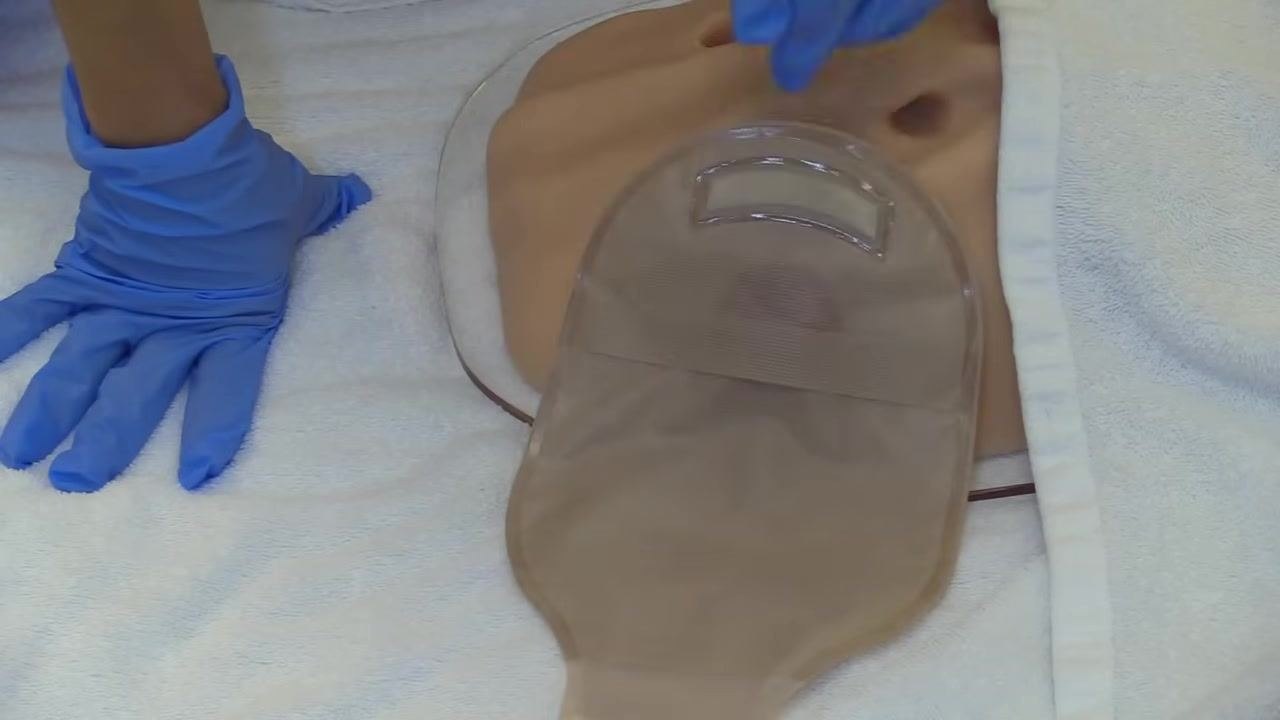
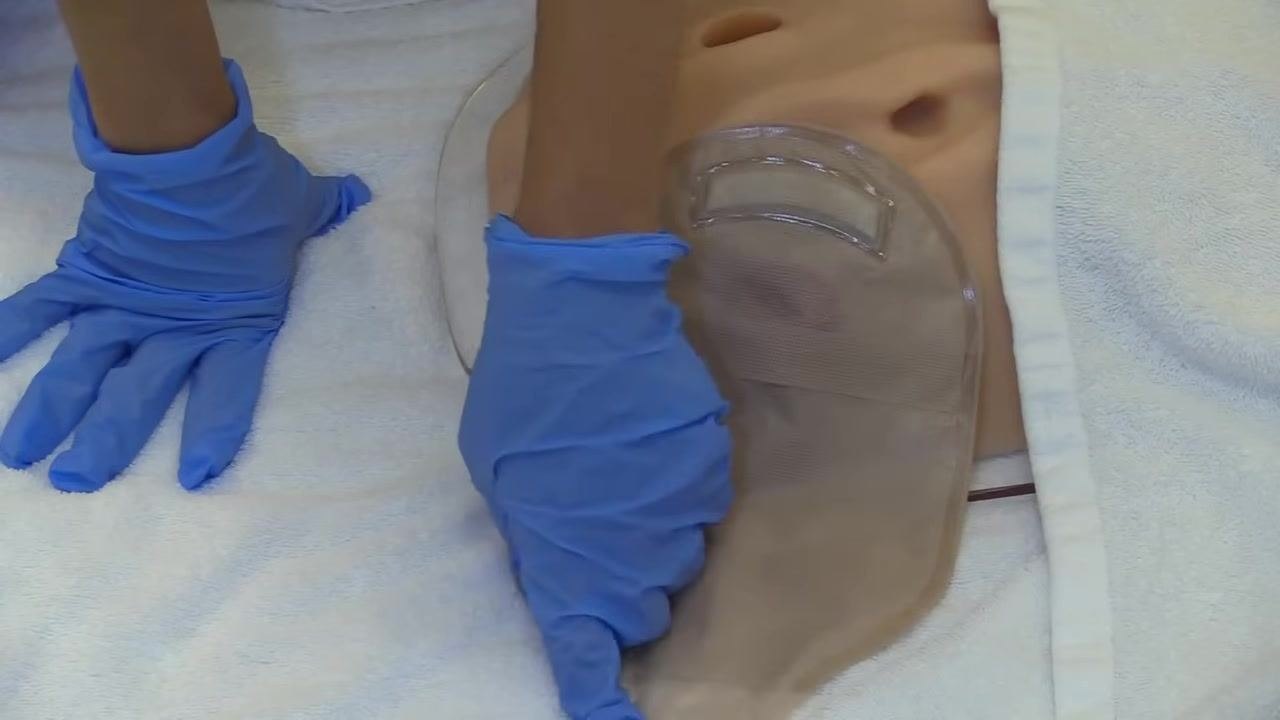
Bulky clothing or gowns can obscure your view of the bag and make it harder to see whether it is inflated; adjust or move clothing as needed to properly assess the bag's condition.
-
-
Pain management
This procedure does not describe pain medications, dosing, or a pain score target; the source material notes only that a stoma can become sensitive if infected or irritated, but it generally does not hurt when touched. A complete pain management plan, including a medication table with drug, dose, route, and frequency, along with an escalation pathway, belongs here and should be added according to your facility's clinical protocol.
Mobility milestones
No mobility goals or ambulation timeline are described in connection with this procedure. A mobility milestones section, such as a day-by-day progression from bed exercises to chair transfer and ambulation, would belong here if this procedure were part of a broader post-operative recovery pathway.
Complication monitoring
Before applying a new pouching system, carefully examine the peristomal skin for signs of breakdown, such as extreme redness or irritation. Redness around the stoma indicates possible leakage of stool underneath the skin barrier and contact with the skin. If you observe this, plan to use a barrier ring or other protective product when replacing the pouching system to prevent further skin damage.
-
Also monitor the bag itself between changes: check regularly for fullness, over-inflation from trapped gas, and any signs of leakage, and remember that clothing can hide inflation, so check visually as well as by feel. This procedure does not specify formal escalation contacts; follow your facility's policy for reporting persistent skin breakdown or leakage.
Discharge criteria
Specific measurable discharge criteria are not defined in this procedure. What is emphasized is patient readiness for self-management: encourage the patient to participate as much as possible during the pouch change, since this builds the independence needed for self-care at home. Where formal discharge criteria are required, add them here according to your facility's post-operative or stoma-care discharge policy.
Patient education
Before the patient goes home, cover the following points:
- Change the ostomy pouching system every 3 to 5 days.
- Empty the pouch whenever it becomes one-third to halfway full to prevent leaks and maintain comfort.
- Check the pouch regularly for fullness and signs of leakage, and burp the bag as needed to release trapped gas and maintain comfort.
- Perform the burping step in a private area when possible, since releasing gas can produce an unpleasant odor.
- Clean the skin around the stoma with warm water only, avoiding soaps with lotions, powders, creams, or alcohol.
- Watch for redness or irritation around the stoma, which can indicate stool leaking under the barrier, and use a barrier ring if this occurs.
- Trim hair around the stoma as needed to help the barrier adhere and to avoid painful hair removal at the next change.
- Remember that stomas can become sensitive if infected or irritated, but they generally do not hurt when touched.
- Measure the stoma regularly, since newly created stomas often shrink over time and the barrier opening will need to be adjusted.
Generation details: cost, quality tiers, downloads
Docsie billed 6,000 credits ($4.20) to analyze this 12-minute video at standard quality. The rewrite, template fill and Word/PDF exports were included. The same video at each quality tier:
| Quality | Frames sampled | Credits | Approx. cost |
|---|---|---|---|
| Draft | every 16-30 s | 3,000 | $2.10 |
| Standard (this guide) | every 8-15 s | 6,000 | $4.20 |
| Detailed | every 4-7 s | 12,000 | $8.40 |
| Ultra | every 1-3 s | 24,000 | $16.80 |
Credits priced at $0.70 per 1,000; plans include a monthly allowance. Enterprise customers on on-premise or bring-your-own-model deployments run this on their own inference and pay no per-video credits.
Generated by Docsie Video-to-Docs on 2026-09-20 from a 11-minute video. It was generated straight into Docsie's Patient Care Procedure template, so every section of that template is filled from the video. Screenshots are frames from the source video and belong to their creator, RegisteredNurseRN, whose original is embedded above. If you own this video and want the guide removed or credited differently, contact us and we will act within one business day.