
How to Change a Suprapubic Catheter Dressing
This procedure describes how to change a suprapubic catheter dressing and replace the catheter itself, including cleaning the insertion site, inserting the new catheter, irrigating and confirming placement, and securing the tubing. It is intended for use only after the very first catheter change has already been performed by a qualified professional. Follow each phase in order and confirm placement before moving to the next step.
Video: How to Change a Suprapubic Catheter by Elise De, MD (2024). All credit for the demonstration goes to the creator; watch the original on YouTube. The written guide below was generated from this video by Docsie. Creator? Request a change or removal.
This procedure describes how to change a suprapubic catheter dressing and replace the catheter itself, including cleaning the insertion site, inserting the new catheter, irrigating and confirming placement, and securing the tubing. It is intended for use only after the very first catheter change has already been performed by a qualified professional. Follow each phase in order and confirm placement before moving to the next step.
Purpose and scope
A suprapubic catheter passes through a surgically created opening in the abdominal wall rather than through the urethra. This procedure covers the routine exchange of an existing suprapubic catheter, cleaning and re-dressing the insertion site, and securing the new catheter and drainage system.
This procedure should only be performed after the initial catheter change has been completed by a qualified professional; the first change should never be attempted independently. The source material does not specify a particular care setting (ward, outpatient clinic, or home); this section should otherwise state where the procedure is performed and confirm the patient population it applies to.
Patient assessment
Before beginning the catheter change, gather all equipment and confirm the site and patient are ready for the procedure.
| Assessment/preparation item | Detail |
|---|---|
| Workspace | Clean, flat surface in a well-lit environment with all equipment within easy reach |
| Equipment on hand | Extra syringe, sterile gloves, betadine and three swabs, new catheter, lubricant (if required), collection bag and tubing, sterile drapes and containers |
| Insertion depth | Note or mark the depth of the existing catheter before removal, for reference when placing the new one |
| Bladder status | Confirm the bladder is empty before inserting the new catheter |
| Hand hygiene | Don sterile gloves before handling the new catheter or touching the insertion site |
The source material does not specify a vital sign monitoring frequency, a formal pain assessment tool, or neurovascular checks; these should be documented according to your facility's standard assessment protocol.
Care protocol
The procedure is carried out in four phases: removing the old catheter, inserting and securing the new catheter, irrigating and confirming placement, and applying the final dressing/securement.
Phase 1: Remove the old catheter
- Deflate the balloon of the existing catheter using a syringe.
- Gently withdraw the old catheter, noting the depth at which it was inserted.
- Mark or remember the insertion depth for reference when placing the new catheter.
- Plan to insert the new catheter a few centimeters deeper than the old one, to ensure the balloon sits fully inside the bladder and not in the abdominal wall.
Phase 2: Clean the site and insert the new catheter
- Put on sterile gloves before proceeding.
- Use betadine and three separate swabs to thoroughly clean the abdominal wall around the insertion site.
- Lubricate the new catheter if necessary.
- Gently and slowly insert the new catheter, following the same track as the previous one, to the previously marked depth plus a few extra centimeters.
- Confirm the bladder is empty before proceeding, and check for a small amount of fluid return to confirm correct placement in the bladder.
- Attach the syringe to the balloon port and gently inflate the balloon, as you would with a standard Foley catheter. The inflation should feel similar to previous experiences with the same syringe size.
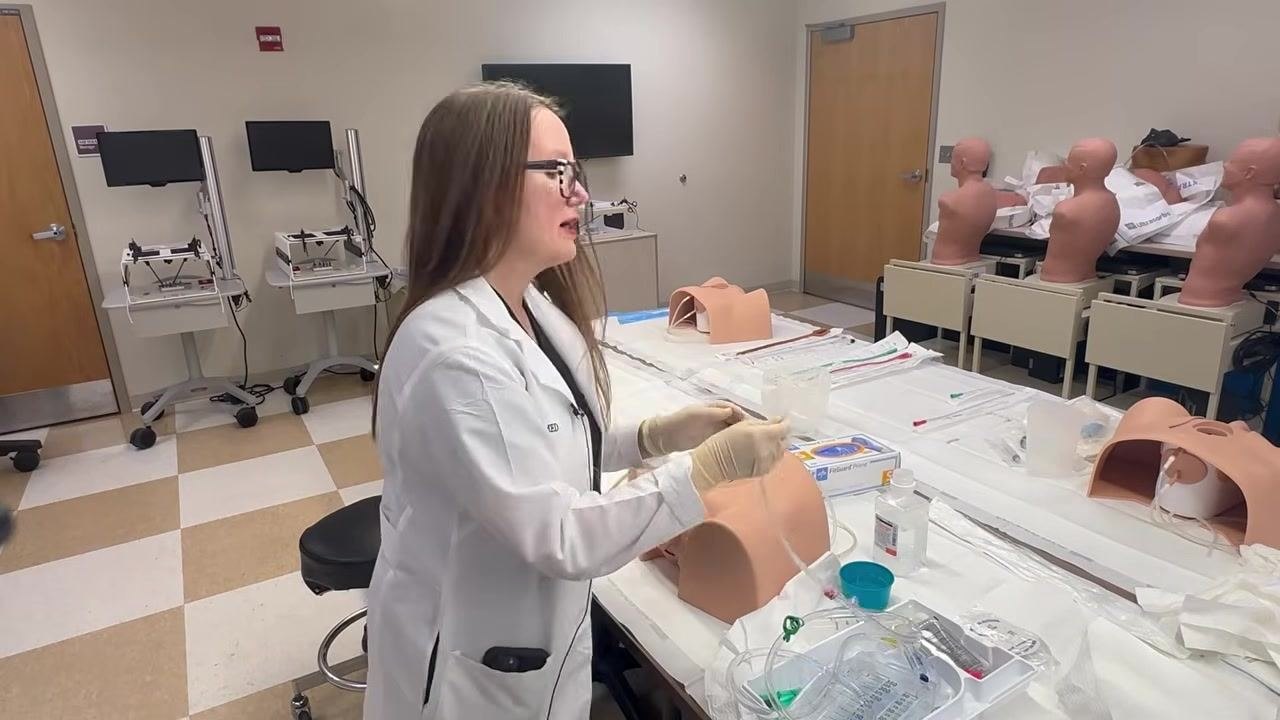
- Gently pull back on the catheter until you feel resistance, indicating the balloon is seated against the bladder wall. The catheter should still be mobile; if it feels fixed, reassess placement.
Phase 3: Irrigate and confirm placement
- Prepare a slip tip syringe for irrigation. Check for a small cap on the syringe tip that can obstruct saline withdrawal, and remove it if present.
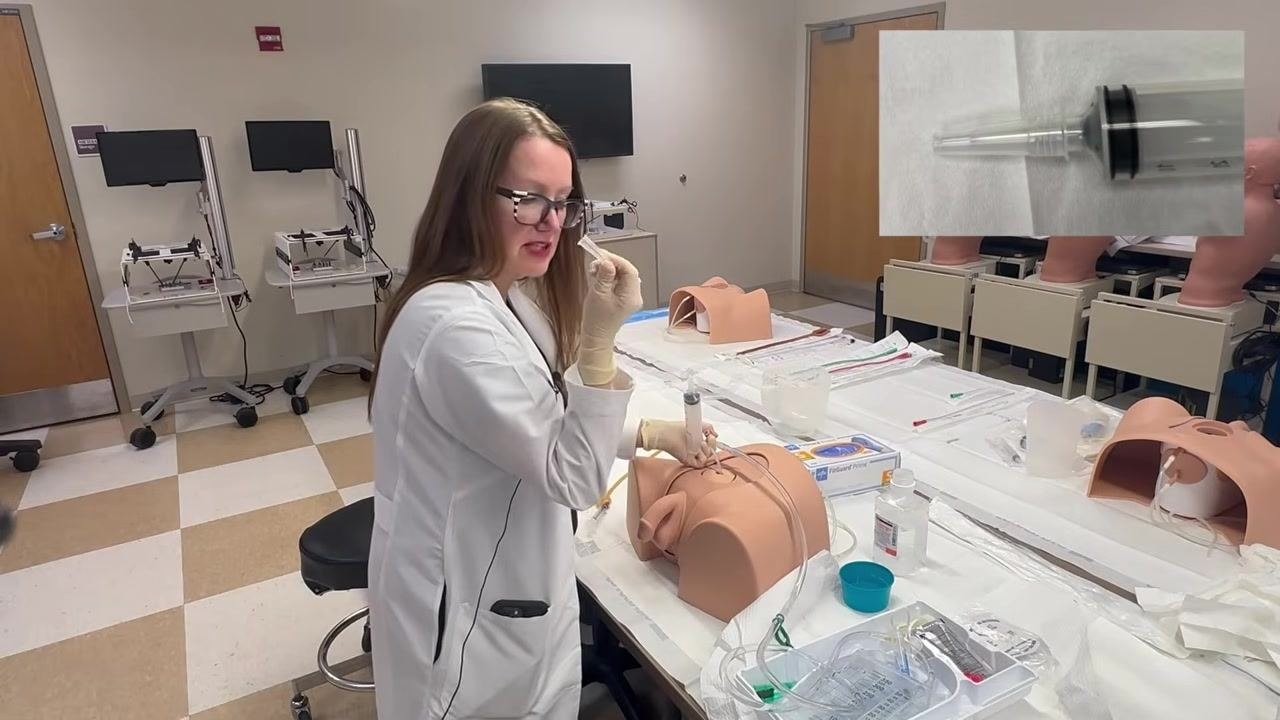
- Draw sterile saline into the syringe. Hold the catheter in place with your non-dominant hand to prevent dislodgement while filling the syringe with your dominant hand.
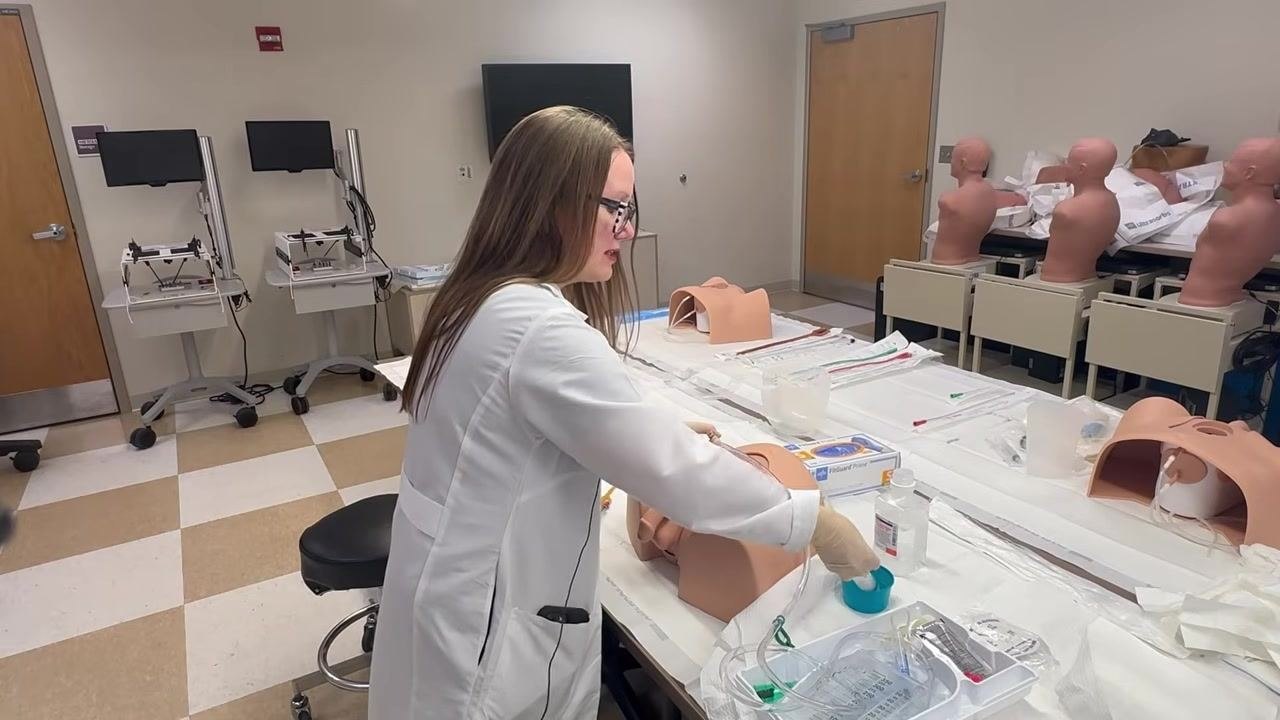
- Attach the filled syringe to the catheter port and gently irrigate by slowly pushing saline in, then withdraw the syringe to aspirate fluid back out and check for return flow.
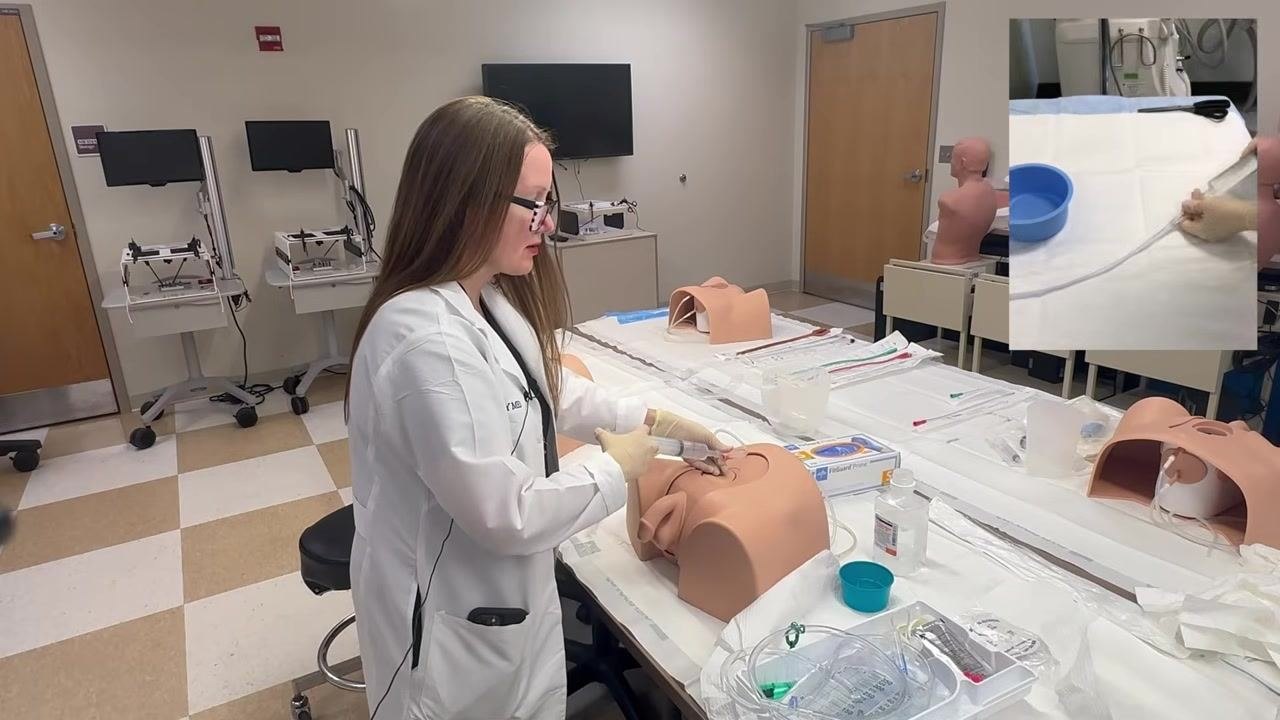
- Note that fluid return volume may be lower than the volume instilled (for example, 30 cc returned after 60 cc instilled, or 20 cc returned after 40 cc instilled). A slightly murky return suggesting urine is a positive sign of correct placement.
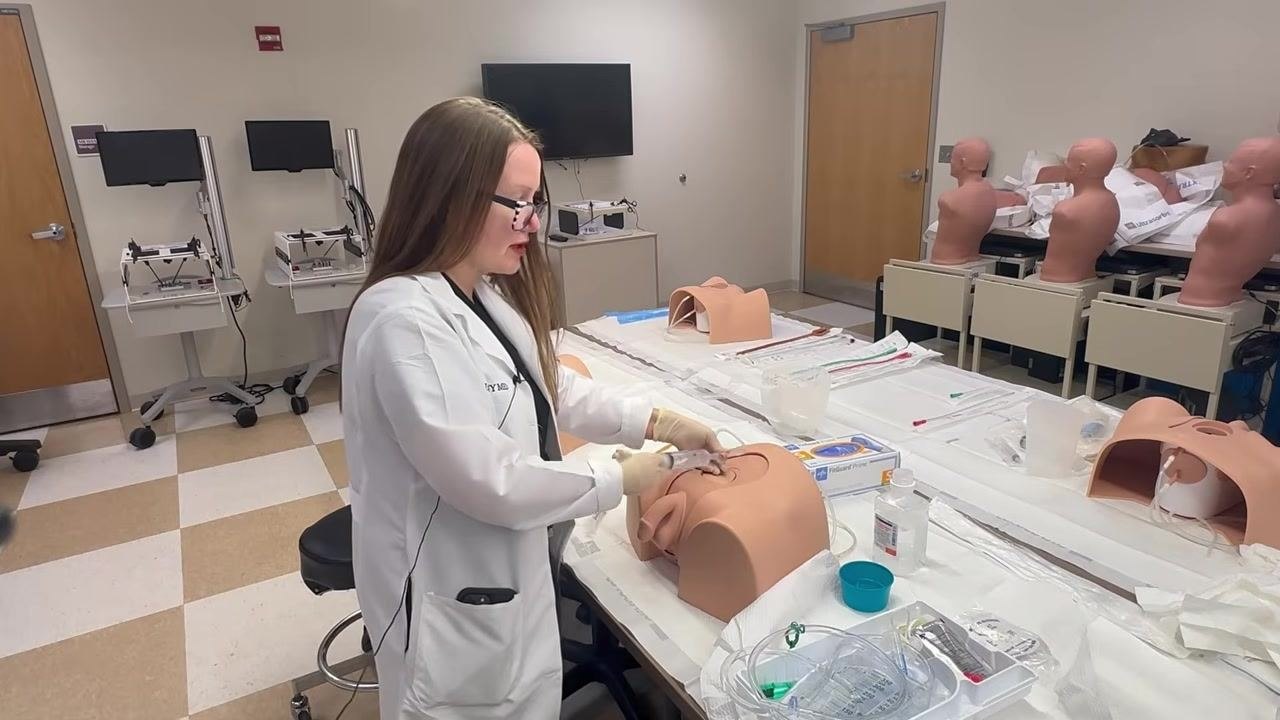
- Confirm the balloon is inflated and a visible bump is present on the abdominal wall, indicating irrigation was successful and the catheter is functioning.
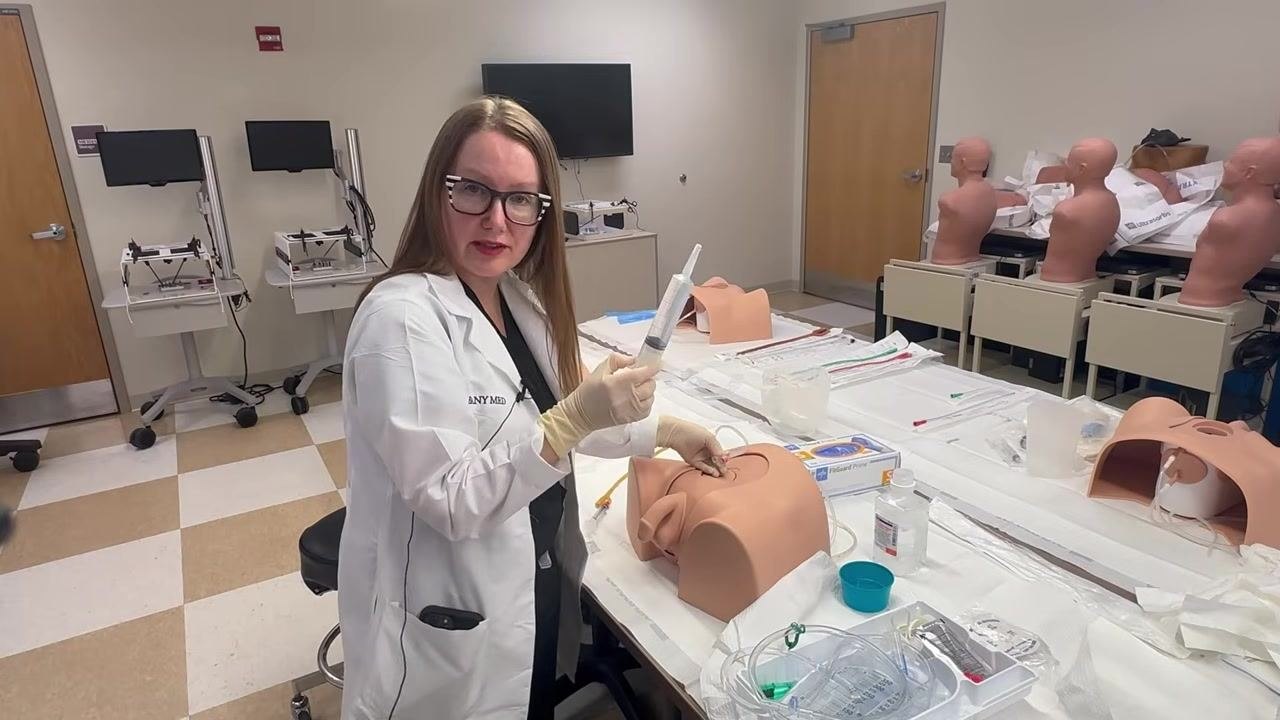
- Attach the drainage bag and tubing to the catheter and ensure all connections are secure.
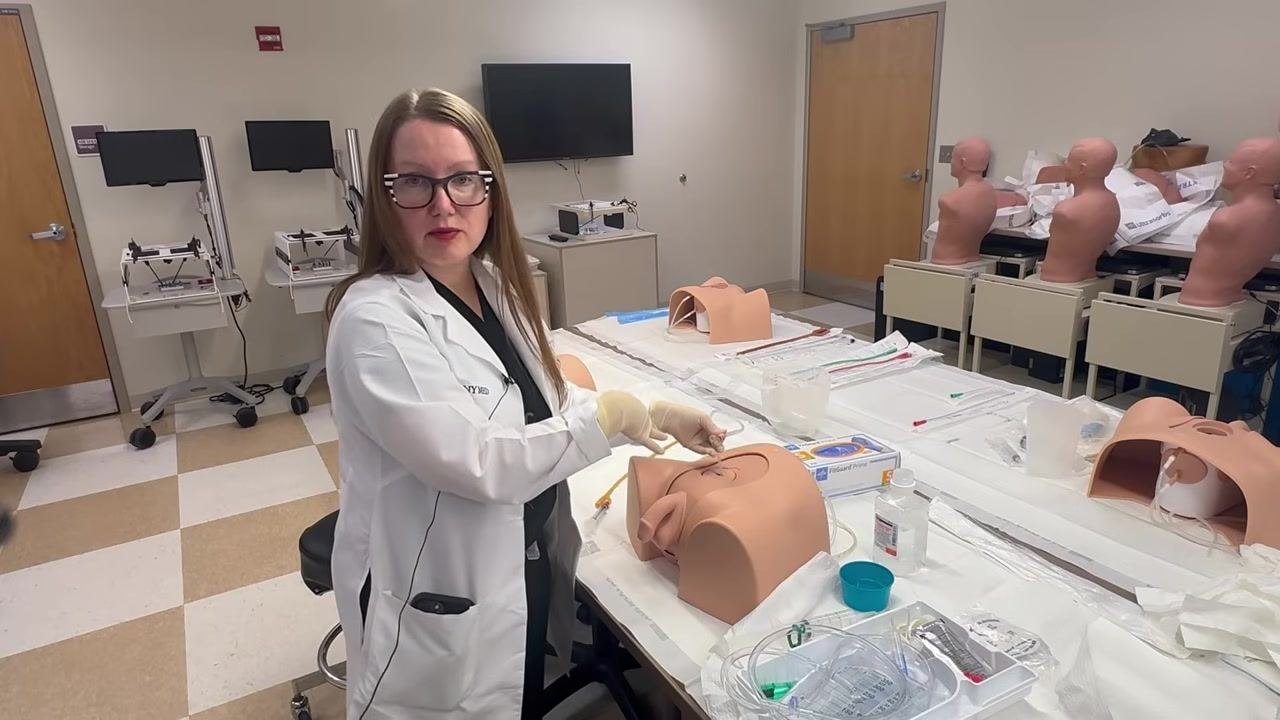
- If a urine culture is needed, this is the optimal time to collect it, since a new catheter is less likely to be contaminated. Collect the sample directly from the saline return during irrigation, or wait 30–60 minutes and collect a sample from the new sterile urine bag.
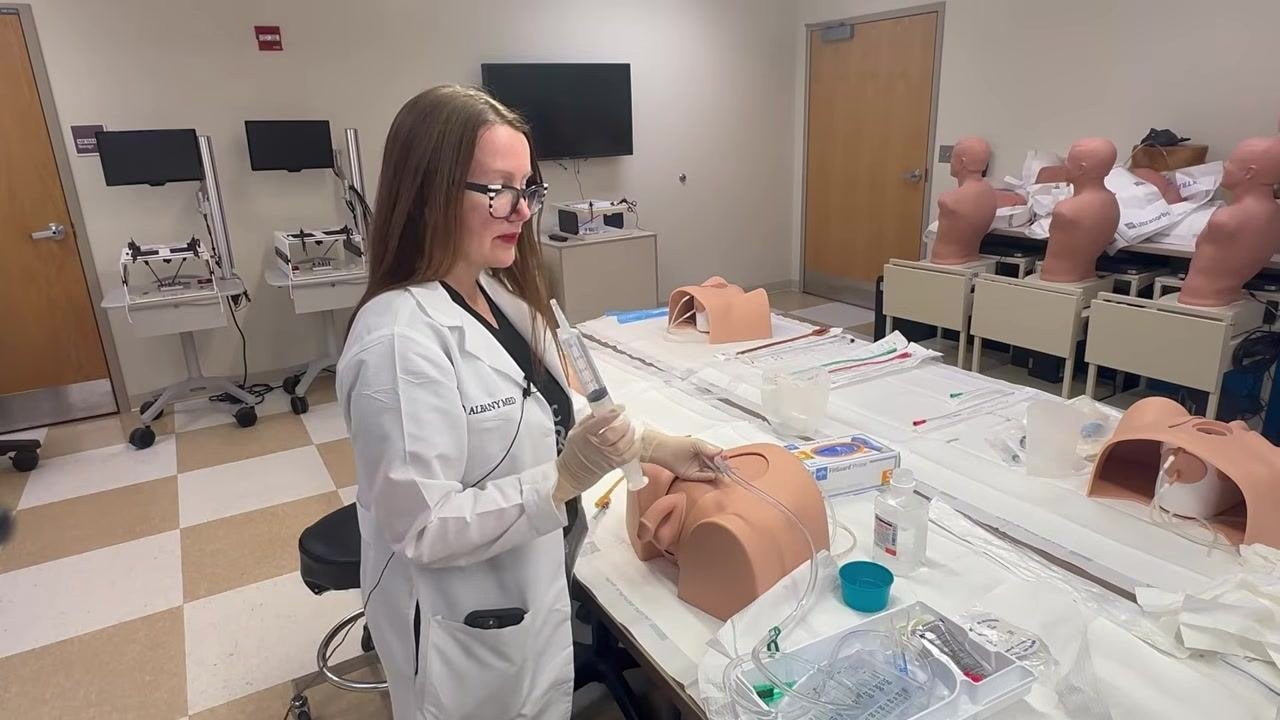
Phase 4: Secure the catheter and complete the dressing change
- Position the catheter so it is not pulling or under tension on the abdominal wall.
- Apply a securement device or adhesive anchor to affix the catheter tubing to the skin, following the manufacturer's instructions (typically cleaning the skin, applying the adhesive, and snapping the tubing into place).
- Confirm the catheter is "off tension," with a gentle curve or slack in the tubing between the insertion site and the securement point.
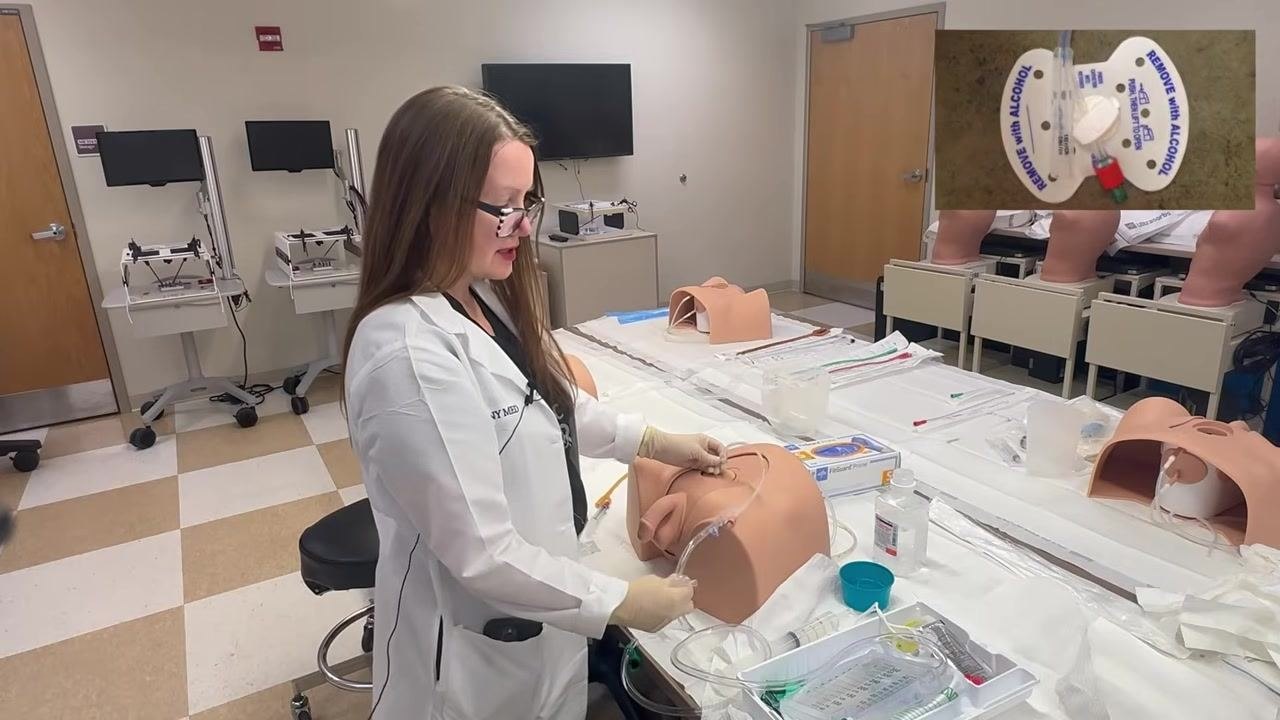
- Dispose of used materials according to protocol, then remove gloves and wash hands thoroughly.
The source material does not describe a day-by-day plan, medications, or a nutrition plan beyond the supplies listed above (betadine, lubricant, saline); a full care plan should record any additional medication or nutrition orders per facility protocol.
Pain management
The source material notes only that you should monitor the patient for any signs of pain or discomfort during balloon inflation, and that inflation should feel similar to previous experiences with the same syringe size. No medication table, dosing schedule, pain score target, or escalation pathway is provided in the source; these should be added according to your facility's standard pain management protocol.
Mobility milestones
The source material does not describe a mobility plan or timeline for this procedure; this section should otherwise state expected activity progression following the catheter change, per facility protocol.
Complication monitoring
Watch for the following signs during and after the procedure:
| Sign/observation | What it may indicate |
|---|---|
| Catheter feels fixed after gentle pullback | Possible placement problem; reassess |
| No fluid return during placement check | Possible incorrect placement; reassess before inflating balloon |
| Murky/urine-like fluid return during irrigation | Positive sign of correct placement |
| Pain or discomfort during balloon inflation | Stop and reassess before continuing |
| Tension, redness, or dislodgement at the securement site | Requires attention; instruct patient/staff to monitor and report |
The patient (or clinical staff) should be told to make contact if any issues arise at the catheter site. The source material does not specify formal escalation contacts; these should be added per facility protocol.
Discharge criteria
The procedure is considered complete when the following are confirmed:
- Fluid return observed during placement check, confirming correct bladder positioning.
- Balloon inflated without abnormal resistance or patient discomfort.
- Catheter confirmed mobile (not fixed) after gentle pullback.
- Irrigation successful, with saline return demonstrating patency.
- Drainage bag and tubing attached with all connections secure.
- Securement device applied and tubing confirmed off tension, with slack between the insertion site and the securement point.
- Used materials disposed of according to protocol and hand hygiene performed.
Patient education
Before concluding the procedure, review the following points with the patient or note them for clinical staff:
- Contact the clinical team if any issues arise with the catheter.
- Monitor the catheter site for signs of tension, redness, or dislodgement.
- Understand that the catheter and securement device should remain off tension, with slack visible in the tubing.
Document the procedure, including the securement method used and the instructions given to the patient.
Generation details: cost, quality tiers, downloads
Docsie billed 2,000 credits ($1.40) to analyze this 4-minute video at standard quality. The rewrite, template fill and Word/PDF exports were included. The same video at each quality tier:
| Quality | Frames sampled | Credits | Approx. cost |
|---|---|---|---|
| Draft | every 16-30 s | 1,000 | $0.70 |
| Standard (this guide) | every 8-15 s | 2,000 | $1.40 |
| Detailed | every 4-7 s | 4,000 | $2.80 |
| Ultra | every 1-3 s | 8,000 | $5.60 |
Credits priced at $0.70 per 1,000; plans include a monthly allowance. Enterprise customers on on-premise or bring-your-own-model deployments run this on their own inference and pay no per-video credits.
Generated by Docsie Video-to-Docs on 2026-09-20 from a 3-minute video. It was generated straight into Docsie's Patient Care Procedure template, so every section of that template is filled from the video. Screenshots are frames from the source video and belong to their creator, Elise De, MD, whose original is embedded above. If you own this video and want the guide removed or credited differently, contact us and we will act within one business day.