
How to Apply Compression Stockings
This procedure explains how to apply compression stockings safely and effectively, and how to remove them at the end of the day. It is intended for nursing and allied health staff who assist patients with compression garment use, as well as for patient self-care education. Following this technique protects the fabric of the stocking, ensures even compression along the leg, and reduces the risk of skin or circulation complications.
Video: How to apply Compression Stockings by Brownfields P&O by brownfieldstech (2009). All credit for the demonstration goes to the creator; watch the original on YouTube. The written guide below was generated from this video by Docsie. Creator? Request a change or removal.
This procedure explains how to apply compression stockings safely and effectively, and how to remove them at the end of the day. It is intended for nursing and allied health staff who assist patients with compression garment use, as well as for patient self-care education. Following this technique protects the fabric of the stocking, ensures even compression along the leg, and reduces the risk of skin or circulation complications.
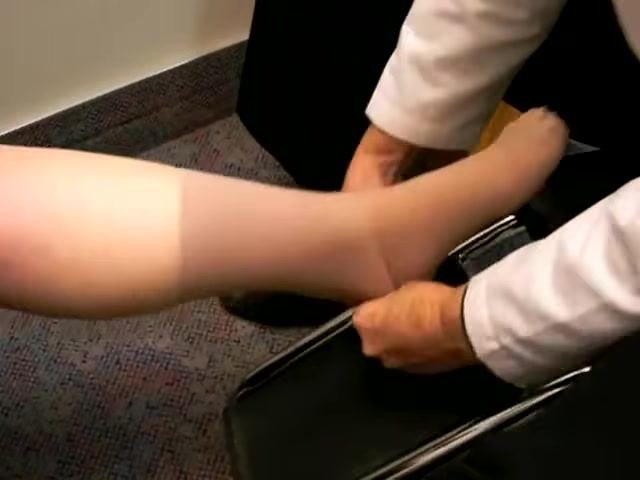
Purpose & Scope
This procedure applies to patients who have been prescribed compression stockings as part of their care plan. It covers correct application technique, positioning of the garment, removal at the end of the day, and the education points patients need to manage the stockings independently. The technique described uses textured rubber gloves to protect the stocking fabric and improve grip during application and adjustment.
Patient Assessment
Before applying the stocking, confirm the following preparatory checks. The source material does not describe formal vital sign monitoring, a standardized pain assessment tool, or neurovascular checks; where a facility protocol requires these, staff should complete them per local policy before and after stocking application.
| Assessment item | What to check |
|---|---|
| Materials | Compression stocking(s) and a pair of textured rubber gloves are available |
| Stocking preparation | Heel pocket is visible and the "toe tunnel" is formed, confirming the correct starting point |
| Foot position | Patient tilts the foot back towards the knee to ease application |
| Fabric condition | Stocking opening is stretched wide and fingers are inserted to avoid twisting the fabric |
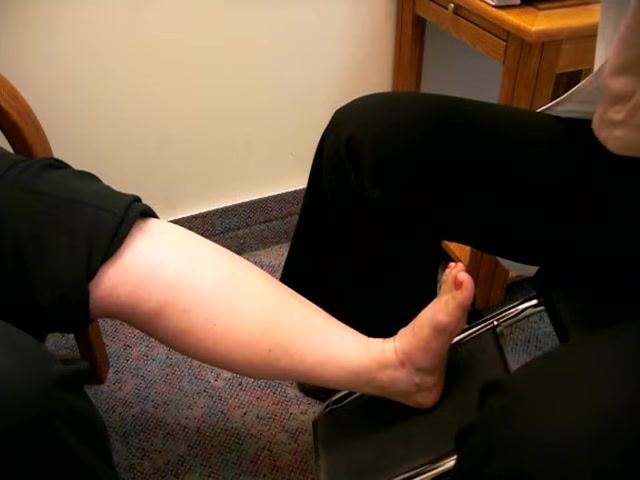
Care protocol
Apply the stocking in the following phases, using gloved and ungloved hands as indicated at each stage.
Phase 1: Prepare the stocking - Place your palm facing up and slide your hand down the inside back of the stocking to the heel pocket. - Tuck the heel pocket under your thumb, as if forming a puppet with the stocking. - Hold the heel pocket and turn the stocking inside out up to the heel. - Flip the stocking over and remove your hand, revealing the "toe tunnel." - Confirm the heel pocket is visible before starting application.
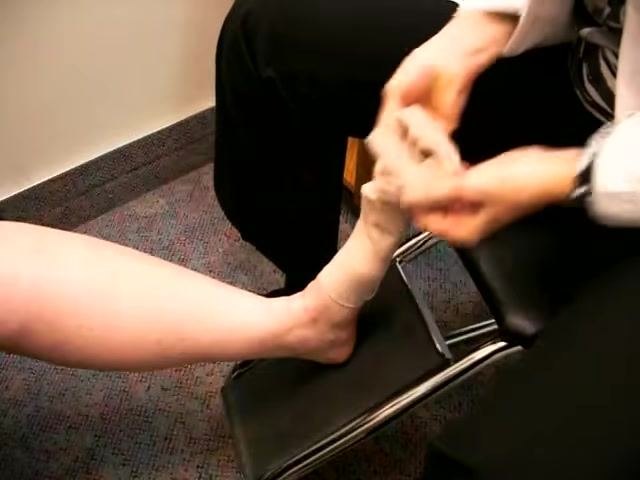
Phase 2: Position and begin application - Ask the patient to tilt the foot back towards the knee. - Insert all fingers into the stocking opening and stretch it wide. - Slide the stocking halfway up the foot, keeping the fabric flat and untwisted. - Scoop the stocking over the toes and heel, positioning it correctly. - Put on textured rubber gloves to improve grip and protect the fabric for the next steps.
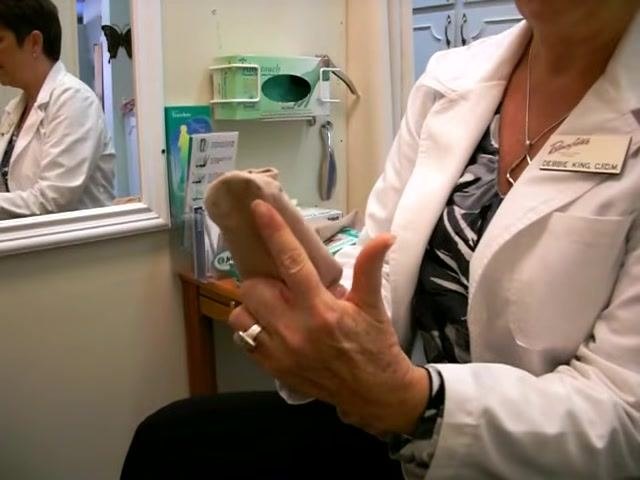
Phase 3: Adjust and secure the stocking - With gloves on, grip the stocking just above the heel. - Tug the stocking upward with a firm, controlled motion; gloves allow a firmer pull without tearing the fabric.
Phase 4: Flatten, smooth, and work up the leg - Flatten the stocking against the leg using a tugging and smoothing motion to remove bunching. - Continue this process all the way up the leg for even distribution. - If the patient has arthritic hands or difficulty gripping, use a gentle "petting" motion instead of, or in addition to, tugging. - Confirm the heel is properly positioned and the stocking is situated correctly around the toes.
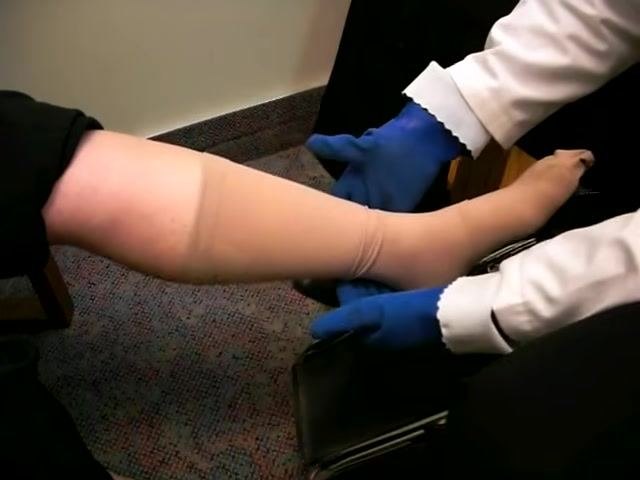
- Gradually work the stocking further up the leg, keeping it flat and untwisted. The fit should be snug but not overly tight at any point.
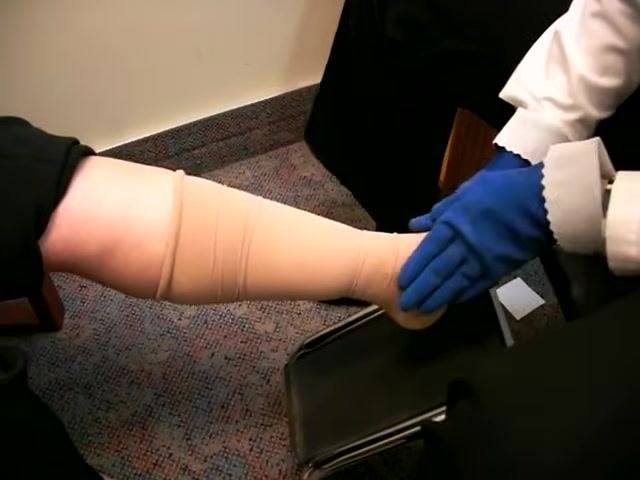
Phase 5: Final foot and band positioning - Make final adjustments at the foot and ankle to ensure correct toe and heel placement.
-
Remove the gloves before positioning the top band.
-
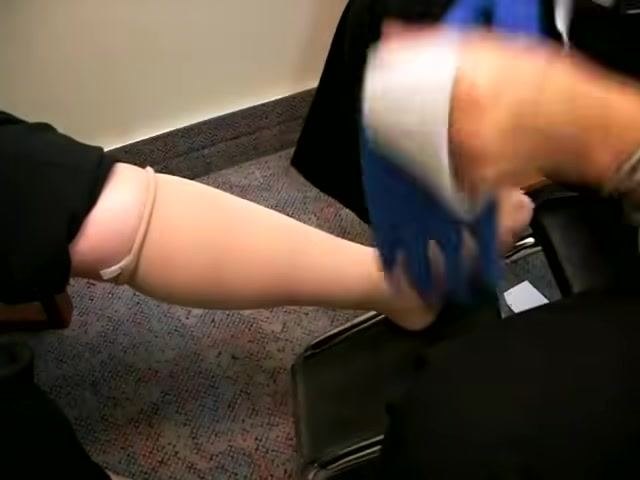
With gloves off, use your fingers to position the top band exactly two fingers below the knee. Double-check the stocking has not been pulled too high.
Pain management
The source material does not include a medication schedule, pain score targets, or an escalation pathway for pain related to compression stocking use. Any pain management plan for this patient population should follow the facility's standard multimodal pain protocol and be documented separately.
Mobility milestones
The source material does not describe a mobility progression timeline associated with compression stocking application. If mobility goals are relevant to the patient's overall care plan, they should be documented and tracked according to the facility's standard mobility protocol.
Complication monitoring
Watch for the following signs during and after application, as they indicate a risk of impaired circulation or skin irritation.
- Never over-pull the stocking. The top band must not interfere with the bend of the knee, as this can cause the band to collapse and act like a tourniquet.
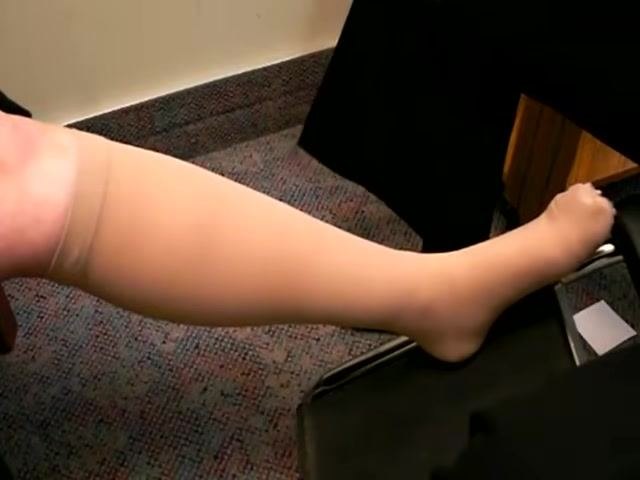
- Check for wrinkles or folds by running your hands up and down the leg after application.
- If a wrinkle is found, put gloves back on and gently "whisk" it out with an upward motion, then recheck the entire stocking.
Discharge criteria
Before the application is considered complete, confirm the following:
- The stocking is smooth and free of wrinkles along the entire leg.
- The top band sits two fingers below the knee and does not restrict knee movement.
- The heel and toe areas are correctly positioned.
Patient education
Teach the patient and family the following points before they manage the stockings independently.
- Always use textured gloves to avoid damaging the delicate fabric of compression stockings.
- Keep the stocking flat and untwisted throughout application for maximum comfort and effectiveness.
- Position the top band two fingers below the knee to avoid circulation issues.
- Remove wrinkles immediately by whisking them out with an upward motion.
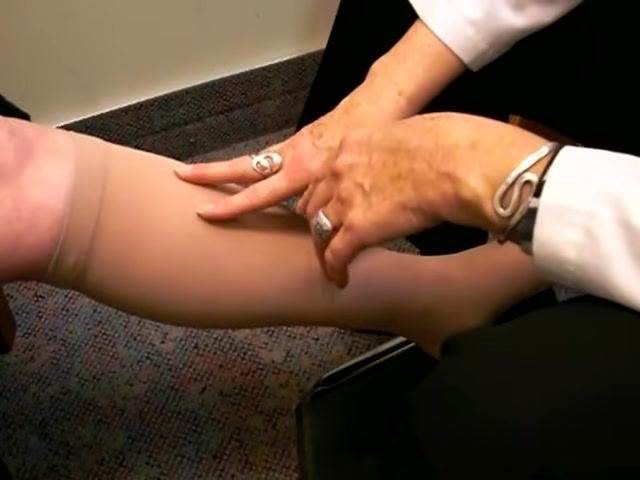
Removal instructions: - At the end of the day, sit down in a chair and grasp the top of the stocking.
-
Support the leg with one hand while using the other to slide the stocking over the top of the foot and heel in a smooth, downward motion. Keep the stocking flat; do not bunch or wad the fabric at the ankle, as this makes it difficult to clear the heel.
-
Continue to gently "pop" the stocking off the foot, maintaining a flat, even motion throughout removal.
Key reminders for patients: - Always keep the garment flat during removal to avoid difficulty at the heel. - If the stocking becomes bunched at the ankle, flatten it out before continuing. - A flat garment slides off more easily and prevents unnecessary stretching or damage. - Contact your supplier or healthcare provider if you have questions about fitting, adjustment, or removal.
Generation details: cost, quality tiers, downloads
Docsie billed 2,000 credits ($1.40) to analyze this 4-minute video at standard quality. The rewrite, template fill and Word/PDF exports were included. The same video at each quality tier:
| Quality | Frames sampled | Credits | Approx. cost |
|---|---|---|---|
| Draft | every 16-30 s | 1,000 | $0.70 |
| Standard (this guide) | every 8-15 s | 2,000 | $1.40 |
| Detailed | every 4-7 s | 4,000 | $2.80 |
| Ultra | every 1-3 s | 8,000 | $5.60 |
Credits priced at $0.70 per 1,000; plans include a monthly allowance. Enterprise customers on on-premise or bring-your-own-model deployments run this on their own inference and pay no per-video credits.
Generated by Docsie Video-to-Docs on 2026-09-28 from a 3-minute video. It was generated straight into Docsie's Patient Care Procedure template, so every section of that template is filled from the video. Screenshots are frames from the source video and belong to their creator, brownfieldstech, whose original is embedded above. If you own this video and want the guide removed or credited differently, contact us and we will act within one business day.