
How to Apply a Splint
This document explains how to apply a splint to a lower leg fracture using a rigid splint with a soft side and cravats. Follow these steps in sequence to immobilize the injury properly and prepare the patient for safe transport.
Video: Emergency Medical Care : How to Splint a Fracture of the Lower Leg by ehowhealth (2009). All credit for the demonstration goes to the creator; watch the original on YouTube. The written guide below was generated from this video by Docsie. Creator? Request a change or removal.
This document explains how to apply a splint to a lower leg fracture using a rigid splint with a soft side and cravats. Follow these steps in sequence to immobilize the injury properly and prepare the patient for safe transport.
Purpose
This procedure provides step-by-step guidance for splinting a lower leg fracture, from initial assessment through securing the splint and preparing the patient for transport.
Scope
This procedure applies to responders splinting a closed lower leg fracture in the field. Always consult your local medical or EMS protocols before beginning, as specific requirements may vary.
Required equipment
- A soft splint with a rigid structure and a soft side, in a length appropriate to the injury
- Cravats or tape for securing the splint
- A longboard and stretcher for transport
- Gauze or 4x4 dressings (only required if the fracture is open)
Procedure
Refer to local protocols
Before beginning, consult your local medical or EMS protocols for specific instructions and requirements applicable to your jurisdiction.
Assess the injury
Examine the lower leg to determine the location and type of fracture. If the fracture is closed with no open wound, you do not need to apply gauze or 4x4 dressings. Prepare a soft splint, preferably one with a rigid structure and a soft side.
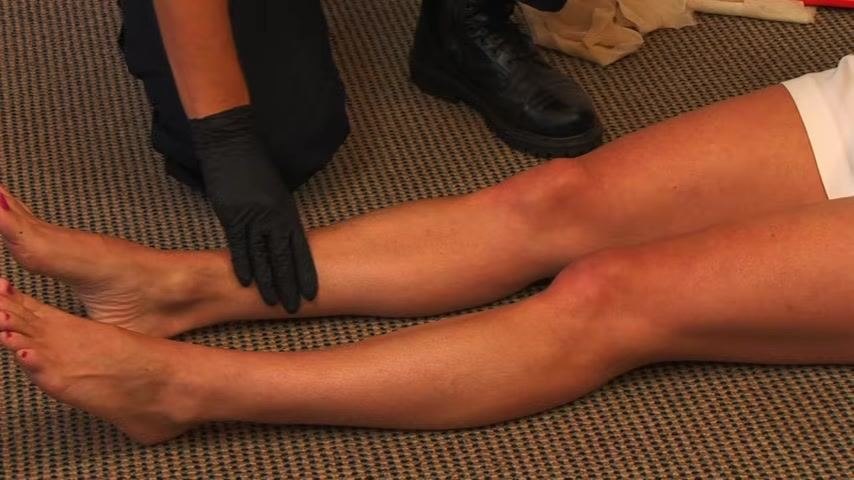
Select the appropriate splint
Choose a splint of suitable length to immobilize the area. The splint should extend beyond the joint above and below the fracture site.
Position the splint
Place one splint on the inner side and one on the outer side of the injured leg. Ensure both splints are properly aligned to immobilize the leg fully.
Check pulse, motor, and sensory function
Before securing the splint, check for a pulse in the foot. Ask the patient if they can feel you touching their foot, and ask them to move their toes to confirm motor function. Complete this check before applying tension to the splint.
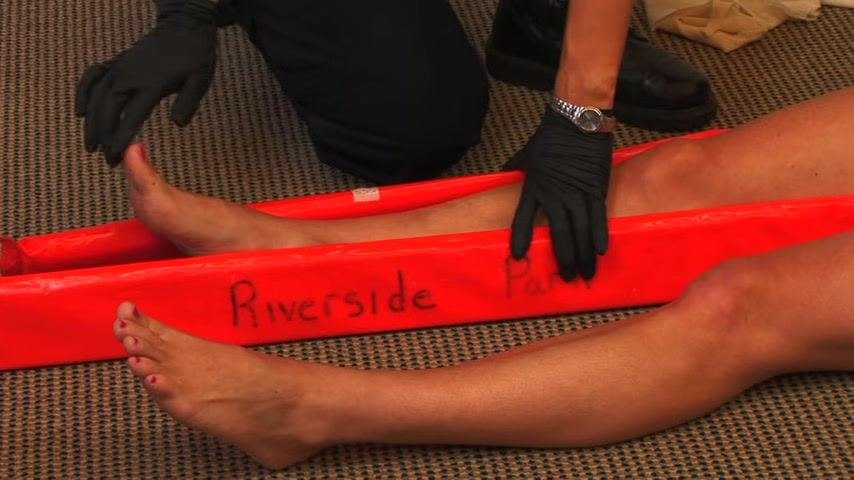
Apply the splint
Place the soft side of the splint against the leg. Ensure the splint is snug but not too tight, and that it covers the area from below the foot to above the knee. Secure the splint using tape or cravats. When using cravats, wrap one above the joint and tie the knot on the rigid side of the splint, never against the skin.
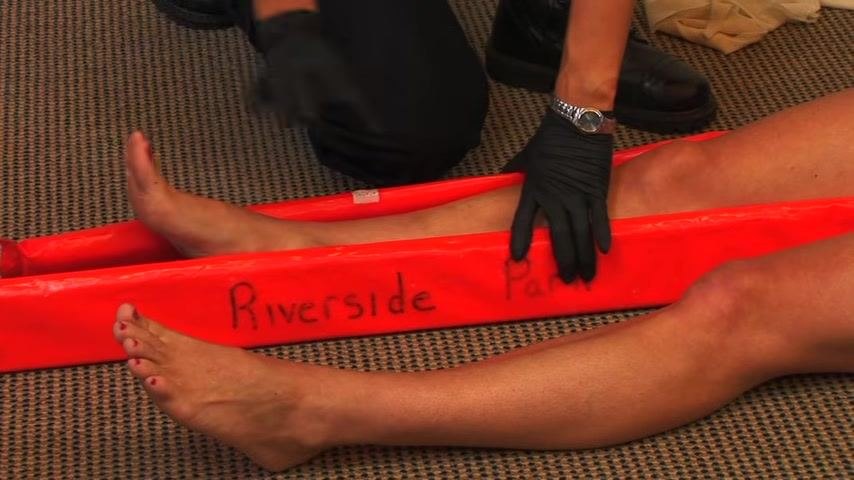
Secure above the fracture
Place an additional cravat above the area of the break to further stabilize the splint. Tie it securely, again ensuring the knot sits on the rigid side of the splint.
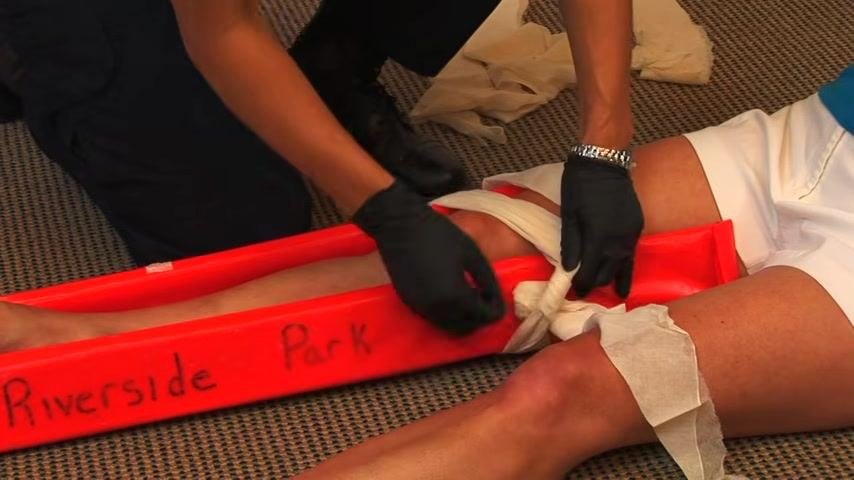
Secure the splint with additional cravats
Place a cravat above the area of the break for added stability. Wrap the cravat around the leg and splint twice to ensure it holds securely. Tie an overhand knot, then complete a square knot to prevent slipping. Confirm the knot is positioned on the rigid side of the splint, not against the skin.
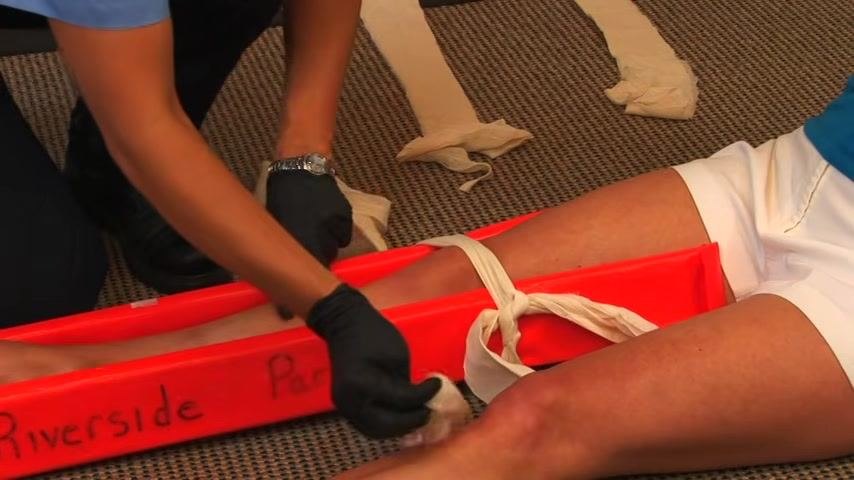
Place a cravat below the break
Position another cravat below the fracture site. Wrap it twice around the leg and splint for extra security. Tie an overhand knot, then reverse direction and tie again to form a square knot. Confirm all knots are on the rigid side of the splint.
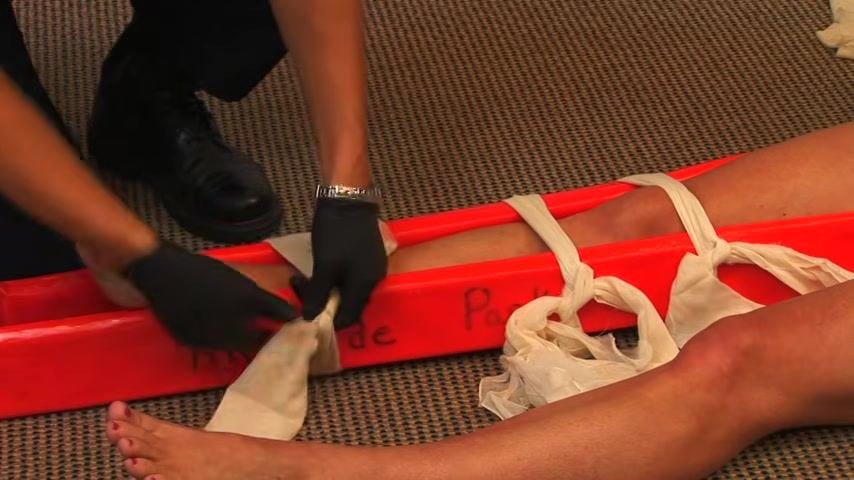
Perform a final pulse, motor, and sensory check
After all cravats are secured, reassess the patient's distal pulse by feeling for a pulse at the foot. Ask the patient, "Can you feel me touching you?" to check sensory function, and instruct them to move their toes to confirm motor function. Do not proceed to transport until all three checks are confirmed.
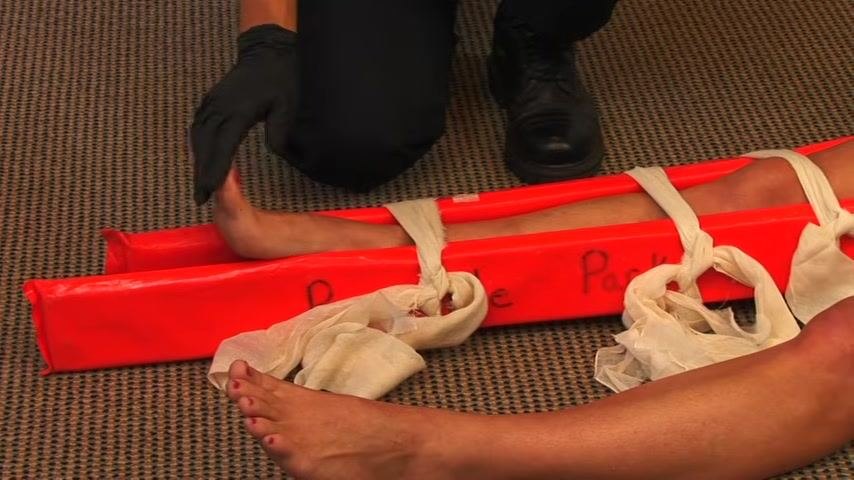
Prepare for transport
Once the splint is secure and neurovascular checks are complete, prepare the patient for transport. Place the patient onto a longboard for additional support, then transfer them to a stretcher for safe movement to advanced care.
Verification checklist
Before completing the procedure, confirm the following:
- All cravats are tied securely with square knots positioned on the rigid side of the splint.
- Pulse, motor, and sensory functions have been checked both before and after splinting.
- The splint extends beyond the joints above and below the fracture and covers the area from below the foot to above the knee.
- The patient is ready for safe transport using a longboard and stretcher.
Summary
Splinting a lower leg fracture requires checking local protocols, assessing the injury, and selecting a soft splint with a rigid structure of appropriate length. Immobilize the joints above and below the fracture, and check pulse, motor, and sensory function both before and after applying the splint. Secure the splint with cravats or tape, tying all knots on the rigid side. Following these steps helps immobilize the fracture effectively and reduces the risk of further injury during transport to advanced care.
Generation details: cost, quality tiers
Docsie billed 2,000 credits ($1.40) to analyze this 4-minute video at standard quality. The rewrite, template fill and Word/PDF exports were included. The same video at each quality tier:
| Quality | Frames sampled | Credits | Approx. cost |
|---|---|---|---|
| Draft | every 16-30 s | 1,000 | $0.70 |
| Standard (this guide) | every 8-15 s | 2,000 | $1.40 |
| Detailed | every 4-7 s | 4,000 | $2.80 |
| Ultra | every 1-3 s | 8,000 | $5.60 |
Credits priced at $0.70 per 1,000; plans include a monthly allowance. Enterprise customers on on-premise or bring-your-own-model deployments run this on their own inference and pay no per-video credits.
Generated by Docsie Video-to-Docs on 2026-09-09 from a 3-minute video. Screenshots are frames from the source video and belong to their creator, ehowhealth, whose original is embedded above. If you own this video and want the guide removed or credited differently, contact us and we will act within one business day.