
How to Turn on a Manitowoc Ice Machine
This procedure explains how to turn on a Manitowoc ice machine equipped with the Indigo control panel, program it to run only during nighttime hours, set the correct time and date, and perform a basic inspection of the ice bin and lever mechanism. Following these steps helps you reduce daytime heat in the restaurant and keeps the machine's automated schedule running reliably.
Video: How to Program Manitowoc ice machine Start & stop times. by OcRefrigeration,Hvac,Electrical & other Video's. (2021). All credit for the demonstration goes to the creator; watch the original on YouTube. The written guide below was generated from this video by Docsie. Creator? Request a change or removal.
This procedure explains how to turn on a Manitowoc ice machine equipped with the Indigo control panel, program it to run only during nighttime hours, set the correct time and date, and perform a basic inspection of the ice bin and lever mechanism. Following these steps helps you reduce daytime heat in the restaurant and keeps the machine's automated schedule running reliably.
Machine overview
The machine covered in this procedure is a Manitowoc ice machine fitted with the Indigo control platform. Its control panel features a blue display with up, down, left, right, select (checkmark), and menu navigation buttons. The Manitowoc brand name is visible on the control panel itself.
The machine's purpose is automatic ice production, with a programmable Energy Saver feature that lets the unit run only at specified hours to reduce heat generation during the day.
| Specification | Value |
|---|---|
| Brand | Manitowoc |
| Control platform | Indigo |
| Dimensions | Not documented in source material |
| Power requirements | Not documented in source material |
| Ice capacity | Not documented in source material |
Safety warnings
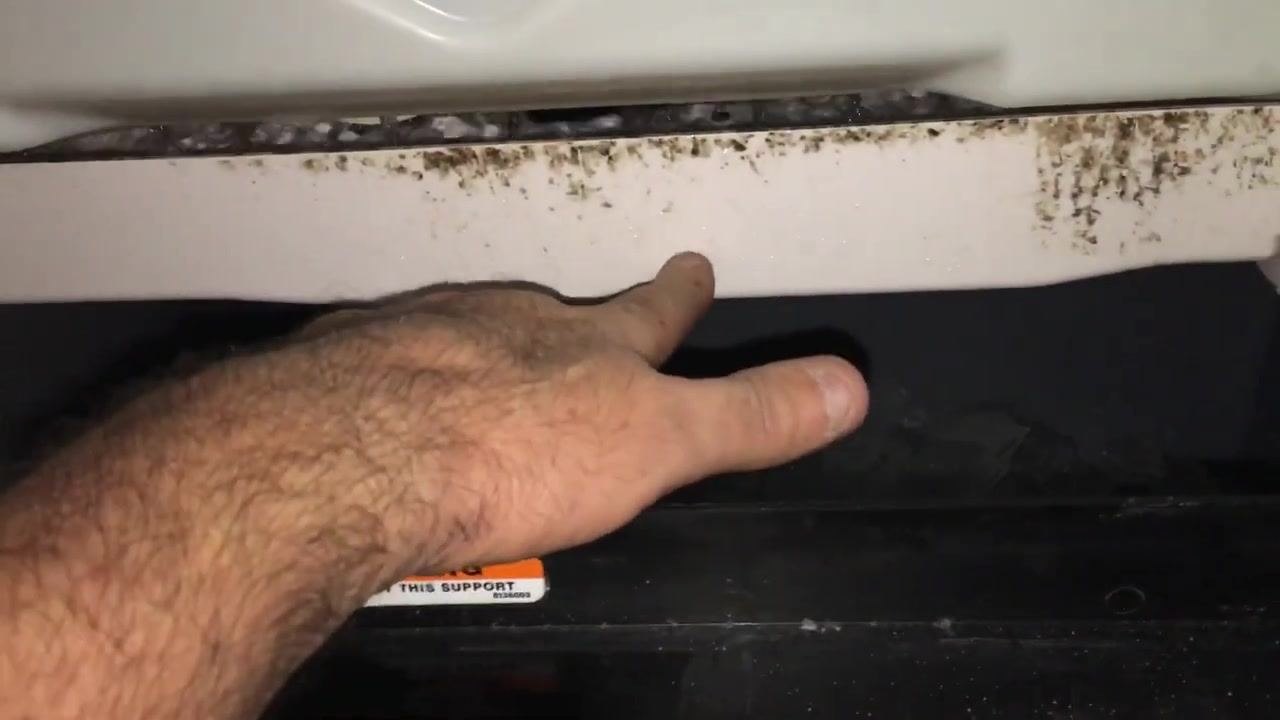
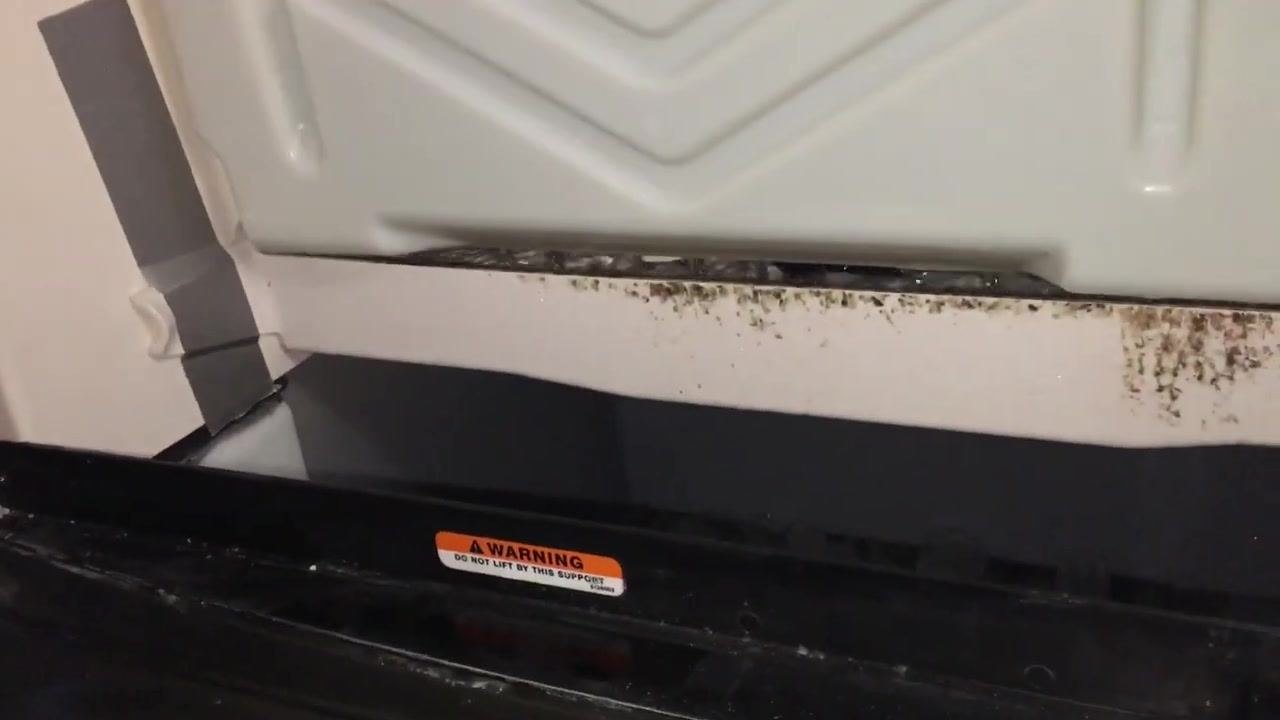
WARNING: DO NOT LIFT BY THIS SUPPORT. This warning label is printed on the black support bracket located below the bin lever inside the ice machine. Do not use this bracket to lift or reposition components.
Always verify the date and time after any power interruption or maintenance. If the date or time is incorrect, the programmed ON/OFF schedule will not function as expected, and the machine may operate at unintended times.
This procedure does not specify required PPE, lockout/tagout steps, or emergency stop locations; confirm these requirements with your facility's safety documentation before servicing the machine.
Pre-operation checks
Before relying on the automated schedule, inspect the bin and lever area:
- Inspect the ice bin lever mechanism. Check the lever inside the ice bin area for damage. In the observed unit, the lever was taped, indicating a possible temporary repair due to breakage.
- Check the ice bin fill level. Confirm the bin is not overfilled. The upper edge of the bin may show dirt or residue, which indicates a need for cleaning. A full bin is the reason the machine should be programmed to shut off automatically.
Startup procedure
Follow these steps to turn on a Manitowoc ice machine and confirm it is ready for programming.
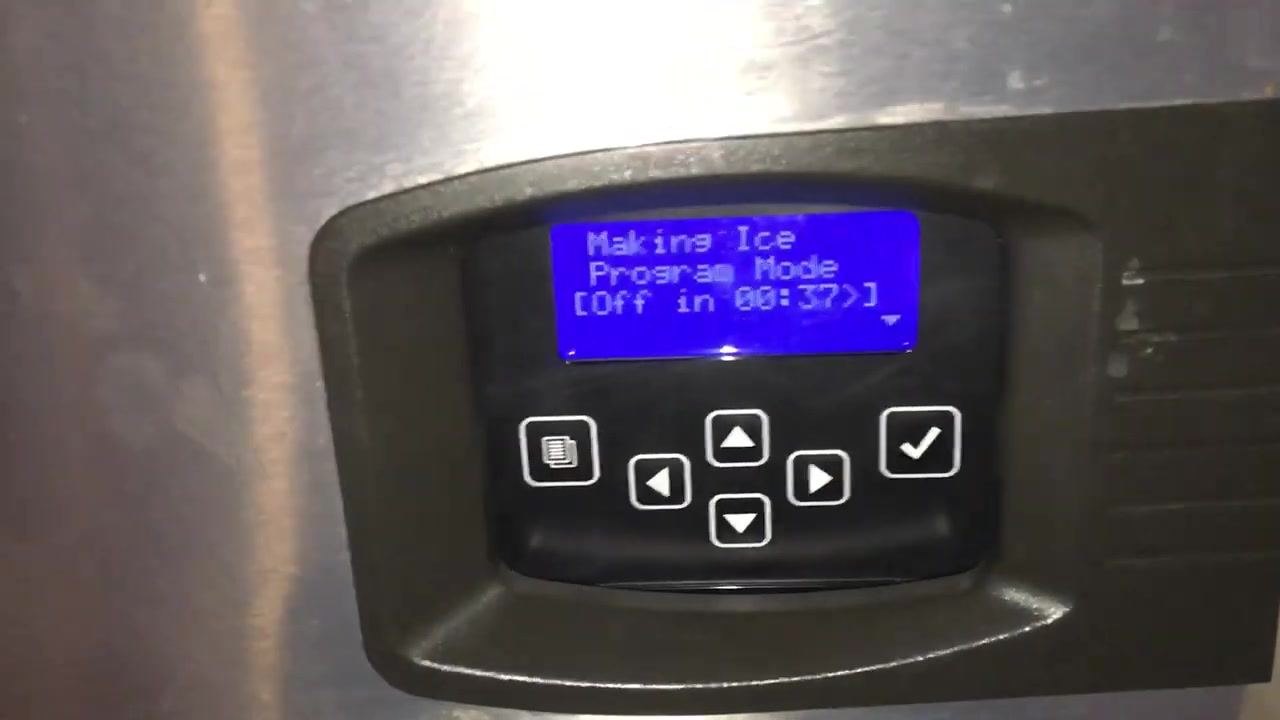
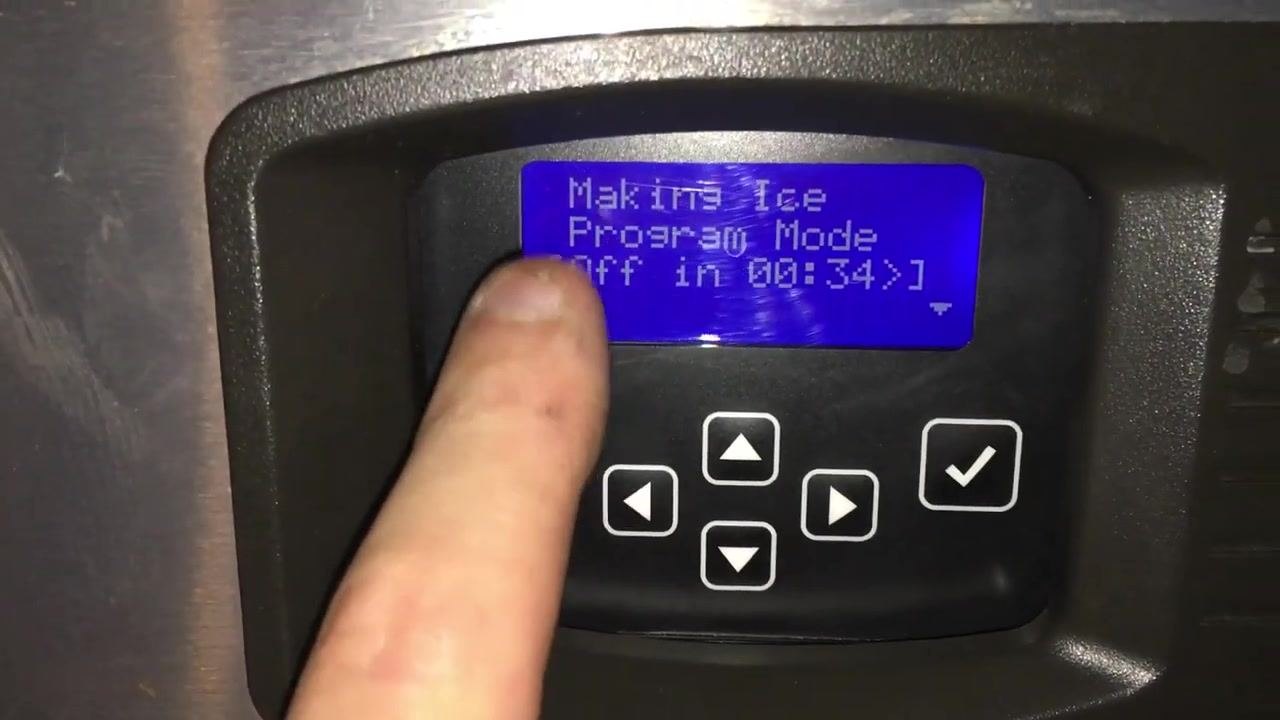
- Confirm the machine is powered on. Check that the display is active and shows:
Making Ice
   Program Mode
   [Off in 00:37]
The control panel shows a blue screen with navigation buttons below it.
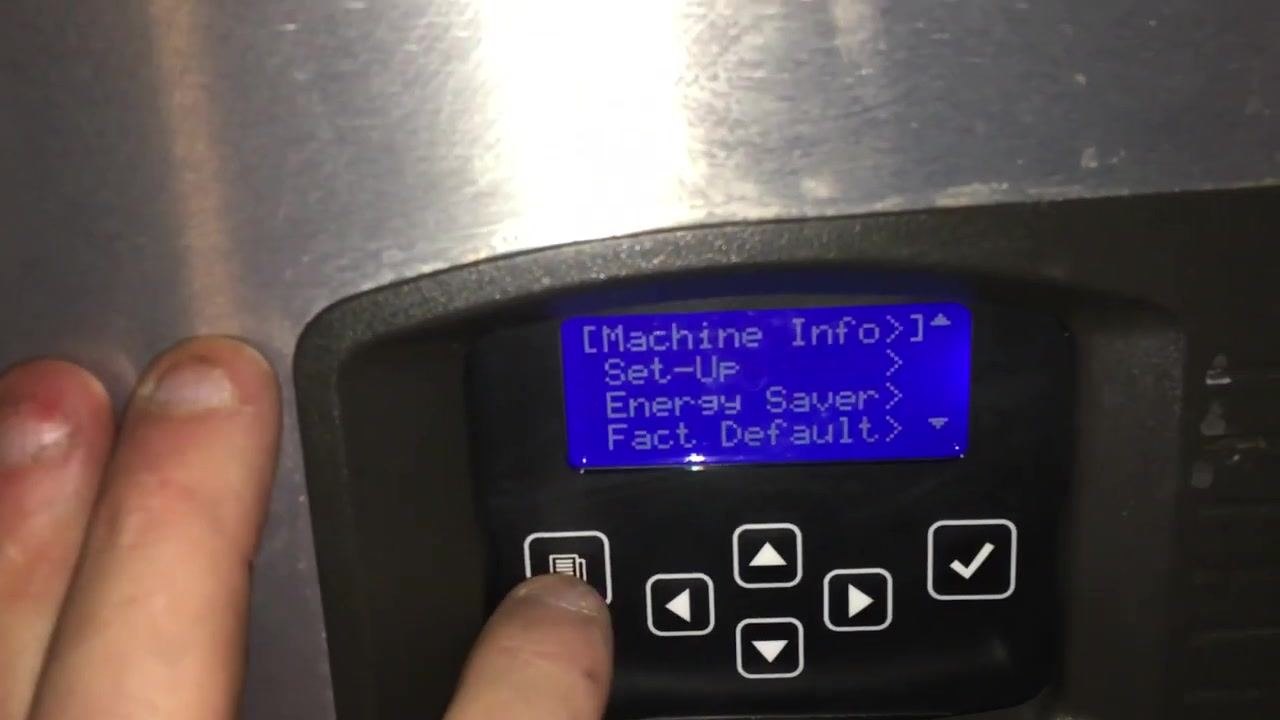
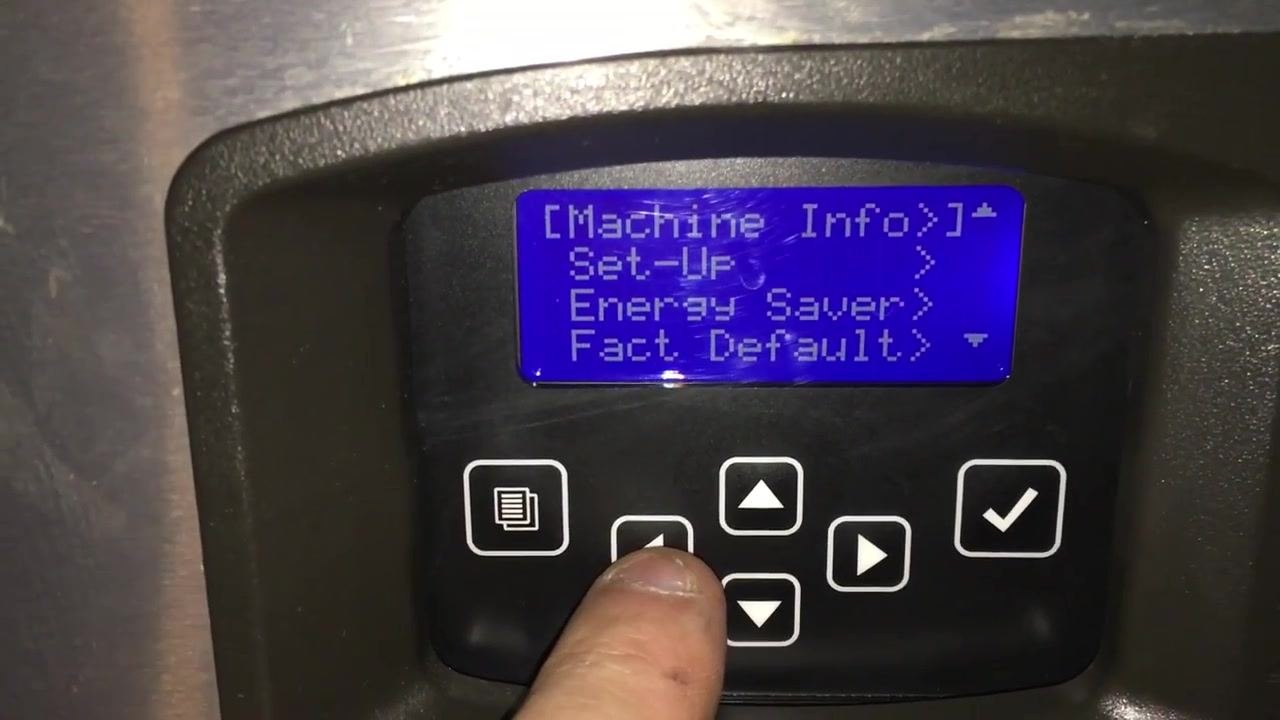
- Open the main menu. Press the menu button (the icon with stacked lines) to enter the main menu. Use the arrow keys to scroll through the available options: Machine Info, Set-Up, Energy Saver, and Fact. Default.
Operating instructions
Use these steps to program the ice machine's night-only schedule and to set the correct time and date.
Enable the nighttime program
- Select Energy Saver, then Ice Program. From the main menu, highlight "Energy Saver" and press select. In the Energy Saver menu, the options are Ice Program, Water Miser, Statistics, and Exit. Select "Ice Program."
- Enable Time Prog. In the Ice Program menu, highlight "Time Prog." A checkmark (✓) next to it indicates the Time Program is active. If it is unchecked, press select to enable it. This menu also shows Settings and Bin Level.
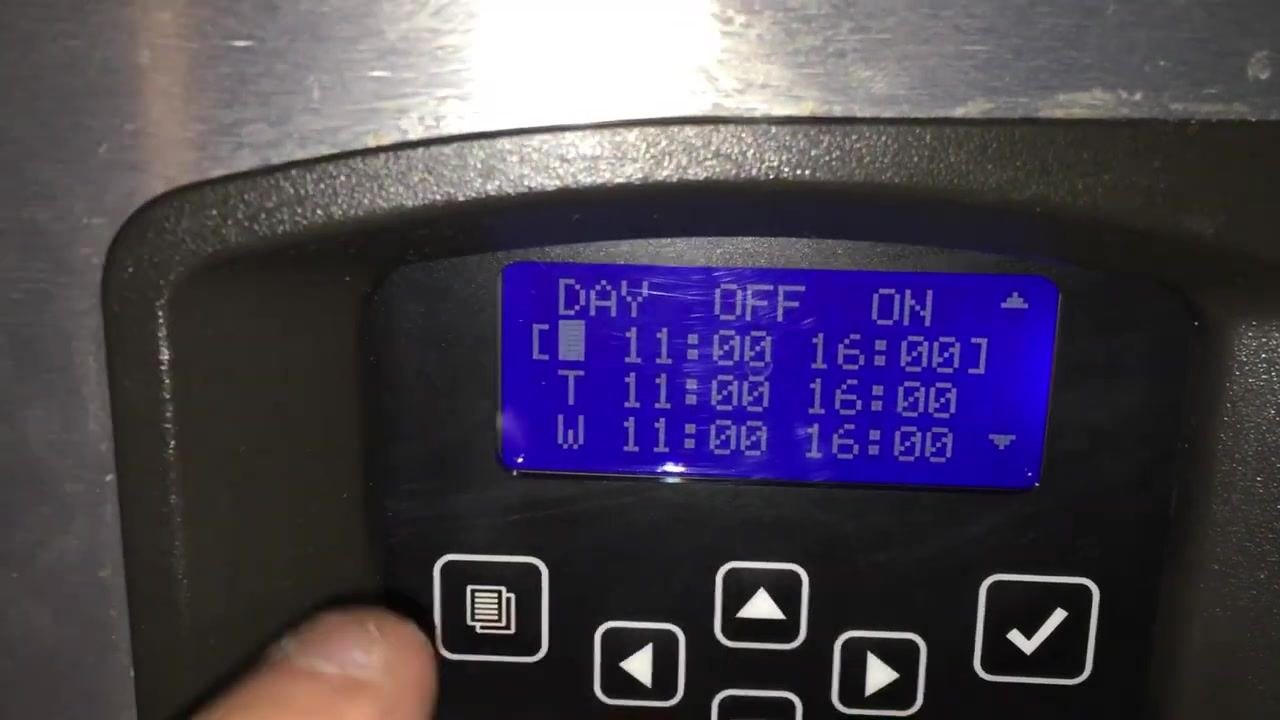
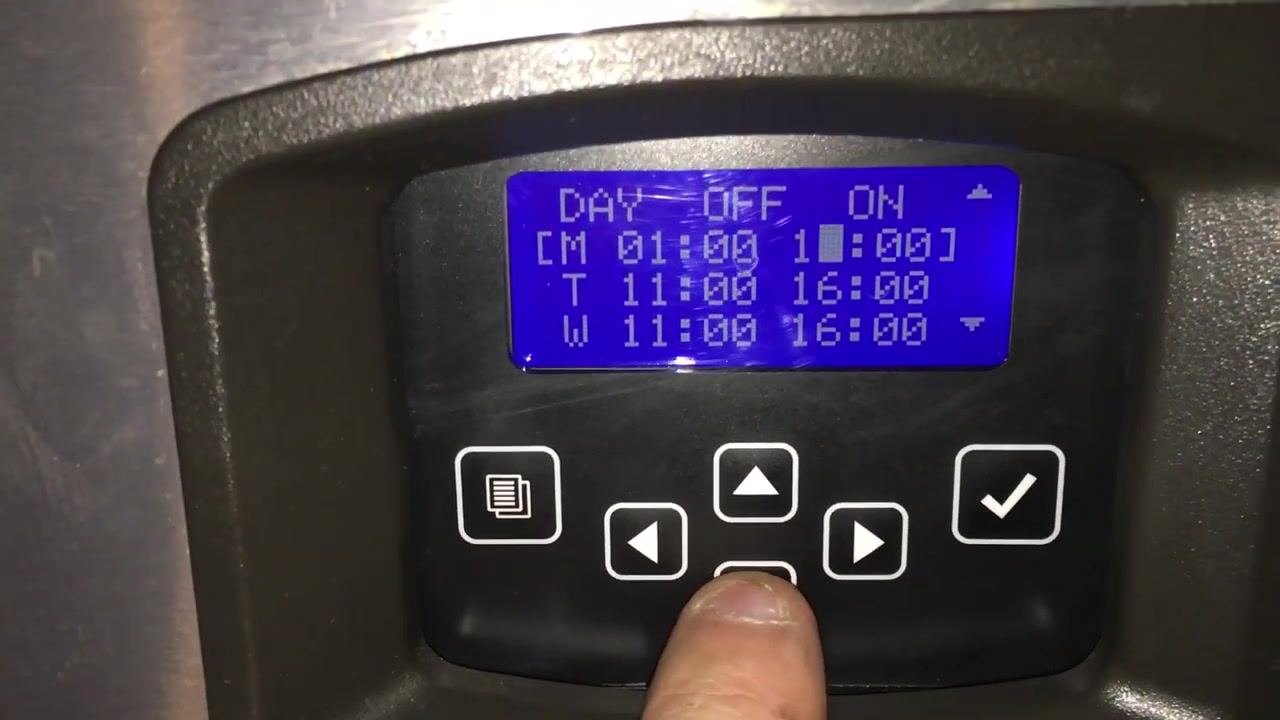
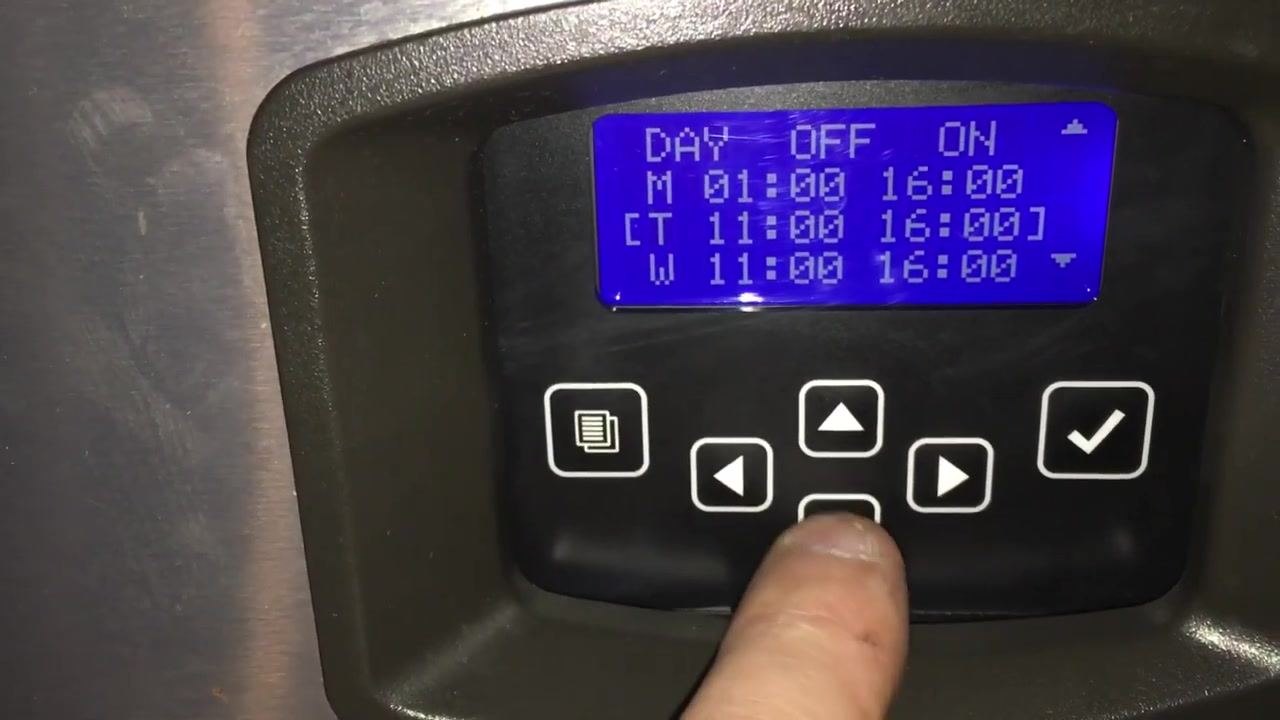
- Open the schedule settings. Navigate to "Settings" and press OK. The schedule screen displays columns for DAY, OFF, and ON times, with days abbreviated (M, T, W, and so on). Times are shown in 24-hour format. In the example shown, Monday, Tuesday, and Wednesday were each set to OFF at 11:00 and ON at 16:00.
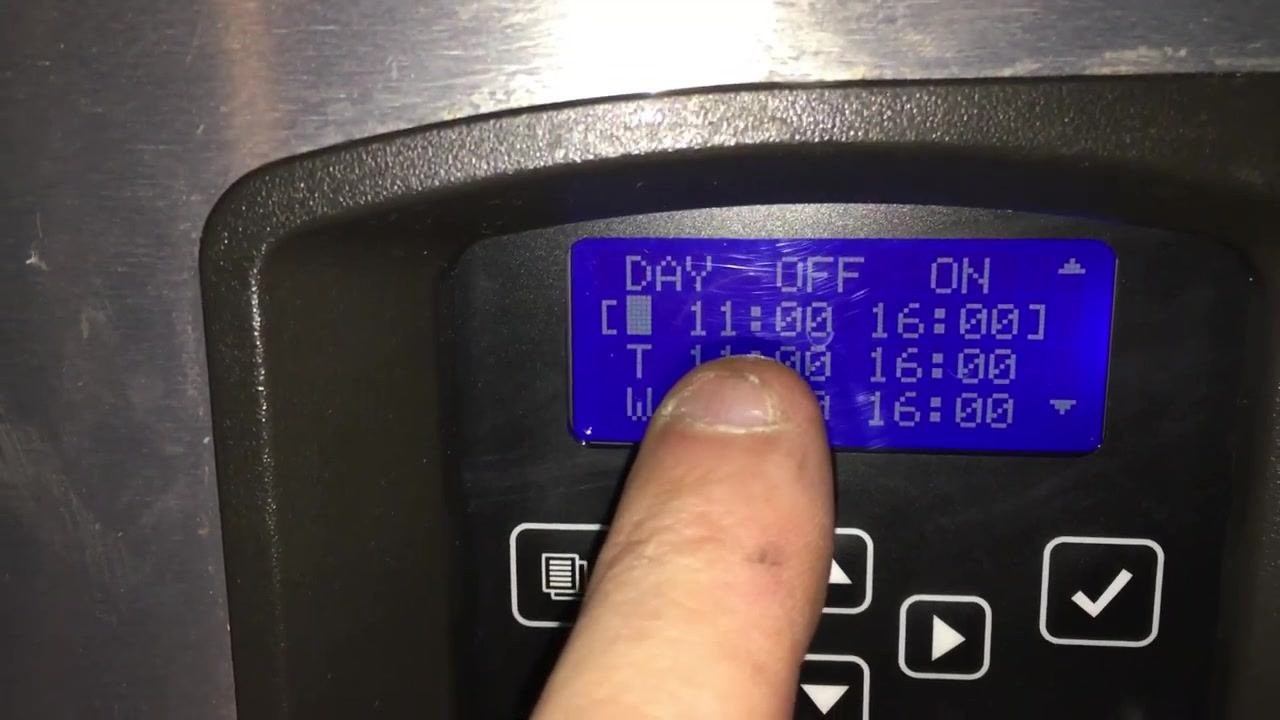
- Select the day to adjust. Use the arrow keys to choose the day. Use the left/right arrows to move between the OFF and ON columns, and the up/down arrows to change the time values. Press select to confirm each change.
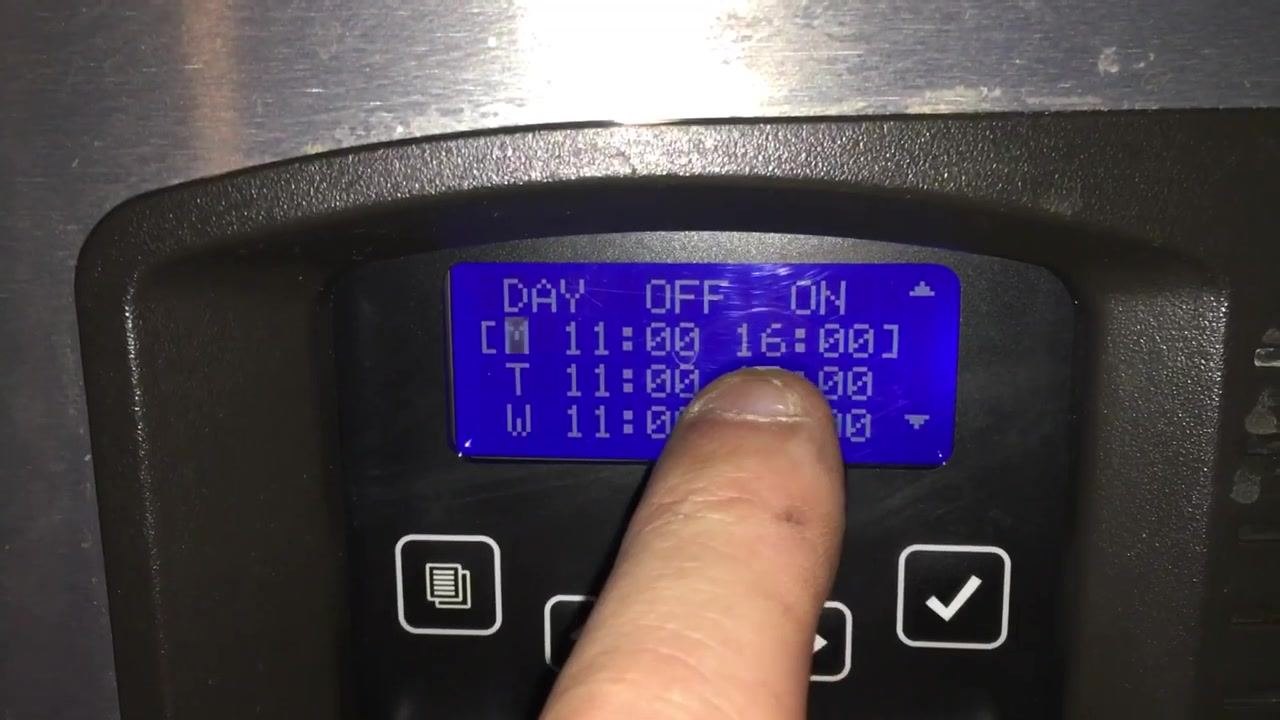
-
Review the programmed schedule. Confirm the correct days and times are set for OFF and ON. The checkmark should remain next to "Time Prog" to show the schedule is active. Press menu or exit to return to the main screen when finished.
-
Edit a specific day's OFF time. For example, to change Monday's OFF time to 01:00, use the up/down arrows on the OFF column for "M" until the display reads "01:00."
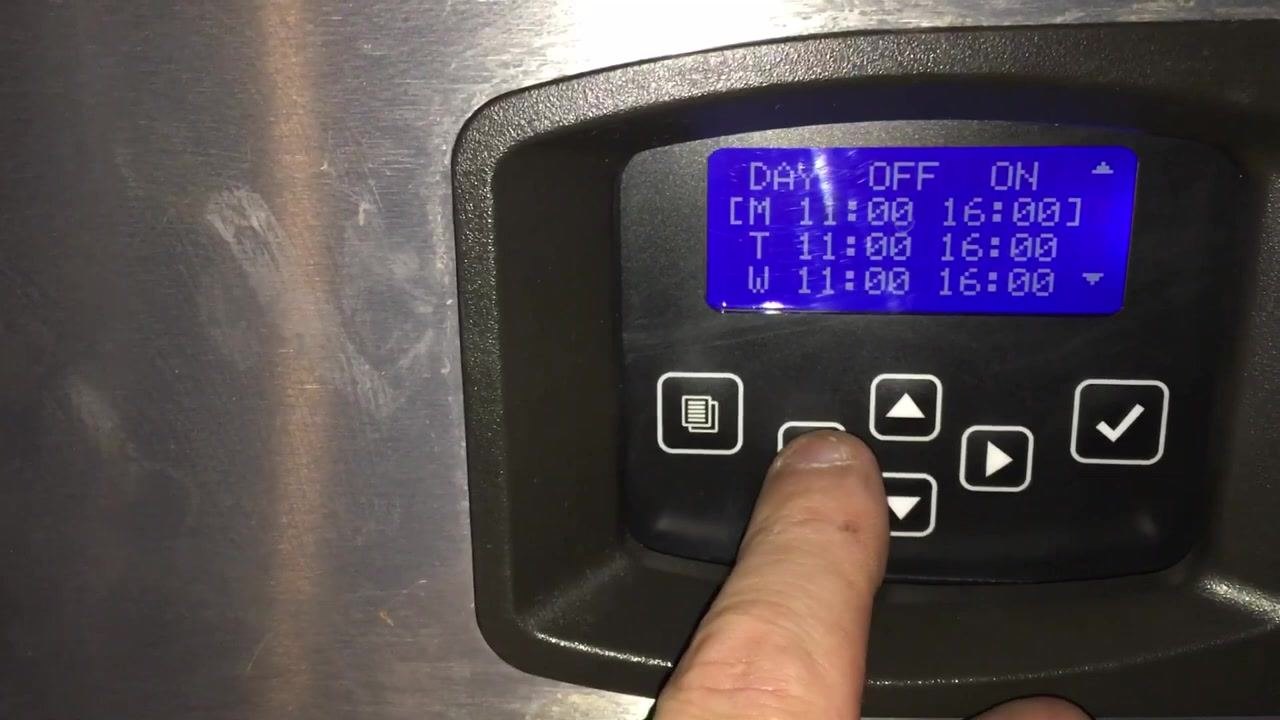
-
Edit the corresponding ON time and save. Move to the ON column with the right arrow and adjust to "16:00." Press the checkmark (✓) to save. When prompted, press the right arrow for "Yes" to confirm, or the left arrow for "No" to cancel.
-
Verify the program and settings are saved. Return to the "Time Prog" menu and confirm the checkmark (✓) is still present. Re-enter "Settings" to double-check the OFF and ON times for each day.
- Return to the main menu. Use the menu or exit button to go back. The main menu displays Machine Info, Set-Up, Energy Saver, and Fact. Default.
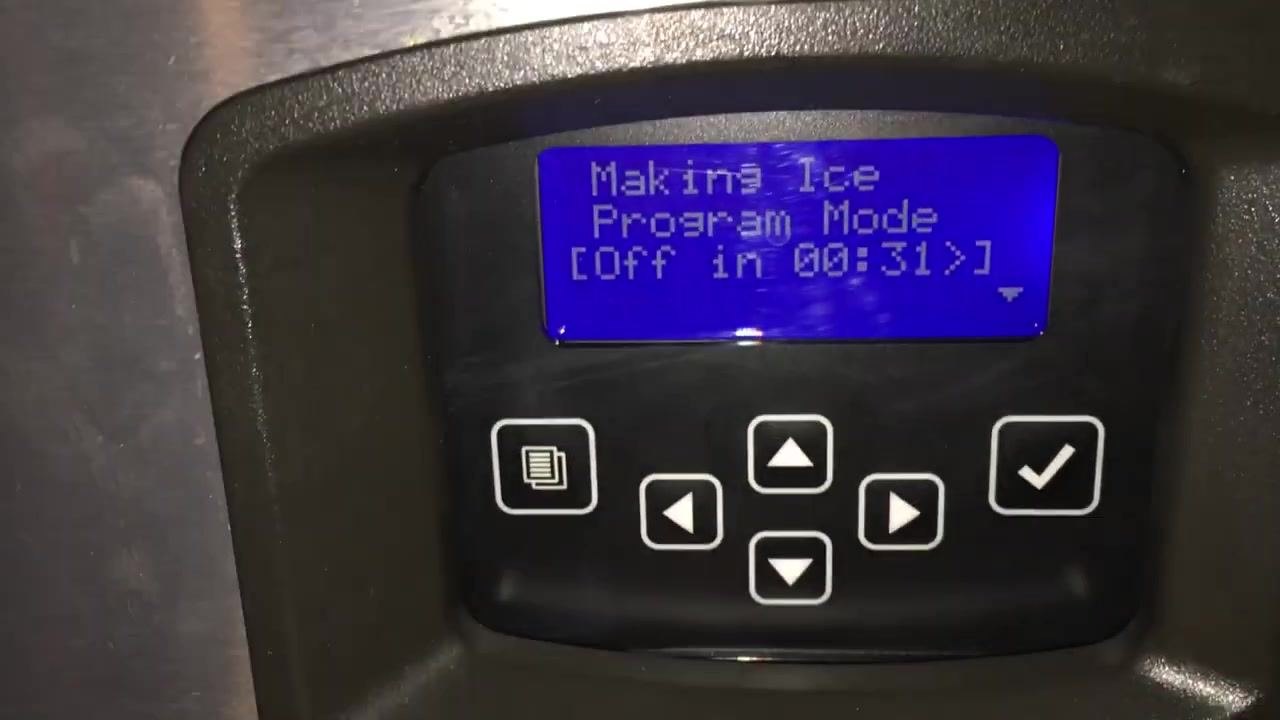
- Confirm the program is active. Back at the main screen, the display should read:
Making Ice
    Program Mode
    [Off in 00:34]
This confirms the machine is making ice and will turn off according to the programmed schedule.
- Set the correct day and time on the machine. The programmed schedule will not function correctly unless the machine's internal clock and calendar are accurate. If either is incorrect, adjust it before relying on the time program.
Set the time and date
This ice machine is not connected to the internet and does not update its time or date automatically. Most models also lack an internal battery to keep the clock running when power is off, so the time and date may reset after a power loss. Always check and set the correct time and date after installation or a power interruption.
-
Open the Time & Date settings. From the main menu, press the menu button. Navigate to "Time & Date" and press the checkmark (✓) to select it.
-
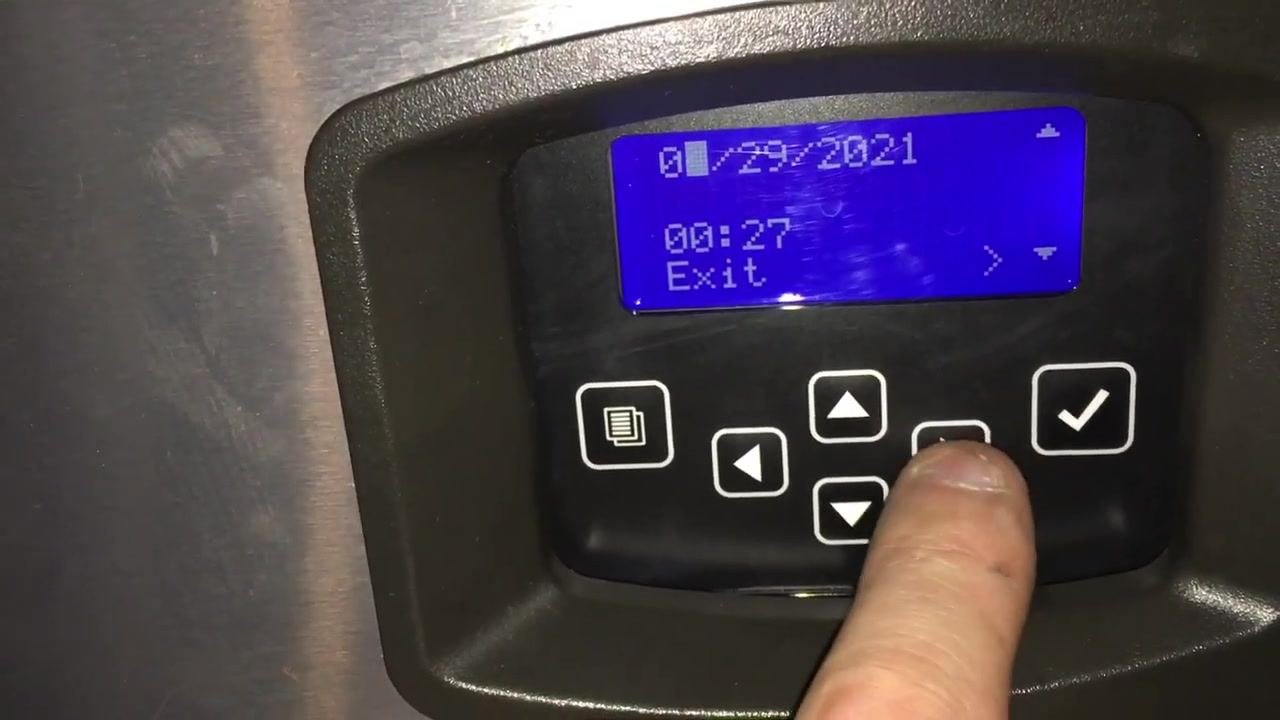
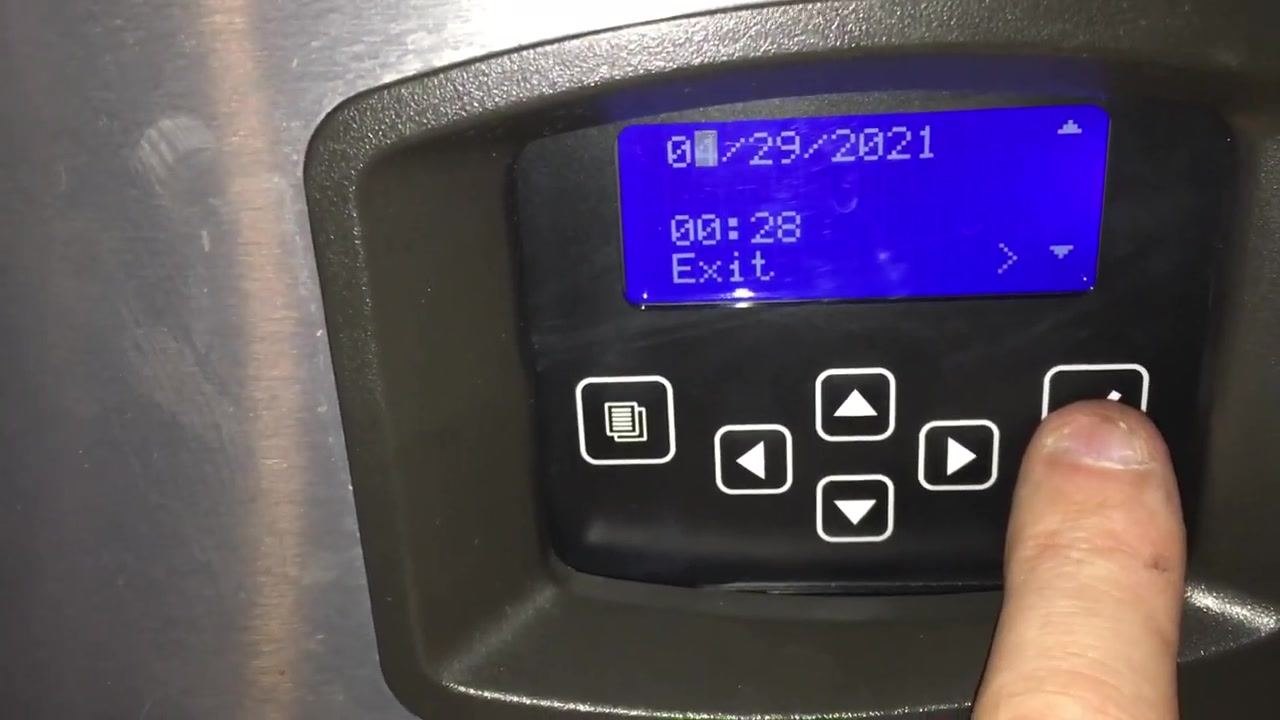
Set the date. The display shows the current date in MM/DD/YYYY format (for example, 04/29/2021). Use the up/down arrows to adjust the month, day, or year, and the right arrow to move between fields. An incorrect date will cause the schedule to malfunction.
-
Set the time. The display shows the current time in 24-hour format (for example, 00:27 for 12:27 AM). Use the up/down arrows to adjust the hour and minute, and the right arrow to move between fields. Double-check the time, since even a small error can disrupt the programmed schedule.
-
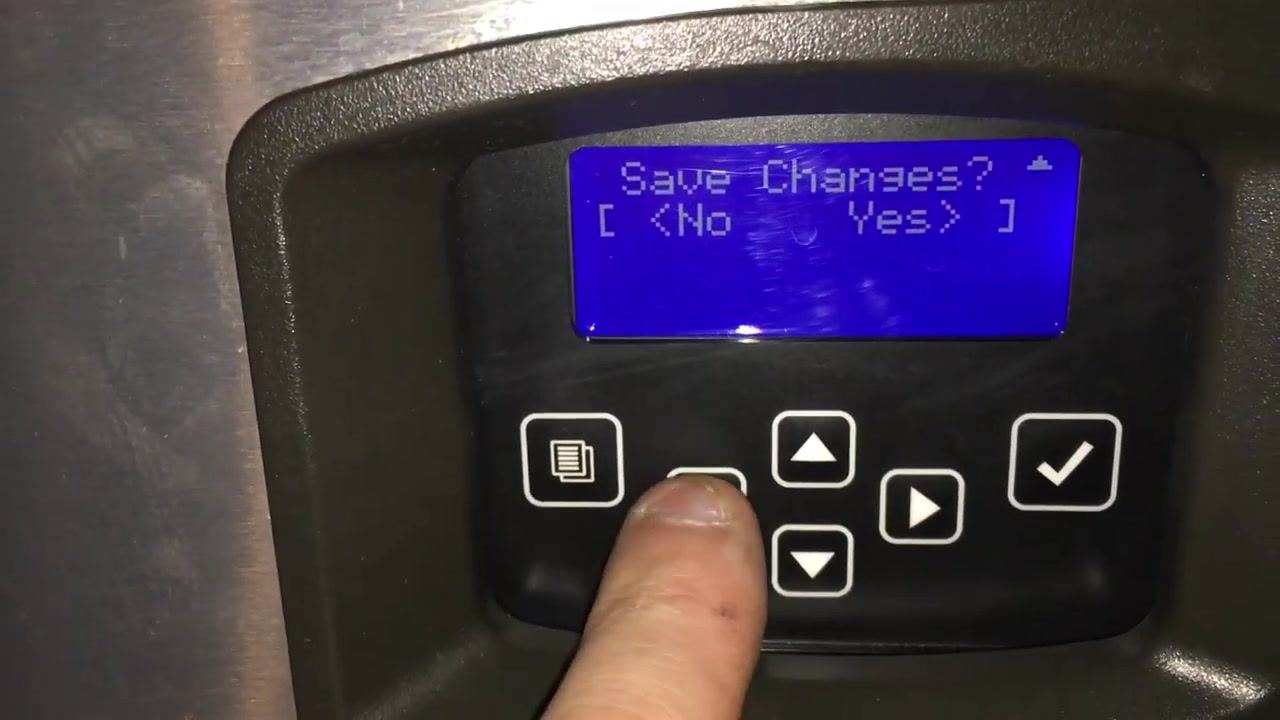
Save the date and time. Navigate to "Exit" and press the checkmark (✓). When prompted "Save Changes? [
]," use the right arrow to select "Yes," then press the checkmark to confirm.
Confirm and finalize the weekly schedule
- View the main control panel display. Confirm the screen shows the current date, a countdown timer, and an "Exit" option.
-
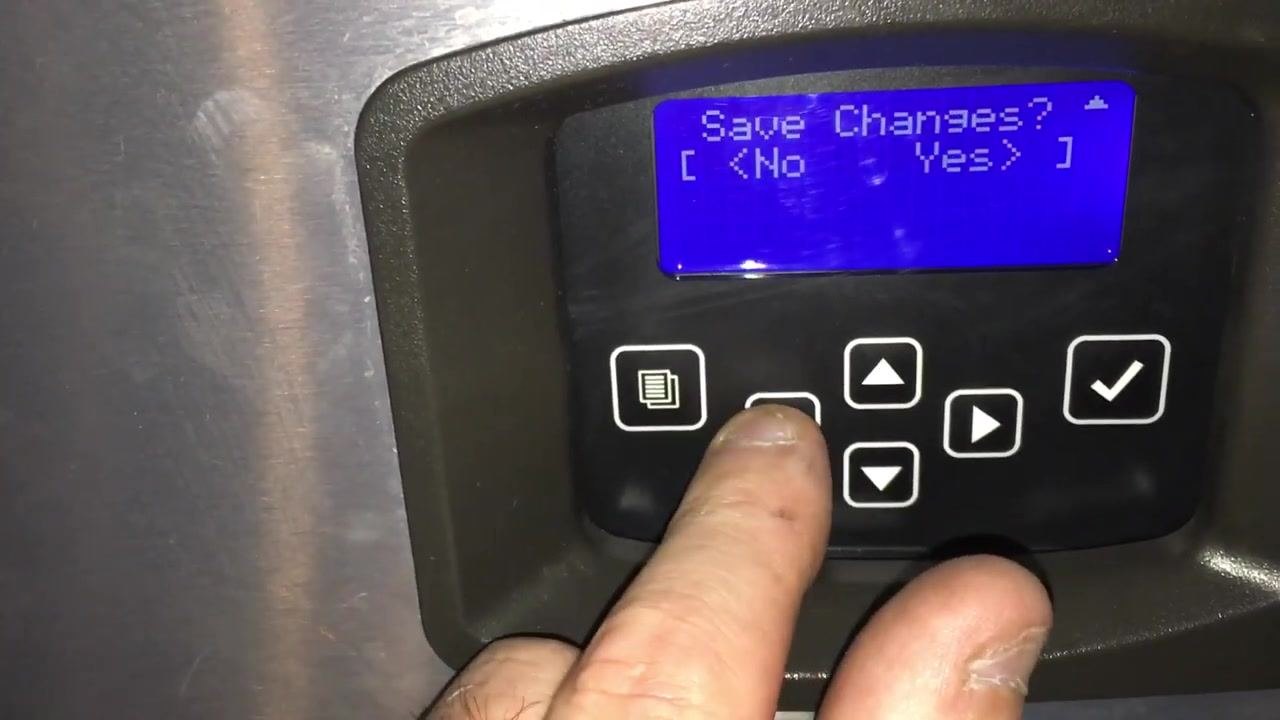
Save configuration changes. When prompted "Save Changes? [
]," use the left/right arrows to select "Yes" to save or "No" to discard changes. -
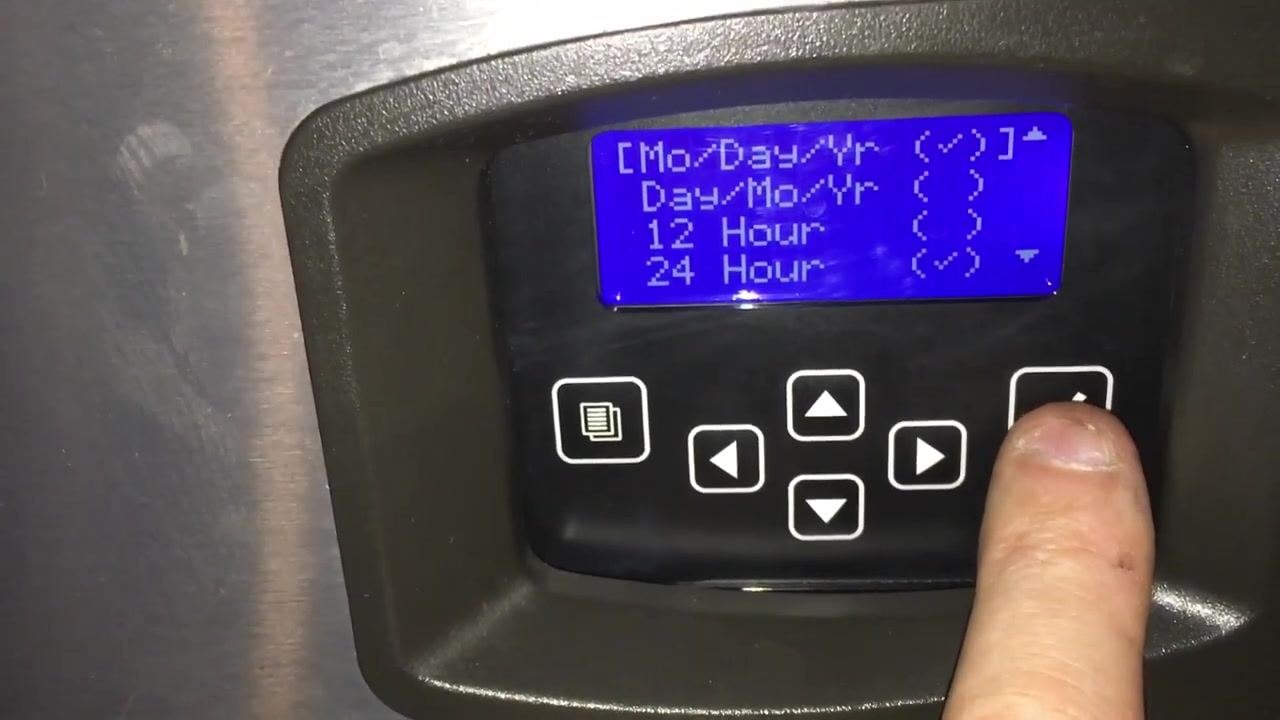
Confirm the date and time format. The screen offers Mo/Day/Yr or Day/Mo/Yr for date format, and 12 Hour or 24 Hour for time format. Press the right arrow to confirm the highlighted option. In this example, Month/Day/Year and 24 Hour were selected.
- Return to the main setup menu. The display lists Machine Info, Set-Up, Energy Saver, and Fact. Default. Press the right arrow to enter the highlighted item.
- Set the operational schedule for each day. The weekly schedule grid shows DAY, OFF, and ON columns (for example, M 01:00–16:00, T 11:00–16:00, W 11:00–16:00). Use the arrow keys to move between days and the checkmark to confirm each entry.
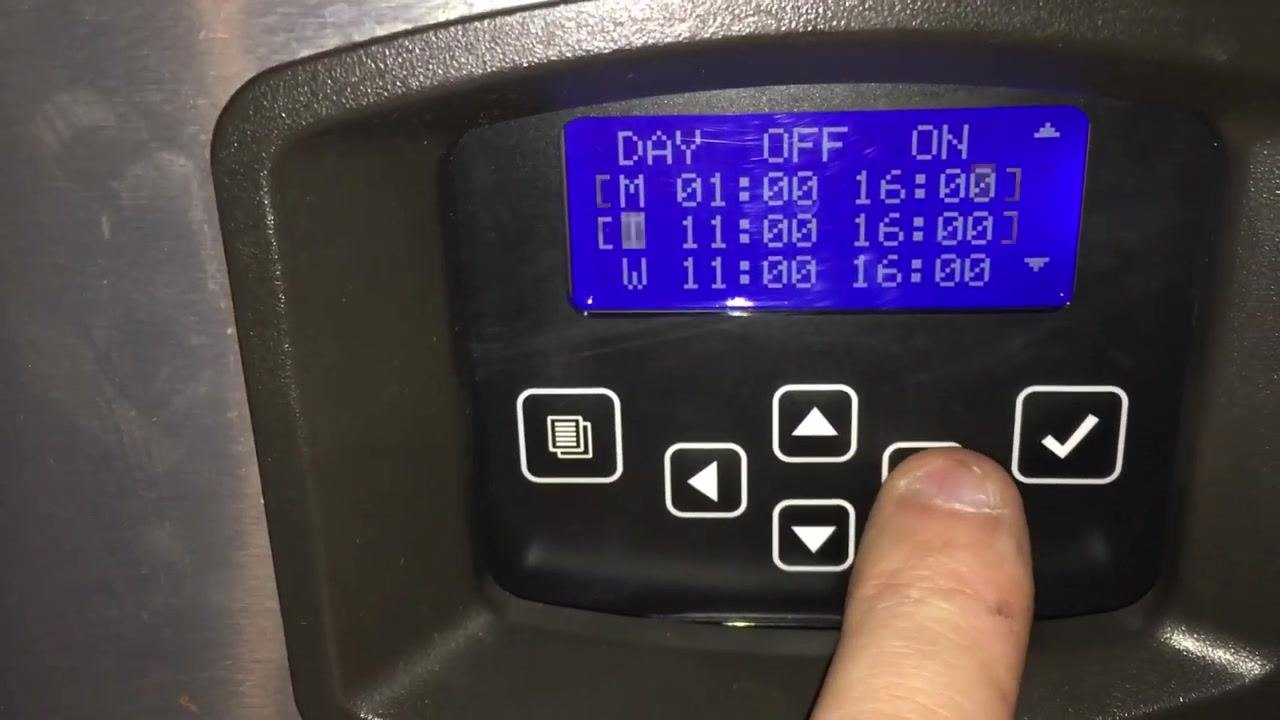
- Continue setting additional days. The display updates as you move through the week, letting you set ON/OFF times for each remaining day.
-
Save the updated schedule. When prompted "Save Changes? [
]," use the arrow keys to select "Yes" and press the checkmark to confirm. -
Confirm the machine is running in program mode. The display should read "Making Ice Program Mode [Off in 00:31]," confirming the machine is operating and will turn off per the programmed schedule.
Shutdown procedure
This machine shuts down automatically according to the OFF time set in the Time Prog schedule; no separate manual shutdown sequence is shown in this procedure. If a manual shutdown or cooldown routine is required at your site, refer to the machine's manual for those steps.
Troubleshooting
Use the table below to address issues observed with the bin lever mechanism and related components.
| Symptom | Likely cause | Corrective action |
|---|---|---|
| Lever or pan has fallen down inside the bin | Duct tape used as a temporary repair has come loose | Inspect the lever and support structure; reseat the lever and confirm it moves freely without obstruction |
| Dirt or residue buildup along the white metal edge above the ice | Lack of regular cleaning | Clean the edge and surrounding area regularly to maintain hygiene and proper function |
| Difficulty removing or bending the cover during maintenance | Cover design makes access awkward | Handle the cover carefully during maintenance; avoid forcing it |
| Concern about long-term durability of internal parts (yellow wire, metal brackets, plastic housing) | Wear or stress from repeated temporary repairs | Inspect these components periodically for wear, stress, or breakage |
Follow these steps to inspect and troubleshoot the bin lever mechanism in detail:
- Inspect the bin lever and temporary repair. Look for duct tape on the left side of the lever area, previously used to secure a component. Note if the tape has come off, causing the pan or lever to fall. Examine dirt and residue along the white metal edge above the ice.
-
Test the lever mechanism manually. Place your hand under the white metal lever or pan to check its movement, and gently reposition it if needed after the tape failure. Note the warning label on the black support below: "WARNING: DO NOT LIFT BY THIS SUPPORT."
-
Examine the lever and support structure. Remove your hand for a clear view of the lever's attachment points on both sides. Confirm the lever is properly seated and not obstructed, and note any remaining dirt or residue.
-
Assess the cover design and removal process. Point at or manipulate the right side of the lever or cover to evaluate how difficult it is to remove or bend for maintenance. Note dirt accumulation and any awkward positioning.
-
Evaluate the durability of internal components. Look at the internal mechanism above the bin, including the yellow wire and metal brackets, for signs of wear, stress, or potential breakage.
-
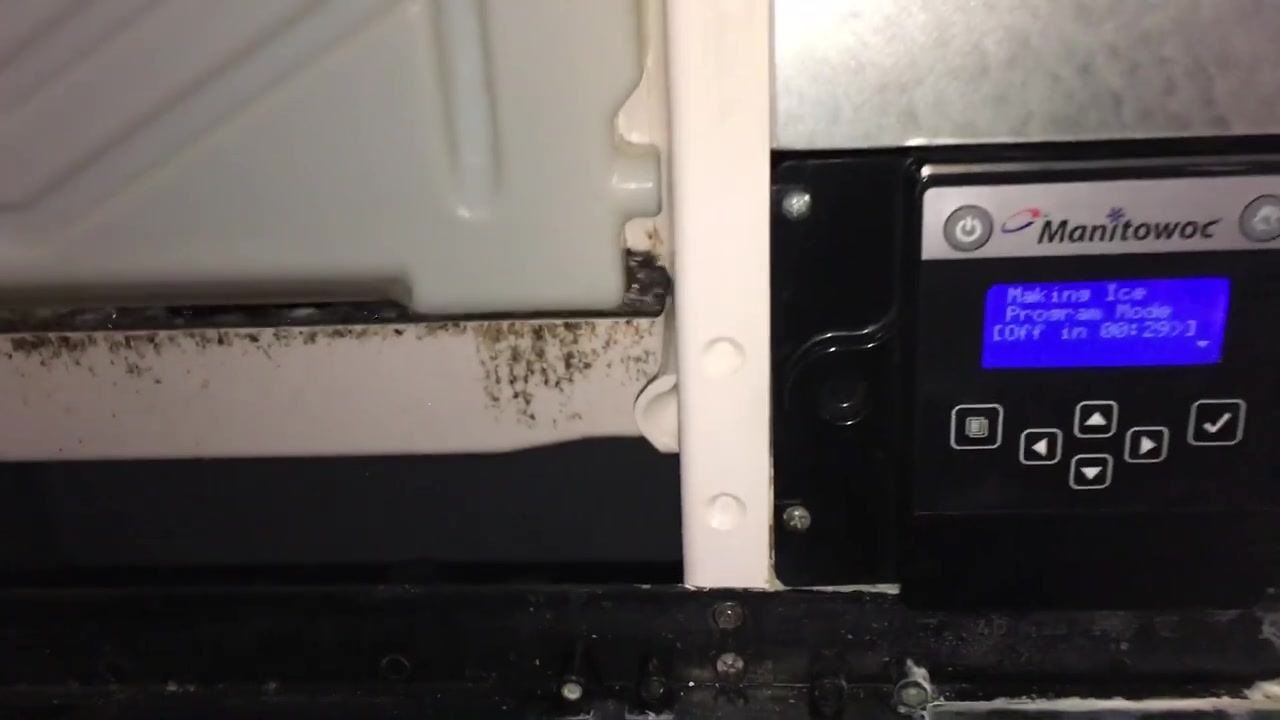
Review the lever and bin area for persistent issues. Check the right-side attachment point again for dirt, residue, or misalignment. Confirm the lever is not bent or damaged and moves freely.
-
Confirm machine status after inspection. View the control panel; it should read "Making Ice Program Mode [Off in 00:29]," confirming the machine is running and will turn off soon as programmed. The Manitowoc brand name is visible on the control panel.
Regular inspection and cleaning of the lever and bin area are recommended to maintain proper function and hygiene, and to keep the machine's programmed schedule operating reliably.
Generation details: cost, quality tiers, downloads
Docsie billed 4,000 credits ($2.80) to analyze this 8-minute video at standard quality. The rewrite, template fill and Word/PDF exports were included. The same video at each quality tier:
| Quality | Frames sampled | Credits | Approx. cost |
|---|---|---|---|
| Draft | every 16-30 s | 2,000 | $1.40 |
| Standard (this guide) | every 8-15 s | 4,000 | $2.80 |
| Detailed | every 4-7 s | 8,000 | $5.60 |
| Ultra | every 1-3 s | 16,000 | $11.20 |
Credits priced at $0.70 per 1,000; plans include a monthly allowance. Enterprise customers on on-premise or bring-your-own-model deployments run this on their own inference and pay no per-video credits.
Generated by Docsie Video-to-Docs on 2026-09-20 from a 7-minute video. It was generated straight into Docsie's Machine Operating Procedure template, so every section of that template is filled from the video. Screenshots are frames from the source video and belong to their creator, OcRefrigeration,Hvac,Electrical & other Video's., whose original is embedded above. If you own this video and want the guide removed or credited differently, contact us and we will act within one business day.