
How to Clean a Flat Top Grill
This standard operating procedure explains how to clean a flat-top grill using a lemon juice solution, from initial heating through final seasoning. Follow these steps at the end of service to remove burnt-on grease, sanitize the cooking surface, and protect the grill from rust before its next use.
Video: How to Clean the Flat-top Grill by Jessica Stach (2018). All credit for the demonstration goes to the creator; watch the original on YouTube. The written guide below was generated from this video by Docsie. Creator? Request a change or removal.
This standard operating procedure explains how to clean a flat-top grill using a lemon juice solution, from initial heating through final seasoning. Follow these steps at the end of service to remove burnt-on grease, sanitize the cooking surface, and protect the grill from rust before its next use.
Purpose
This SOP defines the sanitation objective of removing burnt-on food residue, grease, and grime from a commercial flat-top grill surface. It controls the risk of cross-contamination, bacterial buildup, and grill surface corrosion by establishing a consistent cleaning and seasoning routine.
Scope
- Equipment covered: Commercial flat-top grill, including the cooking surface, burner controls, and grease trap/waste tray.
- Surfaces covered: The full flat-top cooking surface and the grease trap.
- The video does not specify which rooms, shifts, or excluded equipment this procedure applies to; confirm shift assignment and any excluded equipment with your facility's cleaning schedule before starting.
Supplies
Gather the following before beginning:
- [ ] Spray bottle filled with cleaning solution (yellow liquid, likely lemon juice or a degreaser)
- [ ] Approximately 1 cup of lemon juice
- [ ] Large container (minimum 4-quart capacity)
- [ ] Cold water
- [ ] Grill scraper
- [ ] Clean, dry towels or rags
- [ ] Olive oil (for seasoning)
- [ ] Large waste bucket
- [ ] Protective gloves
Dilution: Mix approximately 1 cup of lemon juice with cold water in a container filled to the 4-quart mark.
Storage: Store cleaning chemicals and lemon juice solution components according to your facility's chemical storage guidelines; specific storage requirements are not detailed in this procedure.
Safety precautions
- [ ] Confirm the grill is empty and clear of food debris before turning burners on.
- [ ] Wear protective gloves when pouring the lemon water solution onto the hot grill surface.
- [ ] Stand back when pouring the solution, as it will splash from contact with the hot surface.
- [ ] Turn all burner knobs to OFF before applying any cleaning solution.
- [ ] Allow the grill to cool before performing any maintenance or cleaning that requires direct contact.
- [ ] Dispose of waste water and cleaning materials according to your facility's safety and environmental guidelines.
- [ ] Follow local regulations for disposal of grease trap waste.
Cleaning steps
Phase 1: Initial cleaning
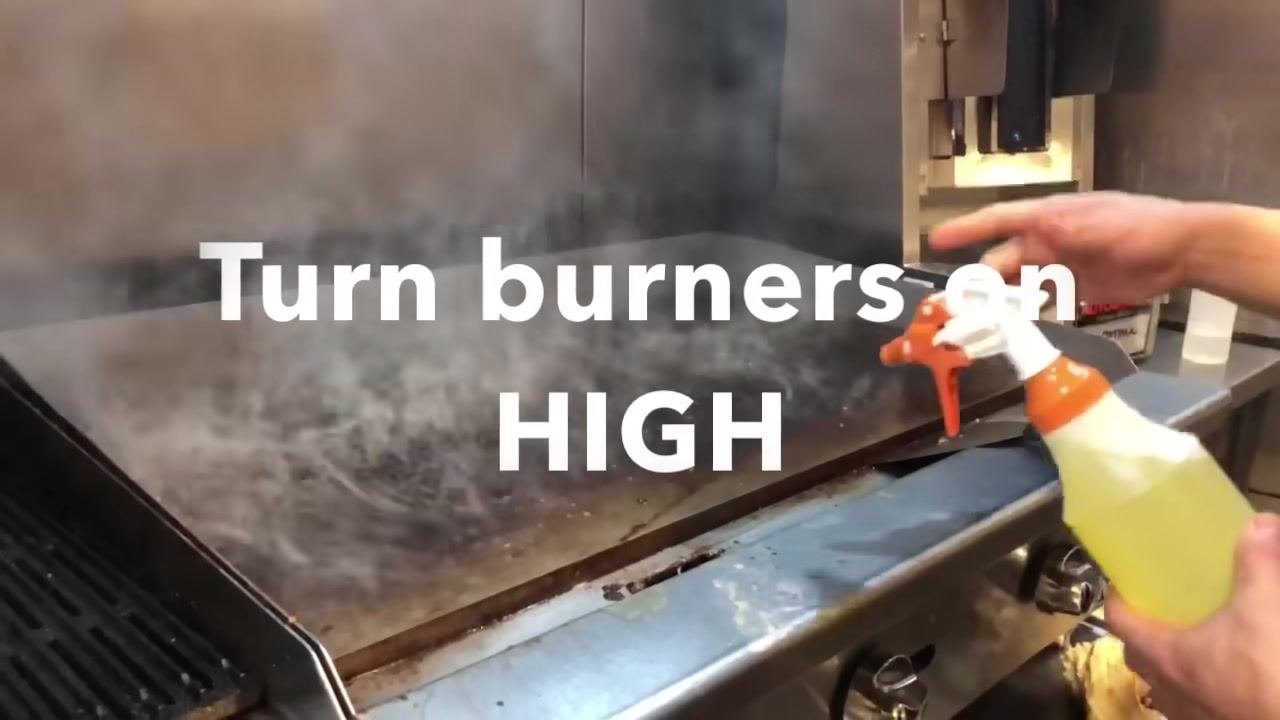
- Turn burners on high. Ensure the grill is empty and clear of food debris, then turn all burner knobs to the HIGH setting. Wait until the grill is visibly hot and producing steam.
-
Spray the cleaning solution. Spray the yellow cleaning solution evenly across the hot, steaming grill surface.
-
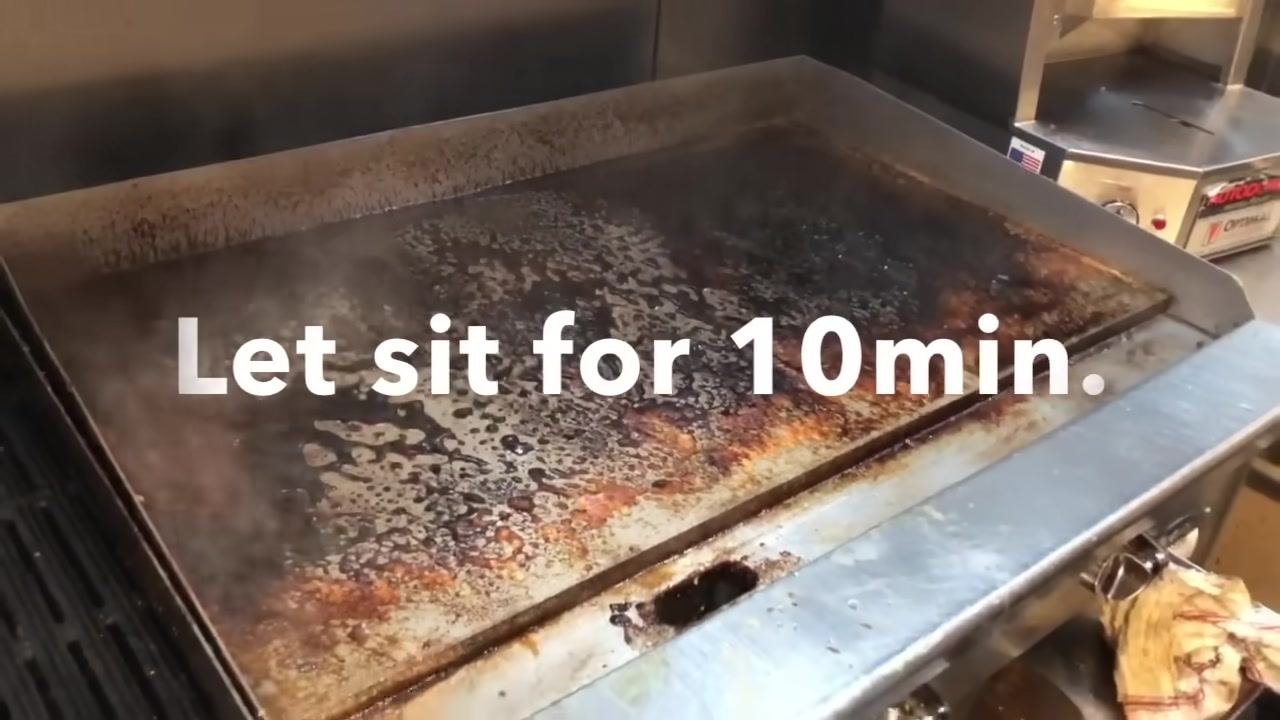
Turn burners off. Immediately after spraying, turn all burner knobs to the OFF position.
-
Let the solution sit. Allow the cleaning solution to sit on the grill surface for 10 minutes to loosen burnt-on residue and grease.
-
Scrape the grill. After 10 minutes, use a grill scraper to remove loosened residue across the entire surface, moving debris toward the grease trap.
-
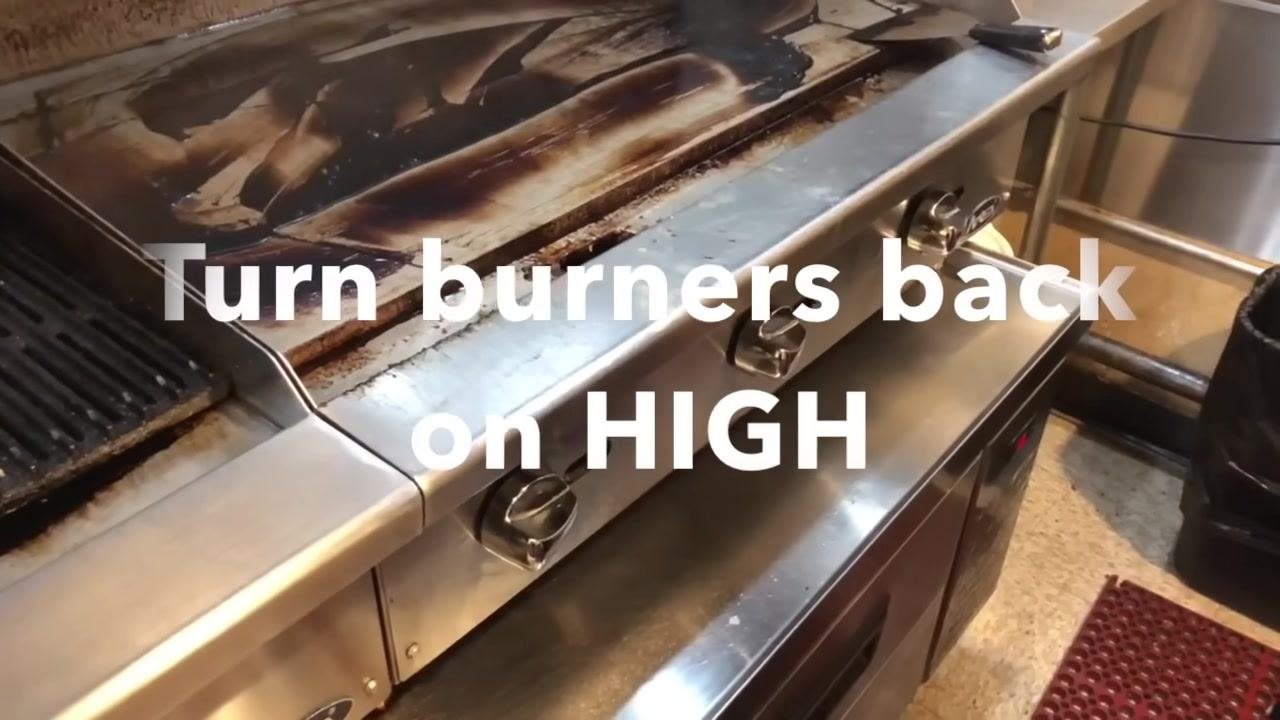
Turn burners back on high. Once scraping is complete, turn all burner knobs back to the HIGH setting to prepare for the next cleaning phase.
-
Prepare the lemon juice solution. Measure approximately 1 cup of lemon juice for use as a natural cleaning agent.
-
Fill the container with cold water. Pour the lemon juice into a large container (minimum 4-quart capacity) and fill it with cold water up to the 4-quart mark.
Phase 2: Final cleaning and seasoning
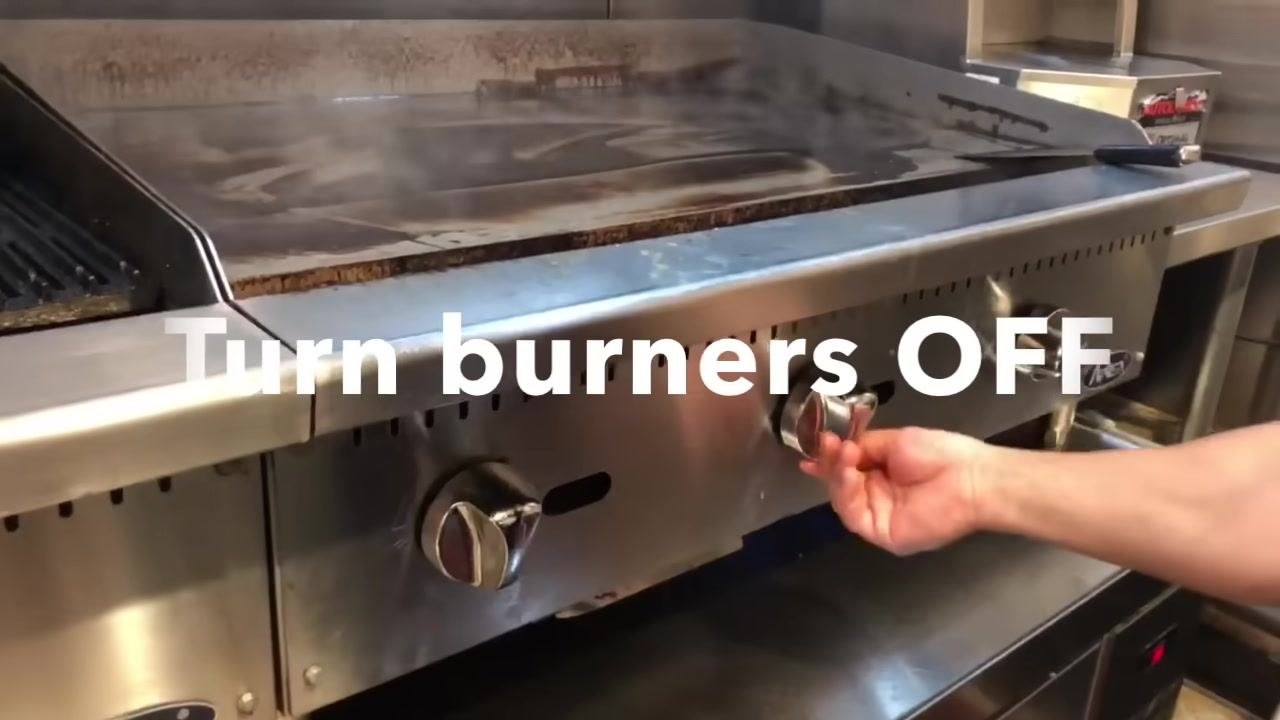
- Turn burners off again. Ensure all burner knobs are in the OFF position before applying the lemon water solution; this step is critical for safety.
-
Prepare to apply the lemon water solution. Hold a clean towel or rag in preparation, and clear the area of unnecessary items. The grill surface will remain hot even though the burners are off.
-
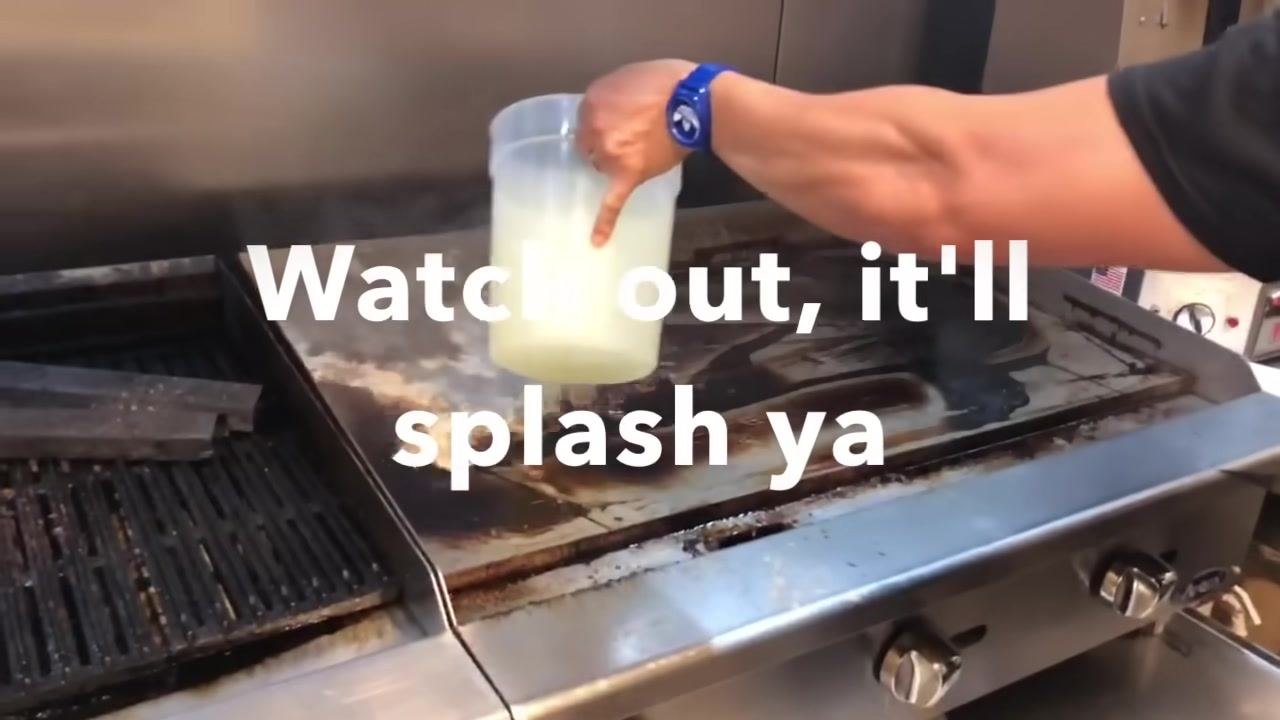
Pour the lemon water solution onto the grill. Carefully and slowly pour the prepared solution over the entire surface. Wear protective gloves and stand back, as the solution will splash from the hot surface.
-
Scrape and agitate while the solution boils. As the solution boils and bubbles vigorously, use the grill scraper to agitate and clean the entire surface, focusing on stubborn spots.
-
Inspect the clean grill surface. After scraping, confirm the surface is free of burnt-on debris and wipe away any remaining moisture or residue with a clean towel if necessary.
-
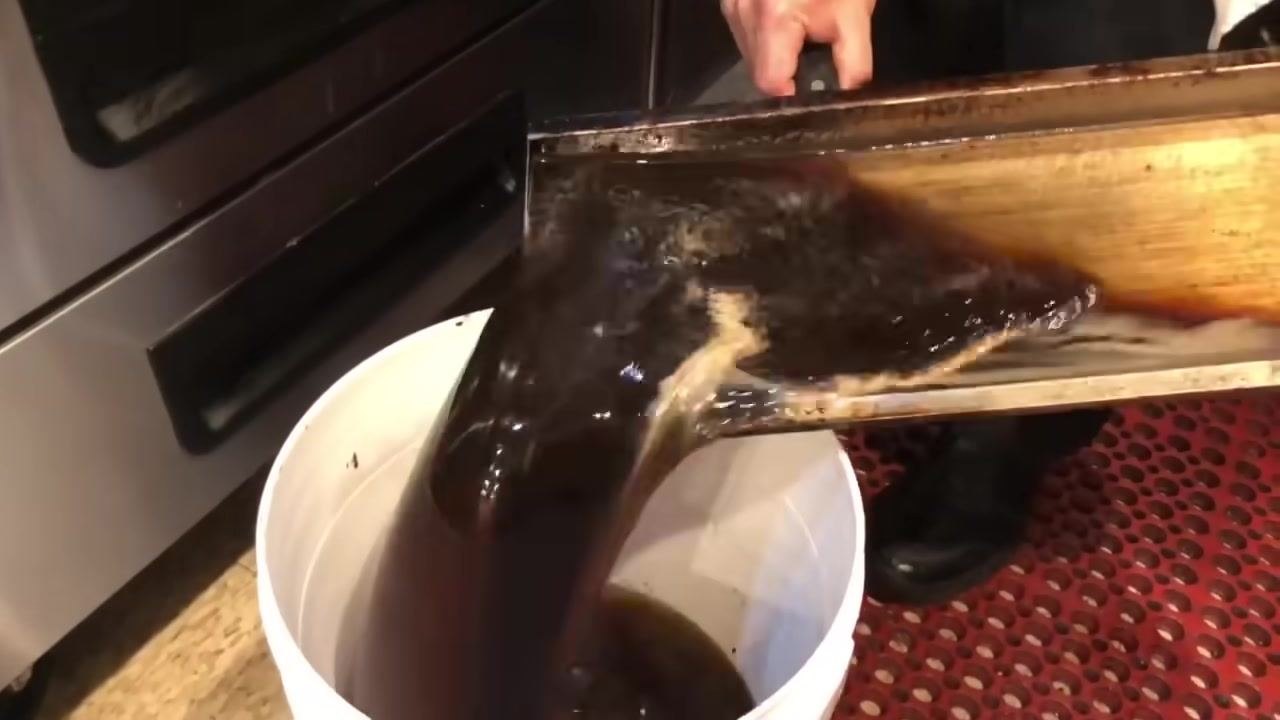
Dispose of waste water. Remove the grease trap or waste tray and carefully pour the collected dirty water and residue into a large waste bucket, following local disposal regulations.
-
Perform a final rinse and scrape. If needed, pour a small amount of clean water onto the grill and use the scraper to direct any remaining water or residue toward the grease trap, leaving the grill as dry as possible.
-
Dry the grill surface. Use clean, dry towels to thoroughly wipe down the surface, ensuring no moisture remains before seasoning.
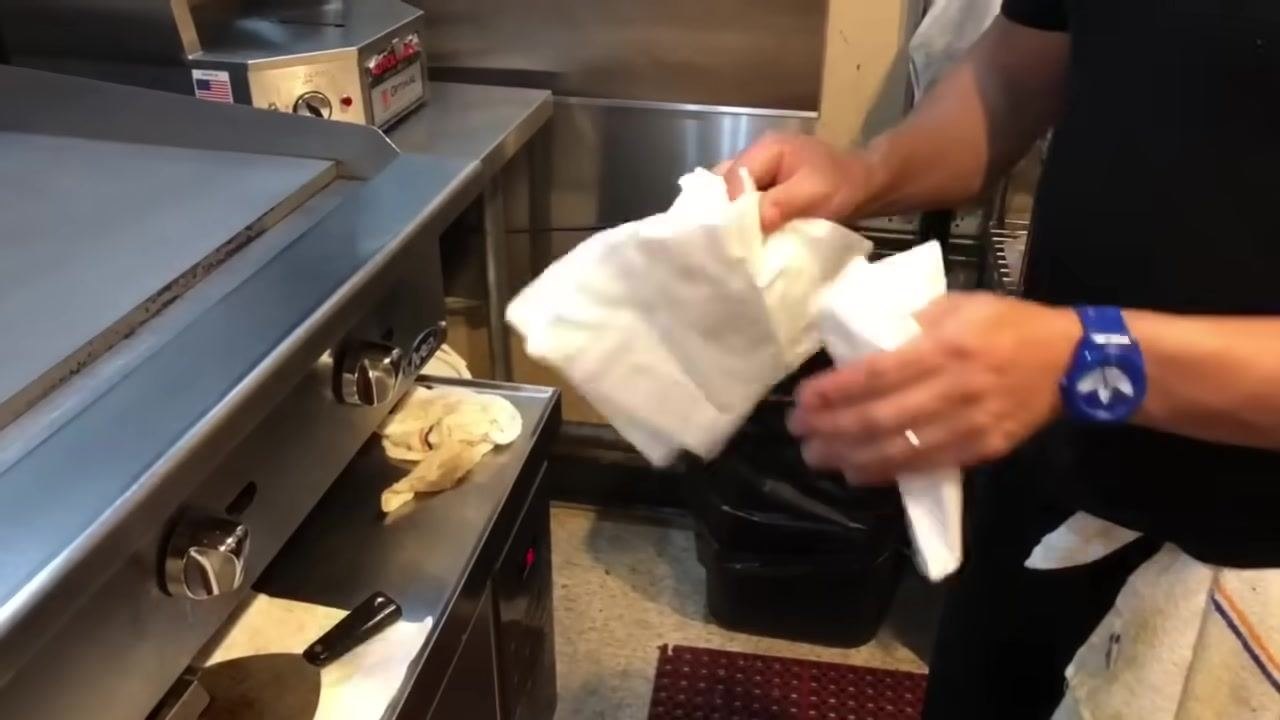
- Season the grill with olive oil. Drizzle a thin, even layer of olive oil over the entire surface and spread it with a clean towel or cloth to create a protective, non-stick layer that helps prevent rust.
Inspection
- [ ] Confirm the entire grill surface is free of burnt-on debris and visible grime after scraping (Step 13).
- [ ] Confirm no moisture remains on the surface before the olive oil seasoning step (Step 16).
- [ ] Confirm the grease trap has been emptied and waste water disposed of properly (Step 14).
Specific acceptance criteria, supervisor sign-off procedures, and failed-inspection escalation steps are not detailed in this procedure; confirm these requirements with your facility's quality standards before finalizing the checklist.
Frequency
Repeat this cleaning and seasoning process after each use of the flat-top grill. Daily, weekly, monthly, and deep-clean intervals beyond "after each use" are not specified in this procedure; confirm any additional scheduling requirements with your facility's maintenance plan.
End of guide. You have now completed all steps required to properly clean and season a flat-top grill. Always follow safety and disposal guidelines as outlined above, and repeat this process after each use for best results.
Generation details: cost, quality tiers, downloads
Docsie billed 2,000 credits ($1.40) to analyze this 4-minute video at standard quality. The rewrite, template fill and Word/PDF exports were included. The same video at each quality tier:
| Quality | Frames sampled | Credits | Approx. cost |
|---|---|---|---|
| Draft | every 16-30 s | 1,000 | $0.70 |
| Standard (this guide) | every 8-15 s | 2,000 | $1.40 |
| Detailed | every 4-7 s | 4,000 | $2.80 |
| Ultra | every 1-3 s | 8,000 | $5.60 |
Credits priced at $0.70 per 1,000; plans include a monthly allowance. Enterprise customers on on-premise or bring-your-own-model deployments run this on their own inference and pay no per-video credits.
Generated by Docsie Video-to-Docs on 2026-09-28 from a 3-minute video. It was generated straight into Docsie's Facility Cleaning SOP template, so every section of that template is filled from the video. Screenshots are frames from the source video and belong to their creator, Jessica Stach, whose original is embedded above. If you own this video and want the guide removed or credited differently, contact us and we will act within one business day.