
How to Start a Gas Pressure Washer
This standard operating procedure explains how to start a gas pressure washer, covering setup, priming, starting, safe operation, and shutdown of a Mi-T-M gas powered pressure washer. Follow each step in order to ensure safe and effective operation.
Video: How to Start a Gas Pressure Washer by Mi-T-M Corporation (2018). All credit for the demonstration goes to the creator; watch the original on YouTube. The written guide below was generated from this video by Docsie. Creator? Request a change or removal.
This standard operating procedure explains how to start a gas pressure washer, covering setup, priming, starting, safe operation, and shutdown of a Mi-T-M gas powered pressure washer. Follow each step in order to ensure safe and effective operation.

Purpose
This procedure provides step-by-step instructions for assembling, starting, operating, and shutting down a Mi-T-M gas powered pressure washer safely and correctly.
Scope
This procedure applies to anyone setting up and operating a Mi-T-M gas powered pressure washer for cleaning tasks, from initial assembly through shutdown and hose disconnection.
Required equipment and PPE
- Mi-T-M gas powered pressure washer
- Standard garden hose
- High pressure hose (provided with the unit)
- Spray gun assembly with wand
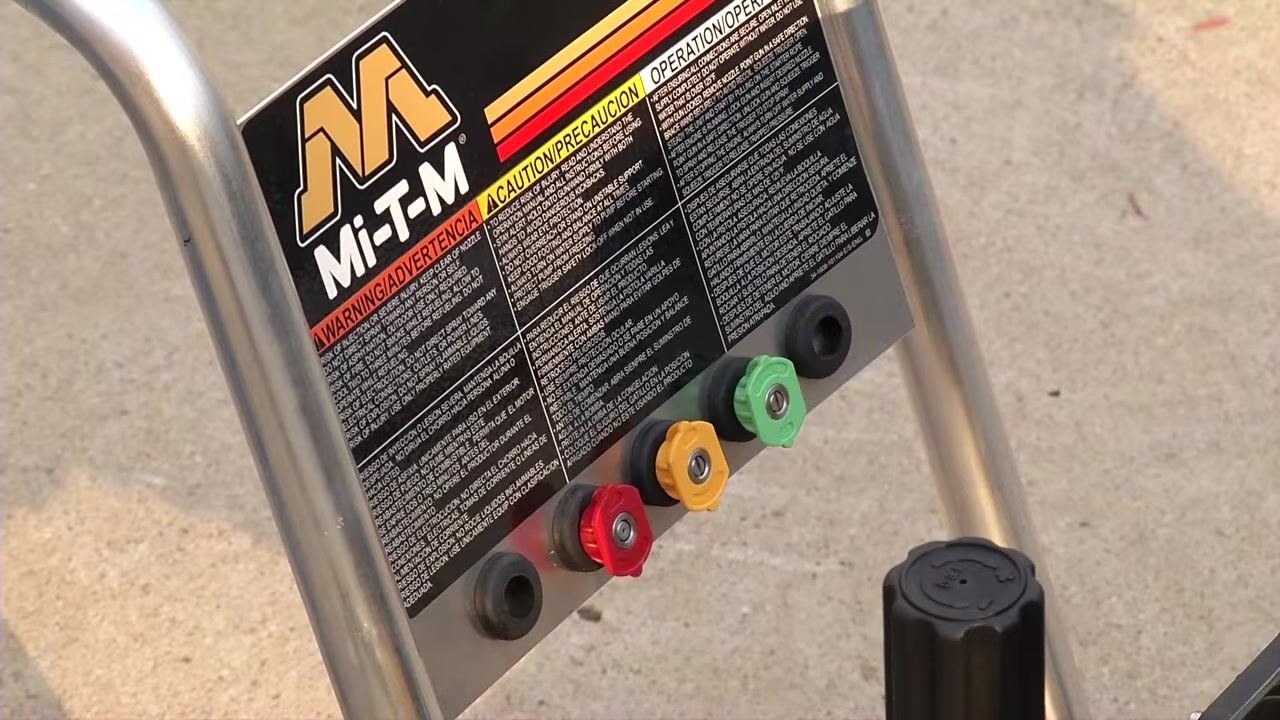
- Color-coded high pressure nozzles
- Water supply
- Engine oil and fuel, per manufacturer specifications
- Safety glasses
- Gloves
Note: Always follow all safety instructions provided in the Mi-T-M user manual. Wear appropriate personal protective equipment (PPE) such as safety glasses and gloves when operating the pressure washer.
Setup and assembly
Step 1: Place the pressure washer
Set the pressure washer on a flat, stable surface outdoors. Ensure the area is clear of debris and obstructions, and confirm the water strainer is installed and free of debris.
Step 2: Connect the garden hose
Attach one end of a standard garden hose to the water inlet on the pressure washer. Connect the other end of the garden hose to your water supply.
Step 3: Attach the high pressure hose
Take the high pressure hose provided with the unit. Connect the male end of the high pressure hose to the water outlet on the pressure washer and tighten it securely.
Step 4: Connect the spray gun assembly
Slide the plug on the bottom of the spray gun assembly onto the other end of the high pressure hose. Ensure the collar snaps into place, securing the connection.
Step 5: Select and install the high pressure nozzle
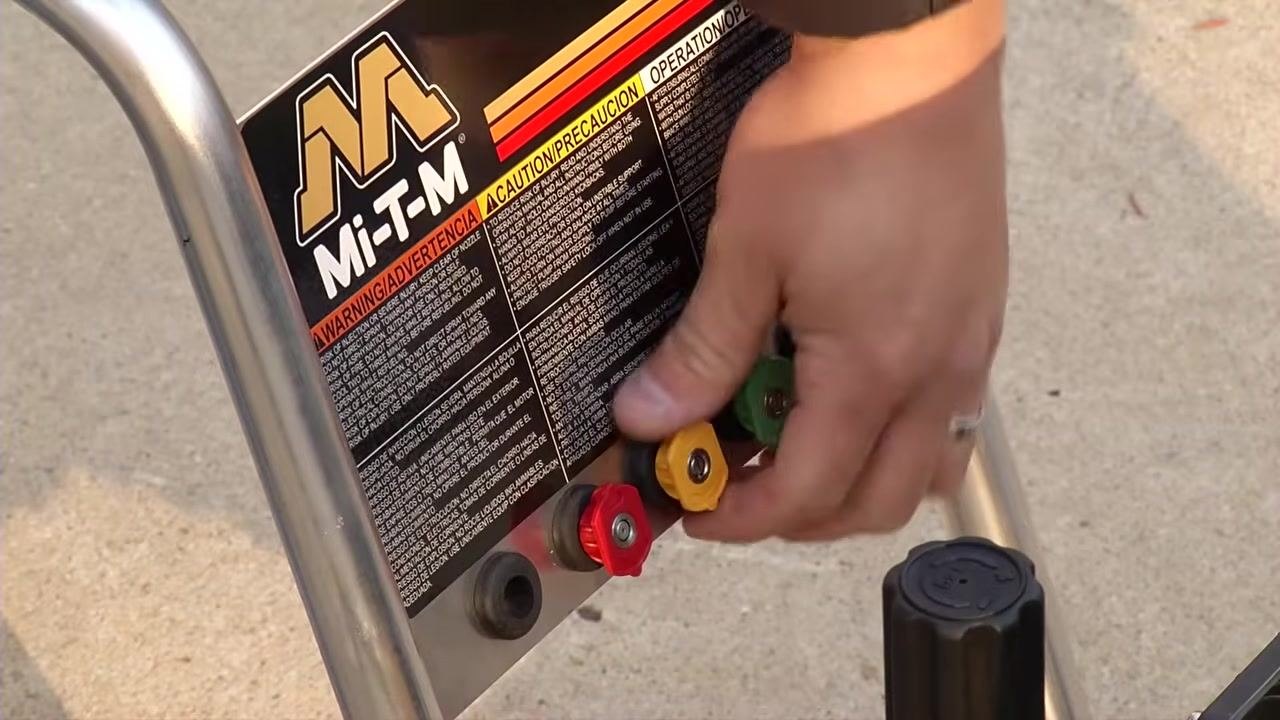
Choose the nozzle best suited for your cleaning task; nozzles are color-coded and stored on the unit. Pull back the collar on the end of the gun and wand assembly, attach the selected nozzle, and release the collar so it snaps into place.
Priming and starting the pressure washer
Step 6: Turn on the water supply
Open the water supply valve to allow water to flow into the pressure washer and hose.
Step 7: Purge air from the system
Squeeze the trigger on the spray gun to release trapped air from the hose and pump. Continue until a steady stream of water flows from the nozzle.
Step 8: Check oil and fuel levels
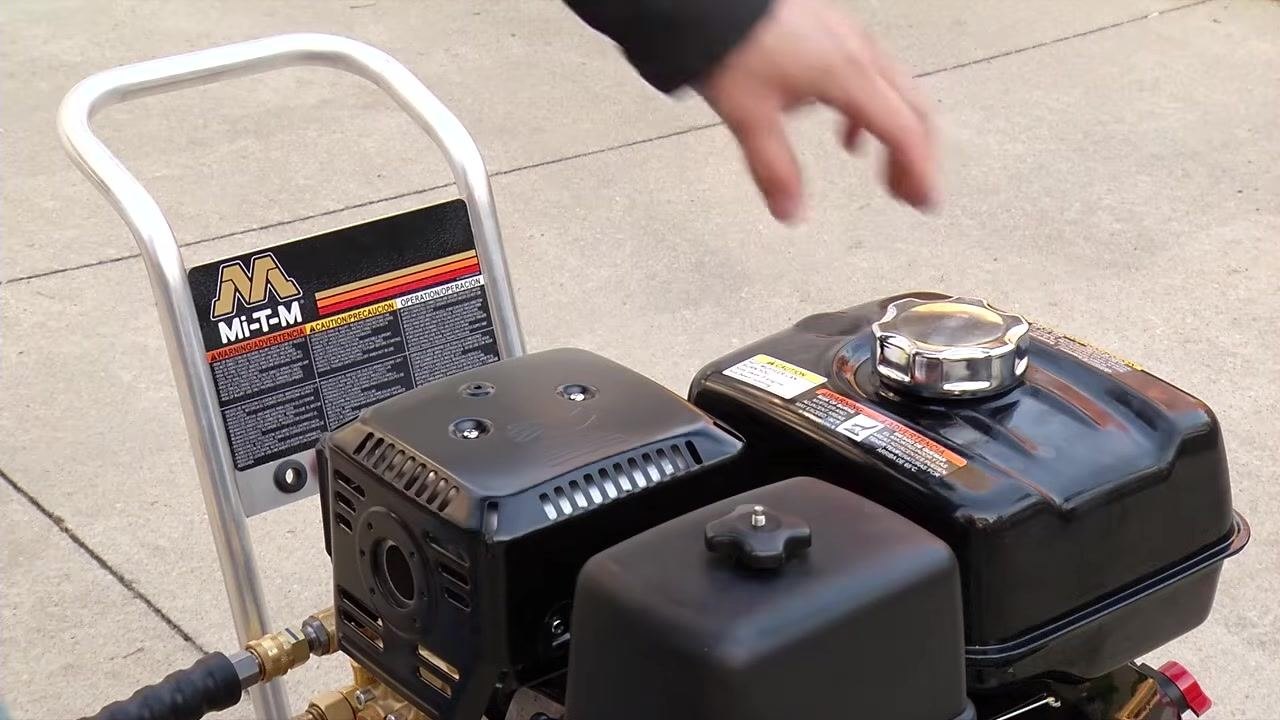
Inspect the oil and fuel levels on the pressure washer engine. Top up oil and fuel if necessary, following the manufacturer's specifications.
Step 9: Set engine controls for starting
- Move the fuel valve to the open position.
- Set the choke lever to the closed position for cold starts.
- Move the throttle lever to the full throttle (leftmost) position.
- Turn the engine switch to the ON position.
Step 10: Prepare to start the engine
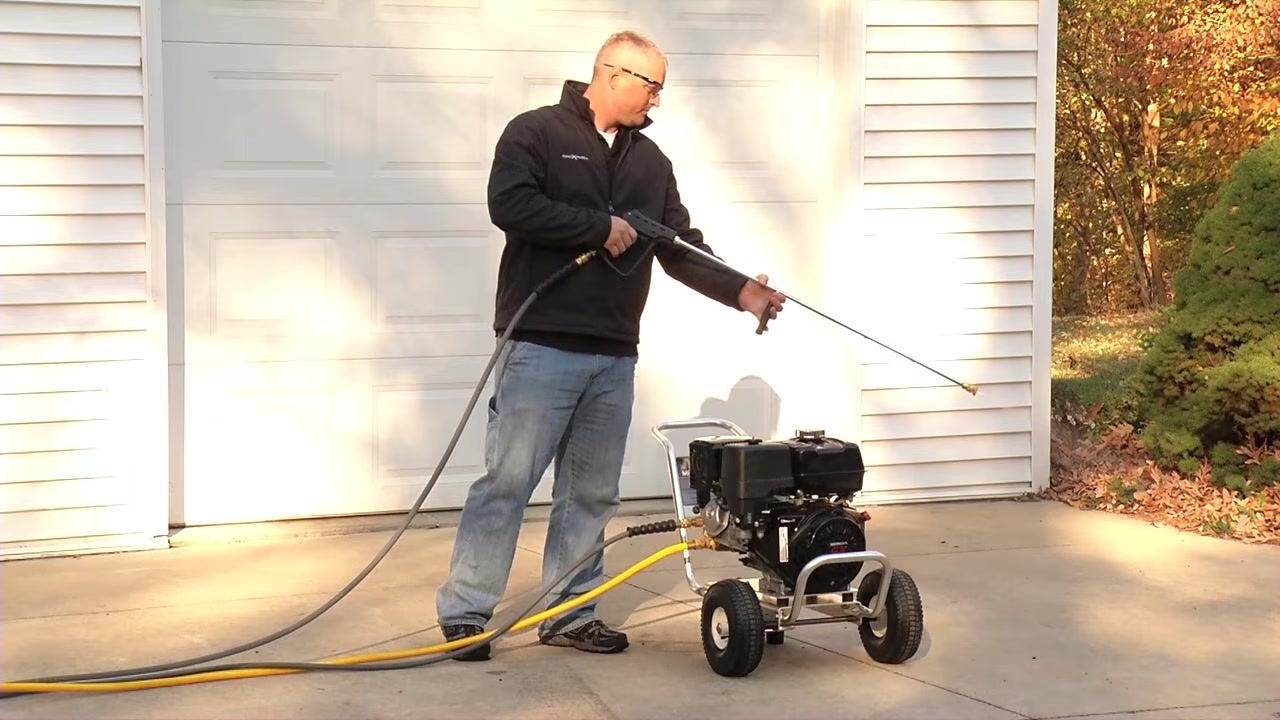
Hold the spray gun assembly firmly in your hand, ensuring you have a secure grip before starting the engine.
Note: Always follow all safety instructions provided in the Mi-T-M user manual. Wear appropriate PPE such as safety glasses and gloves when operating the pressure washer.
Operating and shutting down the pressure washer
Step 11: Start the engine and release pressure
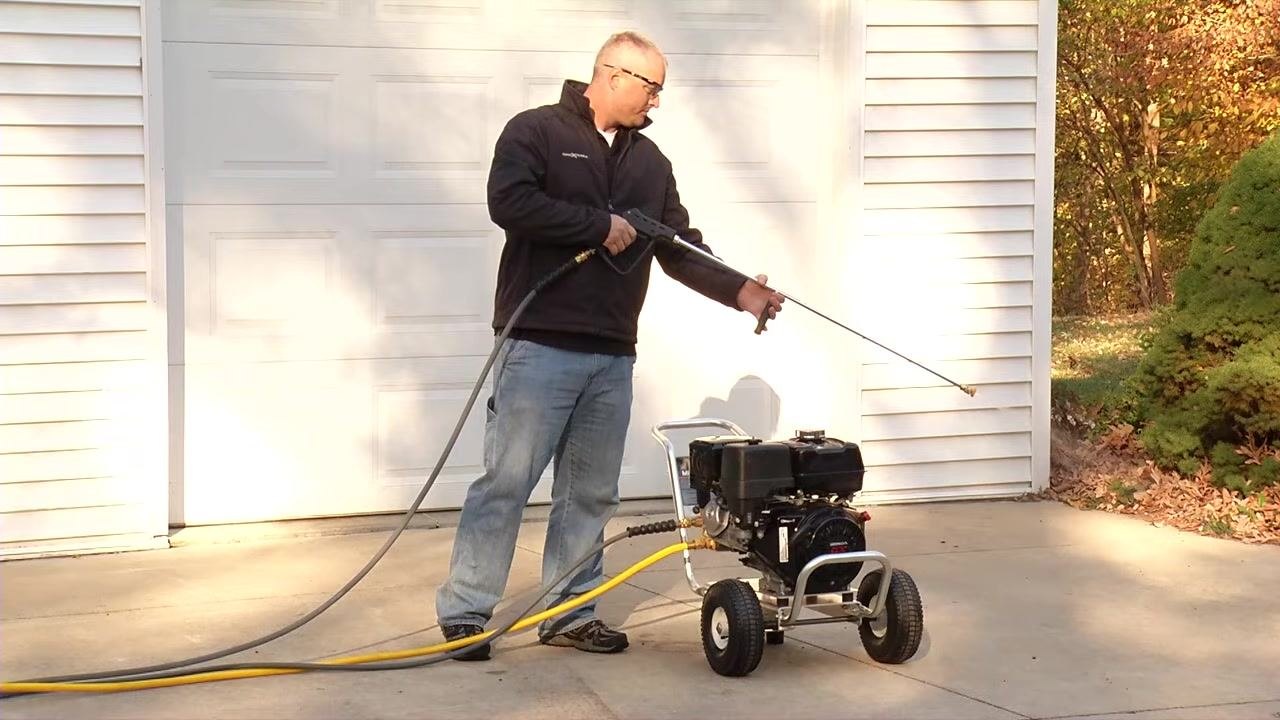
Point the spray gun in a safe direction, away from people, pets, and fragile objects. Squeeze the trigger to release any built-up pressure in the system. While continuing to squeeze the trigger, pull the recoil starter on the engine to start the pressure washer.
Step 12: Adjust the choke lever
Once the engine is running, move the choke lever to the open position to allow normal engine operation.
Step 13: Begin using the pressure washer
You are now ready to use your pressure washer for cleaning tasks.
Shutting down and disconnecting
Step 14: Turn off the engine
When your cleaning project is complete, turn the engine switch to the OFF position to stop the engine.
Step 15: Release system pressure
After the engine is off, pressure remains in the system. Point the spray gun in a safe direction and squeeze the trigger to release any remaining pressure.
Step 16: Turn off the water supply
Close the water supply valve to stop water flow to the pressure washer.
Step 17: Remove and store the nozzle
Remove the nozzle from the spray gun and return it to its holder on the pressure washer frame.
Step 18: Disconnect the hoses
Disconnect the high pressure hose from both the pressure washer unit and the spray gun. Disconnect the garden hose from the water inlet on the pressure washer.
Step 19: Drain water from hoses
Remove as much water as possible from both the high pressure and garden hoses before storing.
Verification and summary
Confirm the following before ending the procedure:
- The engine is switched OFF and remaining pressure has been released from the system.
- The water supply valve is closed.
- The nozzle has been removed and returned to its holder on the frame.
- The high pressure hose and garden hose are disconnected and drained of water.
Note: Always follow all safety instructions and maintenance guidelines in your Mi-T-M user manual. Wear appropriate PPE and store your equipment in a dry, secure location after use.
Generation details: cost, quality tiers
Docsie billed 1,500 credits ($1.05) to analyze this 3-minute video at standard quality. The rewrite, template fill and Word/PDF exports were included. The same video at each quality tier:
| Quality | Frames sampled | Credits | Approx. cost |
|---|---|---|---|
| Draft | every 16-30 s | 750 | $0.52 |
| Standard (this guide) | every 8-15 s | 1,500 | $1.05 |
| Detailed | every 4-7 s | 3,000 | $2.10 |
| Ultra | every 1-3 s | 6,000 | $4.20 |
Credits priced at $0.70 per 1,000; plans include a monthly allowance. Enterprise customers on on-premise or bring-your-own-model deployments run this on their own inference and pay no per-video credits.
Generated by Docsie Video-to-Docs on 2026-09-28 from a 2-minute video. Screenshots are frames from the source video and belong to their creator, Mi-T-M Corporation, whose original is embedded above. If you own this video and want the guide removed or credited differently, contact us and we will act within one business day.