
How to Clean Hvac Ductwork
This standard operating procedure explains how to clean HVAC ductwork in a residential setting, from initial floor protection through vent cleaning, HEPA vacuuming, whip agitation, negative-air extraction, and duct encapsulation. Following these steps in order helps technicians deliver a thorough duct cleaning while protecting the homeowner's property and improving indoor air quality.
Video: HVAC Air Duct Cleaning 101... YOU MUST KNOW THIS! by Greenfox Air Quality (2025). All credit for the demonstration goes to the creator; watch the original on YouTube. The written guide below was generated from this video by Docsie. Creator? Request a change or removal.
This standard operating procedure explains how to clean HVAC ductwork in a residential setting, from initial floor protection through vent cleaning, HEPA vacuuming, whip agitation, negative-air extraction, and duct encapsulation. Following these steps in order helps technicians deliver a thorough duct cleaning while protecting the homeowner's property and improving indoor air quality.
Purpose
This procedure standardizes the process for cleaning residential HVAC ductwork, including vent removal and washing, vent box (can) vacuuming, splitter box inspection, blower wheel isolation, duct agitation, and encapsulation. It ensures a consistent, safe, and complete job on every service call.
Scope
This SOP applies to residential duct cleaning jobs and is also relevant to commercial duct cleaning work that follows the same basic sequence: protection, removal, cleaning, agitation, and encapsulation.
Required equipment and PPE
- Drop cloths, sticky carpet protection film, and plastic sheeting for furniture and walkways
- Screwdriver for vent removal
- Dish detergent and water for washing vents
- HEPA vacuum for cleaning vent boxes ("cans")
- 20-foot whip tool with a brush head, connected to a drill
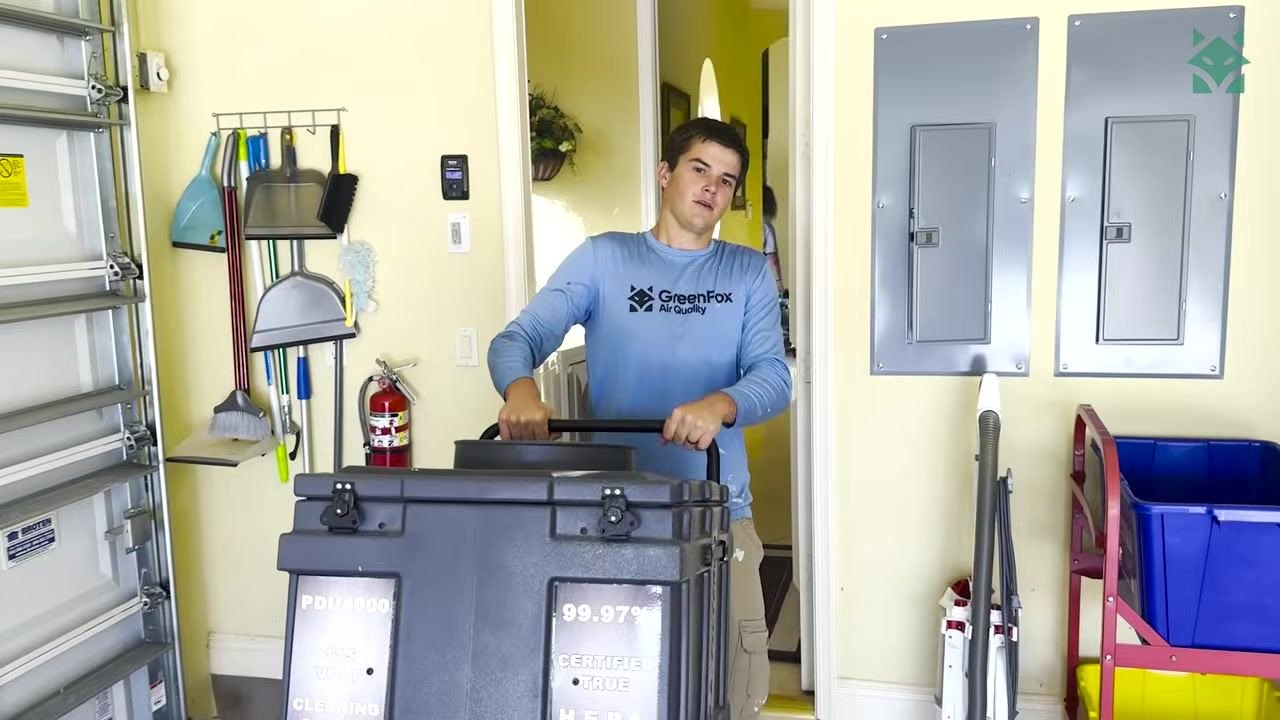
- Negative air machine (e.g., PDU 1000, 99.97% certified true HEPA, 120/240 volt) with flexible hose
- Encapsulation sprayer (e.g., Hi-Acuity 1000) and encapsulant product (e.g., IQ8000)
- Stable ladder for attic and ceiling access
- Protective bag for isolating the blower wheel
- Personal protective equipment: gloves, safety glasses, and masks
Safety note: Always wear appropriate PPE and follow safety protocols when handling cleaning chemicals, working in attics, using ladders, and accessing potentially contaminated ductwork.
Step-by-step procedure
Protect floors and furniture
Lay sticky carpet protection film on all walkways and areas beneath the ceiling vents. Cover bedding and furniture with plastic sheeting to keep dust off surfaces during vent removal and cleaning. Confirm that all protective coverings are secure and fully cover the intended areas before work begins. This step applies to every duct cleaning job, residential or commercial.
Remove the ceiling vents
Use a screwdriver to remove the two screws securing each ceiling vent. Carefully detach the vents so that no dust or debris falls into the room, and place the removed vents in a designated area for transport outside.
Clean the vents
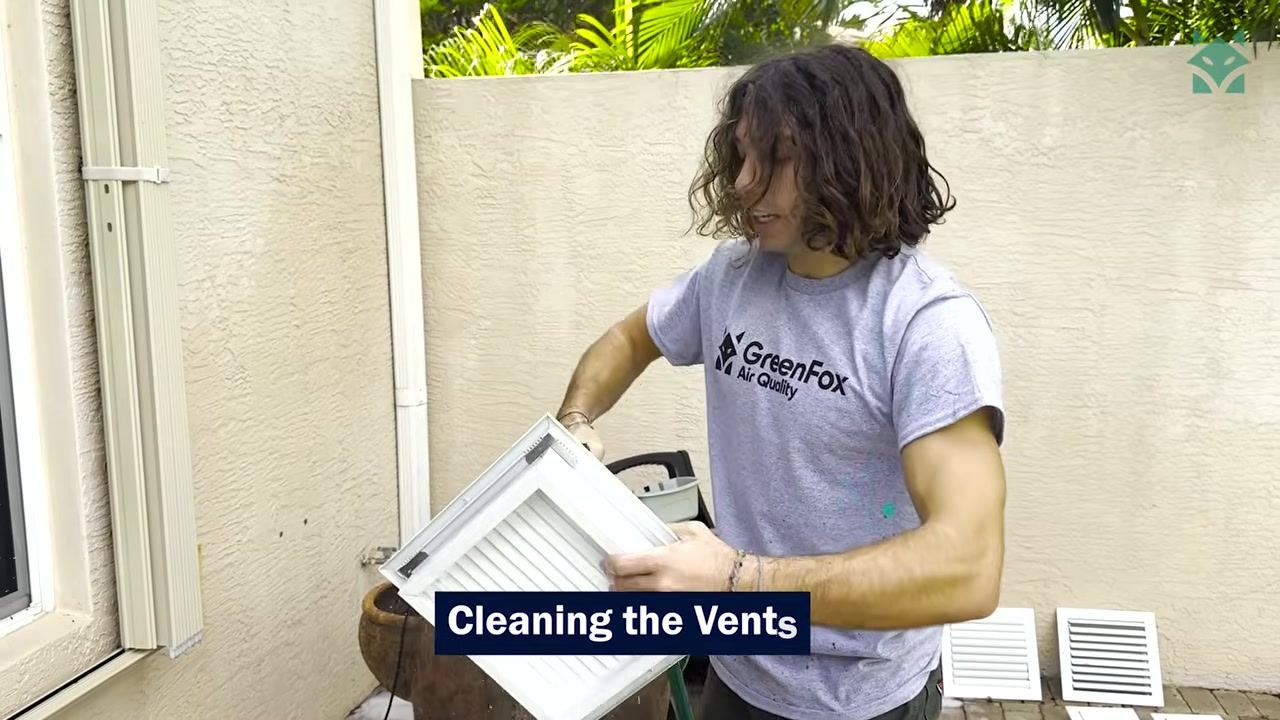
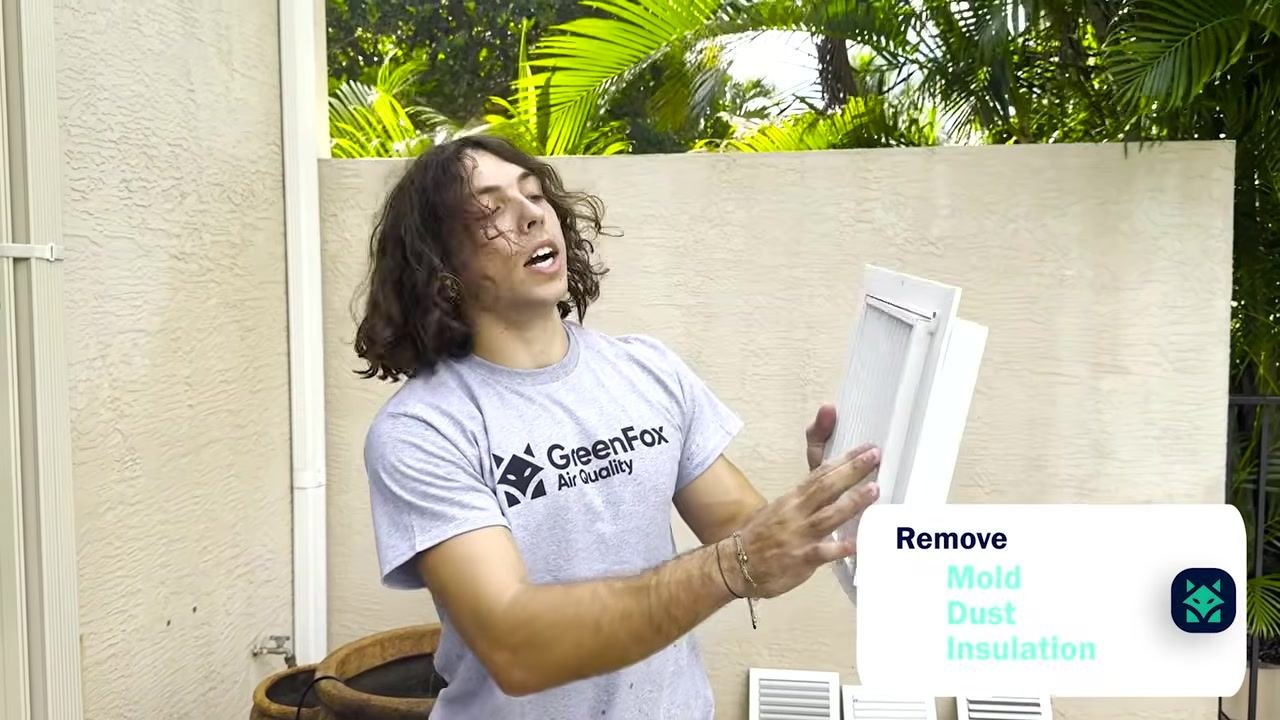
Take the removed vents outside to a cleaning station. Wash each vent with dish detergent and water, scrubbing to remove mold, dust, and insulation. Rinse thoroughly to protect the paint and finish, and inspect each vent to confirm all contaminants are removed before letting it dry.

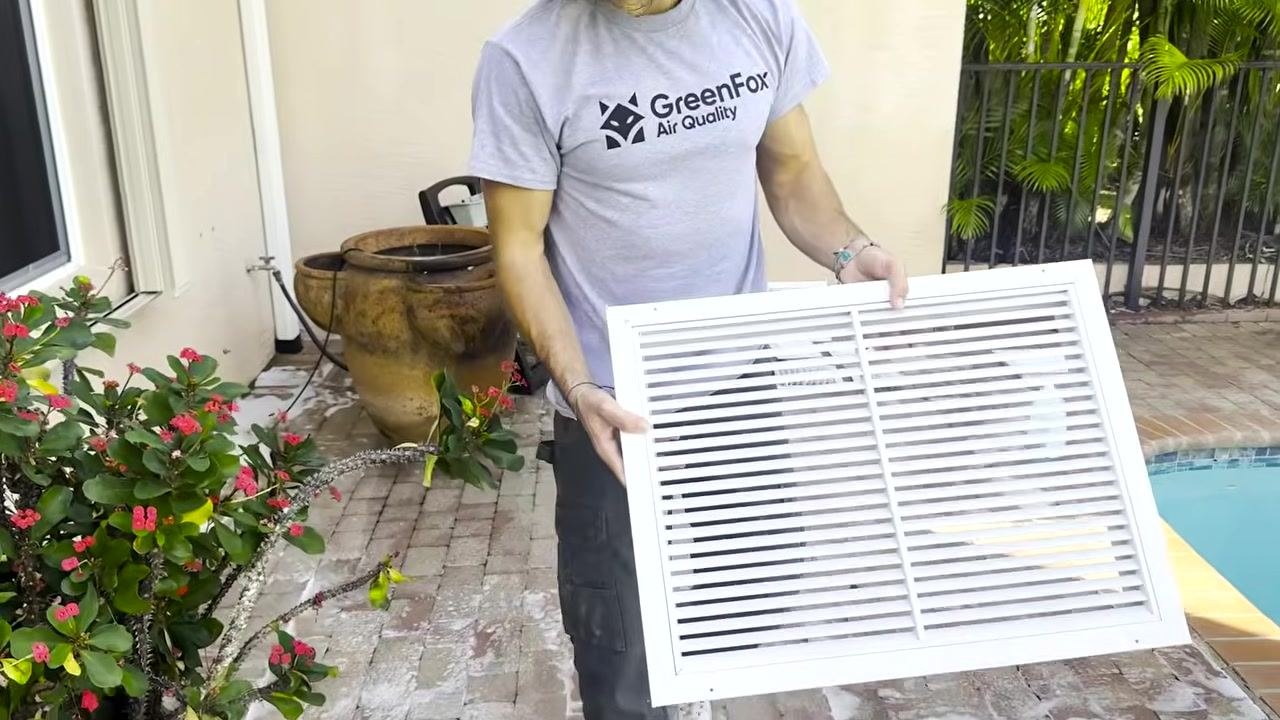
HEPA-vacuum the vent boxes ("cans")
Use a HEPA vacuum to clean the inside of each vent box, the area hidden behind the vent cover once installed. Vacuum all surfaces thoroughly to remove dust, debris, and any microbial growth, working meticulously to maximize the air quality improvement.

Locate and inspect splitter boxes in the attic
Ascend into the attic using a stable ladder and identify all splitter boxes, the junction boxes that let one supply duct feed multiple vents with conditioned air. Prepare each splitter box for opening and inspection.
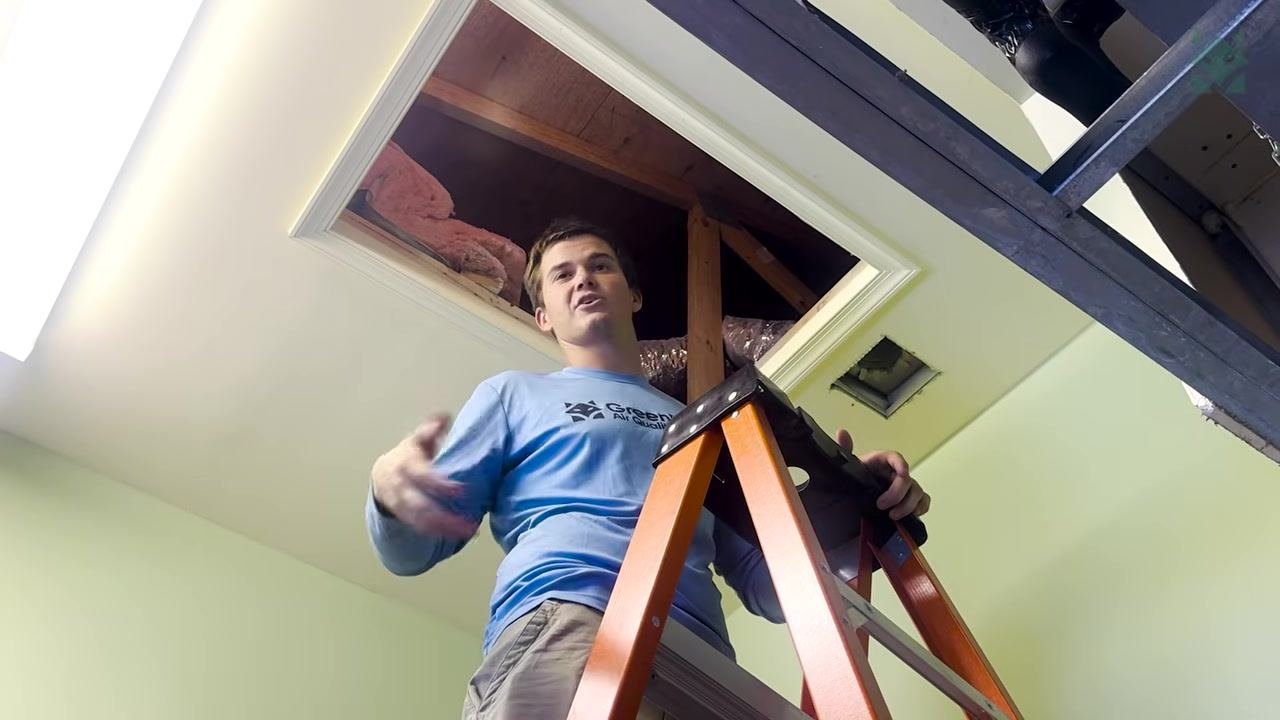
Open splitter boxes for inspection
Use appropriate tools to carefully open each splitter box and inspect the interior for microbial growth, dust, and debris. Note any visible contamination, such as mold or heavy dust accumulation, as this indicates the need for thorough cleaning.
Navigate the attic safely
Move carefully among attic trusses and insulation to reach all splitter boxes. Maintain your balance and avoid stepping on unsupported areas to prevent damage or injury.
Safety note: Always wear PPE such as gloves, safety glasses, and masks when working in attics and handling potentially contaminated ductwork, and follow ladder safety protocols throughout.
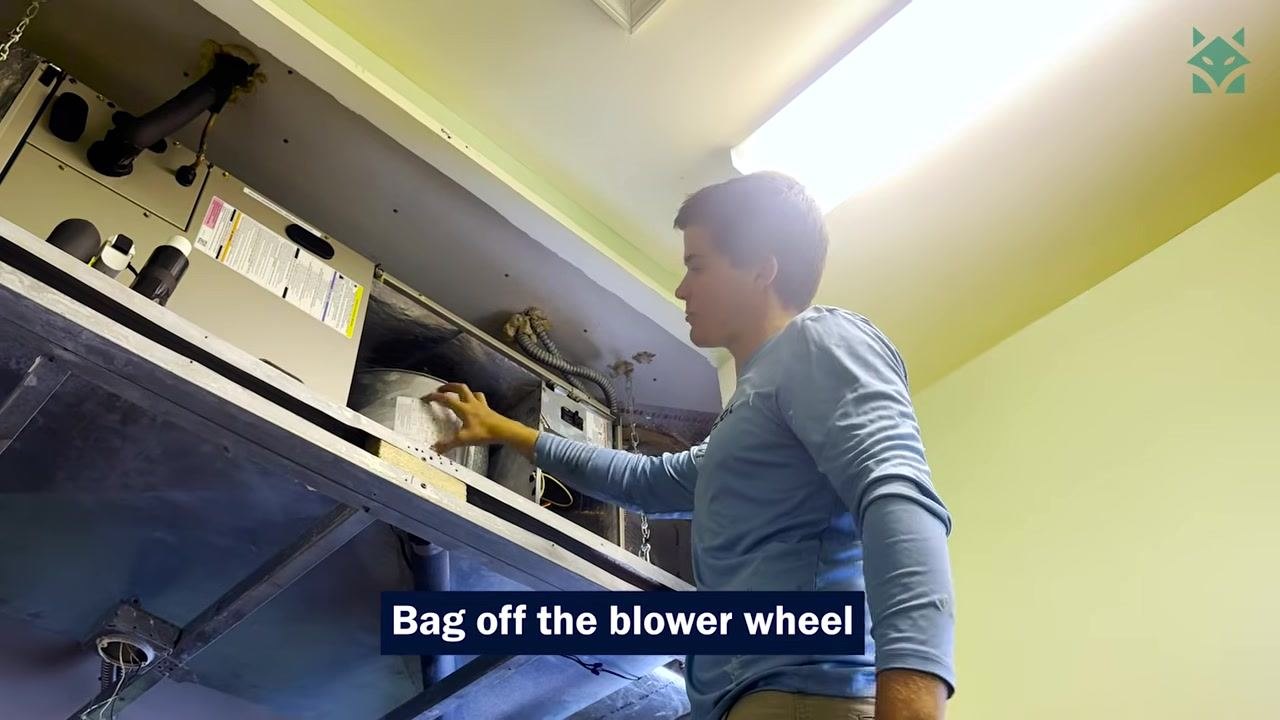
Bag off the blower wheel in the air handler
Return to the air handler unit and place a protective bag over the blower wheel to prevent air from entering or exiting the supply side during cleaning. This creates a sealed environment that allows the duct cleaning machine to generate strong suction. Confirm the bag is securely fastened and fully covers the blower wheel.
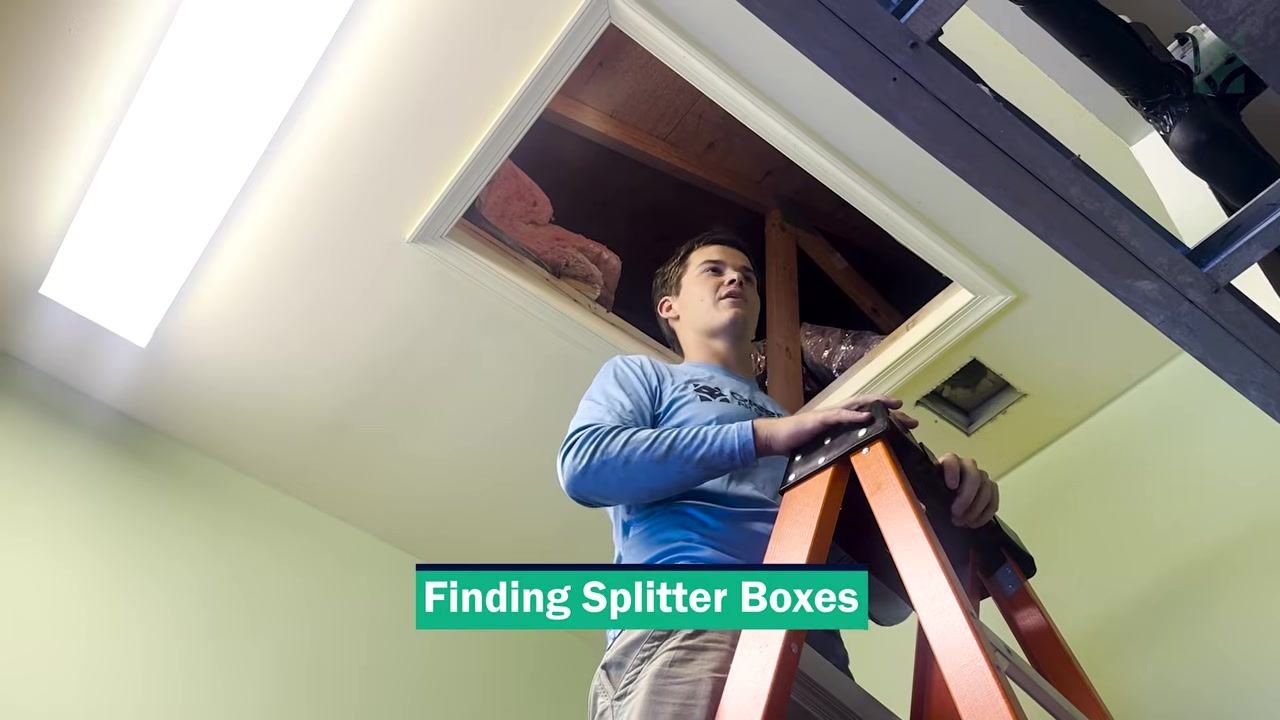
Prepare for duct-cleaning machine connection
Confirm the blower wheel is fully bagged off, then prepare to connect the duct cleaning machine either to the plenometer or directly to a vent, depending on the system. Ensure all connections are tight to maximize vacuum suction during cleaning.
Inspect the duct system before cleaning
Observe the HVAC unit and ductwork mounted near the ceiling and confirm the area is clear and accessible for cleaning operations before bringing in equipment.
Bring in the negative air machine
Move the negative air machine into the workspace and position it near the duct system for easy hose connection.
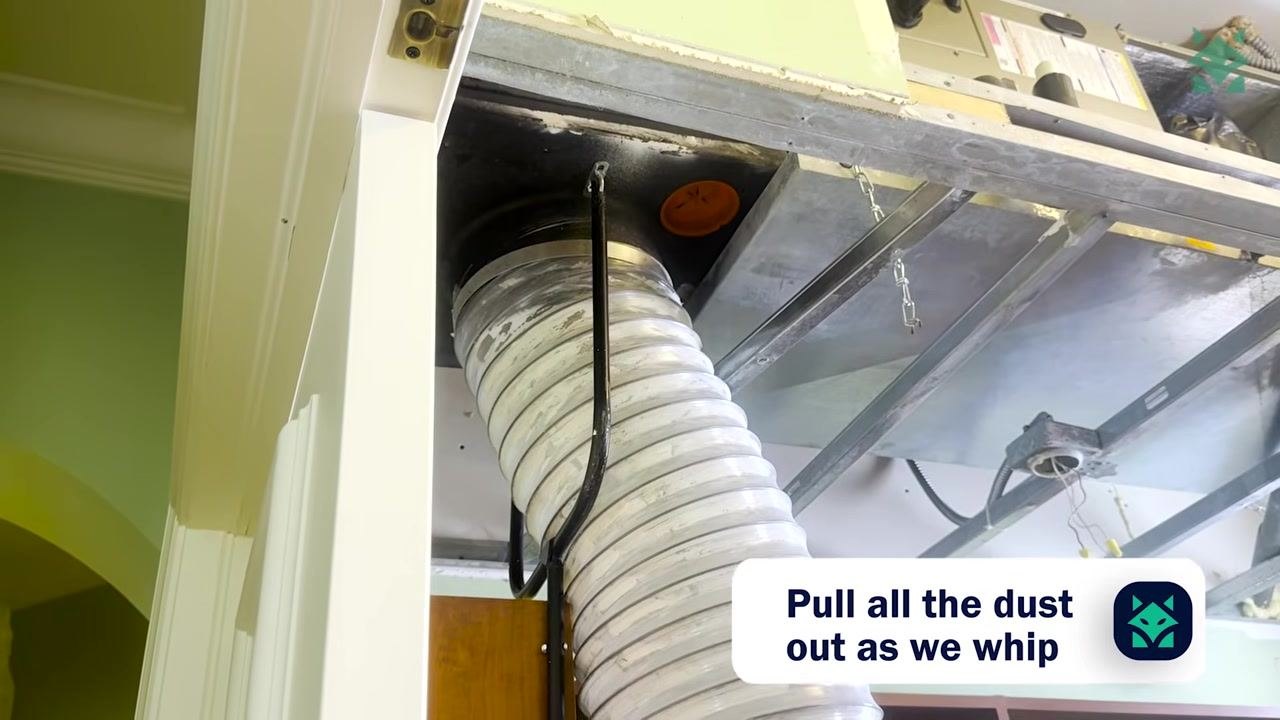
Connect the negative air machine to the duct system
Attach the large flexible hose from the negative air machine to the duct opening and secure it for a tight fit and proper suction. Confirm the hose is routed safely and does not obstruct walkways. This suction pulls dust out of the ductwork as the whip tool agitates the interior.
Prepare the whip tool
Gather the whip tool, a long rod fitted with a brush head, and connect it to a drill for powered rotation. Lay out the whip tool, drill, and any necessary extension rods on the floor so all components are ready before agitation begins.
Whip and agitate the ducts
Insert the whip tool into the duct opening. Use the drill to spin the brush head while moving the tool back and forth along the length of the duct to dislodge dust and debris. Keep the negative air machine running throughout so it captures the loosened particles.
Perform an airflow blow-out
After whipping, wait 5 to 10 minutes, then turn the air conditioner back on to perform a blow-out. This uses the AC airflow to push any remaining particulates or dust out of the duct system.
Begin the encapsulation process
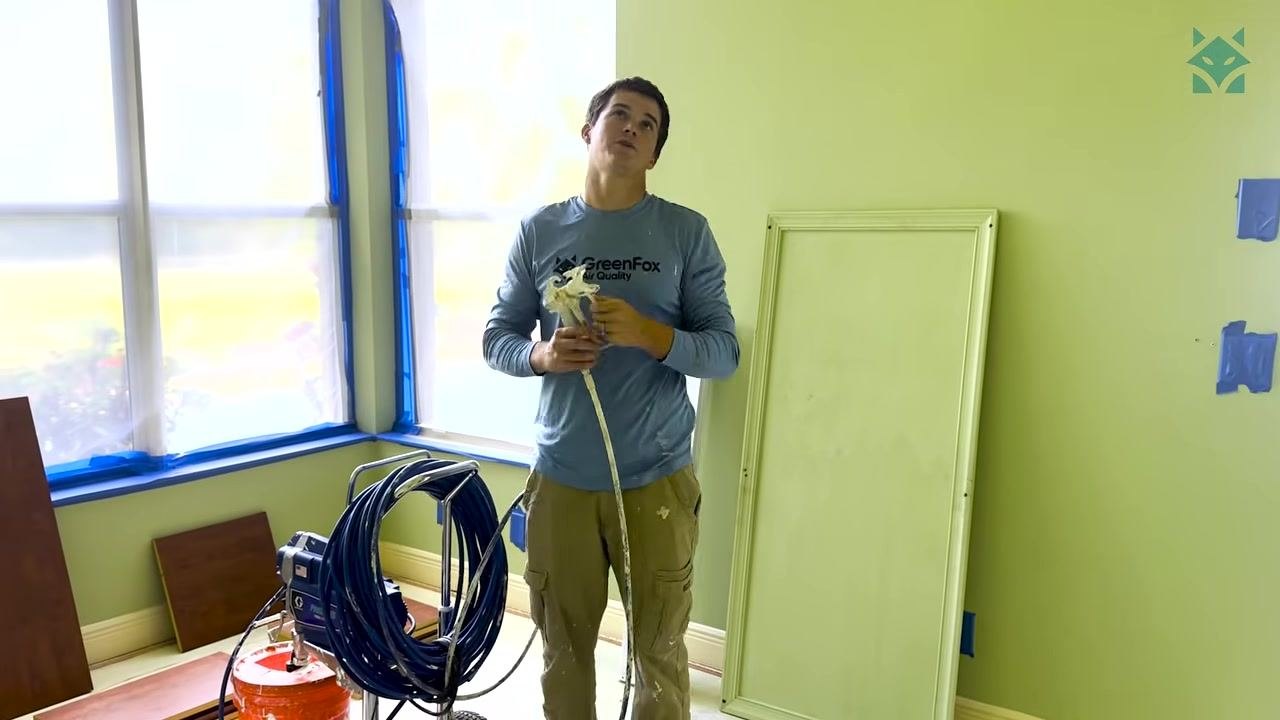
Set up the encapsulation sprayer and connect its hose, then prepare the encapsulant solution, such as IQ8000, for application.
Apply encapsulation solution inside the ducts and on vent covers
Use the spray gun to apply the encapsulation solution inside the ductwork, on the vent covers ("cans"), and on the interior surfaces ("flesh side") of the duct. Ensure even coverage for optimal sealing and protection. This step kills any mold or microbial growth that may remain after cleaning.
Safety note: Follow chemical handling guidelines and wear appropriate PPE while applying the encapsulant.
Reinstall the vent grilles
Once encapsulation is complete, reinstall the cleaned and encapsulated grilles. Use a ladder to reach ceiling or high wall vents, secure each grille with the appropriate fasteners, and confirm that every grille is properly aligned and attached.
Install the last return grille
Identify the final return grille location, carefully position and secure the grille to the duct opening, and double-check that all grilles are installed and the area is clean.
Final inspection and verification
Stand beneath the ceiling duct opening and visually inspect the interior to confirm it is clean and free of debris. Verify that all cleaning and encapsulation steps have been completed, and check the surrounding area for any remaining tools or materials that need to be removed before leaving the job site.

Summary
By completing floor protection, vent removal and washing, HEPA vacuuming, splitter box inspection, blower wheel isolation, whip agitation, airflow blow-out, and encapsulation in sequence, you ensure a thorough duct cleaning and encapsulation job that leaves the workspace clean and improves the system's air quality and efficiency.
Generation details: cost, quality tiers
Docsie billed 3,500 credits ($2.45) to analyze this 7-minute video at standard quality. The rewrite, template fill and Word/PDF exports were included. The same video at each quality tier:
| Quality | Frames sampled | Credits | Approx. cost |
|---|---|---|---|
| Draft | every 16-30 s | 1,750 | $1.22 |
| Standard (this guide) | every 8-15 s | 3,500 | $2.45 |
| Detailed | every 4-7 s | 7,000 | $4.90 |
| Ultra | every 1-3 s | 14,000 | $9.80 |
Credits priced at $0.70 per 1,000; plans include a monthly allowance. Enterprise customers on on-premise or bring-your-own-model deployments run this on their own inference and pay no per-video credits.
Generated by Docsie Video-to-Docs on 2026-09-20 from a 6-minute video. Screenshots are frames from the source video and belong to their creator, Greenfox Air Quality, whose original is embedded above. If you own this video and want the guide removed or credited differently, contact us and we will act within one business day.