
How to Change the Oil in a Generator
This document explains how to change the oil in a generator, specifically the Honda EU2200i, to maintain optimal engine performance and extend the life of the unit. Regular oil changes prevent engine wear and keep your generator running reliably.
Video: Honda EU2200i Generator Oil Change Procedure by Honda (2018). All credit for the demonstration goes to the creator; watch the original on YouTube. The written guide below was generated from this video by Docsie. Creator? Request a change or removal.
Purpose
This document explains how to change the oil in a generator, specifically the Honda EU2200i, to maintain optimal engine performance and extend the life of the unit. Regular oil changes prevent engine wear and keep your generator running reliably.
Scope
This procedure applies to the Honda EU2200i generator and covers the full oil change process, from consulting the maintenance schedule to reinstalling the maintenance cover and locating professional support if needed.
Required equipment
- Owner's manual for the Honda EU2200i generator
- Flat-tip screwdriver
- Oil drain pan or suitable container
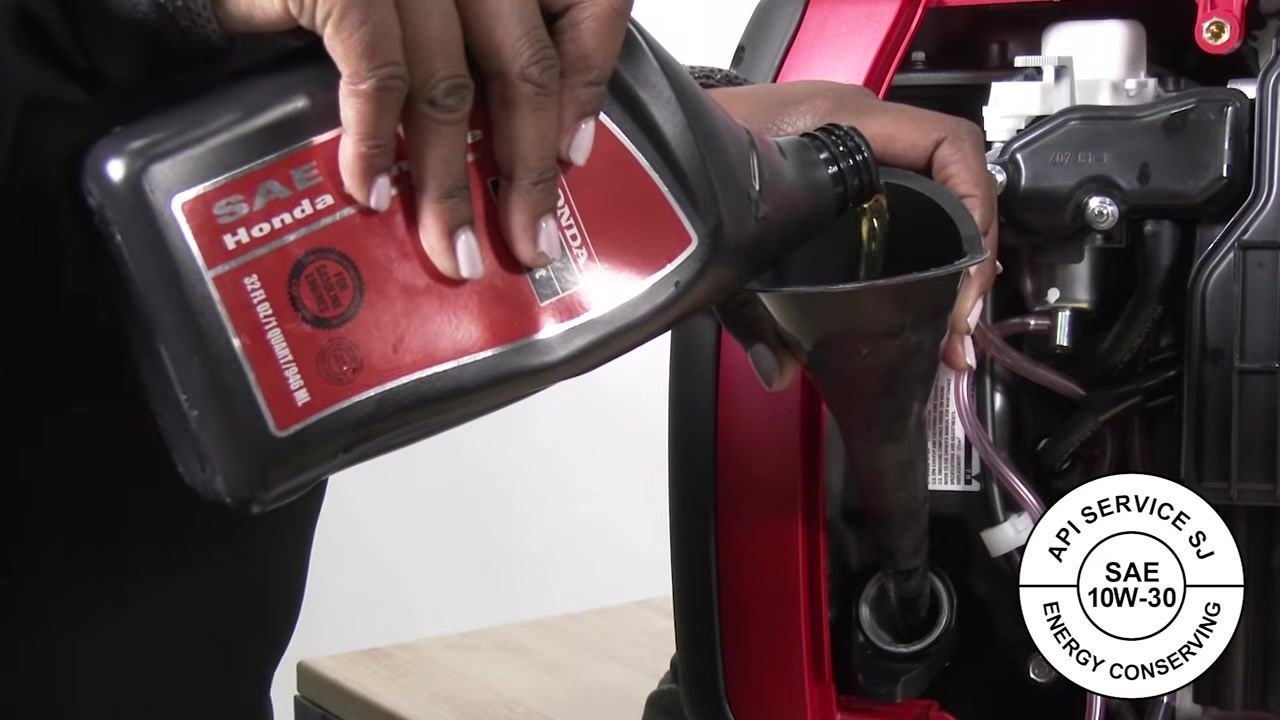
- SAE 10W-30 SJ or later engine oil (approximately 14 ounces / 0.41 liters)
- Small funnel
- Dipstick (built into the generator's oil filler neck)
- Clean rags or cloth for wiping spills
Procedure
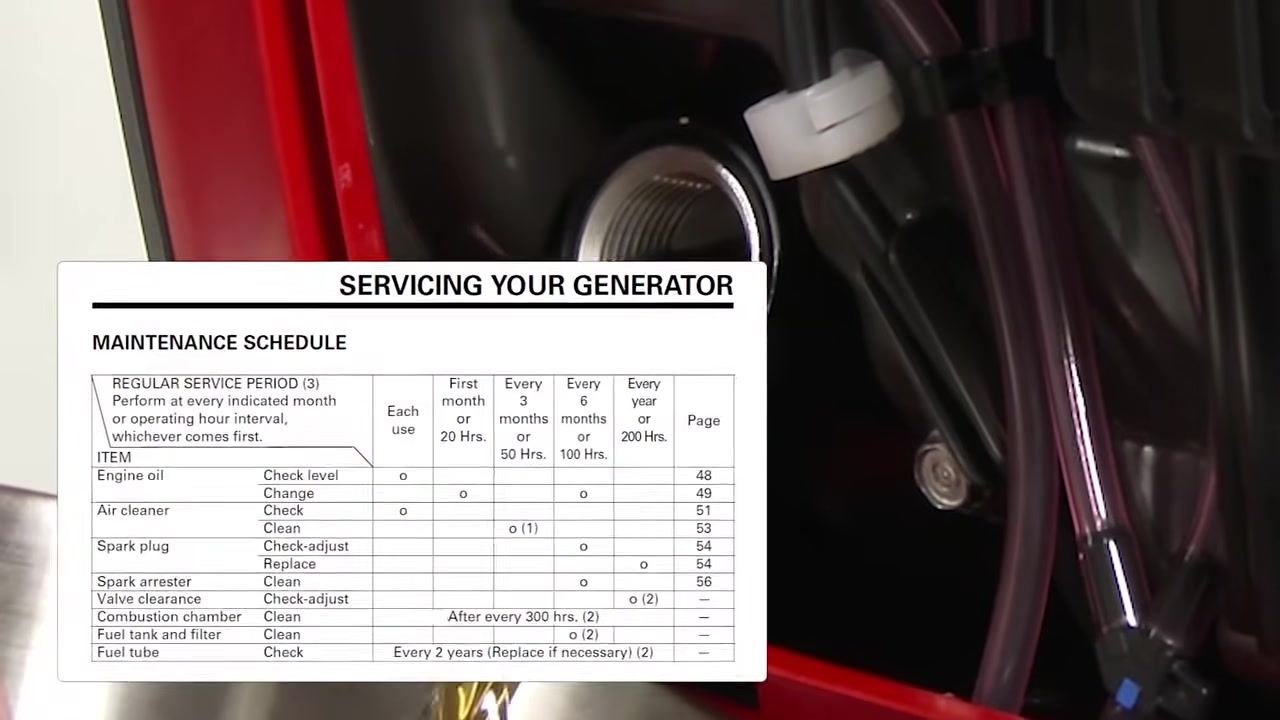
Consult the maintenance schedule
Refer to the maintenance schedule in the owner's manual to determine when to change the engine oil. The schedule specifies intervals based on months or operating hours. For example, the manual may recommend changing the engine oil every 6 months or 100 hours, whichever comes first.
Prepare for oil draining
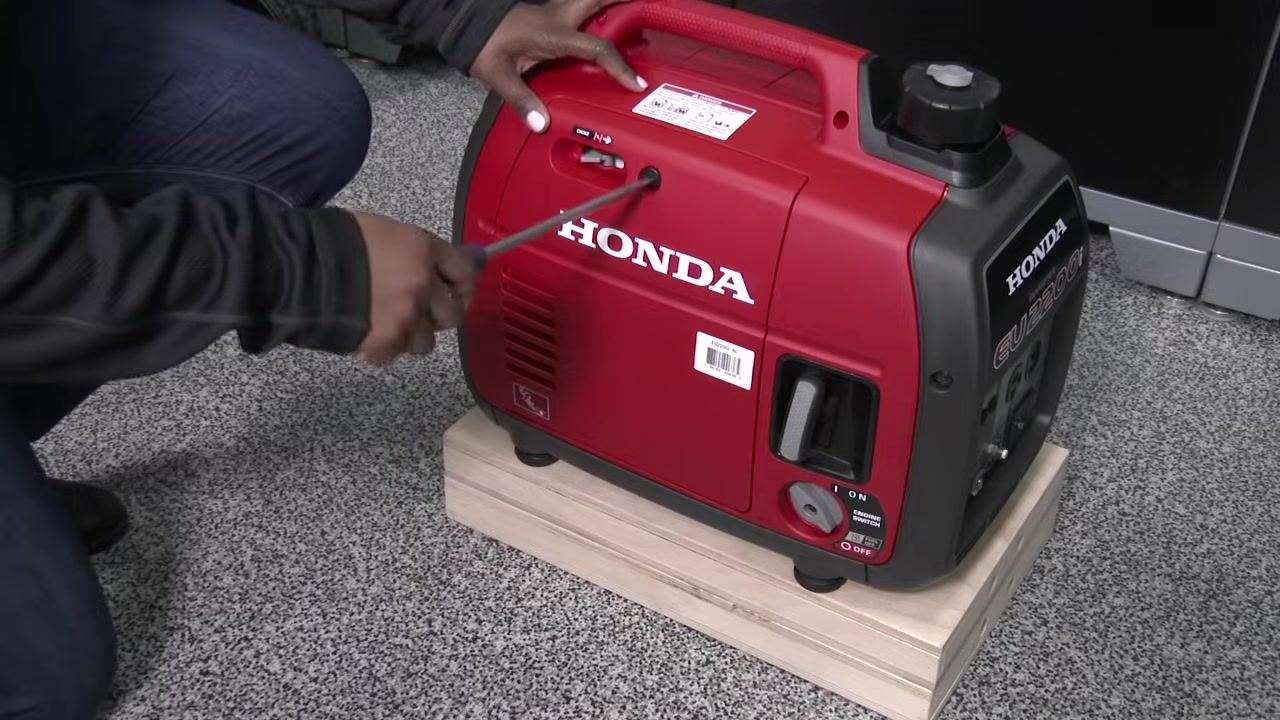
Ensure the engine is warm before draining the oil, as warm oil drains more quickly and completely. Turn the engine switch to the OFF position. Move the fuel filler cap vent to the OFF position to prevent fuel leakage during the oil change.
Remove the maintenance cover
Use a flat-tip screwdriver to loosen the maintenance cover screw. Remove the maintenance cover and set it aside in a safe location.
Position the oil drain pan
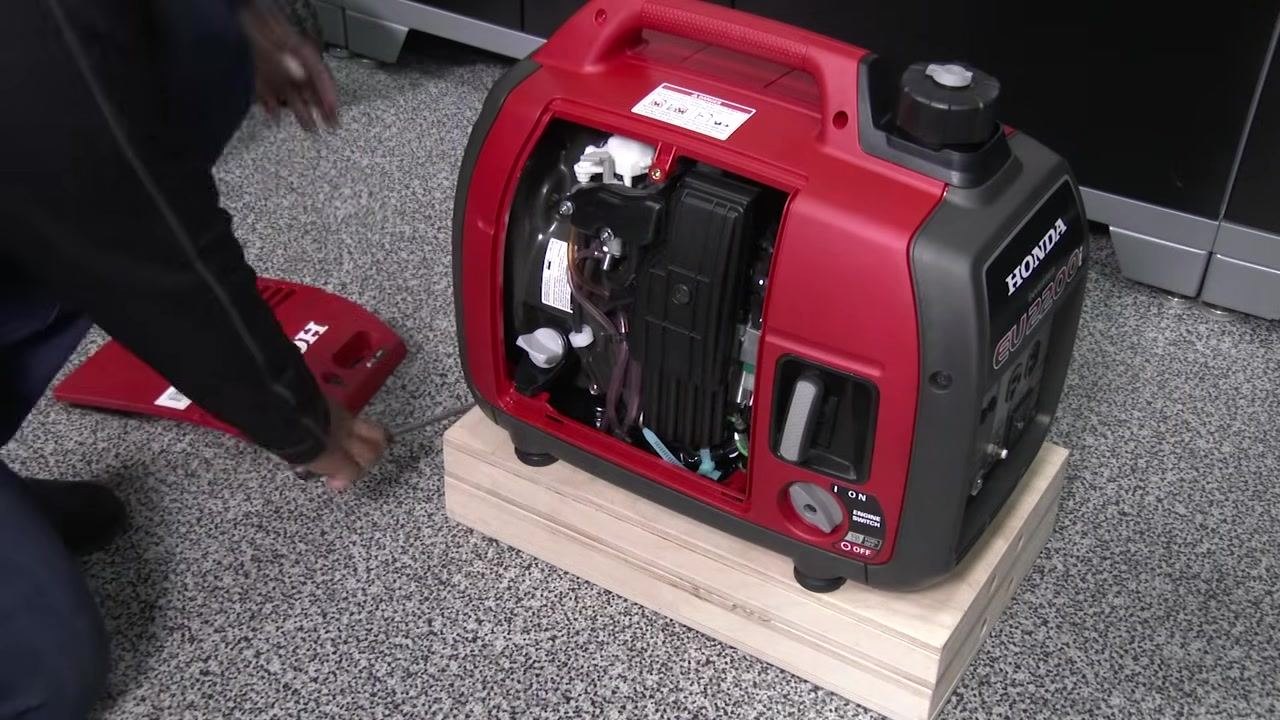
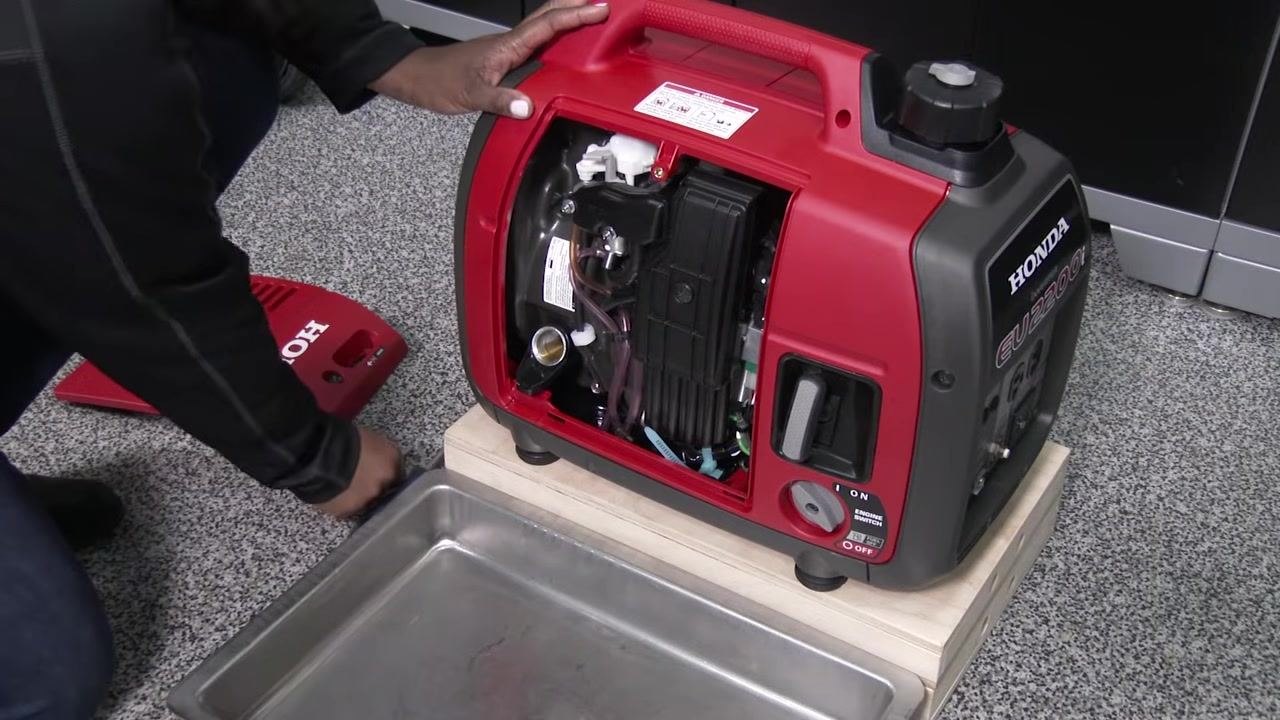
Place a suitable container or oil drain pan next to the engine. Position the container so that it will catch the used oil as it drains from the filler neck.
Drain the engine oil
Remove the oil filler cap. Carefully tip the generator toward the drain pan to allow the engine oil to drain out completely. Allow all oil to drain fully before returning the generator to a level position.
Dispose of used oil
Properly dispose of the used engine oil according to your local laws and regulations. Do not pour used oil down drains or into the environment.
Refill with new engine oil
With the generator on a level surface, place a small funnel into the oil filler hole. Pour in approximately 14 ounces (0.41 liters) of SAE 10W-30 SJ or later engine oil. Fill until the oil level reaches the upper limit of the filler neck, just before it would begin to drip out.
Check and adjust the oil level
Insert the dipstick into the filler neck without threading it in. Remove the dipstick and check the oil level. Add or remove oil as necessary to ensure the level is correct.
Tighten the oil filler cap and clean up
Securely tighten the oil filler cap to prevent leaks. Wipe off any spilled oil from the generator exterior to maintain cleanliness and safety.
Reinstall the maintenance cover
Position the maintenance cover back onto the generator. Use a flat-tip screwdriver to tighten the maintenance cover screw securely. Ensure the cover is properly seated and fastened before use.
Additional resources
For further information regarding maintenance procedures or troubleshooting, refer to your Honda EU2200i owner's manual. If you need professional assistance or have questions, contact your local Honda Power Equipment dealer.
Locating a Honda Power Equipment dealer
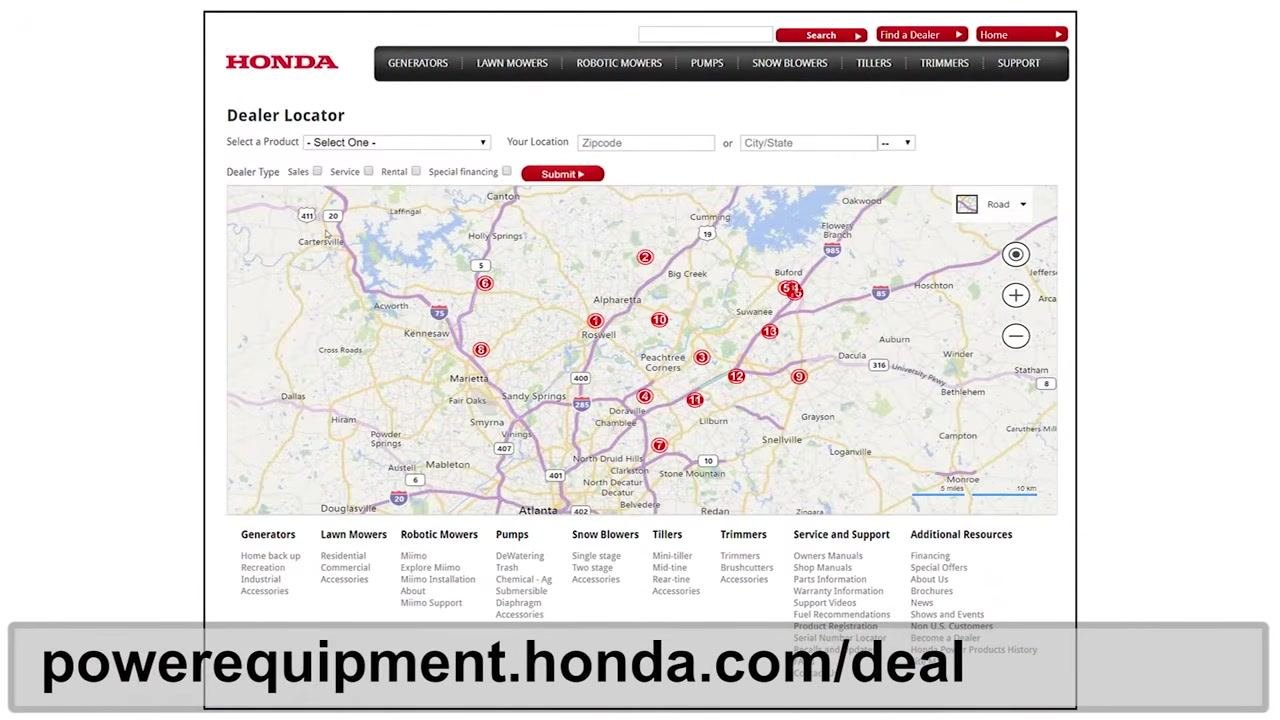
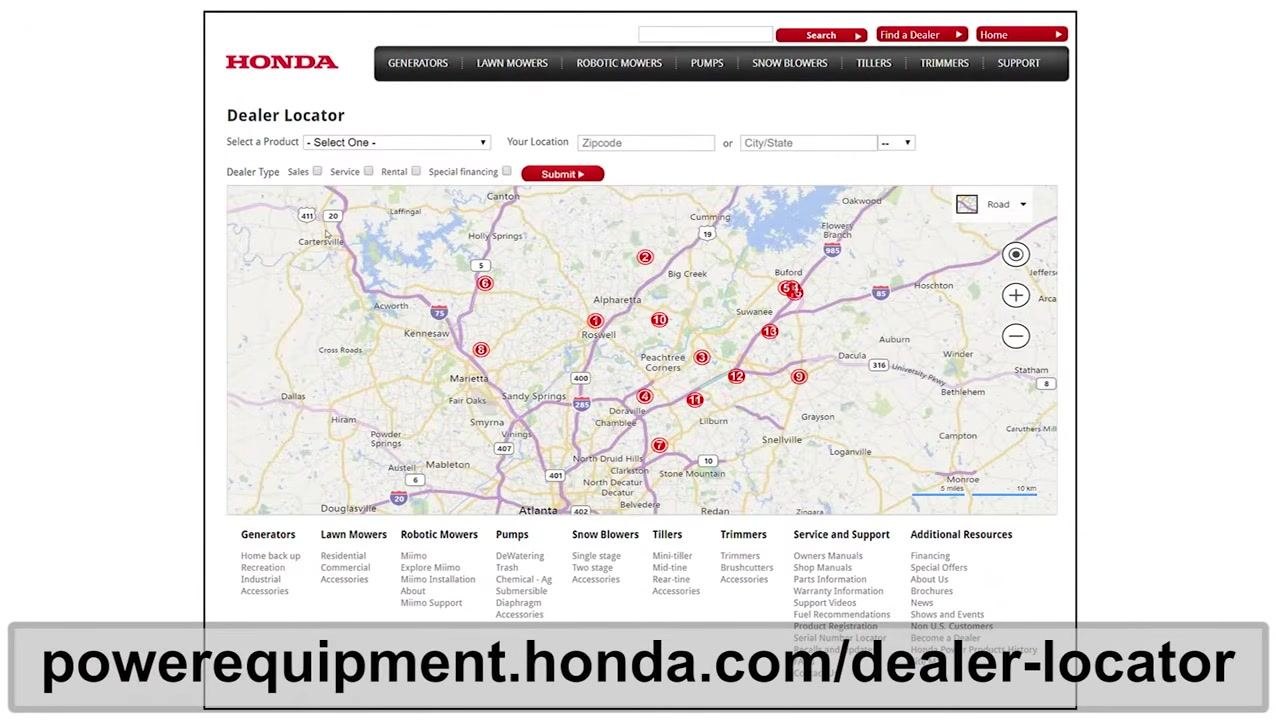
Visit the Honda Power Equipment Dealer Locator website at powerequipment.honda.com/dealer-locator. Enter your location (zip code or city/state) to find the nearest authorized dealer for service, parts, or support.
Verification and summary
By completing these steps, you have successfully learned how to change the oil in a generator and have properly reassembled your Honda EU2200i for use. Confirm that:
- The oil filler cap is securely tightened with no leaks.
- The maintenance cover is properly seated and fastened.
- The generator exterior is clean and free of oil residue.
For any additional questions or maintenance needs, always refer to your owner's manual or contact an authorized Honda dealer.
Generation details: cost, quality tiers
Docsie billed 1,500 credits ($1.05) to analyze this 3-minute video at standard quality. The rewrite, template fill and Word/PDF exports were included. The same video at each quality tier:
| Quality | Frames sampled | Credits | Approx. cost |
|---|---|---|---|
| Draft | every 16-30 s | 750 | $0.52 |
| Standard (this guide) | every 8-15 s | 1,500 | $1.05 |
| Detailed | every 4-7 s | 3,000 | $2.10 |
| Ultra | every 1-3 s | 6,000 | $4.20 |
Credits priced at $0.70 per 1,000; plans include a monthly allowance. Enterprise customers on on-premise or bring-your-own-model deployments run this on their own inference and pay no per-video credits.
Generated by Docsie Video-to-Docs on 2026-09-28 from a 2-minute video. Screenshots are frames from the source video and belong to their creator, Honda, whose original is embedded above. If you own this video and want the guide removed or credited differently, contact us and we will act within one business day.