
How to Delete an Encounter in Epic
Deleting a patient encounter becomes more involved when insurance, charges, or a kept appointment status are attached to it. This guide walks you through how to delete an encounter in Epic (or a similarly structured EHR) step by step, including how to clear insurance and charges first, cancel the linked appointment, and confirm the encounter is permanently removed.
Video: Delete Encounter and Kept Appointment by Heal Health Solutions (2014). All credit for the demonstration goes to the creator; watch the original on YouTube. The written guide below was generated from this video by Docsie. Creator? Request a change or removal.
Deleting a patient encounter becomes more involved when insurance, charges, or a kept appointment status are attached to it. This guide walks you through how to delete an encounter in Epic (or a similarly structured EHR) step by step, including how to clear insurance and charges first, cancel the linked appointment, and confirm the encounter is permanently removed.
Prerequisites
- Access to the scheduler, patient chart, and clinical history sections of your EHR system.
- The patient record and encounter you intend to delete should be identified in advance.
- Permissions to edit appointments, remove insurance, and delete encounters.
Steps to delete an encounter in Epic
Select the patient with the kept appointment
Open the scheduler view and locate the patient who has a kept appointment along with the encounter you need to delete. The scheduler lists appointments by time, provider, and patient name, so identify the correct patient and appointment slot before proceeding.
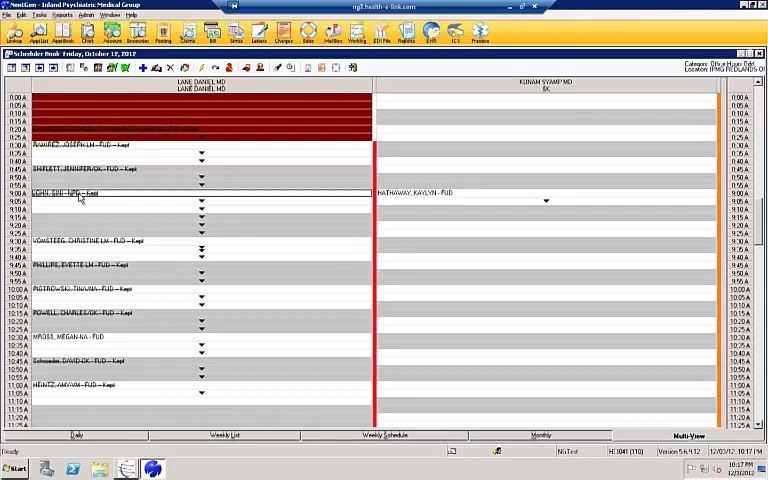
Right-click the appointment to begin deletion
Right-click the selected appointment to bring up the options for managing the encounter. This action prepares the system for you to delete the encounter tied to this appointment.
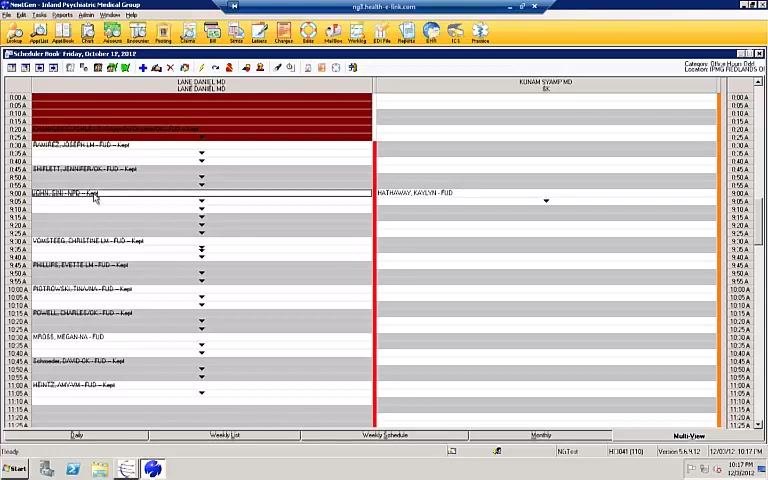
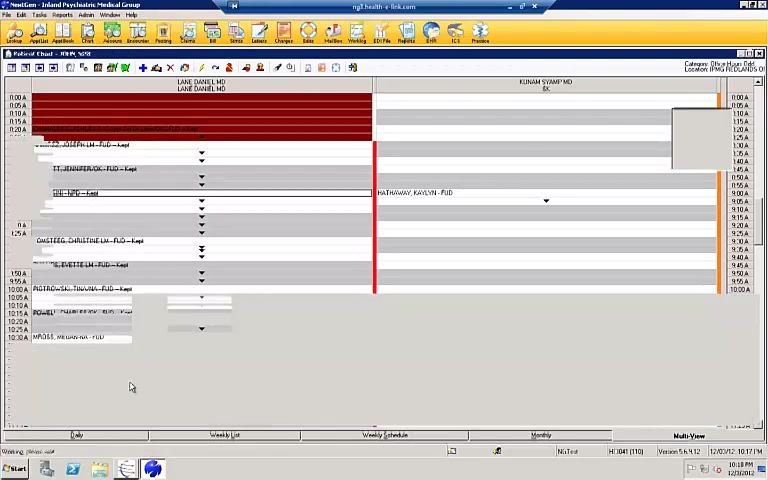
Open the patient's chart to view encounters
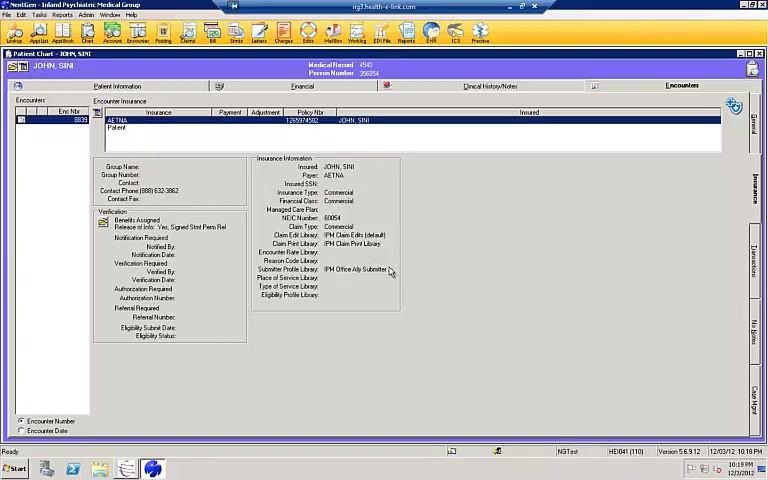
Navigate to the patient's chart to review the full list of encounters. Confirm that the encounter you intend to delete (for example, Encounter #8839) appears in the list.
Check for attached insurance
Click the Insurance tab within the encounter details to see whether any insurance policies are attached to the encounter. The tab displays all associated insurance records.
Attempt to delete the encounter and review the error
If you try to delete the encounter directly from the General tab while insurance is still attached, the system displays an alert stating the encounter cannot be deleted. This confirms that insurance must be removed before deletion can proceed.
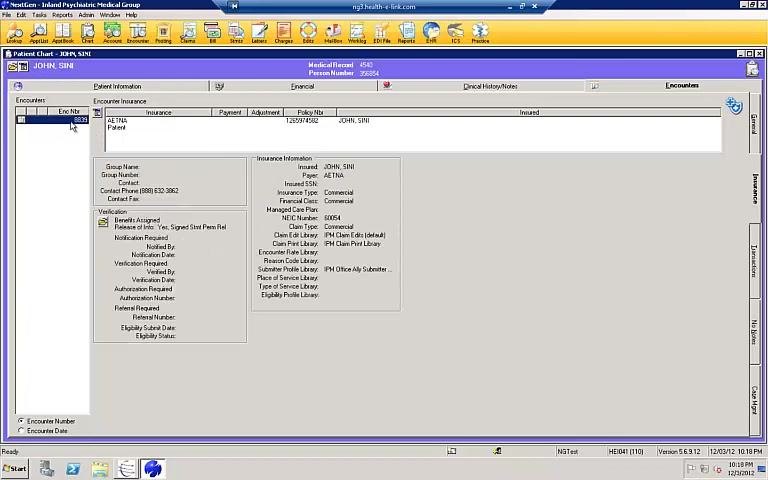
Remove the attached insurance
Right-click the insurance entry under the Insurance tab and select the option to delete it from the encounter. This step must be completed before you can delete the encounter itself.
Return to the General tab and check for charges
After removing the insurance, go back to the General tab in the encounter details. Click the Charges section to check whether any charges are associated with the encounter.
Verify that no charges or ICD codes are present
Highlight the encounter in the patient chart and confirm there are no charges linked to it. If no charges exist, no ICD code will be present either. Close the charge posting window using the X in the upper right corner.
Navigate to Clinical History and select the appointment
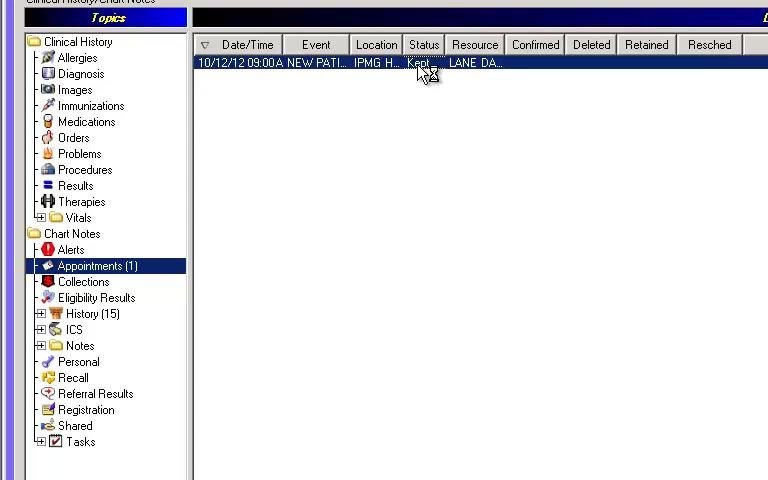
Go to the Clinical History section of the patient chart and locate the appointment in the list; its status should show as Kept. Double-click the appointment to open the edit appointment window.
Remove the encounter from the appointment
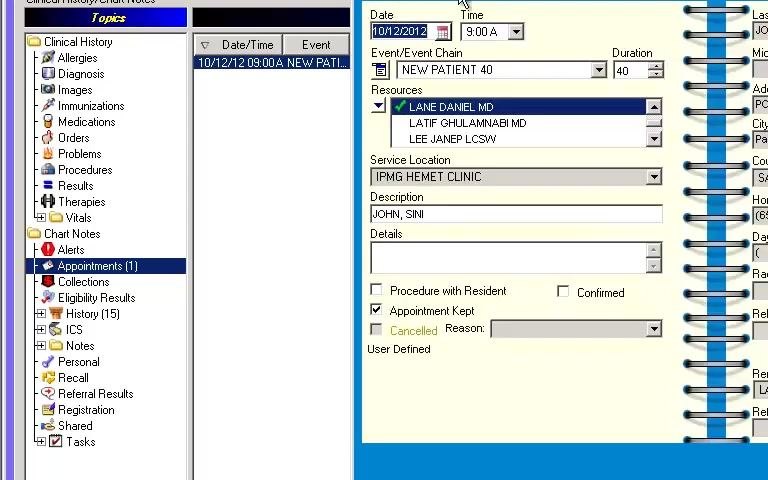
In the edit appointment window, locate the encounter field and click the clear/delete icon next to the encounter number to unlink it. Confirm the removal when prompted by clicking OK, and verify the encounter is no longer attached to the appointment.
Uncheck the "Appointment Kept" option
Since you are deleting both the encounter and the kept appointment, uncheck the Appointment Kept checkbox in the edit appointment window.
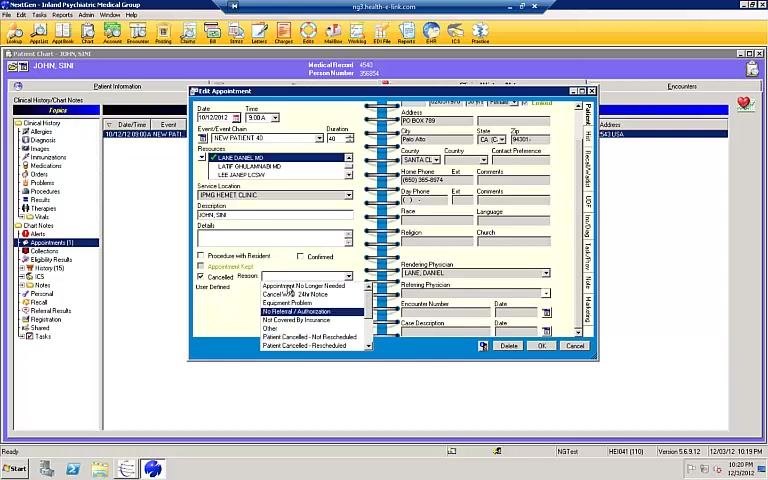
Cancel the appointment and select a reason
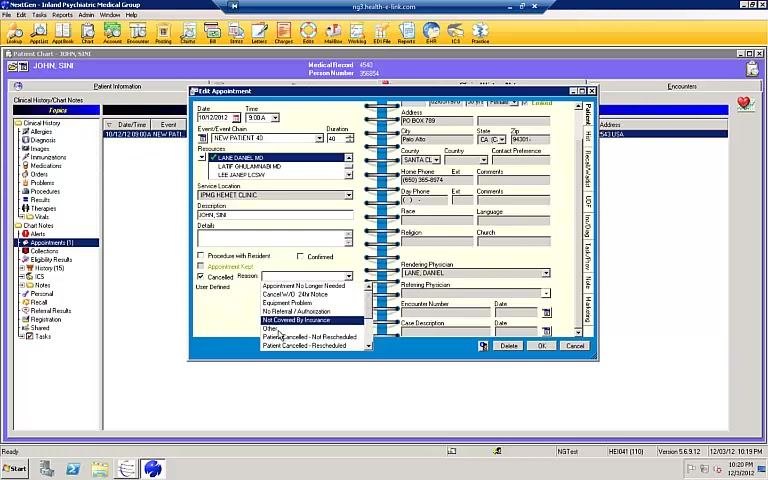
Click Cancelled in the appointment window, then choose a cancellation reason from the dropdown menu. If no specific reason applies, select Other. Click OK to confirm the cancellation.
Verify the appointment status
Return to the clinical history or appointments list and confirm that the appointment status now reads Cancelled, with the encounter no longer linked.
Delete the encounter from the General tab
Go back to the General tab in the encounter details and click the delete icon to initiate deletion. When the Confirm delete of encounter? dialog appears, click OK to permanently delete the encounter.
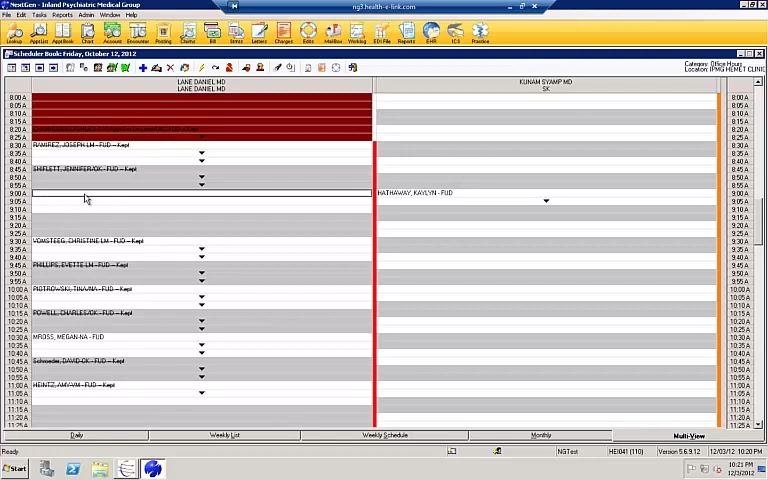
Verify the final appointment and encounter status
Open the appointment book or scheduling module and locate the patient's appointment. Confirm the status now shows Cancelled and that the previously linked encounter no longer appears. Review the schedule to ensure the changes have taken effect and the record is accurate.
Close the EHR system
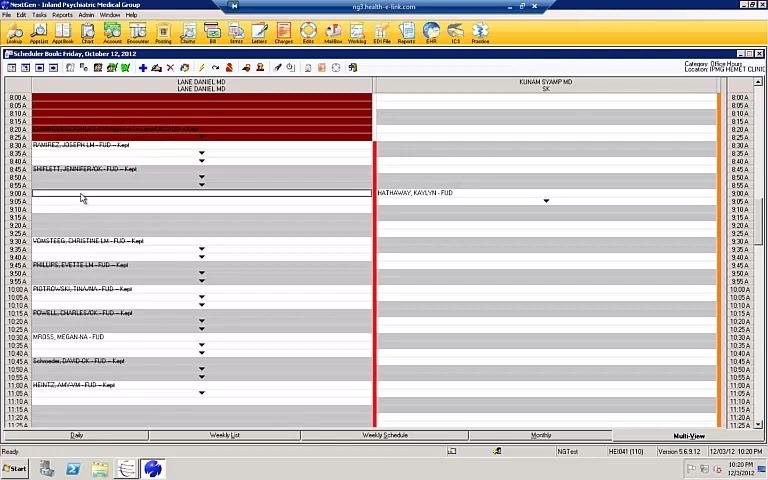
Once the cancellation and deletion are confirmed, close the EHR application if no further actions are needed, and return to your desktop.
Summary
Deleting an encounter with attached insurance requires removing the insurance first, verifying there are no charges or ICD codes, unlinking the encounter from the kept appointment, and cancelling the appointment before the encounter can be permanently deleted. Following these steps in order ensures both the encounter and the associated kept appointment are fully removed, keeping your scheduling and patient records accurate.
Generation details: cost, quality tiers
Docsie billed 2,000 credits ($1.40) to analyze this 4-minute video at standard quality. The rewrite, template fill and Word/PDF exports were included. The same video at each quality tier:
| Quality | Frames sampled | Credits | Approx. cost |
|---|---|---|---|
| Draft | every 16-30 s | 1,000 | $0.70 |
| Standard (this guide) | every 8-15 s | 2,000 | $1.40 |
| Detailed | every 4-7 s | 4,000 | $2.80 |
| Ultra | every 1-3 s | 8,000 | $5.60 |
Credits priced at $0.70 per 1,000; plans include a monthly allowance. Enterprise customers on on-premise or bring-your-own-model deployments run this on their own inference and pay no per-video credits.
Generated by Docsie Video-to-Docs on 2026-10-02 from a 3-minute video. Screenshots are frames from the source video and belong to their creator, Heal Health Solutions, whose original is embedded above. If you own this video and want the guide removed or credited differently, contact us and we will act within one business day.